A Forager's Home

Grow. Find. Eat. Make.

  • Blog
  • About
  • DIY
  • Recipes
  • Foraging

How to Make Naturally Flavoured Sugars

June 11, 2018 by Kelsey Fast in Eat

Recently I've found that one of my favourite ways of working with new or interesting ingredients is to make flavoured sugar out of them. I love having unique salts and sugars on hand to add something a little different to whatever I am cooking. I'm imagining that both of these sugars would make beautiful additions to baked goods, or sprinkled on top of pancakes, or anything like that. Since I've found this to be so enjoyable, I thought I'd put the tutorial here on the blog. I should also mention that if you are local I do have some of these for sale at the Dallas Barnhartvale Farmers' Market if you want to try them and not worry about making them yourself.

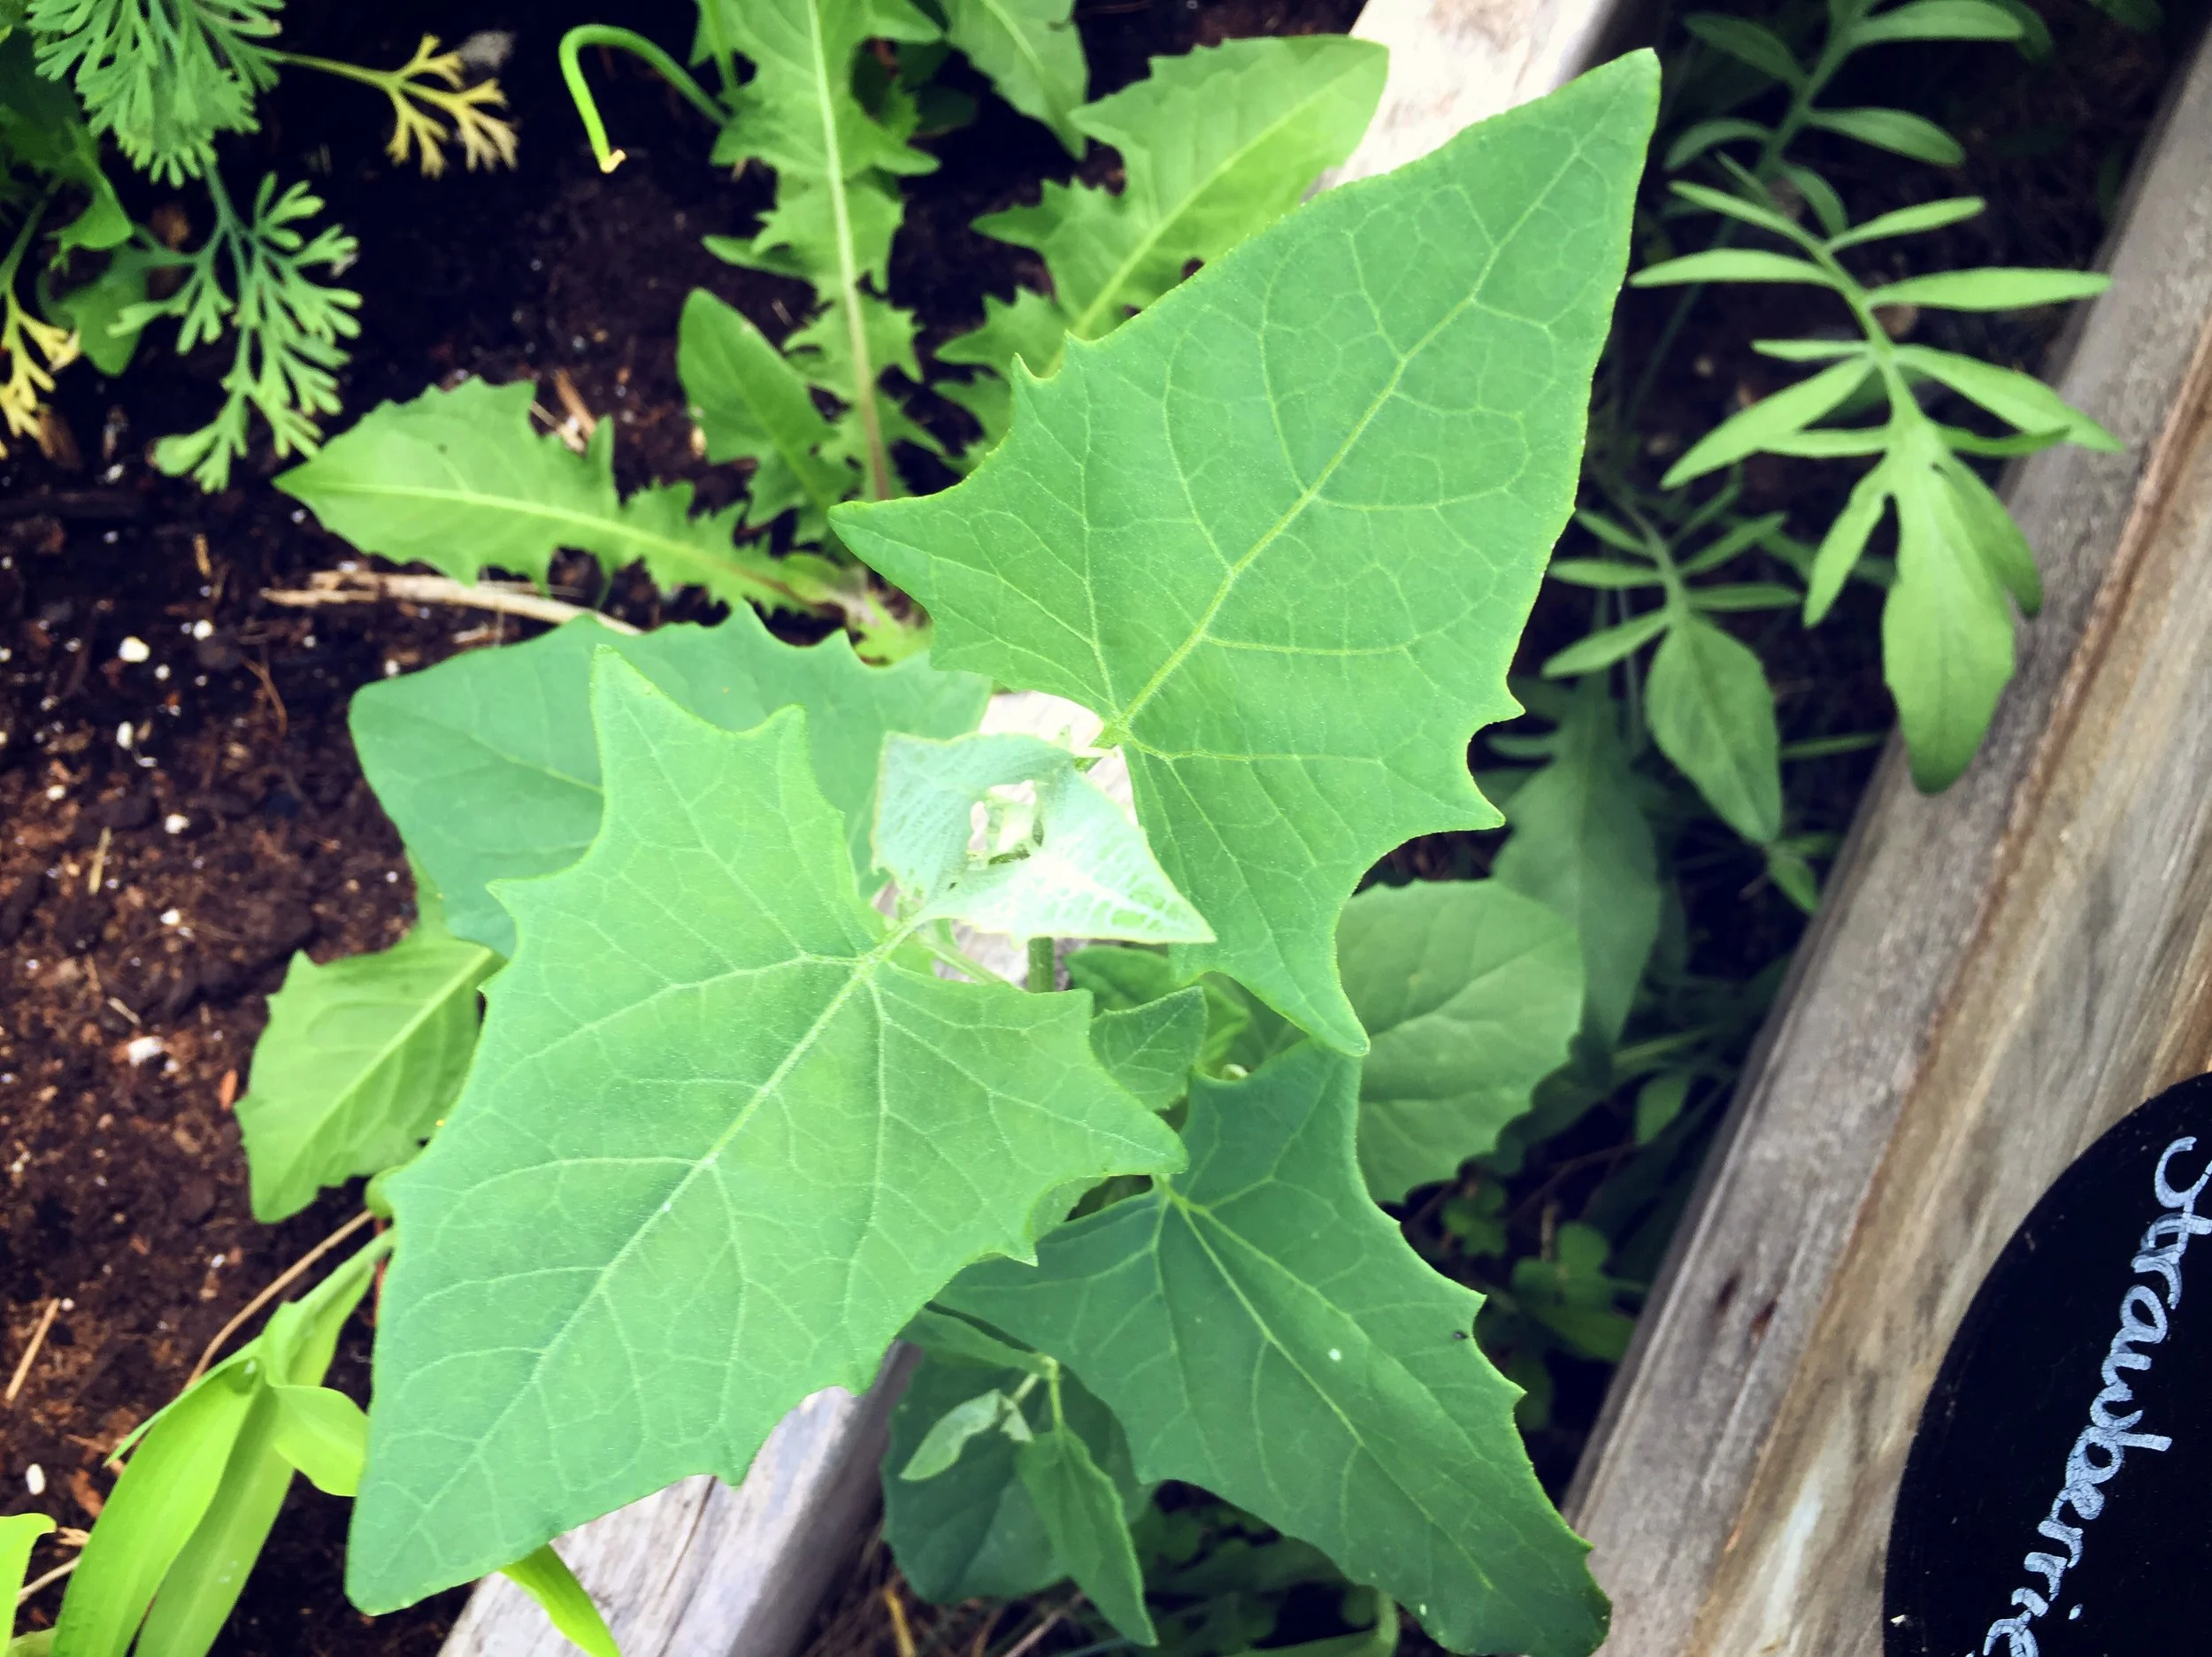
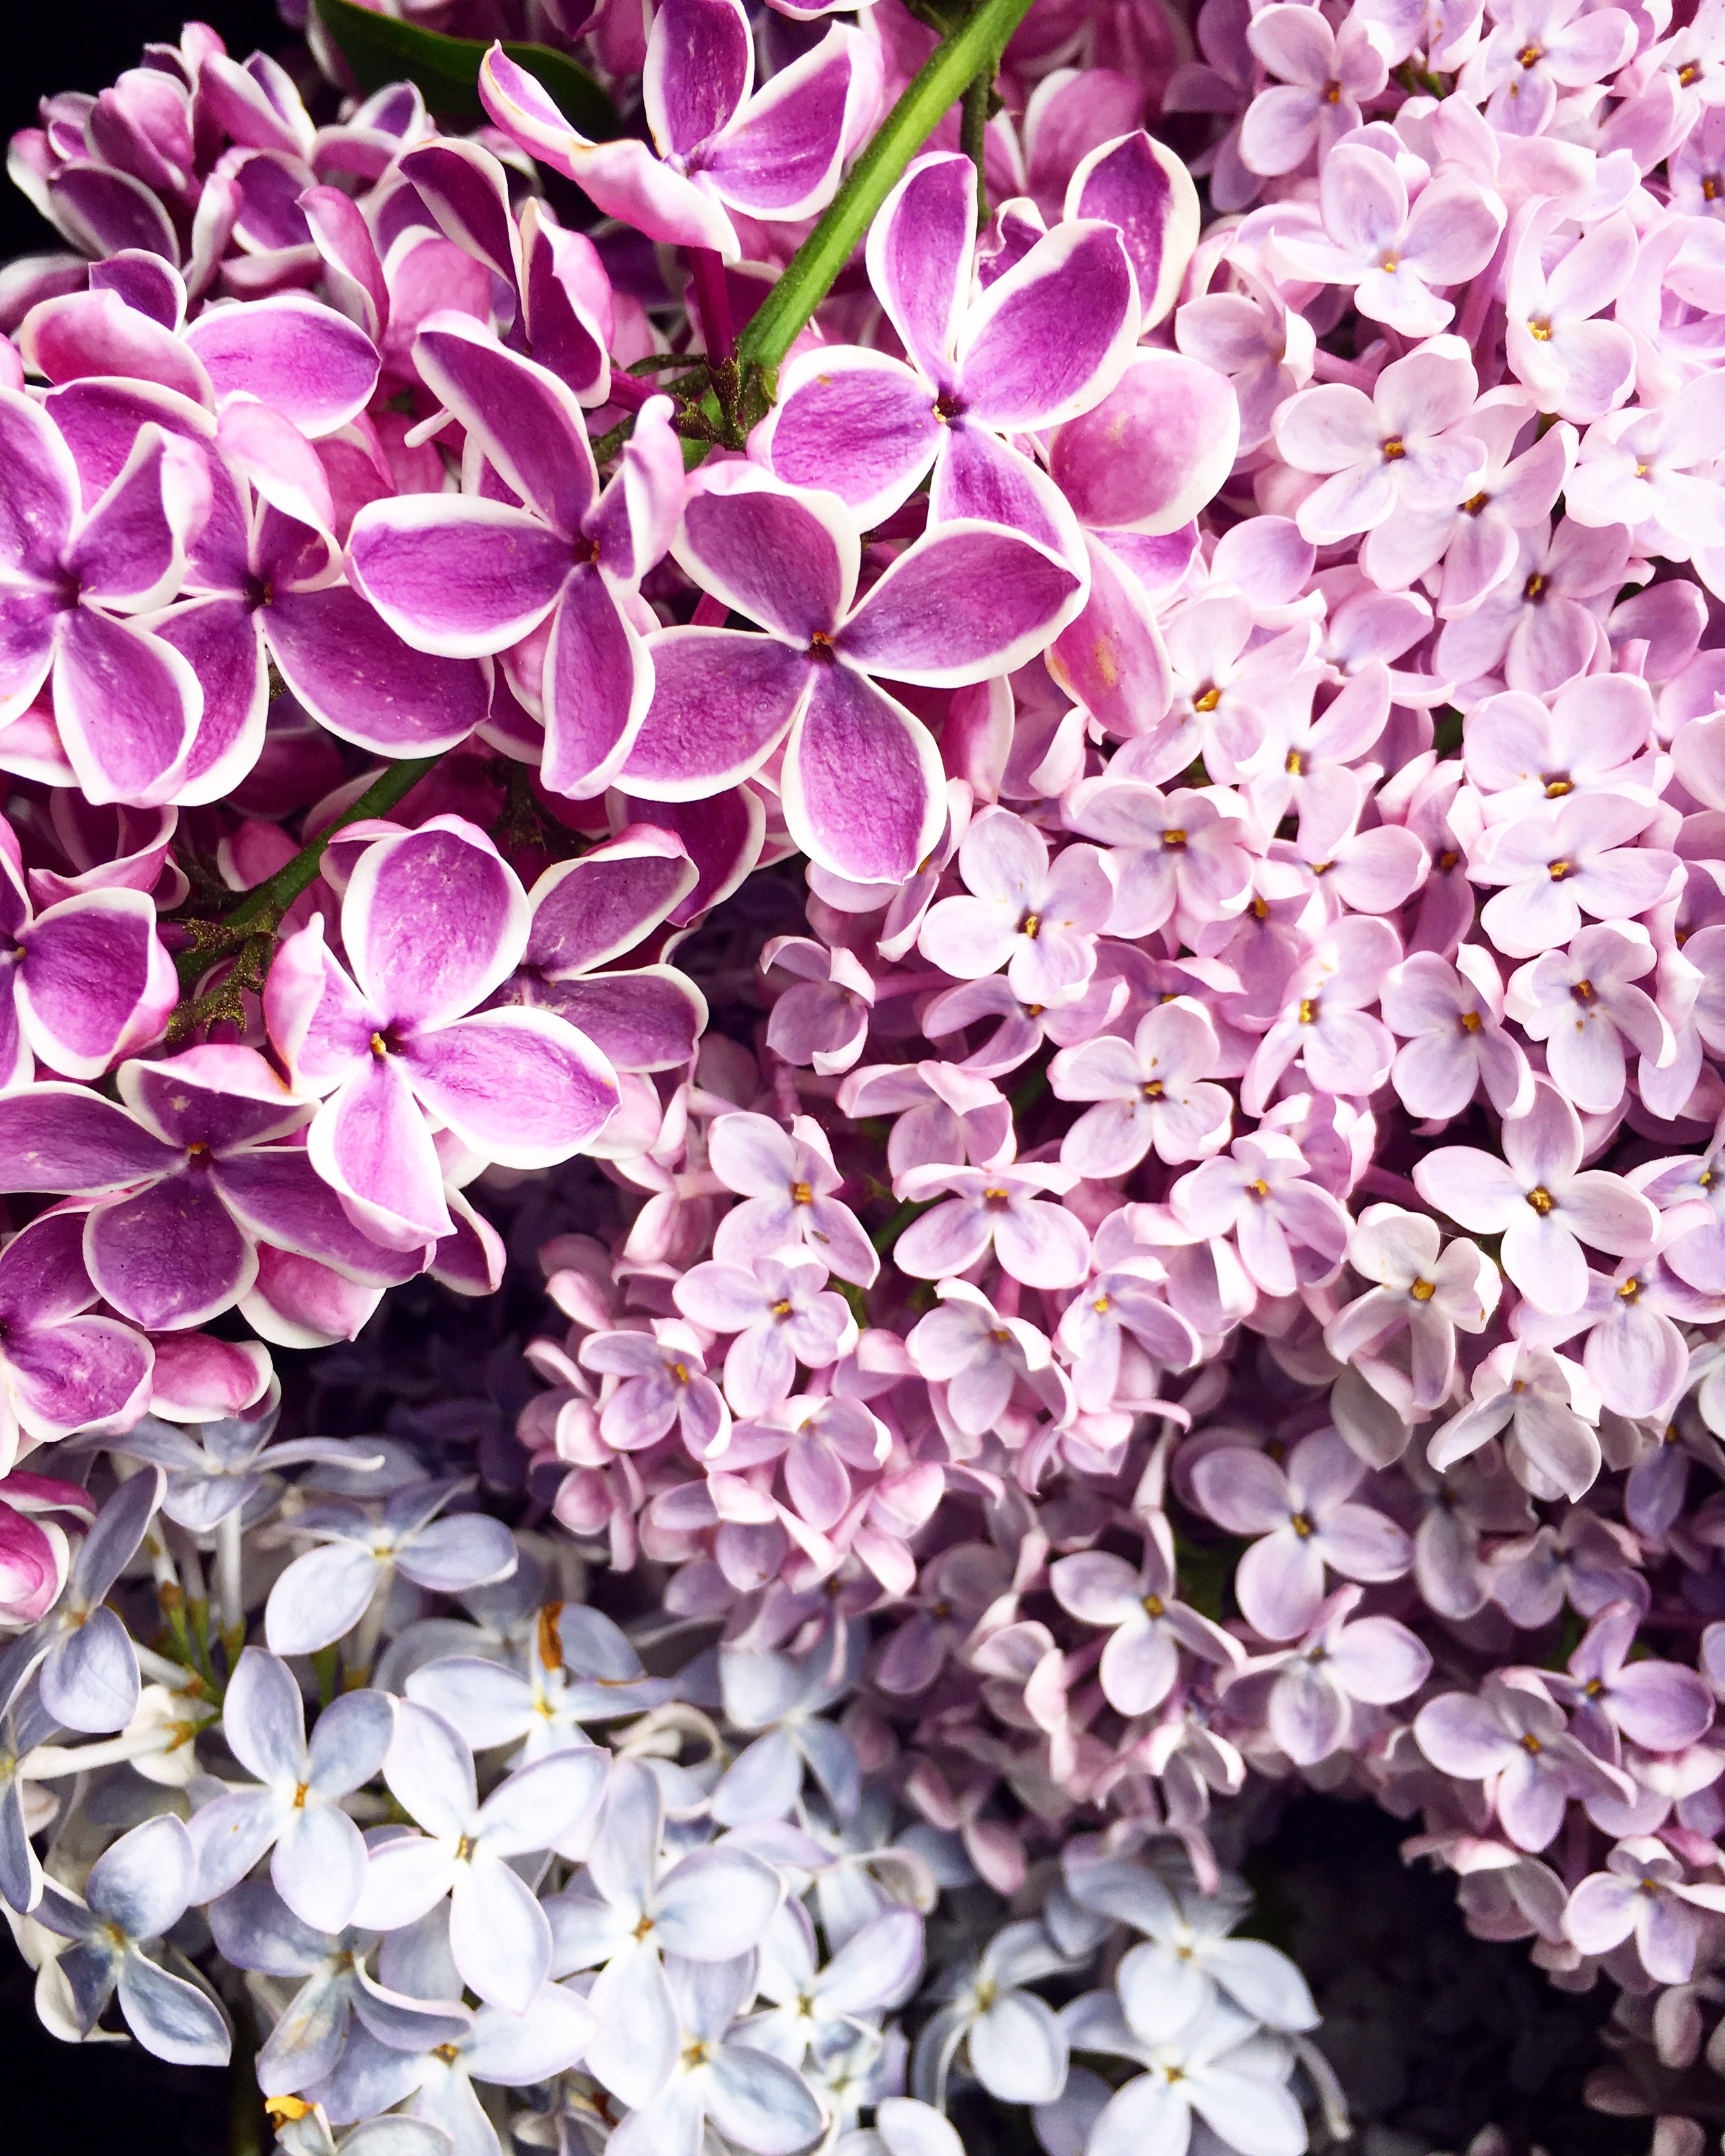
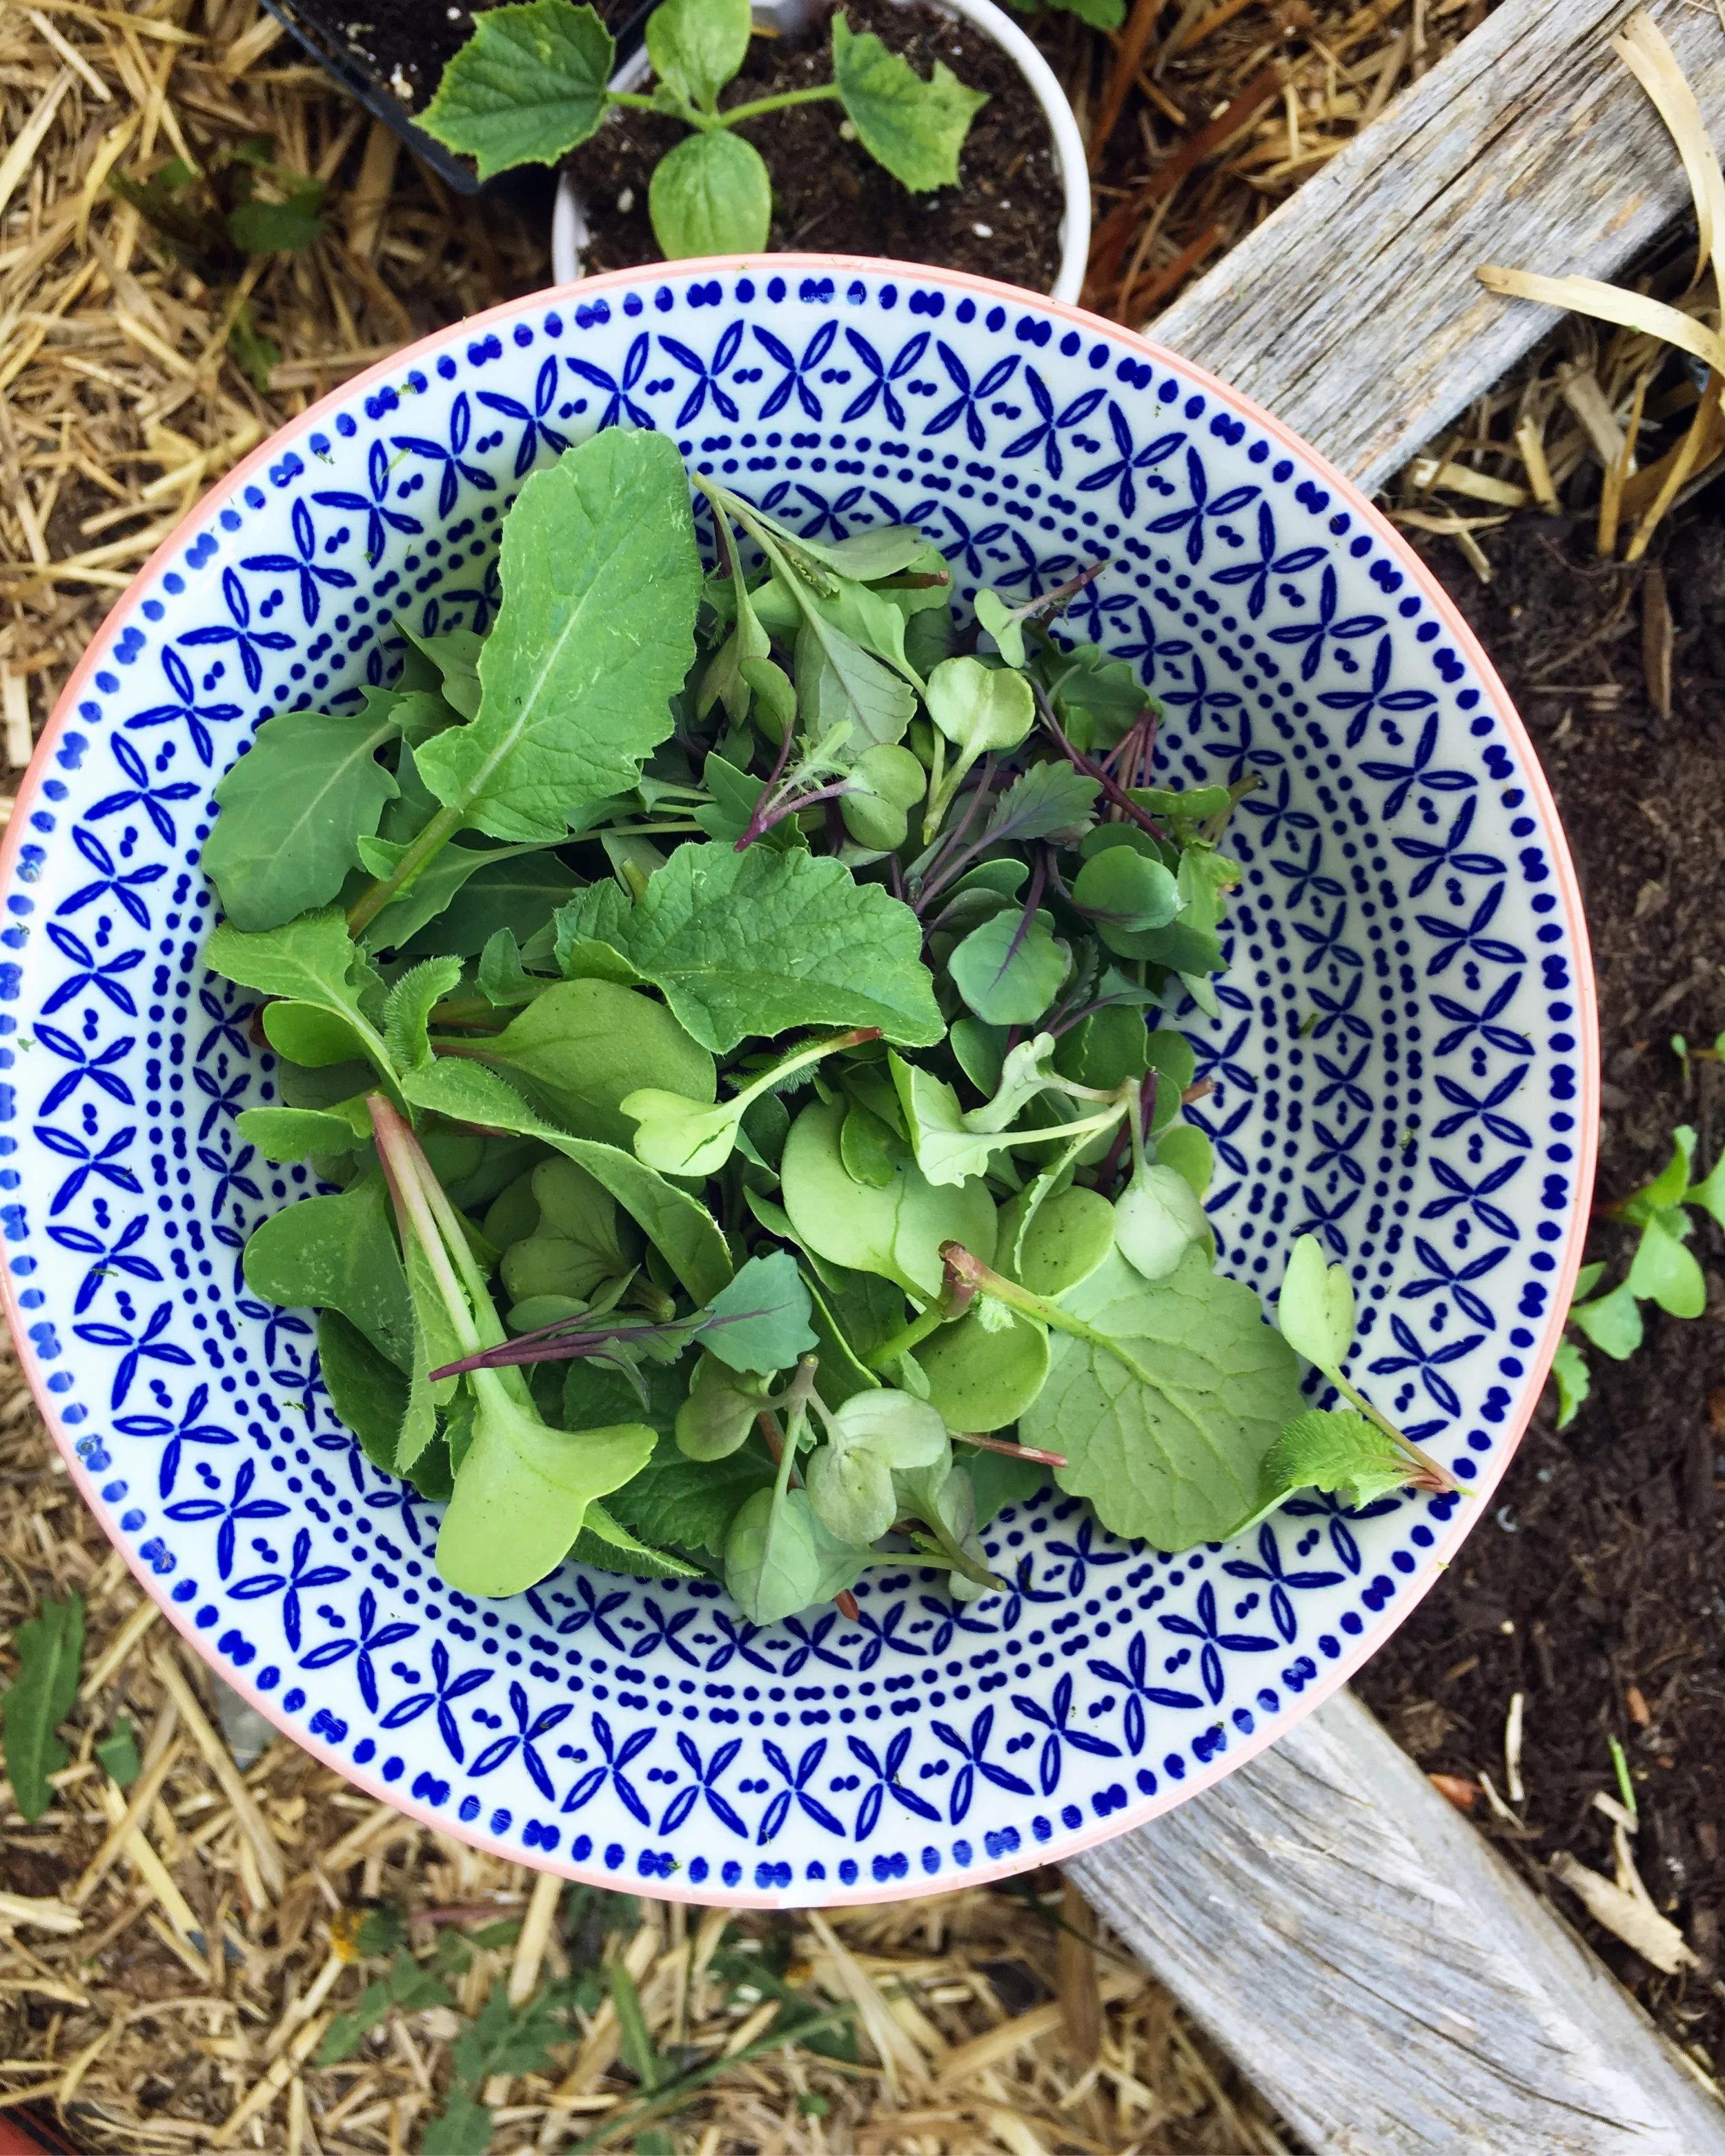
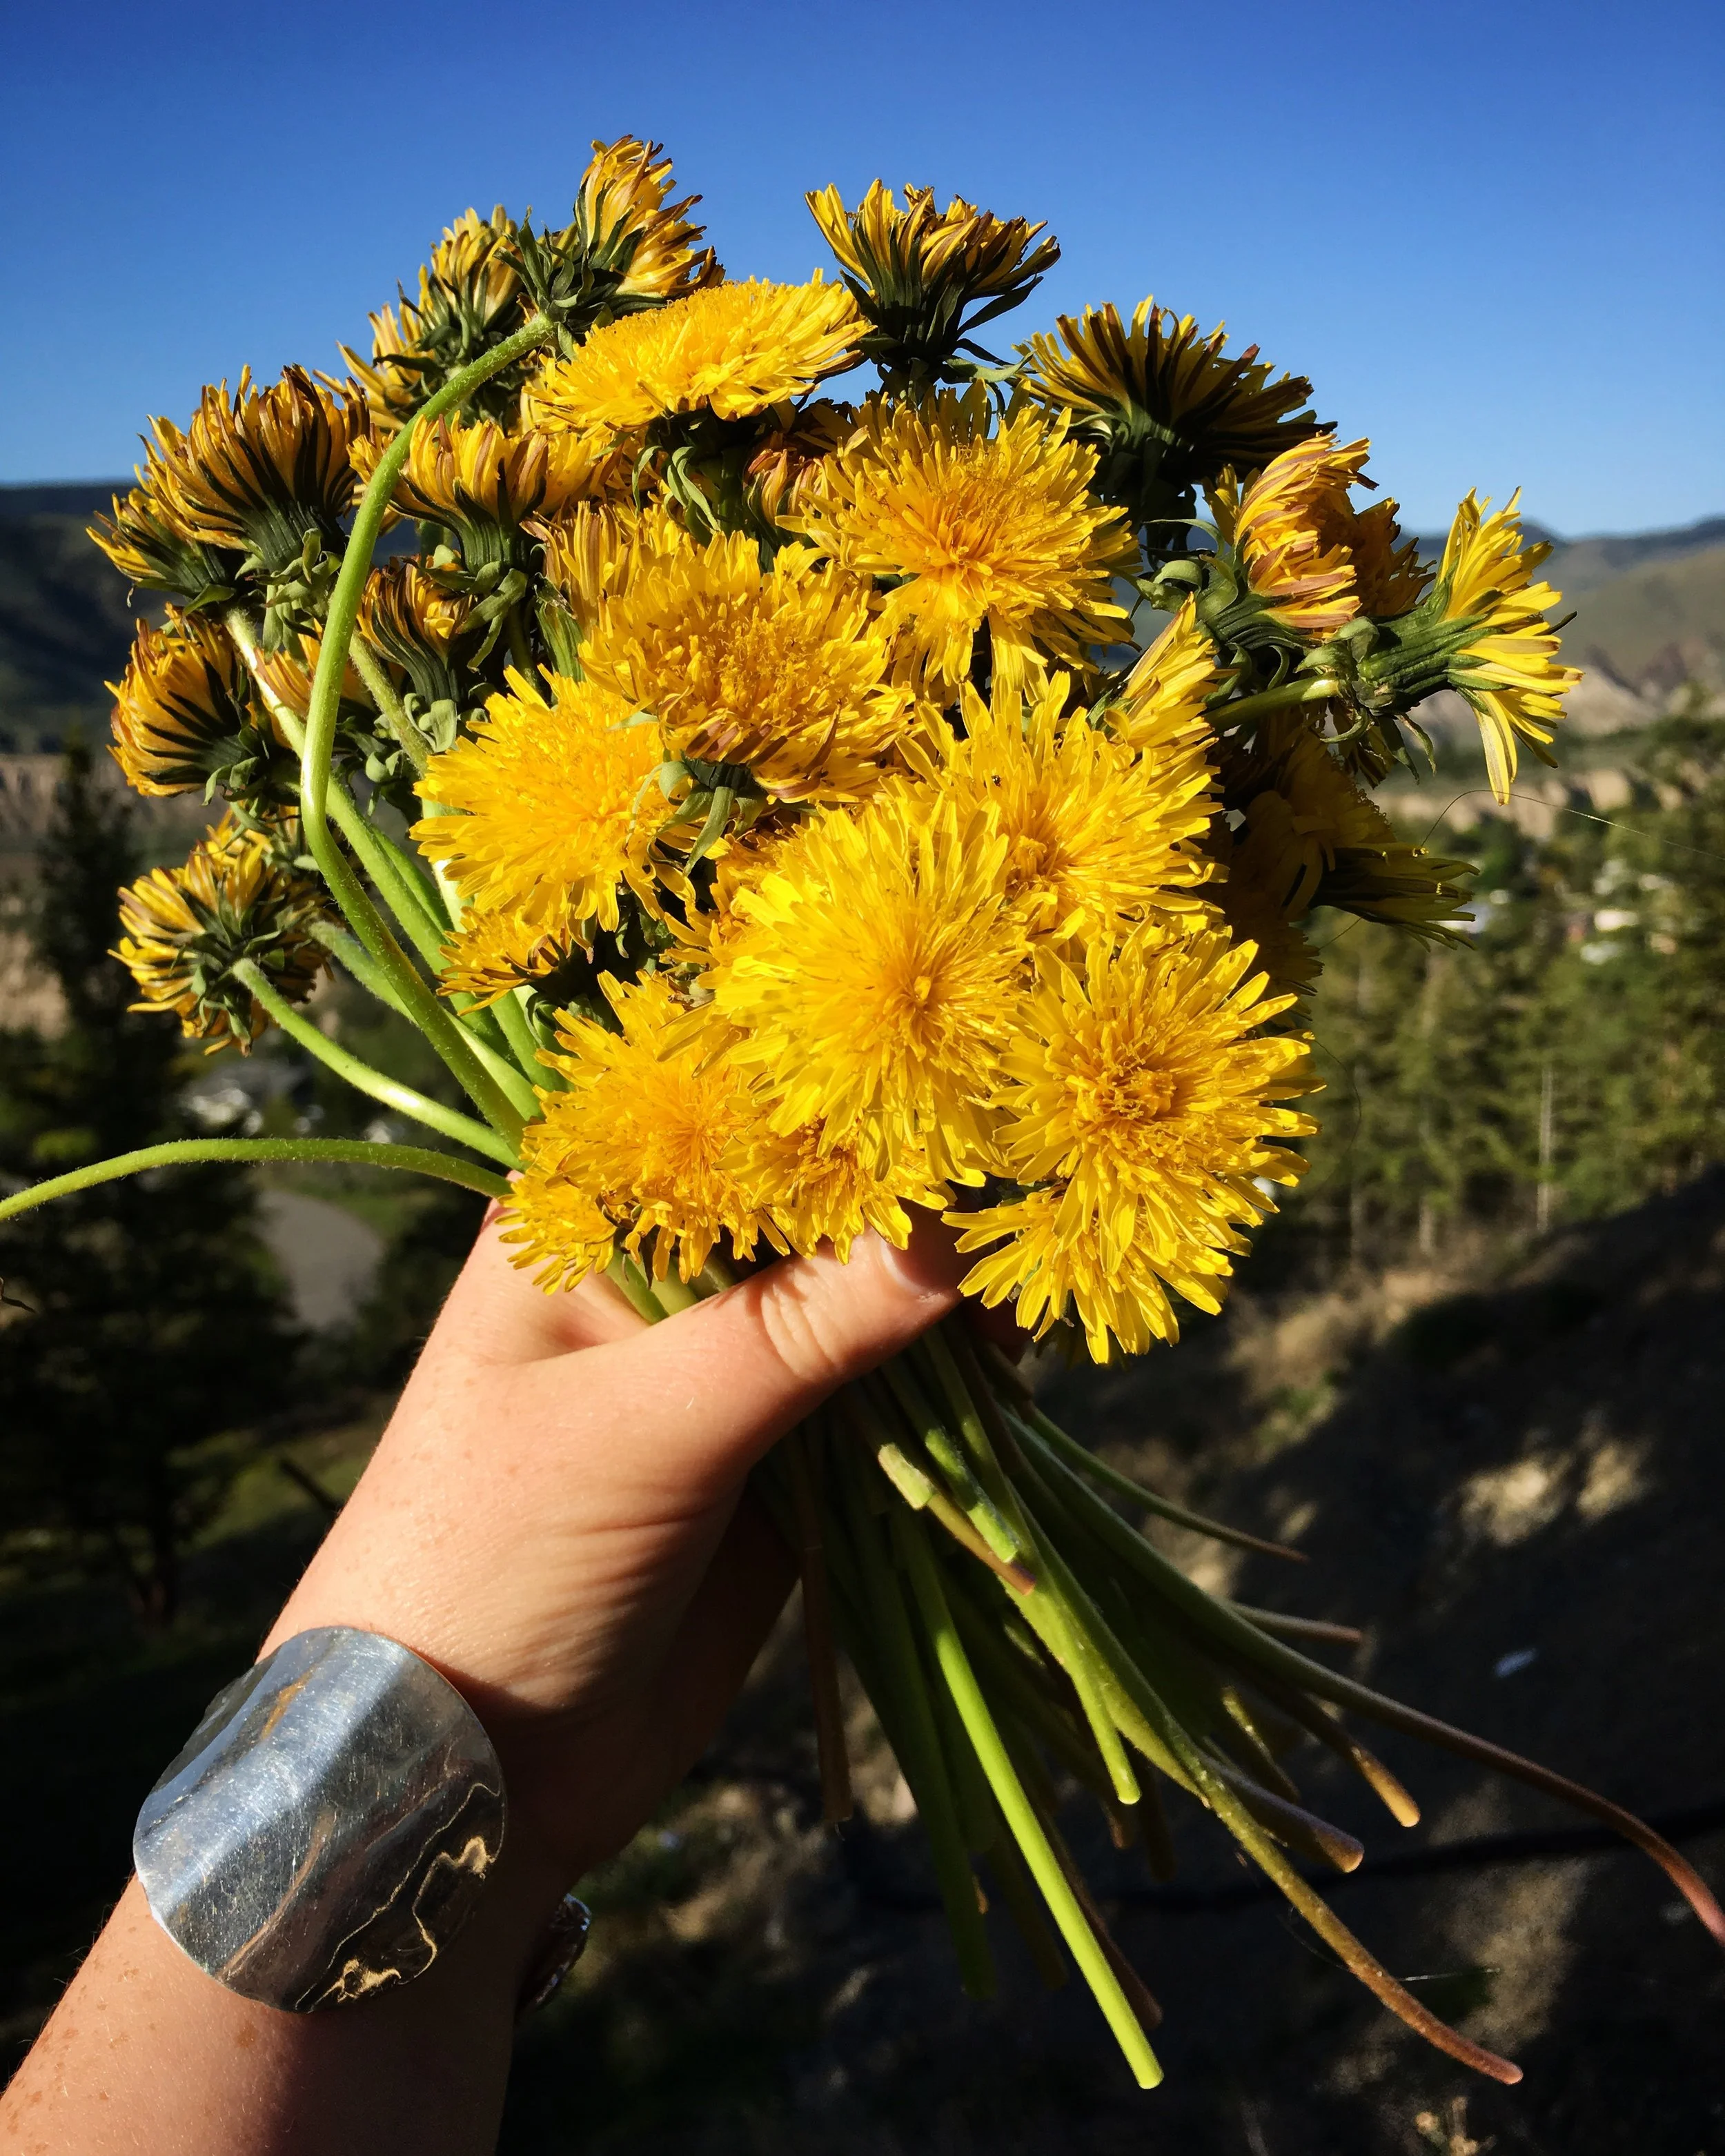
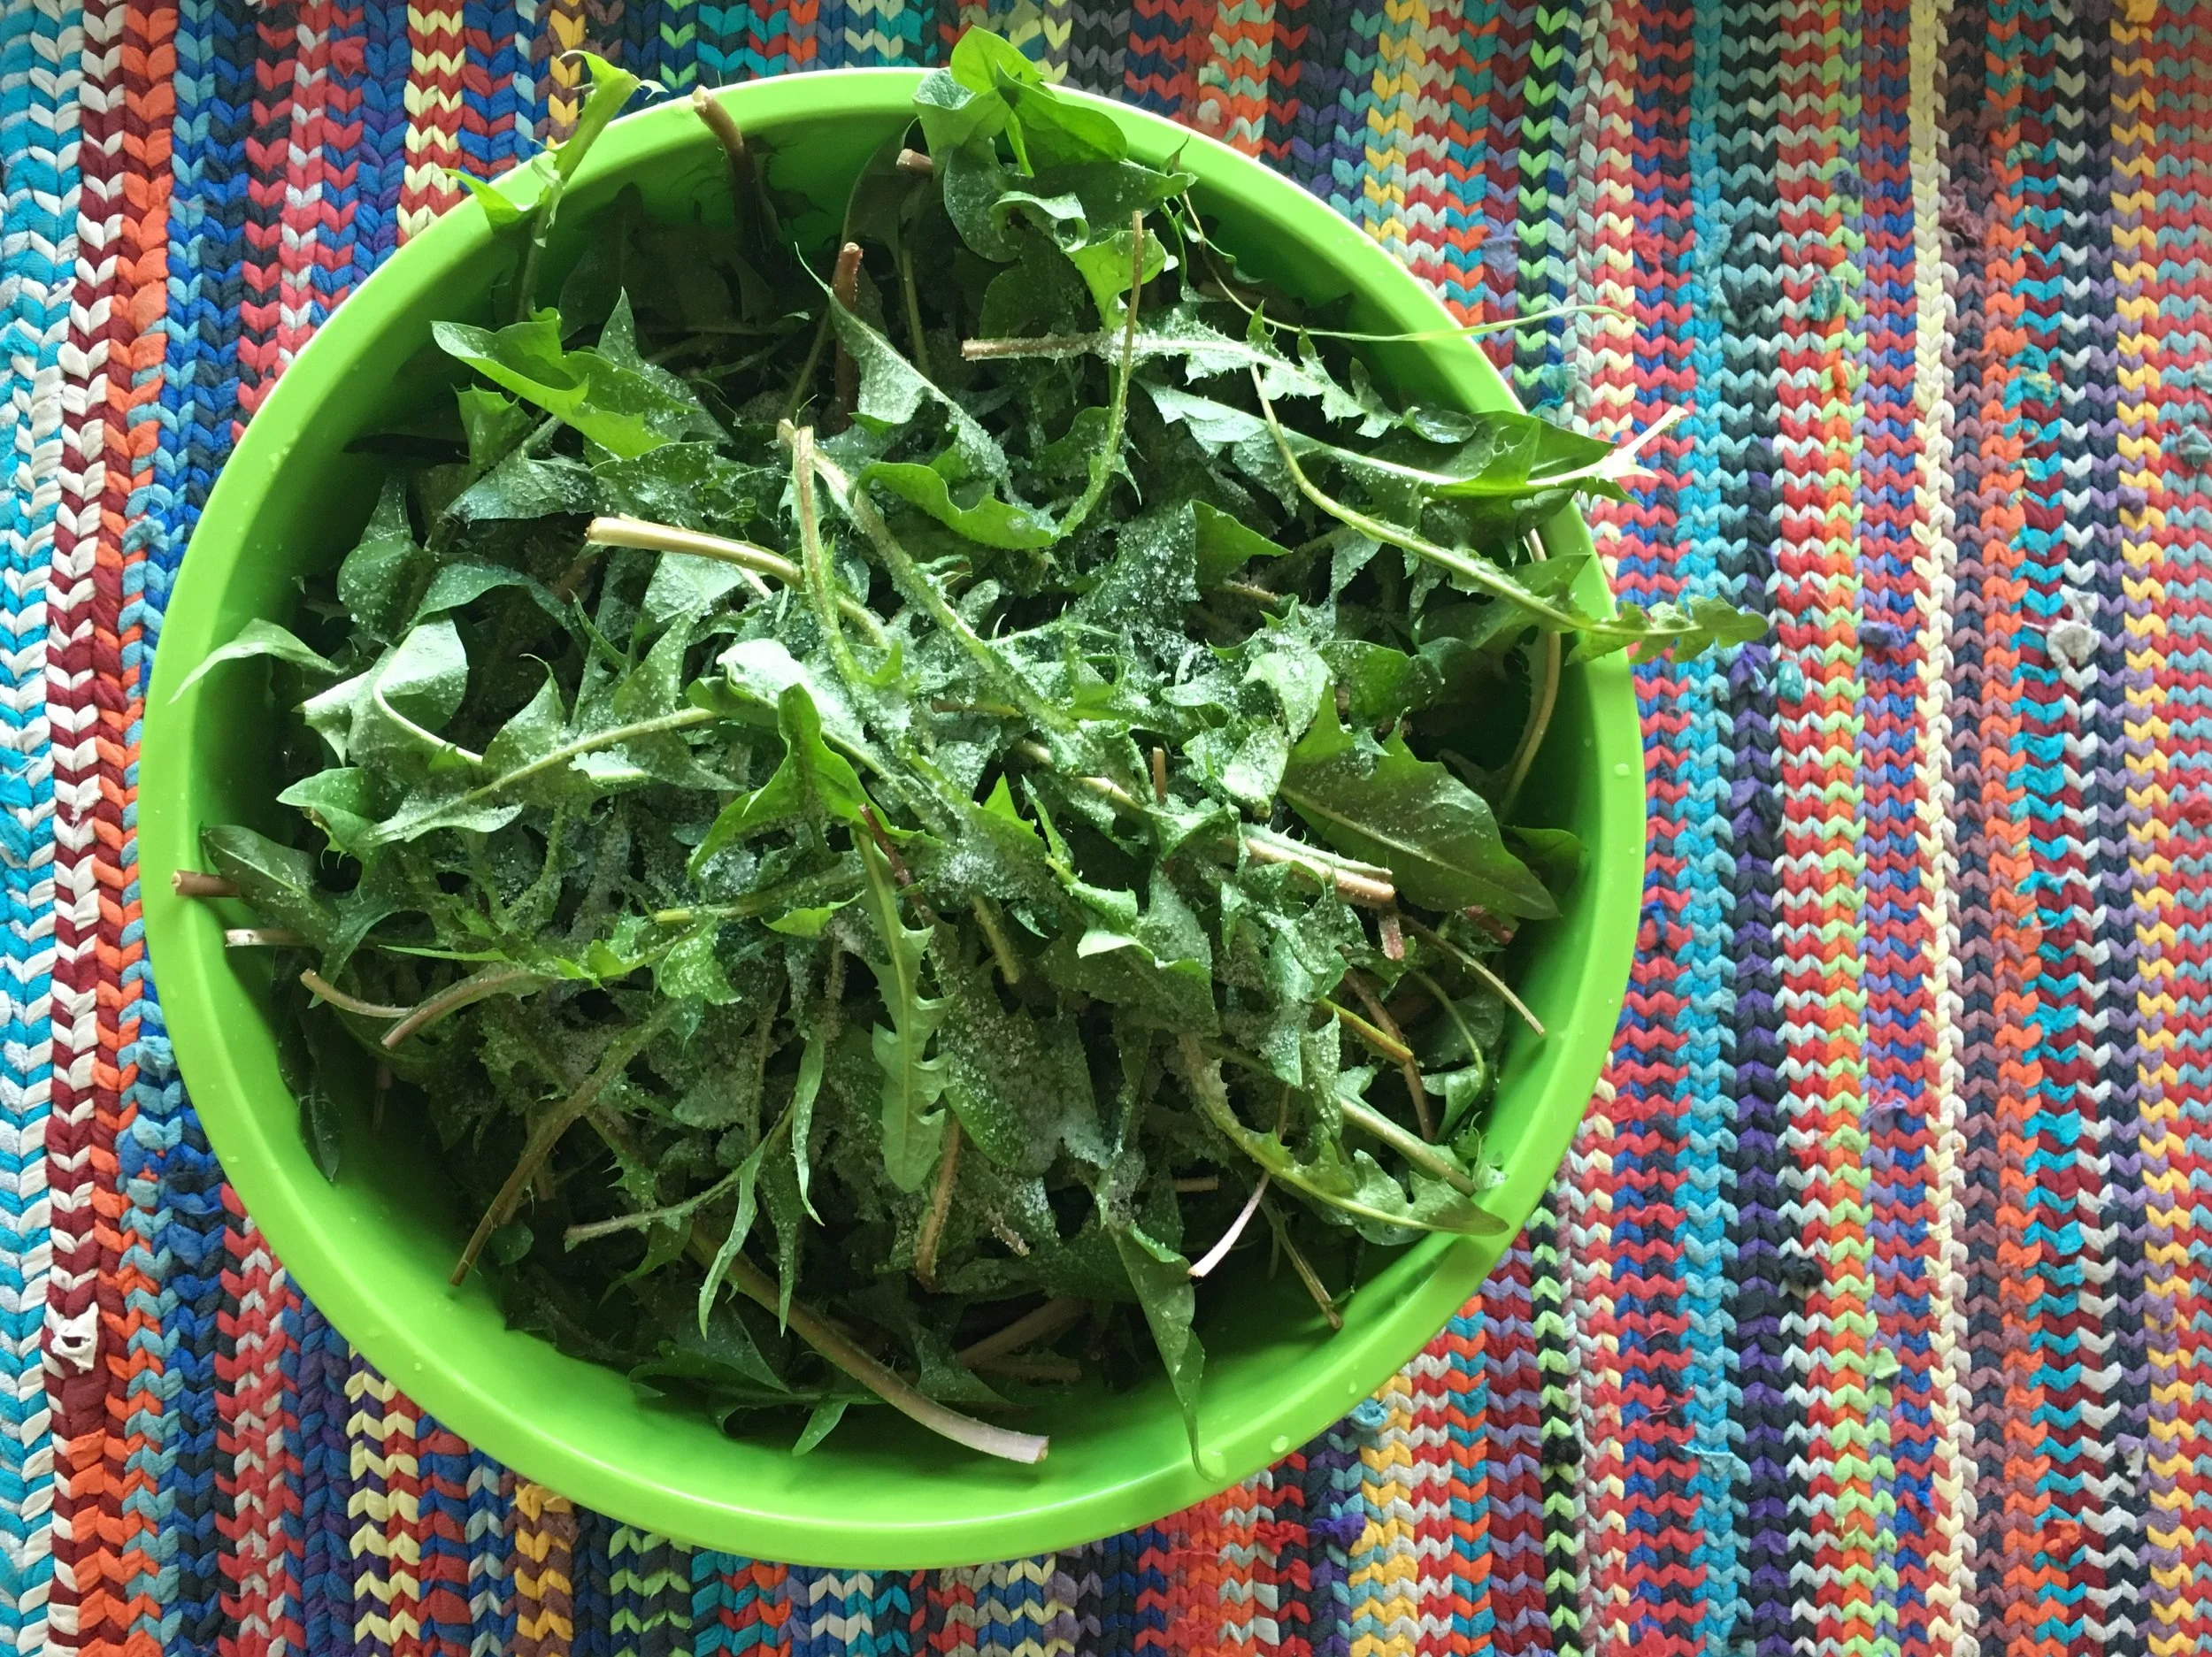
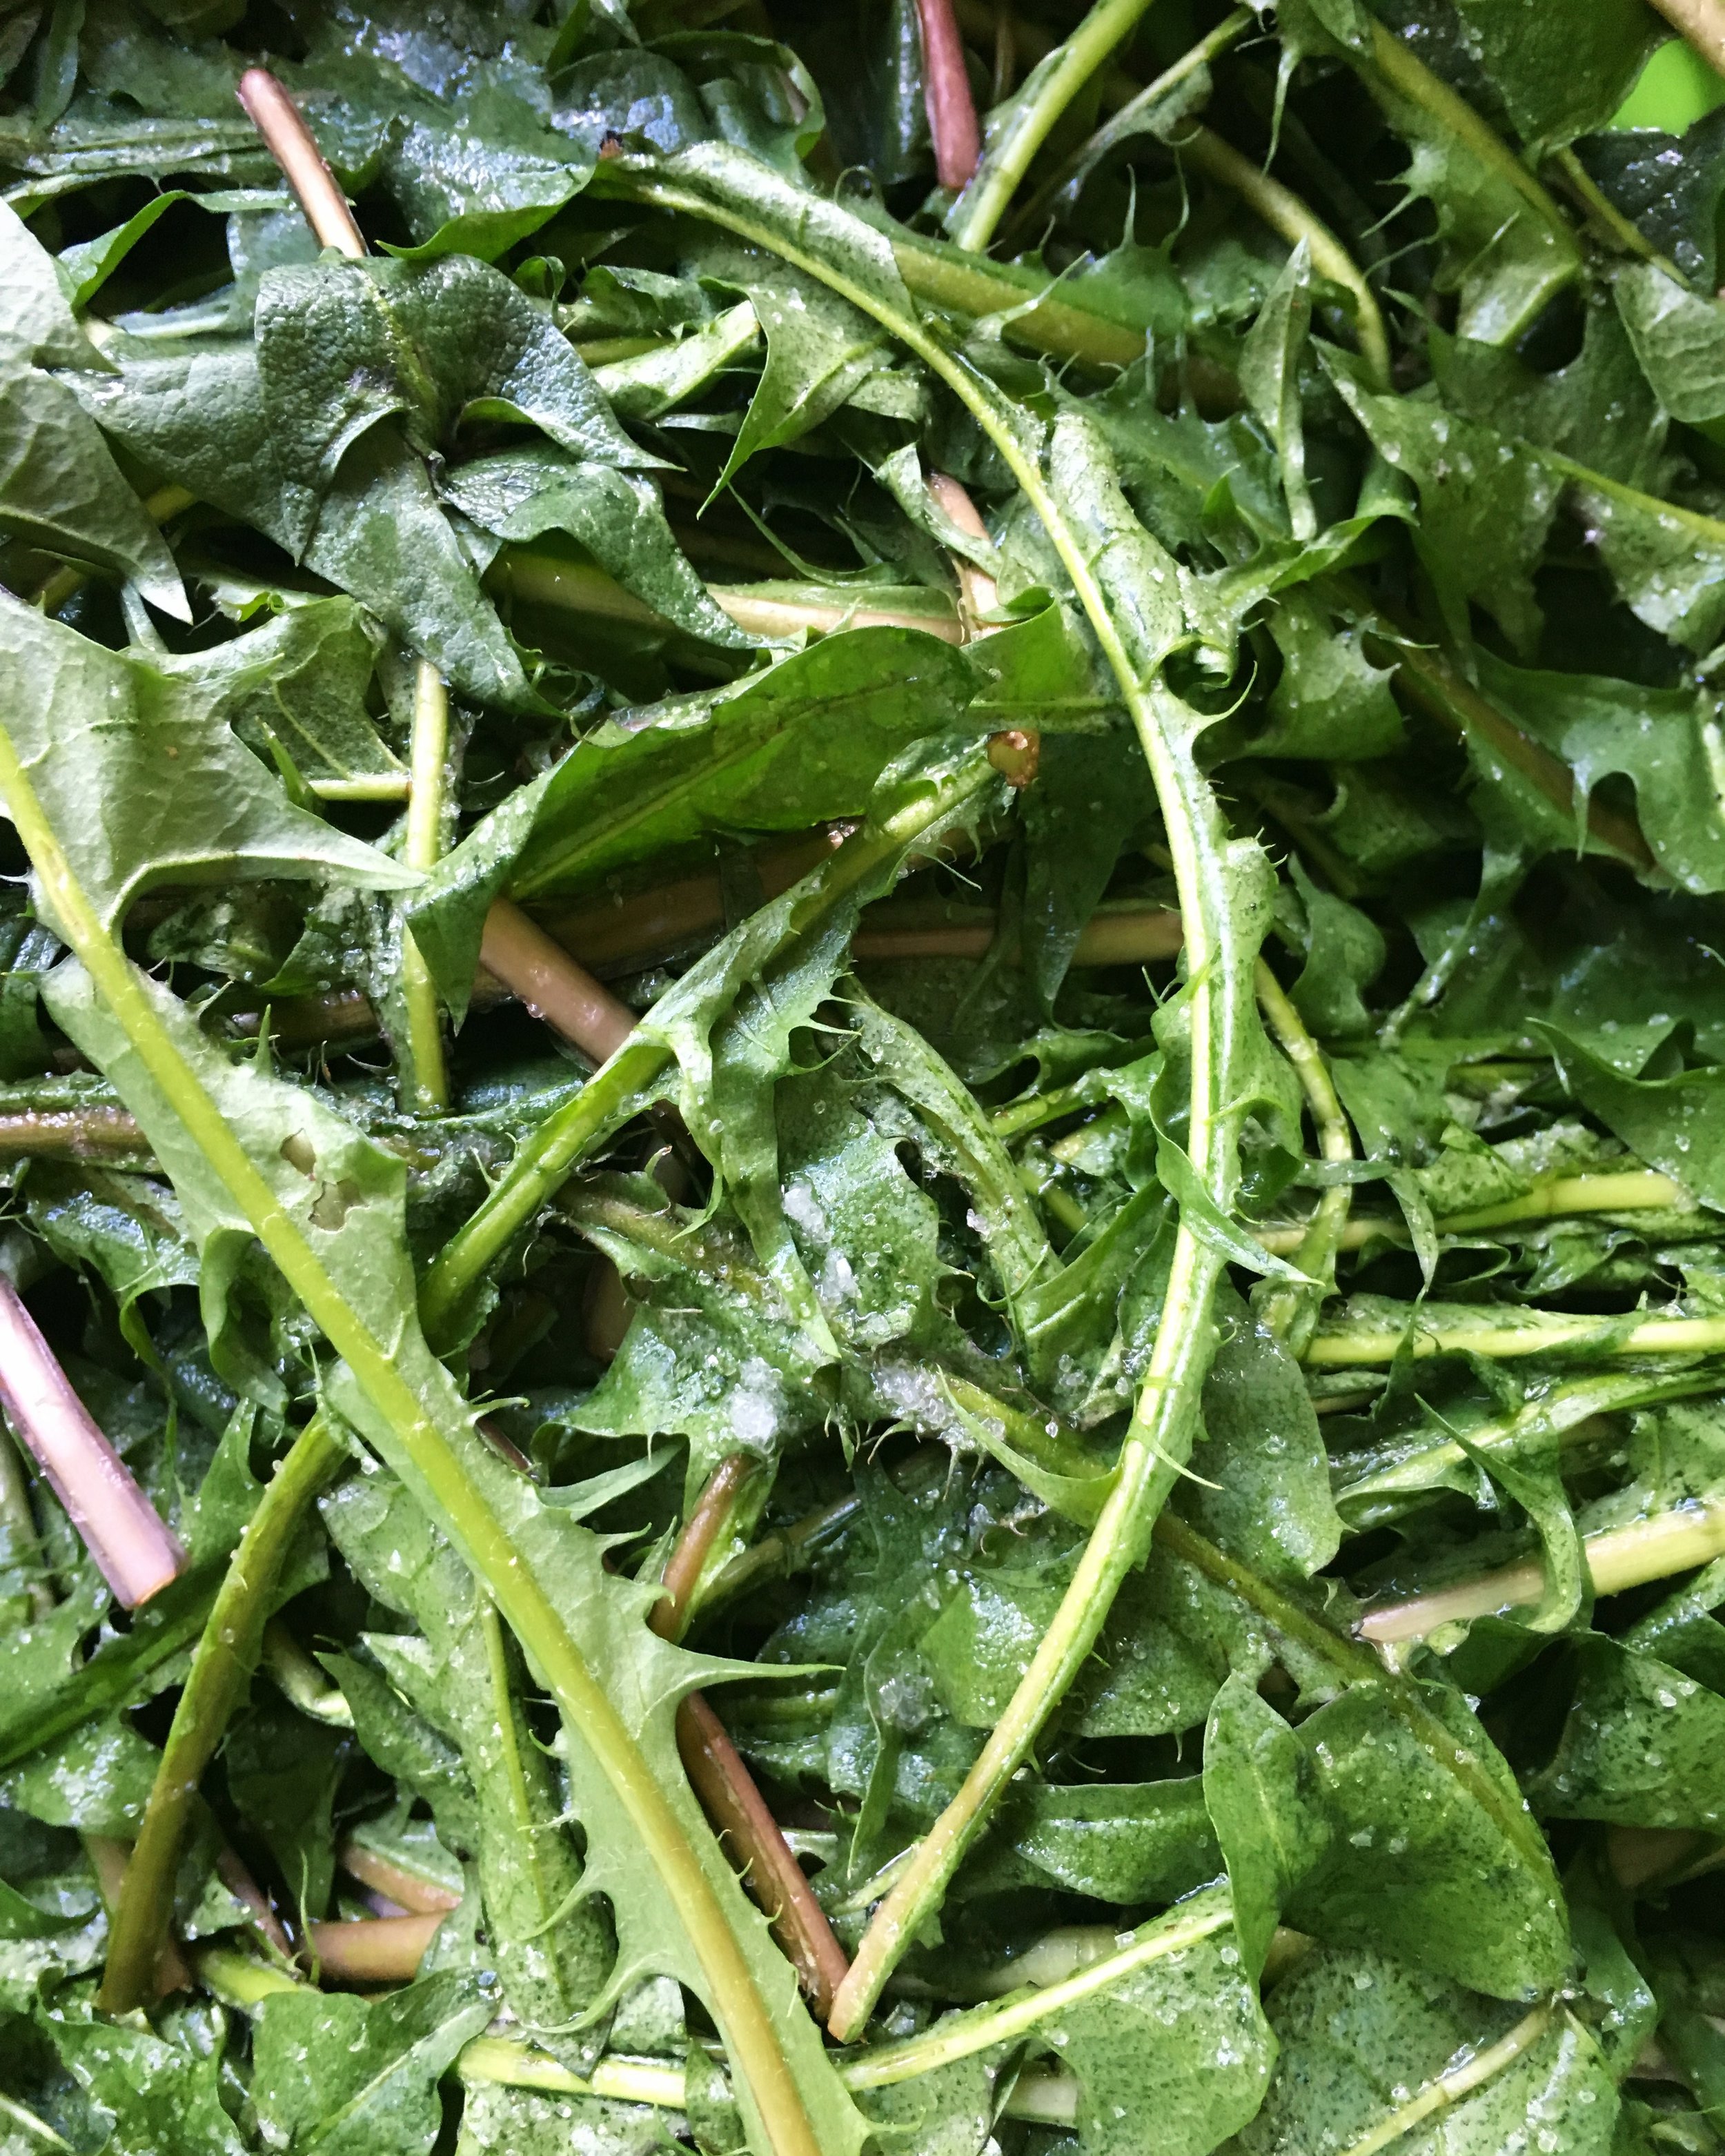
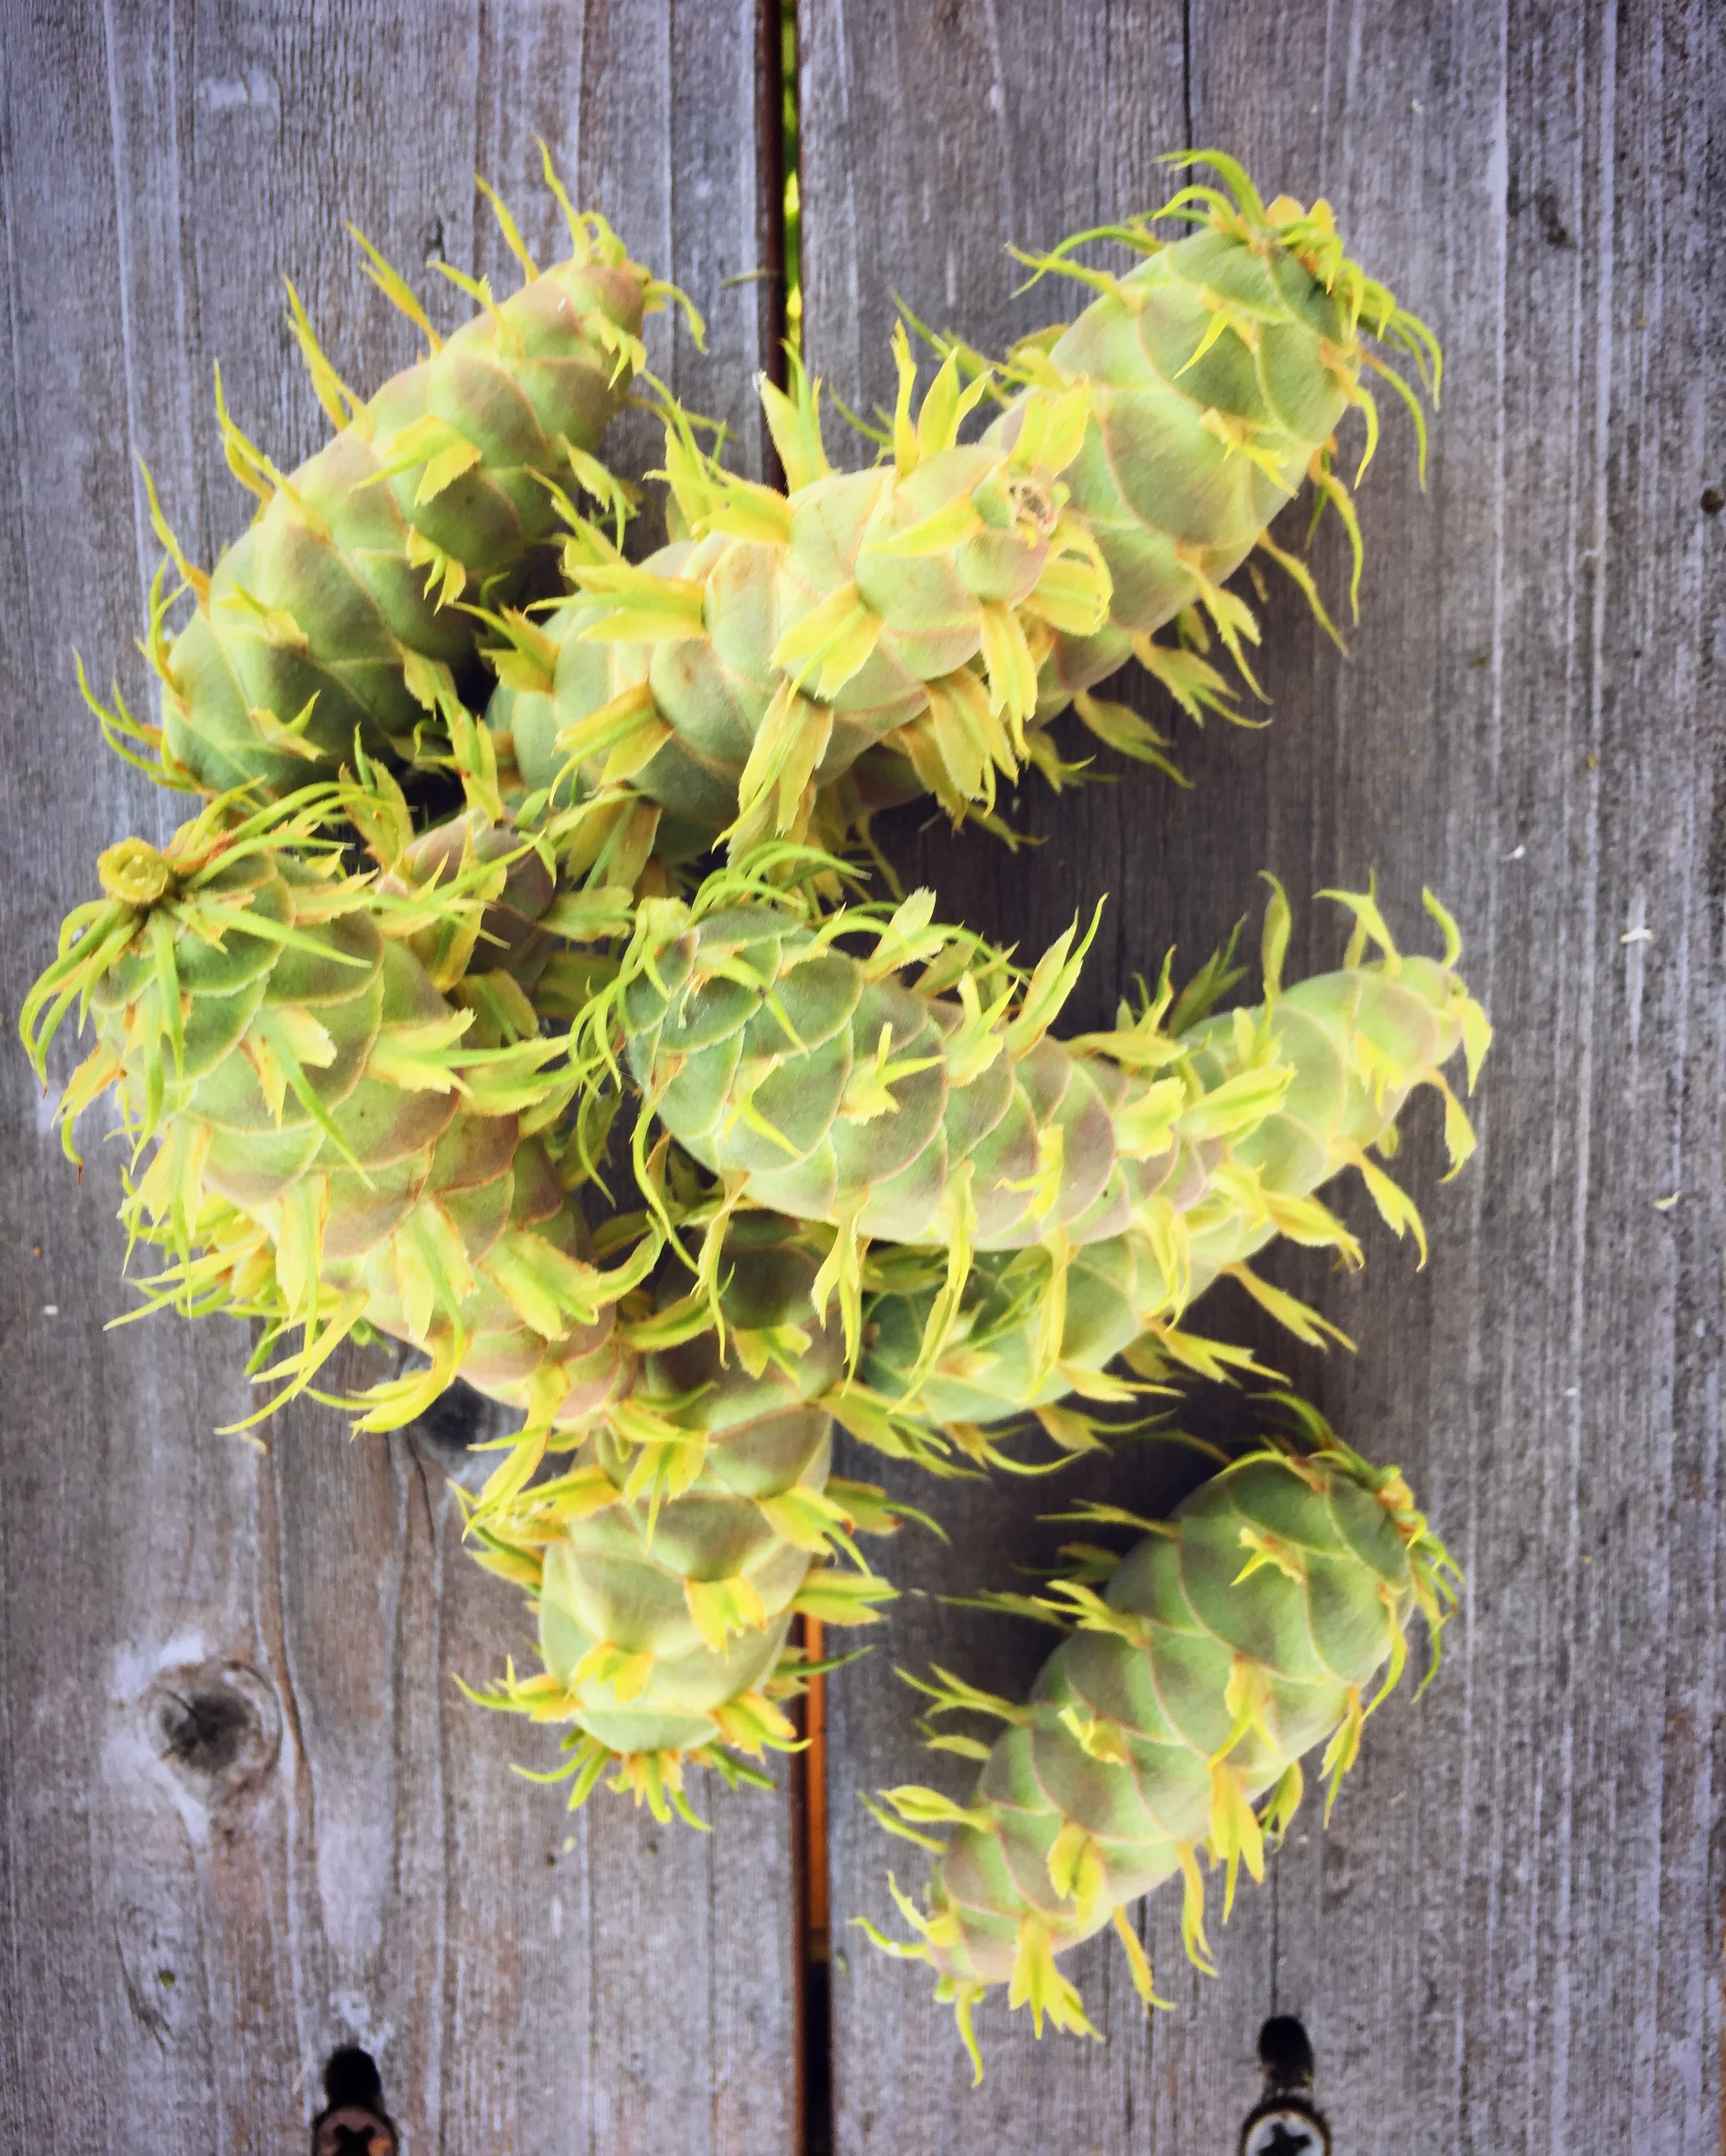
The first step in making these is finding the ingredient you want to use as the flavour. This year I've used a lot of lilac, and also some immature Douglas fir cones. I have an idea to go source some spruce tips, rose petals, and other things to give this a try with as well. 

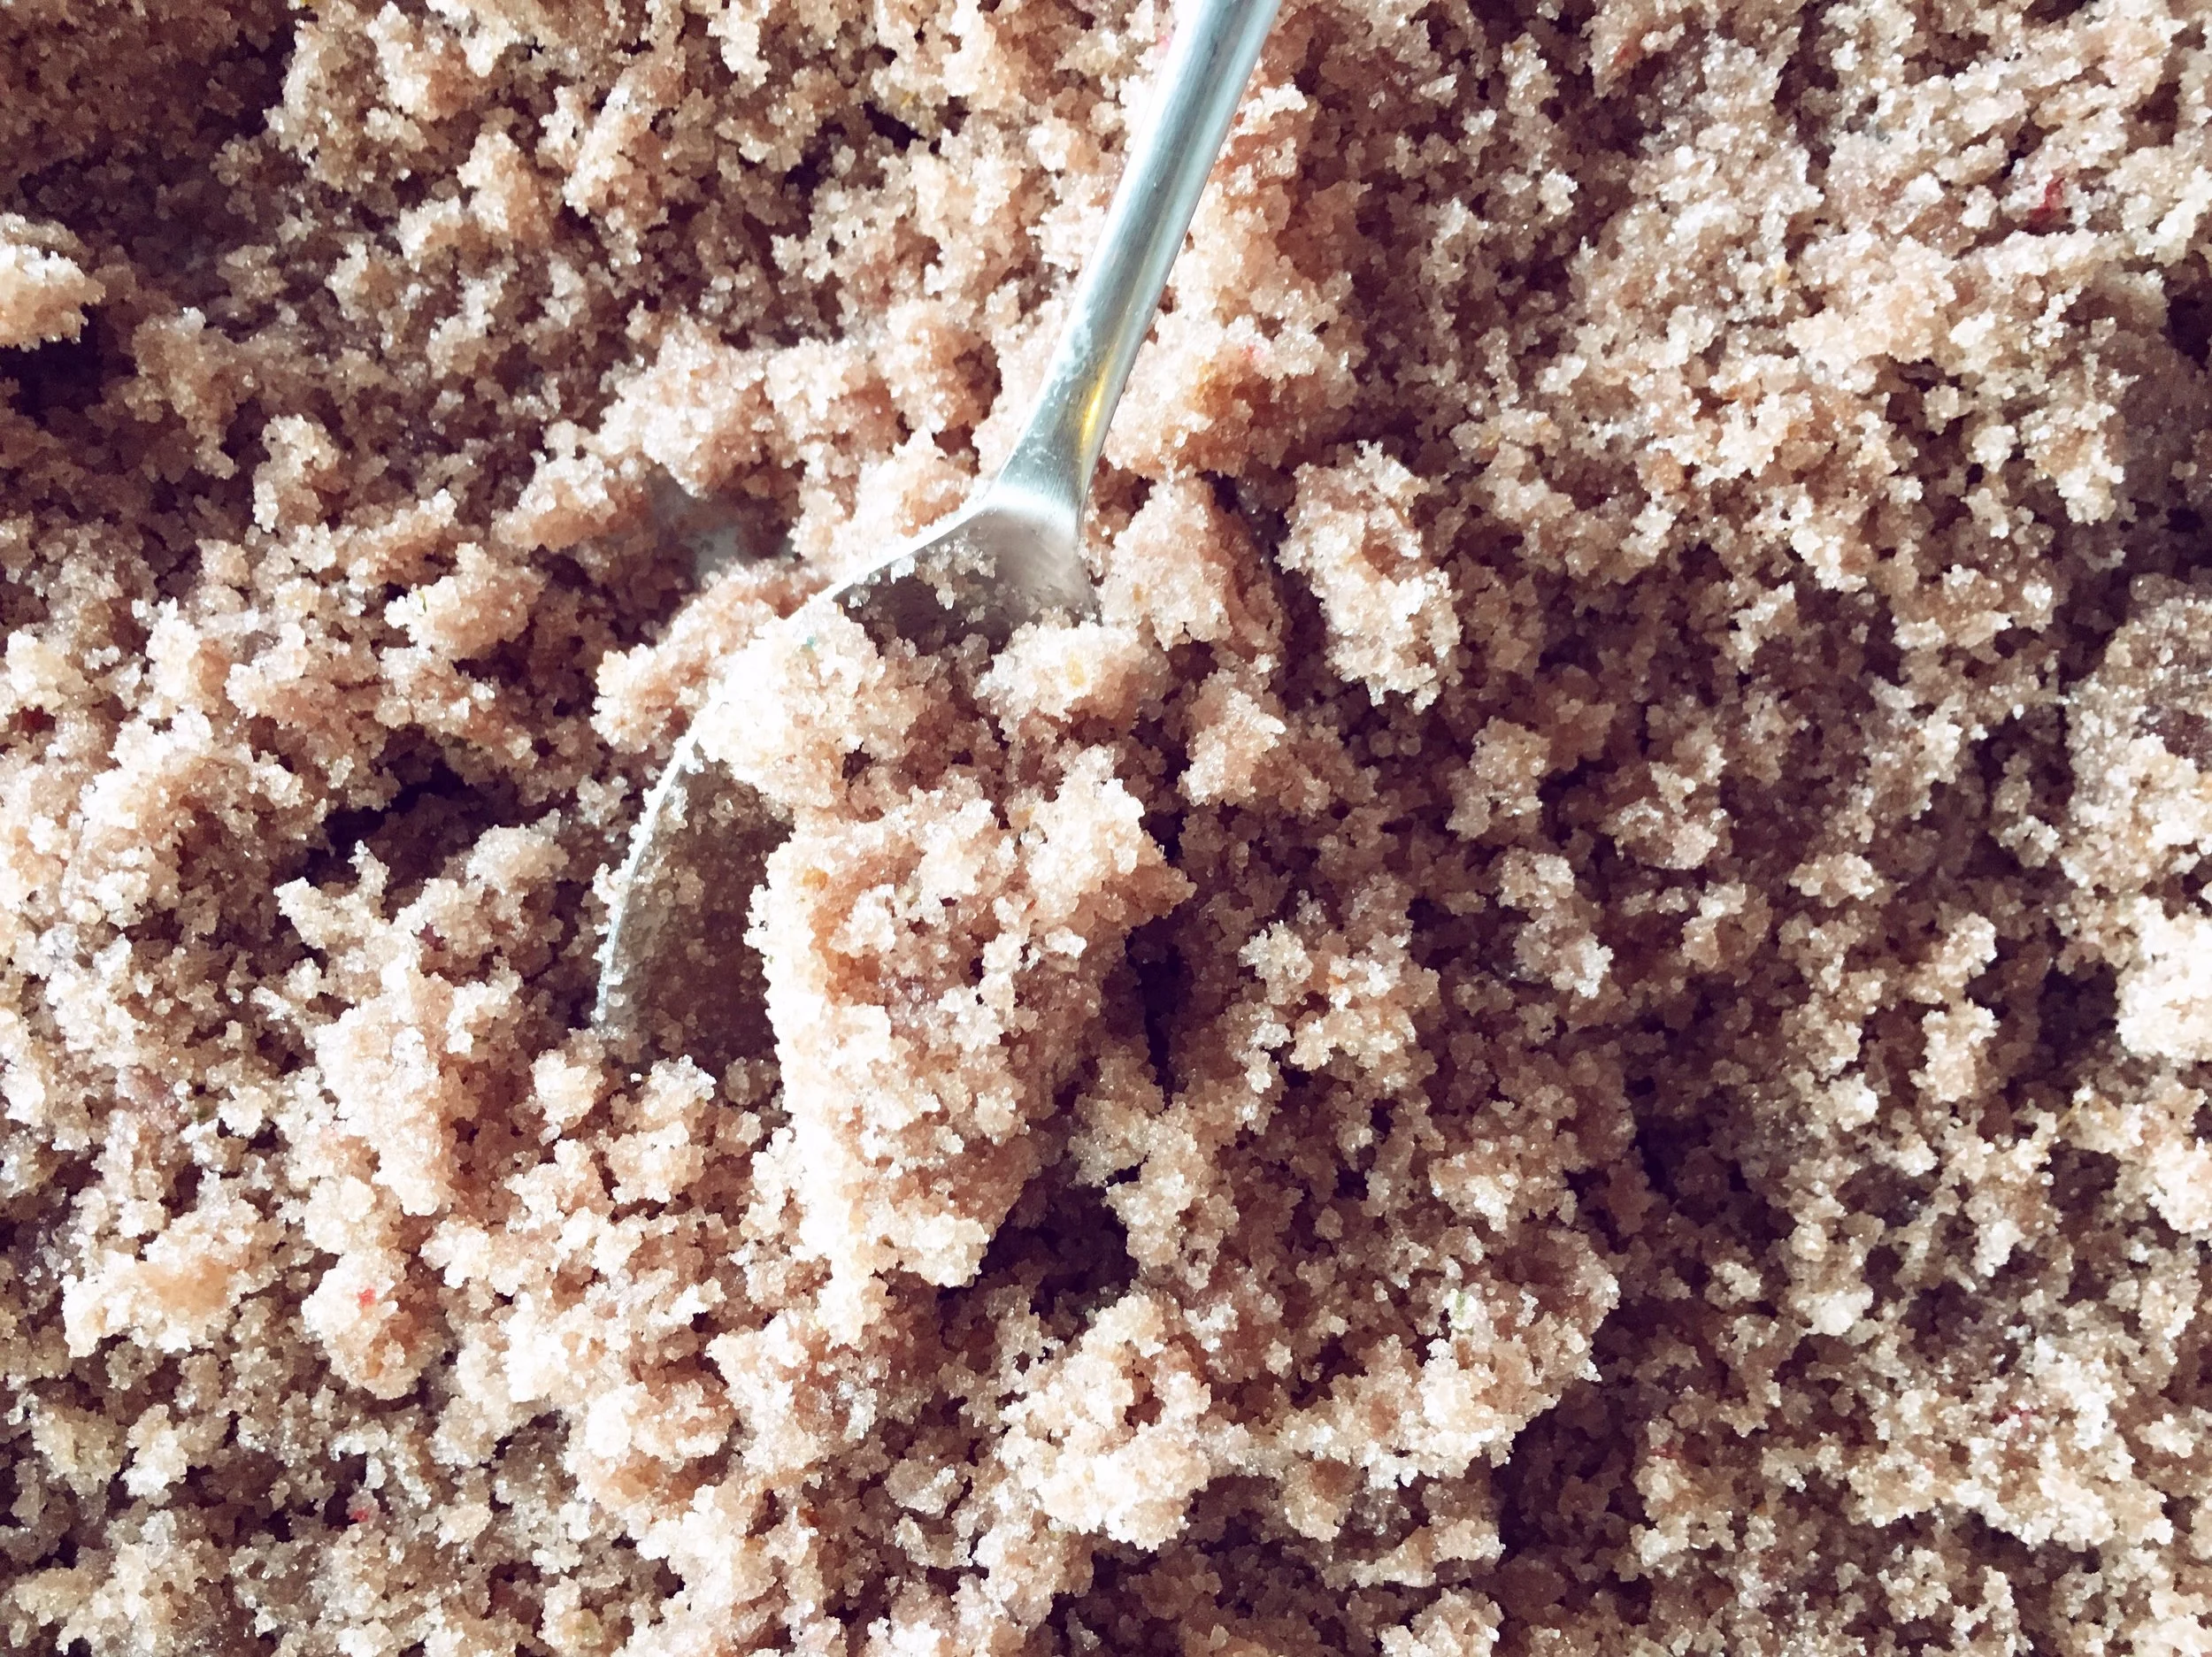
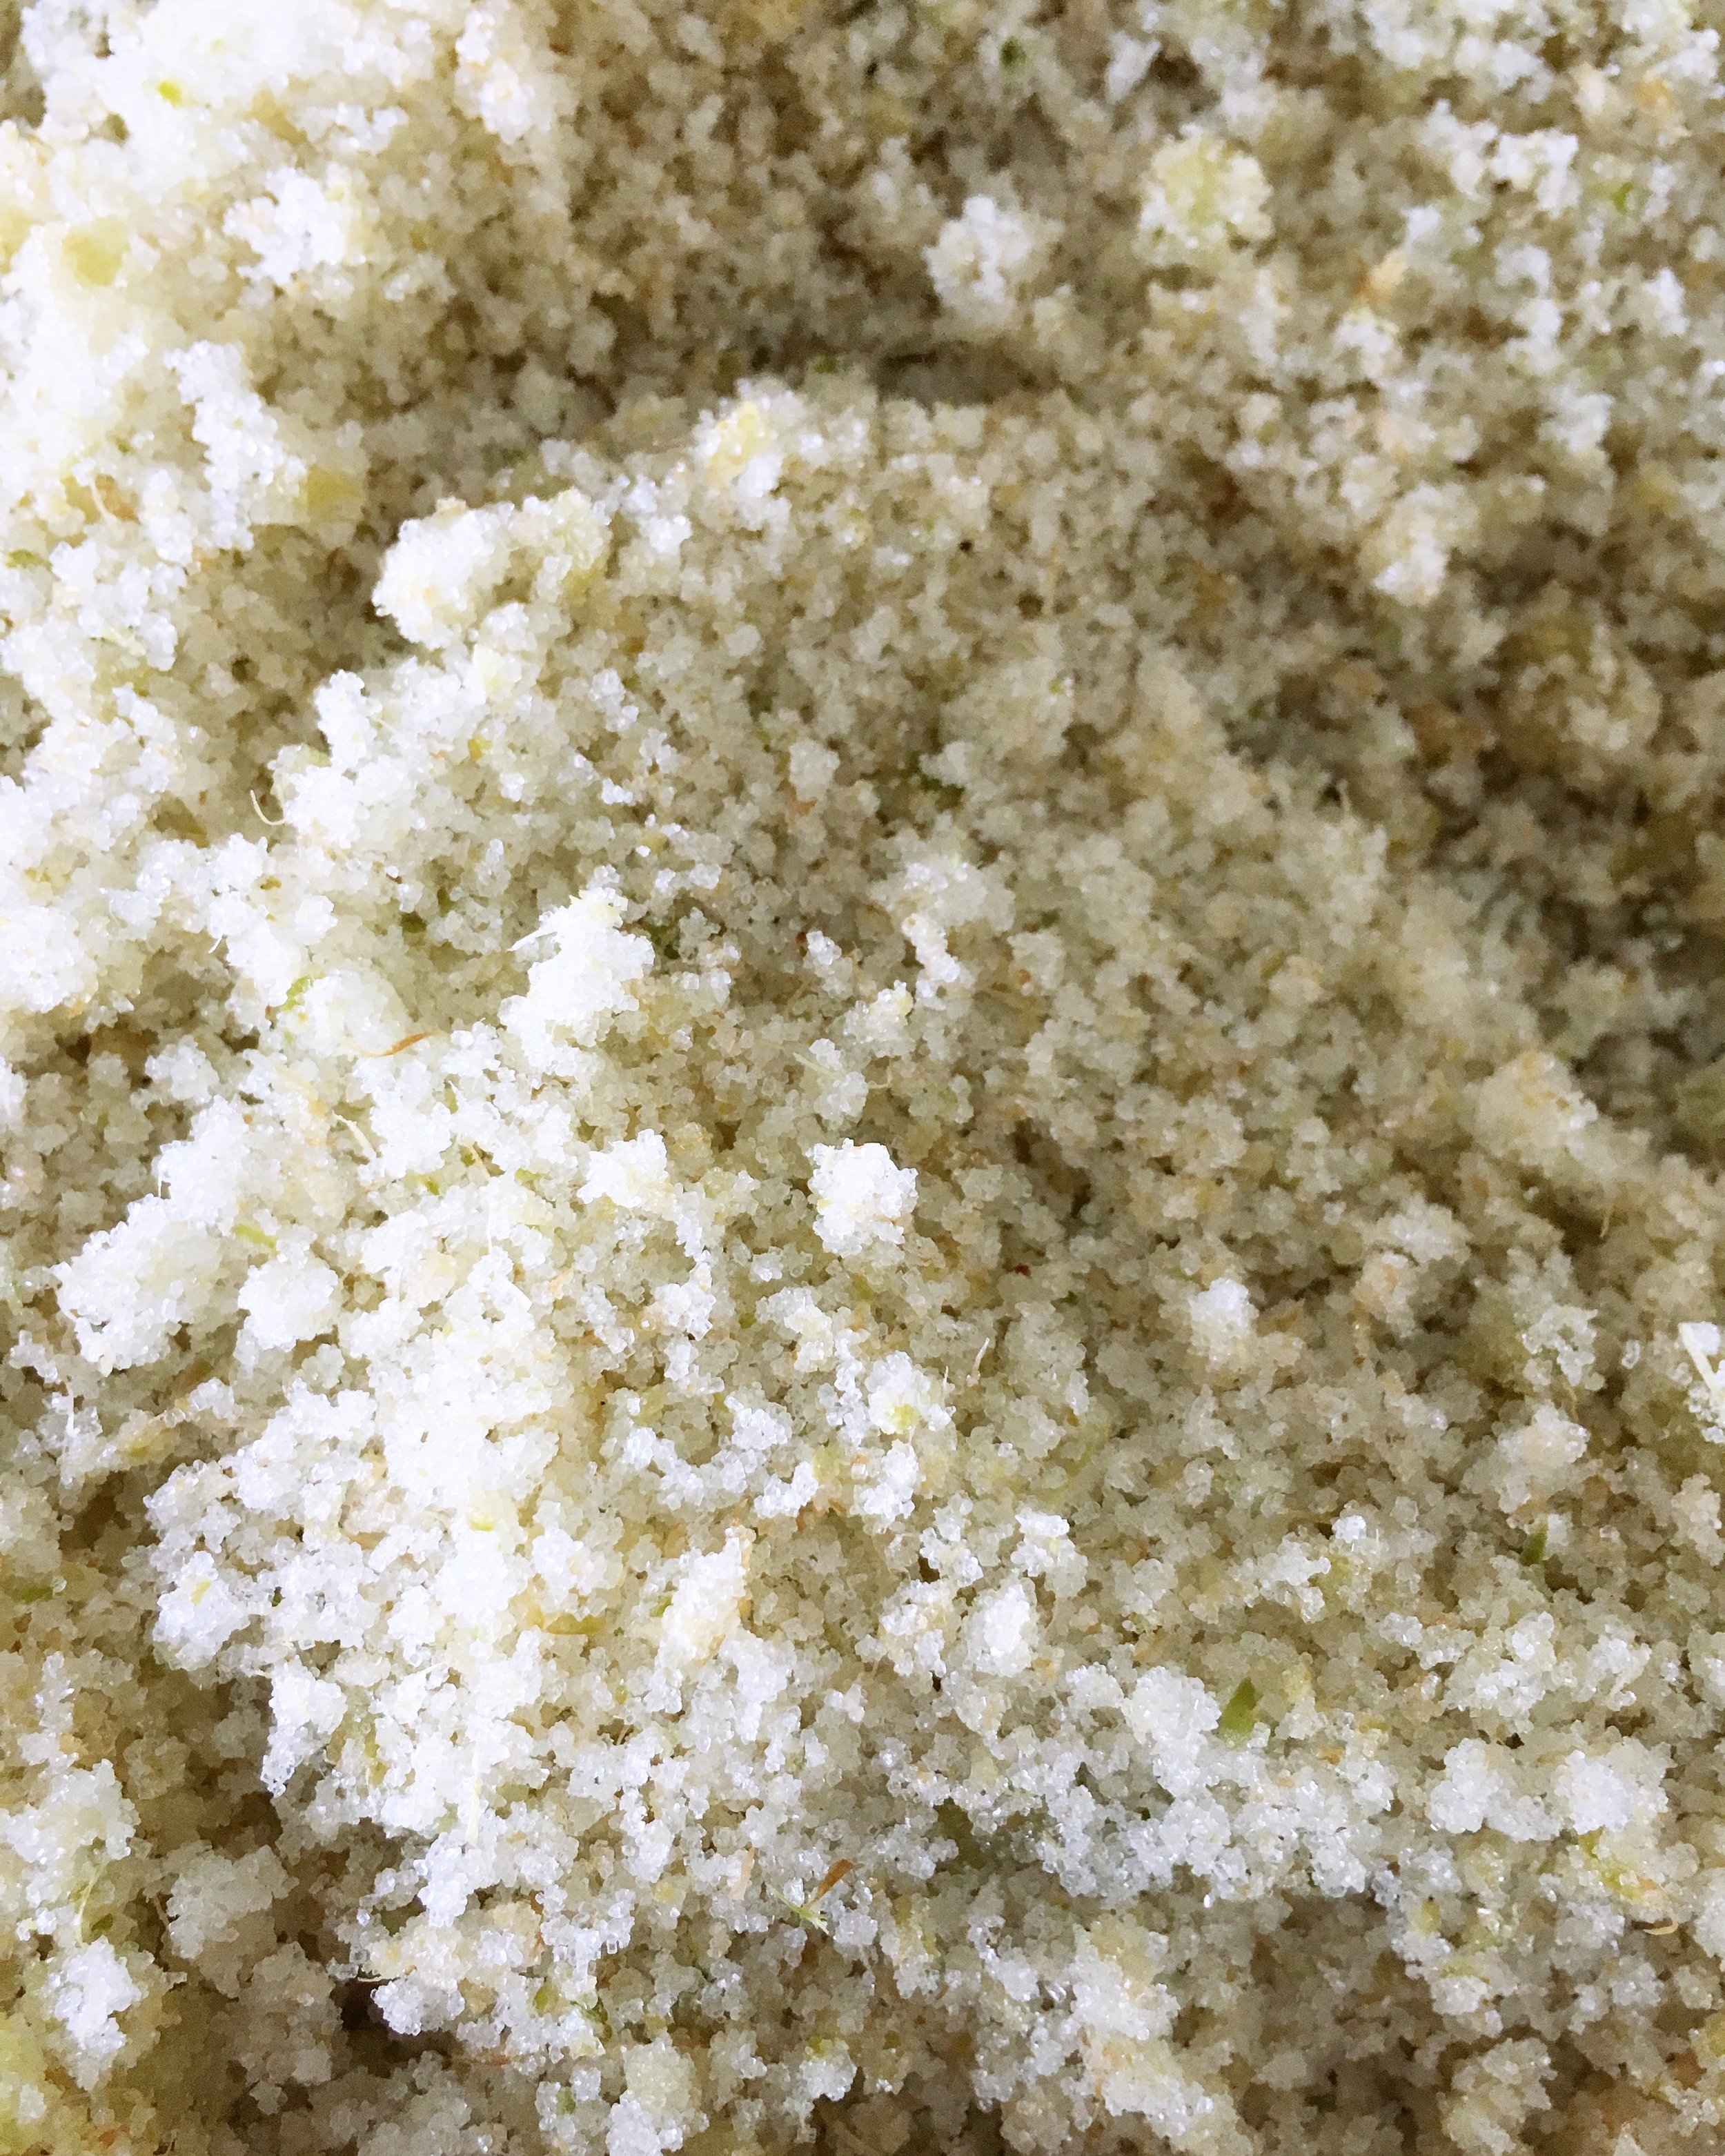
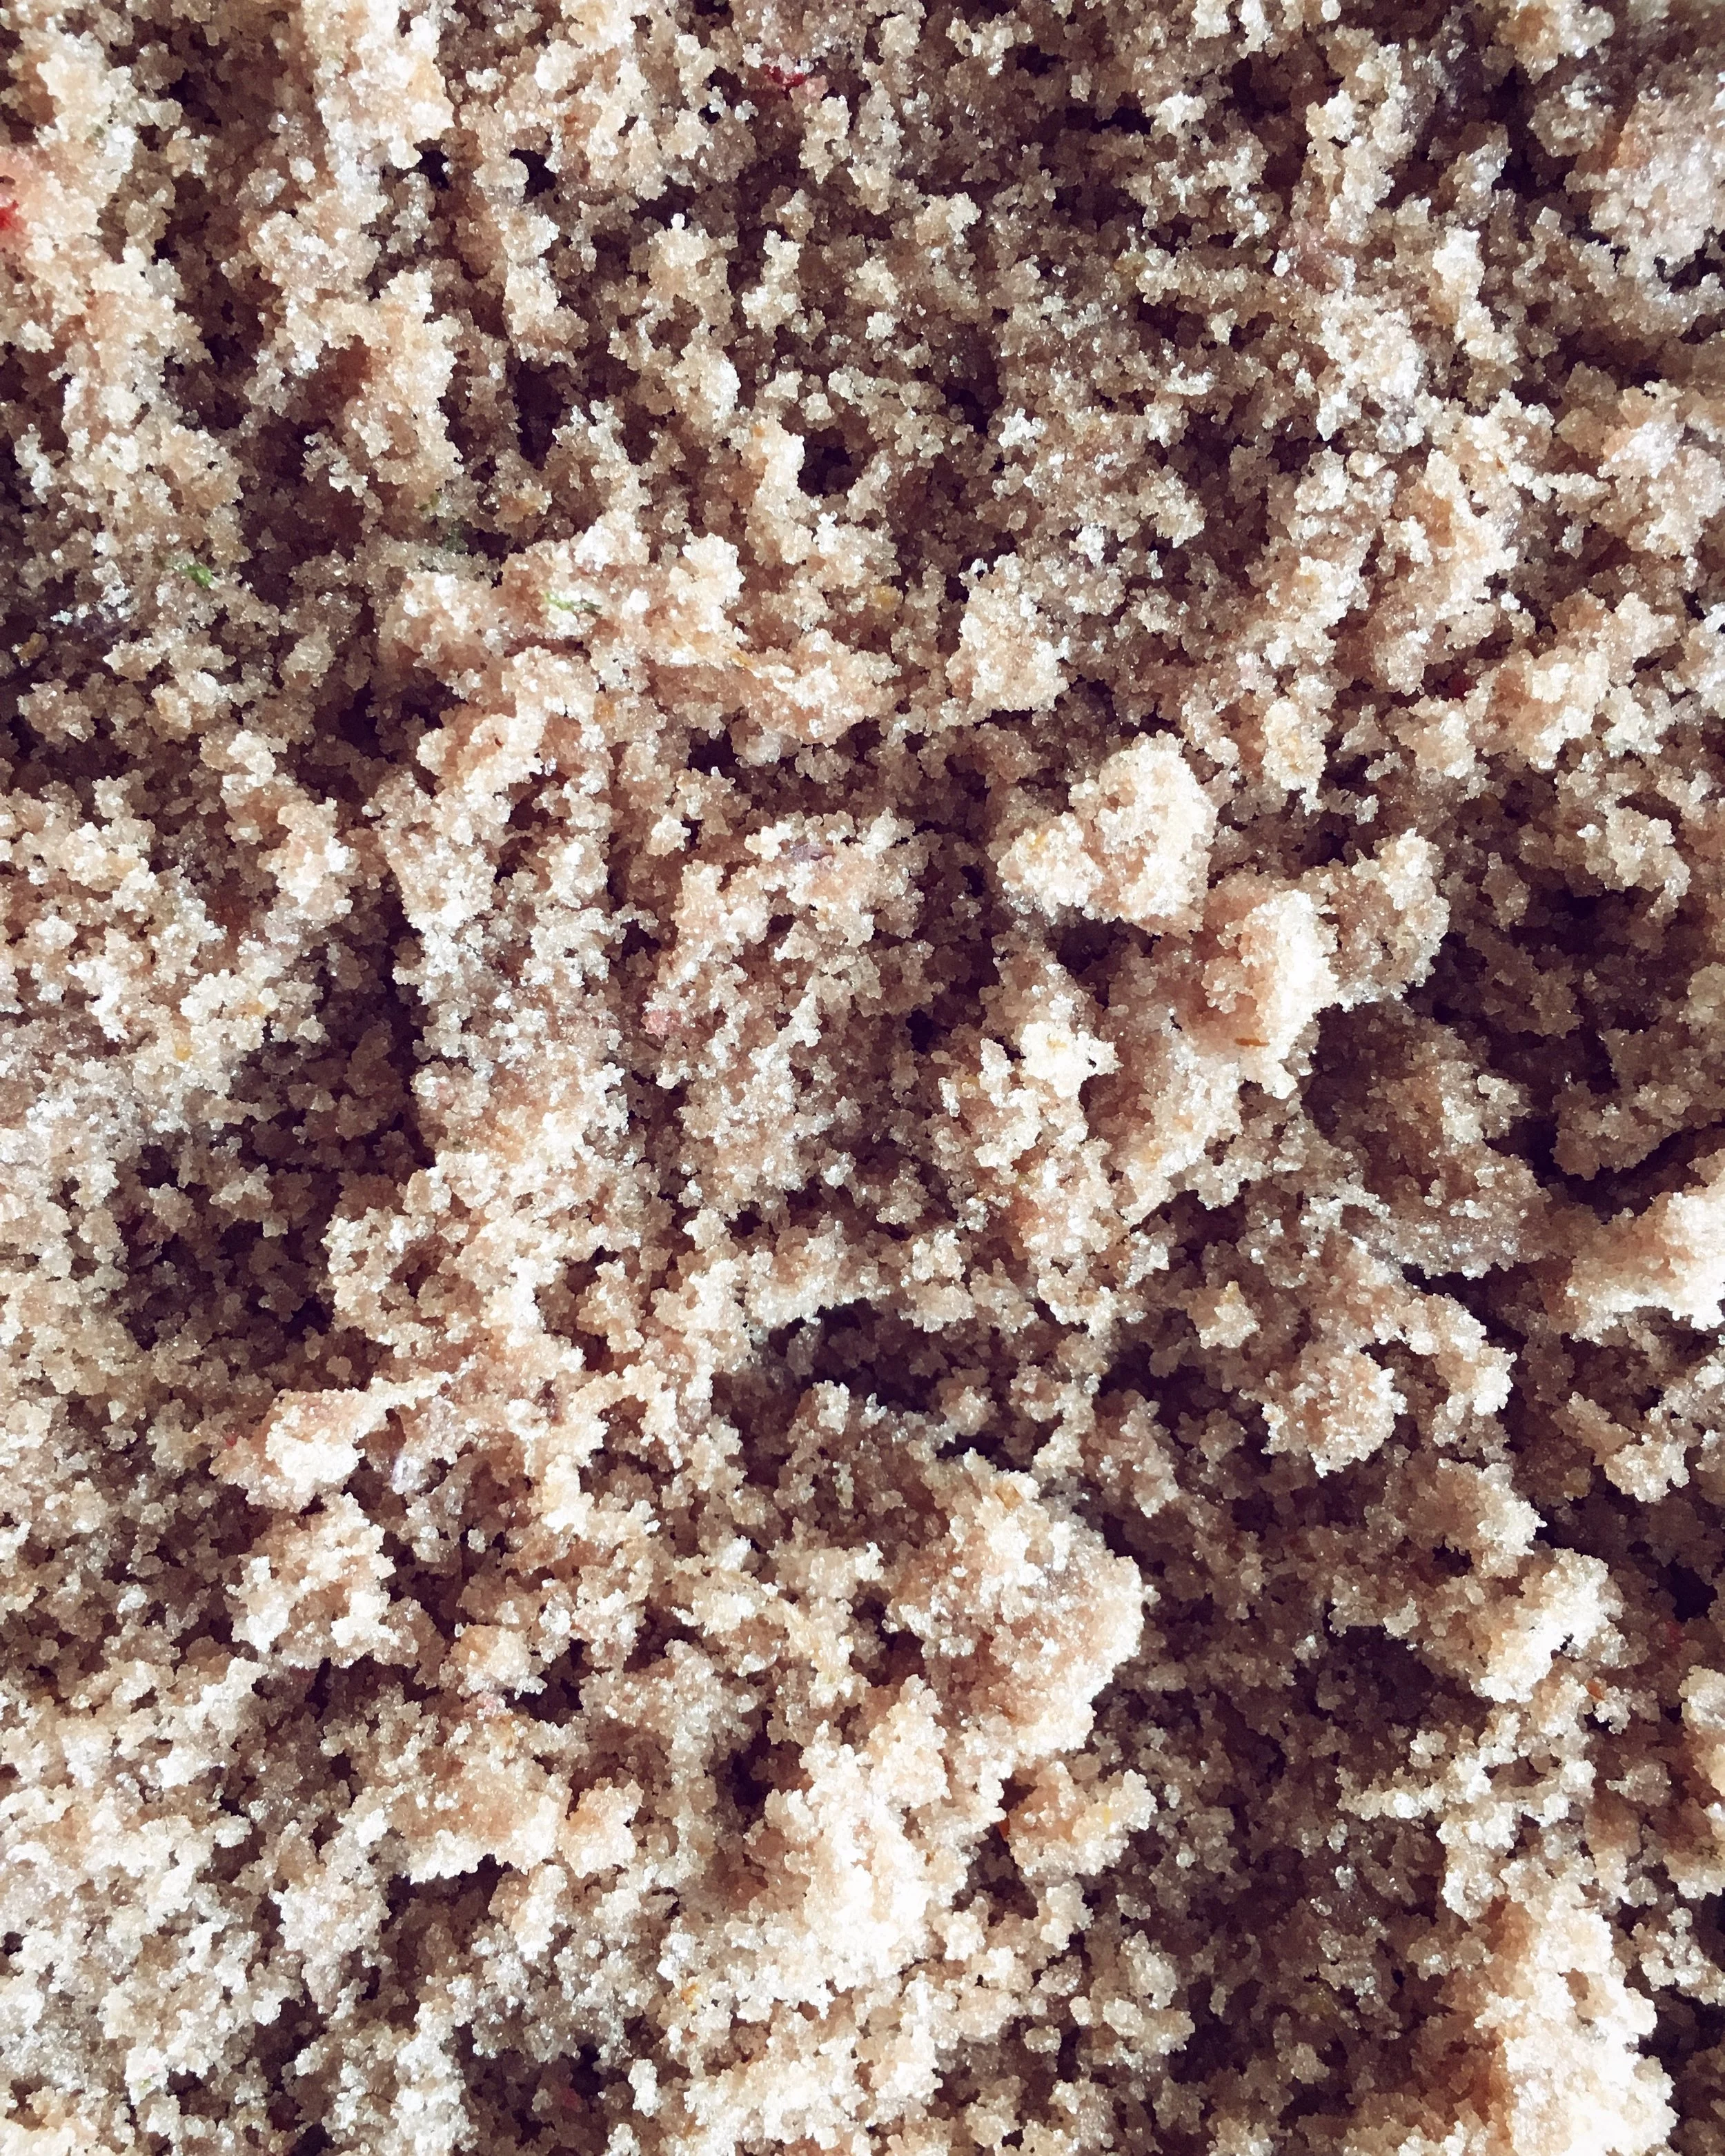
Once you have your ingredient, combine it along with about a cup of sugar in a food processor, or high powered blender (such as a Vitamix). The amount you use can vary a lot. With something like the Douglas fir cones a little goes a long way. You'll have the opportunity to adjust and add more sugar later if you feel the mixture is too strong. Usually I have done about a cup or less of whatever flavouring ingredient I am using. Blend until everything is broken down and fully mixed together. You can have a look at the photos below to see what I mean by that more clearly. After this, dump the mixture into a bowl, and add a few more cups of sugar. Taste it and smell it along the way to make sure you like the strength of the flavour and aroma. When you're happy with it spread it out on a cookie sheet, tray, or really large plate to air dry.  It will take a few days, so put it somewhere you can keep an eye on it, but that is out of the way. Give the mix a stir a few times a day - I usually just do a little every time I walk past - so that it dries out evenly. Try to break up any clumps, but know that the consistency will be a little more rustic than regular granulated sugar.

IMG_9771.JPG
IMG_9769.JPG

The sky is basically the limit with how you use these once they are dry. They make fabulous items to use as gifts, or wedding favours, since they are so unique and it is easy to do large batches. Feel free to combine ingredients, and come up with your own unique blends to use. Maybe you'll develop something that becomes your go-to secret ingredient!

As always, if you try this tutorial I'd love to hear about it in the comments, or if you post on social media use #aforagershome so I can see it! 


To support my blogging endeavours, this post contains affiliate links from which I receive a small commission if you make a purchase.  Every product linked here is one I have used personally and would recommend based on my experience

June 11, 2018 /Kelsey Fast
recipe, foraging, food, Douglas Fir, lilac, edible flowers, condiments, in my kitchen, preserves
Eat
Comment
IMG_9768.JPG

Wild Spinach Dip

June 07, 2018 by Kelsey Fast in Find, Eat

I have always been in love with spinach dip. It was one of my mom's go-to party or potluck recipes, and often served in a huge sourdough bread bowl. Delicious. I was a little bit disappointed when I went to look for a recipe to make my own and they all called for prepackaged ingredients. Frozen spinach. Packet of onion soup. It didn't change how tasty the dip was, but I figured there had to be a way to make it with fresh ingredients, and that it might be even better that way.

I sort of forgot about my spinach dip ambitions for a while, and just kept eating the prepackaged version from the store. In that time I learned about atriplex hortensis, (also known as wild orach, or mountain spinach), and how it has naturalized in the wilderness nearby. Much to my surprise there were massive patches of it growing in my own backyard (see the next photo for just part of one of the patches)! We ate some of the leaves last year in soup, but didn't do much else with them. This year I remembered my dream of figuring out a fresher spinach dip, and I wondered if the wild orach might work.

IMG_9767.JPG

Wild orach is in a group of plants often generally known as simply "goosefoot" due to the shape of its leaves. This doesn't give you much to go on in terms of plant identification, because there are may other "goosefoots" out there, and some of them - such as Lamb's Quarters - are in a completely different plant family. Don't use this blog post as your main source for plant identification - find a good field guide (here are a couple: Food Plants of the Interior First Peoples, Edible and Medicinal Plants of Canada) and use some other online foraging resources to supplement the very limited information I am giving you here.

IMG_9766.JPG

I was reading around for various recipes, and I came across one that suggested you could use fresh spinach in your dip, but to steam it first because that will give you the right texture. I thought this sounded great, so I went out and gathered a bunch of wild orach to steam and try in my dip. I wanted a bit of crunch, but had no water chestnuts, so I finely chopped some Jerusalem artichoke to add in there since it has a similar texture. I think next time I would add slightly more, but because I didn't know if we would like it I started small.


Wild Spinach Dip

Ingredients

  • 100 g Wild Orach (can substitute normal spinach, but use a lot more because the orach breaks down less during the steaming process
  • 2 - 4 Jerusalem artichoke tubers
  • 1/2 cup sour cream
  • 1/2 cup mayonnaise
  • 1 tsp onion powder
  • 1 tsp soup base paste or builion (if using soup paste omit salt)
  • 2 cloves garlic
  • 1/2 tsp paprika
  • 1/2 tsp salt

Takes 30 min, serves 4.

Instructions

  1. Steam the orach using your preferred method for a few minutes until just softened. Remove from steamer promptly and place on a plate in the freezer to chill, but not for so long that it starts to freeze.
  2. While the orach steams, blend sour cream, mayonnaise, onion powder, soup paste/bullion, garlic, paprika, and salt in a high powered blender or food processor until there are no large garlic chunks. Taste and adjust spices as you like them. Transfer to a bowl.
  3. Finely chop the Jerusalem artichoke tubers, and stir them in with the blended mixture.
  4. Remove the spinach from the freezer before it starts to freeze, and roughly chop it into smaller pieces. Stir the orach into the rest of the mixture until all the leaves have been coated in the dip and there are no large chunks of leaves.
  5. Serve with a really delicious loaf of bread and enjoy

Scale this recipe up or down to suit your needs. I just made a small amount here to try it out, and because there are only a couple people in our house eating it. If you have the patience or are good at planning ahead this dip is even better after spending a night in the fridge. The flavours mellow and blend that way, but it is delicious eaten immediately as well!


To support my blogging endeavours, this post contains affiliate links from which I receive a small commission if you make a purchase.  Every product linked here is one I have used personally and would recommend based on my experience.

June 07, 2018 /Kelsey Fast
eat, foraging, in my kitchen, food, wild orach, dips and spreads, recipe
Find, Eat
Comment
IMG_9601.JPG

May Harvest Totals

June 05, 2018 by Kelsey Fast in Grow, Find

Asterisk Denotes Foraged Item

  • Chamomile: 9 g
  • *Dandelion Greens: 394 g
  • *Dandelion Petals: 120 g
  • Douglas Fir Cones: 120 g
  • Green Garlic: 12 g
  • Lemon Balm: 7 g
  • Lettuce (Volunteer): 6 g
  • *Lilac Flowers: 482 g
  • Mint (Mojito): 8 g
  • Mixed Greens: 145 g
  • Pansies: 3 g
  • Pea Shoots: 10 g
  • Rhubarb: 151 g
  • Sage: 1 g
  • Strawberries: 11 g
  • Tarragon: 2 g
  • Thyme: 1 g
  • *Wild Lettuce: 180 g

Total: 1.662 kg

IMG_9440.JPG
IMG_9388.JPG

This month was an interesting one for me, because usually the bulk of what I harvest in May is wild Asparagus, and this time for some reason I never made it out to my spot to gather any.  Initially the smaller harvest total was a bit discouraging, because ideally I'd like my self sufficiency to increase over time.  However, when I looked at last year's harvest total and subtracted what was asparagus, I found that this year I'd quadrupled my non-asparagus harvest!  The other thing that amazed me was that last year my "May" totals were actually April and May combined.  This year we were able to gather enough earlier that I tallied everything up for March and April's harvest so this year is already bringing in a more plentiful and diverse harvest.

IMG_9350.JPG
IMG_9560.JPG

One of the most interesting new things added to my spring harvest totals are these Douglas fir cones (pictured below).  I picked these while they were still green, and they have the most beautiful aroma.  I'd seen a few people posting on Instagram that they were using them for flavouring, so I decided to blend them up into a flavoured sugar.  They have the most beautiful aroma and a bright citrus/crabapple taste with forest notes that is really hard to describe.  I'm imagining making Christmas cookies this winter from sugar flavoured with a Christmas tree!  I also think these would make an incredible sorbet flavour too so I'm hoping to get out before they mature too much and gather some more to experiment with.

What are you harvesting these days?  Leave me a note in the comments and I'd love to hear how this spring of gardening and/or foraging is going for you!

June 05, 2018 /Kelsey Fast
strawberries, dandelions, Douglas Fir, harvest, flowers, wild lettuce, garden, foraging, harvest totals
Grow, Find
Comment

Laundry Room Makeover

May 31, 2018 by Kelsey Fast in Make

As you may recall, I've been embarking on a bit of a house reorganization project. The key points here are that we have a super limited budget, and so we are trying to make the most of what we already have at home, and be more intentional with our choices with what we keep and how we use it. You might remember my post about how we spent $10 and redid our bedroom, and now I thought I'd share what we did in our laundry room.

Here's the Embarrassing Before Photo:

Wow, right? Things really got out of hand in there. This was one of the rooms where we tended to just throw things we weren't sure what to do with. It had been ages since we'd really cleaned the floors and that kind of thing, so I just took everything out, cleaned it all, and only put back in what we wanted to keep.

What we needed this room to give us:

  1. Space to be a functioning laundry area.
  2. Storage for all kinds of things: cleaning products, winter wear, sports equipment, pantry overflow, business extras, and all that kind of thing.

I really recommend the approach we took to get a handle on this room. It was so much easier to see what we needed to do once we got everything out. It also really gives you perspective on the things you own and have been storing. I found out that a huge part of the back corner was being taken up with a huge rubbermaid bin that was completely empty! Apparently we had just assumed it was holding something important and we kept stacking other things on top! 

I also got a chance to take stock of all the canning I still have stored away and now we have a better idea of what we can make meals out of, and what needs to be made for next year.  And also (as you can see from the above photo) that there are several things we need to get eating or toss out soon since the years are passing by!

I even got enough floor space cleared to put in my prototype rug I made that eventually became this one in my shop.  It's actually super nice having a rug in my laundry area.  I'm not sure what took me so long to think of putting one there!  

 We didn't do anything particularly earth shattering in here. We did have an idea of possibly moving the laundry machines to a different wall but the hoses were too short for that so if we really want to it's something we can save for another time. While we might do something bigger in the future, I am so happy with what we got done in the meantime. Maybe take this post as encouragement or inspiration to tackle those hidden storage areas in your home! It really feels so good to sort those out!

May 31, 2018 /Kelsey Fast
home decor, zero waste, organization, storage solutions
Make
Comment

Dandelion Leaf Kimchi

May 27, 2018 by Kelsey Fast in Eat, Find

In high school I had several good friends from Korean families, and I always looked forward to being invited over for meals in their homes because that usually meant I was going to be served kimchi.  Later on I found out where the Korean grocery store was so I could make sure I always had some in my fridge.  A couple years ago I realized that there were several recipes online for making small batches so I've now been making my own.  I've been collecting a lot of dandelions this spring, and in thinking of ways to use them I realized that they might make a pretty good kimchi, and I was right!

IMG_9197.JPG

I don't want to call this post a recipe per se, as I don't feel versed enough in Korean food to write one, and I relied heavily on various other online sources which I will be linking here.  From how I understand it kimchi is fairly flexible, so feel free to adjust things to your preferences.

Your first step is to salt the dandelion greens.  This is to start releasing the water content in the leaves.  Sprinkle them liberally in salt and massage them a bit to start the process.  If you've made sauerkraut before this will be familiar to you.  Let them sit for about an hour and a half, and while this is happening prep the rest of the ingredients.

IMG_9195.JPG
IMG_9196.JPG

Chop up the veggies you are going to be adding to the dandelion greens (I used carrots, radish microgreens, leeks, and green garlic).  For anything bulky make sure you julienne it finely to help the overall texture.  Several of the recipes for the kimchi paste include making a porridge of rice flour to help everything stick together.  I wanted to keep the steps as simple as possible, and knowing that you can make hot soup in a Vitamix blender I threw all the ingredients for the paste in there and blended it smooth.  It seems to have worked really well and saved a lot of time! 

If the dandelion greens are too salty you can rinse them off.  When you like them toss in the chopped veggies, and massage the kimchi paste to cover everything.  After that pack it in a jar so that the veggies are completely submerged.  Leave it on the counter for three days, and then put it in the fridge.  You can eat it right away, or you can wait for it to get more sour.  

Here are some resources that are more complete recipes if you are looking for ideas on salt ratios and flavours for the kimchi paste:

Food in Jars

Maangchi

Edible Landscaper


To support my blogging endeavours, this post contains affiliate links from which I receive a small commission if you make a purchase.  Every product linked here is one I have used personally and would recommend based on my experience.

May 27, 2018 /Kelsey Fast
kimchi, foraging, dandelions, ferments, recipe, in my kitchen, food, preserves
Eat, Find
Comment
  • Newer
  • Older

Terms and Conditions | Privacy Policy | Shipping and Returns

Powered by Squarespace