A Forager's Home

Grow. Find. Eat. Make.

  • Blog
  • About
  • DIY
  • Recipes
  • Foraging
Apple orchard with dramatic clouds.

Apple trees all in rows at Davison Orchards.

Quick Apple Scrap Cider

March 06, 2022 by Kelsey Fast in Eat

For my first foray back into blogging in over a year I’m starting with this rambling account of a fermentation experiment that went surprisingly well. I feel like I should include a bit of a disclaimer before we get too far down the line that the resulting ferment was an alcoholic beverage. If that’s not your thing, I’m not offended if you skip this one!

{Jump to the Recipe}

Apple scraps fermenting in large jars.

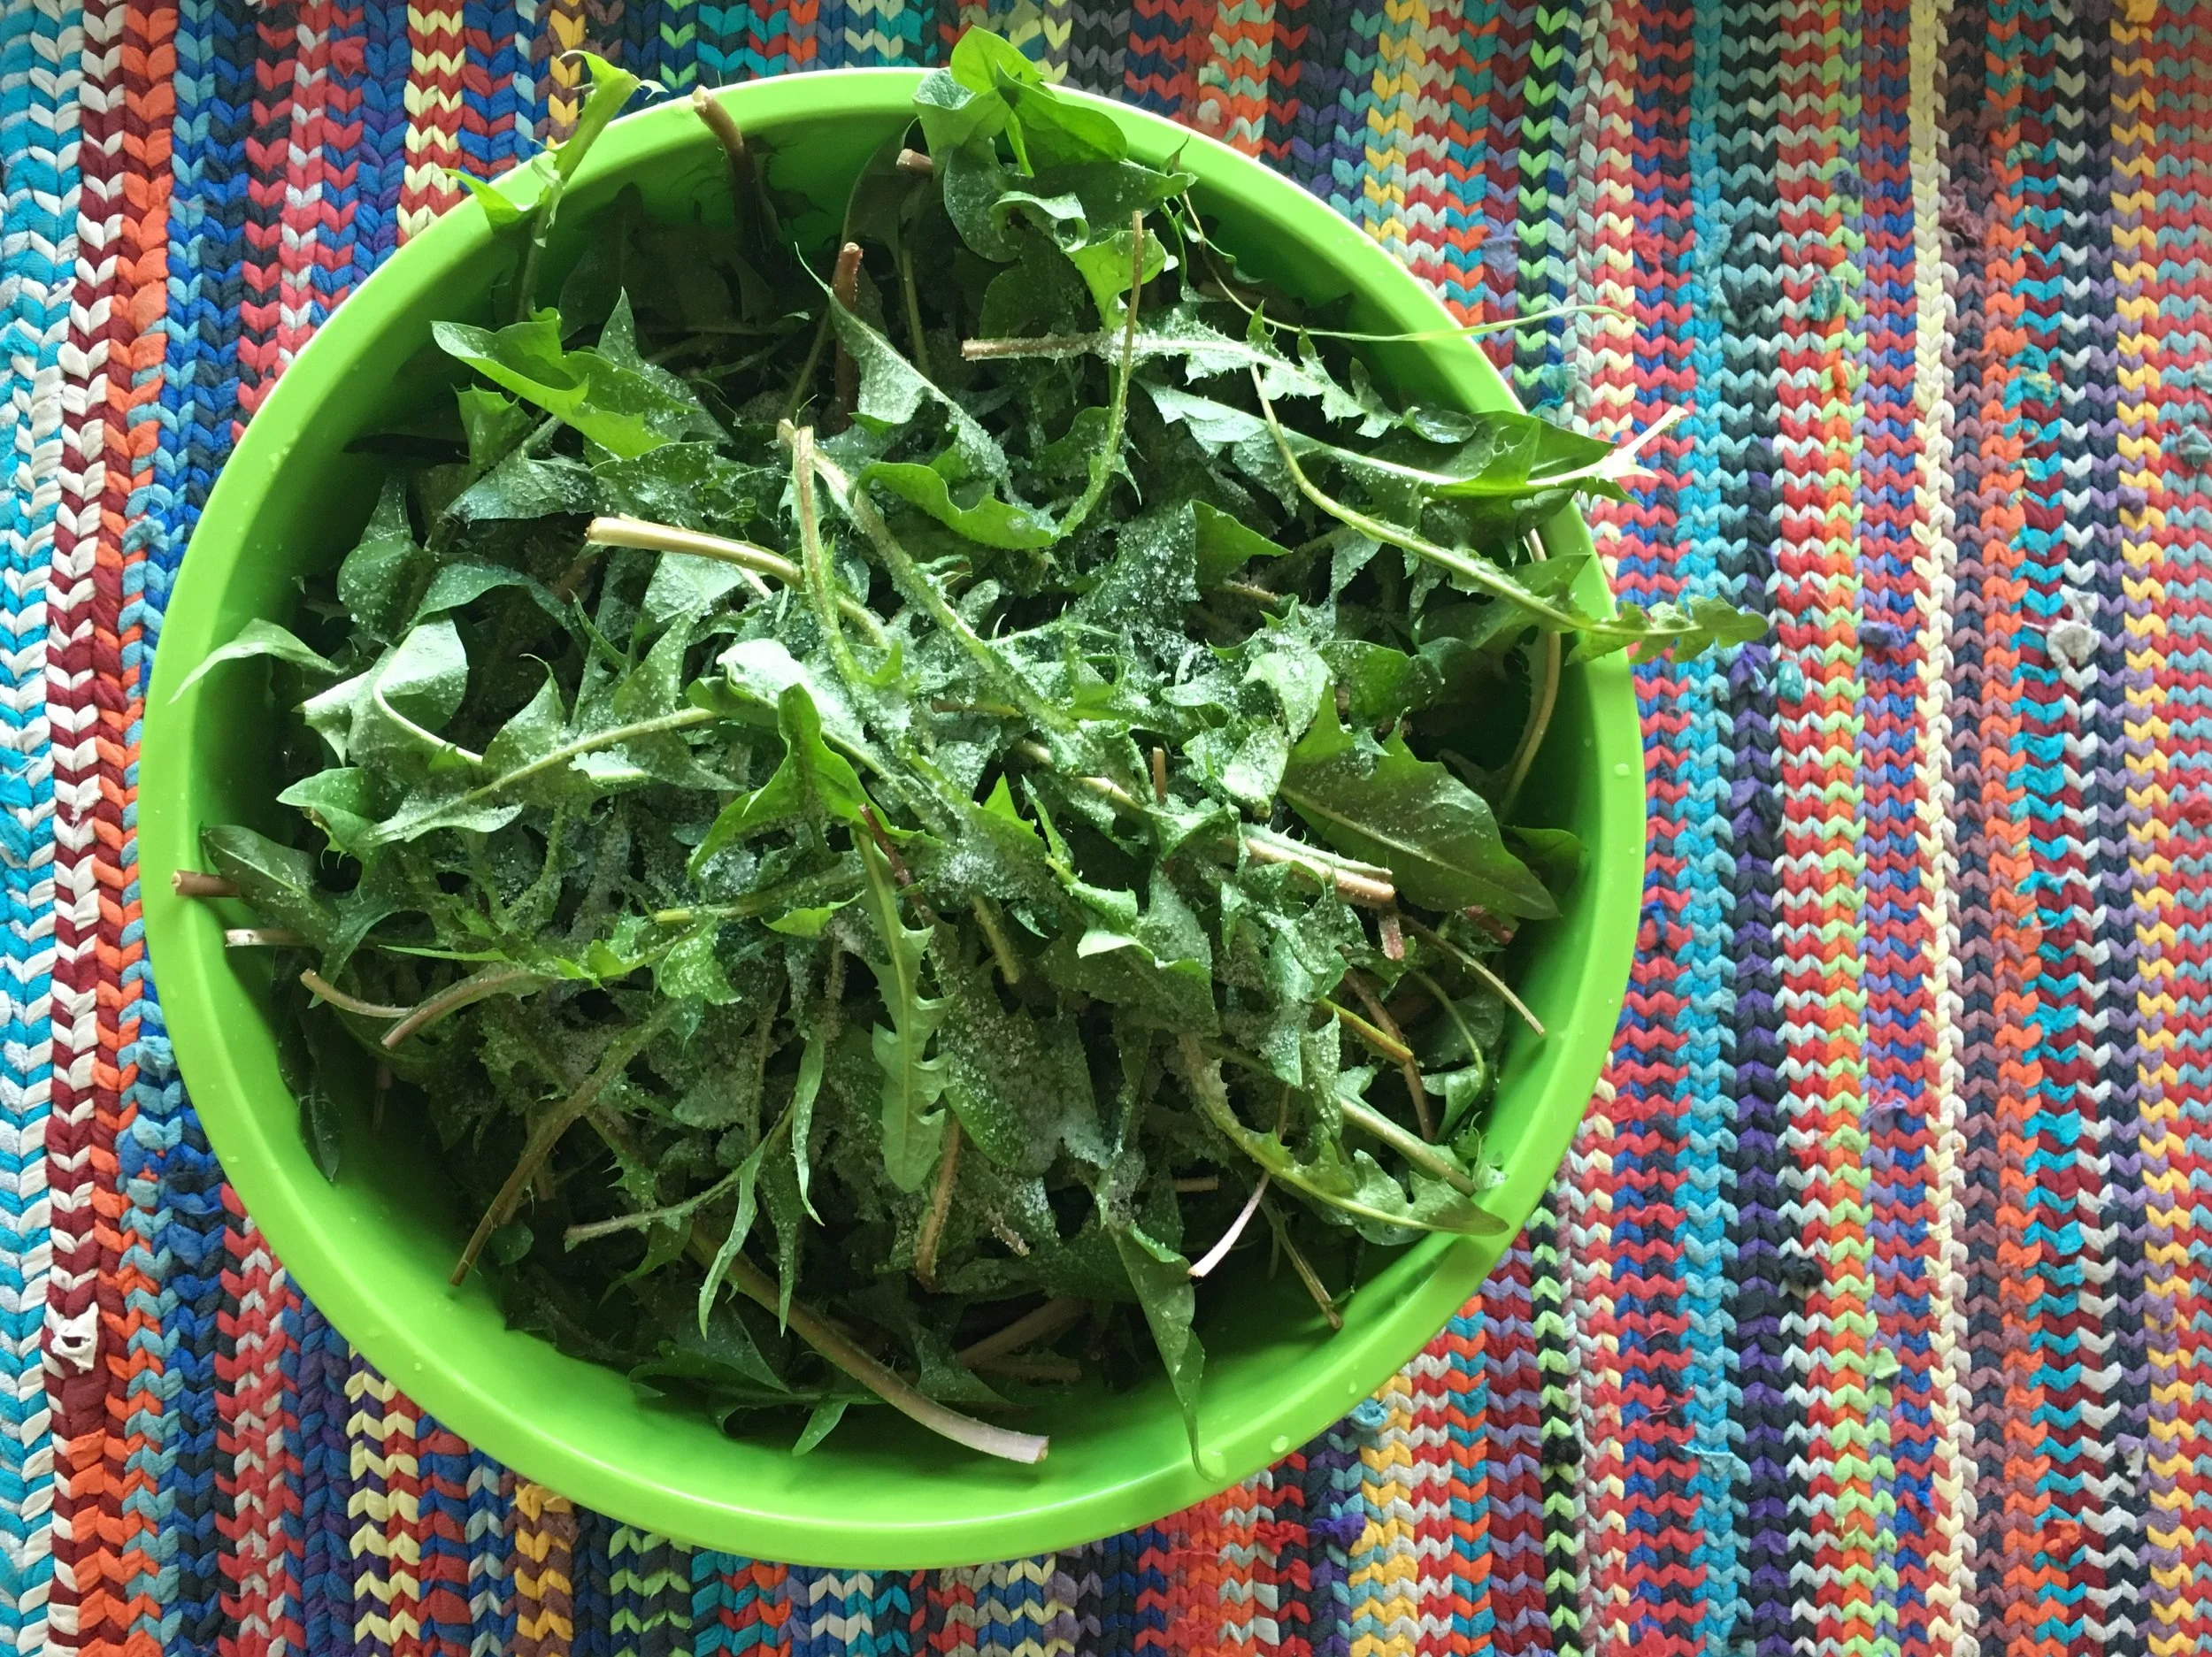
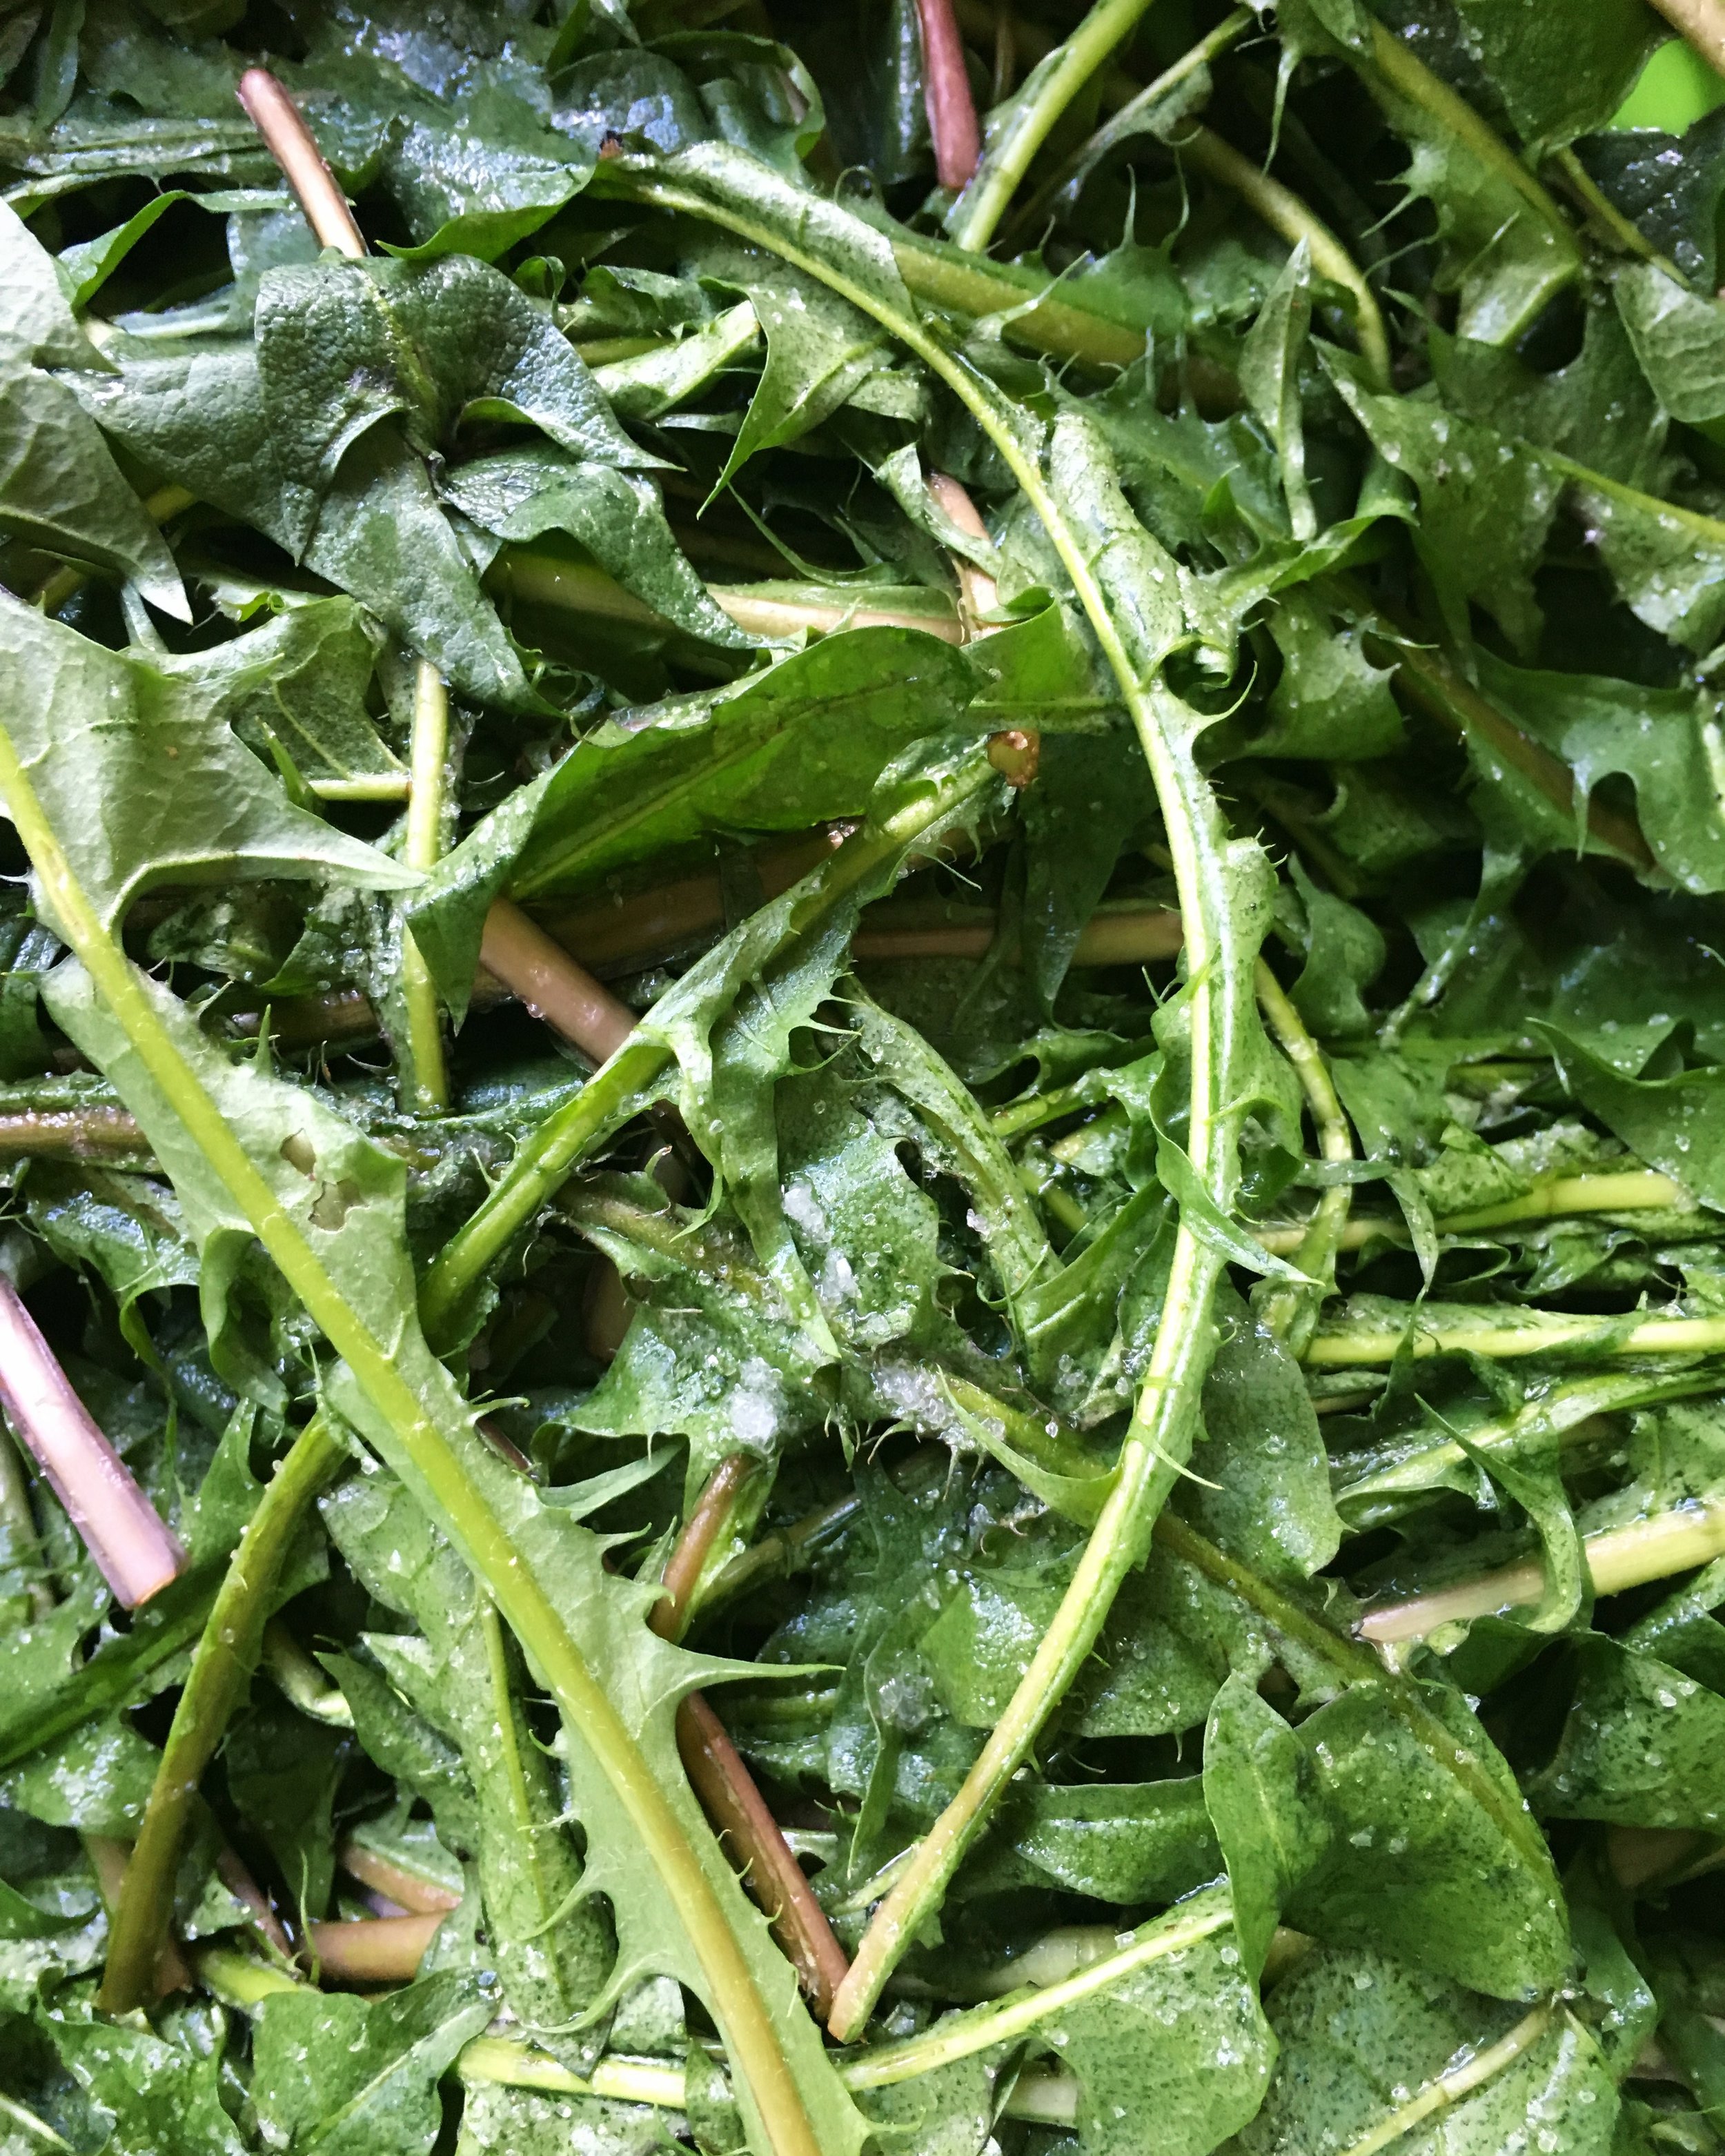
Have you ever made apple scrap vinegar? It’s something I usually do when I have a lot of extra leftover bits of any type of fruit. If I am doing a large scale canning project, I usually add this as an additional step to get further use out of all the cores and peels. I might do a full scale post about how I make the vinegar sometime, but the short version is to cover your leftover fruit cores or peels with a sugar syrup, let it ferment covered on the counter for a week, strain, and then let that ferment oxidize on the counter until it turns into vinegar.

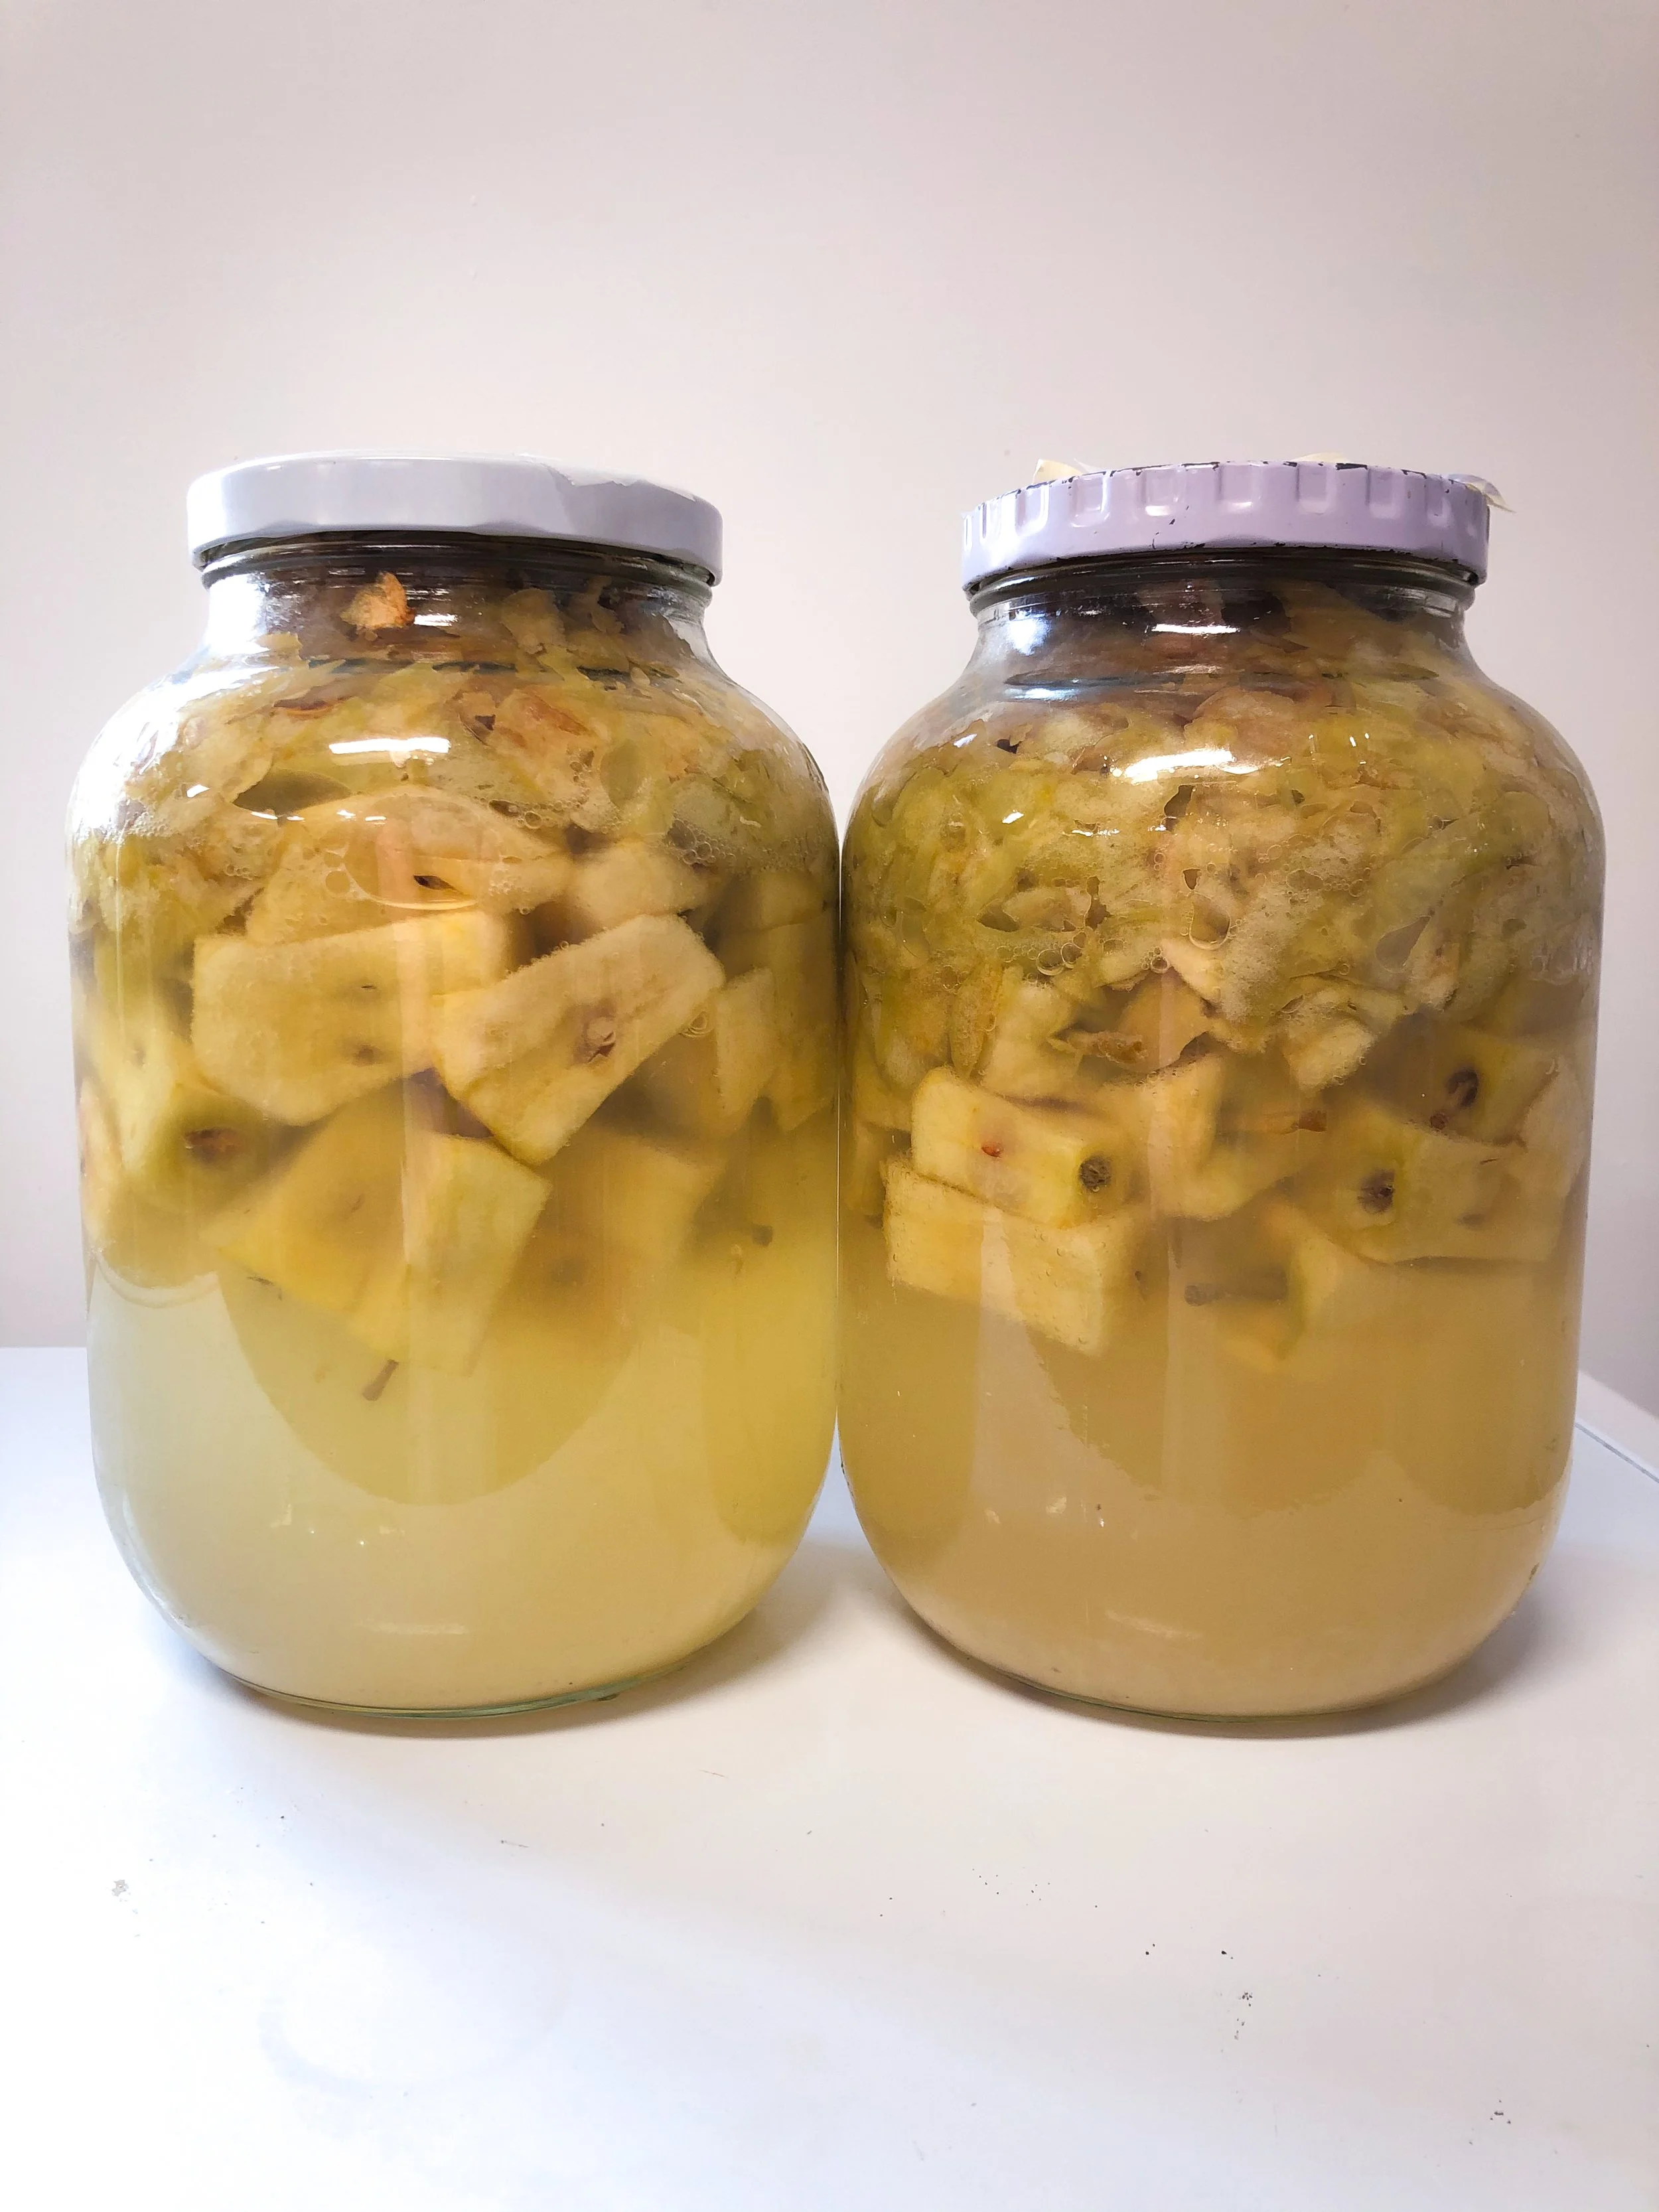
I started this project intending to make some more vinegar, but when I started to strain the jars the ferment smelled so delicious, I felt like it was worth tasting! To my surprise it tasted like a very nice sparkling hard cider, so instead of sticking to my plan I thought I’d give bottling it a try. I don’t have a real recipe to include here since the whole thing was more of an experiment, but I thought I’d share my process. It can be very difficult to reproduce your results when using wild fermentation, but it’s worth giving it a shot! I will definitely be trying this again at some point!

To Make Quick Apple Scrap Cider

  1. Cover fruit scraps in jars with sugar and water. Use a ratio of 1/4 cup sugar to 4 cups of water, and make sure that all the fruit is submerged. Leave this on your counter for a maximum of one week. You should see lots of little bubbles at this point and it should smell pleasant.

  2. Strain out the solids. At this time you will also need your bottles to be sanitized and ready to go.

  3. Add 1 teaspoon sugar to each bottle and pour the cider in. This applies to bottles the size in the photo above. Use more if you want to do your second ferment in a larger bottle. We used plastic home brewing bottles because it is very easy to tell when a ferment will be ready to drink by how hard the bottle becomes. They trap the carbon dioxide well and we’ve been able to reuse them quite a few times. If you use glass bottles you will need to stay on top of “burping” them or else risk an explosion!

  4. Leave the bottles on the counter for a day or two. You want them to feel very hard when you try to squeeze them (or nice and fizzy if you are using flip tops and burping them once a day). After they are ready put them in the fridge and enjoy whenever you like!

March 06, 2022 /Kelsey Fast
apples, ferments, drinks
Eat
5 Comments

Dandelion Leaf Kimchi

May 27, 2018 by Kelsey Fast in Eat, Find

In high school I had several good friends from Korean families, and I always looked forward to being invited over for meals in their homes because that usually meant I was going to be served kimchi.  Later on I found out where the Korean grocery store was so I could make sure I always had some in my fridge.  A couple years ago I realized that there were several recipes online for making small batches so I've now been making my own.  I've been collecting a lot of dandelions this spring, and in thinking of ways to use them I realized that they might make a pretty good kimchi, and I was right!

IMG_9197.JPG

I don't want to call this post a recipe per se, as I don't feel versed enough in Korean food to write one, and I relied heavily on various other online sources which I will be linking here.  From how I understand it kimchi is fairly flexible, so feel free to adjust things to your preferences.

Your first step is to salt the dandelion greens.  This is to start releasing the water content in the leaves.  Sprinkle them liberally in salt and massage them a bit to start the process.  If you've made sauerkraut before this will be familiar to you.  Let them sit for about an hour and a half, and while this is happening prep the rest of the ingredients.

IMG_9195.JPG
IMG_9196.JPG

Chop up the veggies you are going to be adding to the dandelion greens (I used carrots, radish microgreens, leeks, and green garlic).  For anything bulky make sure you julienne it finely to help the overall texture.  Several of the recipes for the kimchi paste include making a porridge of rice flour to help everything stick together.  I wanted to keep the steps as simple as possible, and knowing that you can make hot soup in a Vitamix blender I threw all the ingredients for the paste in there and blended it smooth.  It seems to have worked really well and saved a lot of time! 

If the dandelion greens are too salty you can rinse them off.  When you like them toss in the chopped veggies, and massage the kimchi paste to cover everything.  After that pack it in a jar so that the veggies are completely submerged.  Leave it on the counter for three days, and then put it in the fridge.  You can eat it right away, or you can wait for it to get more sour.  

Here are some resources that are more complete recipes if you are looking for ideas on salt ratios and flavours for the kimchi paste:

Food in Jars

Maangchi

Edible Landscaper


To support my blogging endeavours, this post contains affiliate links from which I receive a small commission if you make a purchase.  Every product linked here is one I have used personally and would recommend based on my experience.

May 27, 2018 /Kelsey Fast
kimchi, foraging, dandelions, ferments, recipe, in my kitchen, food, preserves
Eat, Find
Comment

Terms and Conditions | Privacy Policy | Shipping and Returns

Powered by Squarespace