Honey Glaze for Epiphany Ham
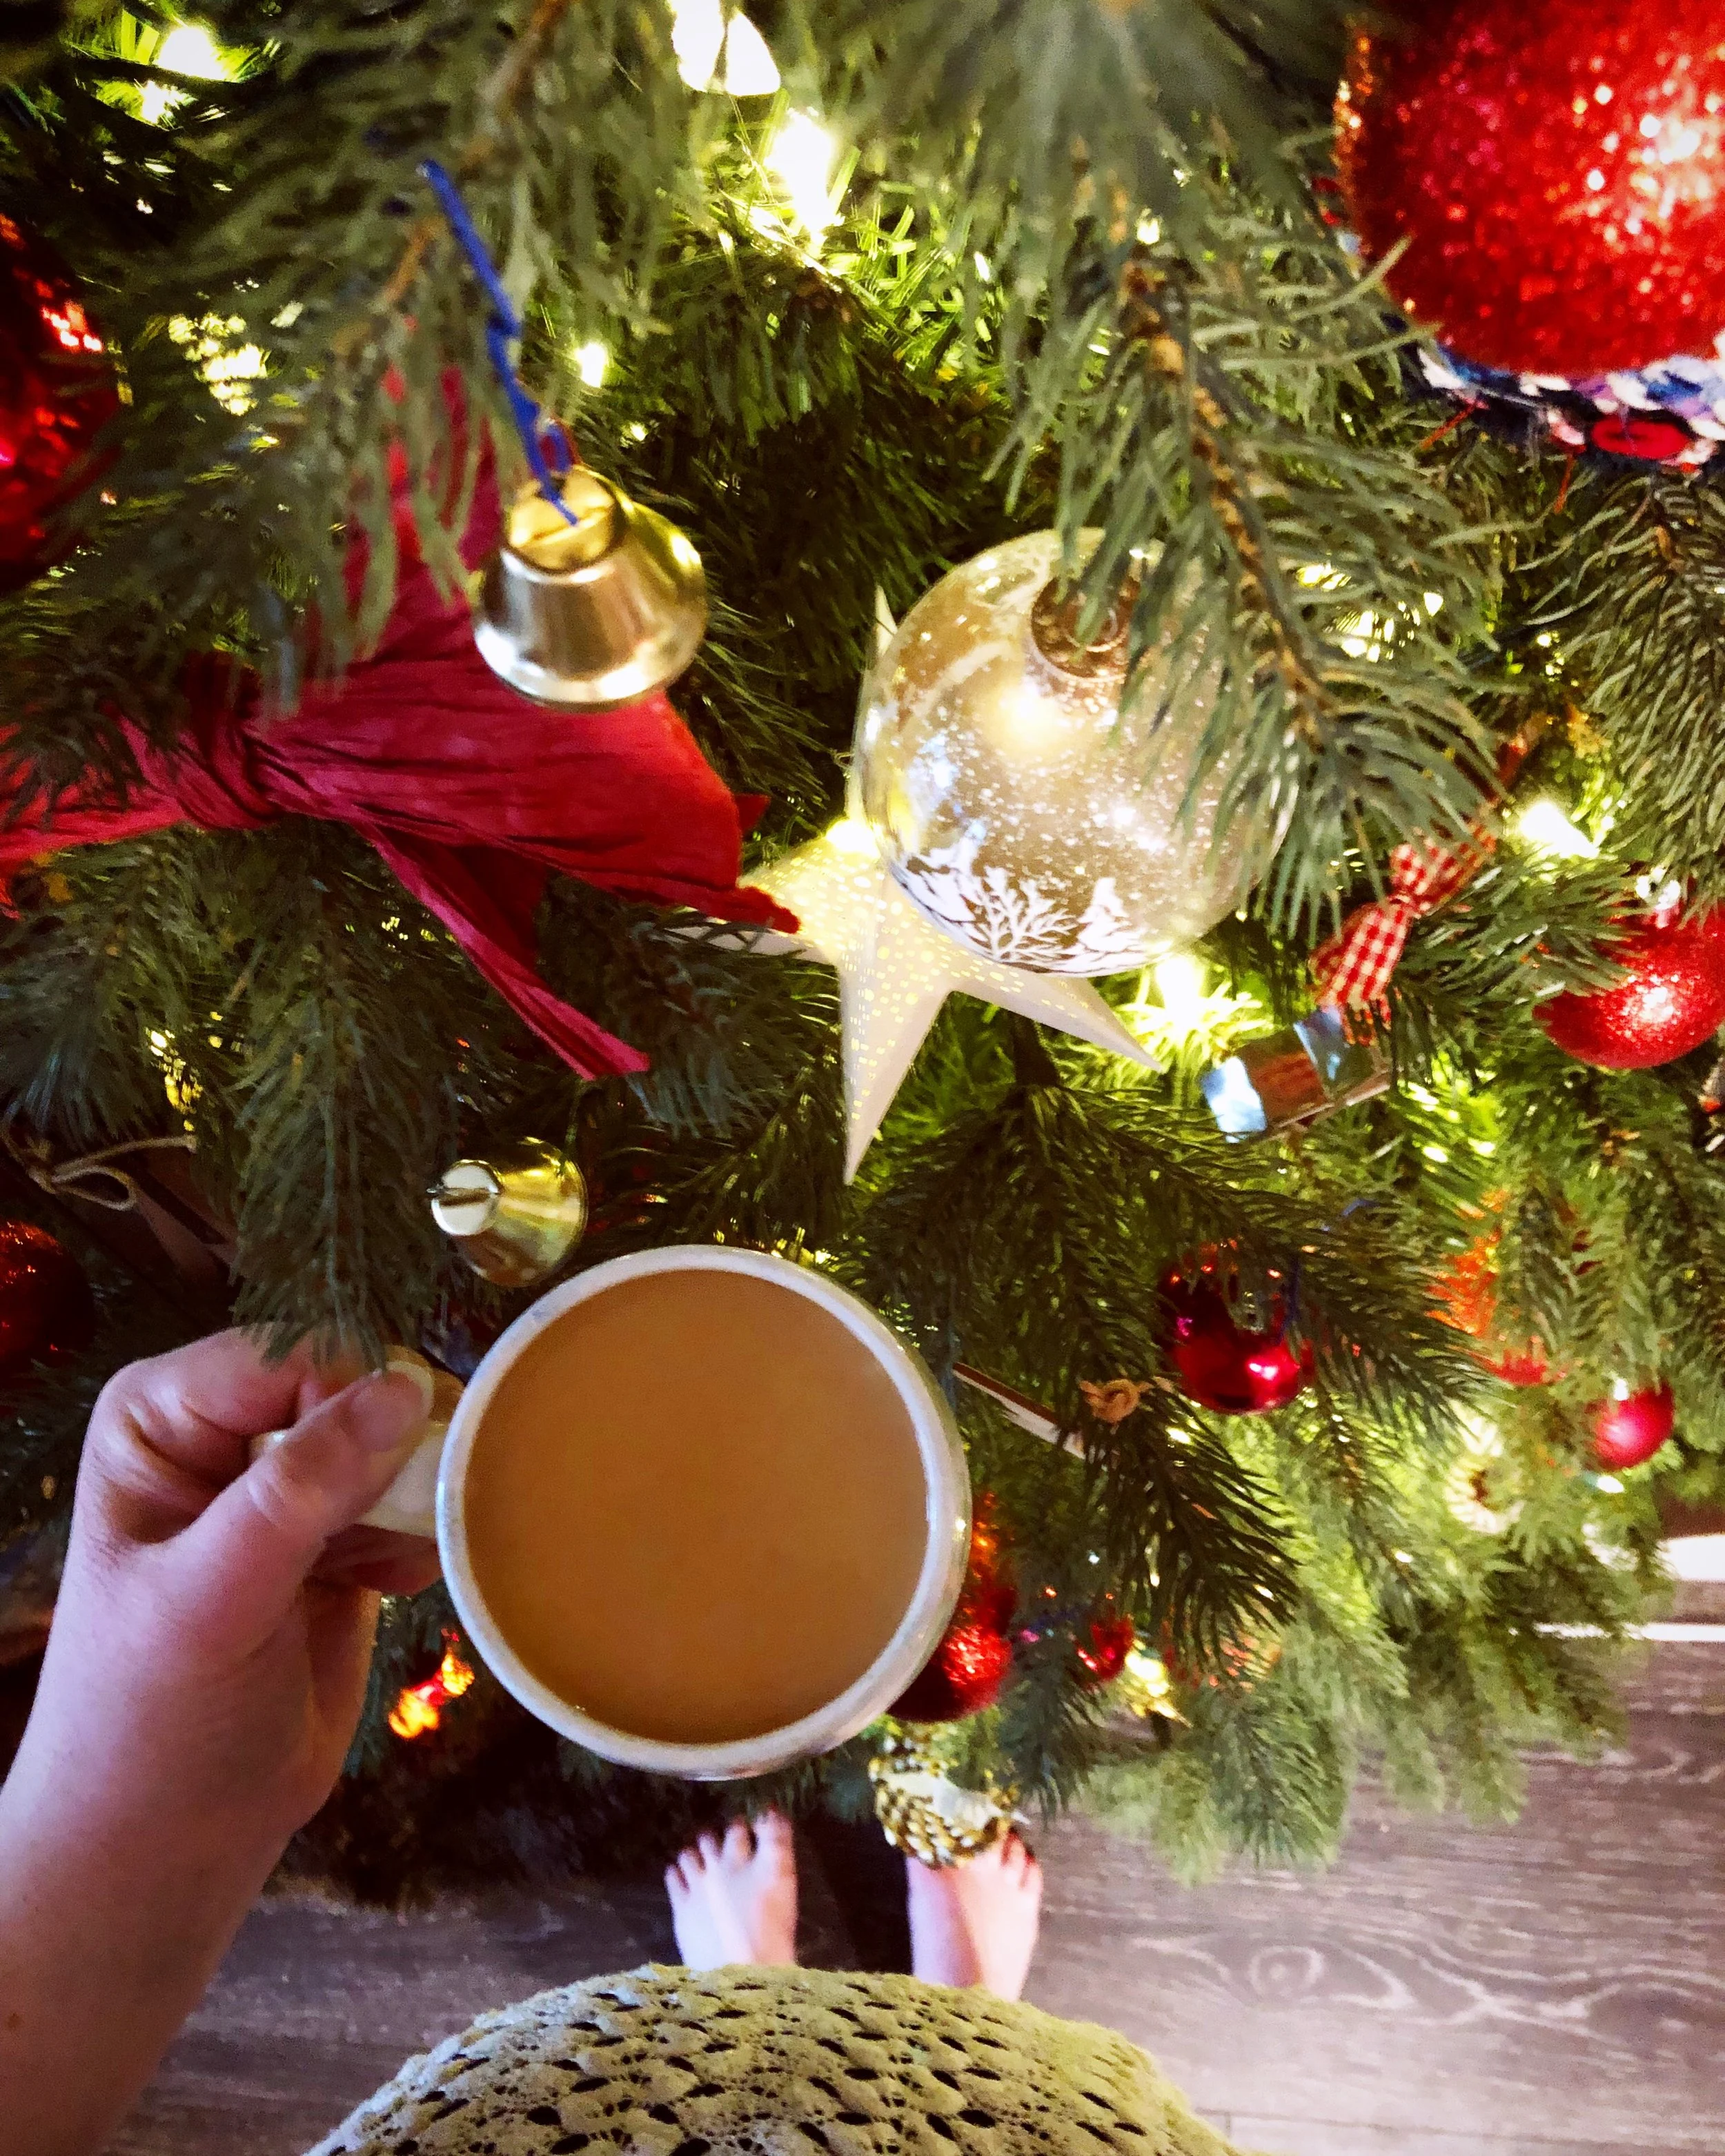
A view of the Christmas tree and my 30 week baby bump.
I’m not sure if you know, but we are still in the middle of what was traditionally the Christmas season! I believe today specifically is the 10th day of Christmas, and while I’m not expecting to receive ten lords-a-leaping today I’m still enjoying my Christmas tree, and soaking up a little more holiday season. It seems right to me to continue a little longer since it only just started snowing around here and the tree and other wintery decorations seem appropriate. I do have to say that our new place is so small that a small part of me is looking forward to getting the square footage back in my living room that the tree is taking up right now.
The 12 days of Christmas all lead up to Epiphany, and while that isn’t part of how my family traditionally celebrates the holidays it seemed like a really nice thing to add to our celebrations and a nice way to cap off the season.
We’ve got our Epiphany dinner set for Sunday and I’ll be making a ham. I thought I’d share the recipe I used for the glaze today. Feel free to adjust this to whatever flavours you like. I you don’t have something or don’t like a flavour go ahead and try something different (and if you do I’d love to hear about it in the comments)! Because the dinner hasn’t actually happened yet I won’t have anything in this post about cooking the actual ham, but I’ll try to remember to take a photo to update this post when I do!
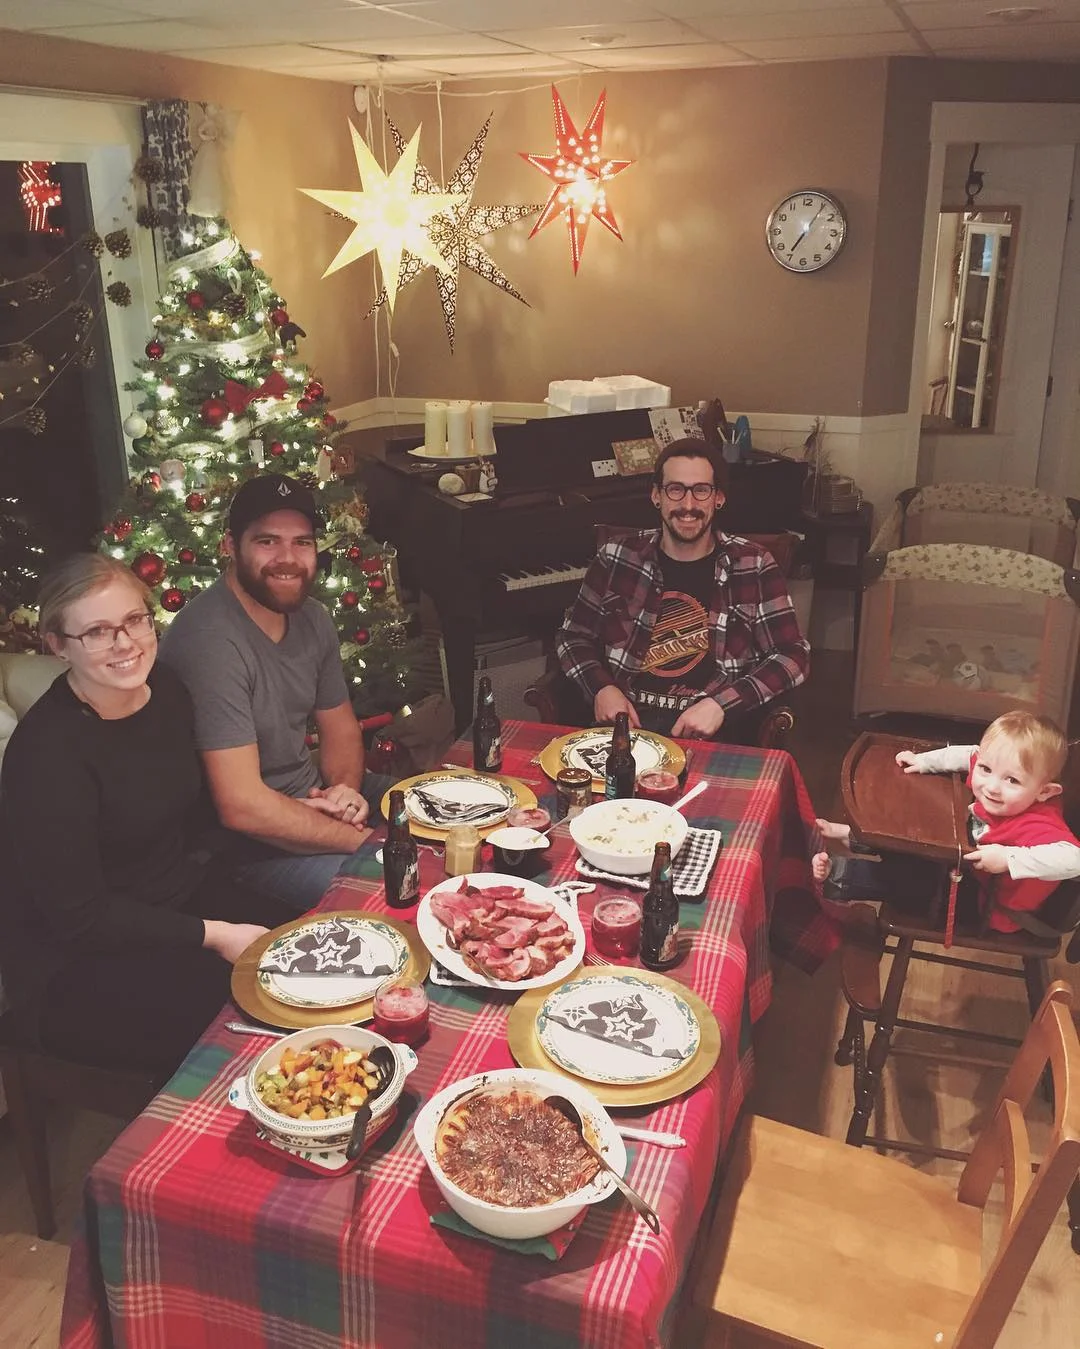
Our first time celebrating Epiphany in Kamloops with some dear friends. Read all about it here.
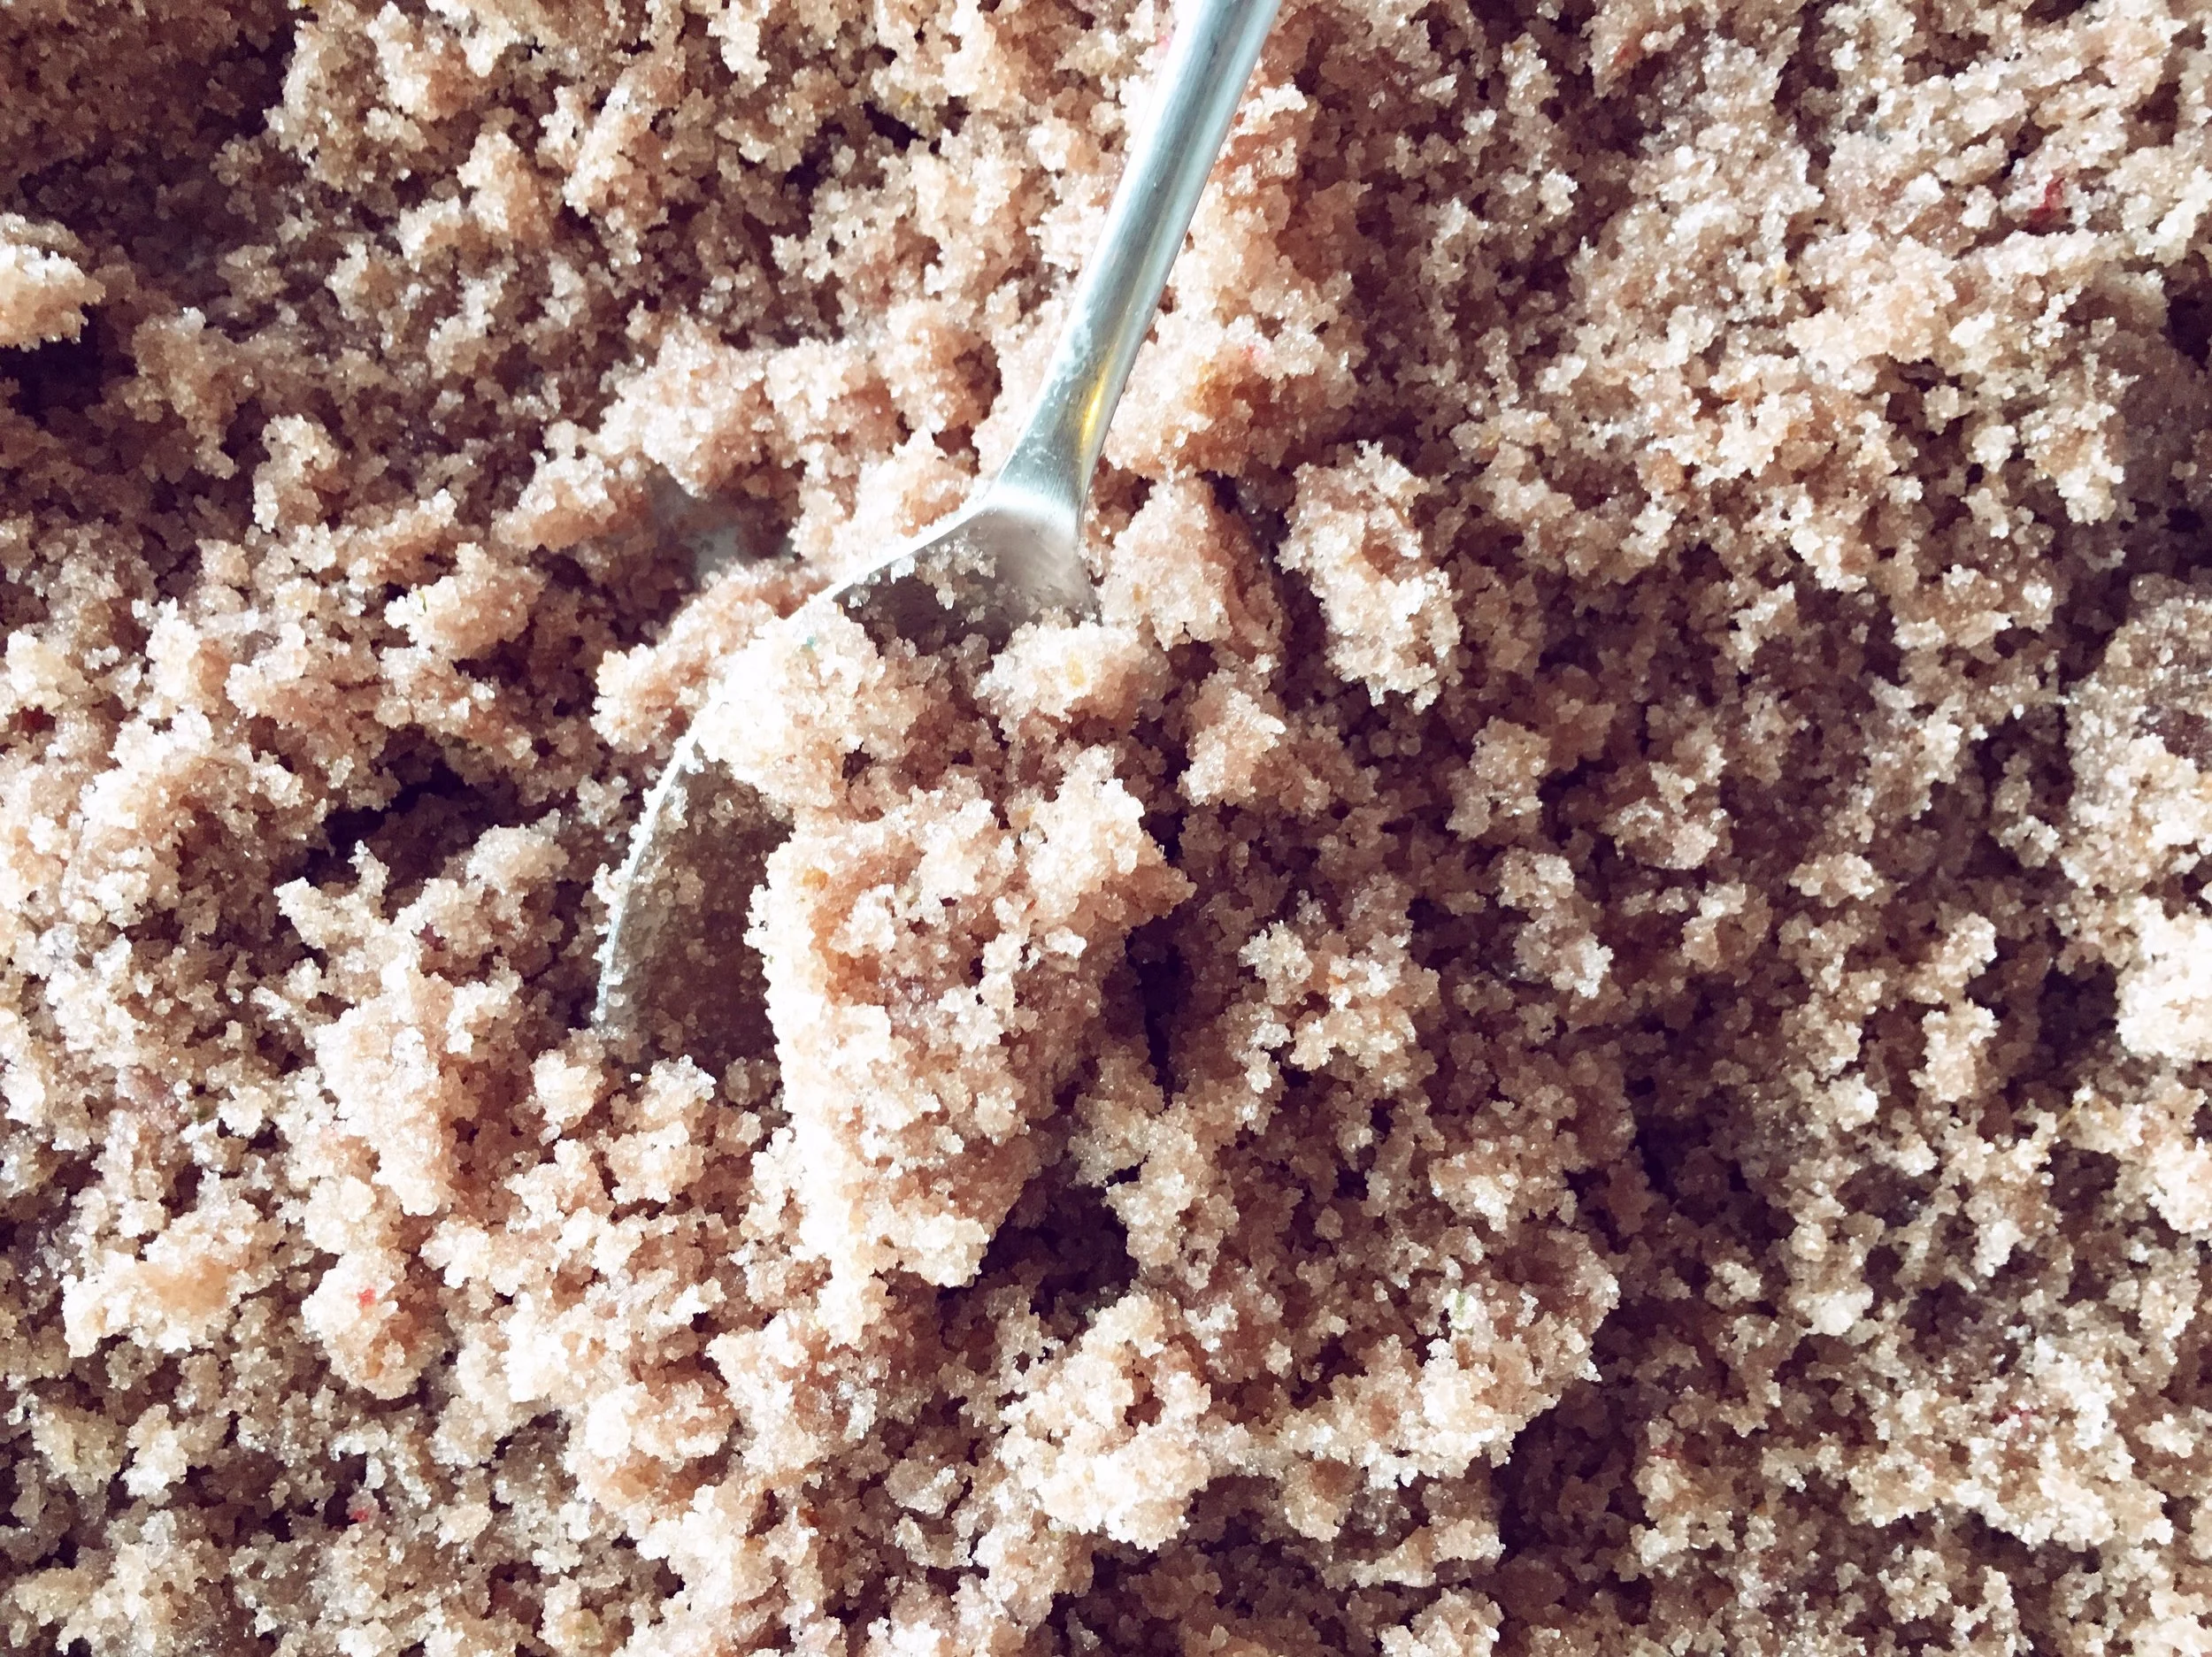
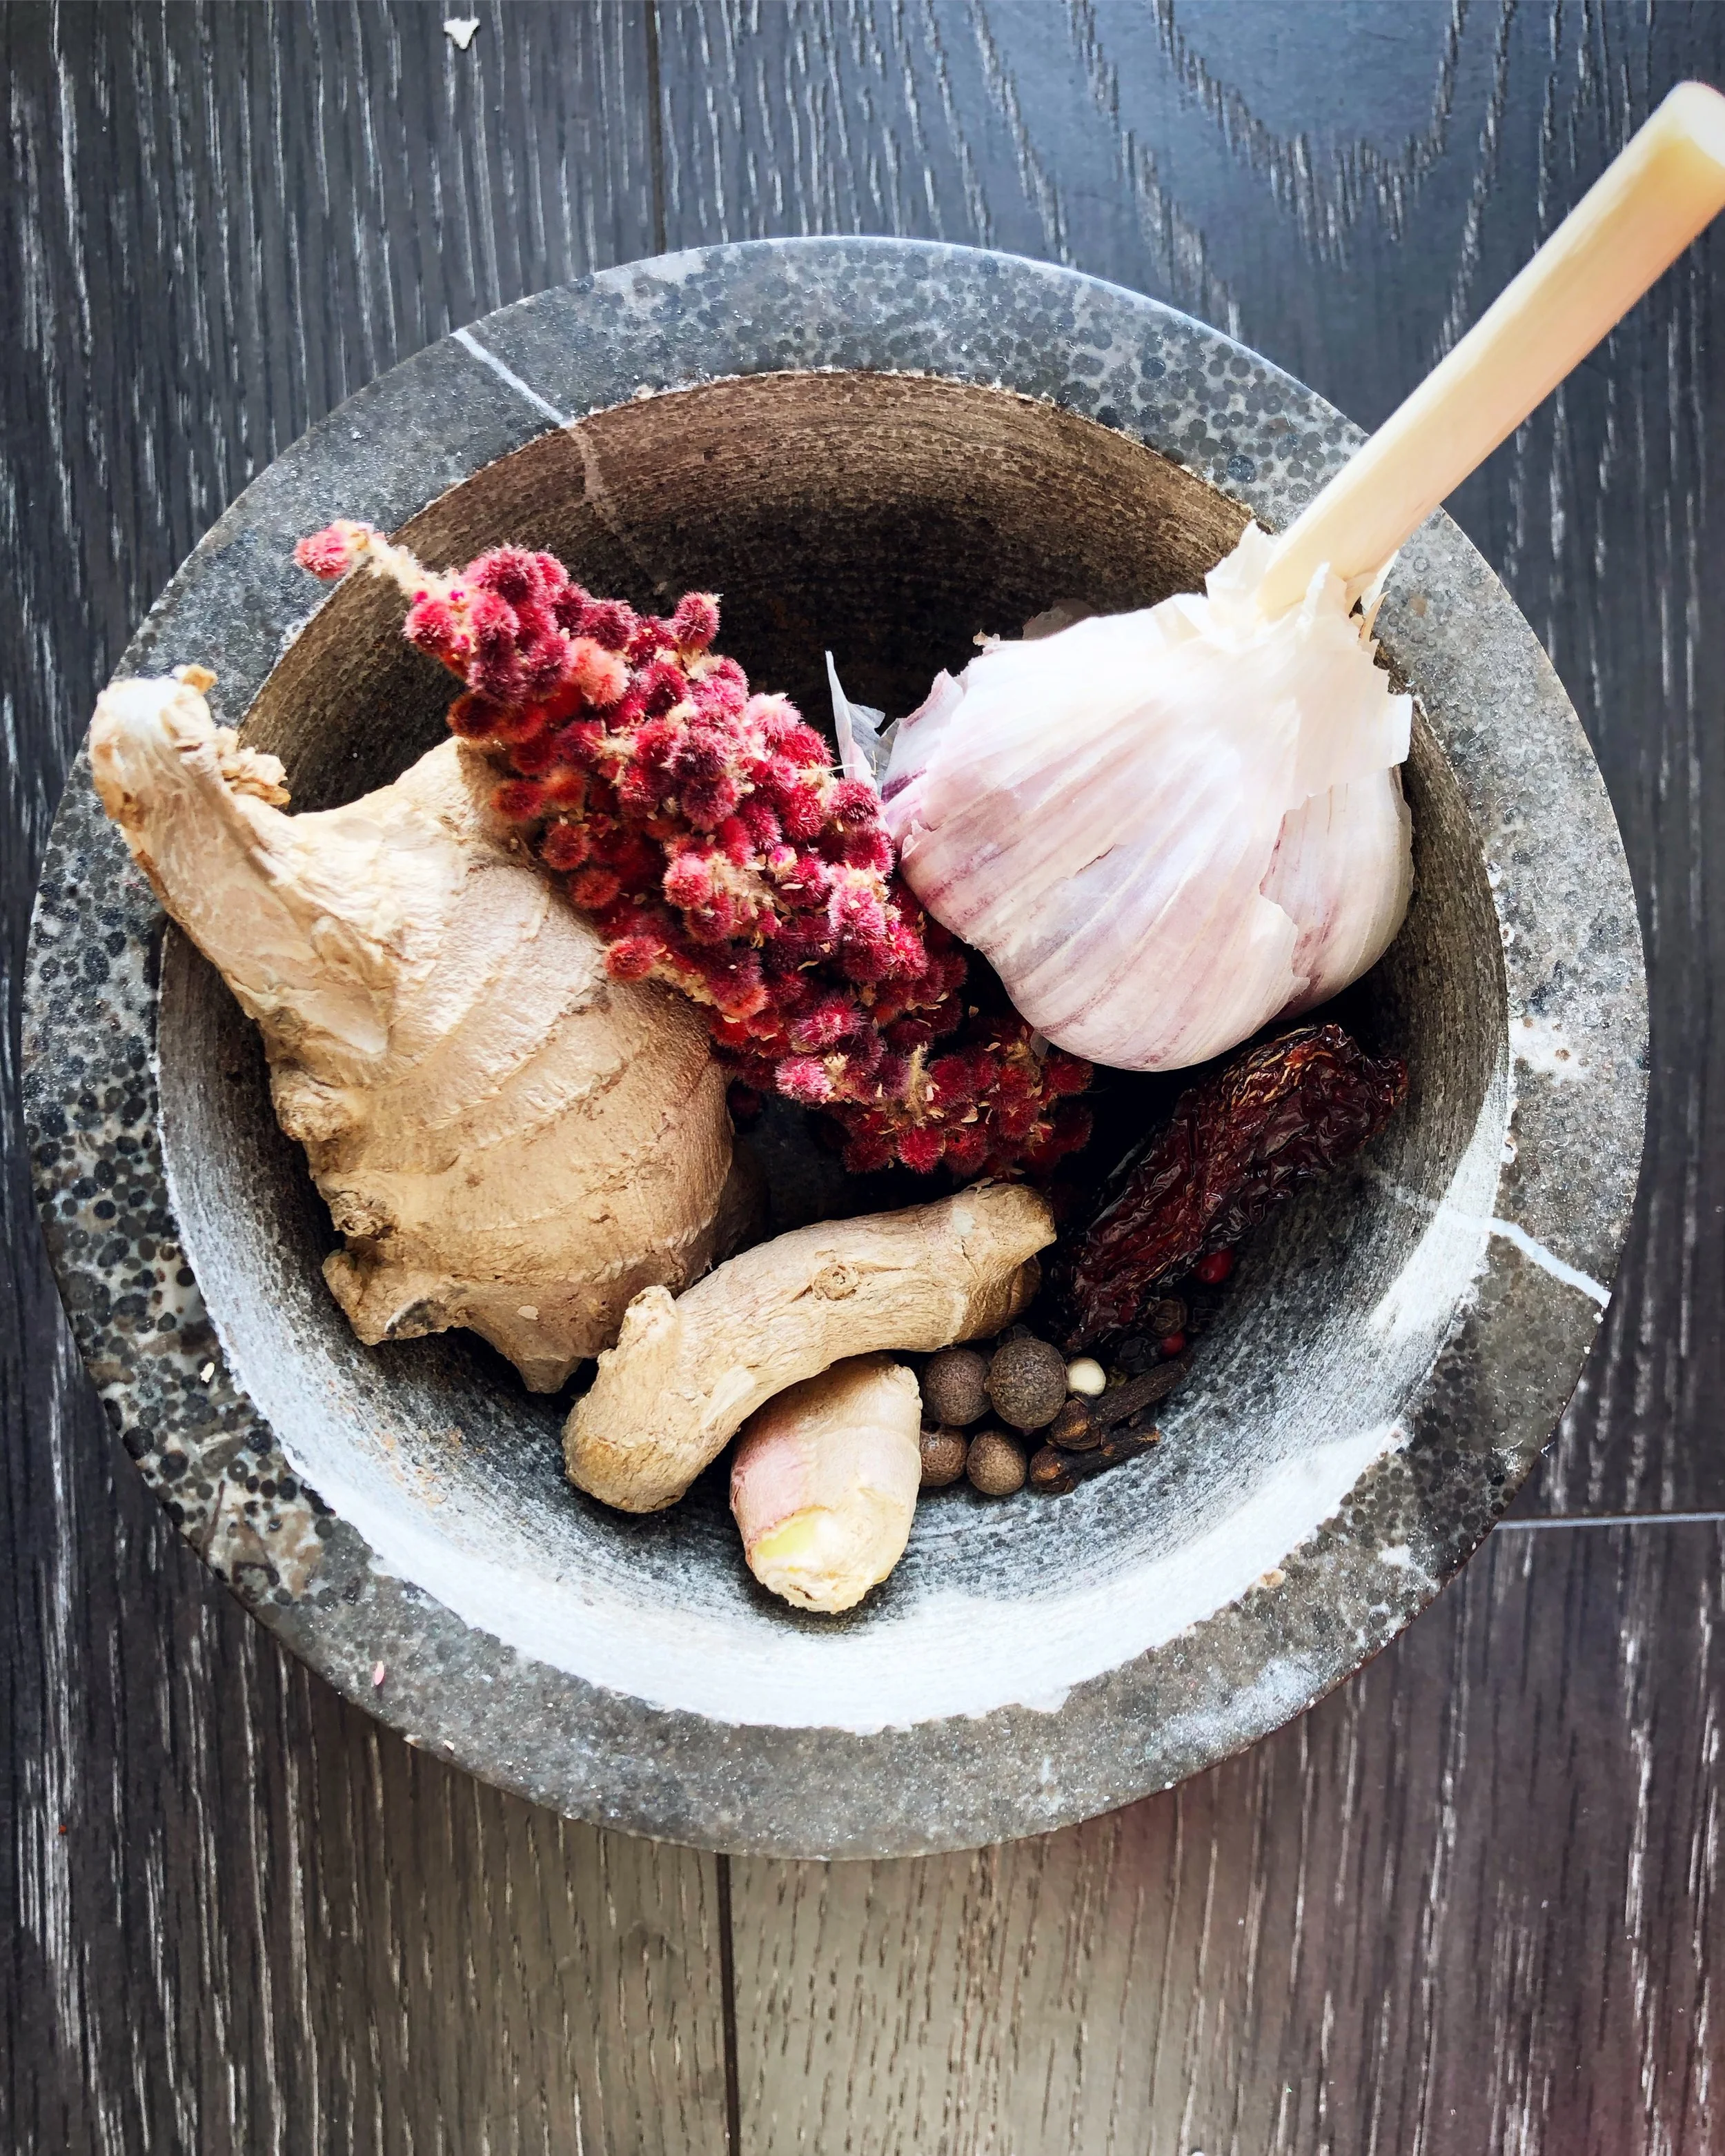
For this glaze, I started with the sumac in my mortar and pestle. I’ll be talking more about this ingredient and where I find it in a later post, but for now you should be able to find it in specialty spice shops. I think I’ve been seen ground sumac powder in the spice section of my local Bulk Barn. Sumac berries have a hard seed inside, so I crushed them with my mortar and pestle, until the dried berry surrounding the seed was crushed and sifted that through a fine mesh sieve. Don’t discard the larger bits either - you can steep those in cold water in the fridge overnight and make a lemonade-ish drink. I’d say from one drupe of berries I wound up with about 1/2 a teaspoon of powder, although I could have been more thorough and gotten more out of it. I wasn’t too worried about that though because I’m going to be steeping the larger pieces anyway for another upcoming recipe.
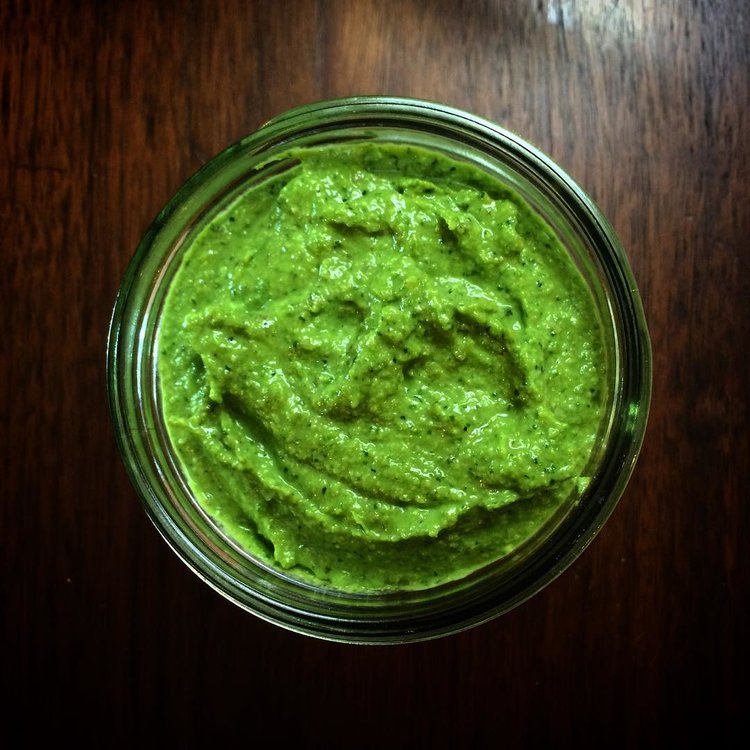
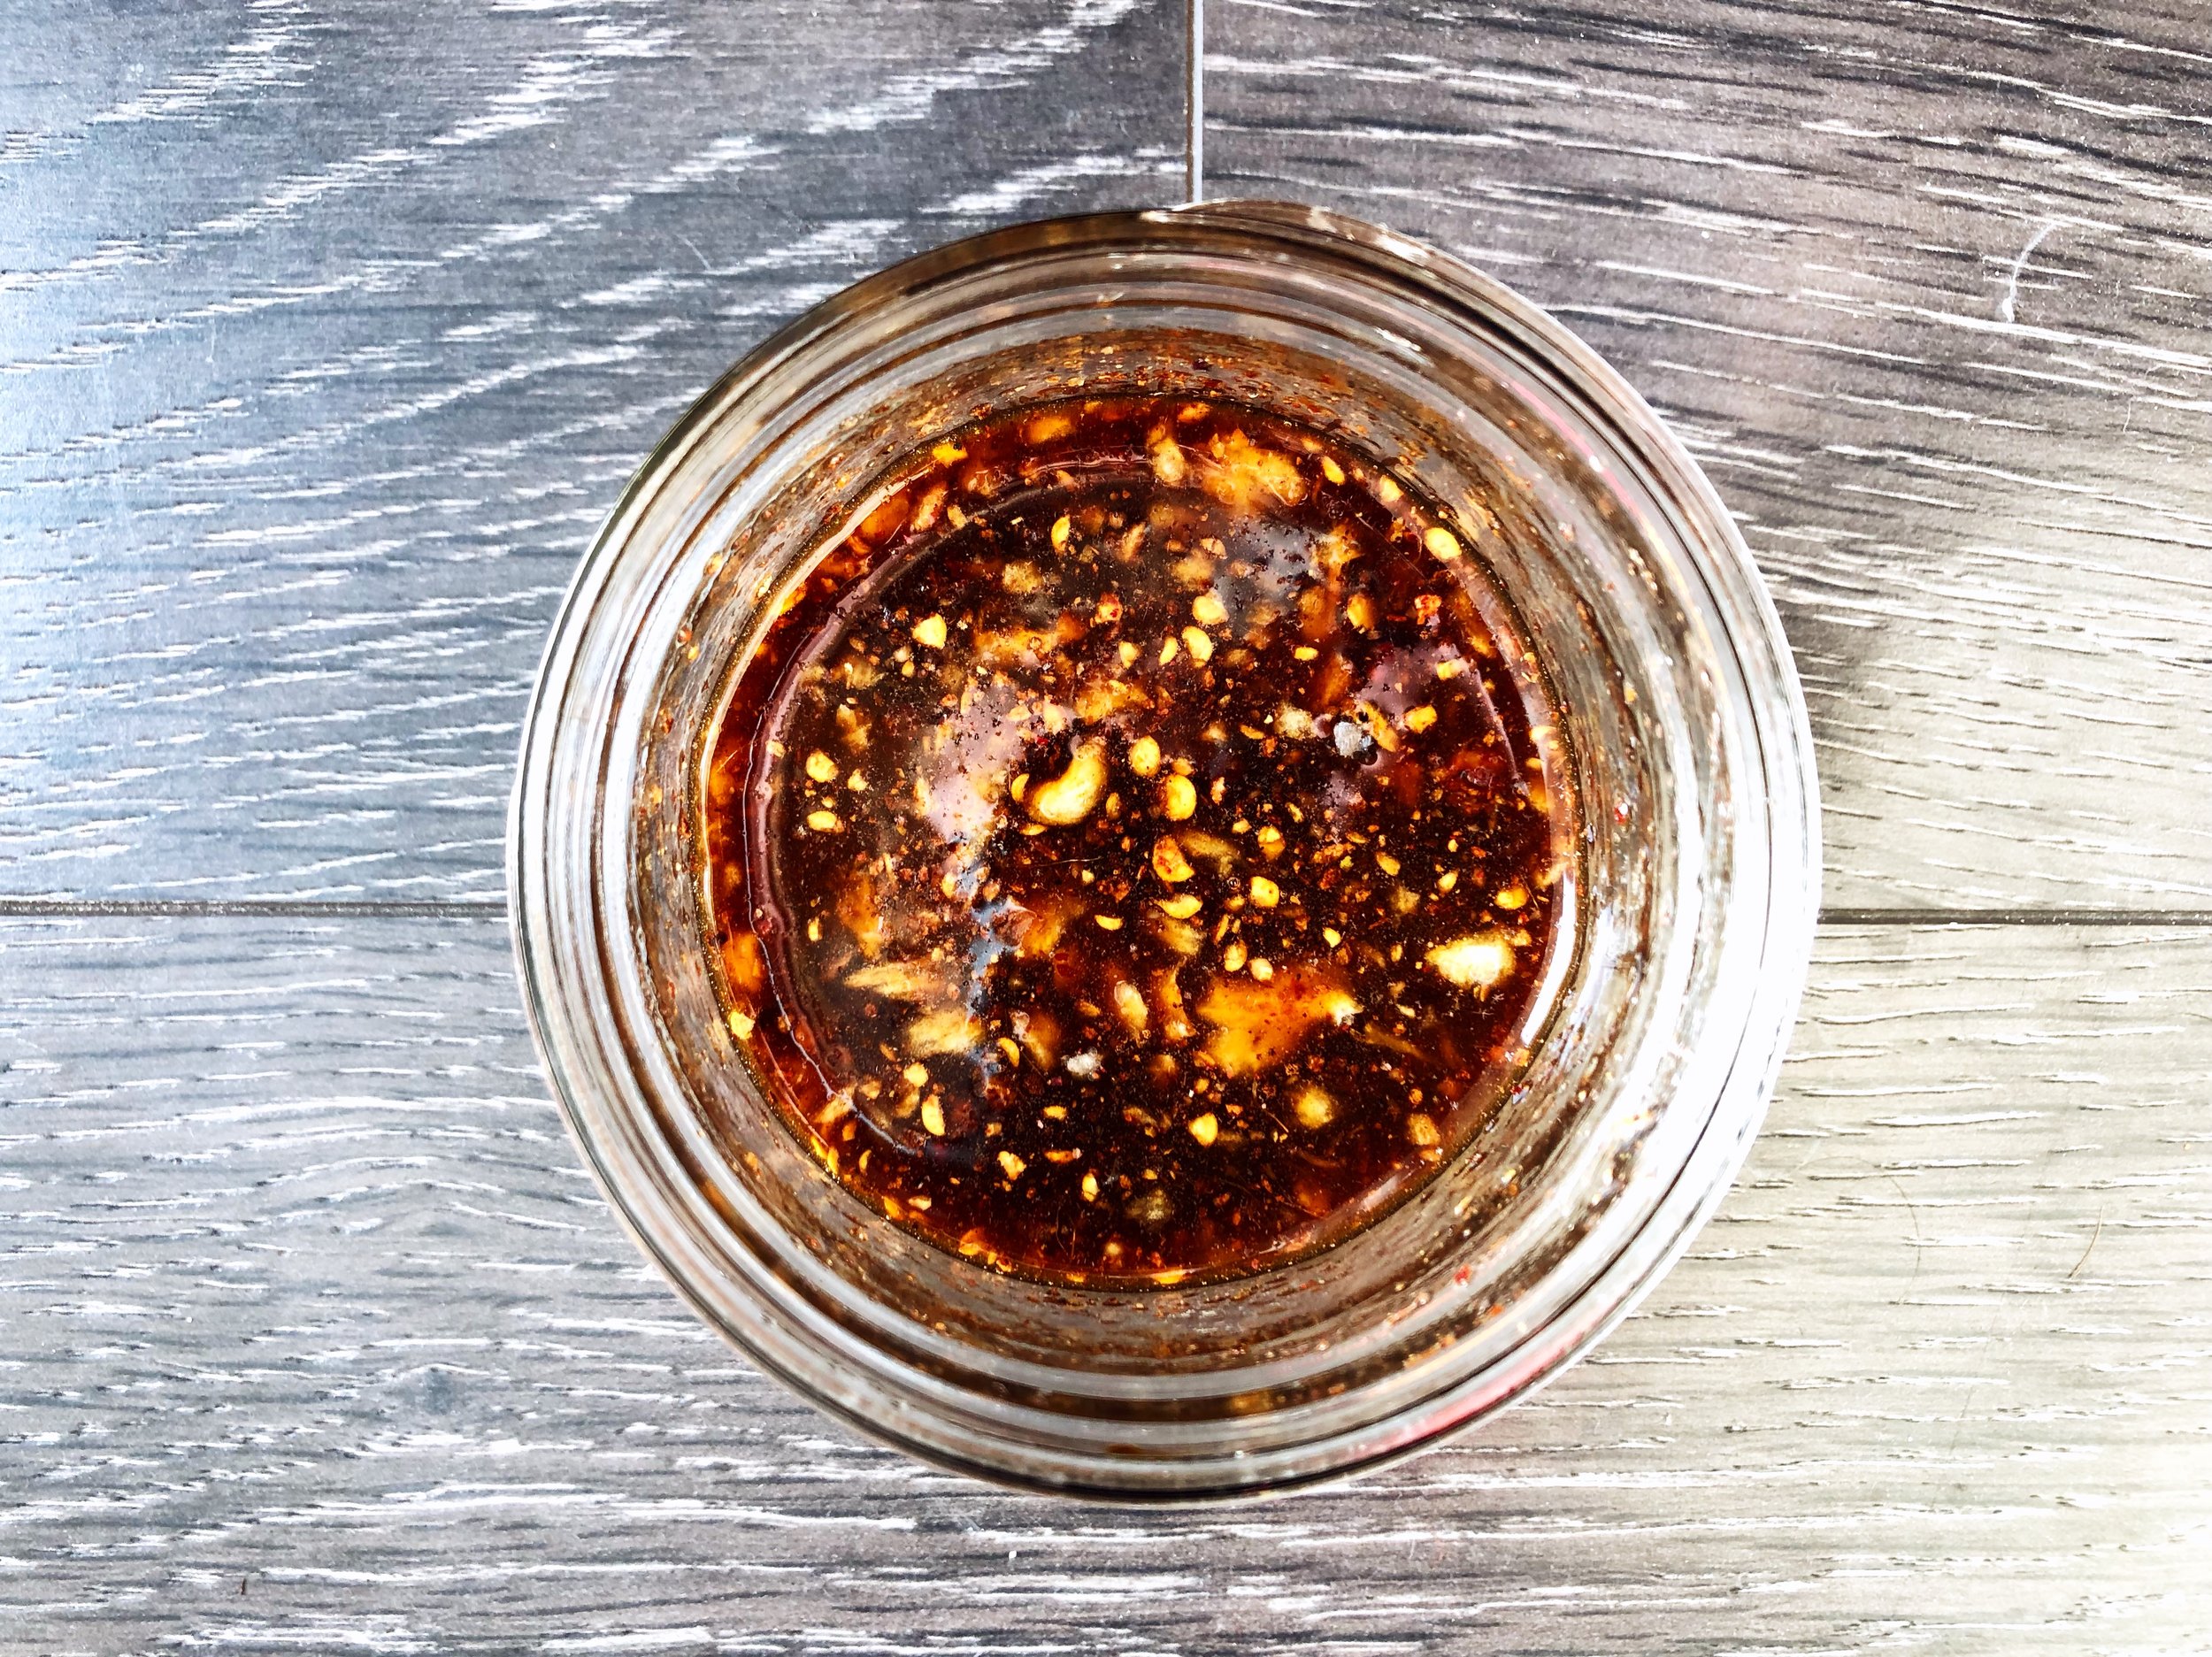
After the sumac berries were broken down, I added the other whole spices and continued to crush them. After that I added fresh ginger and a clove of garlic, and continued to grind it in my mortar and pestle until the whole mixture formed a sort of paste. At this point I took it out and mixed it with local honey, nasturtium flower infused white wine vinegar, a little bit of molasses, and salted the mixture to taste. It’s a delightful mixture of tangy, sweet, and warm from all the spices and ginger.
Honey Glaze for Epiphany Ham

Ingredients
- 1/2 tsp sumac powder
- 3-4 whole allspice berries
- 3-4 whole cloves
- 1/4 tsp multicoloured peppercorns
- 1 dried smoked chilli pepper
- 1 thumb fresh ginger
- 1 large clove garlic
- 1/2 tsp salt
- 4 tbsp honey
- 2 tbsp white wine vinegar
- 1/2 tsp molasses
Takes , Serves enough glaze for one small ham.
Instructions
- If you are using dried sumac berries, pound and grind them in a mortar and pestle or spice grinder until the berries are mostly powder and the hard seeds are all exposed. Sift this mixture and use only the powder for this recipe. Discard or save the larger pieces that don’t make it through the sieve.
- Add the whole dried spices and chilli to the mortar and pestle along with the sumac powder. Continue grinding until all the pieces are a fine texture and roughly the same size.
- Add the fresh ginger and garlic one after the other, and continue grinding the mixture together in the mortar and pestle until it all forms a paste.
- Transfer the paste to a small bowl, and combine with the honey, vinegar, molasses, and salt to taste. Adjust all the spices as necessary - go ahead and grind more of anything that you feel is missing. This is all about adjusting to your own preference, but remember you are making a glaze, so the end result should be rather on the sweet side. You want it to caramelize on the ham in the oven while you are cooking it. If you think you might not have enough for your ham, feel free to scale up the ingredients until you have enough to cover it.
- Follow your preferred method for roasting your ham, and add this glaze when there are about 30-60 minutes remaining to the cooking time. You want this to caramelize on the outside of the ham, but not to burn.