A Forager's Home

Grow. Find. Eat. Make.

  • Blog
  • About
  • DIY
  • Recipes
  • Foraging
IMG_6201.jpeg

Nettle Pancakes

March 17, 2020 by Kelsey Fast in Find, Eat

Springtime is almost here! Or at least here in Kamloops we’re still waiting for the last of the snow to disappear, but I know from my newsfeeds that many of you live in warmer places. Some of you are even enjoying your first nettle harvests! Since I had a few cups from last year stashed away in the freezer I thought I’d share a recipe that woulds satisfy my craving for spring flavours, and maybe give you some inspiration.

There are a few recipes that I feel are my family legacy, and pancakes is definitely one of them. Big pancakes breakfasts have such a strong association with family for me that we decided a pancake brunch was the perfect meal to serve at our wedding. This recipe is strongly based on my mother’s, but with quite a few tweaks.

{Jump to the Recipe}

IMG_6200.jpeg

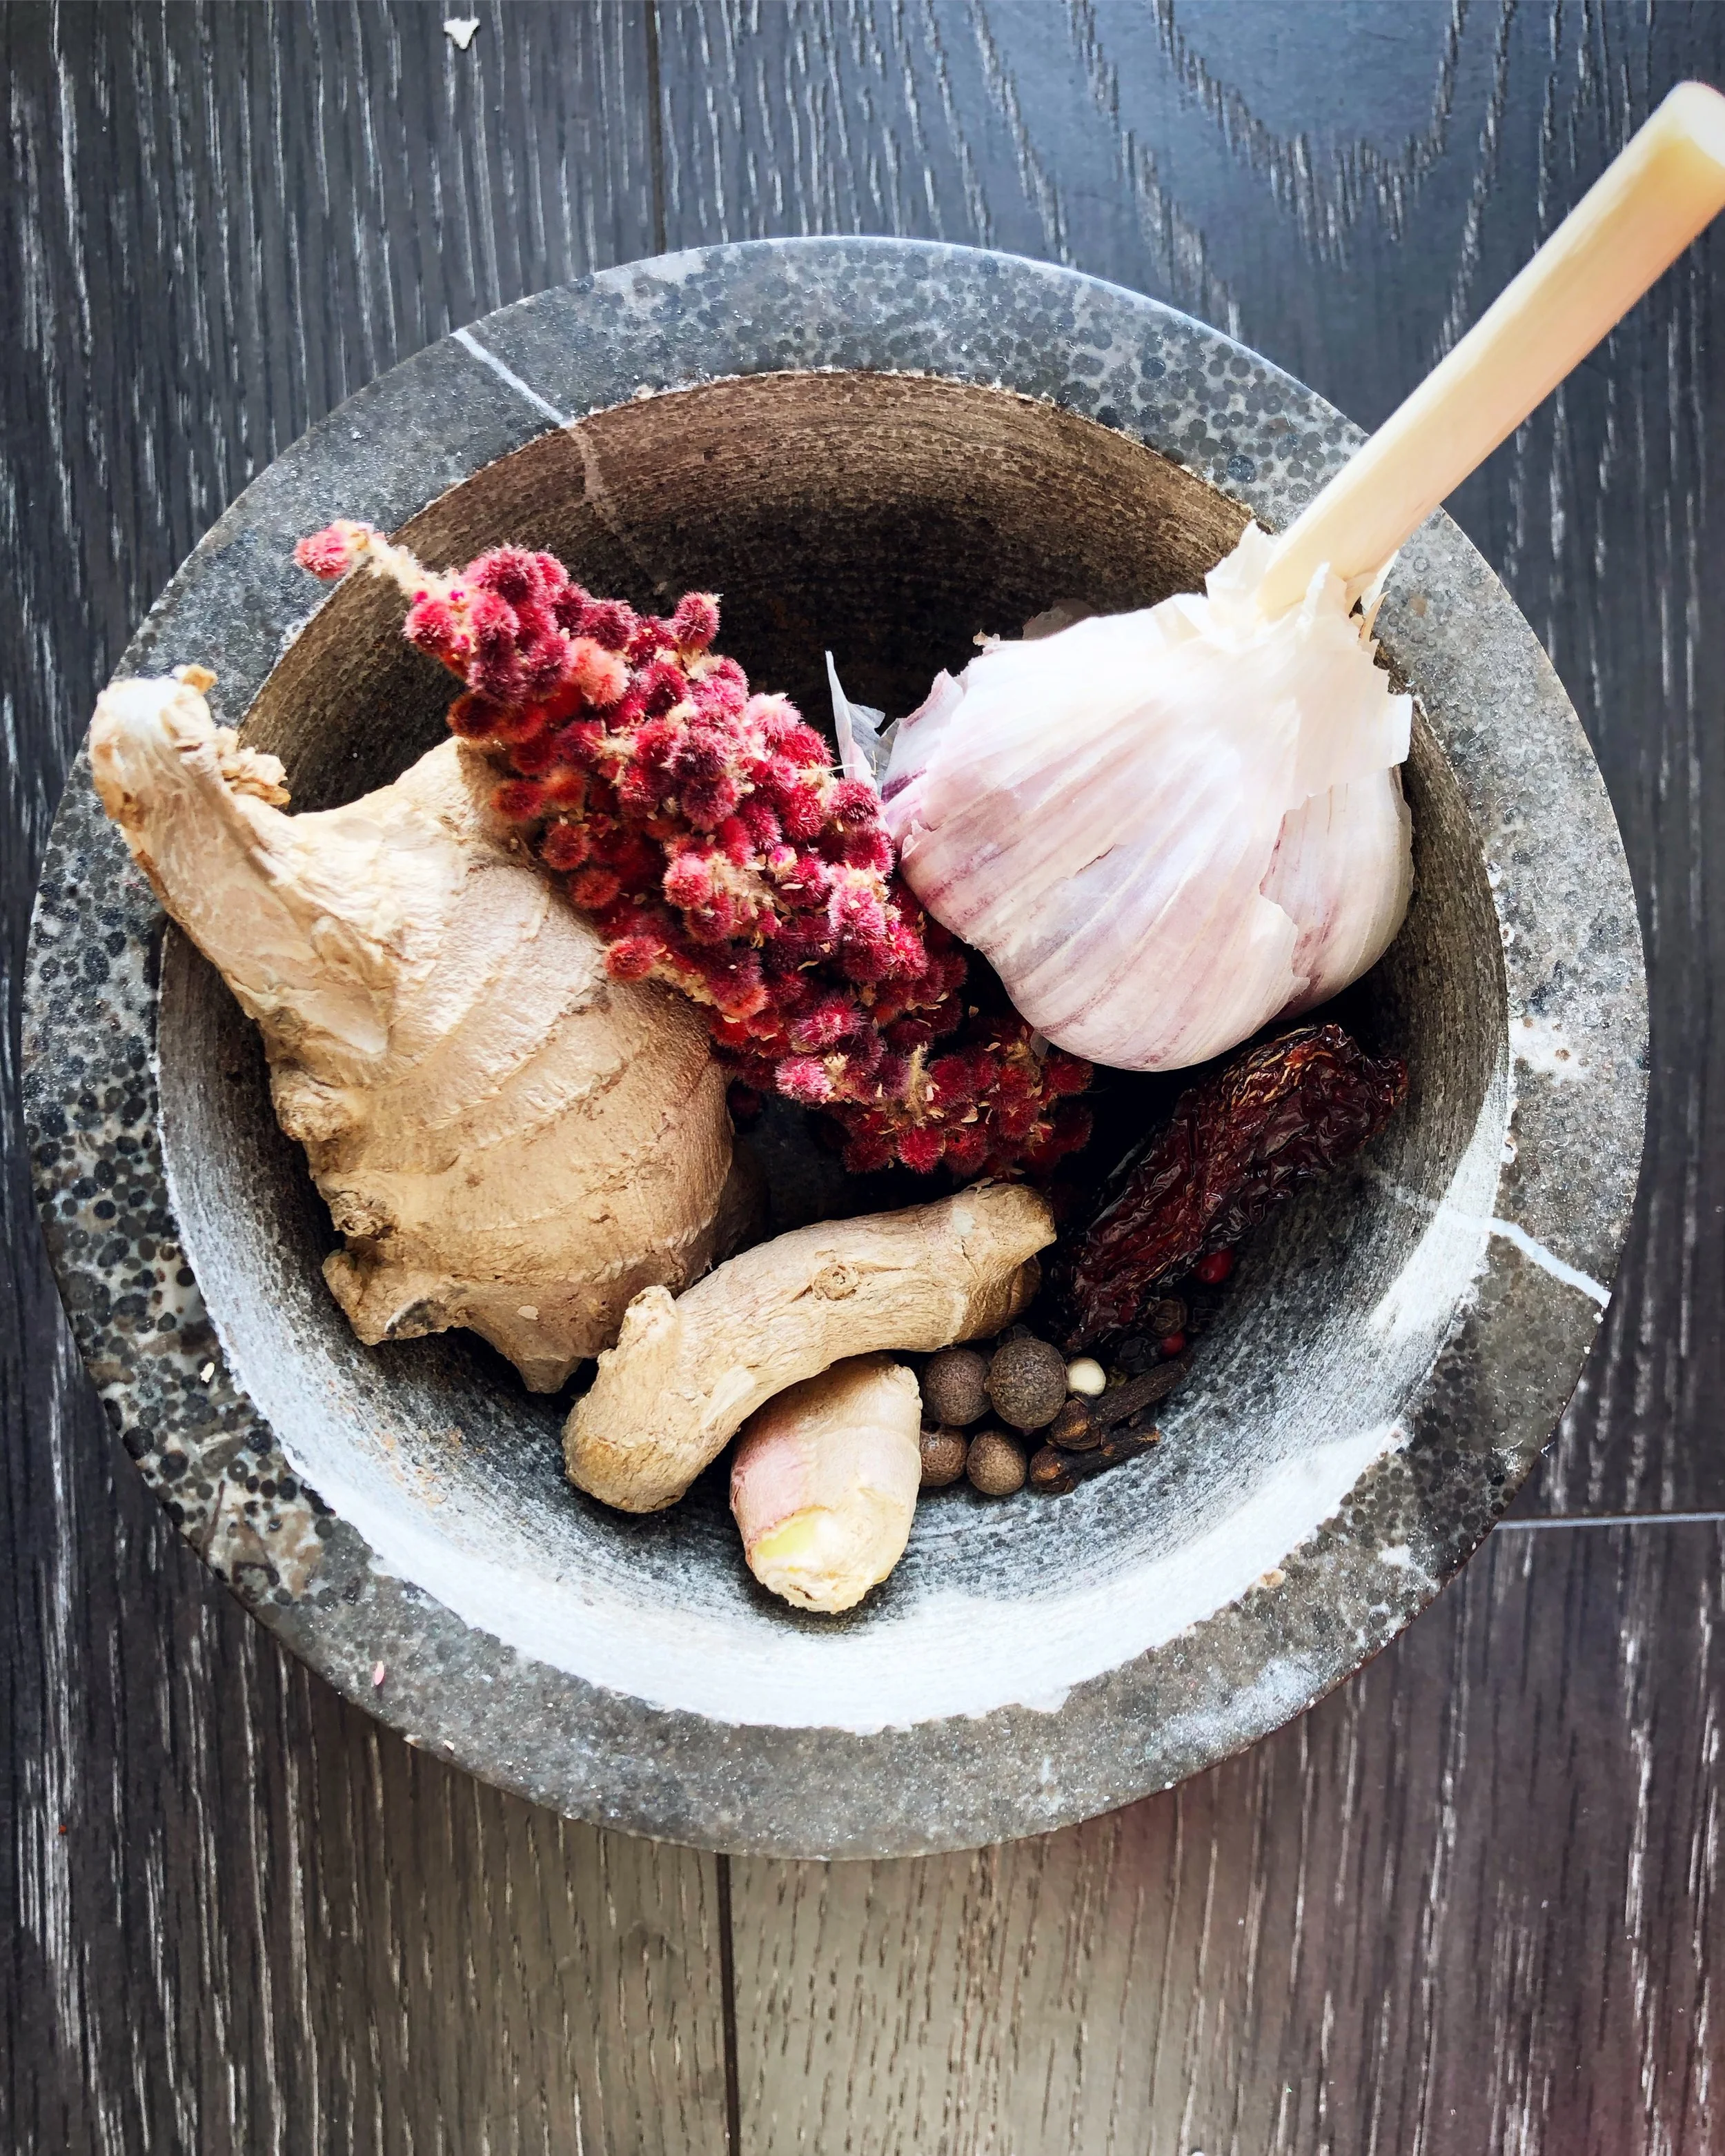
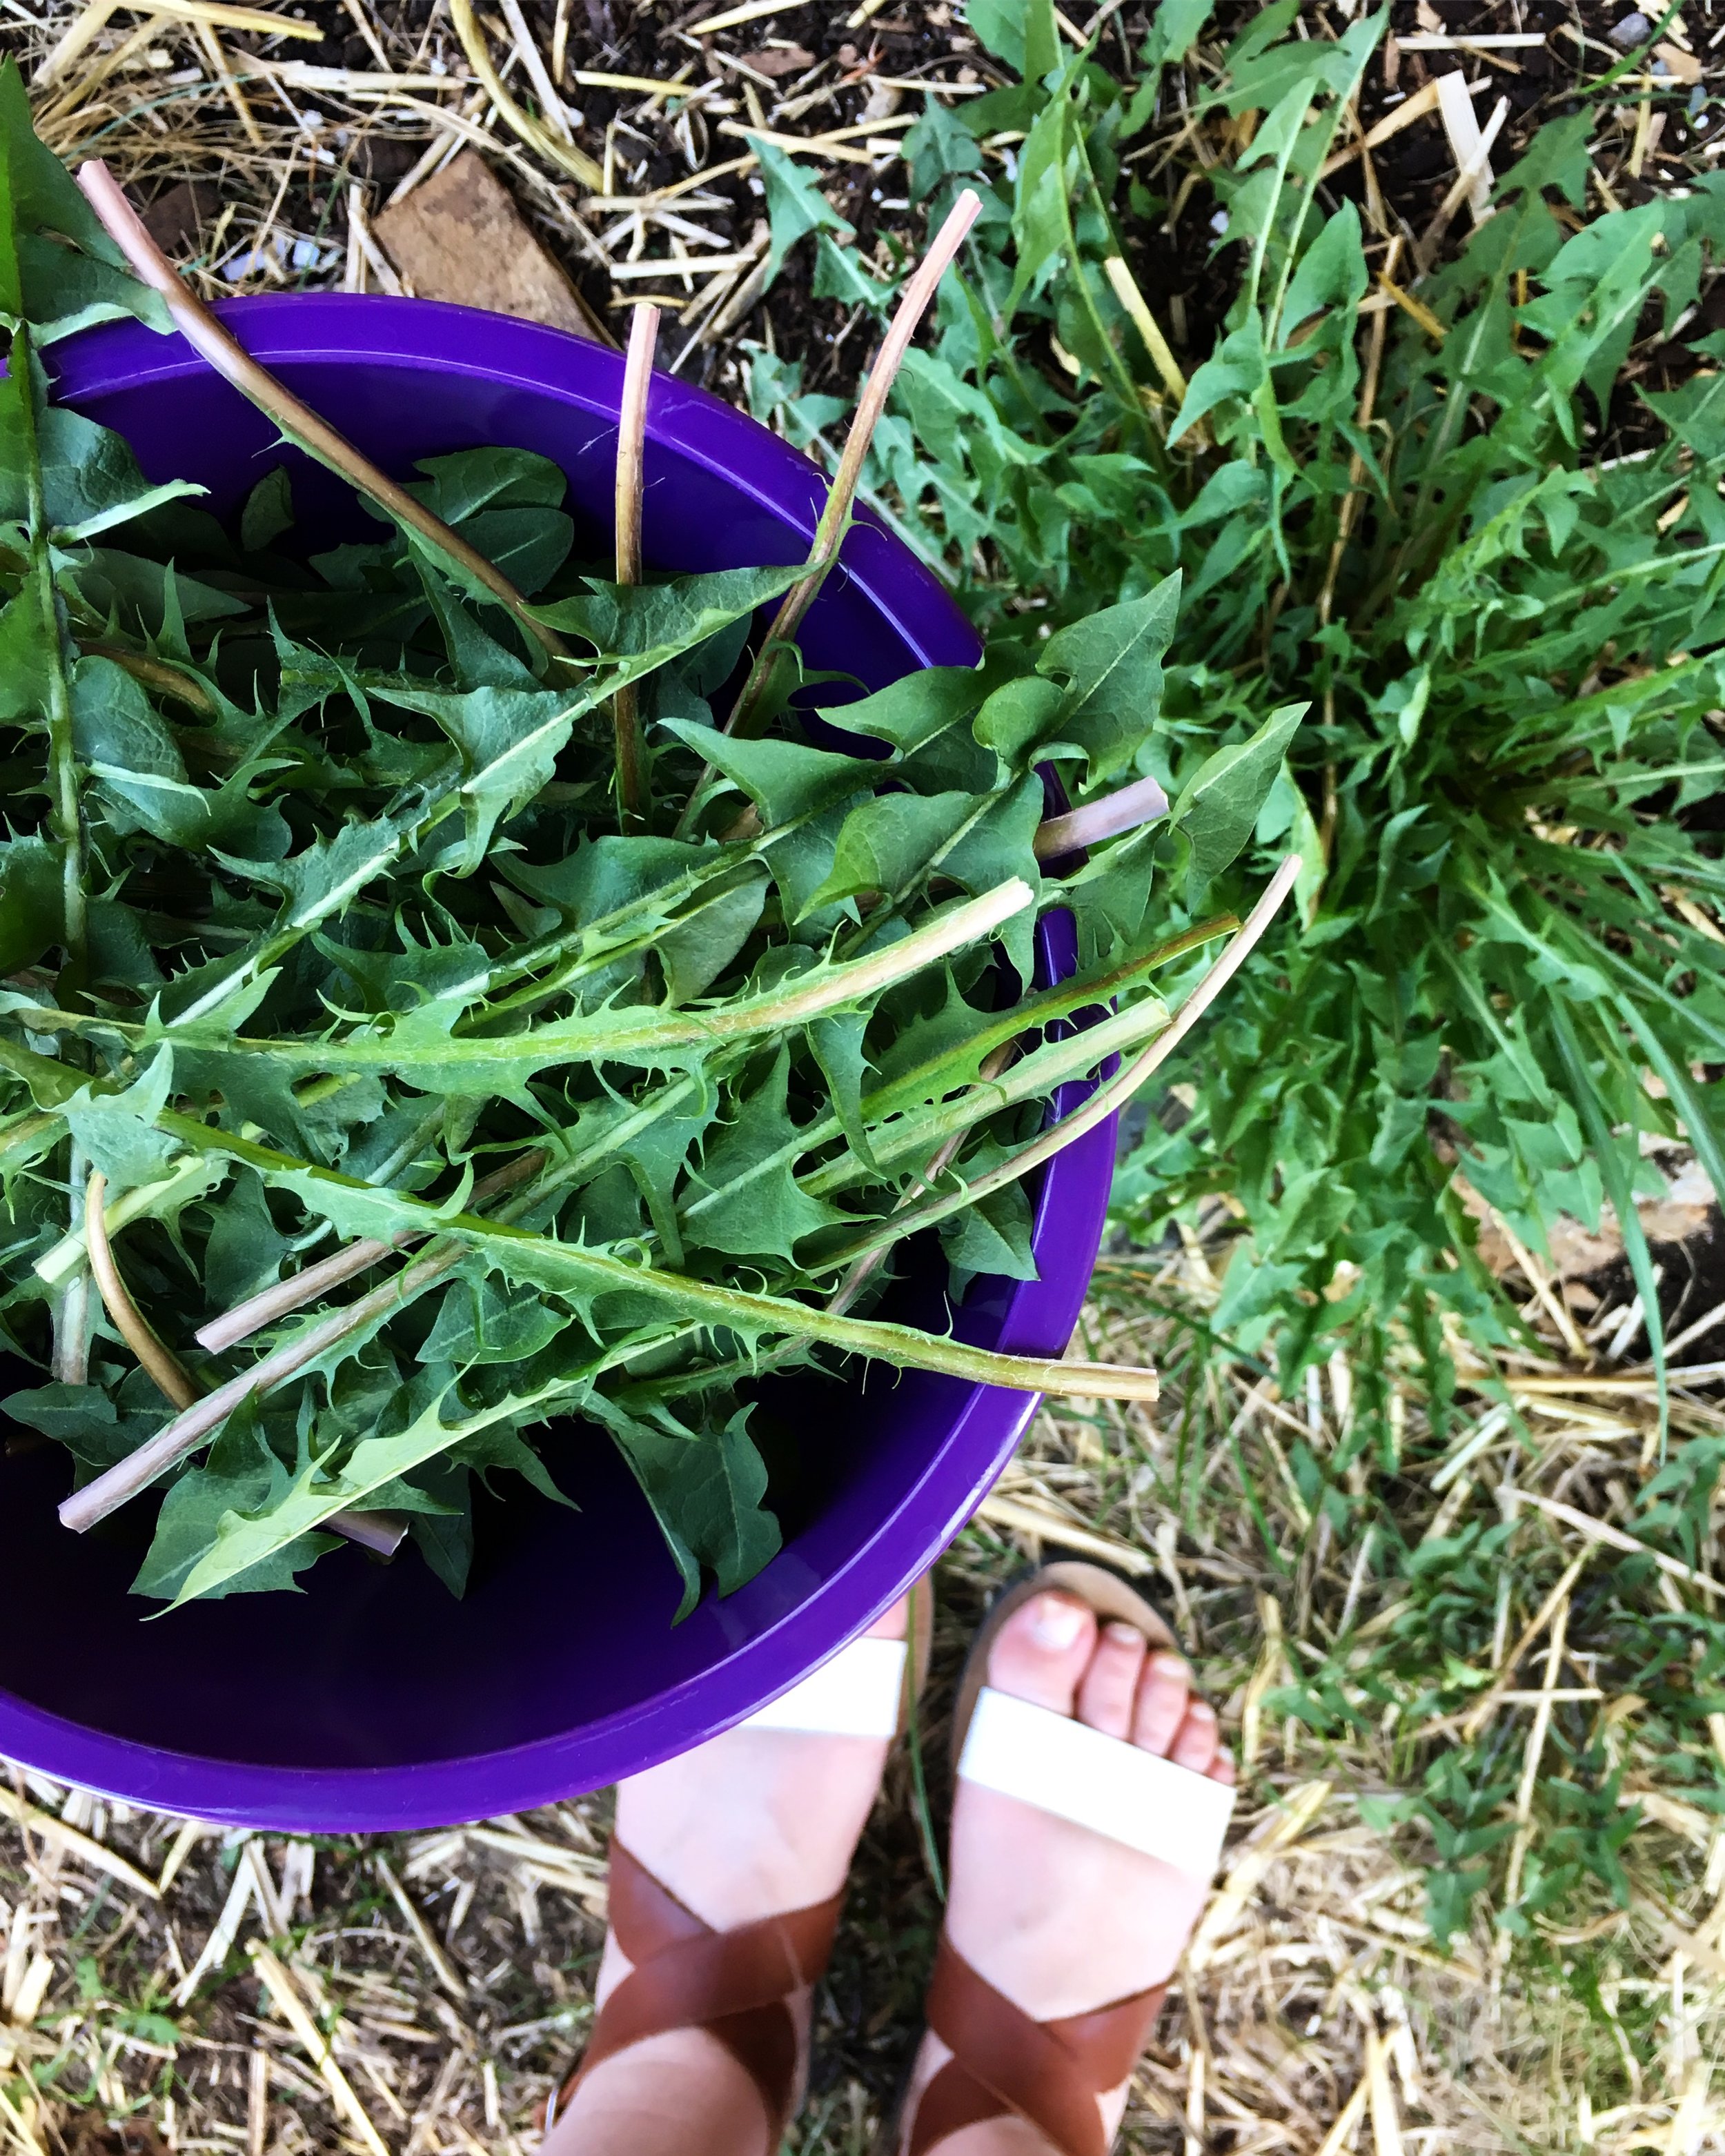
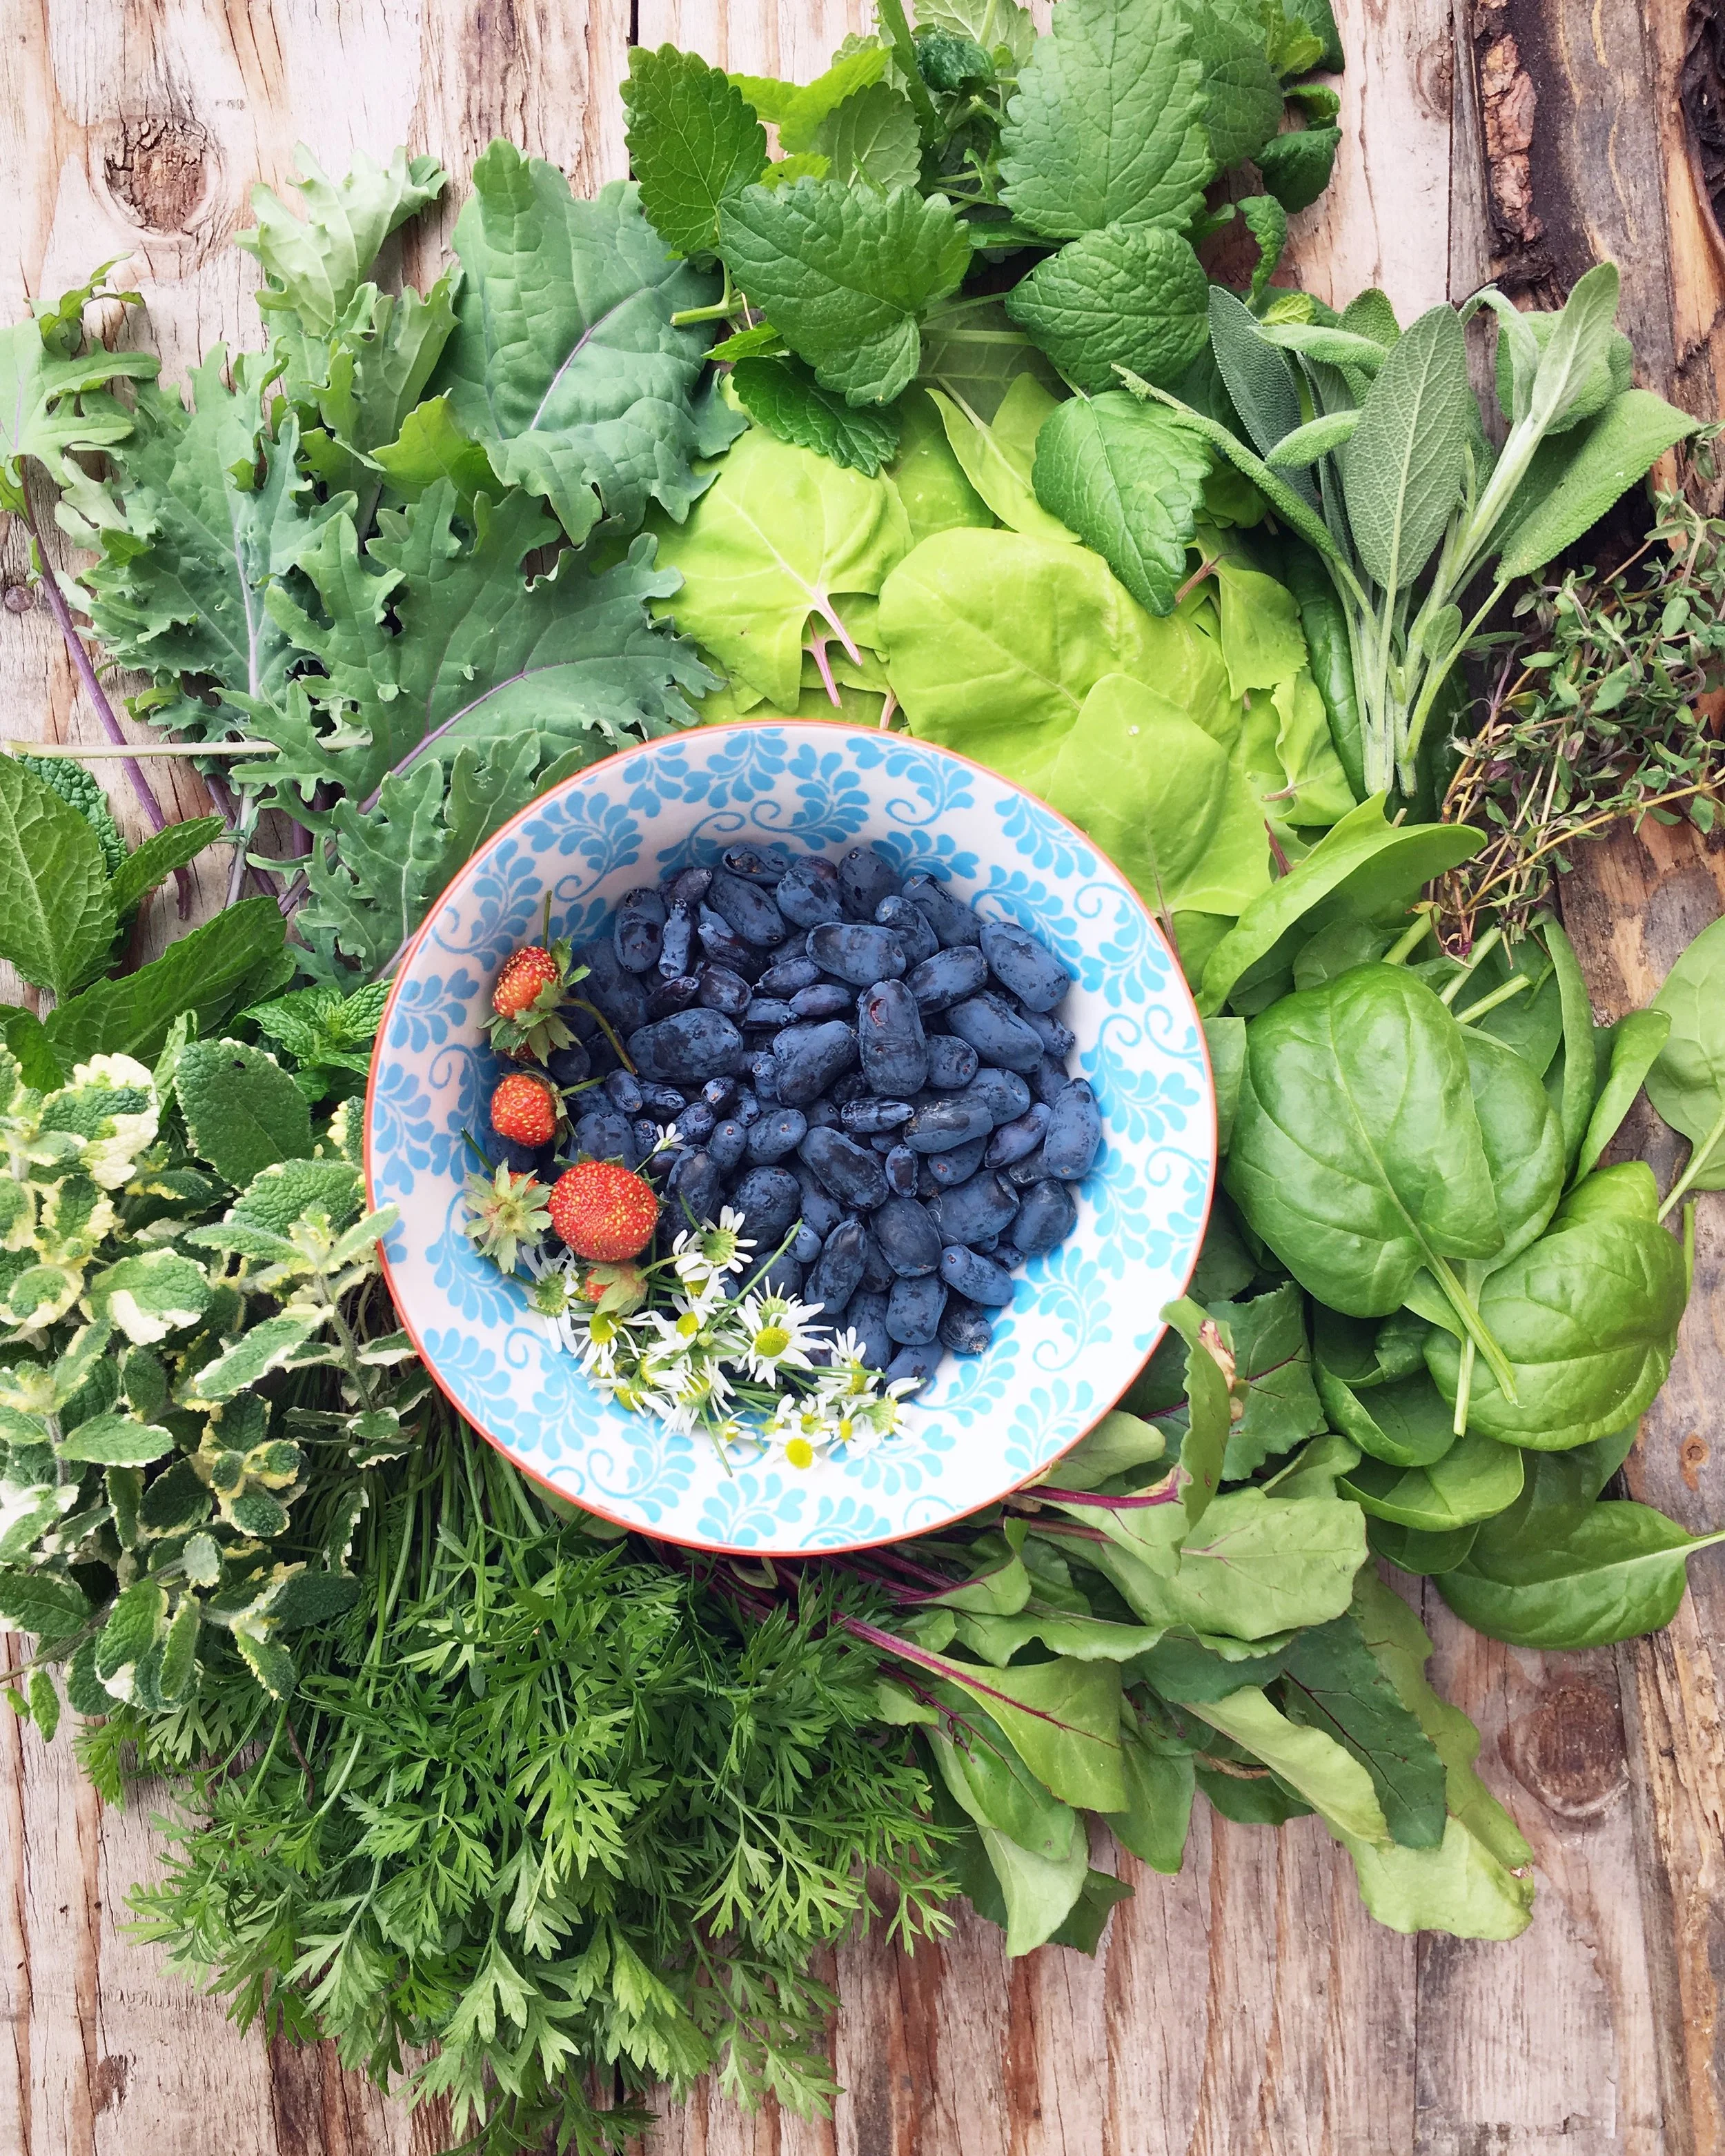
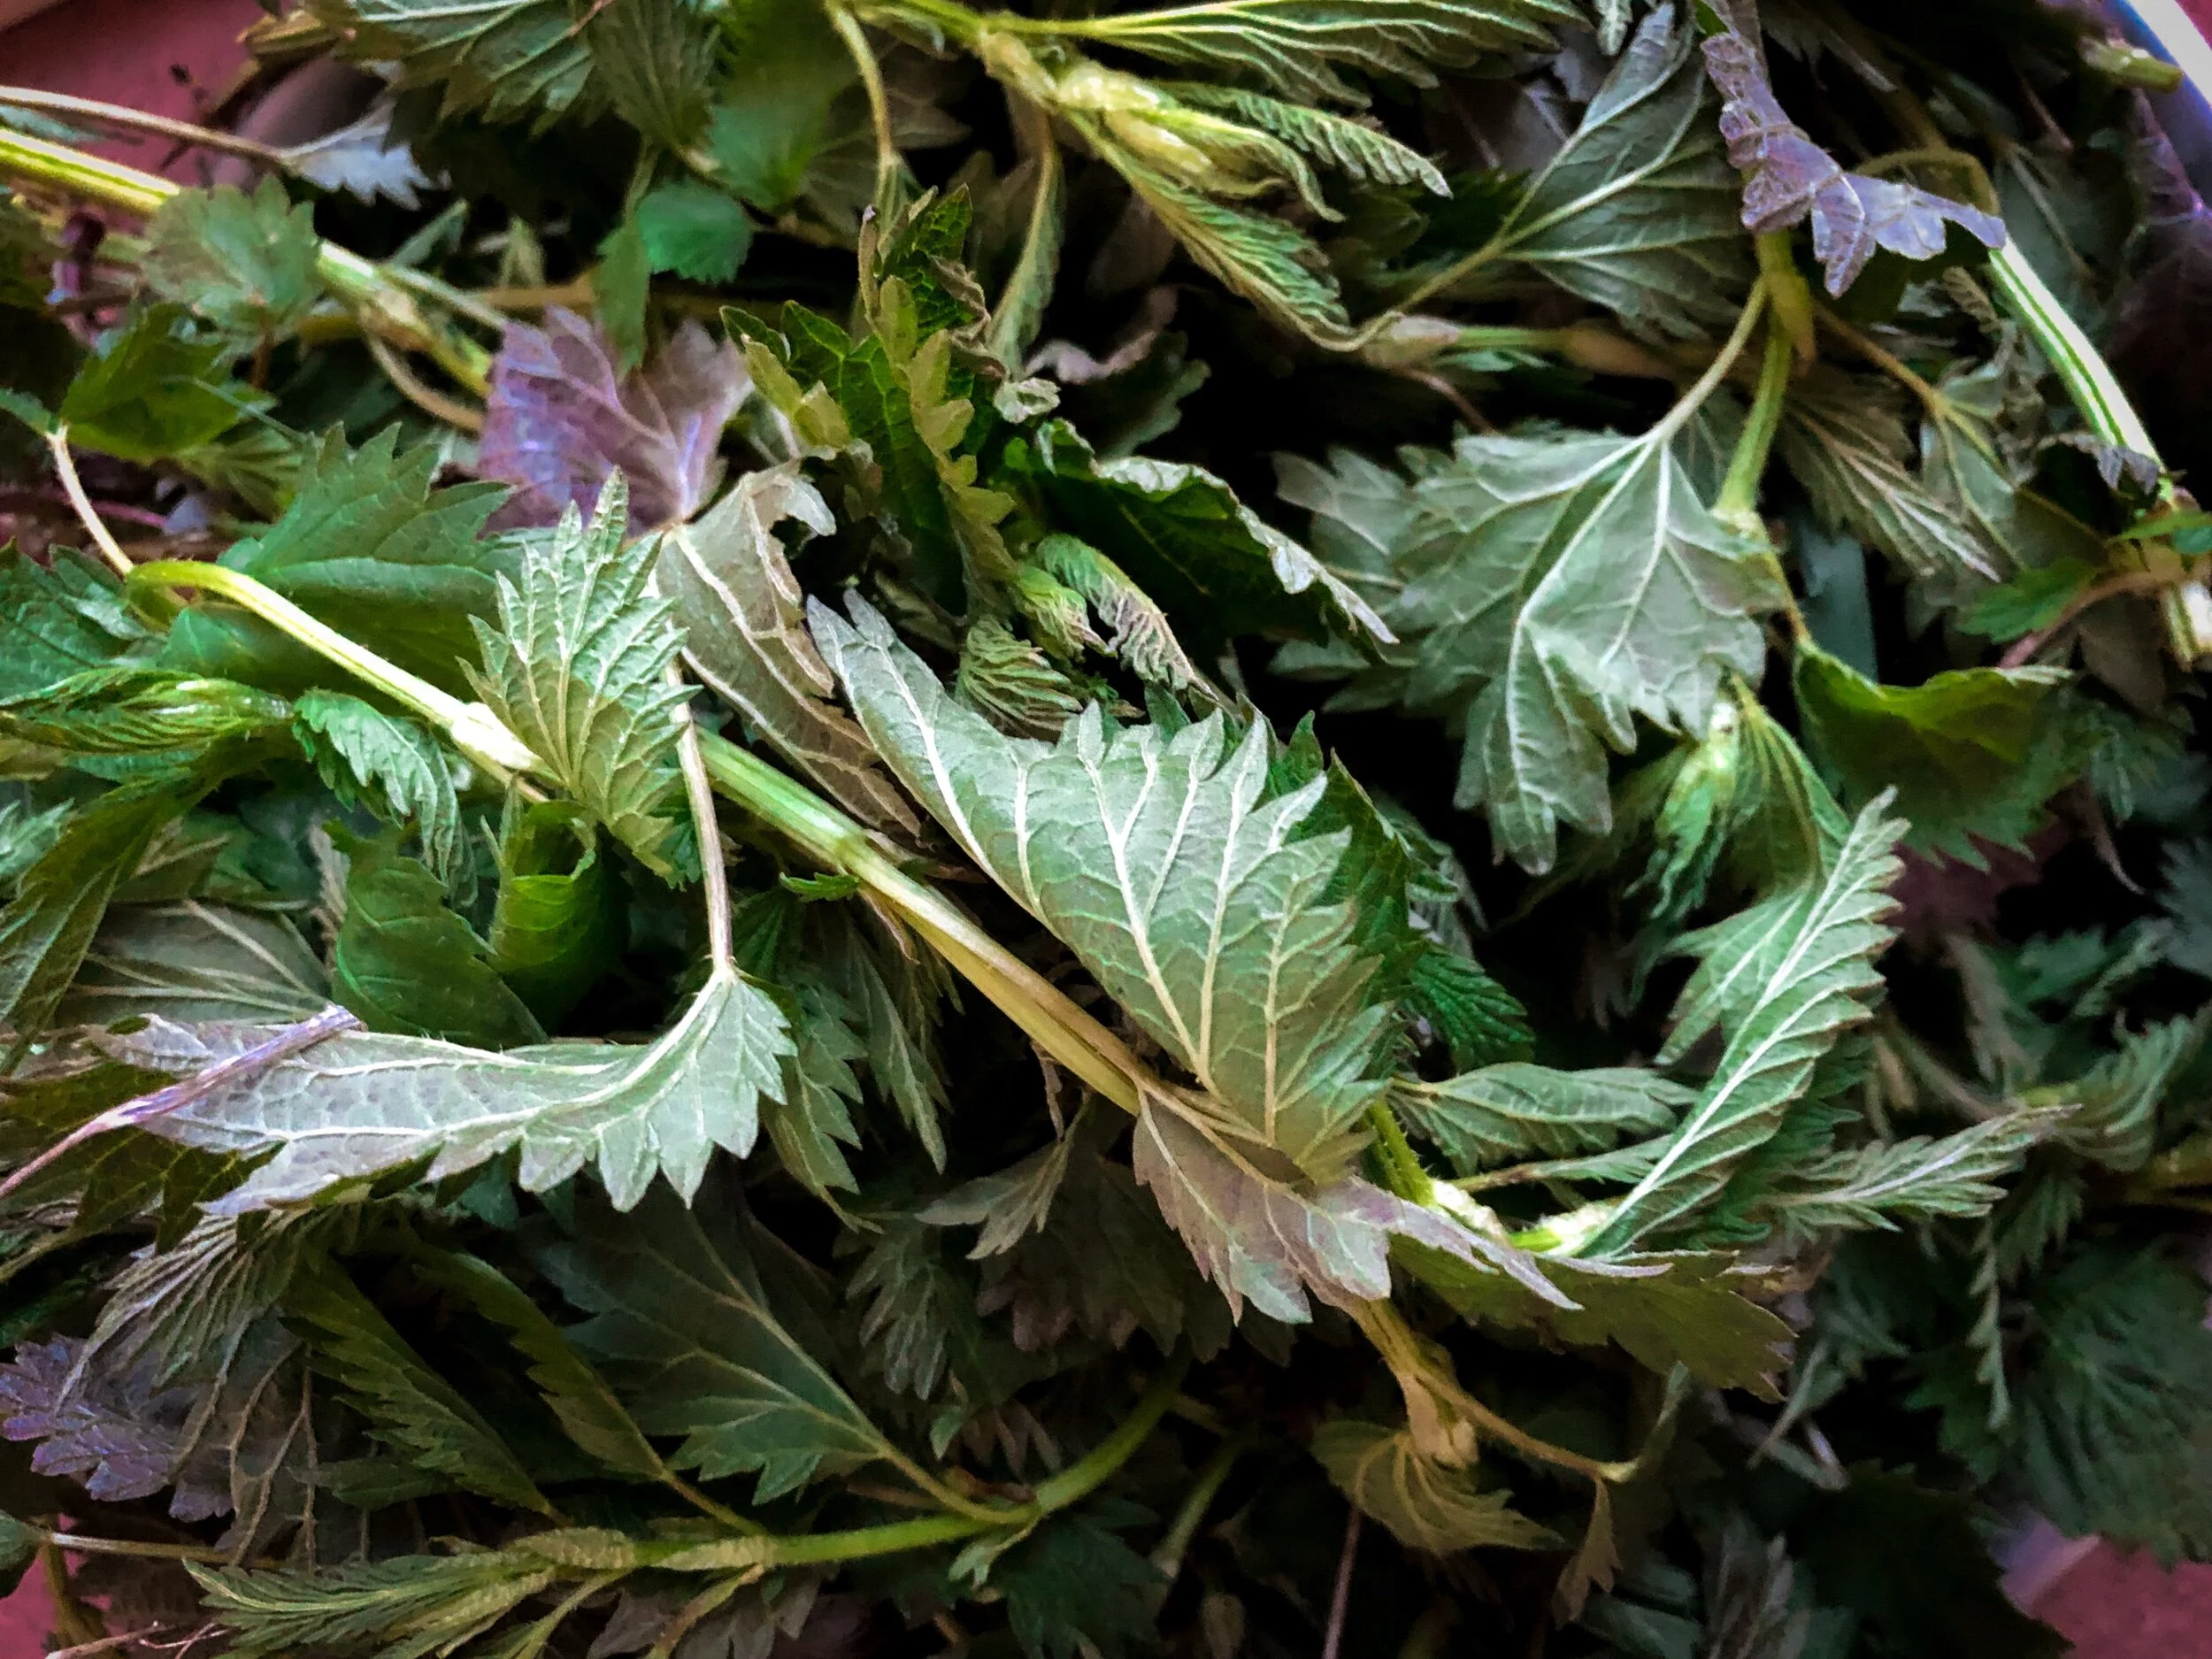
You might be wondering - why nettles? Despite their sting, nettles are a fantastic spring green to forage for, and a bonus is that no one who has them on their land really wants them. When I gathered mine I secured an invite from a perplexed farmer who was more than happy for me to come hack away at the patch of nettles invading their beautiful garden soil. When you are gathering nettles make sure you wear gloves - I used rubber kitchen gloves - and long sleeves. I also used long handled kitchen tongs while picking, and when I brought them home to process. The good news is, once nettles are either dried or cooked they lose their stinging properties, so you can handle them without so much caution after that.

IMG_2942.jpeg

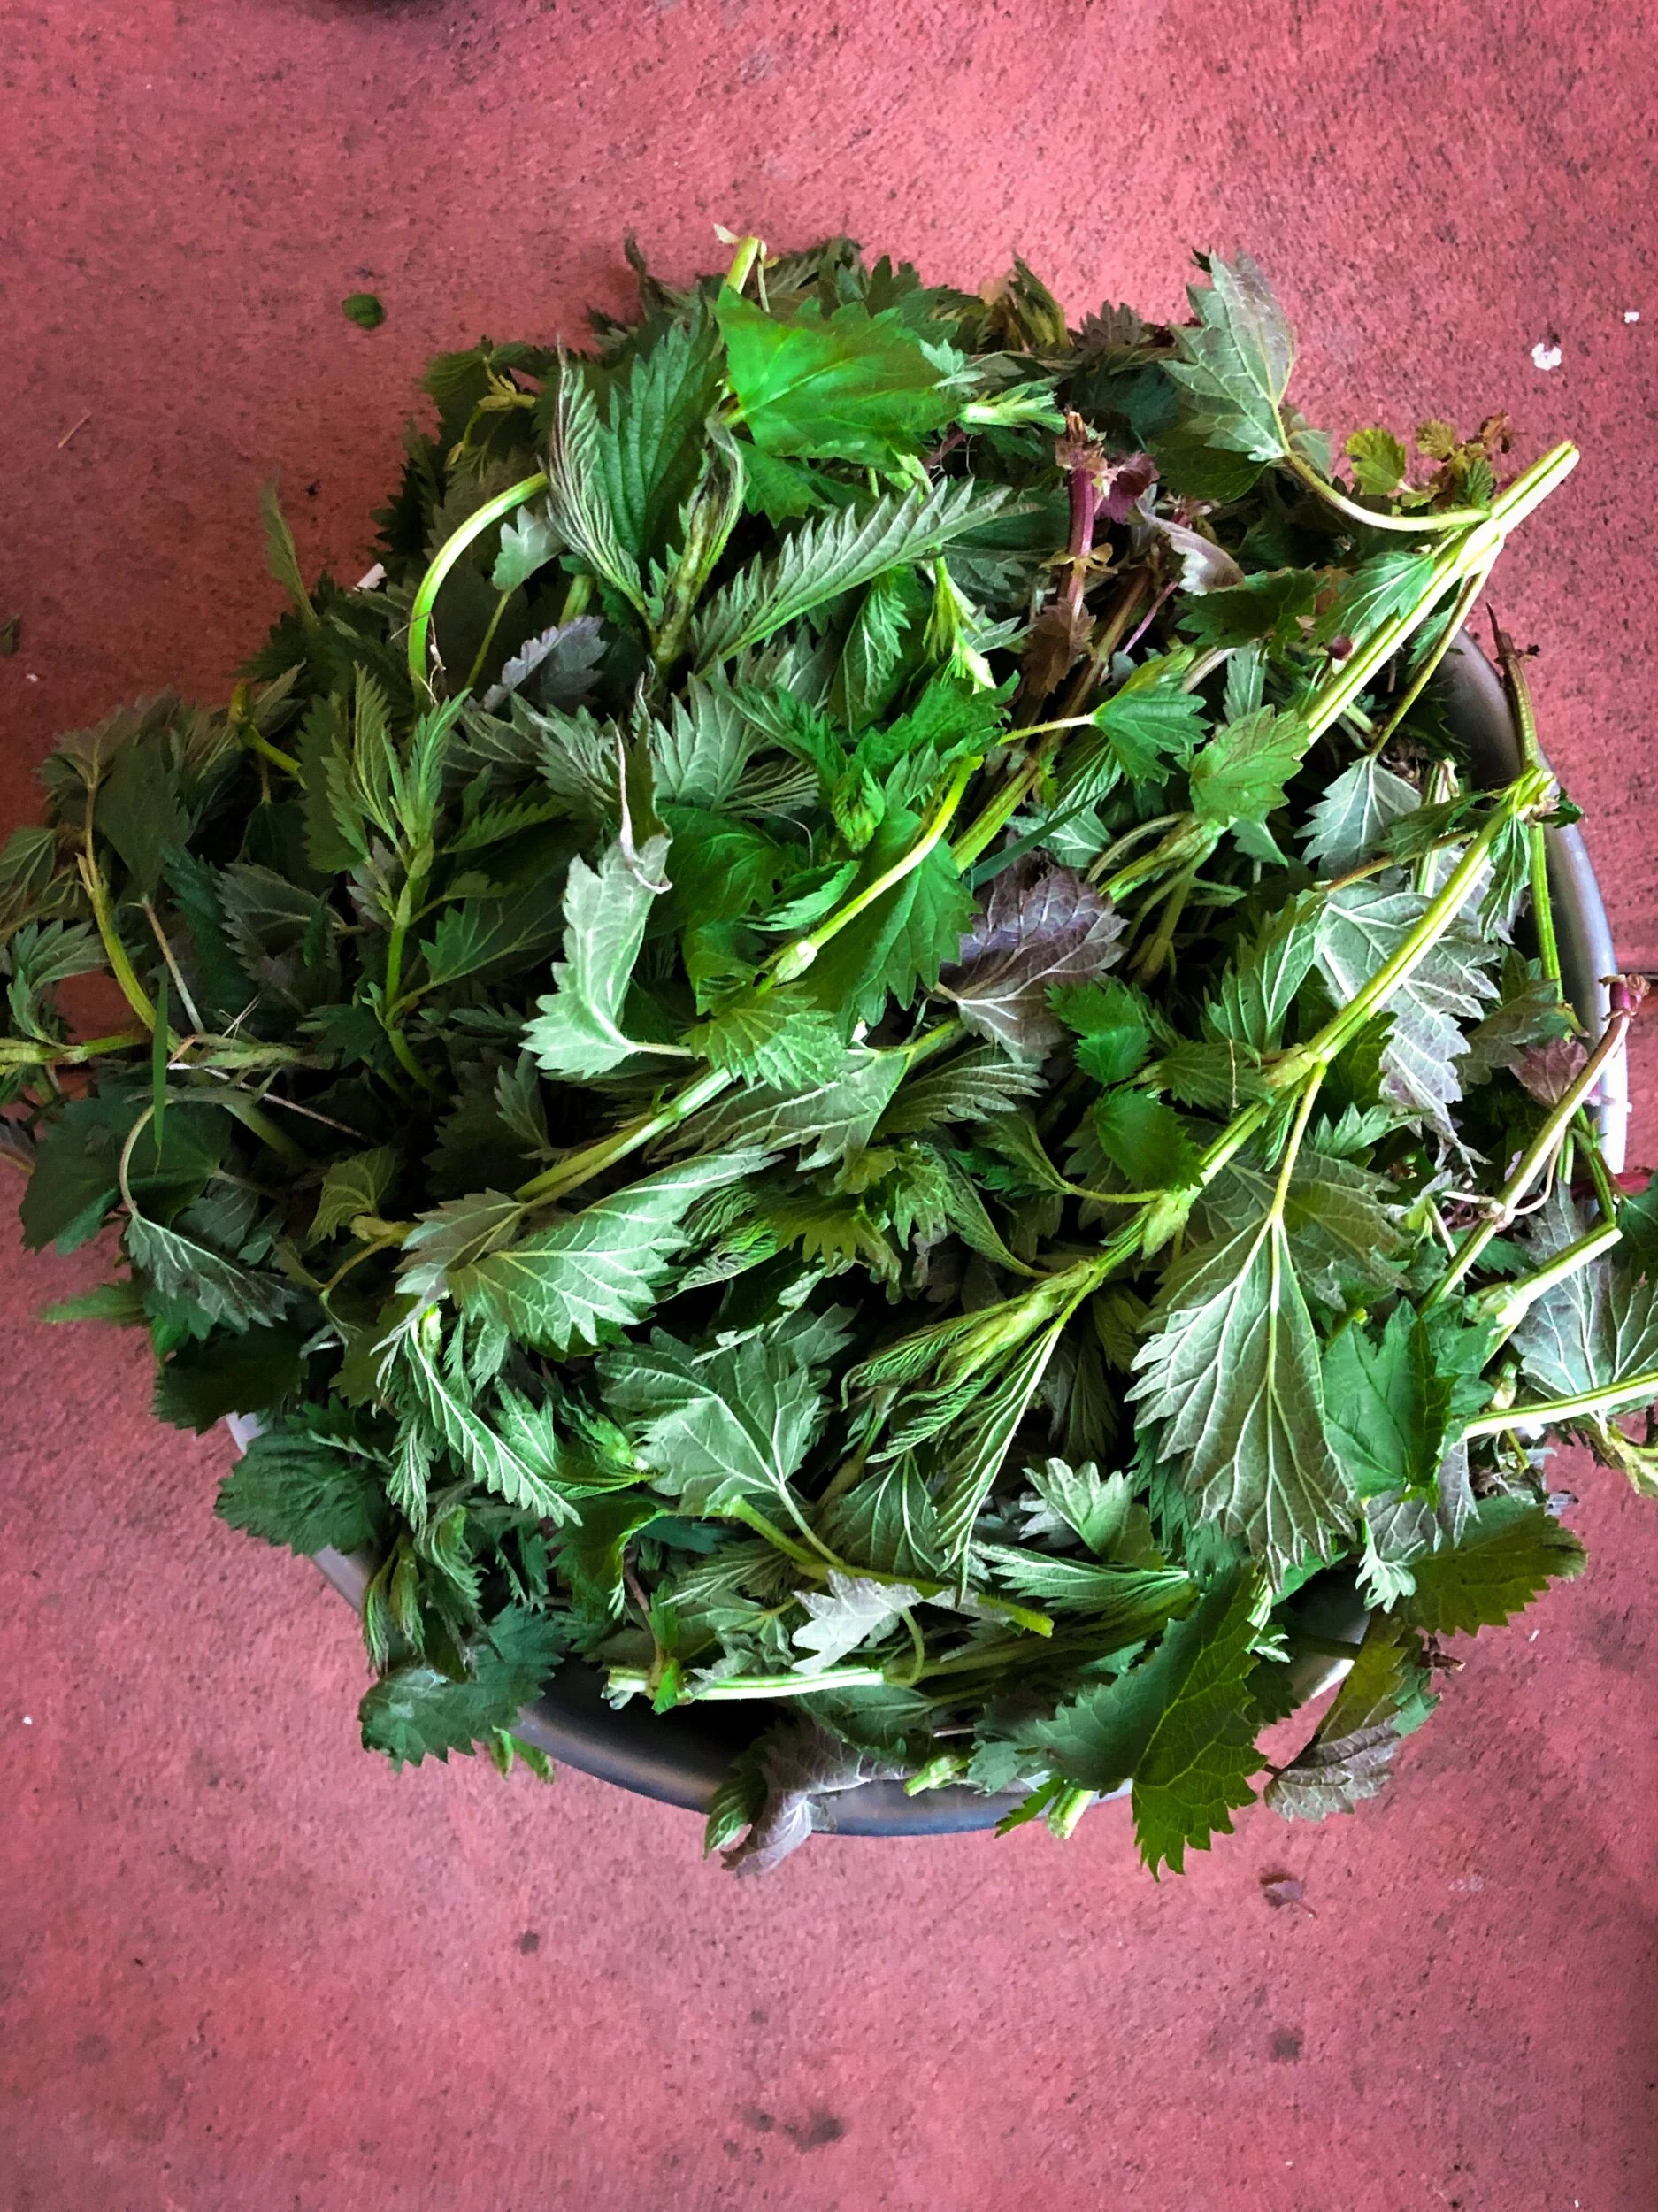
I find it really useful to blanch up all your nettles, and pack them into one cup portions for the freezer. I also roughly chopped mine before freezing so that they would be super easy to use in recipes. Throw in a bag in whatever recipe you would use spinach for. They work great in smoothies, curries, soups, and baking. Nettles have such a gorgeous green colour, and they hold their colour beautifully even after cooking or baking.

IMG_6198.jpeg

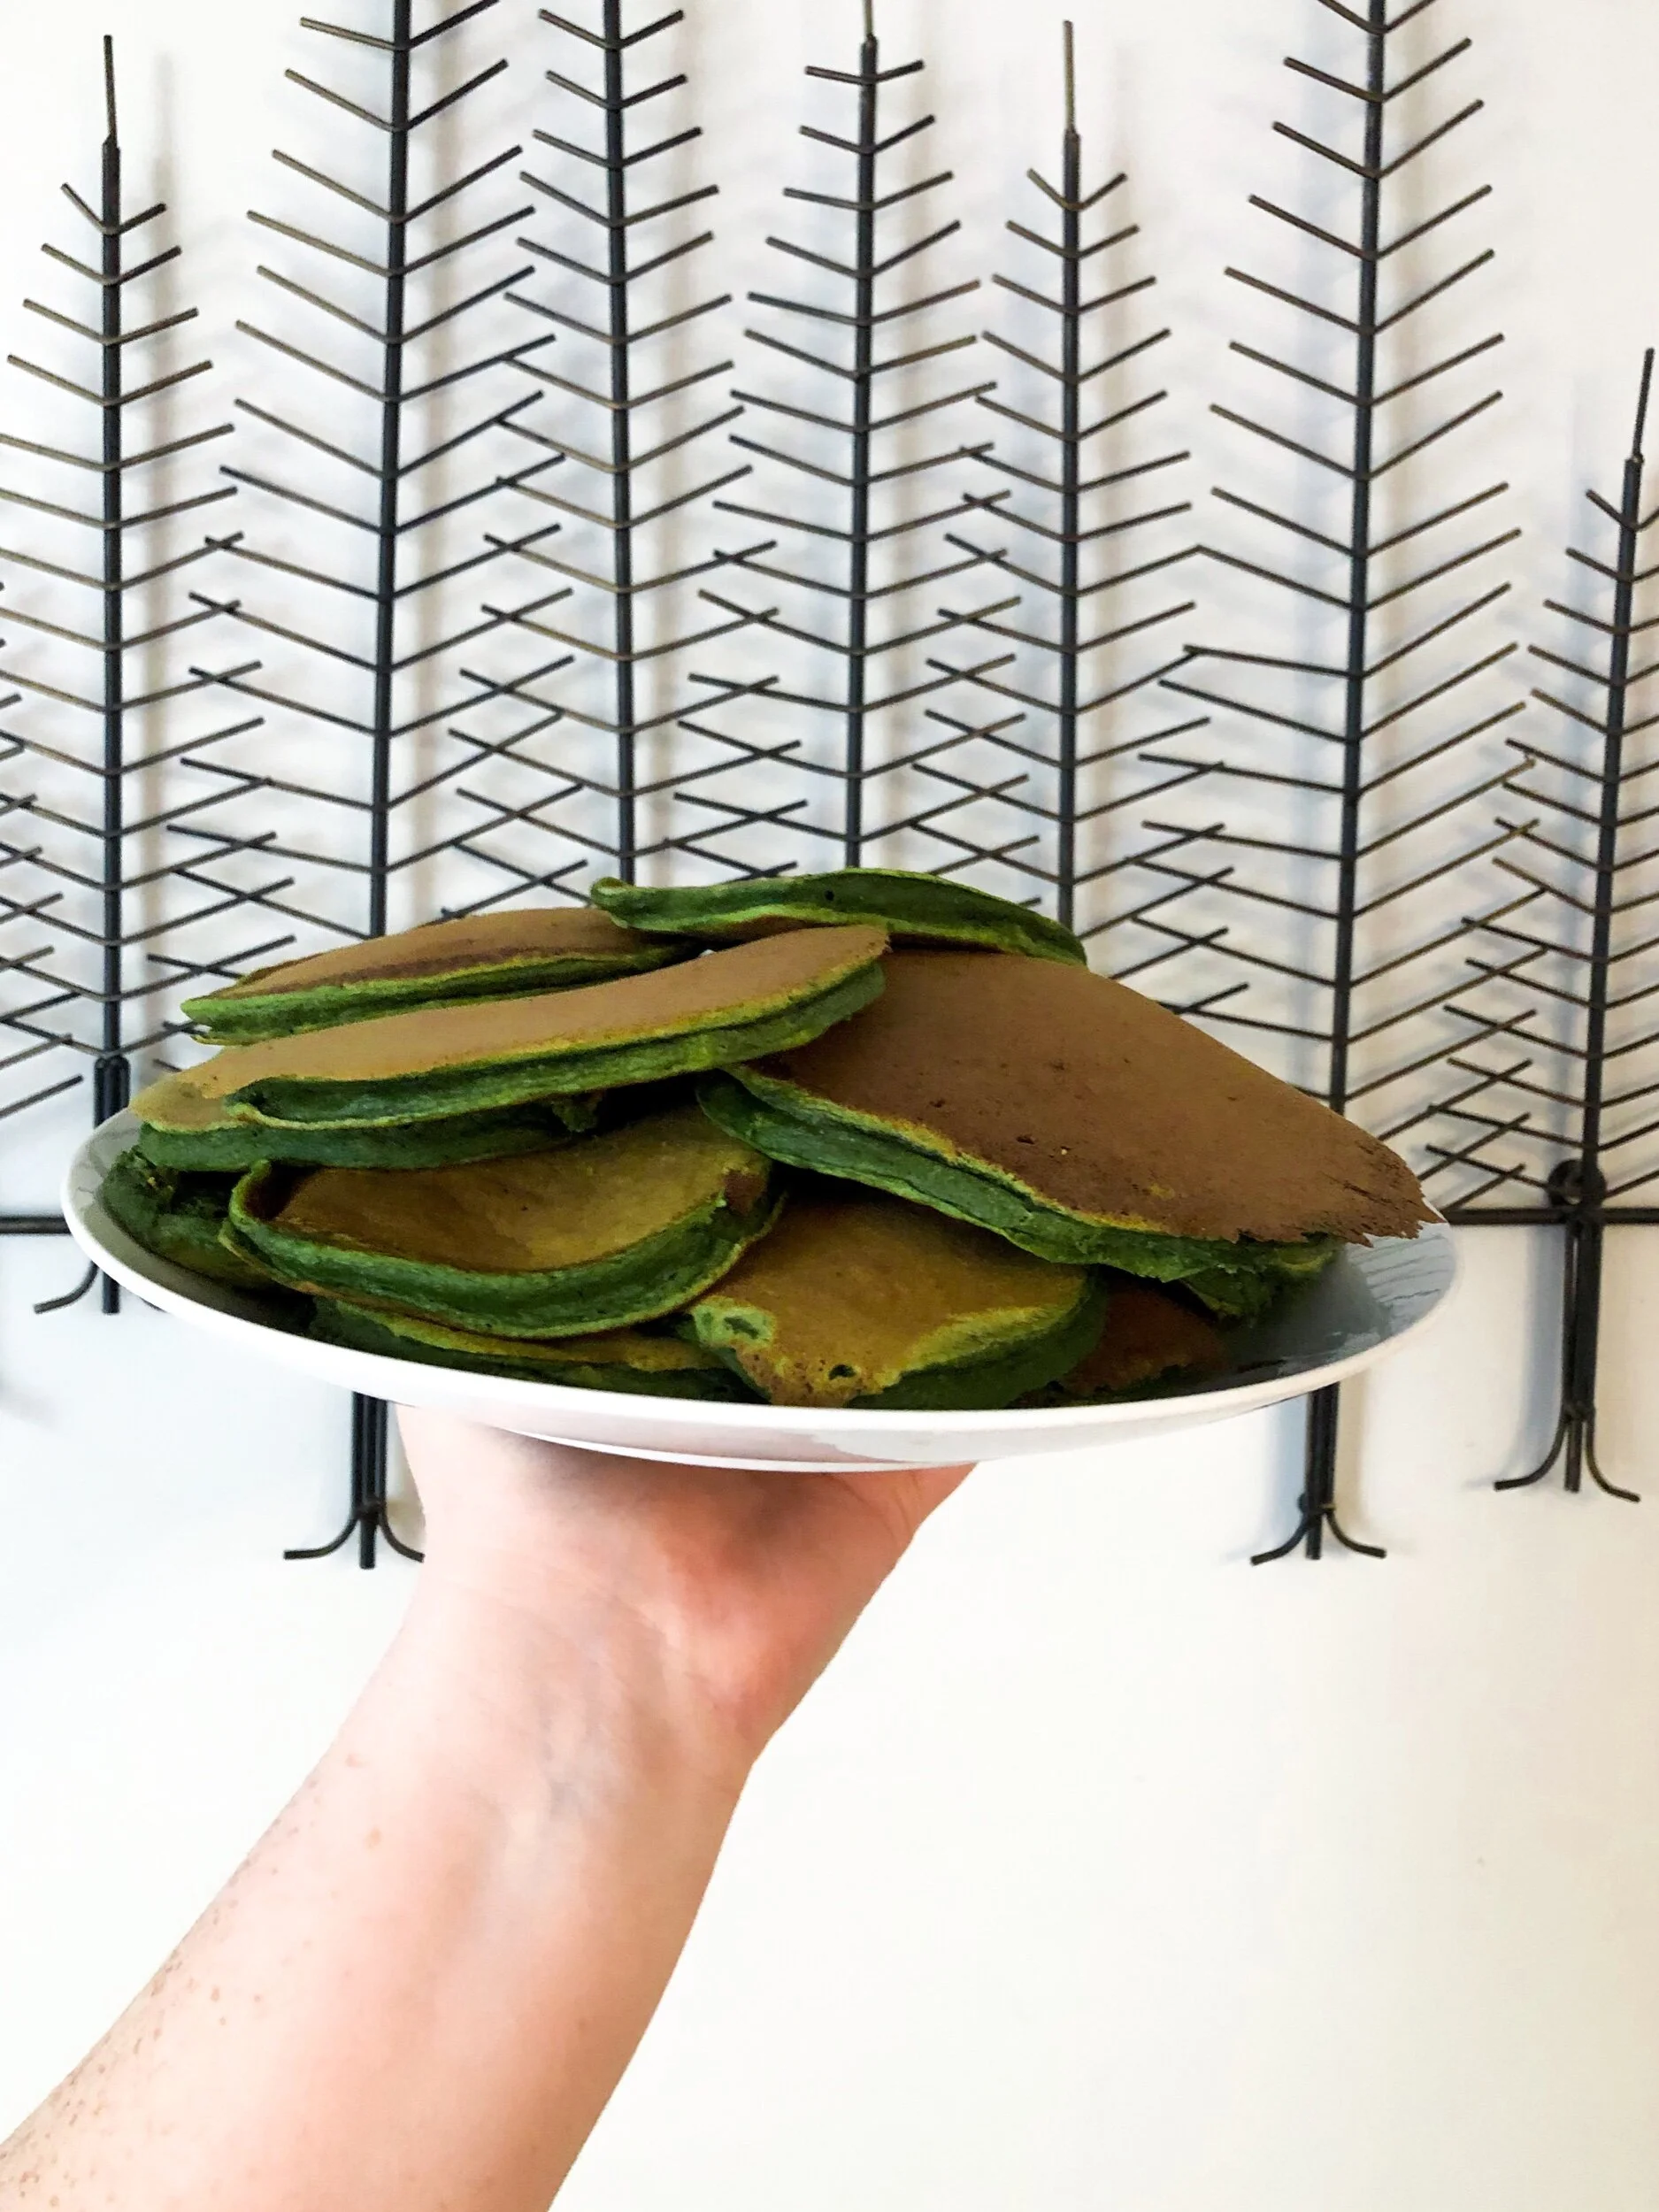
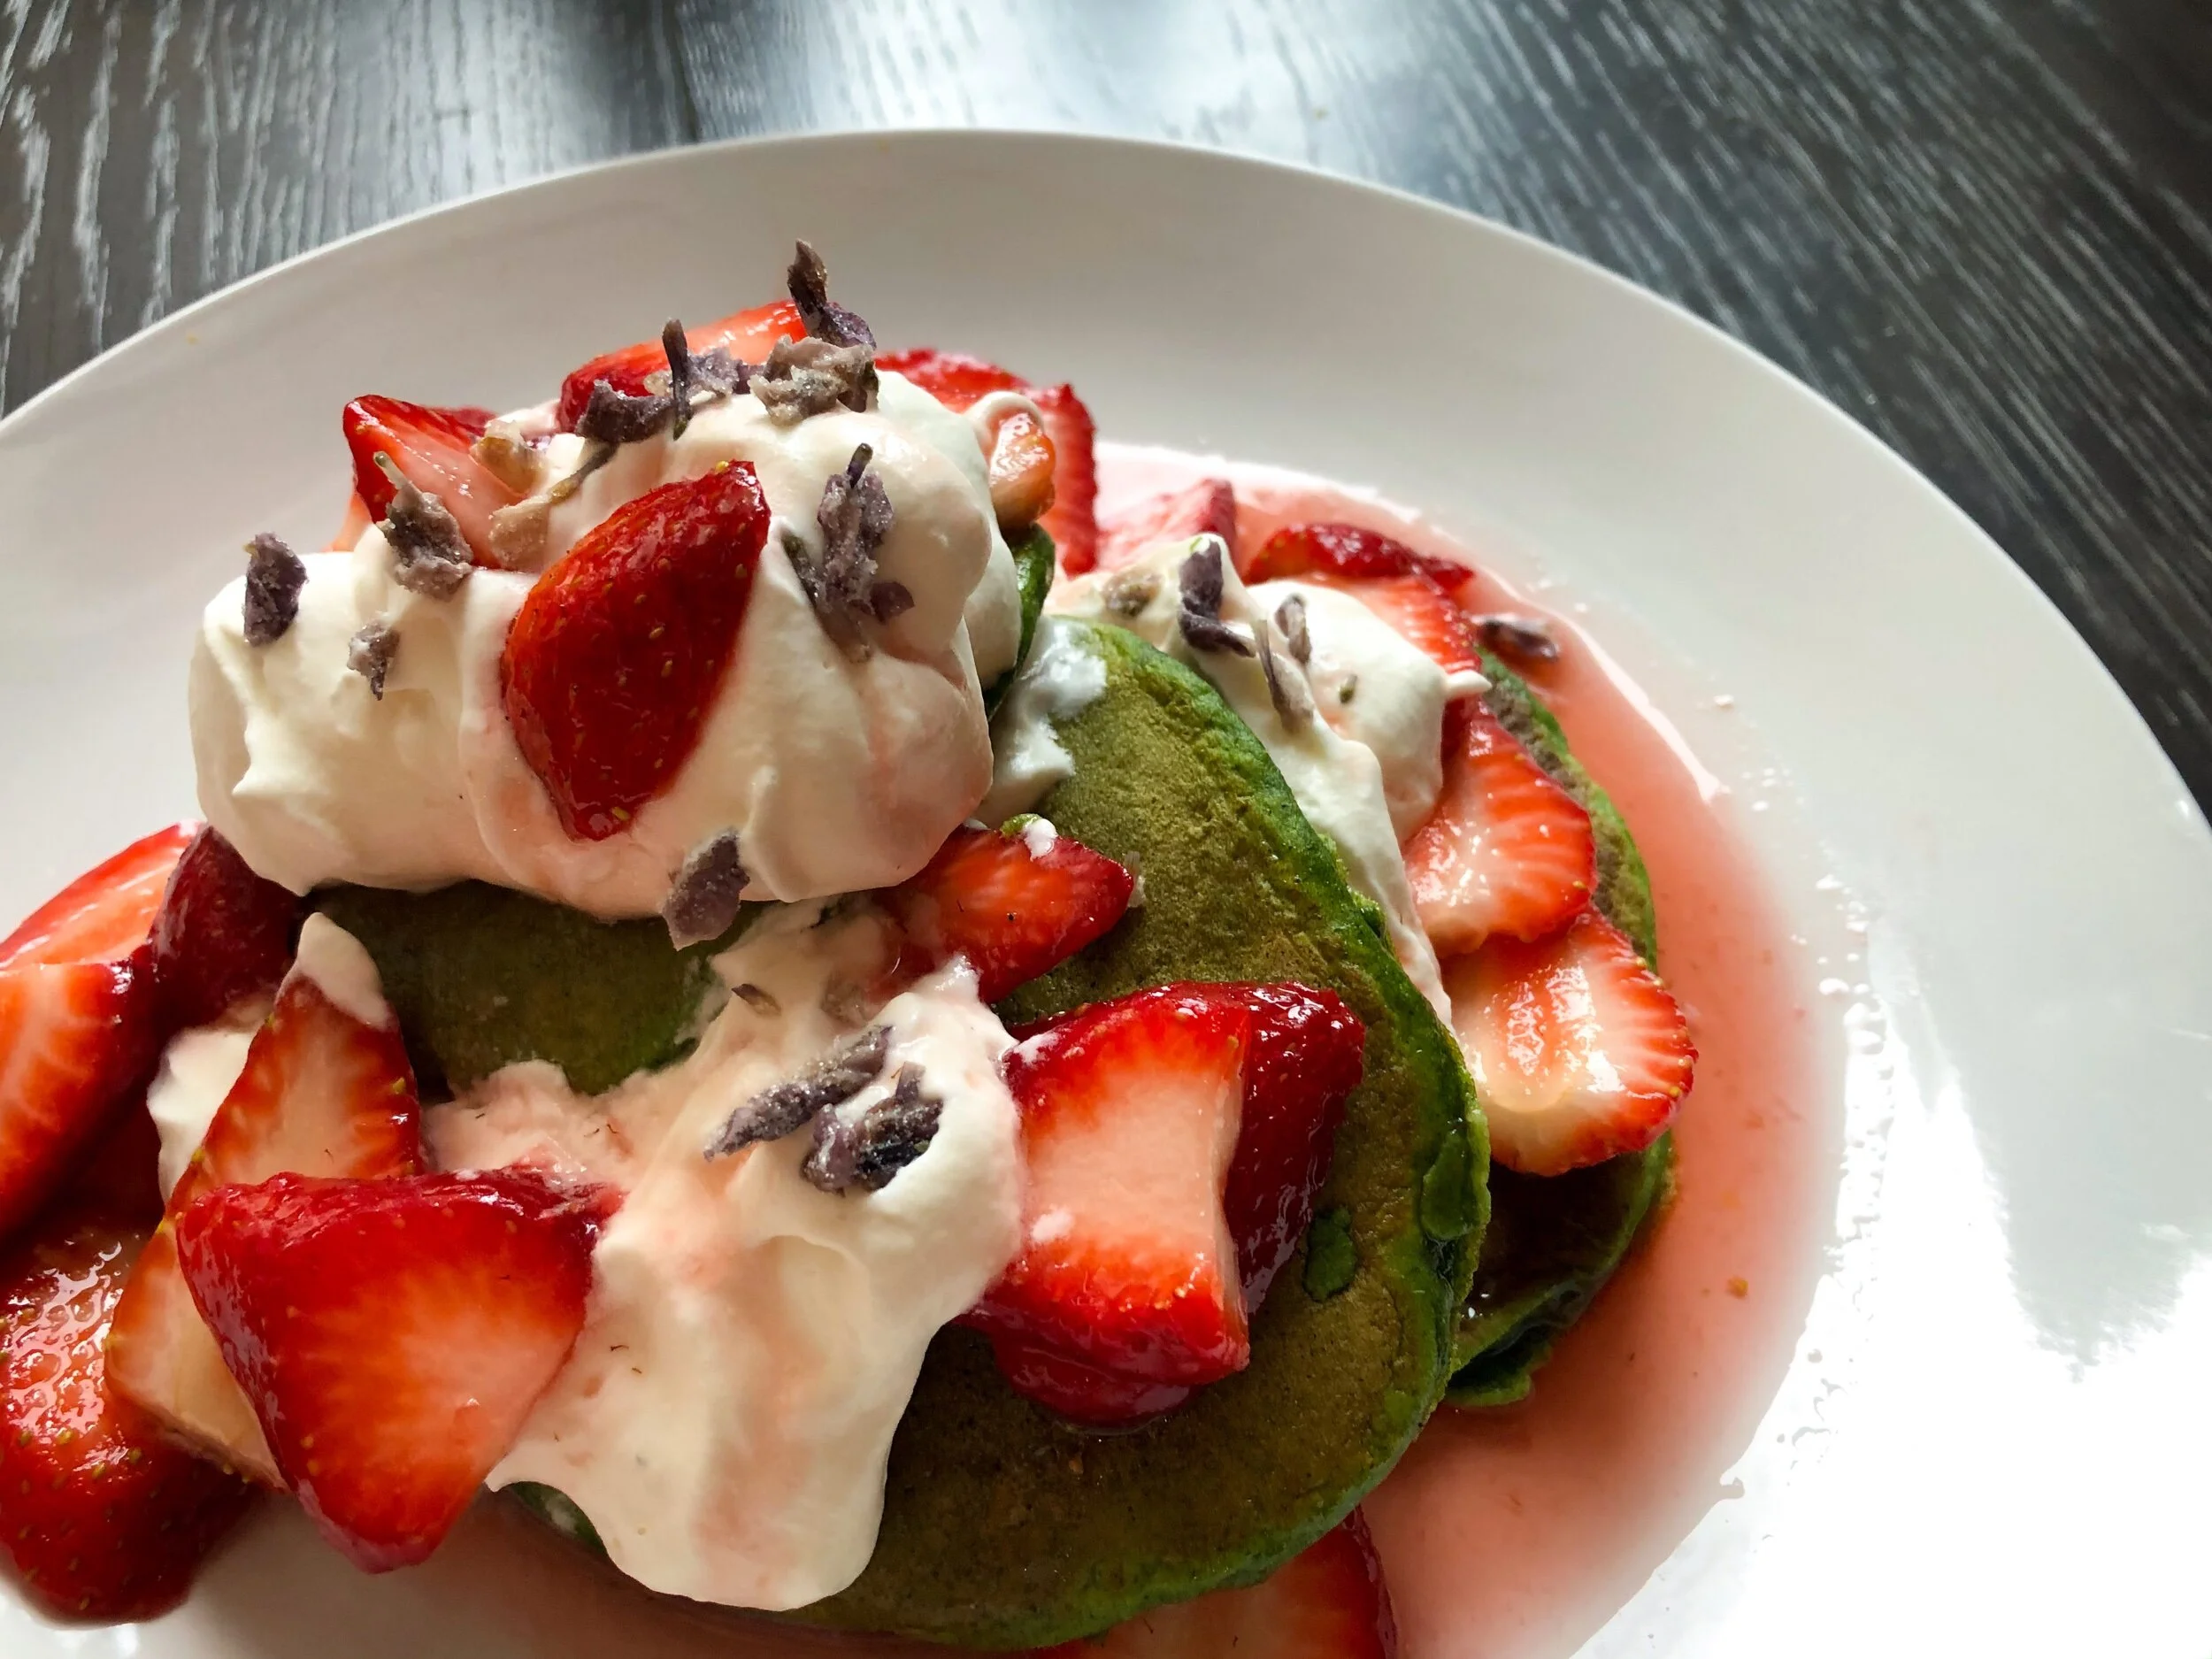
For these pancakes the green comes from blending the nettles in with the milk. The result looks like something that Luke Skywalker would drink, but I find it’s the easiest way to incorporate them for baking. I wanted the green to look more like food colouring than flakes of leaves, so I threw them both in my Vitamix blender, and pulverized it until it was smoothie-textured. I would think that you could probably sub out milk for another liquid if you are wanting these to be dairy free. I’ve never tried it, but I’m guessing it would be fine if a bit less rich.

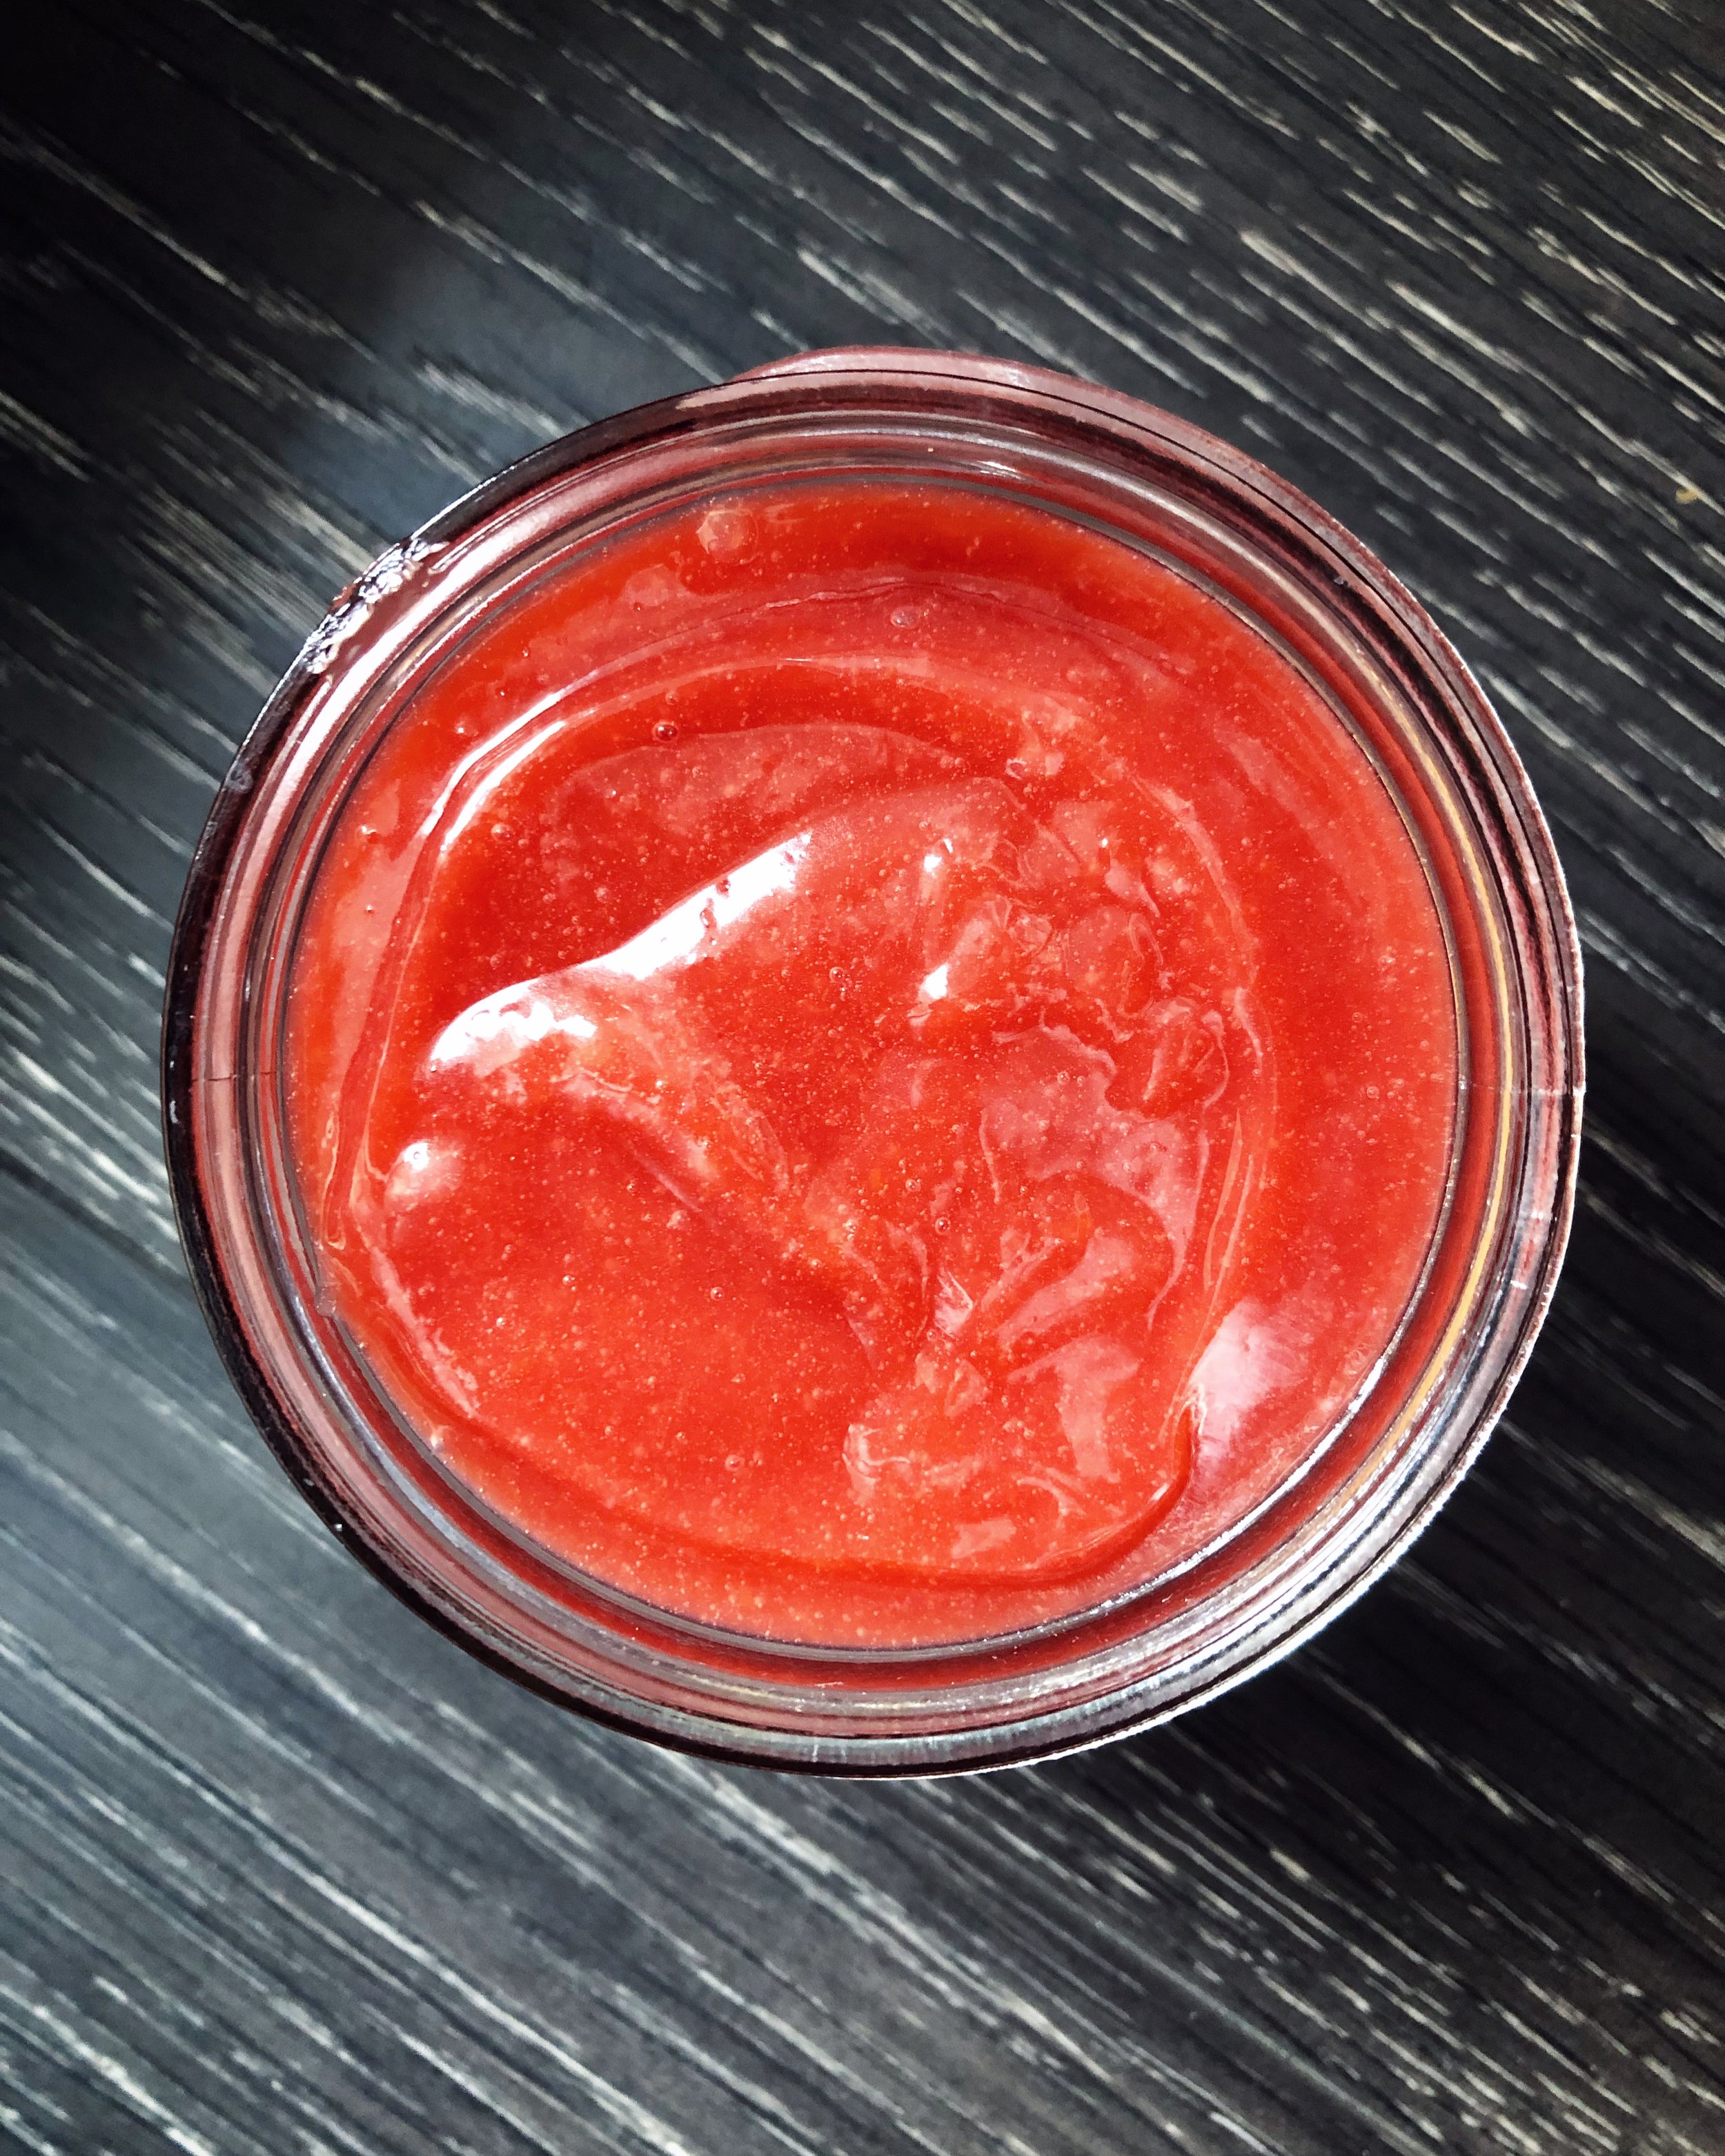
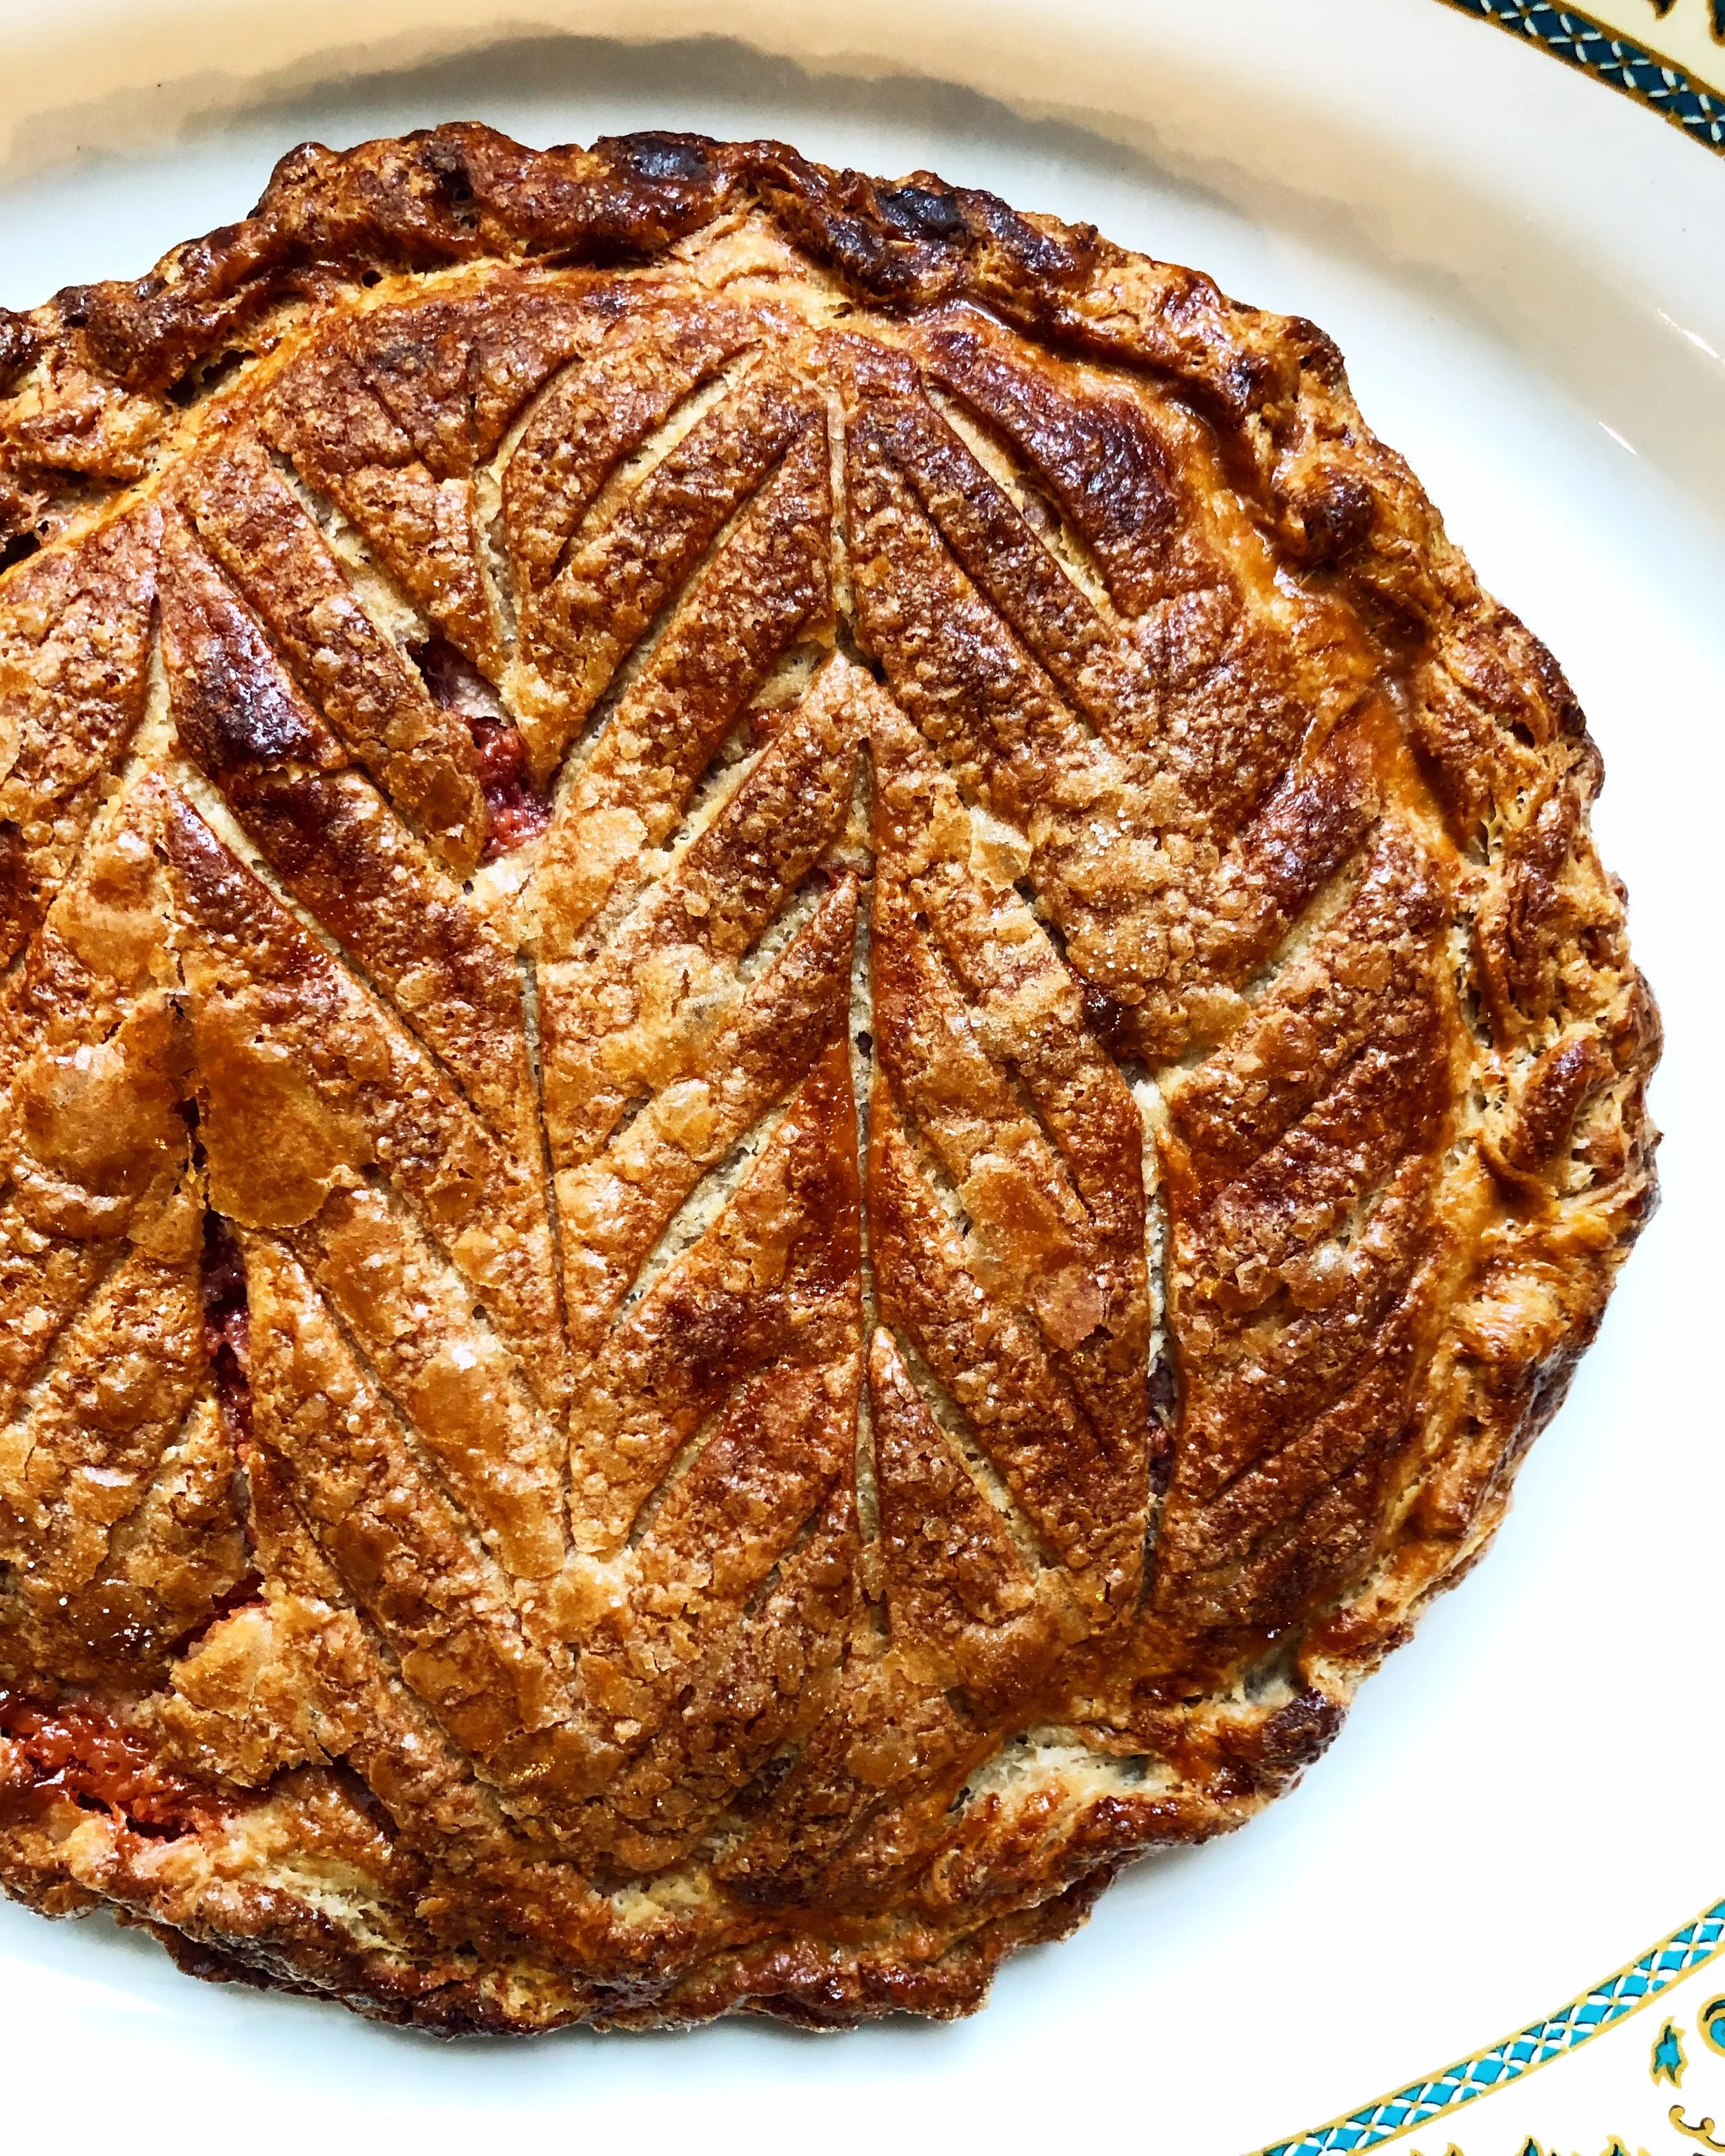
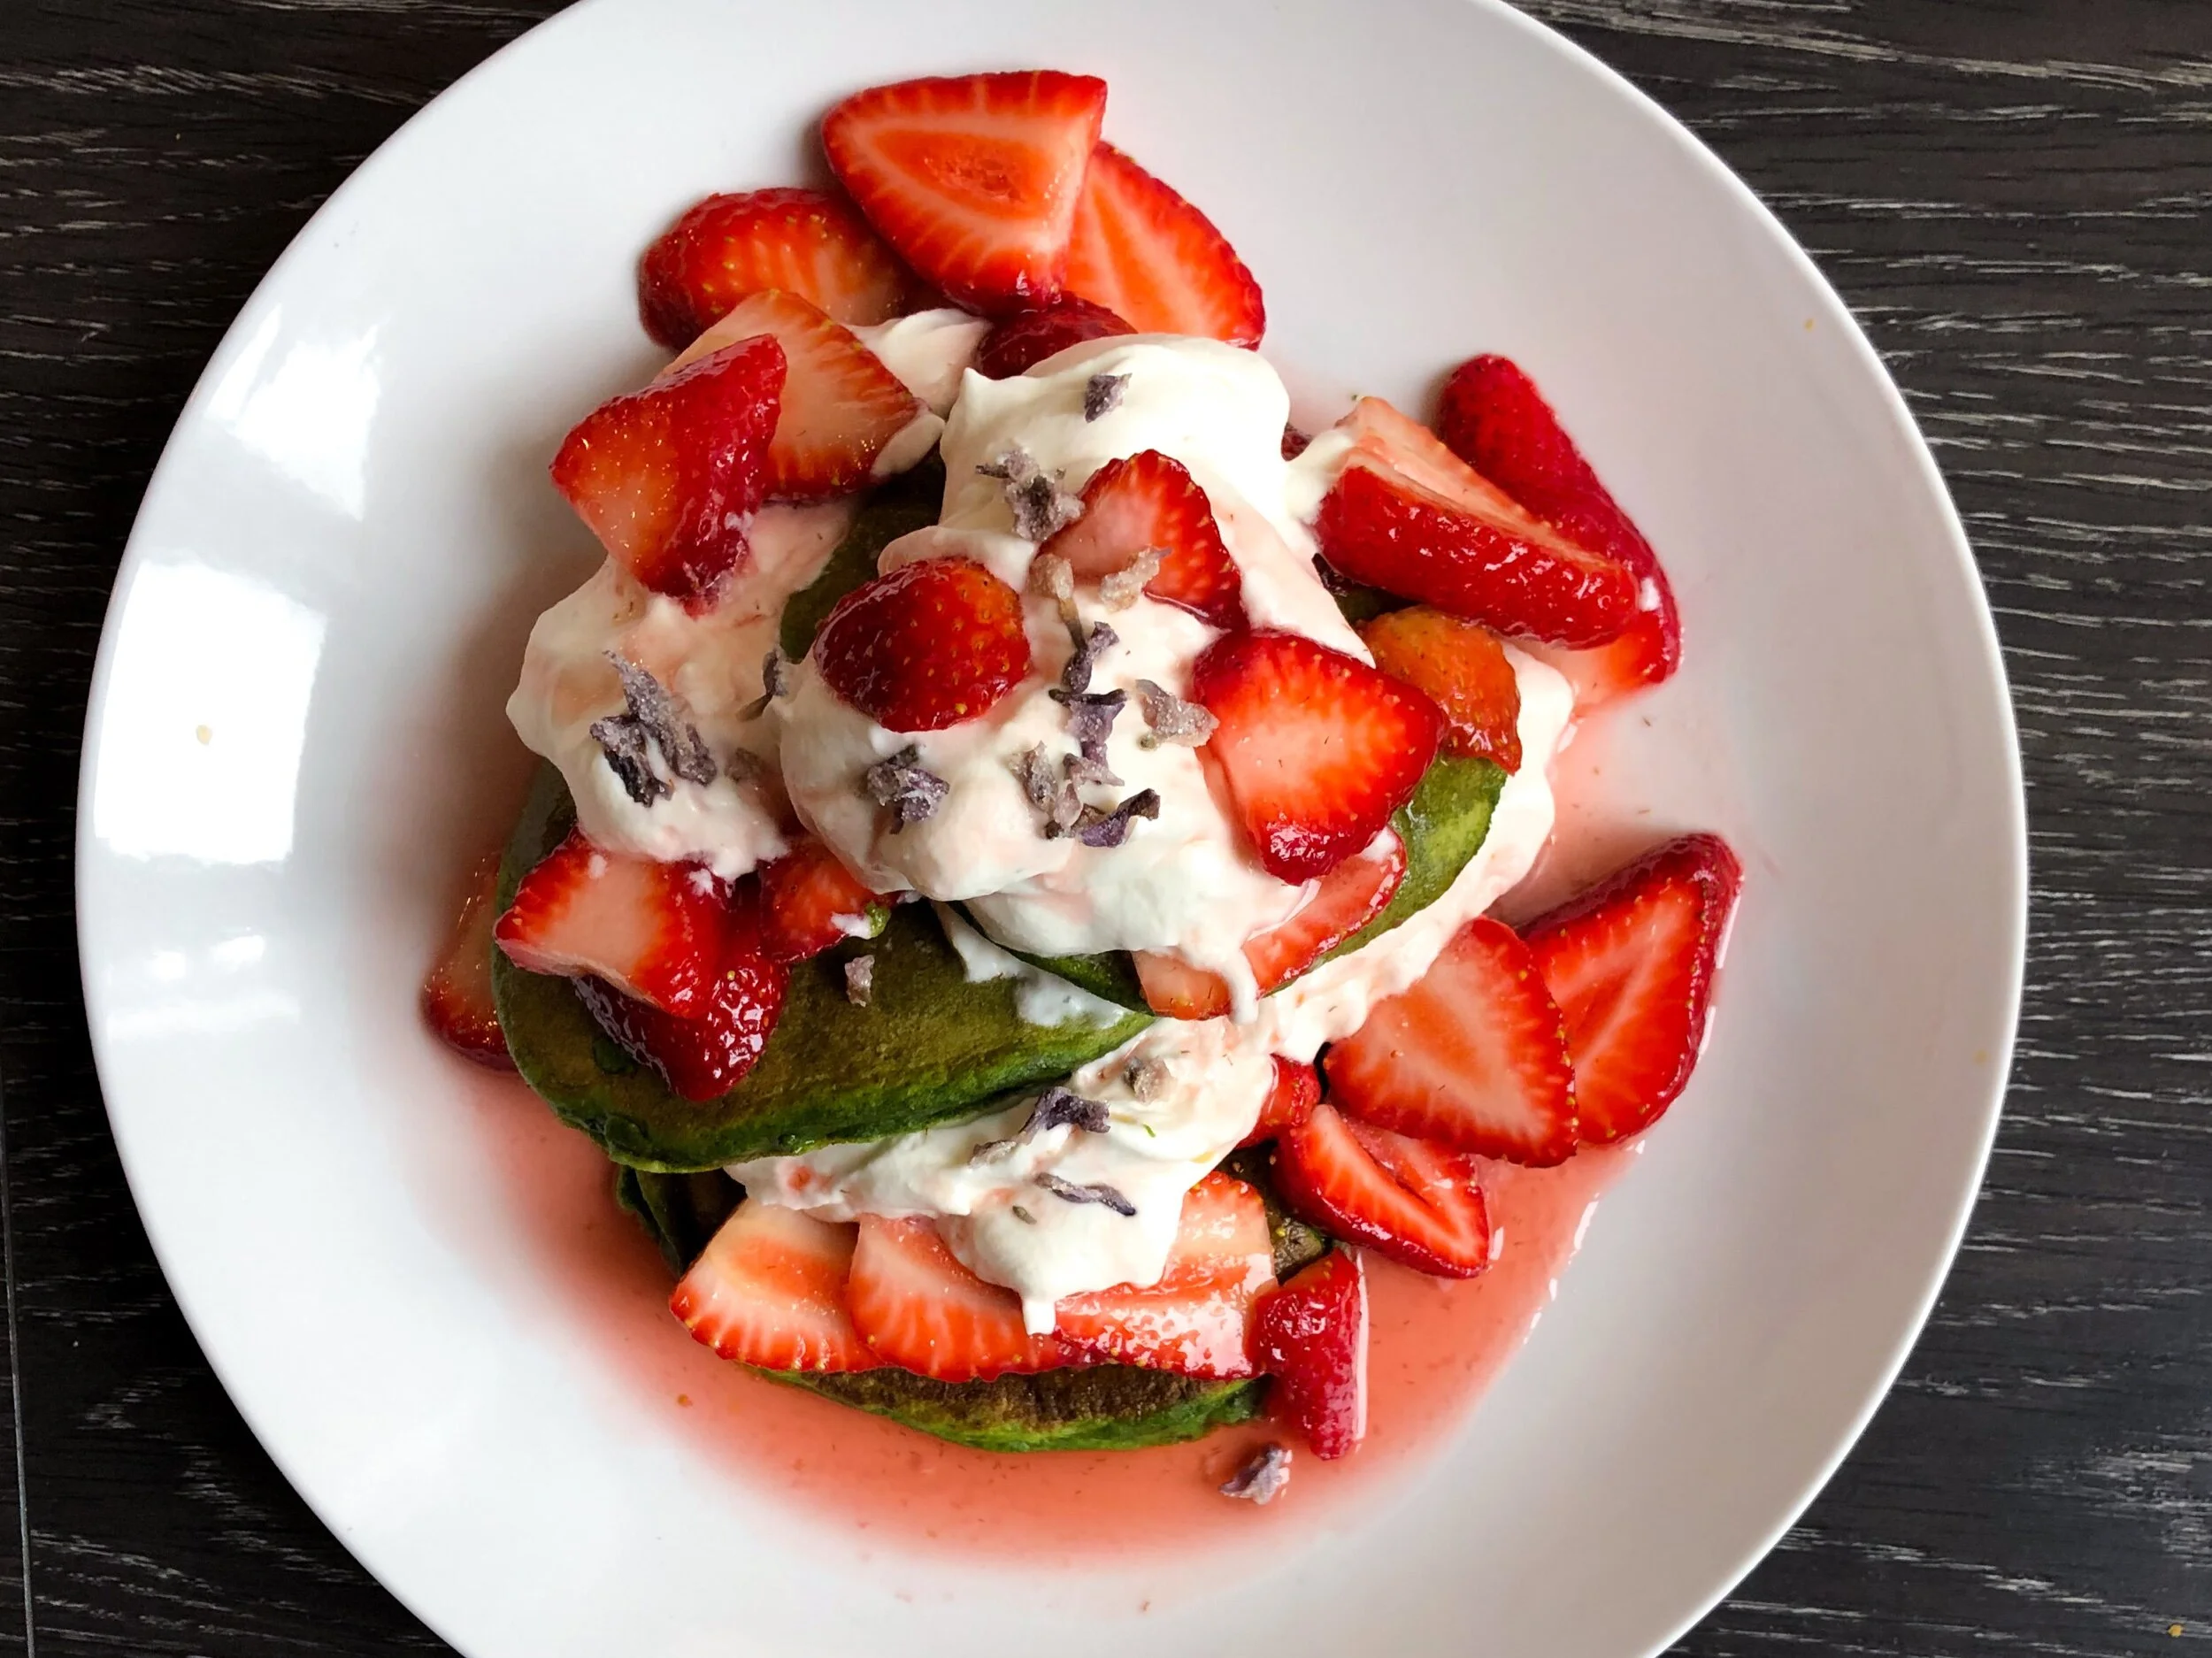
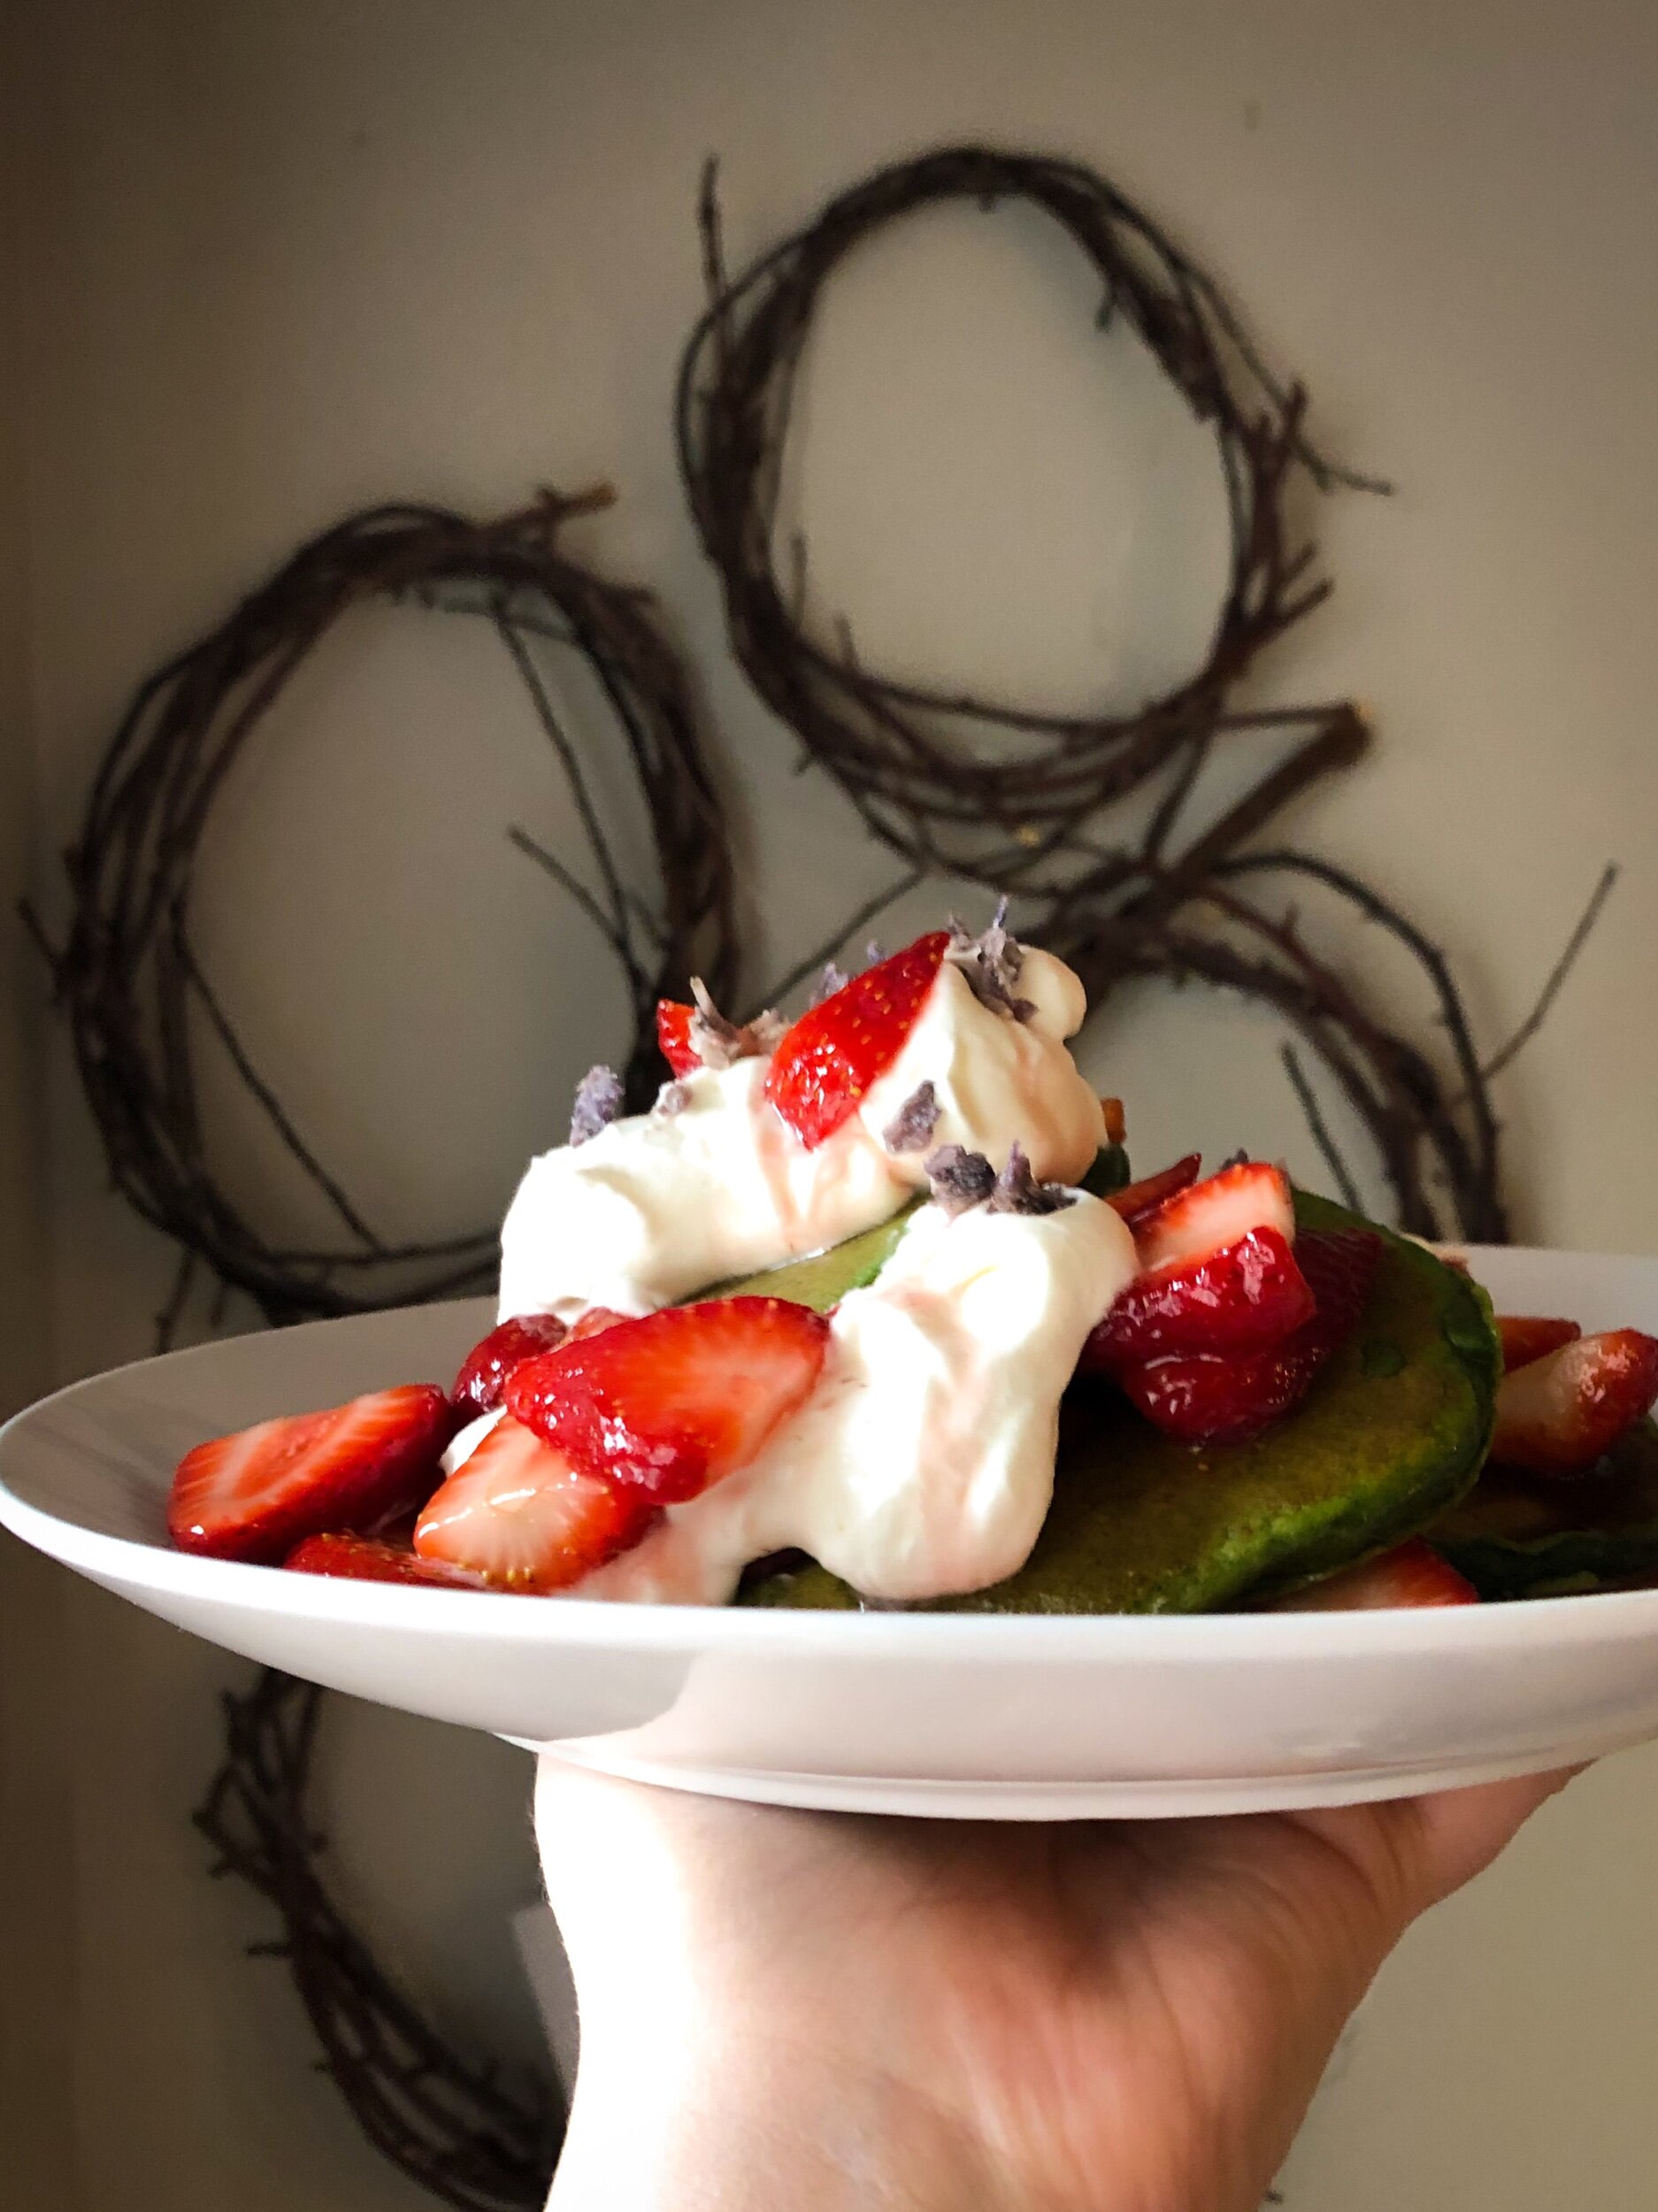
The sky is the limit for toppings, but I used unsweetened vanilla whipped cream, maple syrup macerated strawberries, and candied lilac petals. I really wanted these to taste of spring, and I felt those flavours encapsulated the season for me.

IMG_2948.jpeg

I’ve also done these pancakes twice - once using grapefruit, and once using orange. I think I like the grapefruit better because it is a sort of unexpected flavour that pairs really well with the slight vegetal taste that comes through with the nettles. I was a little worried that either the taste or the colour would stop my children from eating them, but so far the “green pancakes” have been a hit for both the one-year-old and the four-year-old.

I think these have great holiday potential - a little late for your St. Patrick’s day celebrations this year, but perfect as “Grinch Pancakes” at Christmastime! I could also see using these if you wanted to make a bunch of other colours (not totally sure what to use for the other colours though) and have rainbow pancakes for Easter or Pride celebrations. Basically they are delicious, fun, and they add two cups of greens into your pancake meal so all in all it’s a total win in my books. If you try them out let me know what you thought in the comments!

IMG_6204.jpeg

Nettle Pancakes

Ingredients

  • 1/2 cup whole wheat flour
  • 2 cups sifted or all purpose flour
  • 1/4 cup sugar
  • 1 tbsp baking powder
  • 1/2 tsp salt
  • 1/4 cup oil
  • 3 eggs
  • 1 tsp vanilla extract
  • 1 grapefruit, zest and juice only
  • 2 cups stinging nettles (blanched and frozen - can sub frozen spinach if no nettles are available)
  • 2 cups milk

Takes 30 minutes, serves pancakes for a family of four.

Instructions

  1. Begin by heating your griddle or nonstick frypan, or heating butter/oil in a regular frying pan. You want it to be preheated well before you pour any batter.
  2. Mix dry ingredients together.
  3. Thaw nettles and drain of excess water. Blend milk and nettles together to a smoothie-like consistency.
  4. Make a well in the middle of the dry ingredients and add eggs, oil, vanilla, grapefruit, and milk. Mix just to the point where the batter is well combined and there are no lumps.
  5. Ladle out the pancake batter onto the pan to your desired size. Make sure you keep a good amount of space around them for ease of flipping and because these do tend to puff up a bit.
  6. Your pancakes are ready to flip when you see bubbles popping up in the middle, and when the outside edges are less shiny with bubbles that pop there staying open.
March 17, 2020 /Kelsey Fast
foraging, food, holiday, stinging nettle, pancakes, recipe
Find, Eat
2 Comments
IMG_2069.JPG

Sumac Ginger Honey Hearts

February 06, 2019 by Kelsey Fast in Eat, Find

Hello! There used to be a whole section here with me describing the amazing Flourist sifted red spring flour I use in my baking. I was trying to add something to this and some other old articles, and I’m not sure how but it all got deleted! Continue reading for the recipe, and some more details about how to find and use sumac.

{Jump to the Recipe}

Sumac berries infusing in cold water.

Sumac berries infusing in cold water.

Strained and completed sumac infusion.

Strained and completed sumac infusion.

I have to admit, that making these cookies is a bit of an involved process. This is especially true if you are foraging the sumac, and processing it yourself as I did. Here are some instructions that are very helpful if you want to go that route. If not, you can usually find dried and ground sumac at specialty spice stores, and I even saw it at my local Bulk Barn (bonus shopping here because at some locations you can bring your own container and your purchase will be zero-waste). I’m sure there are online options as well.

Sumac is a shrub that grows native in many areas of North America. You can identify it by it’s compound leaves, and large, compact berry clusters that stick straight up from the branches. The berries aren’t juicy, and they are covered by tiny hairs, and malic acid which gives it the distinct sour, almost citrus-like flavour. In most areas you’ll want to harvest the berries in July, and before any large rainfall hits as this will wash away much of the malic acid. That said, it’s not unheard of that sumac berries are still harvestable later on in the year - just rub them with your finger, and then lick it to see if your finger tastes sour (that will be the malic acid that transferred to your finger). If they still taste sour they are still good to use! The easiest way of processing them is just to bring the berry clusters home and let them dry thoroughly. Store them somewhere they won’t get dusty (I have mine from last summer crammed in a 1/2 gallon vintage mason jar) and they are ready to use whenever you need them.

IMG_2067.JPG

Some of you may have been told that Sumac is poisonous. In the plant world there are many different common names, and sometimes poisonous and non-poisonous plants even share the same one. This is the case with sumac. Poison sumac (Toxicodendron vernix) only grows in swampy areas, whereas the sumac we are looking for (Rhus glabra, Rhus typhina, or Rhus copallina, depending on the species that is local to you) prefers dry landscapes. It also has red berries, whereas poison sumac has white. There really is no chance that you will mistake the two. One thing you will want to be cautious about, is that sumac is related to mangoes, cashews, and poison ivy. If you are especially sensitive to some of these other plants please take caution if you are trying sumac. This post on identifying sumac varieties from Eat the Weeds is an excellent resource, but please make sure you consult more than one resource before eating anything you have foraged.

As always please take care when foraging, and make sure you are 100% certain of what you are gathering and eating. The best option is learning from someone who is an expert on the local plants for your area. Use more than one resource when identifying plants that are new to you like field guides, and reputable online resources - the more specific to your location the better. Spend a lot of time examining the different features of the plant you are looking for. Never be content to identify a plant by one feature alone.

IMG_2070.JPG

Now to explain more about making the cookies themselves! They do take some time to make, but I promise you the end result is worth it! I originally made these at Christmas time (being inspired by traditional Danish Christmas cookies like Honninghjerter, and Pebernødder) and they were the first to disappear from the cookie platters! The holidays were very busy, and even though I had originally planned to post the recipe back then, but I ran out of time. I think that turned out to be a good thing in the end though, because they are also so perfect for Valentine’s Day!

IMG_1682.JPG

You’re going to need to start the sumac infusion ideally two days before you want to have the cookies (although you could get away with the day before, but they are better if you have a bit longer for letting the dough chill). All of the colour in these cookies is completely natural - there is no food colouring at all! The lovely pink in the glaze comes from the colour of the sumac infusion itself, and that is also where the sour flavour from the sumac shines the brightest. Since lemon or other citrus is often paired with ginger in holiday baking, I thought sumac would be a delicious pairing with the ginger and I set out working on making a ginger-forward, spice cookie that blended well with the natural sour, fruity flavour of the sumac.

IMG_1914.jpeg

The day after your sumac has infused, start making your dough. This is essentially a sugar cookie with a lot of spices that gets rolled out a little thicker than normal. You’ll also want to make sure you have time to chill the dough for a day if possible. The flavours need time to mingle together in the dough before baking. if you have to speed things up at least chill the dough for a couple hours. This will also make rolling them out easier.

Make sure you leave a fair amount of room between the cookies on the sheet because they tend to puff up a bit, and spread ever so slightly. I also put in the instructions to roll them out a bit thicker than many of these are in the photos. This is because we found out after eating them all that the thicker ones were better!

IMG_2066.JPG

When your cookies are baked, decorating them is very fun! Prepare your sumac glaze to be a little runnier than your ginger one. You’ll be dipping the cookies into this glaze. Try to let as much excess run off back into the bowl as you can. I found that I had a lot of glaze pooling under the cookies as I let them dry on parchment paper. This wasn’t necessarily a bad thing because it tasted really good to have extra glaze, but it was a little less professional looking, and the glaze didn’t go as far. If this happens to you too and you run out of glaze just make a little more and keep going. No big deal!

When the cookies are all dipped let them dry before drizzling the ginger glaze over top. This will make sure that when you sprinkle the candied ginger over top it will only stick to the white icing. I did some with candied ginger, and some without, but everyone ended up liking the ones with ginger better. If you’re a little more sensitive to the heat of ginger feel free to leave that step out - they look and taste great without it too!

IMG_2068.JPG

Sumac Ginger Honey Hearts

Ingredients

    For the Cookies

  • 3 cups flour
  • 1 cup butter
  • 3/4 cup sugar
  • 3/4 cup light honey
  • 1 large egg
  • 2 tbsp sumac infusion (prepared ahead of time)
  • 2 tbsp dried sumac powder
  • 1/2 tsp salt
  • 1 tsp vanilla extract
  • 2 tsp ground ginger
  • 2 tsp fresh ginger (grated, or very finely minced)
  • 1/2 tsp nutmeg
  • 1/2 tsp white pepper
  • For the Glaze and Decoration

  • 3 cups icing sugar (approximate)
  • 2 tbsp sumac infusion
  • 1 tsp ground ginger
  • 1 tsp vanilla
  • 1 tbsp milk/water
  • 2 tbsp corn syrup (divided)
  • 1 cup candied ginger (to be finely minced)

Takes two days, serves several dozen cookies depending on the size of the cookie cutter used.

Instructions

  1. Two days before you want the finished cookies, prepare you sumac infusion. If you are using fresh/dried sumac berries, add a couple drupes worth of berries to a pint jar, and combine with 1 cup cold water. Leave in the fridge overnight. If using sumac powder you either purchased or prepared yourself, add 3 tbsp powder to one cup of cold water and leave in the fridge overnight.
  2. The day before you want to bake the cookies prepare the dough. This dough really needs to be chilled overnight to let the flavours come into their own more fully before baking. If you don’t have time for this, at least chill the dough for a couple hours, but overnight will be better.
  3. Cream butter, sugar, and honey together until well emulsified. You shouldn’t be able to see any sugar crystals, and the resulting mixture should be light and fluffy.
  4. Add the egg, vanilla, sumac powder, 2 tbsp sumac infusion, and continue to cream the mixture until well emulsified. It should all look like one cohesive mixture with no visible clumps.
  5. Add the salt, baking soda, and spices. Mix well.
  6. Last of all, add the flour slowly, mixing on low. Depending on the humidity levels of the flour and your kitchen you might need to add a little more or less, so keep an eye on the dough as you add the flour and stop early, or add a little extra depending on how it looks and feels. Don’t let the dough get too dry, though. It will firm up and be easier to work with after it spends some time in the fridge, and you don’t want your finished cookies to be too floury. Aim for your dough to be fairly sticky at this point, but not overly runny.
  7. Transfer to an airtight container and leave in the fridge overnight, or at a bare minimum a couple hours.
  8. At this point preheat your oven to 350 degrees Fahrenheit. Roll out the cookies to a 1 cm (or just under 1/2 inch) thickness, using a little more flour on your work surface and rolling pin to keep the dough from sticking. Cut into hearts, and continue this process until all your dough is used up. I don’t find too big of a difference after re-rolling the excess dough a few times. I also feel that ingredients - especially foraged ones - are precious, so I like to make sure I use as much of my dough as possible. The yield here will depend on the size of cookie cutter you use, but you should end up with a couple dozen cookies either way.
  9. Leave some space between the cookies on the baking trays, because they do tend to puff up and spread just a little bit, but they will definitely still maintain their heart shape after all of this.
  10. Bake the cookies until they are just barely beginning to brown on the edges. This will be about 15 minutes per tray, depending on how your oven runs. Mine seems to run a bit cooler than most, so I often end up needing to leave things in a little longer. You can also usually tell when the cookies are almost done because you’ll start to smell them as they bake.
  11. Remove the cookies from the oven and allow them to completely cool before you start decorating them.
  12. While waiting for the cookies to cool this is a good time to start preparing your glazes. You’ll do one in a larger amount with the sumac infusion, and one with ginger powder and vanilla.
  13. Combine 2 cups icing sugar, 1 tbsp corn syrup, and sumac infusion to make your first glaze. Add the infusion slowly so that you get the right consistency. You want it to be thick enough to coat whatever is dipped in it, but runny enough that the excess will still drip off when you dip the cookies. If you overdo it, you can always add more icing sugar to thicken.
  14. For your second glaze, add the remaining cup of icing sugar and corn syrup, as well as the ginger powder, vanilla extract, and milk/water (go slowly as you add this - you may not need it all). You want this glaze to be slightly thicker than the other since it will be used as a drizzle over the finished cookies.
  15. Dip all the cookies in the sumac glaze first, allowing the excess to drip back into the bowl as much as possible rather than just leaving them to drip on the parchment paper or whatever you’re going to let them dry on (this just makes a tidier looking end result - if you don’t get it all don’t worry you’ll just have some of the glaze pooling underneath the cookie). I started having problems with pooling, so I started leaving the freshly dipped cookies on a cooling rack for a few minutes before transferring to parchment to continue drying.
  16. Drizzle cookies with the ginger glaze, and while this is still wet sprinkle with the very finely chopped candied ginger. Allow this to dry completely before you handle the cookies.

While the prize for the giveaway on my Instagram feed was sponsored by GRAIN, this post is not. I have been their customer for the past few months and wholeheartedly endorse their product based on my own experience. All thoughts and opinions expressed are completely my own.

February 06, 2019 /Kelsey Fast
baking, cookies, eat, foraging, food, in my kitchen, recipe, sumac, GRAIN
Eat, Find
Comment
IMG_1902.JPG

Sumac Curd and Frangipane Galette des Rois for Epiphany

January 08, 2019 by Kelsey Fast in Eat

This year our Epiphany celebrations were pretty low-key, although I did spend a couple days making a really gorgeous galette des rois for our dessert. Even though we didn’t have a big event or anything to write that much about both the glaze for the ham and the dessert featured locally foraged sumac that I gathered in the summer it seemed appropriate to write something up about them. This is “A Forager’s Home”, after all! I am also super happy with how the galette turned out, so even though you wouldn’t be able to make it in time for Epiphany this year, I highly recommend that you try it out sometime for some different event!

My home processed sumac powder.

My home processed sumac powder.

Sumac grows everywhere in my neighbourhood. It is native to North America, and loves a dry environment, so a lot of people here have used it in the landscaping. If you can’t find some wild, you might see some in a neighbour’s yard and they probably won’t mind sharing a few of the bright red cones with you. Just make sure you ask permission for any foraging you’re doing on private property! There are lots of tutorials online for how to process your own sumac, but I’ve found the easiest way is to dry the drupes, and then pulse them in a blender (this removes the berries from the large, very hard seeds), and then sift the red powder out from the larger pieces leftover. For this recipe you can just use the whole berry clusters submerged in water rather than going through the trouble of grinding them, or you can do what I did - pulse the water and drupes together so they will infuse to their fullest potential.

Epiphany dinner this year was ham, mashed potatoes, roasted veggies (roasted in the pan underneath the ham for maximum deliciousness), and Brussels sprouts (roasted with olive oil, balsamic vinegar, and dried cranberries).

Epiphany dinner this year was ham, mashed potatoes, roasted veggies (roasted in the pan underneath the ham for maximum deliciousness), and Brussels sprouts (roasted with olive oil, balsamic vinegar, and dried cranberries).

The dinner was delicious, although the cut of ham we had was a little difficult to work with. I love the quality of the pork we received from our friends’ farm, but the butcher seemed to do some interesting things to it. There was a lot of connective tissue in the middle of what was labelled a “bone in ham” (note the conspicuous lack of a bone). I’m not sure if this was just because one large ham was portioned into smaller roasts, or because it was actually boned, and that this was the result. Either way I was disappointed not to have the bone to do a split pea soup with afterward, but sometimes that’s how things go.

I am happy to report that the honey glaze I wrote about a few days ago worked perfectly on this ham. I used Jaime Oliver’s method of poaching the ham first, and then finishing it in the oven. I think it turned out fairly nicely although I’m not sure if the poaching was necessary or not. I may have left it in the oven too long afterward because some of it was a bit on the dry side. However, I am planning on using the poaching liquid to use as soup stock now since I don’t have a bone in this ham to make any with.

Sumac drupes infusing in water. Such a beautiful colour!

Sumac drupes infusing in water. Such a beautiful colour!

The main thing I wanted to share in this post was the recipe for the galette. You can use store-bought or make your own puff pastry. I recently did a workshop at Blue Bunch Farm on making laminated pastry, so I thought I’d give it a go making my own. I am really pleased with the result, although I am sure it doesn’t look terribly professional. I have to say that now that I understand the process of making puff pastry it isn’t as intimidating as it seemed, and if you’re interested in giving it a shot I’d say go for it! My pastry has a really rich colour and flavour because I used GRAIN Red Spring Wheat Sifted flour.

I started it all by infusing some sumac drupes in water overnight in the fridge (you can also use ground sumac you purchased for this infusion - just try googling a recipe for “sumac tea”, or do a bit of experimenting to get the right ratio of sumac to water). The resulting liquid was such a gorgeous colour I was immediately excited to make it into a curd for the galette. Sumac has a tangy, fruity flavour reminiscent in some ways of citrus. To turn the sumac liquid into a curd, you follow the basic process for making a lemon curd. Combine the sugar and eggs, add them into the sumac liquid in a double boiler, and cook it gently - stirring constantly - until thick. Add a few pats of unsalted butter at the very end (optional if you need to be dairy free - this is just for looks and a bit of texture, but it will still be delicious without) and you’re done! The only downside was that If found once the sumac infusion was heated it lost it’s brilliant red colour and turned sort of brownish. Because I knew I was going to be layering this with frangipane I decided to add some food colouring to make it a bit more visually appealing. I don’t love using artificial colour in my recipes, but we really do eat with our eyes first, and I wanted the two layers to be visually distinct in the finished tart, so I felt it was necessary. If you have strong feelings about it feel free to omit it. It will still taste delicious!

Sumac infusion.

Sumac infusion.

Finished sumac curd.

Finished sumac curd.

For the frangipane, I’m sure my methods weren’t exactly orthodox, but they were effective! I just threw everything together in my Vitamix blender and pureed until it was all smooth. This may not be typical frangipane, but it was delicious, and very smooth. I was happy with the result in the end, so either copy my method, or follow something more traditional. Either will be just perfect.

For the puff pastry, I used the recipe I learned from Monika at Blue Bunch Farm during my workshop (I’ll be reviewing my experience with the workshops there in a future post, so if you want more information “watch this space”). I really like making it, and the most difficult part is just the amount of time it takes to put it together. Feel free to use store-bough if you like, but this will taste a whole lot more delicious if you try to find some that uses real butter in their recipe. I also found I had very little problem with the filling escaping my pastry this year. In my previous post about Epiphany you can see the frangipane seeping out the sides of my tart. My finished tart dough was flavourful, and very flaky. I think it has a bit more personality than one made with conventional flour as well since the GRAIN flour I used is sifted, but nothing at all like your standard bleached all purpose flour. It’s not exactly whole wheat, but there is a lot more of the whole grain in the finished product which leads to more flavour. This flour is also milled so freshly that you need to keep it in the fridge or freezer, because it will go rancid at room temperature. It’s beautiful flour and I love working with it.

Once you have your pastry and your fillings, cut in a circular shape, spread a layer of frangipane, and then cover that with a layer of sumac curd. Put the top layer of pastry over everything and crimp the edges tightly so that none of your filling escapes. Make surface level slits in a pattern you like on top, and brush with an egg wash. I also sprinkled some sugar over the top just to make it all a little more special and delicious.

Galette des rois! Put one whole almond in the filling if you want to be really traditional. Whoever finds it in their piece wins a special prize!

Galette des rois! Put one whole almond in the filling if you want to be really traditional. Whoever finds it in their piece wins a special prize!


Sumac Curd Frangipane Galette des Rois

Ingredients

Sumac Curd

  • 1 cup sumac infused water (pulse 3-5 sumac drupes in 1 cup water in a blender and leave in the fridge overnight to infuse)
  • 5 Egg Yolks
  • 1/2 cup sugar
  • 5 tbsp unsalted butter

Frangipane

  • 1/2 cup freshly ground blanched almonds
  • 1/4 cup butter
  • 1/4 cup sugar
  • 1/4 cup butter
  • 1 egg
  • 1 tsp vanilla

Finished Tart

  • 1 recipe puff pastry
  • 1 egg
  • 1 tbsp cream
  • sugar for dusting

Takes Several Hours, serves 1 tart.

Instructions

  1. To make the curd, whisk the egg yolks into the sugar, and then combine with the sumac infused water. Cook in a double boiler until mixture is thick and coats the back of a spoon. You should be able to see trace lines when you draw your spoon/whisk through while stirring. Remove from heat and stir in butter. Push through a fine mesh sieve just in case some of the egg didn’t cook perfectly.
  2. Combine all the frangipane ingredients in a high powered blender or food processor, and blend on high until smooth. Alternatively whip the butter and sugar together in a mixer until thick and creamy and you can see no sugar crystals. Add the egg and emulsify, and then stir in the vanilla and ground almonds. Beat the mixture until thick, creamy, and homogenous.
  3. Roll out your puff pastry according to your recipe’s instructions and cut two circles. I used an 8 inch cake tin as a pattern to trace. Spread a thick layer of frangipane, leaving a little bit uncovered around the edges. Cover that layer with a layer of sumac curd, and then cover with the other circle of pastry. Crimp edges so that no filling will escape.
  4. Using a sharp knife cut some steam vents on top of the pastry, but don’t cut all the way through to the filling. Whisk the egg and tbsp of cream together and brush on top of pastry. To get a really burnished crust do this in several layers, allowing each coat to dry before adding the next. Sprinkle with sugar
  5. Bake in a 425 degree Fahrenheit oven for about 5-10 minutes until the pastry has started to colour. At this point turn the temperature down to 375 degrees, and continue baking for roughly 20 more minutes, or until your pastry is obviously puffed, golden, and fully cooked.
January 08, 2019 /Kelsey Fast
baking, Epiphany, food, foraging, holiday, pie, recipe, sumac
Eat
2 Comments
IMG_1852.jpeg

Honey Glaze for Epiphany Ham

January 03, 2019 by Kelsey Fast in Eat
A view of the Christmas tree and my 30 week baby bump.

A view of the Christmas tree and my 30 week baby bump.

I’m not sure if you know, but we are still in the middle of what was traditionally the Christmas season! I believe today specifically is the 10th day of Christmas, and while I’m not expecting to receive ten lords-a-leaping today I’m still enjoying my Christmas tree, and soaking up a little more holiday season. It seems right to me to continue a little longer since it only just started snowing around here and the tree and other wintery decorations seem appropriate. I do have to say that our new place is so small that a small part of me is looking forward to getting the square footage back in my living room that the tree is taking up right now.

The 12 days of Christmas all lead up to Epiphany, and while that isn’t part of how my family traditionally celebrates the holidays it seemed like a really nice thing to add to our celebrations and a nice way to cap off the season.

We’ve got our Epiphany dinner set for Sunday and I’ll be making a ham. I thought I’d share the recipe I used for the glaze today. Feel free to adjust this to whatever flavours you like. I you don’t have something or don’t like a flavour go ahead and try something different (and if you do I’d love to hear about it in the comments)! Because the dinner hasn’t actually happened yet I won’t have anything in this post about cooking the actual ham, but I’ll try to remember to take a photo to update this post when I do!

IMG_1853.jpeg
Our first time celebrating Epiphany in Kamloops with some dear friends. Read all about it here.

Our first time celebrating Epiphany in Kamloops with some dear friends. Read all about it here.

For this glaze, I started with the sumac in my mortar and pestle. I’ll be talking more about this ingredient and where I find it in a later post, but for now you should be able to find it in specialty spice shops. I think I’ve been seen ground sumac powder in the spice section of my local Bulk Barn. Sumac berries have a hard seed inside, so I crushed them with my mortar and pestle, until the dried berry surrounding the seed was crushed and sifted that through a fine mesh sieve. Don’t discard the larger bits either - you can steep those in cold water in the fridge overnight and make a lemonade-ish drink. I’d say from one drupe of berries I wound up with about 1/2 a teaspoon of powder, although I could have been more thorough and gotten more out of it. I wasn’t too worried about that though because I’m going to be steeping the larger pieces anyway for another upcoming recipe.

After the sumac berries were broken down, I added the other whole spices and continued to crush them. After that I added fresh ginger and a clove of garlic, and continued to grind it in my mortar and pestle until the whole mixture formed a sort of paste. At this point I took it out and mixed it with local honey, nasturtium flower infused white wine vinegar, a little bit of molasses, and salted the mixture to taste. It’s a delightful mixture of tangy, sweet, and warm from all the spices and ginger.


Honey Glaze for Epiphany Ham

Ingredients

  • 1/2 tsp sumac powder
  • 3-4 whole allspice berries
  • 3-4 whole cloves
  • 1/4 tsp multicoloured peppercorns
  • 1 dried smoked chilli pepper
  • 1 thumb fresh ginger
  • 1 large clove garlic
  • 1/2 tsp salt
  • 4 tbsp honey
  • 2 tbsp white wine vinegar
  • 1/2 tsp molasses

Takes 15 minutes, Serves enough glaze for one small ham.

Instructions

  1. If you are using dried sumac berries, pound and grind them in a mortar and pestle or spice grinder until the berries are mostly powder and the hard seeds are all exposed. Sift this mixture and use only the powder for this recipe. Discard or save the larger pieces that don’t make it through the sieve.
  2. Add the whole dried spices and chilli to the mortar and pestle along with the sumac powder. Continue grinding until all the pieces are a fine texture and roughly the same size.
  3. Add the fresh ginger and garlic one after the other, and continue grinding the mixture together in the mortar and pestle until it all forms a paste.
  4. Transfer the paste to a small bowl, and combine with the honey, vinegar, molasses, and salt to taste. Adjust all the spices as necessary - go ahead and grind more of anything that you feel is missing. This is all about adjusting to your own preference, but remember you are making a glaze, so the end result should be rather on the sweet side. You want it to caramelize on the ham in the oven while you are cooking it. If you think you might not have enough for your ham, feel free to scale up the ingredients until you have enough to cover it.
  5. Follow your preferred method for roasting your ham, and add this glaze when there are about 30-60 minutes remaining to the cooking time. You want this to caramelize on the outside of the ham, but not to burn.
January 03, 2019 /Kelsey Fast
condiments, Epiphany, holiday, recipe, Winter, food
Eat
IMG_1518.JPG

Reflections on 2018

December 31, 2018 by Kelsey Fast

In the above collage I have what Instagram deems as my top nine posts of 2018. I think they are pretty good, and they hold a lot of memories, but I wanted to do a fuller reflection on my year and share a few other photos that might not have got as much attention based on Instagram’s algorithm, but were very special to me.

I read my 2017 reflections over again before starting to write this one, and was again struck by how busy December is. I had so many ideas and plans that will have to be put off for another time, but I’m really happy with what we were able to accomplish this year.

We had a lot of little trips throughout the year, and we were so happy to be able to take a flight to visit family in Manitoba. There were so many firsts in Little Forager’s second year, and we enjoyed soaking up every minute of them - especially his first real experiences with the ocean, and his first airplane trip!

IMG_0177.JPG
IMG_0611.JPG
IMG_0879.jpeg
IMG_0491.JPG

This year was the first full year the A Forager’s Home Shop was open for business, and it was really nice to have that outlet for my creativity. I really enjoy making things for others, and I have been so blown away by your support in this endeavour! I look forward to what the coming year brings!

In addition to my regular topics, I also took more of a focus on eco-friendly home decor and/or organization on a budget on the blog. There are not a lot of gardening and foraging topics to cover in my area in the winter, so last year I shared how I redid my bedroom spending only $10. I also was able to feature a few of my products in there including the now out of stock autumn forage wreath, and the golden pinecone garland (still in stock and available in gold or silver via the link to the right).

IMG_8524.JPG

I was able to make so many beautiful wreaths for the shop this year! Some of them were absolutely one of a kind, and will not be made again, others I will probably recreate like the sagebrush wreath and twig wreaths below. The Autumn Forage Wreath (pictured above in my bedroom), and the Summer Forage Wreath (pictured below, second from the right) were made from what was available at the time, and while I might make something like them again, I won’t be able to exactly recreate them. You can shop the current wreath collection by clicking here.

edited.jpg
IMG_0221.jpg
edited.jpg
IMG_8477.jpg
Fabric Twine Basket

Fabric Twine Basket

Handwoven Rag Rug

Handwoven Rag Rug

Fabric Twine Coasters

Fabric Twine Coasters

I was also able to work on lots of items from recycled fabric this year, and that gave me a lot of joy. I get my fabric scraps from various groups that are doing really worthy work. Some of them come from a few of the ladies that are a part of my Church’s “Sewing for Dignity” group that makes clothing, baby blankets, and feminine hygiene packs for underprivileged communities. Some also come from my Grandma who is a part of her Church’s used clothing ministry and helps sort out what is quality, and what is unusable from the various donations they get. Previously all of these bits would have just become garbage, so I am happy to give them life as useful, beautiful objects.

I also got a chance to be a vendor at the inaugural season of the Dallas Barnhartvale Farmers’ Market this summer. It was a really great opportunity to meet a lot of local people, and the support from my community was incredible. I’d be absolutely happy to do it over again next season!

This year also involved a lot of winter! It snowed straight through until April, so we made great use of our snowshoes, and skates. Kamloops is very beautiful in the snow! This year Little Forager also began what might be an undying love of skating and hockey. He’s now a diehard Blazer’s fan, and loves watching the Canucks on TV. This Christmas he got his own pair of tiny skates and is hard at work learning how to stay up by himself on them.

This year - unbeknownst to me - was my last season with my garden. I have so loved working on that project, and feeding my family with my own two hands. Balcony gardening is my future, and I am looking forward to the challenges and learning experiences that will bring. Even without the space I am used to, I will still be keeping the “grow” category of topics alive here on the blog.

2018 also featured a lot of recipes! I enjoyed writing the “meals from the pantry” series, and might pick that up again this winter if there is interest, and I also love creating and sharing the recipes I make from foraged ingredients. This is “A Forager’s Home”, after all!

Douglas-Fir Sugar Cookies

Douglas-Fir Sugar Cookies

“Pop Stars”

“Pop Stars”

Mixed Bean Turkey Chilli

Mixed Bean Turkey Chilli

Wild Lettuce Soup

Wild Lettuce Soup

Apple Muffins with Sourdough Starter

Apple Muffins with Sourdough Starter

Roasted Vegetable Soup

Roasted Vegetable Soup

Dandelion Leaf Kimchi

Dandelion Leaf Kimchi

Floral Ice Cream

Floral Ice Cream

Pumpkin Apple Blender Muffins

Pumpkin Apple Blender Muffins

Sourdough Doughnuts

Sourdough Doughnuts

If you have been reading this blog for the past little while you’ll know we recently had to move house. I was hoping to do some sort of “holiday home tour” this month and show off how we set up our new place, but our crazy schedule got the best of us, and all I have to show you are these few photos below.

IMG_1312.JPG
IMG_1524.JPG
IMG_1520.JPG

We spent Christmas with my side of the family in my parents’ new place. This was the first year they had enough room for a full Christmas tree, and I have to say it made it feel a lot more like Christmastime knowing that my parents had their tree set up!

This photo of Little Forager sleeping in the glow of the Christmas tree is possibly a candidate for my absolute favourite photo of the year.

IMG_1736.JPG

I’ve saved our biggest news of the year for last - although we’ve already shared it quite a bit so you might already know. This year we were so thrilled to find out that our little family would be growing by one in Spring of 2019! We are expecting a little girl to join us, and we couldn’t be more excited!

IMG_0258.JPG

2018 was a complicated year, but filled to the brim with good things, and we can’t wait to see what 2019 has in store for us! How was your year? I’d love to hear how things were for you in the comments.

IMG_9045.JPG
December 31, 2018 /Kelsey Fast
a forager's home shop, family, foraging, food, garden, holiday, home decor, handmade, Christmas, musings, upcycle, Winter
Comment
  • Newer
  • Older

Terms and Conditions | Privacy Policy | Shipping and Returns

Powered by Squarespace