A Forager's Home

Grow. Find. Eat. Make.

  • Blog
  • About
  • DIY
  • Recipes
  • Foraging
IMG_1232.JPG

DIY Magnetic Spice Rack

November 27, 2018 by Kelsey Fast in Make

If you’ve been following along with this blog for a while, you’ll know we moved recently. Our new place has a lot more built in storage, but it is overall quite a bit smaller than our last place, so we’re having to be a bit creative with how we store things. The kitchen is especially challenging in that there is quite a bit of storage, but a lot of it is hard to access (think massive corner cupboards with no lazy Susans, and really small openings). This really made it difficult to figure out where to store all my small spice jars.

I had a few of the magnetic spice jars Ikea used to sell a while back, and my initial idea was to buy a whole bunch more, but it looks like they are out of stock. I know you can buy these elsewhere, but they aren’t that cheap, and usually come with a little magnetic stand to put on your counter which I don’t need since I’m planning on using a side of my fridge that is otherwise empty. They are also fairly expensive if you need as many of them as I will.

It occurred to me that I might be able to use some of my fairly extensive mason jar supply and make my own to go with the three large ones I already had. I had even purchased magnets for another project that was never realized that would work perfectly for this, so I’ve barely spent anything. Even if I do need to buy a few more jars my plan is to keep an eye out at thrift stores. If I need to buy some more mason jars, they will be the 125 ml size (1/4 pint for my American friends). That seems to work well in terms of weight for the magnets, and size to contain my spices.

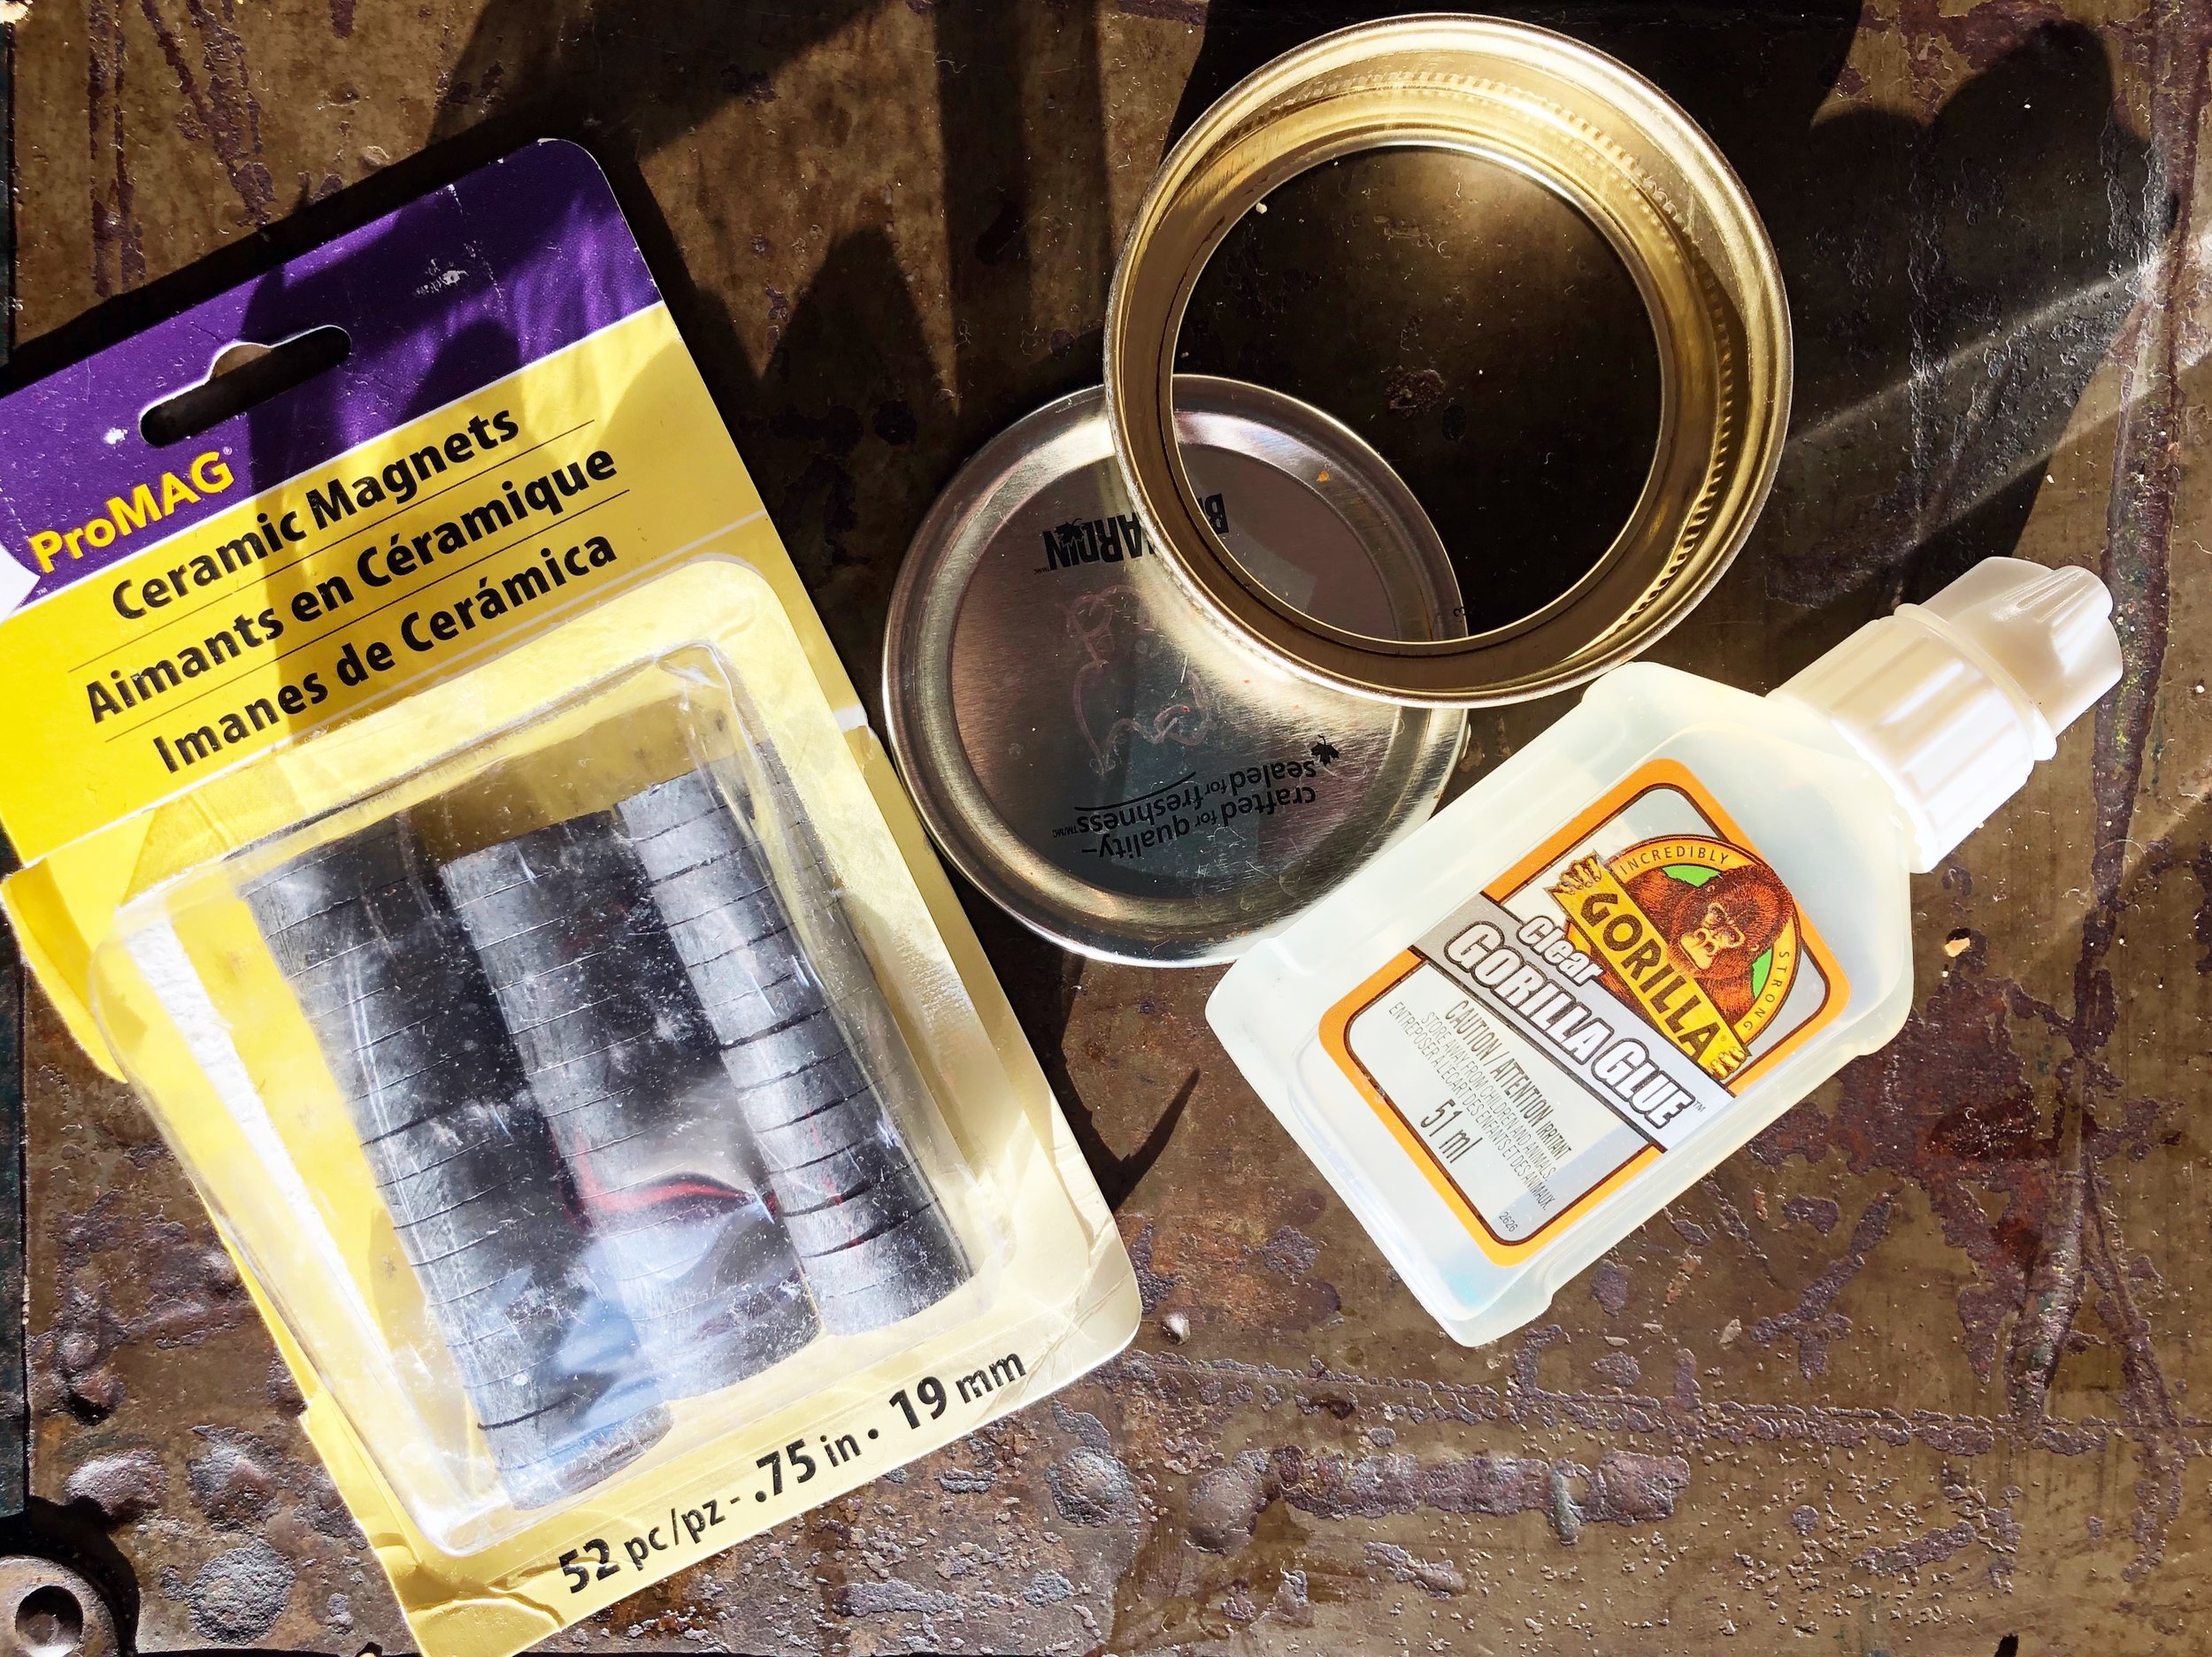
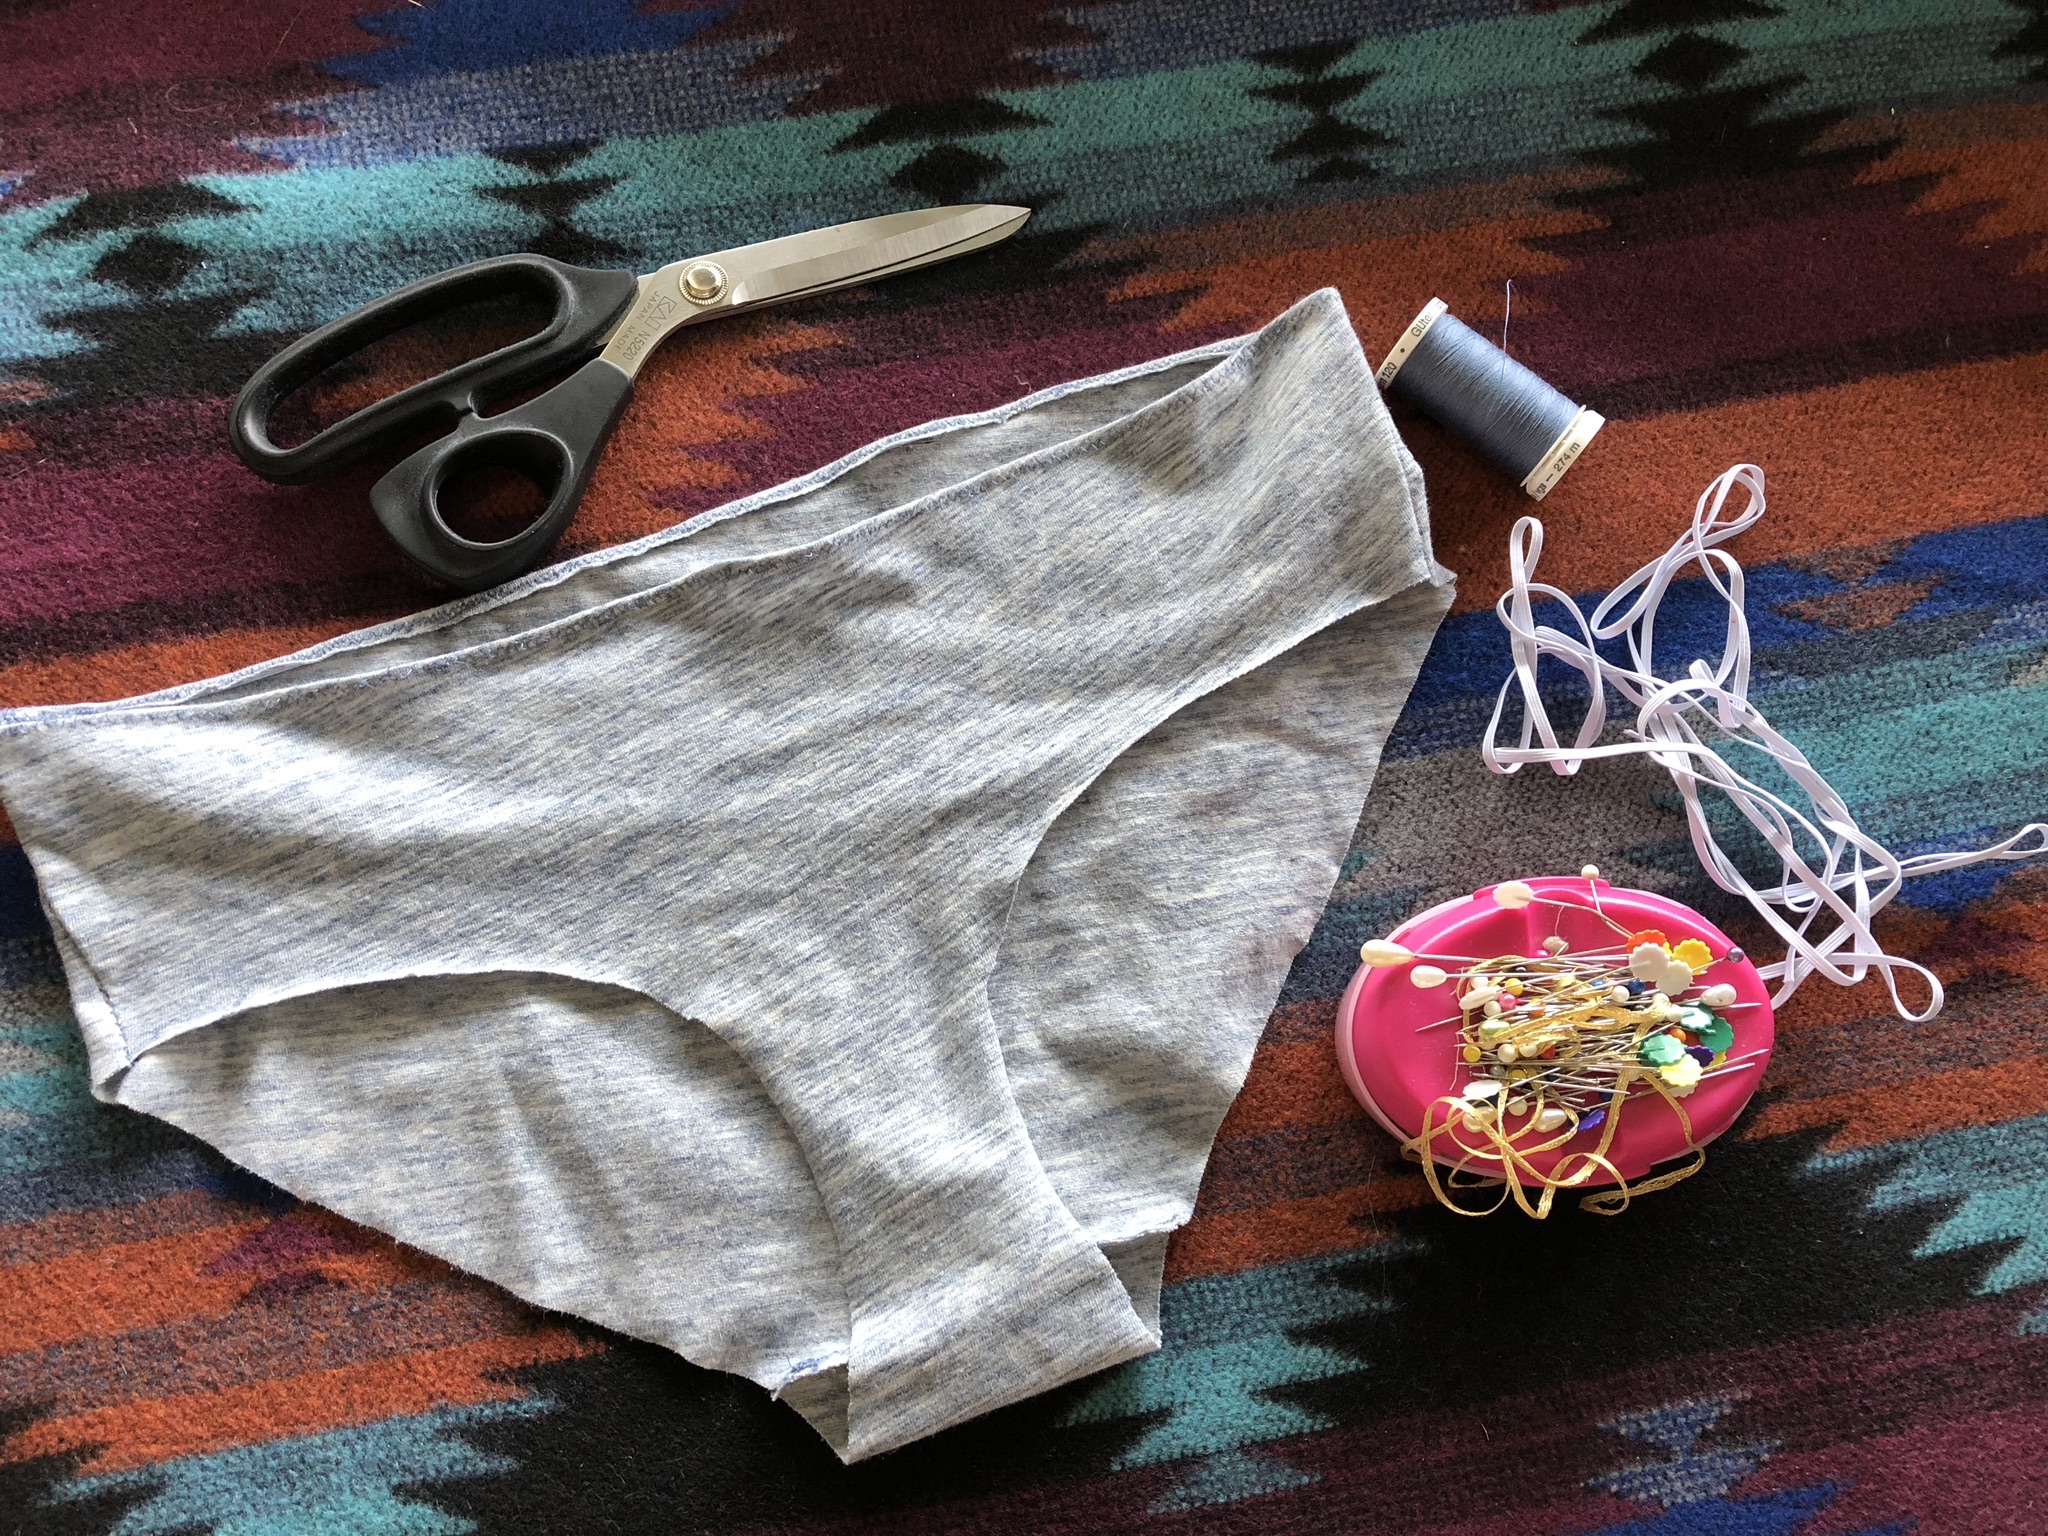
Supplies you’ll need:

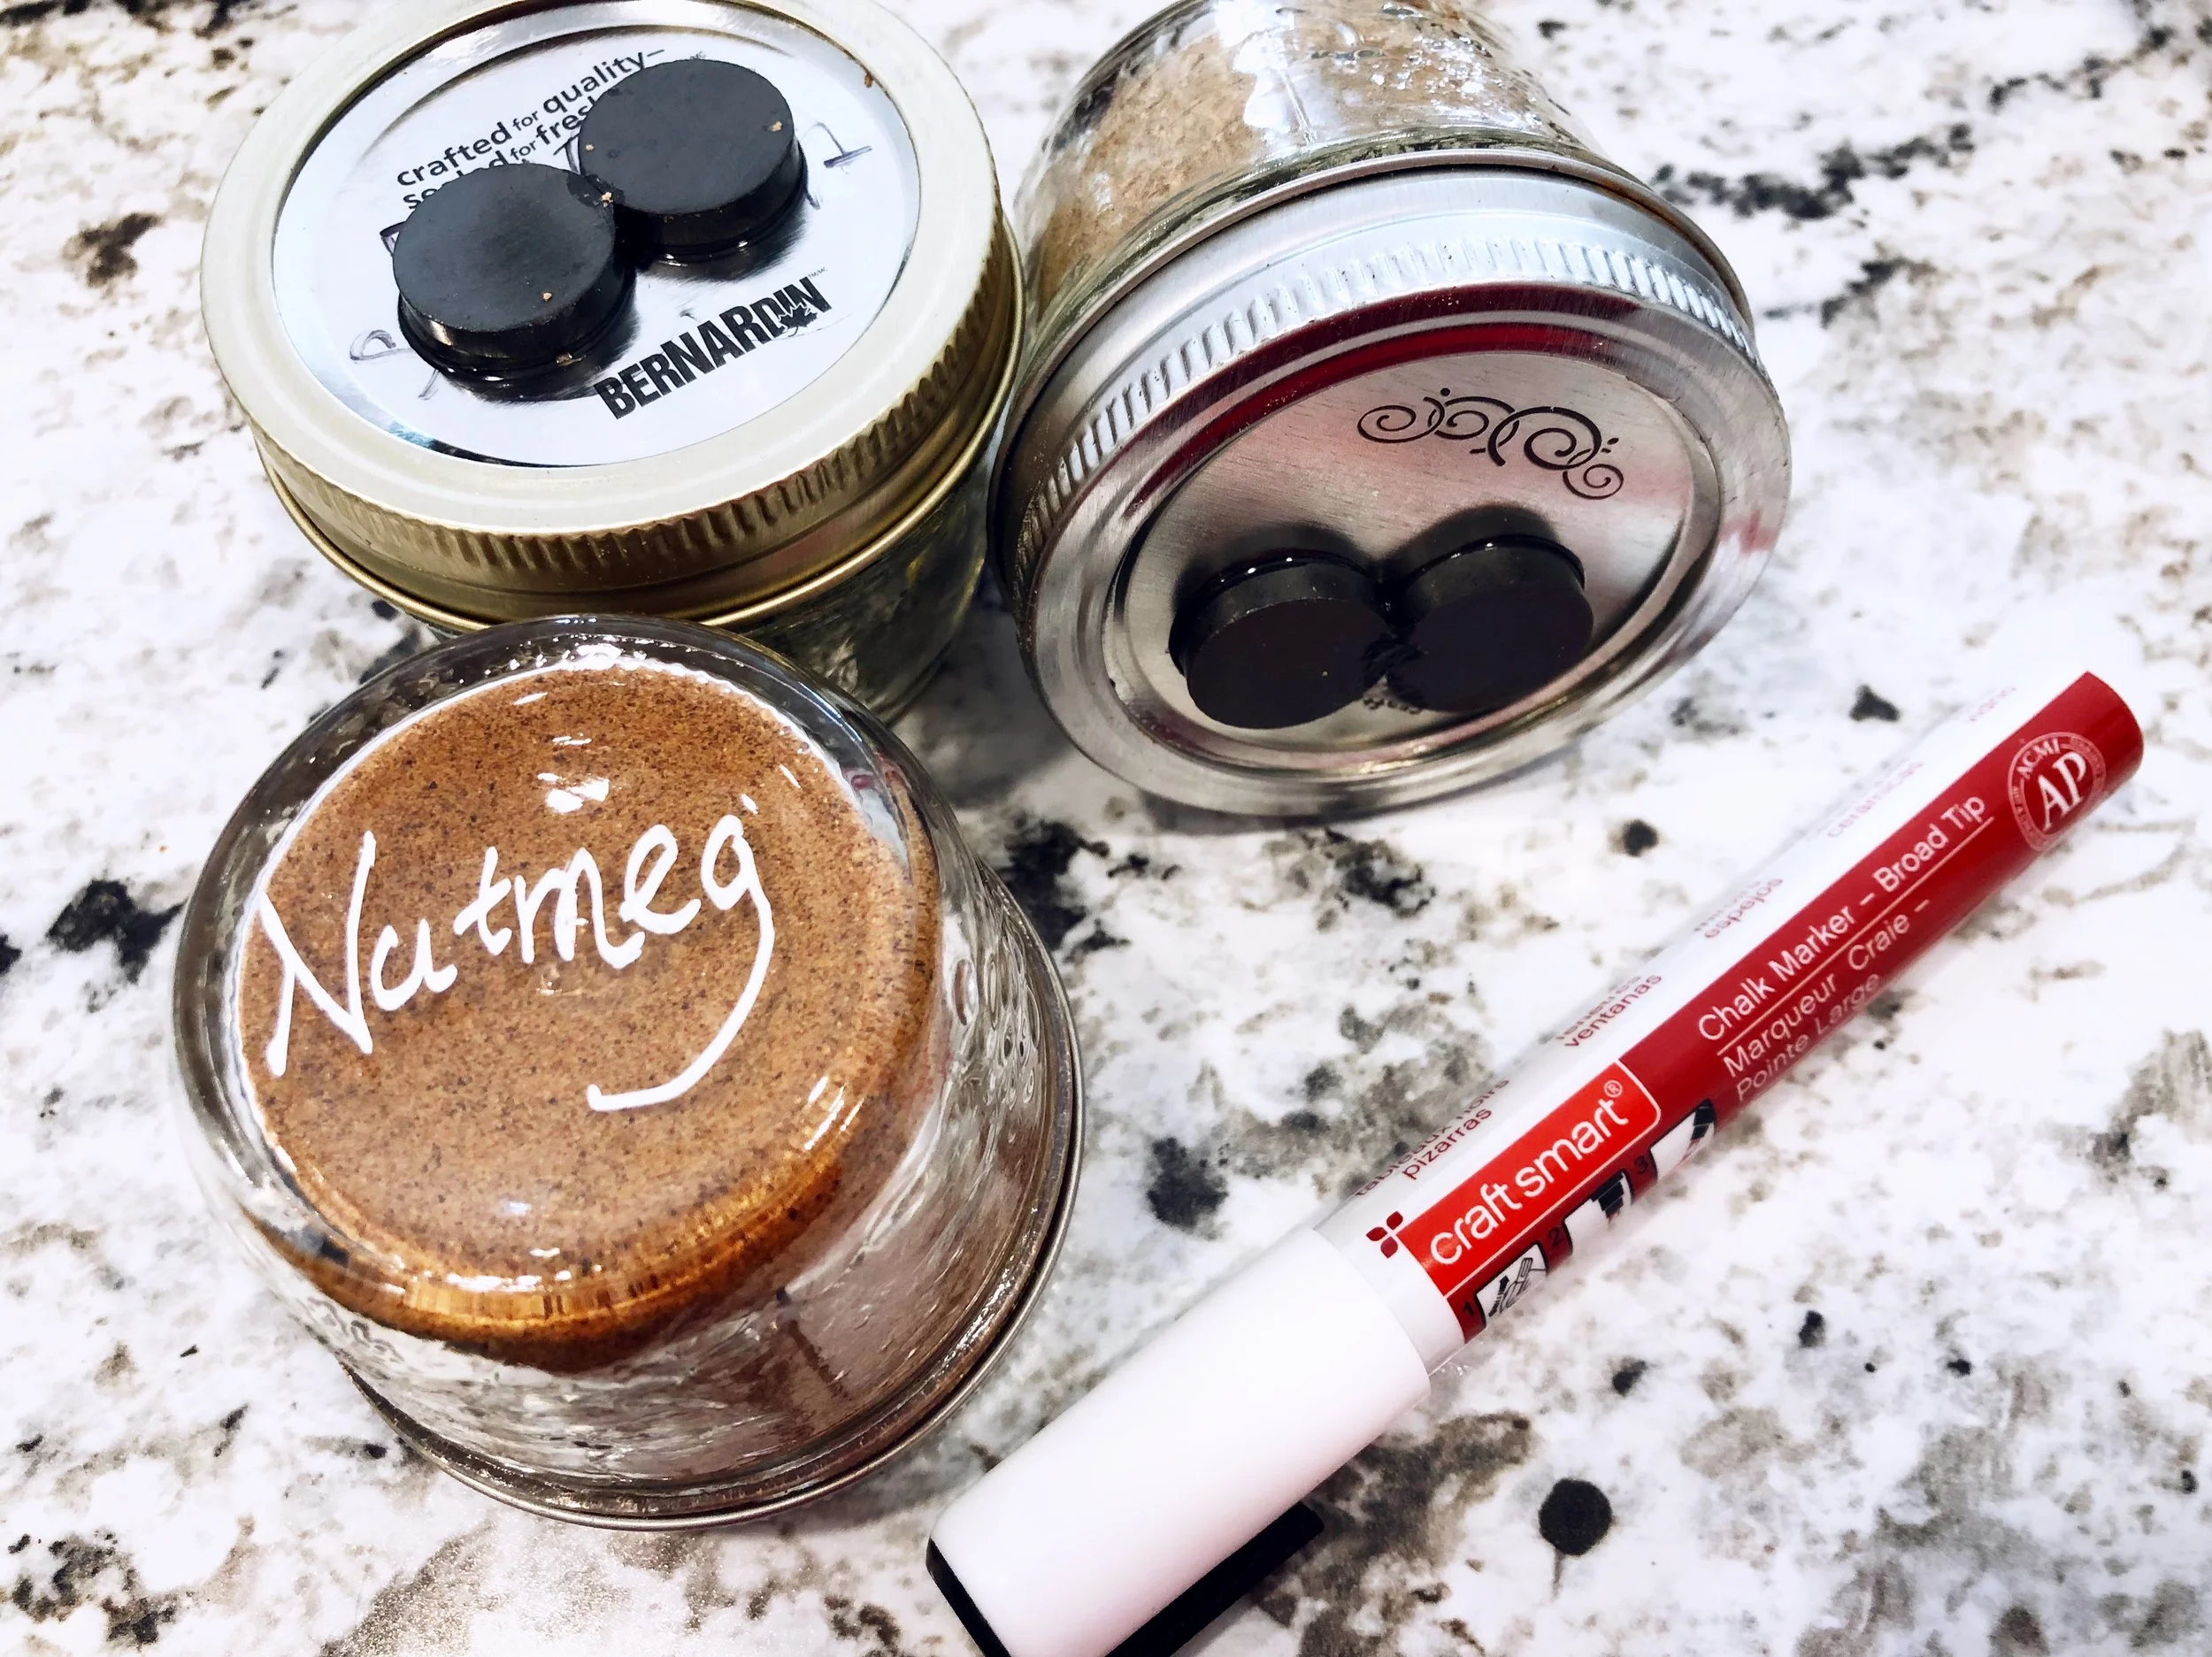
The picture above shows the supplies you’ll need. I do know there are better, stronger magnets available, but this is what I had around. With this type of ceramic magnet you’ll need two magnets per 125 ml jar.

  1. 125 ml Mason Jars

  2. Ceramic Magnets

  3. Gorilla Glue

  4. Chalk marker (to write the names of the spices on the jars)

To prepare the lids:

To keep things sturdy, follow the manufacturer’s instructions on the back of your gorilla glue to attach the mason jar lid to the ring. After that glue the magnets to the top of the lid and leave to cure overnight. You don’t need a lot of glue, so go easy on it. You don’t want any overflowing onto your counters and that kind of thing so use a bit less than you think you’ll need.

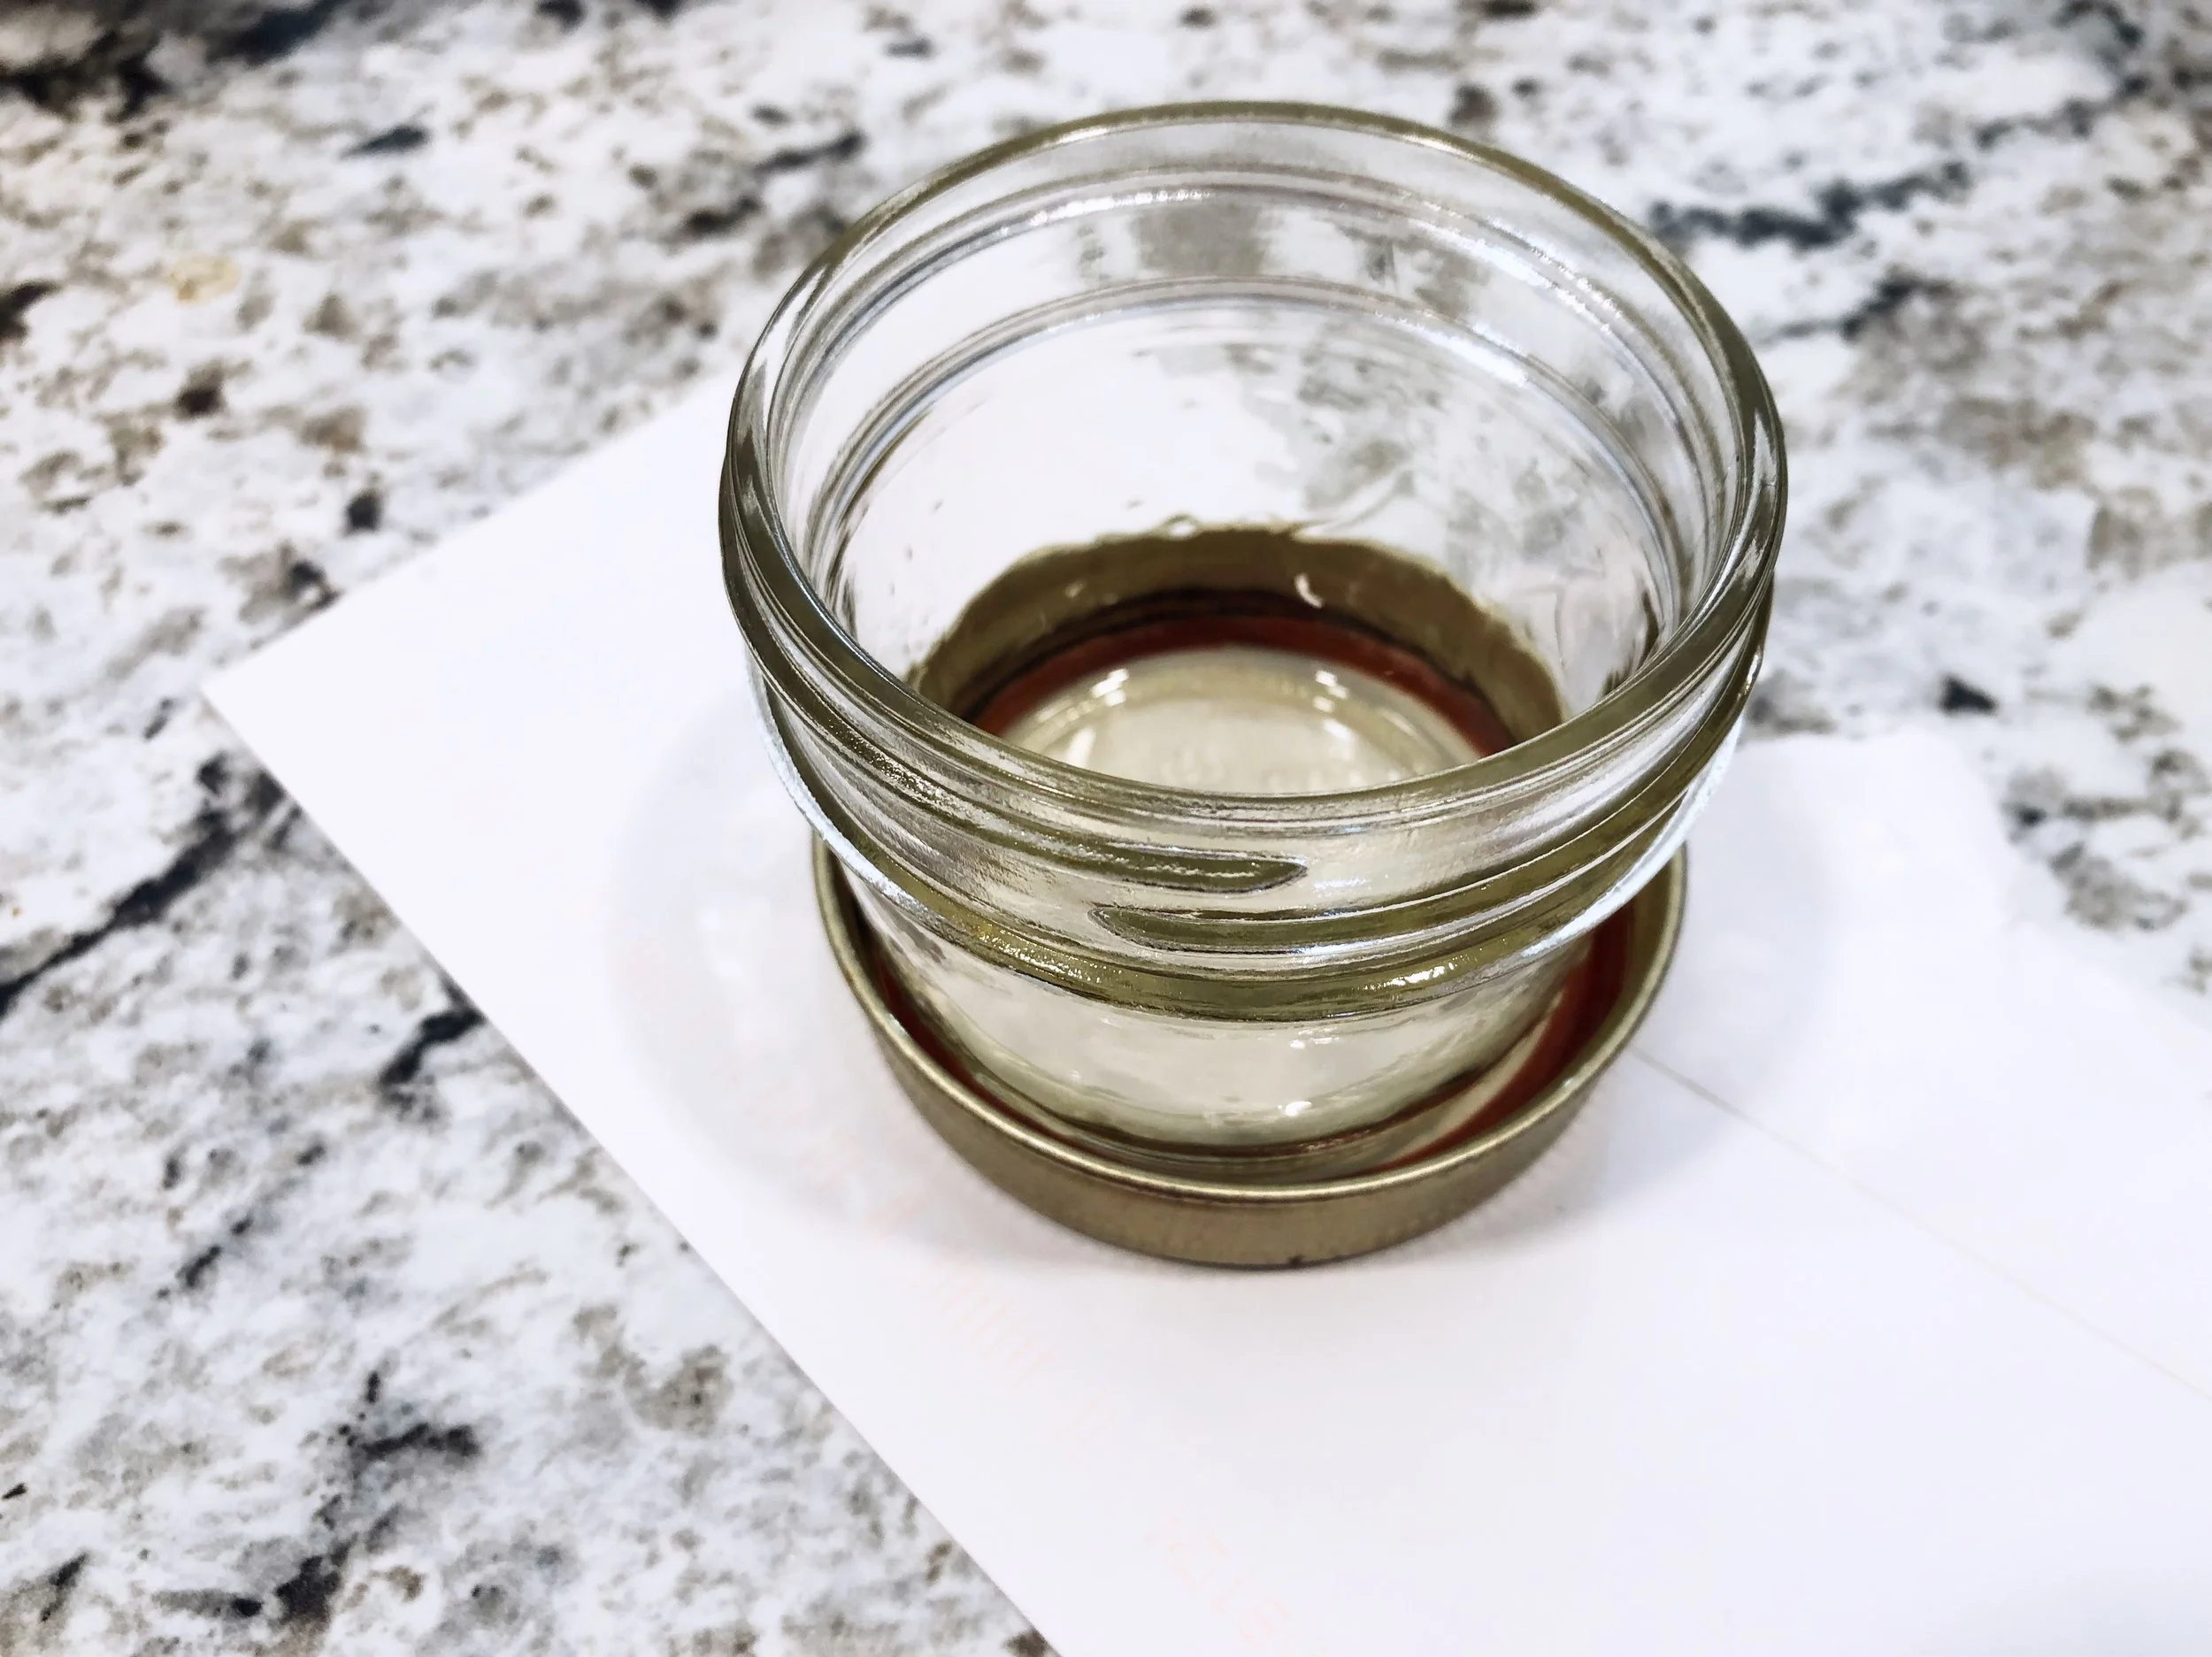
Allow the glue to cure:

Leave the jars to cure for 24 hours, or for as long as the instructions on your glue say. I’ve been stacking them like the photo above with the empty jar on top to sort of keep a bit of pressure on things as they dry. It will probably suggest you clamp whatever you are glueing, but I don't have a clamp, and haven’t found it to be necessary with these so far.

Putting your jars into use:

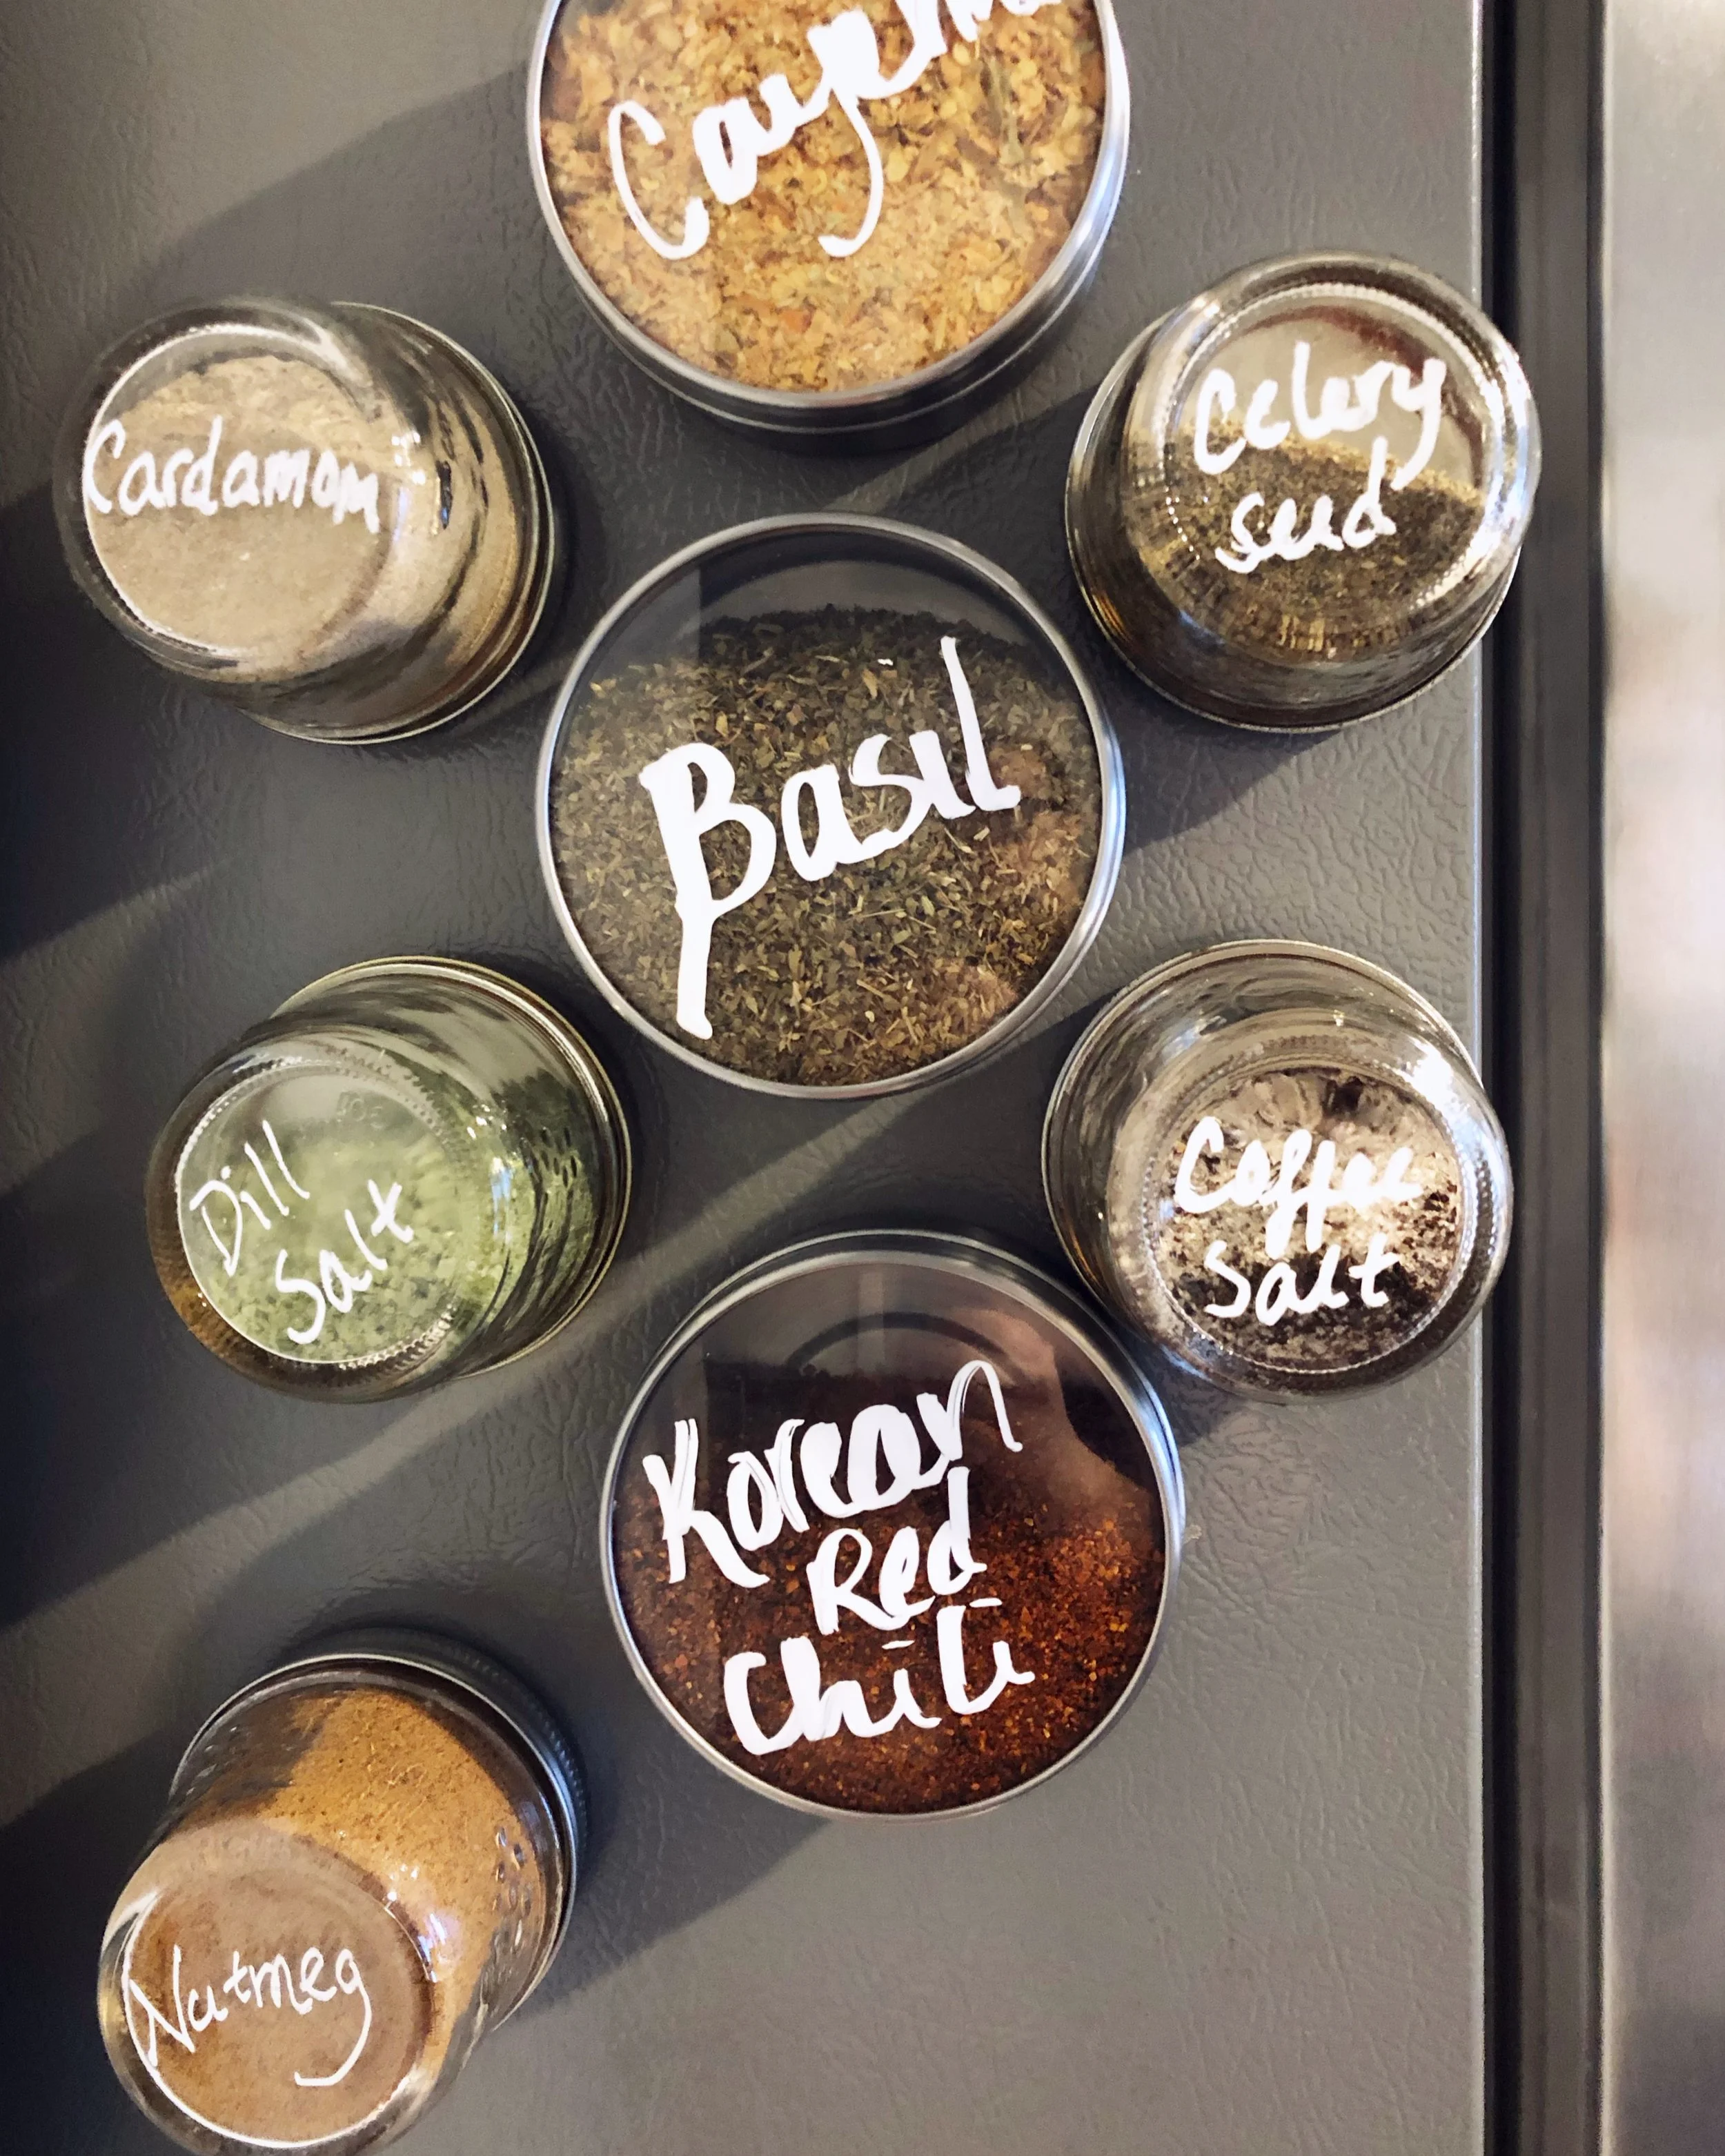
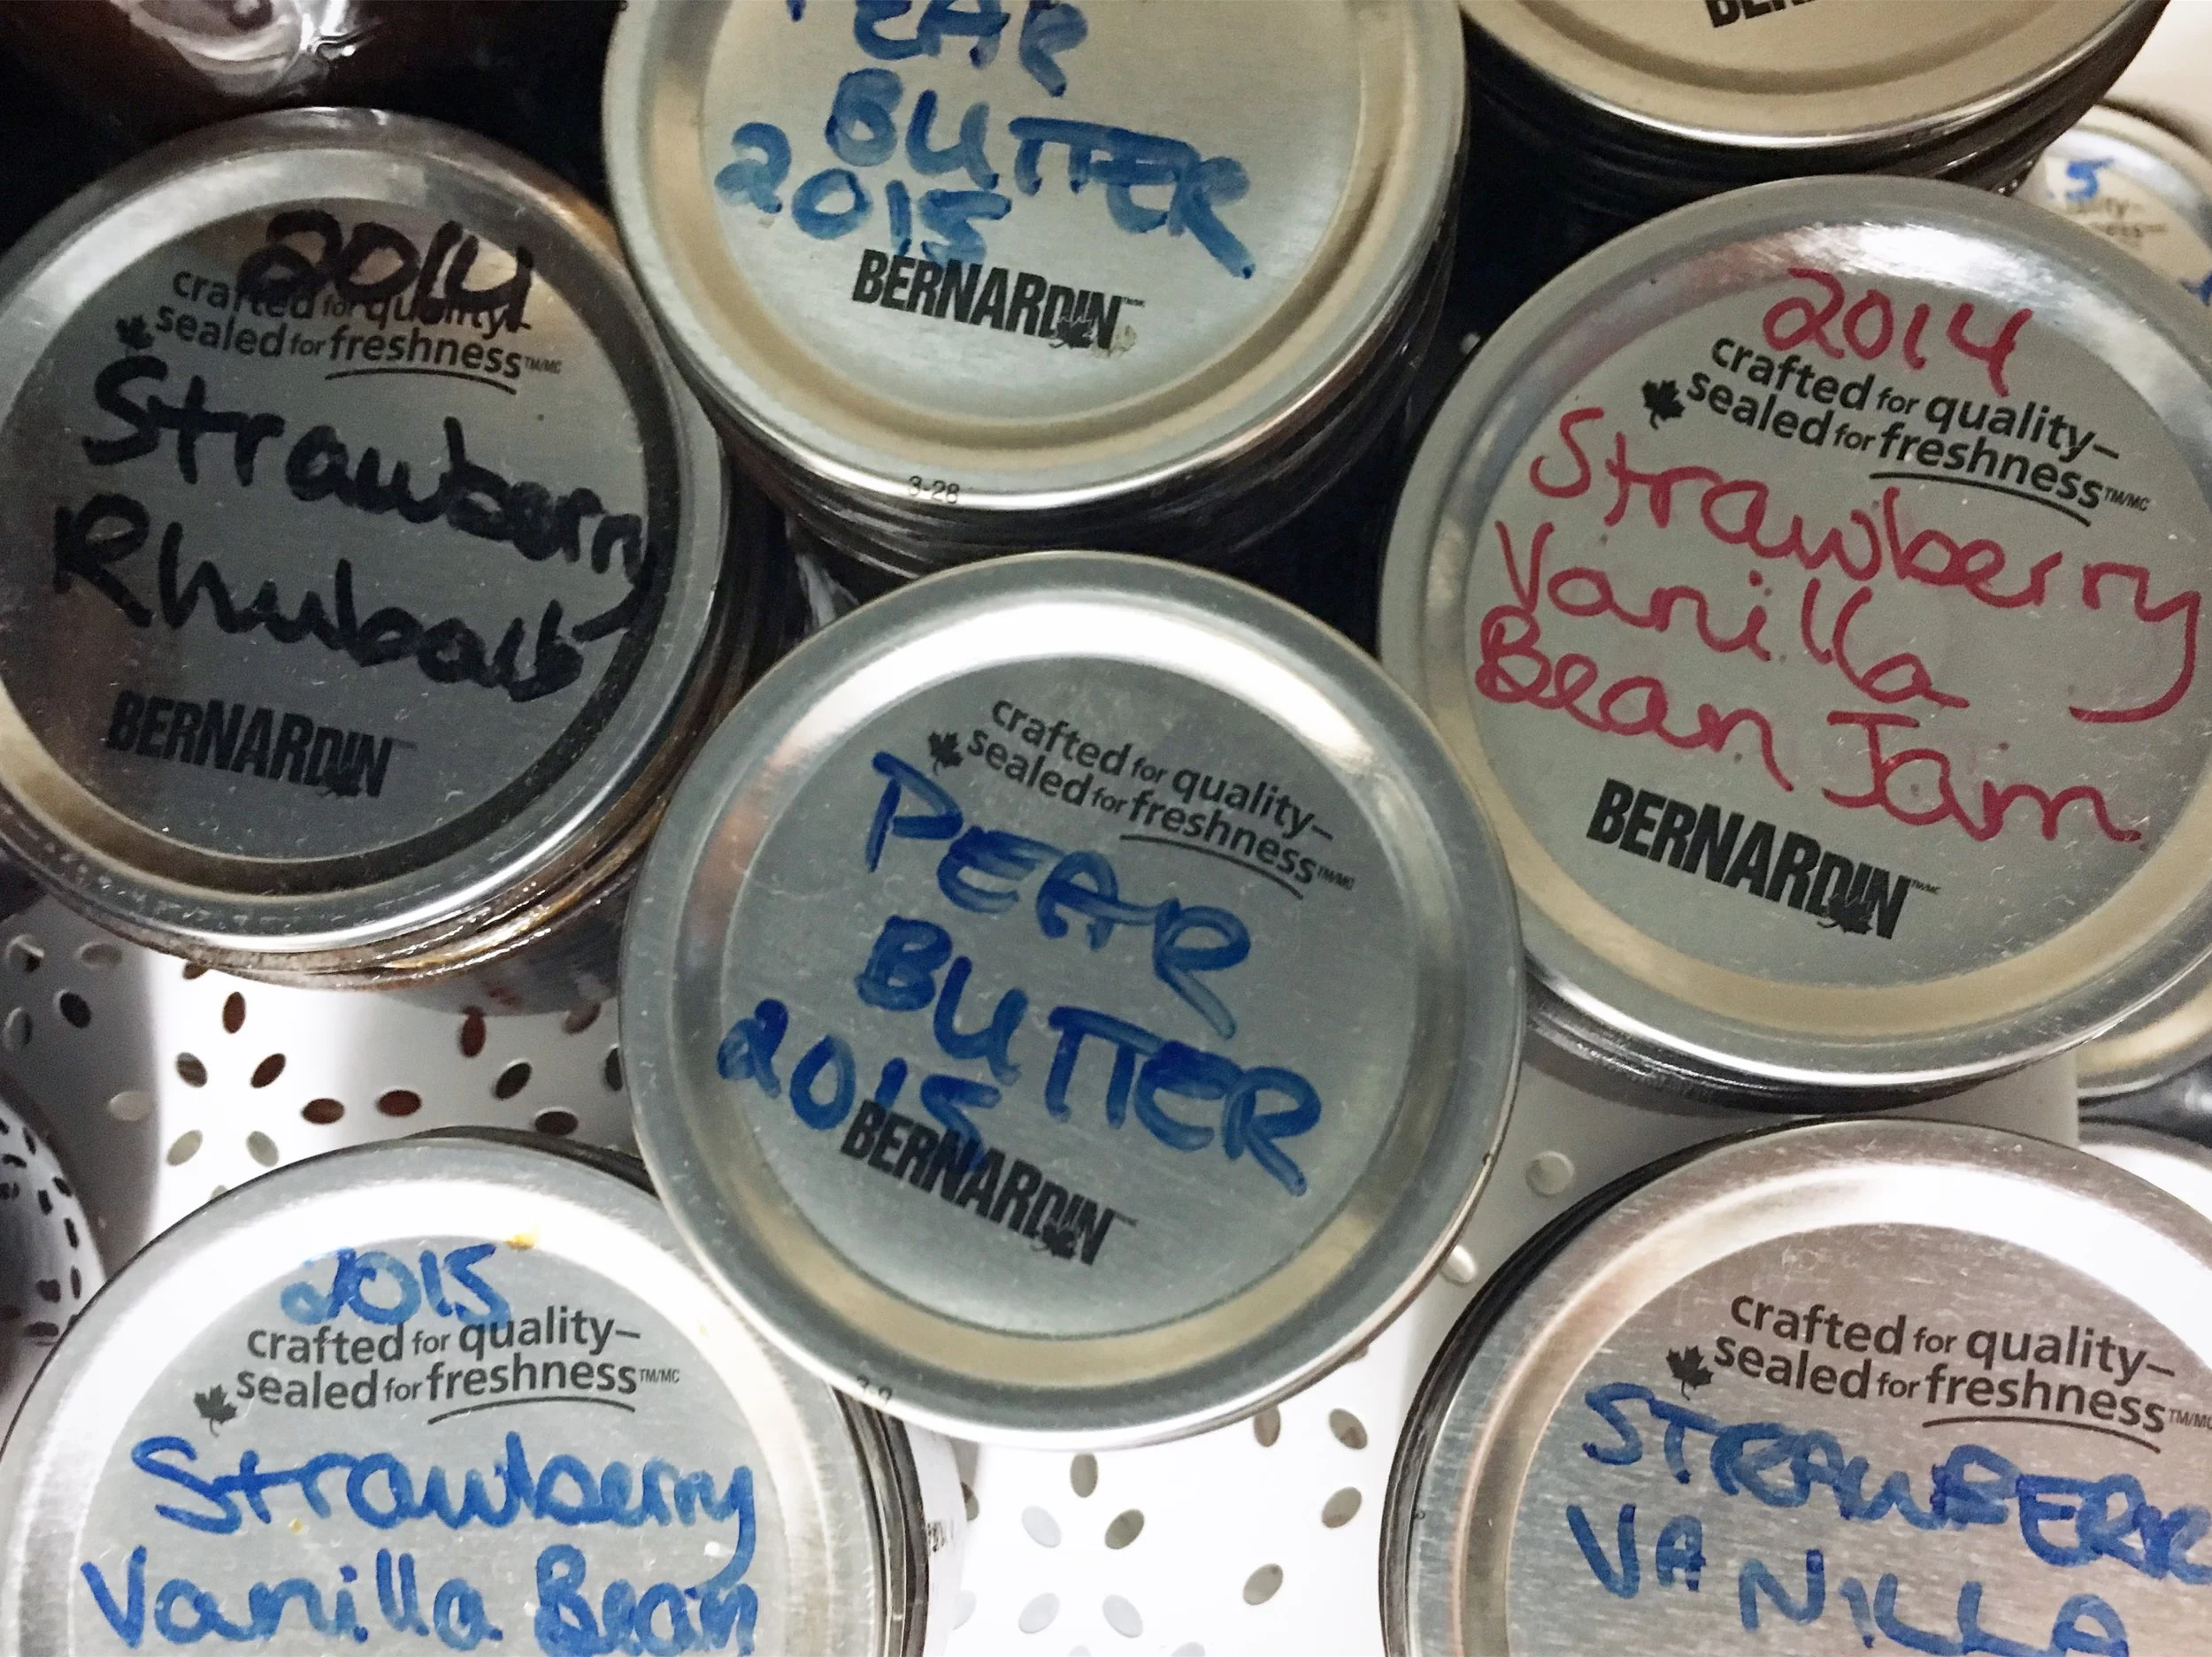
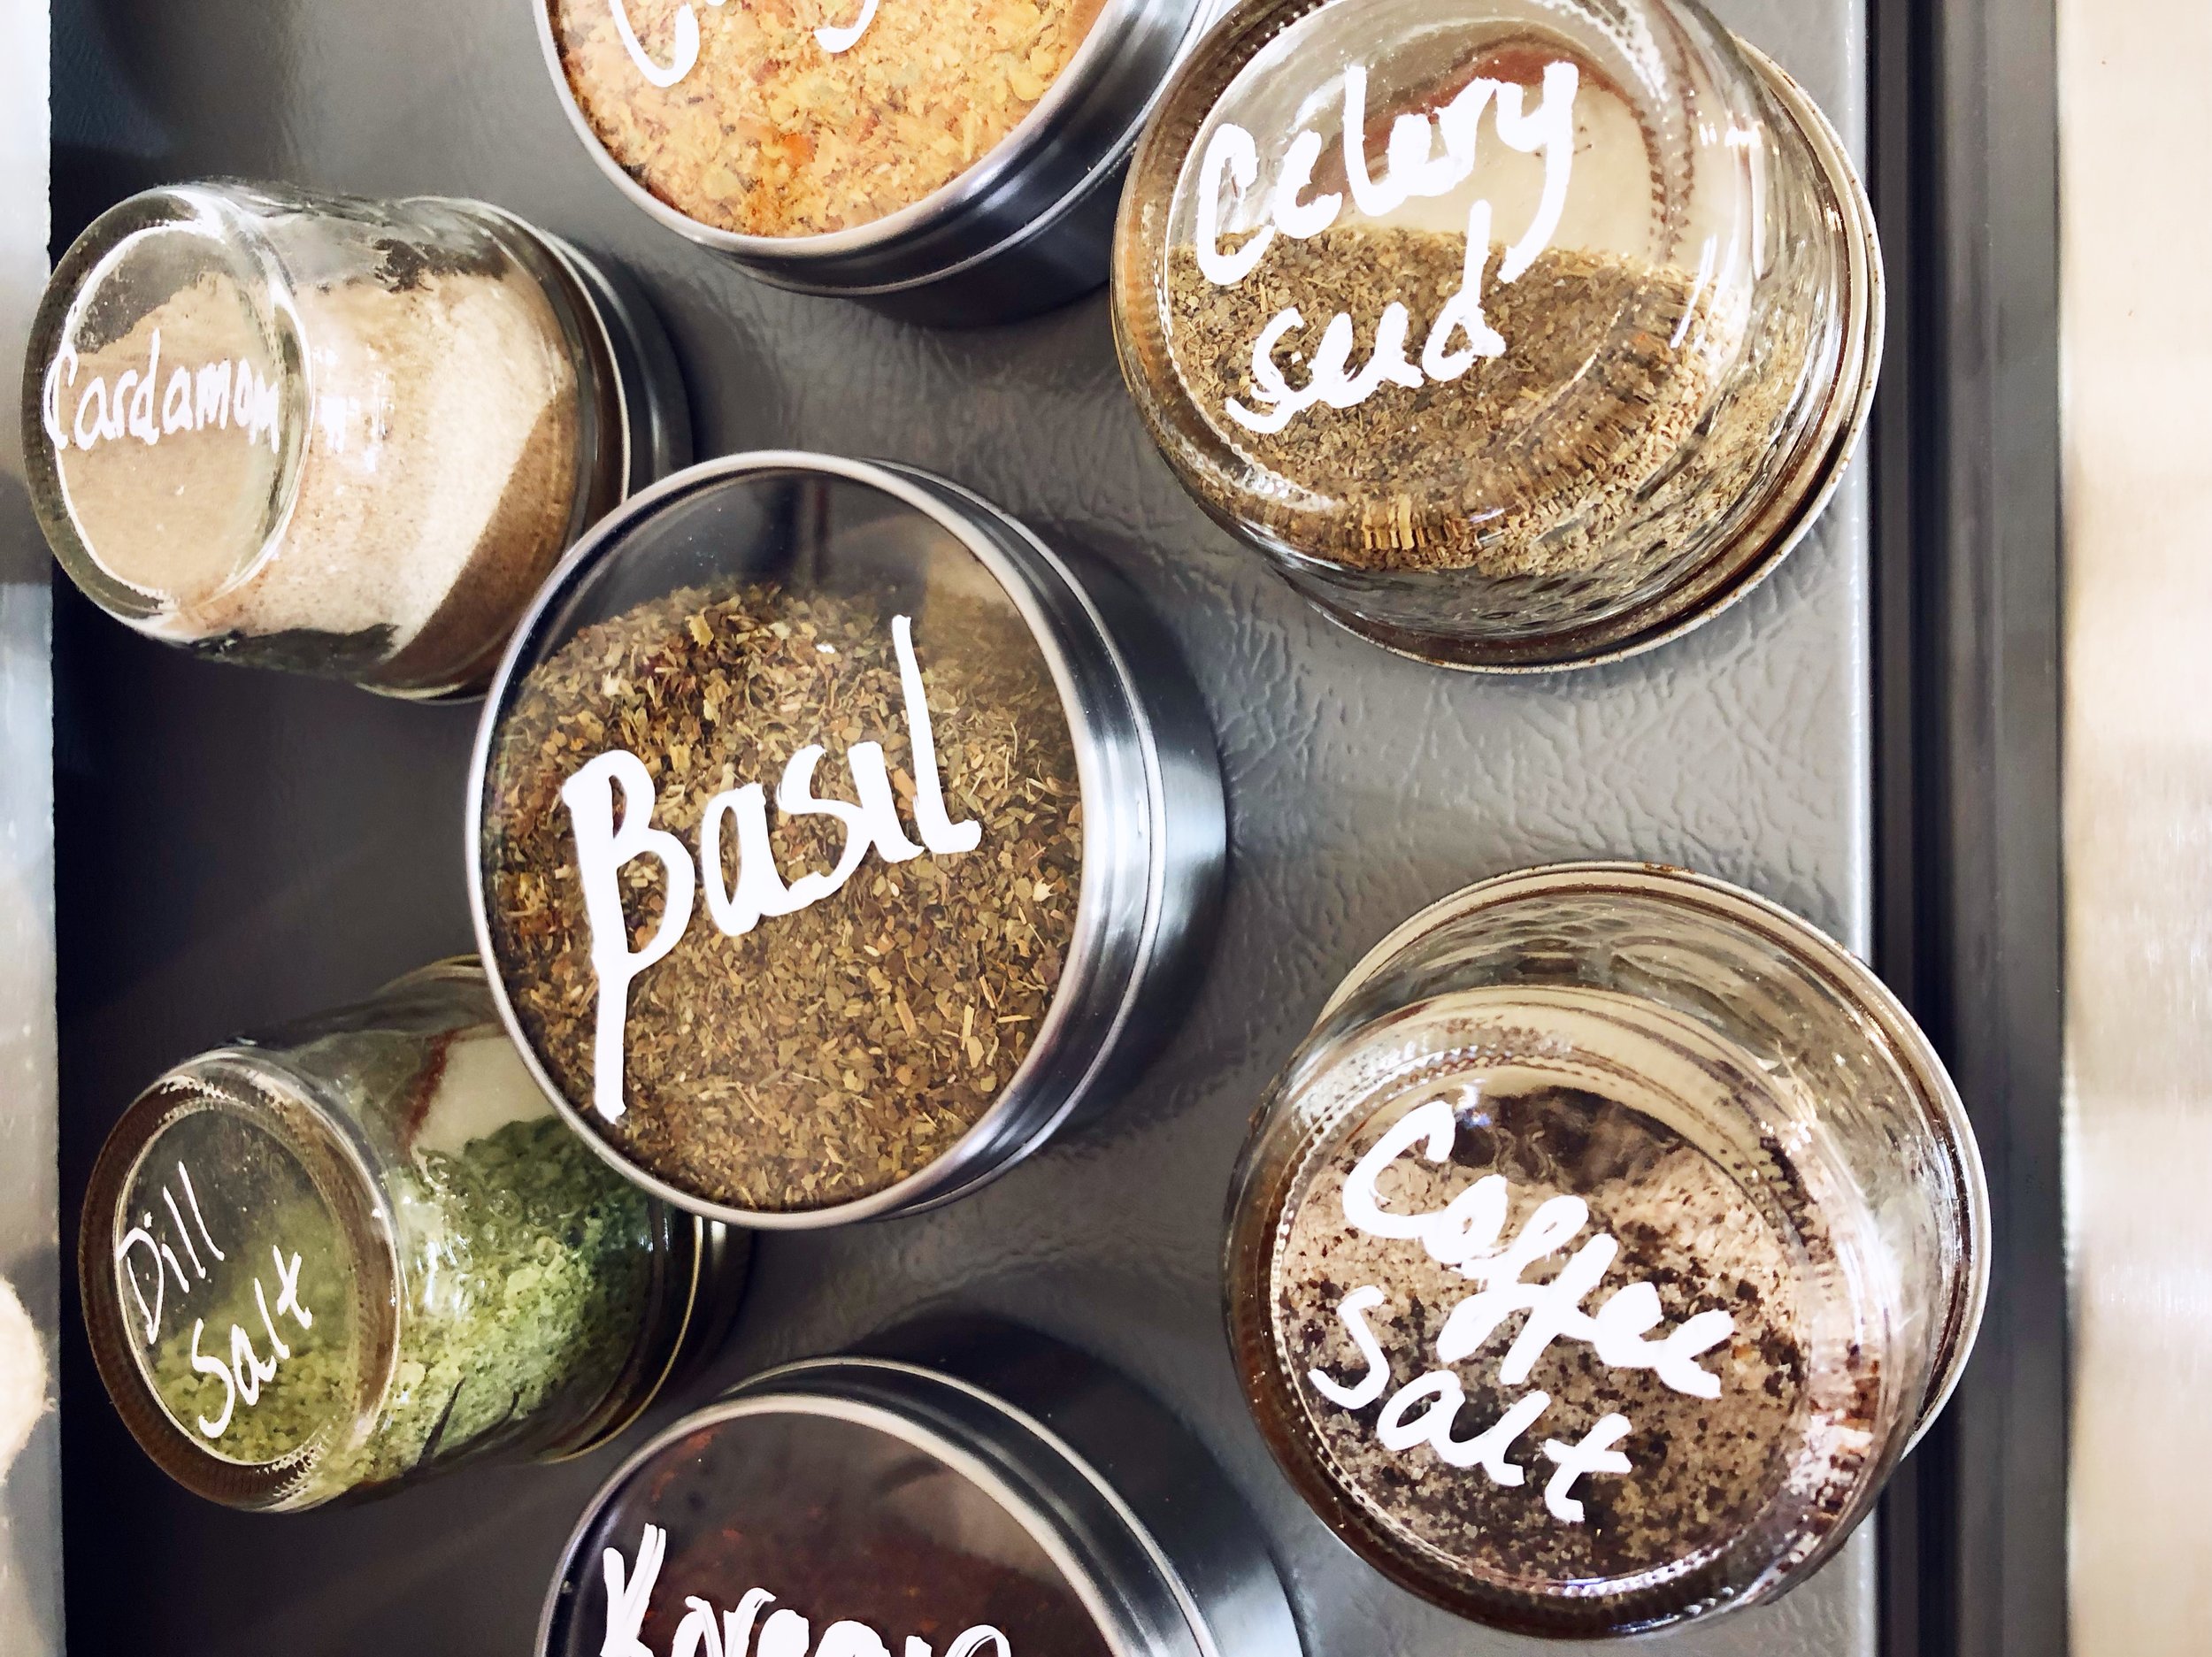
To keep track of what is what use a chalk marker and write on the bottom of the jar what is inside. This is easily wiped off if you end up changing what you’re storing in each jar.

I think a major bonus of using this system, is that my local Bulk Barn allows us to bring our own refillable containers to their store instead of using those little plastic baggies to take ingredients home in. In this case I can just wash the container, and put the empty ones in a tote bag to take with me next time I need spices! When it comes to washing the jars, the dishwasher will be completely fine, but for the lids with their magnets I suggest lightly hand washing them. I’m not sure they’d hold up in the dishwasher.

Let me know if you give this a try! I’d love to see what you come up with in the comments!

November 27, 2018 /Kelsey Fast
food, handmade, in my kitchen, DIY, kitchen, organization, pantry, tutorial, zero waste
Make
Comment

Mending Toddler Jeans - Knee Patches

November 11, 2018 by Kelsey Fast in Make

I have a kid who is really hard on his jeans. He’s super excited to see you? He slides to his knees. He’s super disappointed about something? Cue falling to his knees. The end result of all this “power sliding” is that the knees of his jeans wear out while everything else is looking almost brand new.

Now I know there is no way I’m the only one in this situation, so I wanted to talk about this fairly simple (and adorable) way of adding knee patches to super skinny toddler jeans.

“Repair is a radical act”
— Patagonia

I love the above quote from Patagonia. I know they are using it as a marketing slogan and using it to convince you to buy their clothes, but the sentiment behind it is so true. We live in an era of disposable fashion, and if we care about this planet - not to mention the people who make our clothing - we need to change our approach. Mend what tears. Fix what is broken. Remember that there is a living breathing human who made each item you are wearing and it becomes that much more precious.

I try my best to make good choices about the clothes we buy, and to fix things where I can. Since I know a lot of you reading this blog care about this earth and like to DIY I plan to start sharing more about this and offering tips and tricks that I’ve picked up along the way. I’m not the only one doing this and there are many people doing an even better job, but I’m just here sharing what I’ve learned.

My go-to way of patching up jeans is to use a sewing machine and a lot of back and forth stitches. It’s super fast, and fairly invisible. With these skinny little jeans that wasn’t an option as the leg wouldn’t fit, so instead I made some patches and embroidered them to the jeans.

IMG_1052.JPG
IMG_1053.JPG

To make the patches

  1. Cut pieces of denim or other fabric to the size that you need it plus about a 1/4 inch extra on all sides. You’ll want the fabric to be a similar weight to whatever you are repairing. I usually mend our jeans until they are too far gone, and then keep them around to use as spare fabric for this kind of purpose.

  2. Using a sewing machine turn over and stitch a 1/4” rolled hem on all sides of the patches to finish the edges.

To attach the patches

  1. For a visible mend: Using embroidery thread, or other strong topstitching thread use your favourite motif to attach the patches. I did little +’s in alternating rows in a very contrasting white thread. I think straight lines, or x’s - or even a combination of both - would be really adorable.

  2. For an invisible mend: (note that this will not be truly invisible, but at least way less obvious) match your thread to the colour of the garment you are mending. Stitch down the patch around the edge, and in straight lines or some other unobtrusive pattern to hold down the middle of the patch.

IMG_1055.JPG
November 11, 2018 /Kelsey Fast
eco friendly, DIY, reuse, tutorial, upcycle, zero waste, mending
Make
1 Comment

How to Recycle Old T-Shirts Into New Underwear

August 20, 2018 by Kelsey Fast in Make

(Update: after living with these underwear for a while there are some changes that I would make next time. The first is that I might consider doing something else with the leg openings - like adding elastic there. I would also add another layer of fabric in the crotch since that will also make them last longer. If you just need a super quick pair and you don’t care about the additional steps go ahead and make them this way! They still lasted quite a while this way!)

This post is a little different from my usual offerings, but in the spirit of zero-waste and DIY and all of that, I wanted to post this tutorial to make your own underwear from fabric you were probably going to give away or throw away. You might not have thought to make your own underwear before - and truly I didn't really consider it either - but it turned out that it was really easy to do! Let's be honest too - women's underwear is not always the cheapest, and you can't always find your favourite, most comfortable ones in stores again after they've worn out. This solved both problems for me, so I figured I'd post it up here and share what I learned. If you're not interested - feel free to keep scrolling and you'll find recipes and harvest totals and foraging guides down further below. I won't be offended if you skip reading this one!

Here's what you'll need:

  • One t-shirt (I got two pairs of underwear out of one adult men's medium shirt)

  • Paper to trace a pattern on

  • Pair of underwear to copy a pattern from

  • Sewing machine capable of a zigzag stitch 

  • Thread

  • 1/8" elastic

  • Sharp scissors, measuring tape, pins, etc

This first step is probably the most difficult of all of them. You need to choose a pair of underwear you are going to copy, and make a pattern from them. The most foolproof way of doing this is to sacrifice that pair and cut them apart at the seams, and then trace them onto paper. If you don't want to do that, you can lay them flat on paper and try to trace them that way (this is what I did). If you look at the paper in the left photo you can see that the piece on the bottom is folded in half - this is because I folded the underwear I was copying in half and found it easier to trace the shape that way. 

Make sure you add a little bit extra - about 1/4" - when you trace the pattern so that when you sew it together it remains the right size.

A little bit of messy stitching, but it's not going to be visible in the end product. If your sewing skills are rusty, or you're new at this don't let this keep you from trying this project - it's really easy and forgiving if you make a few mistakes!

A little bit of messy stitching, but it's not going to be visible in the end product. If your sewing skills are rusty, or you're new at this don't let this keep you from trying this project - it's really easy and forgiving if you make a few mistakes!

Steps to making your underwear:

  1. Pin the paper pattern you've created to the t-shirt. If your shirt is too small to fit both pieces you'll need to cut the front from the back so you can get both the front and back pattern pieces to fit. If they both fit without altering the t-shirt you are going to end up with enough pieces to make two pairs of underwear.

  2. Pin the crotch seams together. If your fabric has a "right" and "wrong" side (eg: if there is a pattern that is more visible on one side than the other, the pattern side is the "right" side that you want facing out for the end project) make sure the right sides are together when you sew them. 

  3. Sew the crotch seam in a zigzag stitch very close to the edge - about 1/4" away to match the seam allowances you left when you were creating your pattern.

  4. Pin the side seams together (still keeping the right sides together) and sew them in the same way you did the crotch seam. At the end of this you should have what looks like a pair of inside-out underwear! You're almost done!

  5. Measure the waistband of the underwear and cut a piece of elastic that is slightly smaller than it. Keep it just slightly smaller because you don't want the elastic cutting into you while you wear them, but you do want them snug enough that they stay up!

  6. Sew the elastic ends together so the whole thing is in a loop.

  7. Pin the elastic around the very top of the waistband. Try to do this in even sections so that the extra slack in the fabric is evenly distributed around the elastic. Ideally you don't want it bunching more in one spot than others.

  8. Sew the elastic to the very top of the underwear fabric using a zigzag stitch. Stretch your elastic as you go so it matches the slack in your underwear. If it's not perfect, don't worry. This is a very forgiving process and it probably won't be very visible.

  9. Fold the elastic over one more time so the fabric of the underwear is covering the elastic (notice in my photo above I didn't do this perfectly, but it doesn't really matter in the end since it's going to be hidden on the inside). It's a little bit fiddly, so just do your best and try again next time if it wasn't as perfect as you'd like. Sew this folded down elastic down again with a zigzag stitch remembering to stretch the elastic out just like last time.

  10. Using an iron, press your seams. You don't need to do anything to your raw edges because t-shirt fabric naturally doesn't fray!

That's it! If you give this a try and have any pointers for me please leave them in the comments! I'd love to hear about it if any of you do try this out at home!

August 20, 2018 /Kelsey Fast
diy, sewing, zero waste, tutorial
Make
6 Comments

Growing Up - Trellises and Other Garden Structures

June 12, 2018 by Kelsey Fast in Grow, Make

I don't have a whole lot of space to garden, so I try my best to make the most of my vertical space using trellises and other structures. We're also renting our space, so nothing can be too permanent. I've designed my whole garden to be able to be taken apart if we need to move - we'll undo the raised beds, and the grass that is seeded there will be so healthy from my lovely garden soil. I say that as a preface because there are other great options out there, but for us it is most important that they work well, are cheap, and are easy to remove when needed.

IMG_9743.JPG
IMG_9773.JPG

We work with bamboo poles and twine, for the most part. This year we wanted to do some low tunnels over our raised beds, so we bought some PVC pipe and rebar stakes. We cut them too big last year, but that worked in our favour because I am enjoying using their length for trellising. In the above photos you can see my twine and PVC archway (left) that I have peas growing up one side, and cucumbers and squash on the other. In the photo on the right is a square trellis for peas that I made by weaving thinner bamboo stakes (6 ft. length) and leaning it against the wall. You can see it more fully in the photo below.

The above photo is a bit cluttered, but it does show what the garden actually looks like on a day to day basis - not just when I take a beautiful photo for Instagram! You can see my potato tower here, which I am still enjoying using. I've actually added another bin to grow potatoes in this way since it worked so well. I've got some chicken wire for things to grow up, and the long line of poles and twine is something I am trying for tomato supports. I've seen a lot of people use farm fencing for this, so I sort of made my own thing using six foot hardwood stakes, bamboo poles, and twine. The stakes are drilled into the raised beds, and the poles are keeping each tomato plant upright. The twine running between them keeps everything together and strong. 

We're also using plants as trellises - I put in a lot of sunchokes this year, and I've got beans planted below to climb them. I've done the same elsewhere with sunflowers. I'm hoping the corn will grow tall enough to help some of my beans out as well, but I've got some other supports ready in case it fails me again this year.

What are some of your favourite ways to use the vertical space in your garden? I'd love to hear all about it in the comment section!

June 12, 2018 /Kelsey Fast
DIY, garden planning, garden, trellises, garden maintenance
Grow, Make
Comment

Laundry Room Makeover

May 31, 2018 by Kelsey Fast in Make

As you may recall, I've been embarking on a bit of a house reorganization project. The key points here are that we have a super limited budget, and so we are trying to make the most of what we already have at home, and be more intentional with our choices with what we keep and how we use it. You might remember my post about how we spent $10 and redid our bedroom, and now I thought I'd share what we did in our laundry room.

Here's the Embarrassing Before Photo:

Wow, right? Things really got out of hand in there. This was one of the rooms where we tended to just throw things we weren't sure what to do with. It had been ages since we'd really cleaned the floors and that kind of thing, so I just took everything out, cleaned it all, and only put back in what we wanted to keep.

What we needed this room to give us:

  1. Space to be a functioning laundry area.
  2. Storage for all kinds of things: cleaning products, winter wear, sports equipment, pantry overflow, business extras, and all that kind of thing.

I really recommend the approach we took to get a handle on this room. It was so much easier to see what we needed to do once we got everything out. It also really gives you perspective on the things you own and have been storing. I found out that a huge part of the back corner was being taken up with a huge rubbermaid bin that was completely empty! Apparently we had just assumed it was holding something important and we kept stacking other things on top! 

I also got a chance to take stock of all the canning I still have stored away and now we have a better idea of what we can make meals out of, and what needs to be made for next year.  And also (as you can see from the above photo) that there are several things we need to get eating or toss out soon since the years are passing by!

I even got enough floor space cleared to put in my prototype rug I made that eventually became this one in my shop.  It's actually super nice having a rug in my laundry area.  I'm not sure what took me so long to think of putting one there!  

 We didn't do anything particularly earth shattering in here. We did have an idea of possibly moving the laundry machines to a different wall but the hoses were too short for that so if we really want to it's something we can save for another time. While we might do something bigger in the future, I am so happy with what we got done in the meantime. Maybe take this post as encouragement or inspiration to tackle those hidden storage areas in your home! It really feels so good to sort those out!

May 31, 2018 /Kelsey Fast
home decor, zero waste, organization, storage solutions
Make
Comment
  • Newer
  • Older

Terms and Conditions | Privacy Policy | Shipping and Returns

Powered by Squarespace