A Forager's Home

Grow. Find. Eat. Make.

  • Blog
  • About
  • DIY
  • Recipes
  • Foraging

Foraging for Saskatoons, and a Recipe for a Pie

August 06, 2017 by Kelsey Fast in Find, Eat

This is one of those posts that has been sitting in the queue for quite a while stamped as "draft".  I've waited so long to finish it up that I don't even know if anyone has Saskatoons left that they can forage!  I think it is this terrible weather getting to me.  Right now - and for the past several weeks - our air is filled with wildfire smoke and it is making me feel pretty gross.  I noticed that everyone today seemed a bit on edge - I think as a province we're all tired of it, and a bit stressed out about the whole situation.  

Anyway, maybe you have some Saskatoons hanging out in your freezer - or you can buy some frozen from the berry farms that grow them - and then you can still make this pie (it's definitely worth it if you do).  

When we moved to Kamloops I was a little bit disappointed to lose access to all the beautiful, free blackberries that seem to line every roadside on the coast.  What I would soon learn is that this semi-arid landscape makes up for it by the Saskatoon bushes that are all over the place.  It takes quite a while to pick enough of them to make a decent harvest, but it's a bit more relaxing than collecting blackberries.  I have to say that if I had to choose which free berry I wanted near my house I'd go for blackberries for taste, but with Saskatoons there are no thorns, and we were bothered by fewer wasps and spiders than I usually am in the blackberry bushes.  Mr. Forager is also happy since he has fond memories of eating Saskatoon berry pie and jam during his childhood on the prairies.

Use any pie crust recipe you like for this one.  I'll share one that I like at the end of this post if you are looking for a good recipe, or just want to try something new.  This one is one of my go-to recipes and it has really good results.  Whatever you do, make sure your kitchen is as cold and dry as you can get it (for example, I wouldn't recommend doing this in the middle of a major steamy canning session, or anything else where you are boiling something on the stove for a while).  I usually have decent results with most pastry crusts in my kitchen (I live in an almost desert, and the air conditioning is always blasting) but then when I made the same recipe as I usually do at my mom's more humid, coastal, warm apartment, I had all kinds of challenges rolling it out nicely.  It still tasted fine in the end though so don't worry if you have some challenges!


Print Friendly and PDF

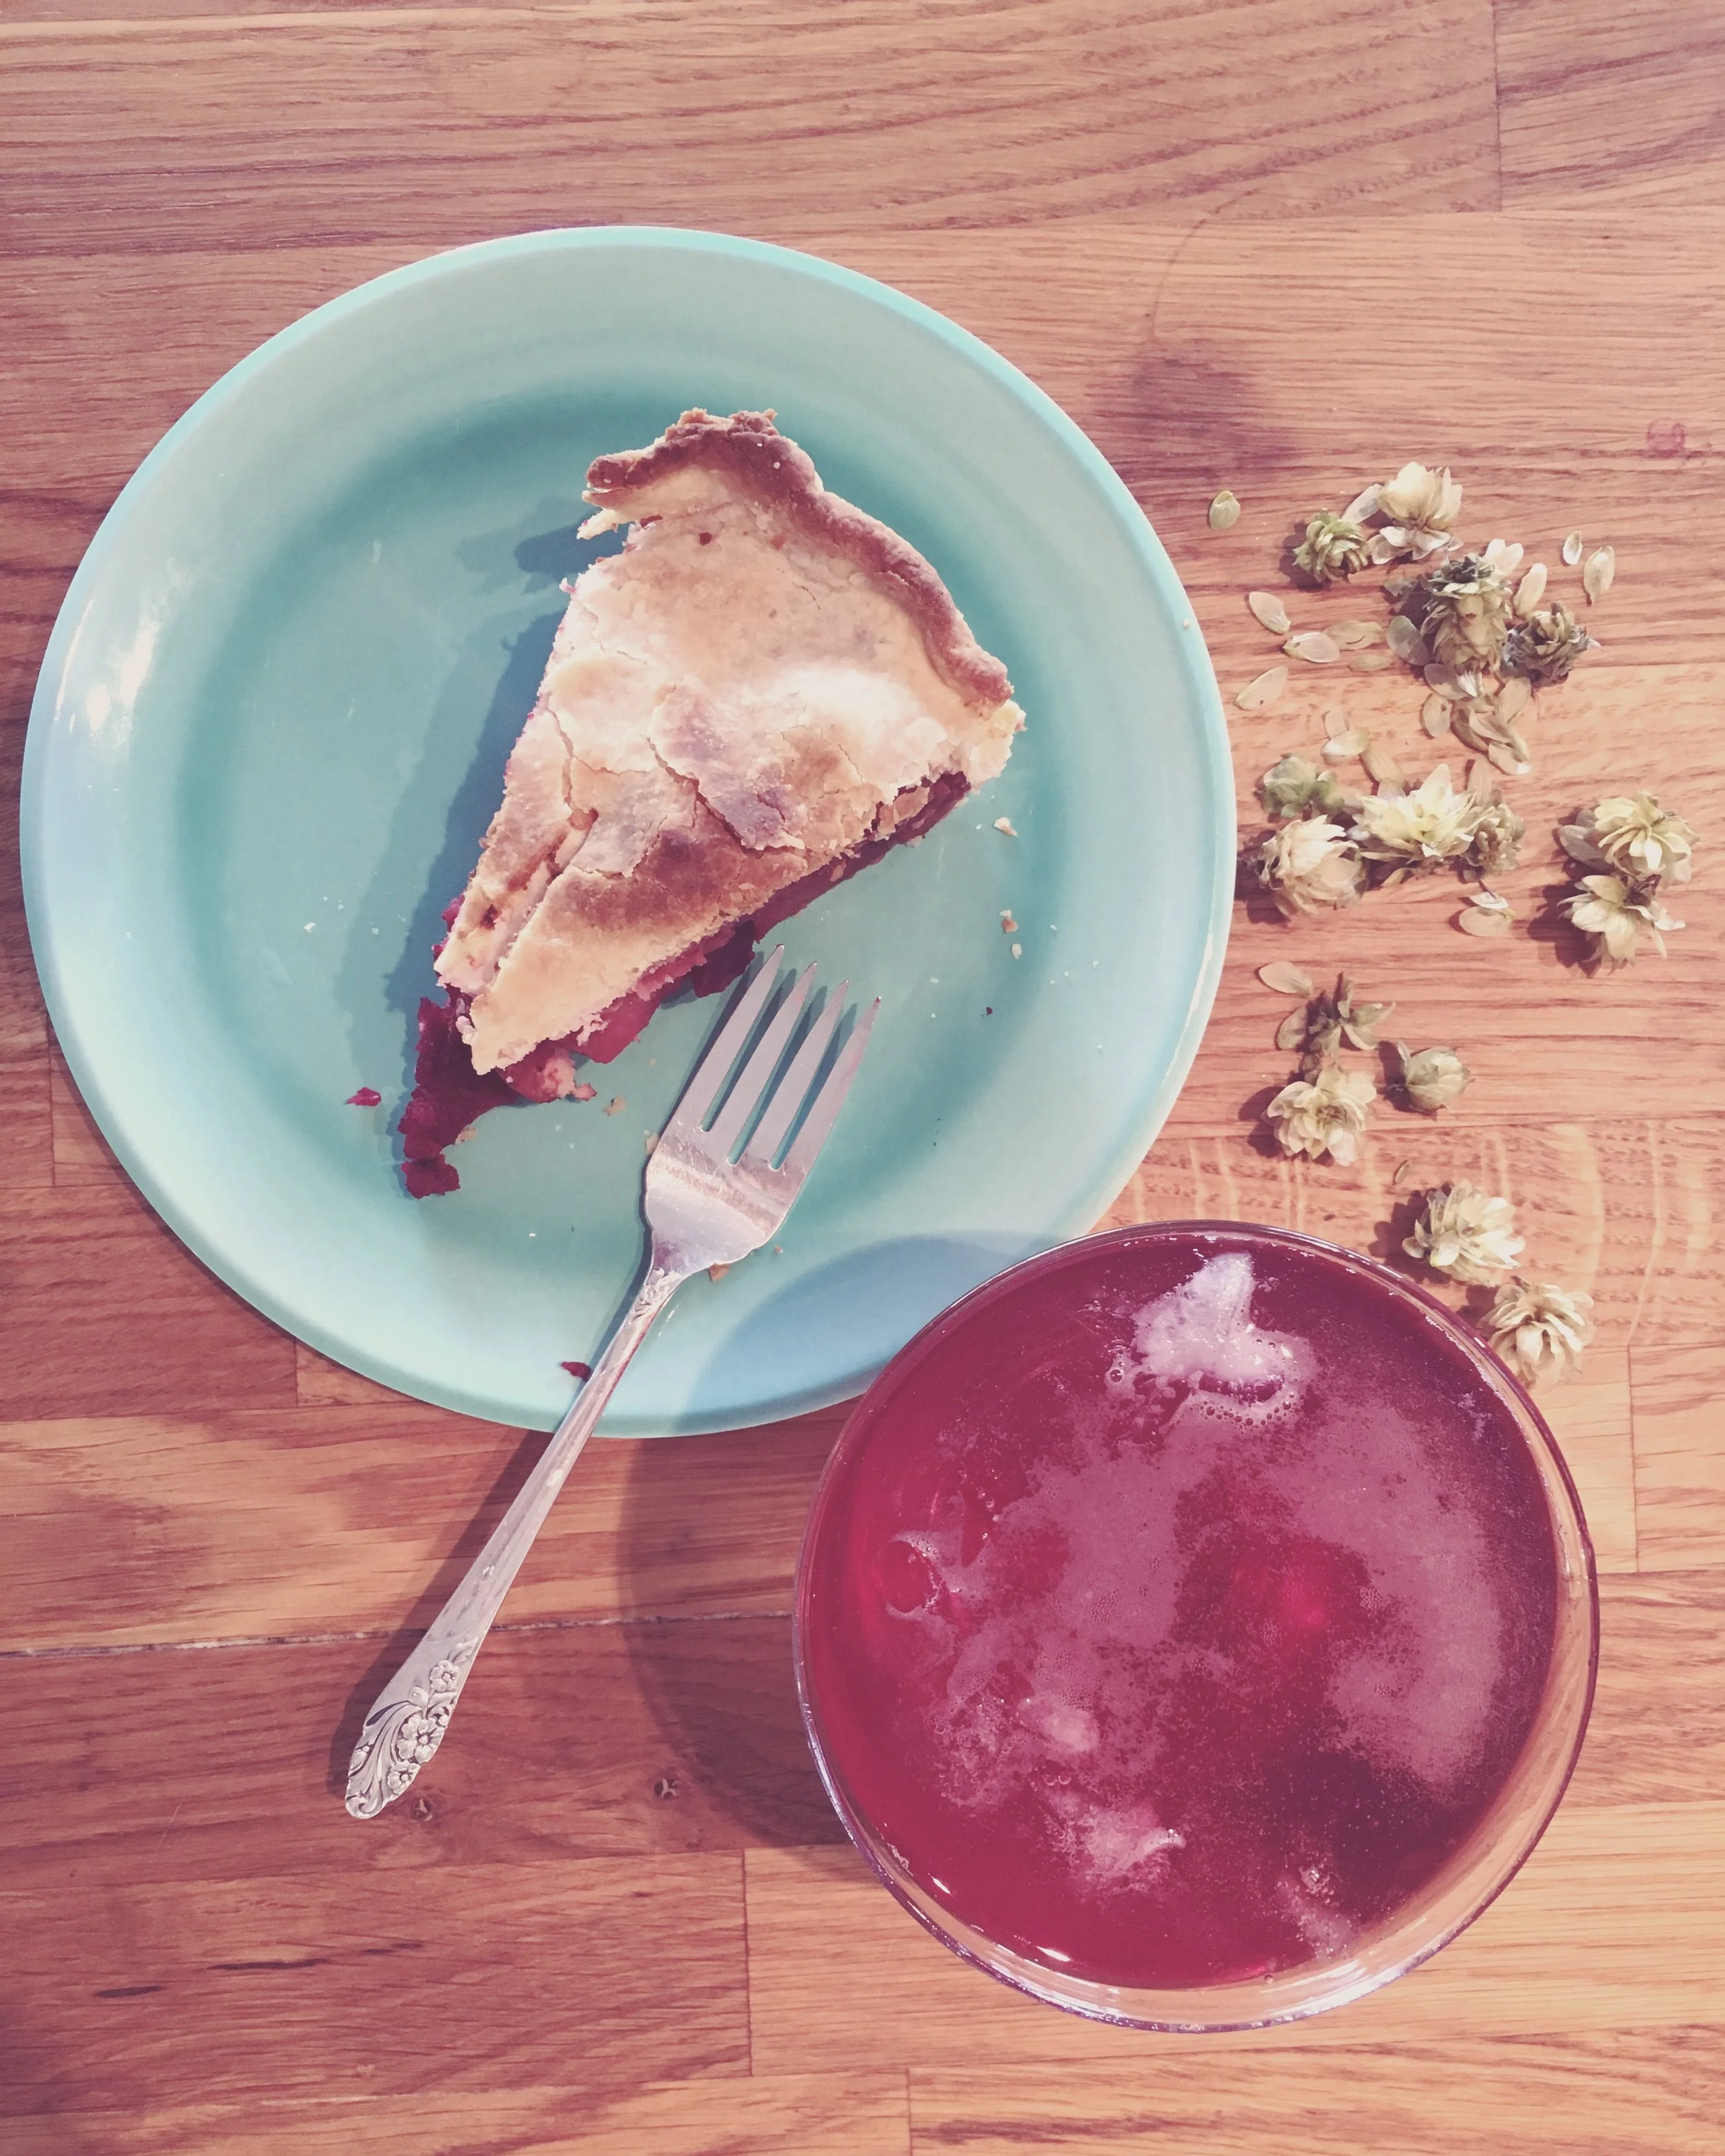
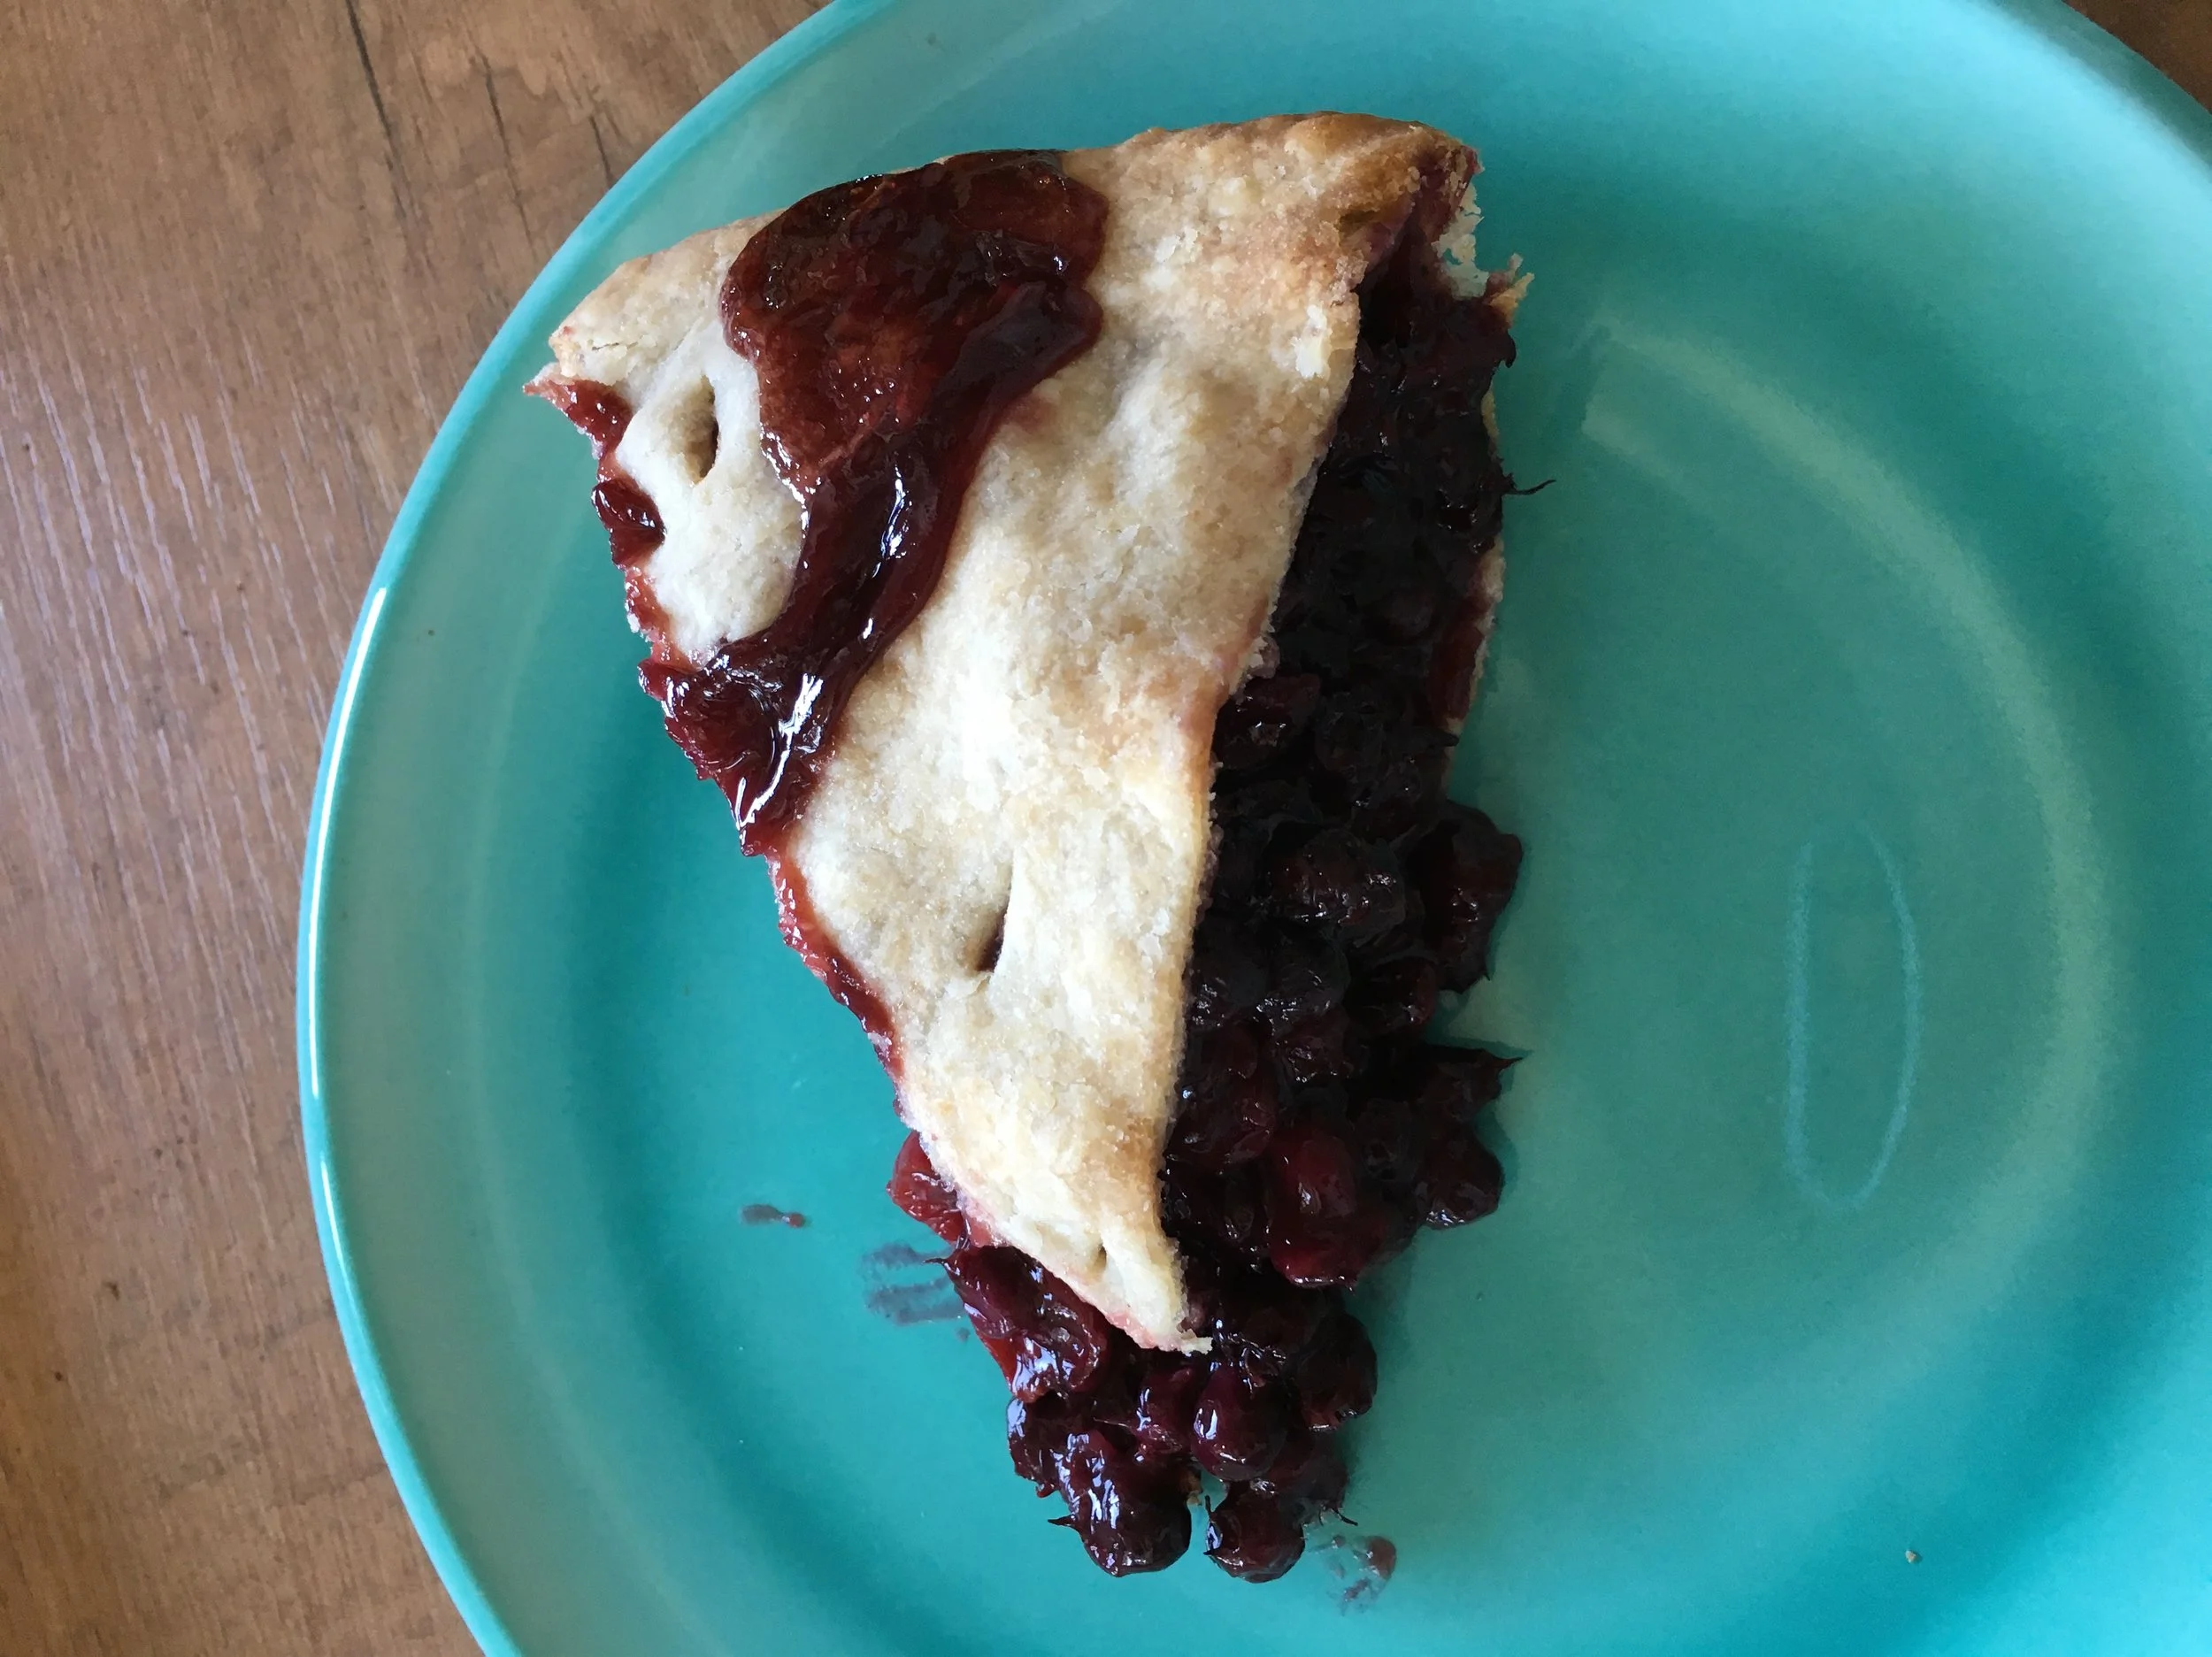
Saskatoon and Cherry Pie

Ingredients

  • 5 cups Saskatoon Berries
  • 2 cups Cherries, pitted and halved
  • Zesta and Juice of One Lemon
  • 1 cup Sugar
  • 3 tbsp Flour
  • One Double Crust Pie Dough (see below recipe if you need one

Takes approx 1 hour 30 minutes, yields 1 pie.

Instructions

  1. Preheat oven to 450 degrees.
  2. Whisk sugar and flour together in the bottom of a saucepan until fully incorporated. Ideally this way you will avoid clumps. Add Saskatoon berries and cook over medium heat until berries have broken down, released their juices, and the liquid is thickening.
  3. Add lemon juice and zest, and cook for a few minutes. Take off heat and pour into a bowl to allow it to cool off somewhat. Stir in cherries at this point rather than cooking them in with the saskatoons so they maintain a bit of their own texture and shape in the finished pie.
  4. As the filling cools (you want your pie crust to be as cold as possible before putting it in the oven) make your favourite pie crust recipe for a two crust pie. Roll it out, fill, crimp, and cut vents in the top of your crust to allow steam to escape while cooking. This is a pretty juicy pie, so some filling will probably spill out the vents while cooking but that's ok!
  5. After 15 minutes, turn the oven temperature down to 350 degrees, and cook until filling is bubbly and the crust is nicely browned. Probably about another 45 minutes.

Butter Crust for a Two Crust 8 inch Pie

Adapted from the Fannie Farmer Cookbook by Marion Cunningham

  • 2 cups flour
  • 1/4 tsp salt
  • 2/3 cup butter
  • 4-5 tbsp cold water
  1. Mix flour and salt (use 1/8 tsp salt if you are using salted butter)
  2. Cut butter into chunks, and drop into flour.  Using your fingertips (my preferred method), a pastry blender, or two knives, work the butter into the flour until it resembles fresh bread crumbs.
  3. Tablespoon by tablespoon add the water to your butter/flour mixture.  Stir to incorporate a bit between each tablespoon so you can see how you are doing.  You might need more or less water than the recipe states depending on how dry the air is, or your flour is.  I usually need more.  When the dough is looking moist and shaggy, mold it into two balls.  Roll and make your pie, or wrap well and store.  Keeps in the fridge for three days, or a few months in the freezer.
August 06, 2017 /Kelsey Fast
food, foraging, baking, pie, recipe, pastry, Saskatoons
Find, Eat
Comment
IMG_4136.JPG

Tea From the Garden - With Instructions for Oolong and Bancha Hojicha

July 02, 2017 by Kelsey Fast in Eat

I have always been interested in the idea of growing everything I might want to use.  My goal is to someday have a few acres, and try to produce at least all our fruits and vegetables.  It's a lofty goal, but I like having something to aim for.  Part of the reason this is going to be so challenging, is that we love our tea and coffee over here.  Also citrus.  But hey - The Olive Farm on Saltspring Island just produced the first Canadian grown olive oil last year, so I choose to believe that anything is possible!  When I visited one of the local nurseries and discovered they had tea plants for sale I was so excited.  I picked out one labeled 'Korean Tea' and headed home to research what I needed to do to these leaves to transform them into tea.

IMG_3825.JPG

All tea is made from the same plant (camellia sinensis), and depending on the process used on the leaves you end up with either black, white, oolong, or green tea.  Herbal teas, rooibos, and yerba mate (although delicious infusions) are not technically considered teas since they come from other plants. 

It felt like I was googling for days to find out what I was supposed to do.  Centuries ago the English sent Robert Fortune to go to China and uncover the secrets of how tea was processed since they were tired of depending on trade to obtain their national addiction.  Somehow he successfully pretended to be Chinese and gathered several samples to send back home and tea cultivation started in India which was then still part of the British Empire.  It felt only slightly easier than what Fortune went through to discover how I might produce a small amount of tea as a hobbyist with one tea plant and no specialized equipment.

IMG_4098.JPG

My plan was to make black tea, since I still had several types of green and white teas in my cupboard, and it seemed like the longest process, so if I could do that, I could figure out the other types.  The first step was to pick the new growth, and let them wilt.  After that, begin kneading, mashing, and rolling (my heavy marble rolling pin was useful here), the leaves until they start to turn red and oxidize.   At this point it is time to let the leaves sit and ferment until they turn black.  Things turned out a bit differently than I planned, because my house is really dry, and the leaves dried out before they finished all their fermenting.  Halfway between green tea, and fully fermented black tea is oolong, and that is what I ended up with.

While most of the teas we are familiar with are made from the fresh, new growth on the tea plant in the spring, there are a few other types made from the older parts of the plant.  They all seem to have evolved as peasant tea - the poor people taking the leftovers of the plants after harvest and making something out of them.  Bancha is the Japanese name for one such tea.  This is essentially the same process as green tea, just made with the older leaves and stems.  From there it seems genmaicha (bancha, or sometimes sencha, with added puffed rice), and hojicha evolved.  Since I had some genmaicha in my pantry, I wanted to give hojicha a try. I also  thought my coffee loving husband might like the roasted flavour of this tea.  

I started by pruning my tea plant into a more manageable shape.  I had picked the largest one in the nursery, and after realizing better how tea is produced I figured it was a bit unruly.  I steamed the trimmings for about 90 seconds, and then stripped the leaves from their stems, and cut the stems into more manageable lengths.  After letting everything dry I threw it all into my cast iron skillet and stirred it all around until it started looking dark and toasty, and I could see the tiniest bit of smoke coming up from the leaves.

IMG_4902.JPG

I am looking forward to next spring when I will get to harvest again and make more.  I also heard that  I should expect to see flowers sometime in the autumn, and that they can be dried for tea as well, so I am excited to see that!

July 02, 2017 /Kelsey Fast
tea, recipe, garden, harvest, drink, food
Eat
Comment

Local Fun in the Spring

May 18, 2017 by Kelsey Fast in Find, Eat

My last post was all about our adventures traveling around what I like to call the "bottom left" of BC.  This time I wanted to update you all on some of the local fun we managed to squeeze in between all the road trips.  This first one came about because Little Forager is in love with all the chickens and other farm animals we watch almost every day in the Instagram Stories of the farmer and homesteader accounts I follow.  As soon as he sees chickens (or any largish bird, actually) he starts crowing like a rooster, and when he notices a cow he'll be mooing nonstop for at least the next five minutes straight.  Five minutes might not seem very long, but you appreciate the full length of the time when the background music is a toddler mooing.  Clearly this kid needed to visit a farm in real life, so we were grateful that our friends were more than happy to have us come visit.

IMG_4124.JPG
IMG_3843.JPG

I'm happy to report that he enjoyed seeing the animals as much in real life as he does in Instagram.  I also have to say that we are so lucky in our friends.  These are the same that we bought our pork from.  It's a pretty small operation they are running almost as a hobby while they both work other jobs, so there isn't a website or anything I can point you to, but if you are local and interested let me know and I can pass some information along.  When we got there - lucky again - we found out that a calf had just been born that morning, and while the mother cow was occupied with eating they took us up to see it.  They had also delayed collection the eggs so that Little Forager could have a crack at it (no literal cracks were had - he was actually a very careful egg collector).

One of the other fun things we got to experience was the Easter festival at our Church.  This was the first year we put it on, and it was a lot of fun.  The bean bag toss was a big hit with Little Forager. 

IMG_4123.JPG
IMG_3834.JPG

The Collective is a relatively new space in our neighbourhood that houses some photography operations, MakeShift, and is also available for private rentals.  A while back they put on a pop-up shop event with lots of local vendors, as well as offering a "DIY succulent bar" where visitors could pick a container and pot it up with succulents of their choosing.

I was so glad that I had time to visit and make up a little planter of my own.  They supplied really beautiful, unique containers, and the quality supplies and posted instructions made the process basically foolproof.  

MakeShift is something really special, and I will be posting on Monday about one of the workshops I attended there.  Please come back and read all about it and - better yet - sign up to attend one of the many workshops yourself!

IMG_4128.JPG

Being that we live on the outskirts where the properties slowly start turning into bigger and bigger ranches, there aren't very many local businesses around.  Those that are here are quite special, and another local gem is The Pond Country Market.

This place is one part garden centre, one part antique store, one part unique gift shop, one part restaurant, and all of these parts come together to in a place that is beautiful enough to be - and in fact has been - a wedding venue.

I am always so happy when we have a reason to stop here.  The staff are friendly and knowledgeable, the food is delicious, and the atmosphere is beautiful and easy to let Little Forager stretch his legs (under supervision) and explore.

IMG_4171.JPG
IMG_4174.JPG

A couple other things our town boasts is amazing pizza and breathtaking fishing spots.  Both of these photos were from this past (incredible) Mother's Day.

I've got lots more waiting in the queue to write about, but until next time I'll leave you with this insanely cute photo of Little Forager chasing bubbles!

May 18, 2017 /Kelsey Fast
Kamloops BC, local farms, food, local, DIY
Find, Eat
Comment

Chocolate Zucchini Cake

April 02, 2017 by Kelsey Fast in Eat, Make

I like to think that I am a pretty good baker, but for me so far it has been all about following recipes.  I only know the very basics about the science behind how it all works.  I am pretty comfortable with cooking on the fly, but baking is much more of a balancing act.  While I love to play around with my baking, I usually start with a recipe and go from there.  I am pretty comfortable with any failures, since I know my understanding of the foundations of it all is quite limited.  Every failure is just a step to understanding more how it works.

This recipe began in an odd way.  One day I was rather desperate to eat nachos (this is how my life is sometimes), but I was disappointed to discover I had no sour cream or any other dip type condiment, and no way of getting to the store.  I made the nachos anyway, and made a weird sort of soured whipped cream with Sriracha.  While it wasn't disgusting, it won't be making its way into the family recipe collection.  I also misjudged the amount I would need and ended up with about a cup and a half of the soured cream (pre-sriracha) left over.  I don't like wasting food, and for some reason my brain connected this to a chocolate zucchini cake.  I took out some of last summer's zucchini to defrost, and started trying to figure out how to make it all into a cake.  I looked at quite a few "cake templates" people had put up online using different ratios between the ingredients, and what I came up with ended up being quite delicious!  I wouldn't recommend trying to recreate my weird soured cream experiment - just use regular sour cream instead!


Print Friendly and PDF

Chocolate Zucchini Cake

Ingredients

  • 2 cups Shredded Zuchhini
  • 1 1/2 cup Sour Cream
  • 3 Eggs
  • 1 tsp Vanilla
  • 2 cups Sugar
  • 2 Cups Flour
  • 1/3 cup Cocoa
  • 1/4 tsp Salt
  • 2 tsp Baking Powder
  • Chocolate Chips (optional)

Takes 1 hour, Yield: Two eight inch cakes..

Instructions

  1. Preheat your oven to 350˚F.
  2. Beat eggs, sour cream, vanilla, and sugar together.
  3. Whisk the remaining dry ingredients together in a separate bowl. When combined add to the wet ingredients and gently mix until there are no remaining pockets of dry ingredients.
  4. Gently stir in the zucchini.
  5. Pour into two eight inch round cake pans.
  6. If you are not stacking the layers and icing the cake, sprinkle some chocolate chips on the top of each.
  7. Bake for approximately 30-45 minutes, or until an inserted toothpick comes out clean.
April 02, 2017 /Kelsey Fast
food, baking, recipe, cake, zucchini
Eat, Make
Comment
IMG_3307.JPG

Food in Jars Mastery Challenge: Shrubs

March 27, 2017 by Kelsey Fast in Eat, Make

At first you might be wondering what a small garden bush has to do with food preservation, but actually the term 'shrub' also means a type of drinking vinegar.  Let me cut you off before you dismiss this concoction as disgusting, and let you know that they are actually, in fact, delicious.  I was super skeptical at first as well.  I like the idea of being one of those ultra-healthy daily dose of unfiltered cider vinegar people, but the truth is I don't love the taste of it straight.  I know all about the amazing benefits of the probiotic in my gut, and have even made several litres of my own cider vinegars, but I only ever use them in recipes as a supporting role.  You may recall last summer I made a vinegar pie from the Fannie Farmer Baking Book, and that ended up being pretty tasty.  This drinking vinegar business is another surprising success story just like that one.

IMG_3303.JPG

Here's the setup.  You need to roughly chop about a pound of fruit, add one cup of sugar (honey and other natural sweeteners are acceptable substitutes), and one cup of vinegar.  Some have said to think of this as a 1:1:1 ratio.  I find this problematic since that would mean you use one pound of each, or one cup of each, but in fact there should be more fruit than the rest.  You can also play around with the amounts and adjust them to taste.  The type of vinegar you use is completely your choice, but I wouldn't recommend using plain white vinegar.  For both types of shrub I have made so far I used the apple cider vinegar I made from apple scraps last year.  I do plan on trying other fruit vinegars, and also potentially balsamic vinegars, or wine vinegars and see how that turns out.

Mix everything in a bowl and pour it in some sort of container.  I have zillions of mason jars, so I used mason jars.

After this let them sit on your counter for a couple days.  I found two days to be the right number.  Make sure you cover them, but use cheesecloth, or a napkin, or paper towel or something.

IMG_3305.JPG

Here are my jars in their festive leftover Christmas napkins.  After they hang out like that for a couple days strain out the solids, and store the finished shrub in the fridge.  I am told some people leave them to age for a week or so, but I tasted mine almost right away and it was really good!

IMG_3306.JPG

The flavours you can choose to make these shrubs are only limited by your imagination.  I did one more simple: pear, honey, and cider vinegar; and one more experimental: blueberry, hops, sugar, and cider vinegar.  I love the piney sort of undertones that both blueberries and hops have and I wondered if they would blend well together as a result. 

Yes.

Yes they do.

The other thing I really find that I love about shrubs is that you get the taste of the fresh fruit, but in syrup form.  I have a SodaStream, and I make a lot of my own syrups to go with the fizzy water, but the idea that I could make a syrup and taste fresh fruit rather than cooked was so exciting!  I can't wait to try this with other combinations!  I'm imagining a watermelon shrub and it is making my mouth water.  I can't wait!

So go make yourself some shrubs and enjoy them diluted (about a quarter cup in a 16 oz cup filled the rest of the way with soda water was a perfect concentration for me, but experiment and see what you like) in soda water, cocktails, and whatever else you can think of!

March 27, 2017 /Kelsey Fast
Food in Jars Mastery Challenge, drinking vinegar, preserve, drink, recipe
Eat, Make
Comment
  • Newer
  • Older

Terms and Conditions | Privacy Policy | Shipping and Returns

Powered by Squarespace