Food in Jars Mastery Challenge: Shrubs
At first you might be wondering what a small garden bush has to do with food preservation, but actually the term 'shrub' also means a type of drinking vinegar. Let me cut you off before you dismiss this concoction as disgusting, and let you know that they are actually, in fact, delicious. I was super skeptical at first as well. I like the idea of being one of those ultra-healthy daily dose of unfiltered cider vinegar people, but the truth is I don't love the taste of it straight. I know all about the amazing benefits of the probiotic in my gut, and have even made several litres of my own cider vinegars, but I only ever use them in recipes as a supporting role. You may recall last summer I made a vinegar pie from the Fannie Farmer Baking Book, and that ended up being pretty tasty. This drinking vinegar business is another surprising success story just like that one.
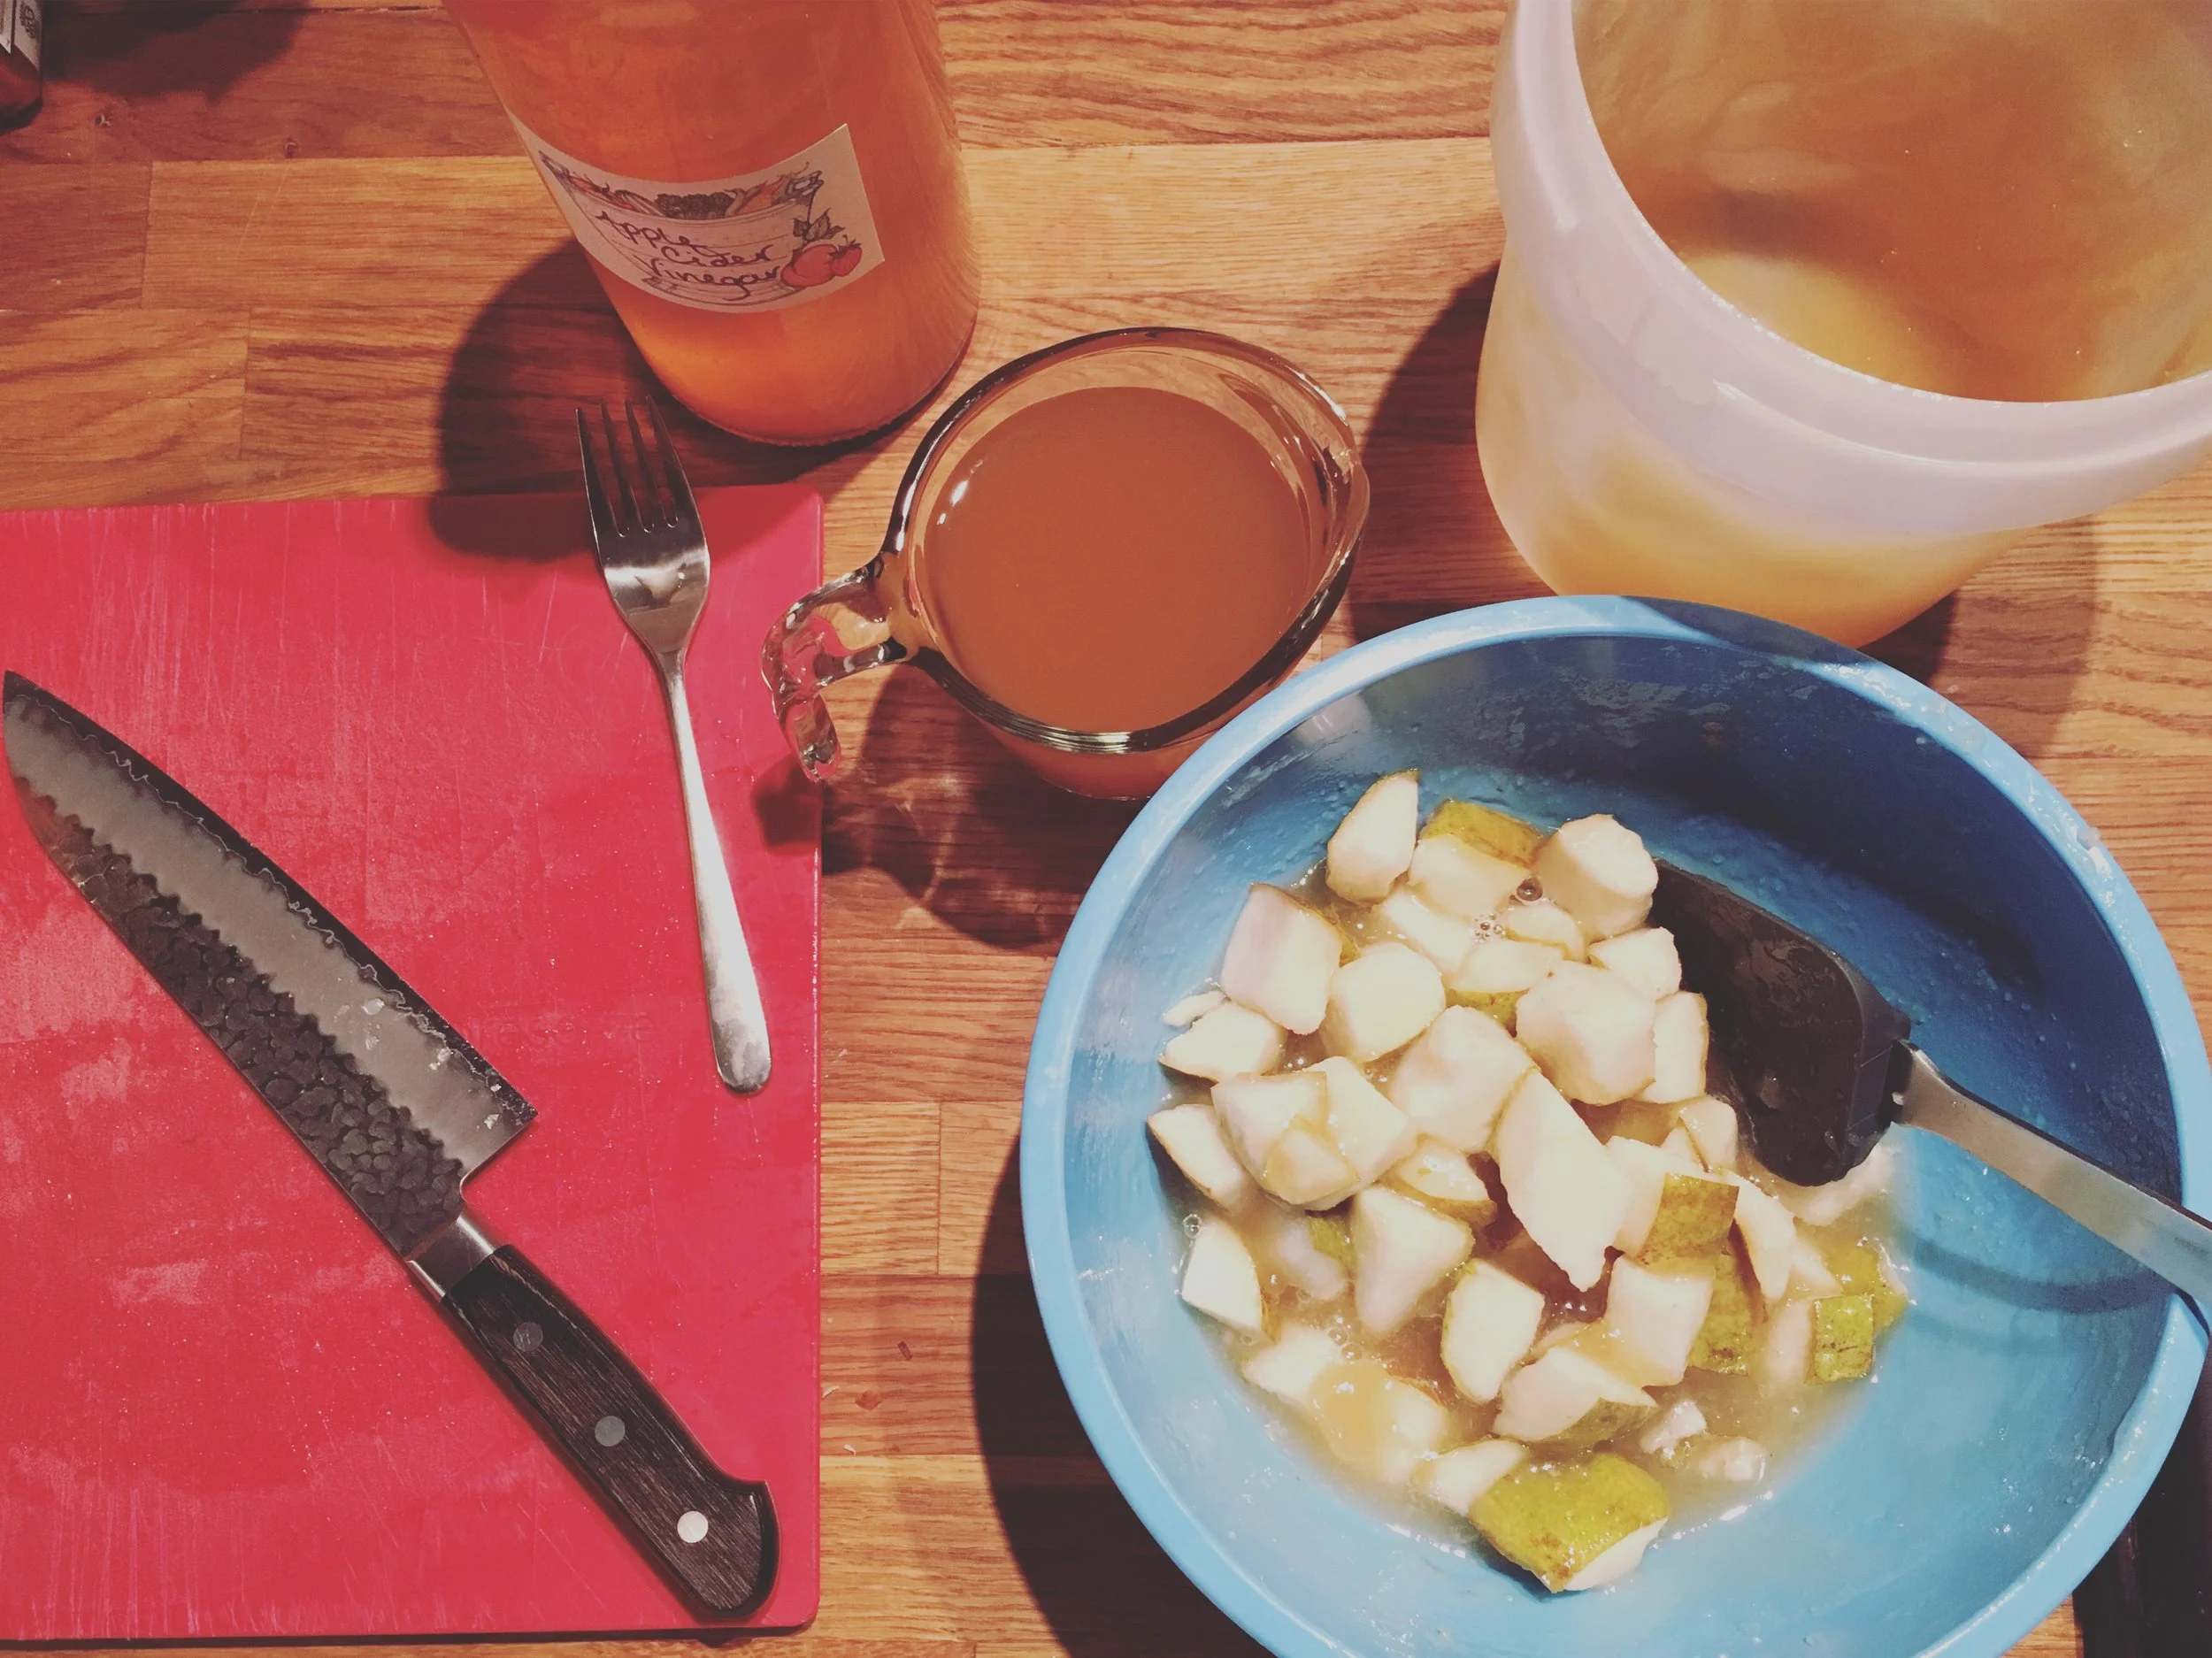
Here's the setup. You need to roughly chop about a pound of fruit, add one cup of sugar (honey and other natural sweeteners are acceptable substitutes), and one cup of vinegar. Some have said to think of this as a 1:1:1 ratio. I find this problematic since that would mean you use one pound of each, or one cup of each, but in fact there should be more fruit than the rest. You can also play around with the amounts and adjust them to taste. The type of vinegar you use is completely your choice, but I wouldn't recommend using plain white vinegar. For both types of shrub I have made so far I used the apple cider vinegar I made from apple scraps last year. I do plan on trying other fruit vinegars, and also potentially balsamic vinegars, or wine vinegars and see how that turns out.
Mix everything in a bowl and pour it in some sort of container. I have zillions of mason jars, so I used mason jars.
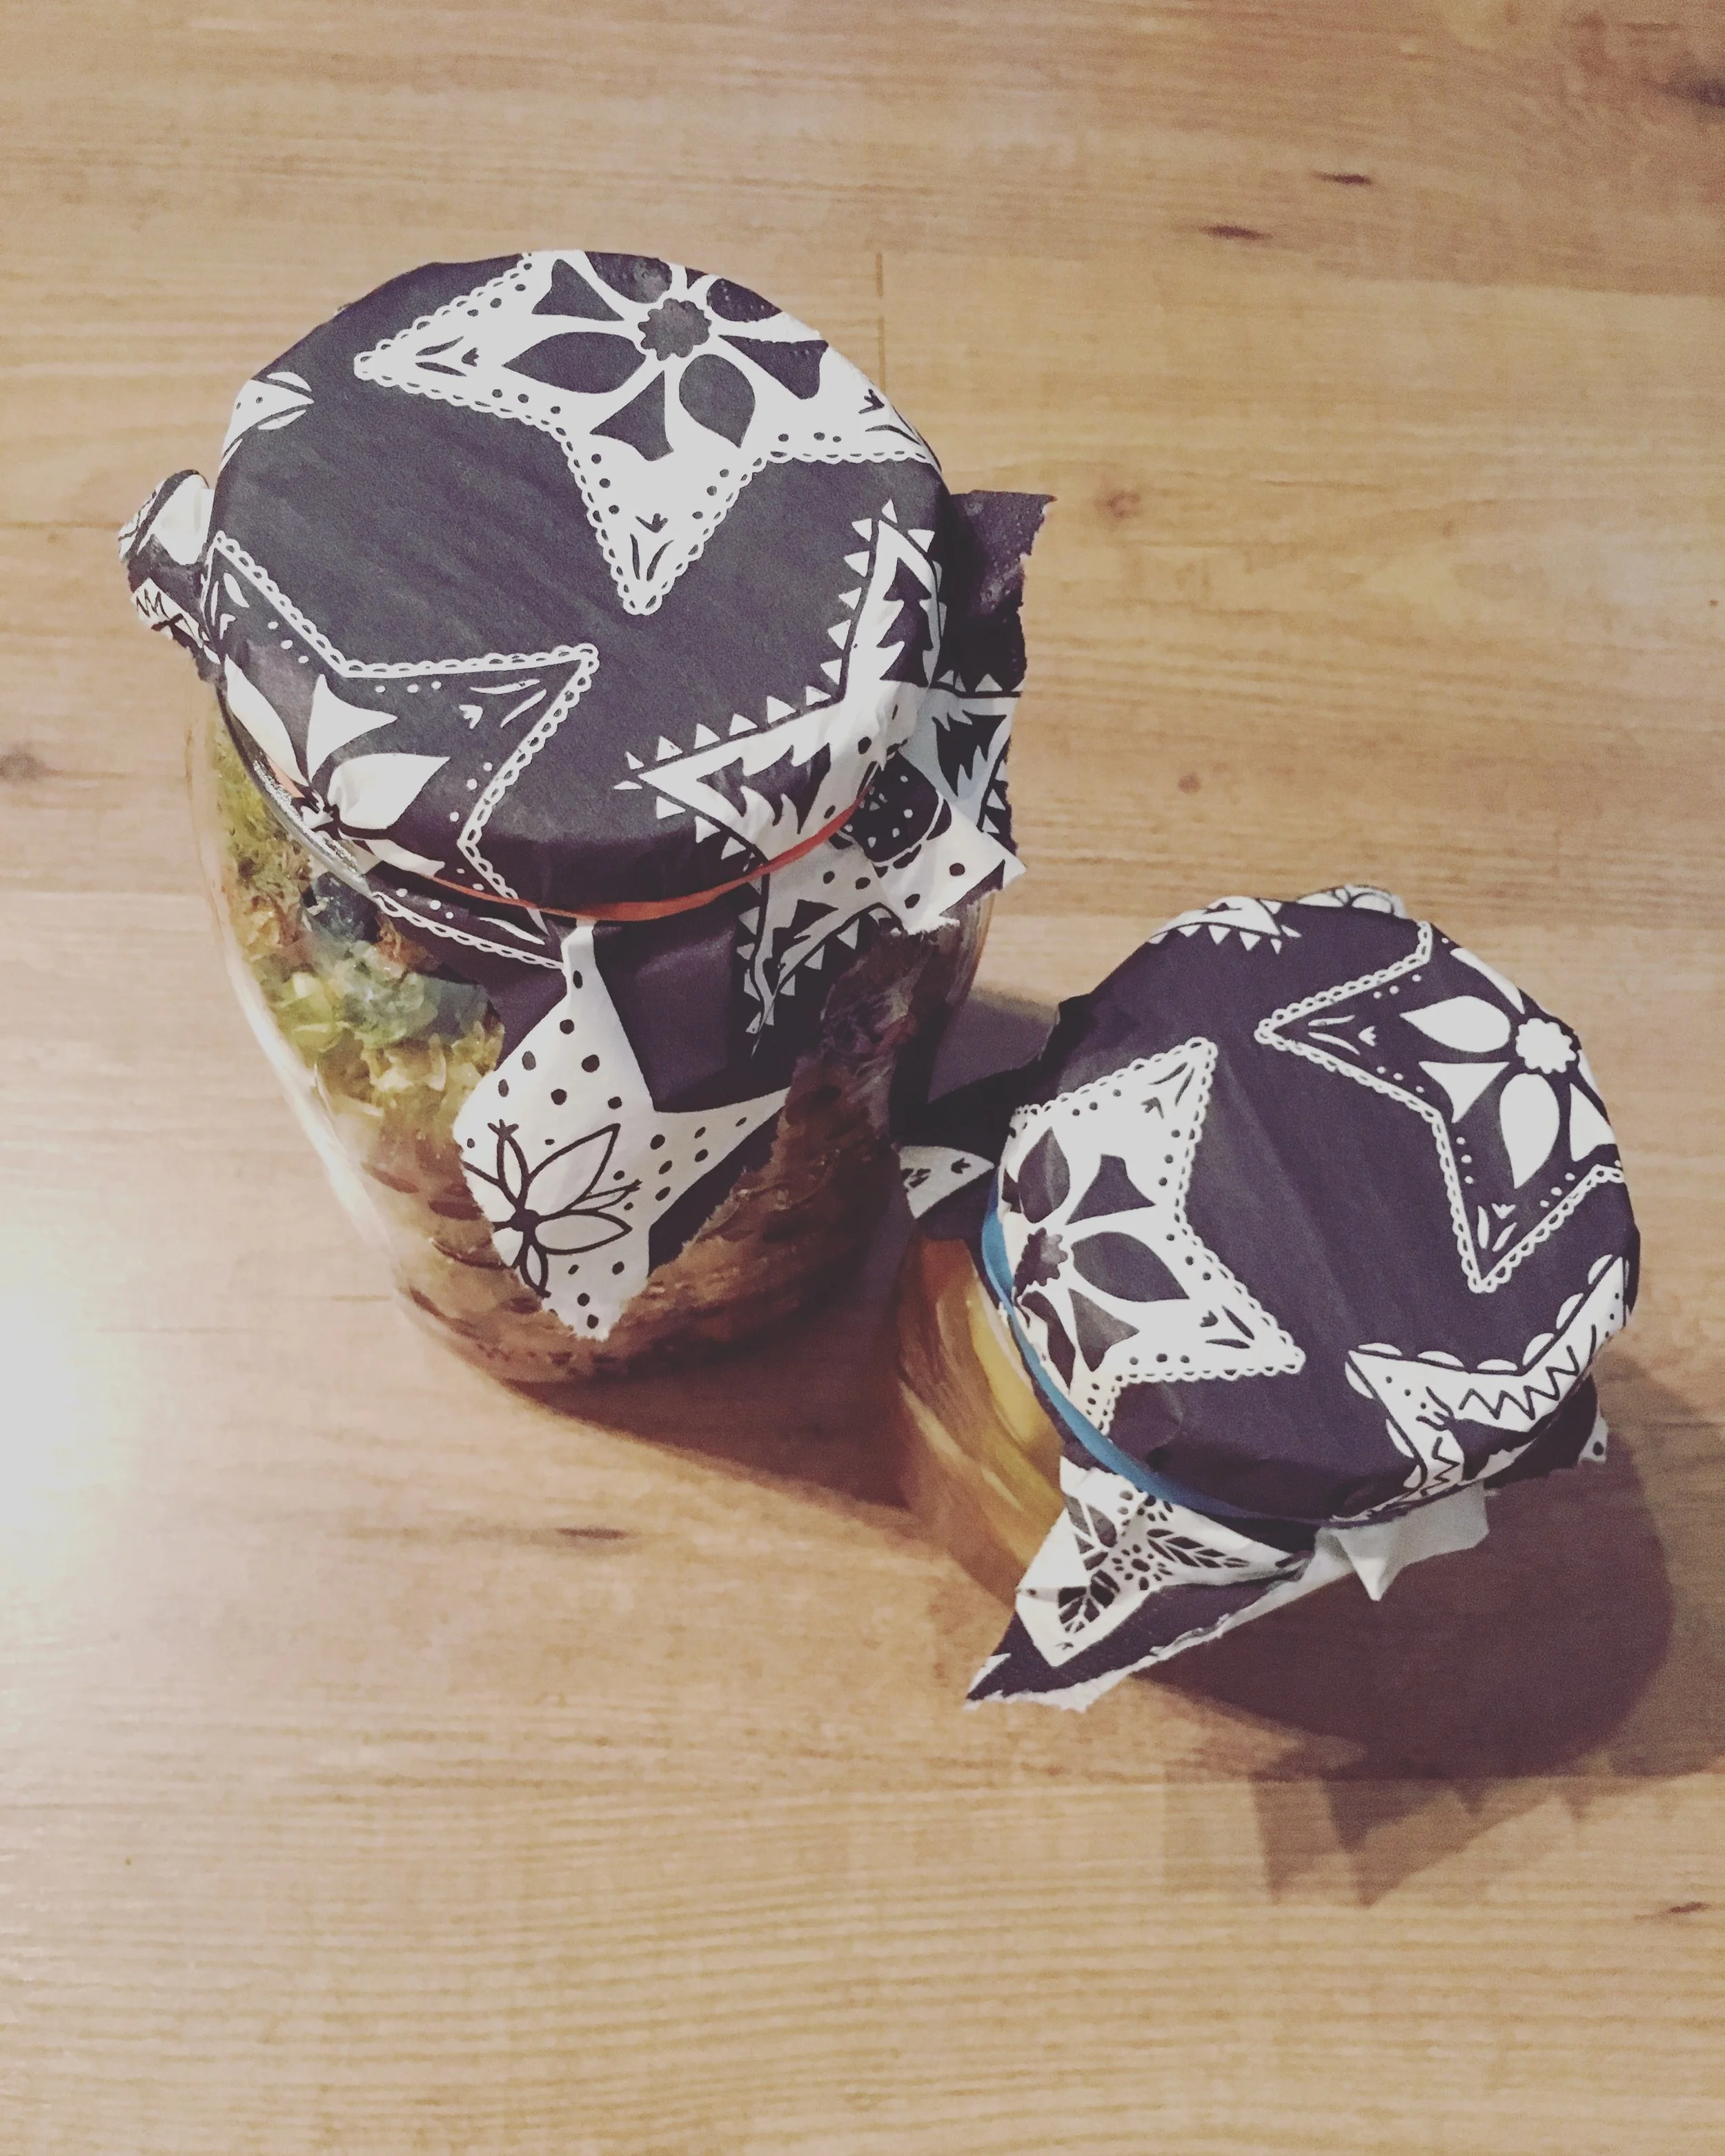
After this let them sit on your counter for a couple days. I found two days to be the right number. Make sure you cover them, but use cheesecloth, or a napkin, or paper towel or something.
Here are my jars in their festive leftover Christmas napkins. After they hang out like that for a couple days strain out the solids, and store the finished shrub in the fridge. I am told some people leave them to age for a week or so, but I tasted mine almost right away and it was really good!
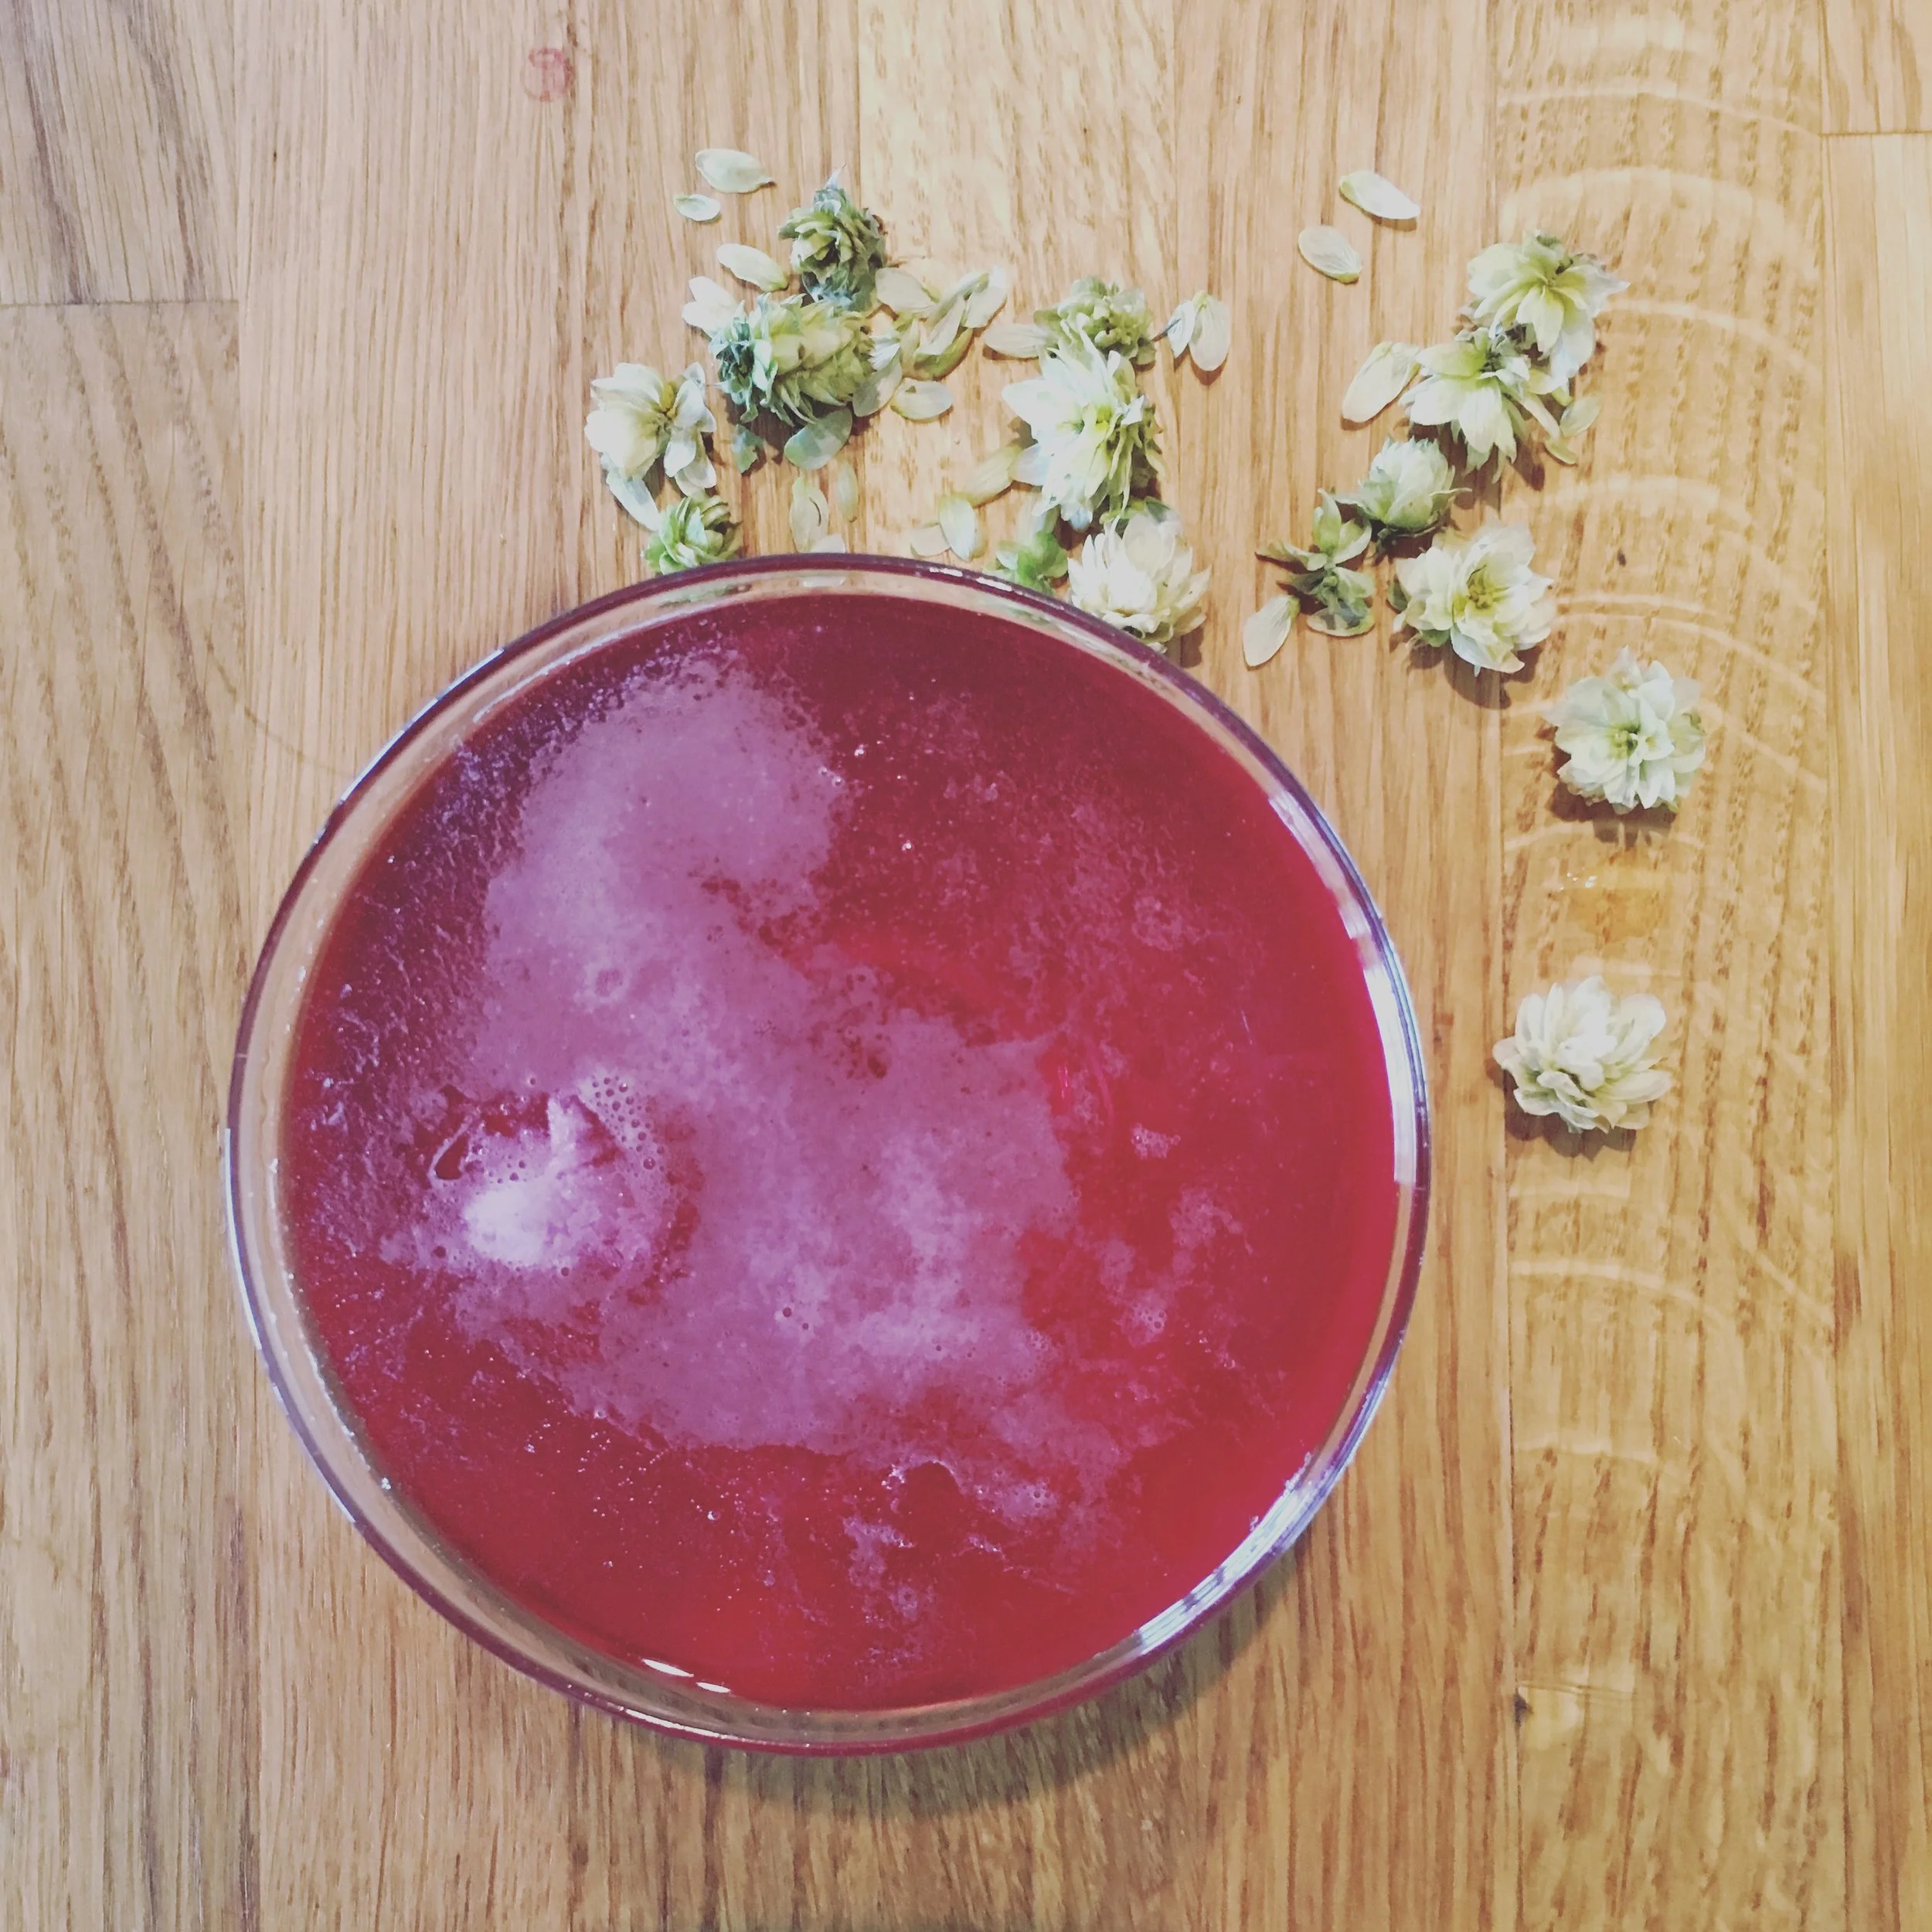
The flavours you can choose to make these shrubs are only limited by your imagination. I did one more simple: pear, honey, and cider vinegar; and one more experimental: blueberry, hops, sugar, and cider vinegar. I love the piney sort of undertones that both blueberries and hops have and I wondered if they would blend well together as a result.
Yes.
Yes they do.
The other thing I really find that I love about shrubs is that you get the taste of the fresh fruit, but in syrup form. I have a SodaStream, and I make a lot of my own syrups to go with the fizzy water, but the idea that I could make a syrup and taste fresh fruit rather than cooked was so exciting! I can't wait to try this with other combinations! I'm imagining a watermelon shrub and it is making my mouth water. I can't wait!
So go make yourself some shrubs and enjoy them diluted (about a quarter cup in a 16 oz cup filled the rest of the way with soda water was a perfect concentration for me, but experiment and see what you like) in soda water, cocktails, and whatever else you can think of!


