A Forager's Home

Grow. Find. Eat. Make.

  • Blog
  • About
  • DIY
  • Recipes
  • Foraging
IMG_3307.JPG

Food in Jars Mastery Challenge: Shrubs

March 27, 2017 by Kelsey Fast in Eat, Make

At first you might be wondering what a small garden bush has to do with food preservation, but actually the term 'shrub' also means a type of drinking vinegar.  Let me cut you off before you dismiss this concoction as disgusting, and let you know that they are actually, in fact, delicious.  I was super skeptical at first as well.  I like the idea of being one of those ultra-healthy daily dose of unfiltered cider vinegar people, but the truth is I don't love the taste of it straight.  I know all about the amazing benefits of the probiotic in my gut, and have even made several litres of my own cider vinegars, but I only ever use them in recipes as a supporting role.  You may recall last summer I made a vinegar pie from the Fannie Farmer Baking Book, and that ended up being pretty tasty.  This drinking vinegar business is another surprising success story just like that one.

IMG_3303.JPG

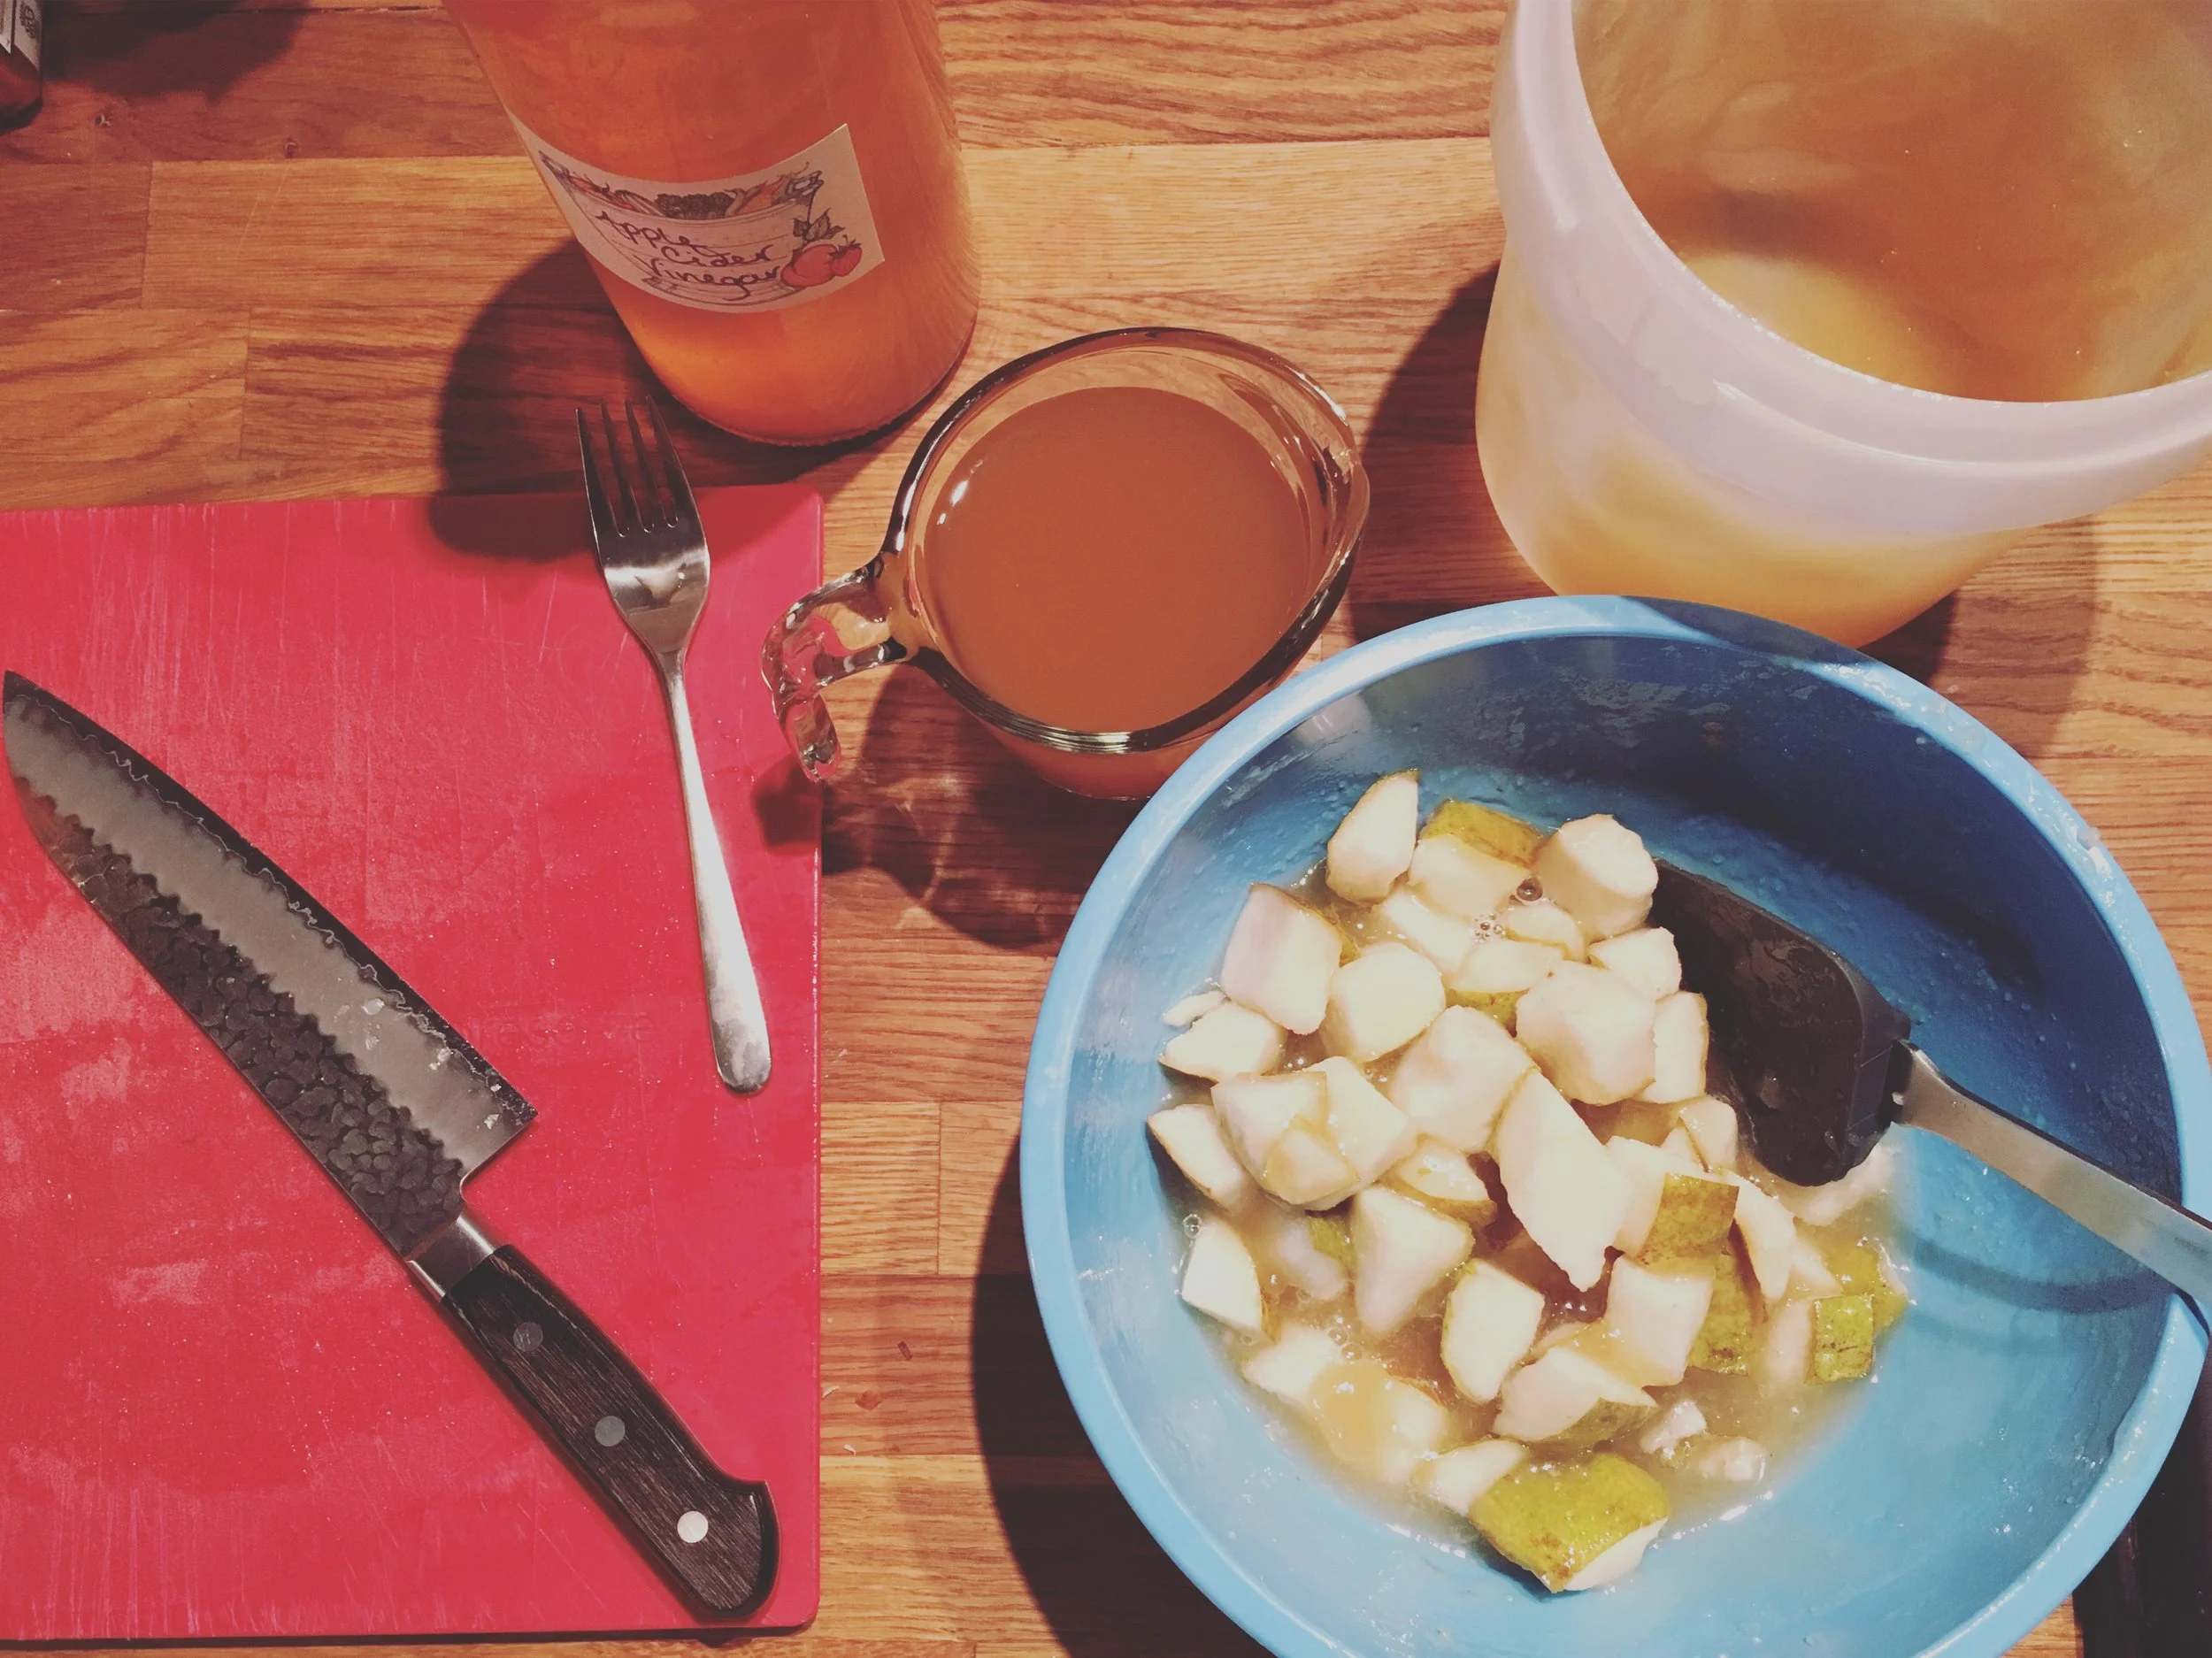
Here's the setup.  You need to roughly chop about a pound of fruit, add one cup of sugar (honey and other natural sweeteners are acceptable substitutes), and one cup of vinegar.  Some have said to think of this as a 1:1:1 ratio.  I find this problematic since that would mean you use one pound of each, or one cup of each, but in fact there should be more fruit than the rest.  You can also play around with the amounts and adjust them to taste.  The type of vinegar you use is completely your choice, but I wouldn't recommend using plain white vinegar.  For both types of shrub I have made so far I used the apple cider vinegar I made from apple scraps last year.  I do plan on trying other fruit vinegars, and also potentially balsamic vinegars, or wine vinegars and see how that turns out.

Mix everything in a bowl and pour it in some sort of container.  I have zillions of mason jars, so I used mason jars.

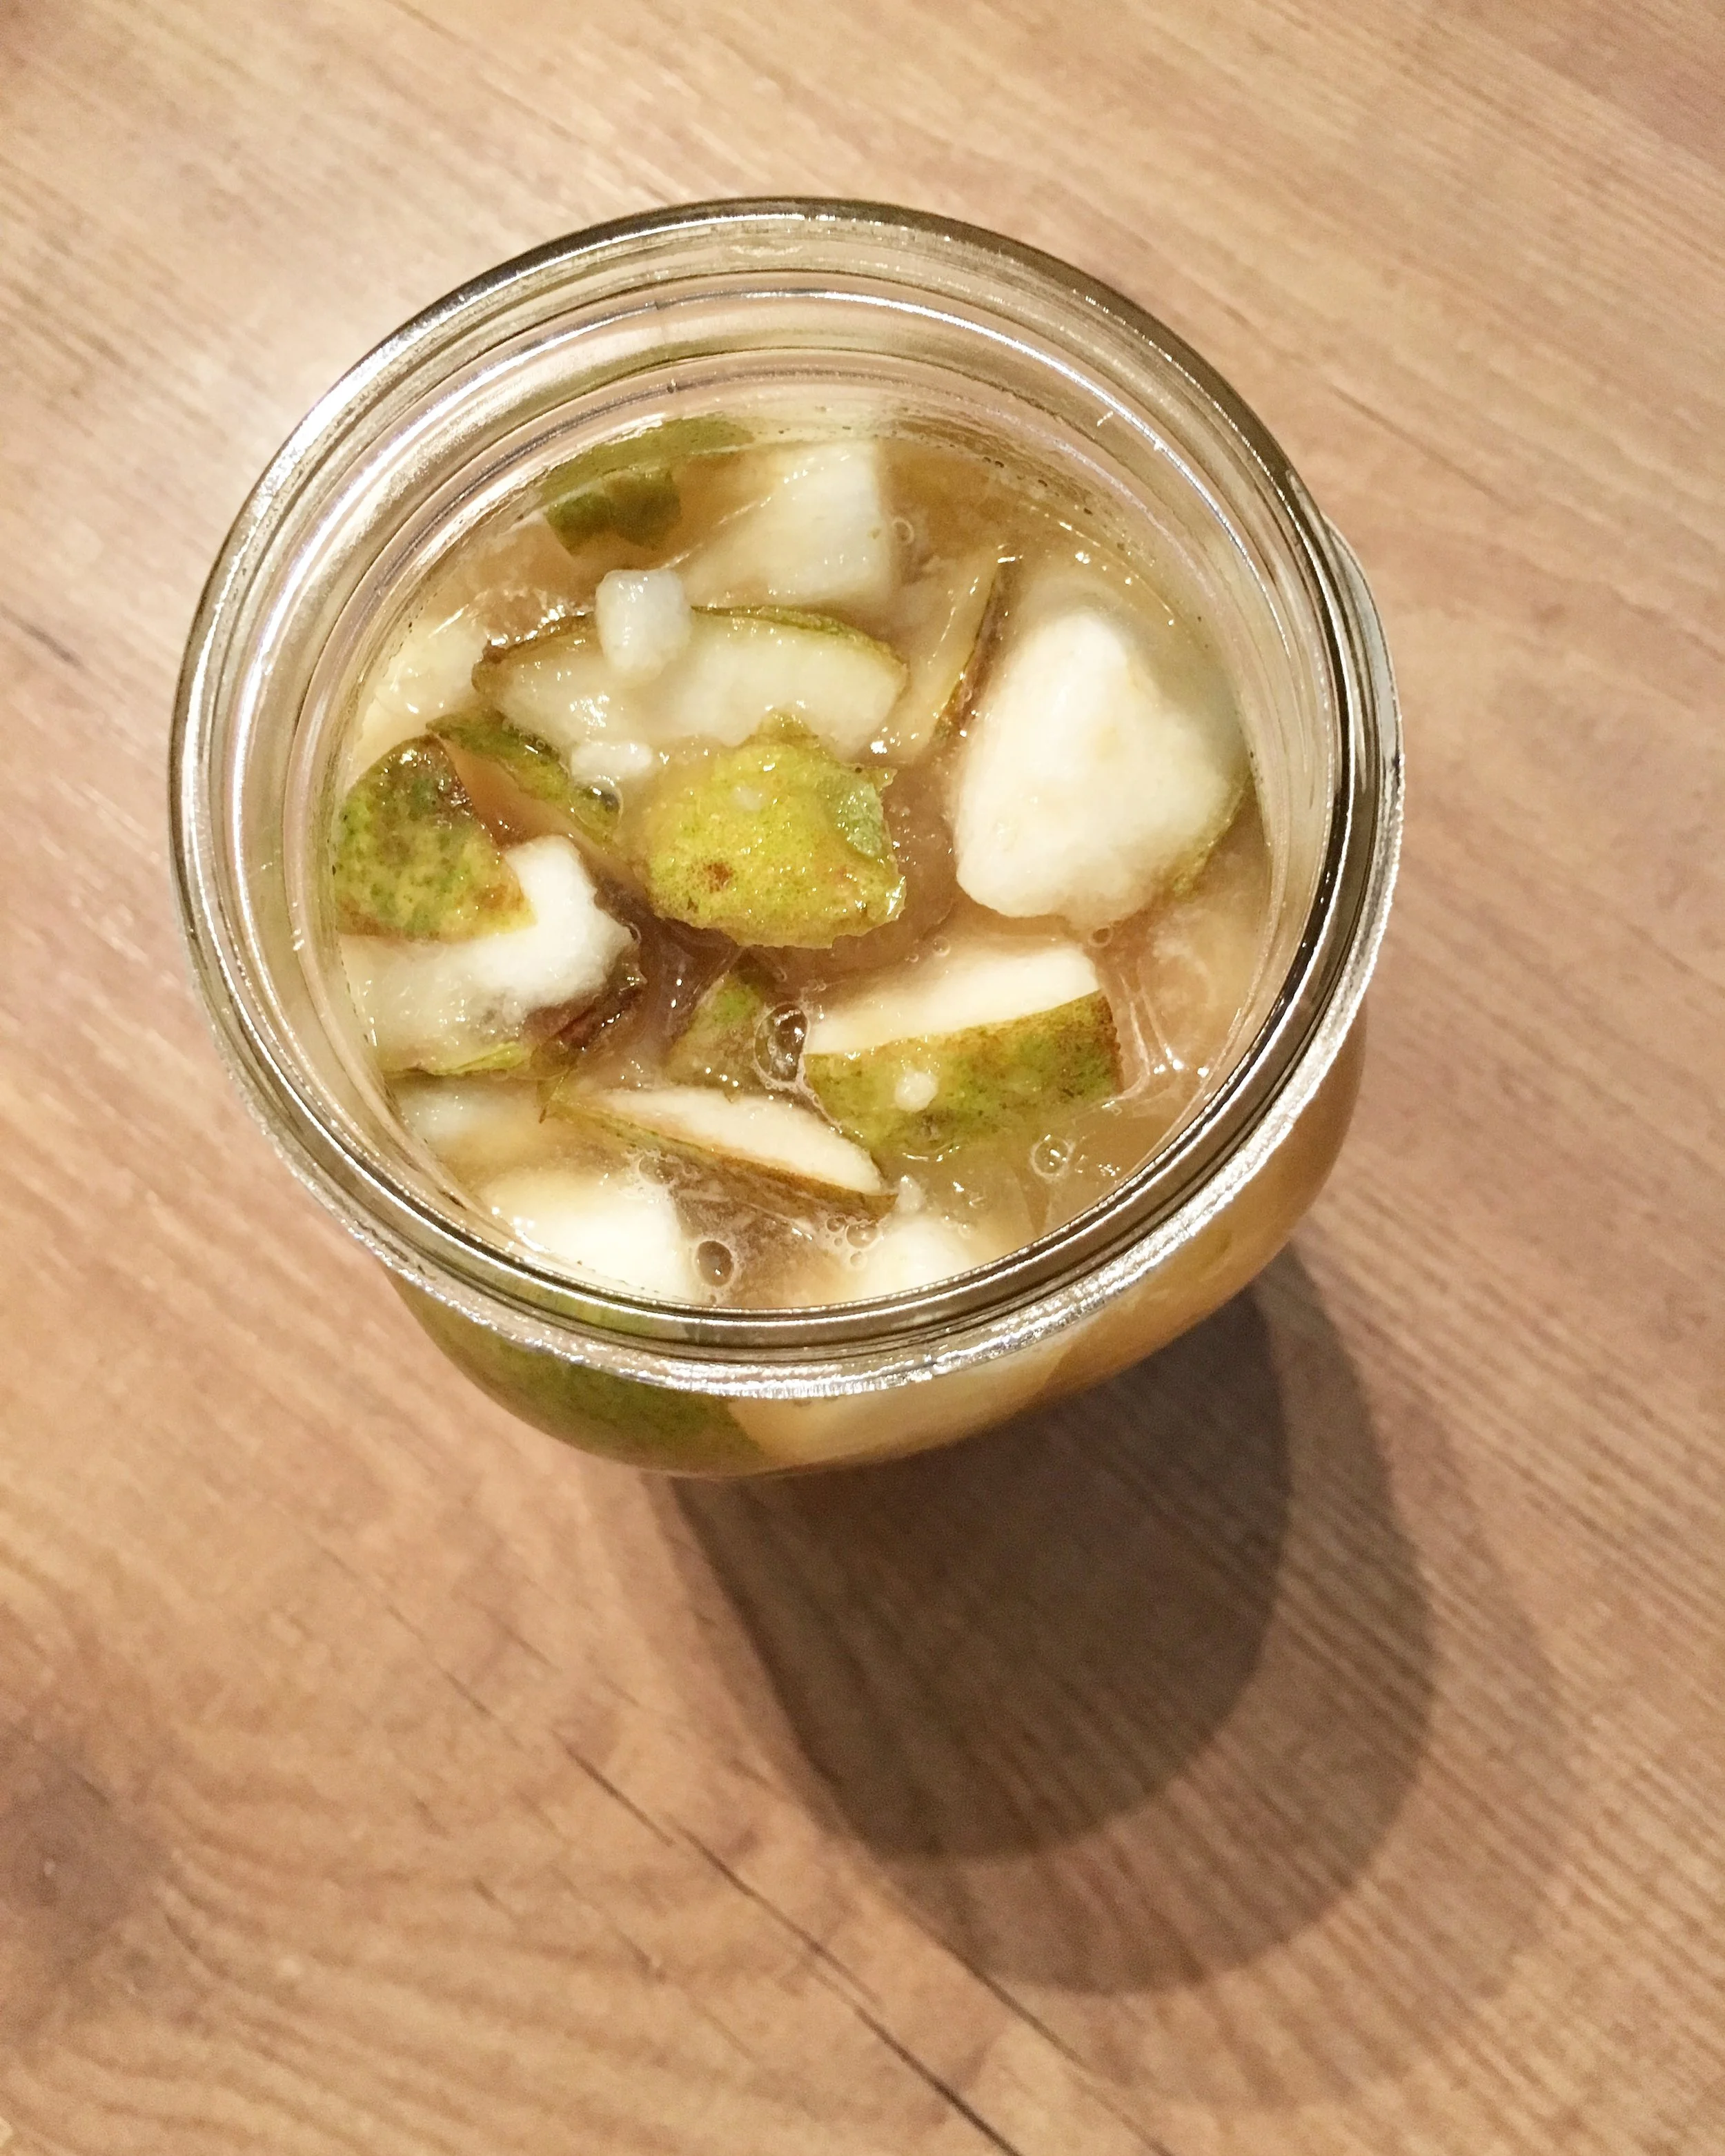
After this let them sit on your counter for a couple days.  I found two days to be the right number.  Make sure you cover them, but use cheesecloth, or a napkin, or paper towel or something.

IMG_3305.JPG

Here are my jars in their festive leftover Christmas napkins.  After they hang out like that for a couple days strain out the solids, and store the finished shrub in the fridge.  I am told some people leave them to age for a week or so, but I tasted mine almost right away and it was really good!

IMG_3306.JPG

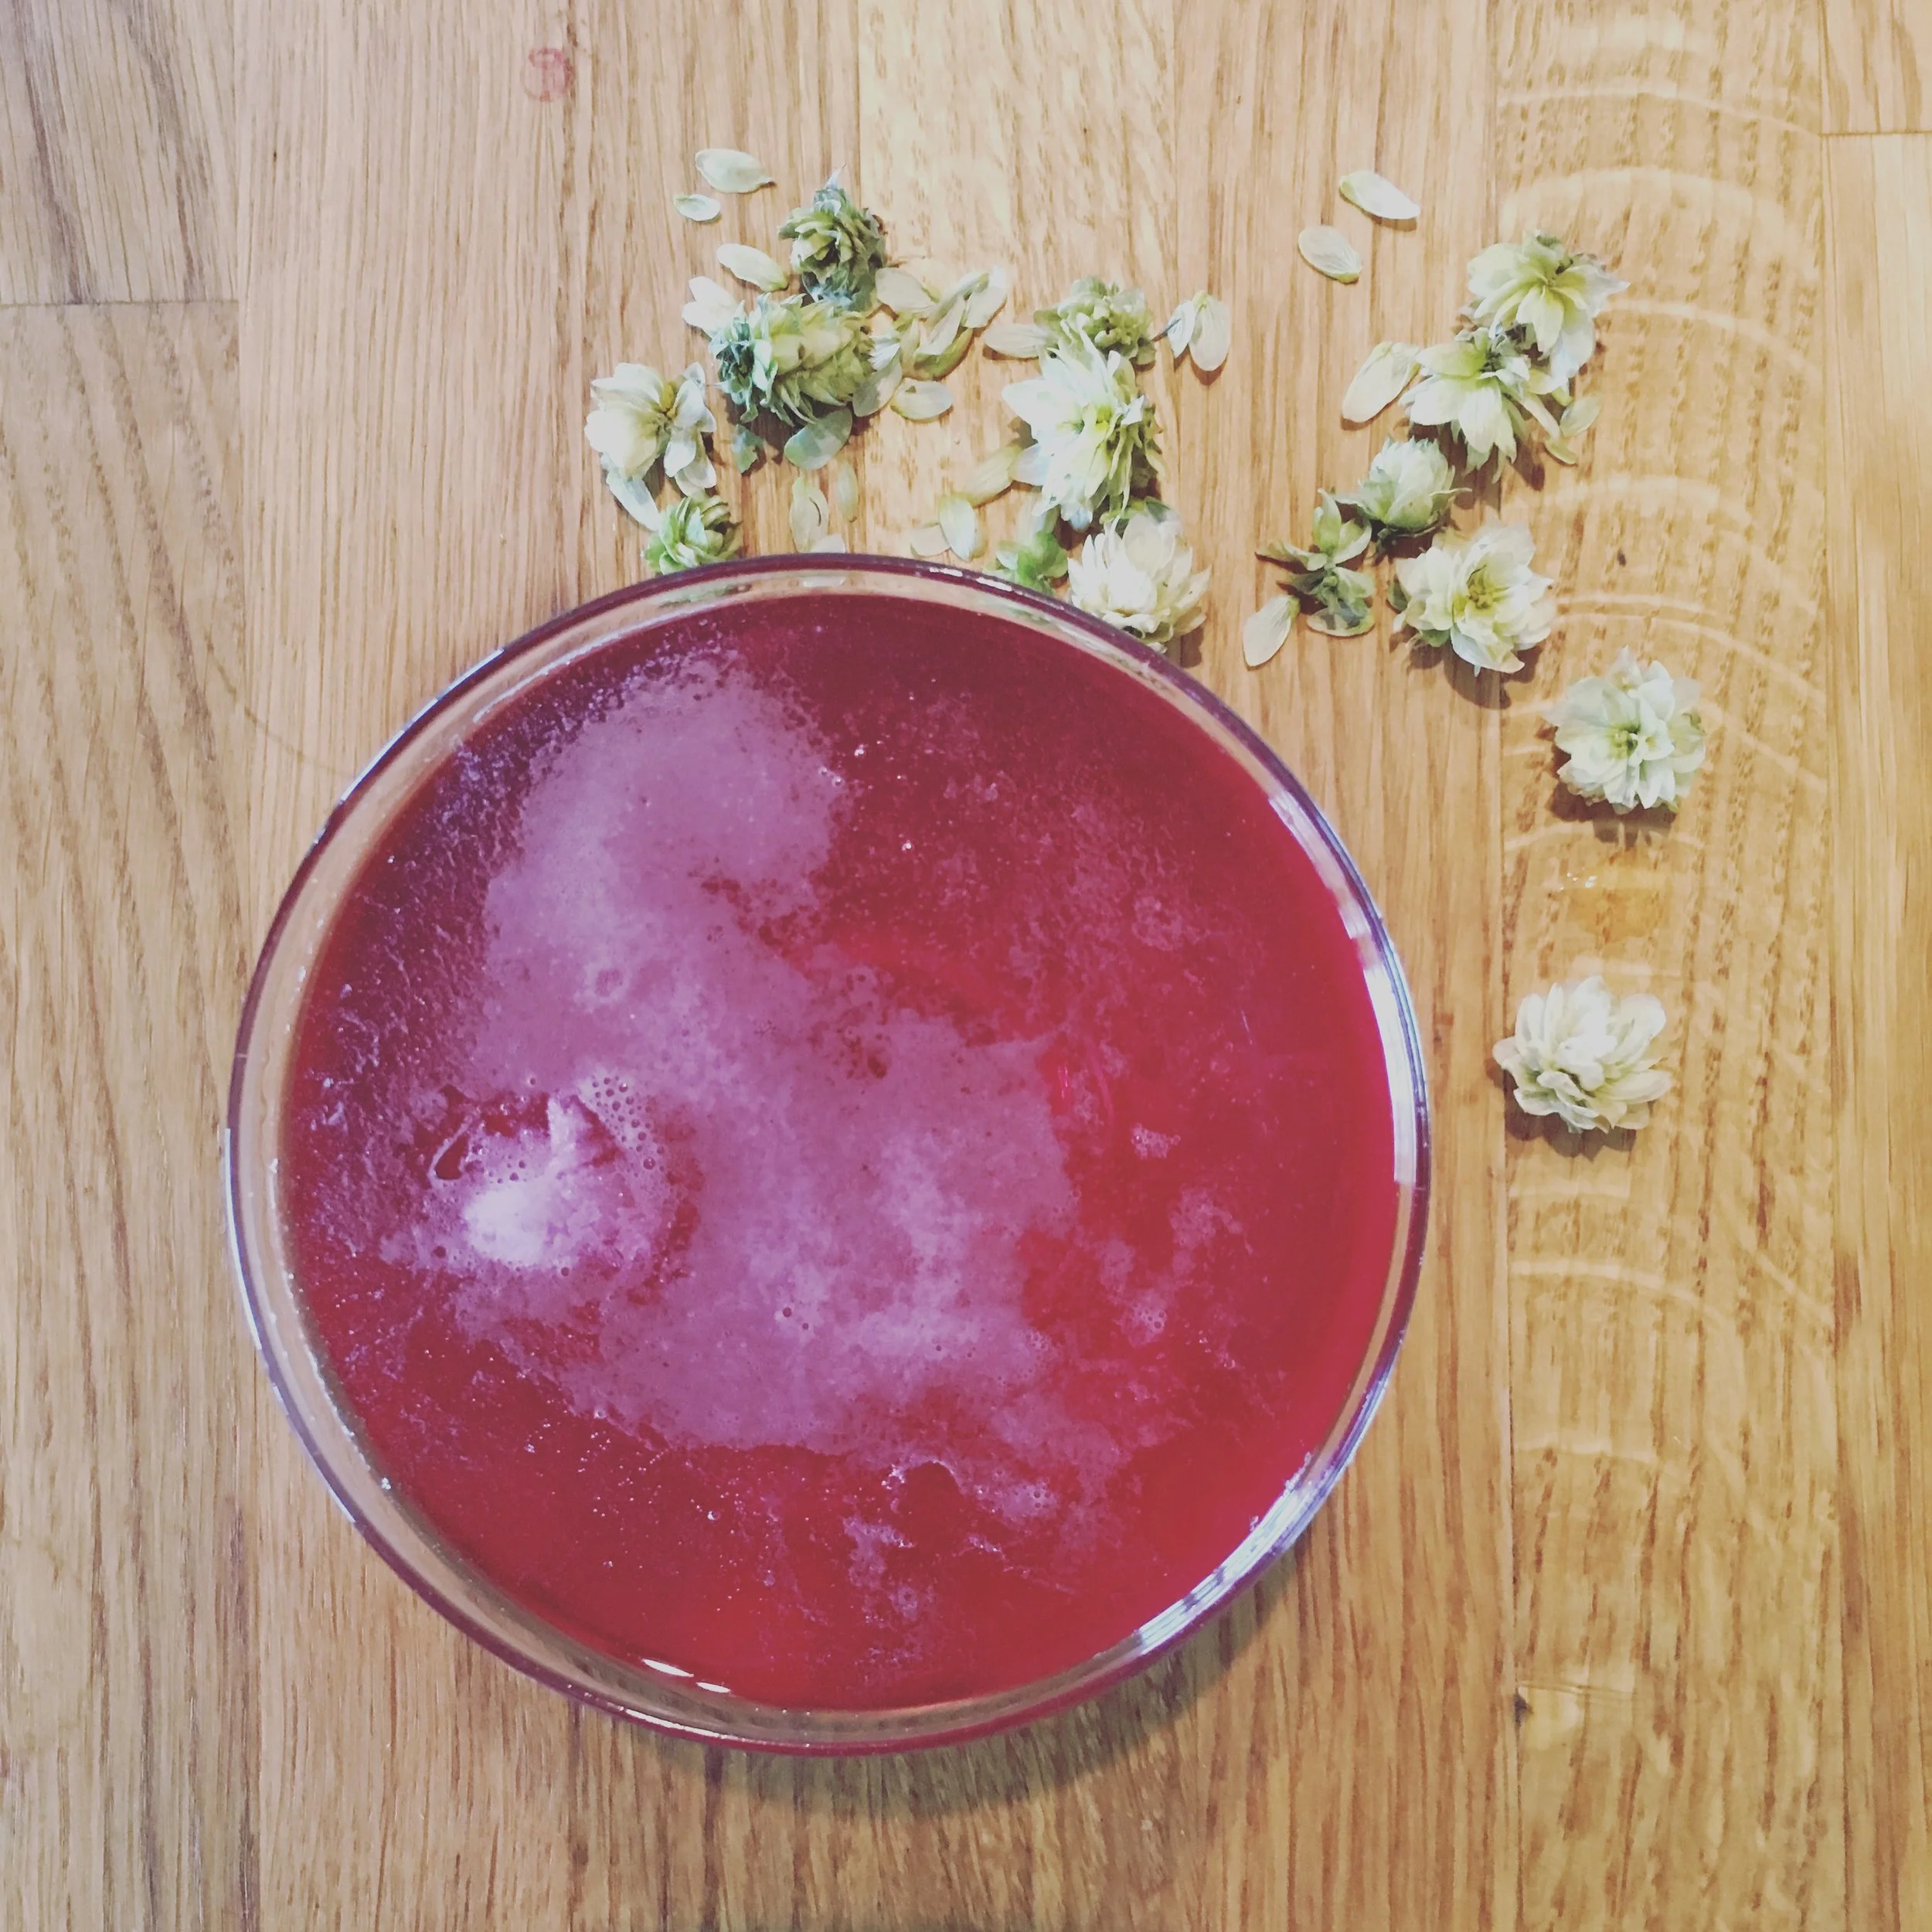
The flavours you can choose to make these shrubs are only limited by your imagination.  I did one more simple: pear, honey, and cider vinegar; and one more experimental: blueberry, hops, sugar, and cider vinegar.  I love the piney sort of undertones that both blueberries and hops have and I wondered if they would blend well together as a result. 

Yes.

Yes they do.

The other thing I really find that I love about shrubs is that you get the taste of the fresh fruit, but in syrup form.  I have a SodaStream, and I make a lot of my own syrups to go with the fizzy water, but the idea that I could make a syrup and taste fresh fruit rather than cooked was so exciting!  I can't wait to try this with other combinations!  I'm imagining a watermelon shrub and it is making my mouth water.  I can't wait!

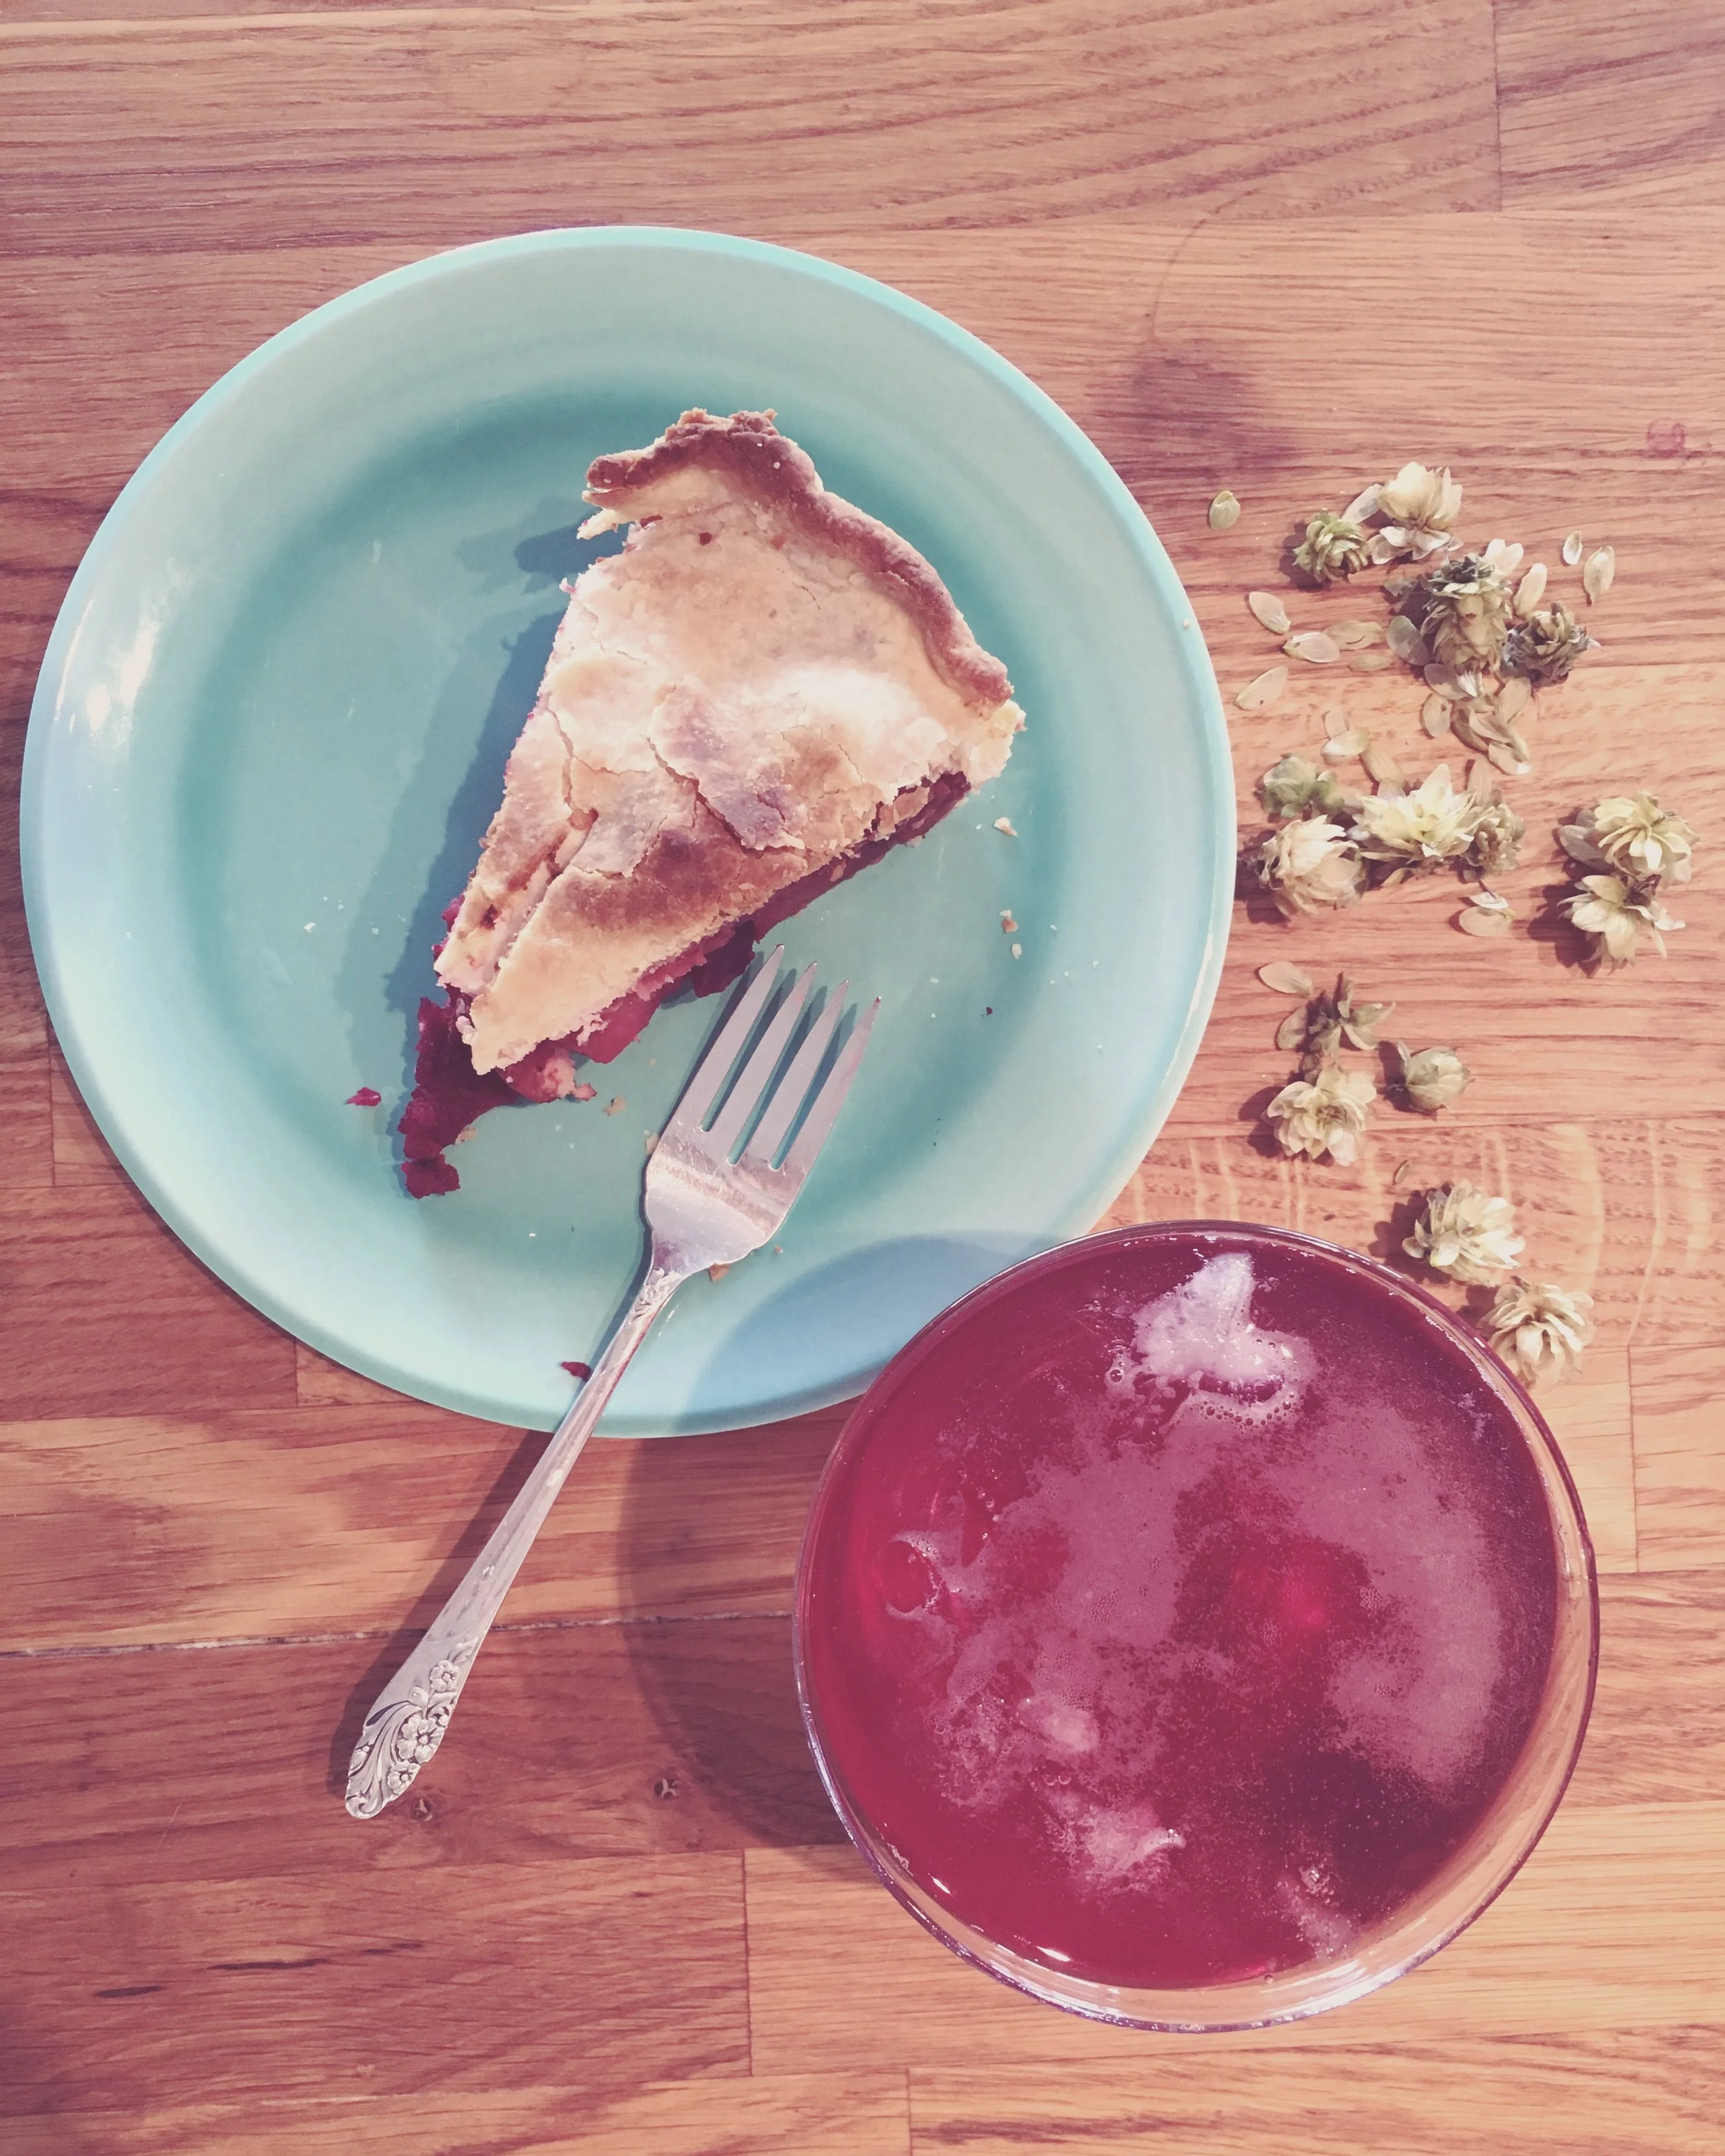
So go make yourself some shrubs and enjoy them diluted (about a quarter cup in a 16 oz cup filled the rest of the way with soda water was a perfect concentration for me, but experiment and see what you like) in soda water, cocktails, and whatever else you can think of!

March 27, 2017 /Kelsey Fast
Food in Jars Mastery Challenge, drinking vinegar, preserve, drink, recipe
Eat, Make
Comment
storinggardenpeas2016.jpg

Storing Garden Peas

June 28, 2016 by Kelsey Fast

One of the major differences in the garden this season from last is that spring was actually more like a real spring, and not early summer.  Last year in mid April it seemed like a switch was flipped and the temperatures never went below 30 degrees.  This year spring has been much more temperate.

One of the side effects of this weather difference is that the cooler weather crops are actually producing for me instead of being overwhelmed by the heat.  Things are wrapping up for me here - we're heading into the really hot zone that makes things like tomatoes and corn thrive (yay!), but if you are in a cooler region than me you might still be getting peas and wondering what to do with them.

storinggardenpeas2016-02.jpg

One of the difficulties with peas is that you have to constantly pick them.  Every other day at minimum, and sometimes more frequently than that!  At the height of production I've gone out twice in one day and come back with decent (for my garden size) hauls each time.  Now I love peas, but I don't always want to eat them with each meal.  The other problem is that I don't always get enough peas from each harvest to feed both Mr. Forager and myself, but I have to pick them at their peak or they become dry and starchy later.

What to do?

Well, let me tell you it is very easy to prep peas for freezing, and just because you only get tiny amounts at a time doesn't mean you can't think of long term freezer storage for your garden peas.

storinggardenpeas2016-03.jpg

Step one is to find a lovely relaxing place and shell some peas.  I have fond memories of shelling enormous amounts of field peas at my Great Grandmother's farm.  The whole family gathered around and we shelled so many our thumbs were aching!  

storinggardenpeas2016-04.jpg

Once you have your peas, blanch them in boiling water for 90 seconds, strain them out and immediately dump them in ice water to stop the cooking process.  The reason you want to do this step is that there is an enzyme in peas that causes them to degrade over time in freezer storage.  When you blanch them you destroy the enzyme and help them last longer.

After that strain them out of the ice water and let them dry off on a tea towel for a little bit.  When they are no longer dripping wet spread them out on a cookie sheet and stick that in the freezer.  The reason for this step is that you don't want them to freeze all in one clump.  This way when you put them in a larger container they don't stick together as much.  After they have frozen in a single layer like that you can put them in a jar or bag. 

I have mine in a pint jar, and each time I get a pea harvest that we don't want to eat right away I go through this process and add more each time.  It doesn't take long for it to add up!  I won't have a huge amount of peas saved this way - my small garden will never keep us entirely self sufficient - but at least this way I can extend my harvest even a small amount and have some of my own peas preserved at their peak flavour when the harvest is finished.

storinggardenpeas2016-05.jpg
June 28, 2016 /Kelsey Fast
garden, peas, preserve
Comment

Terms and Conditions | Privacy Policy | Shipping and Returns

Powered by Squarespace