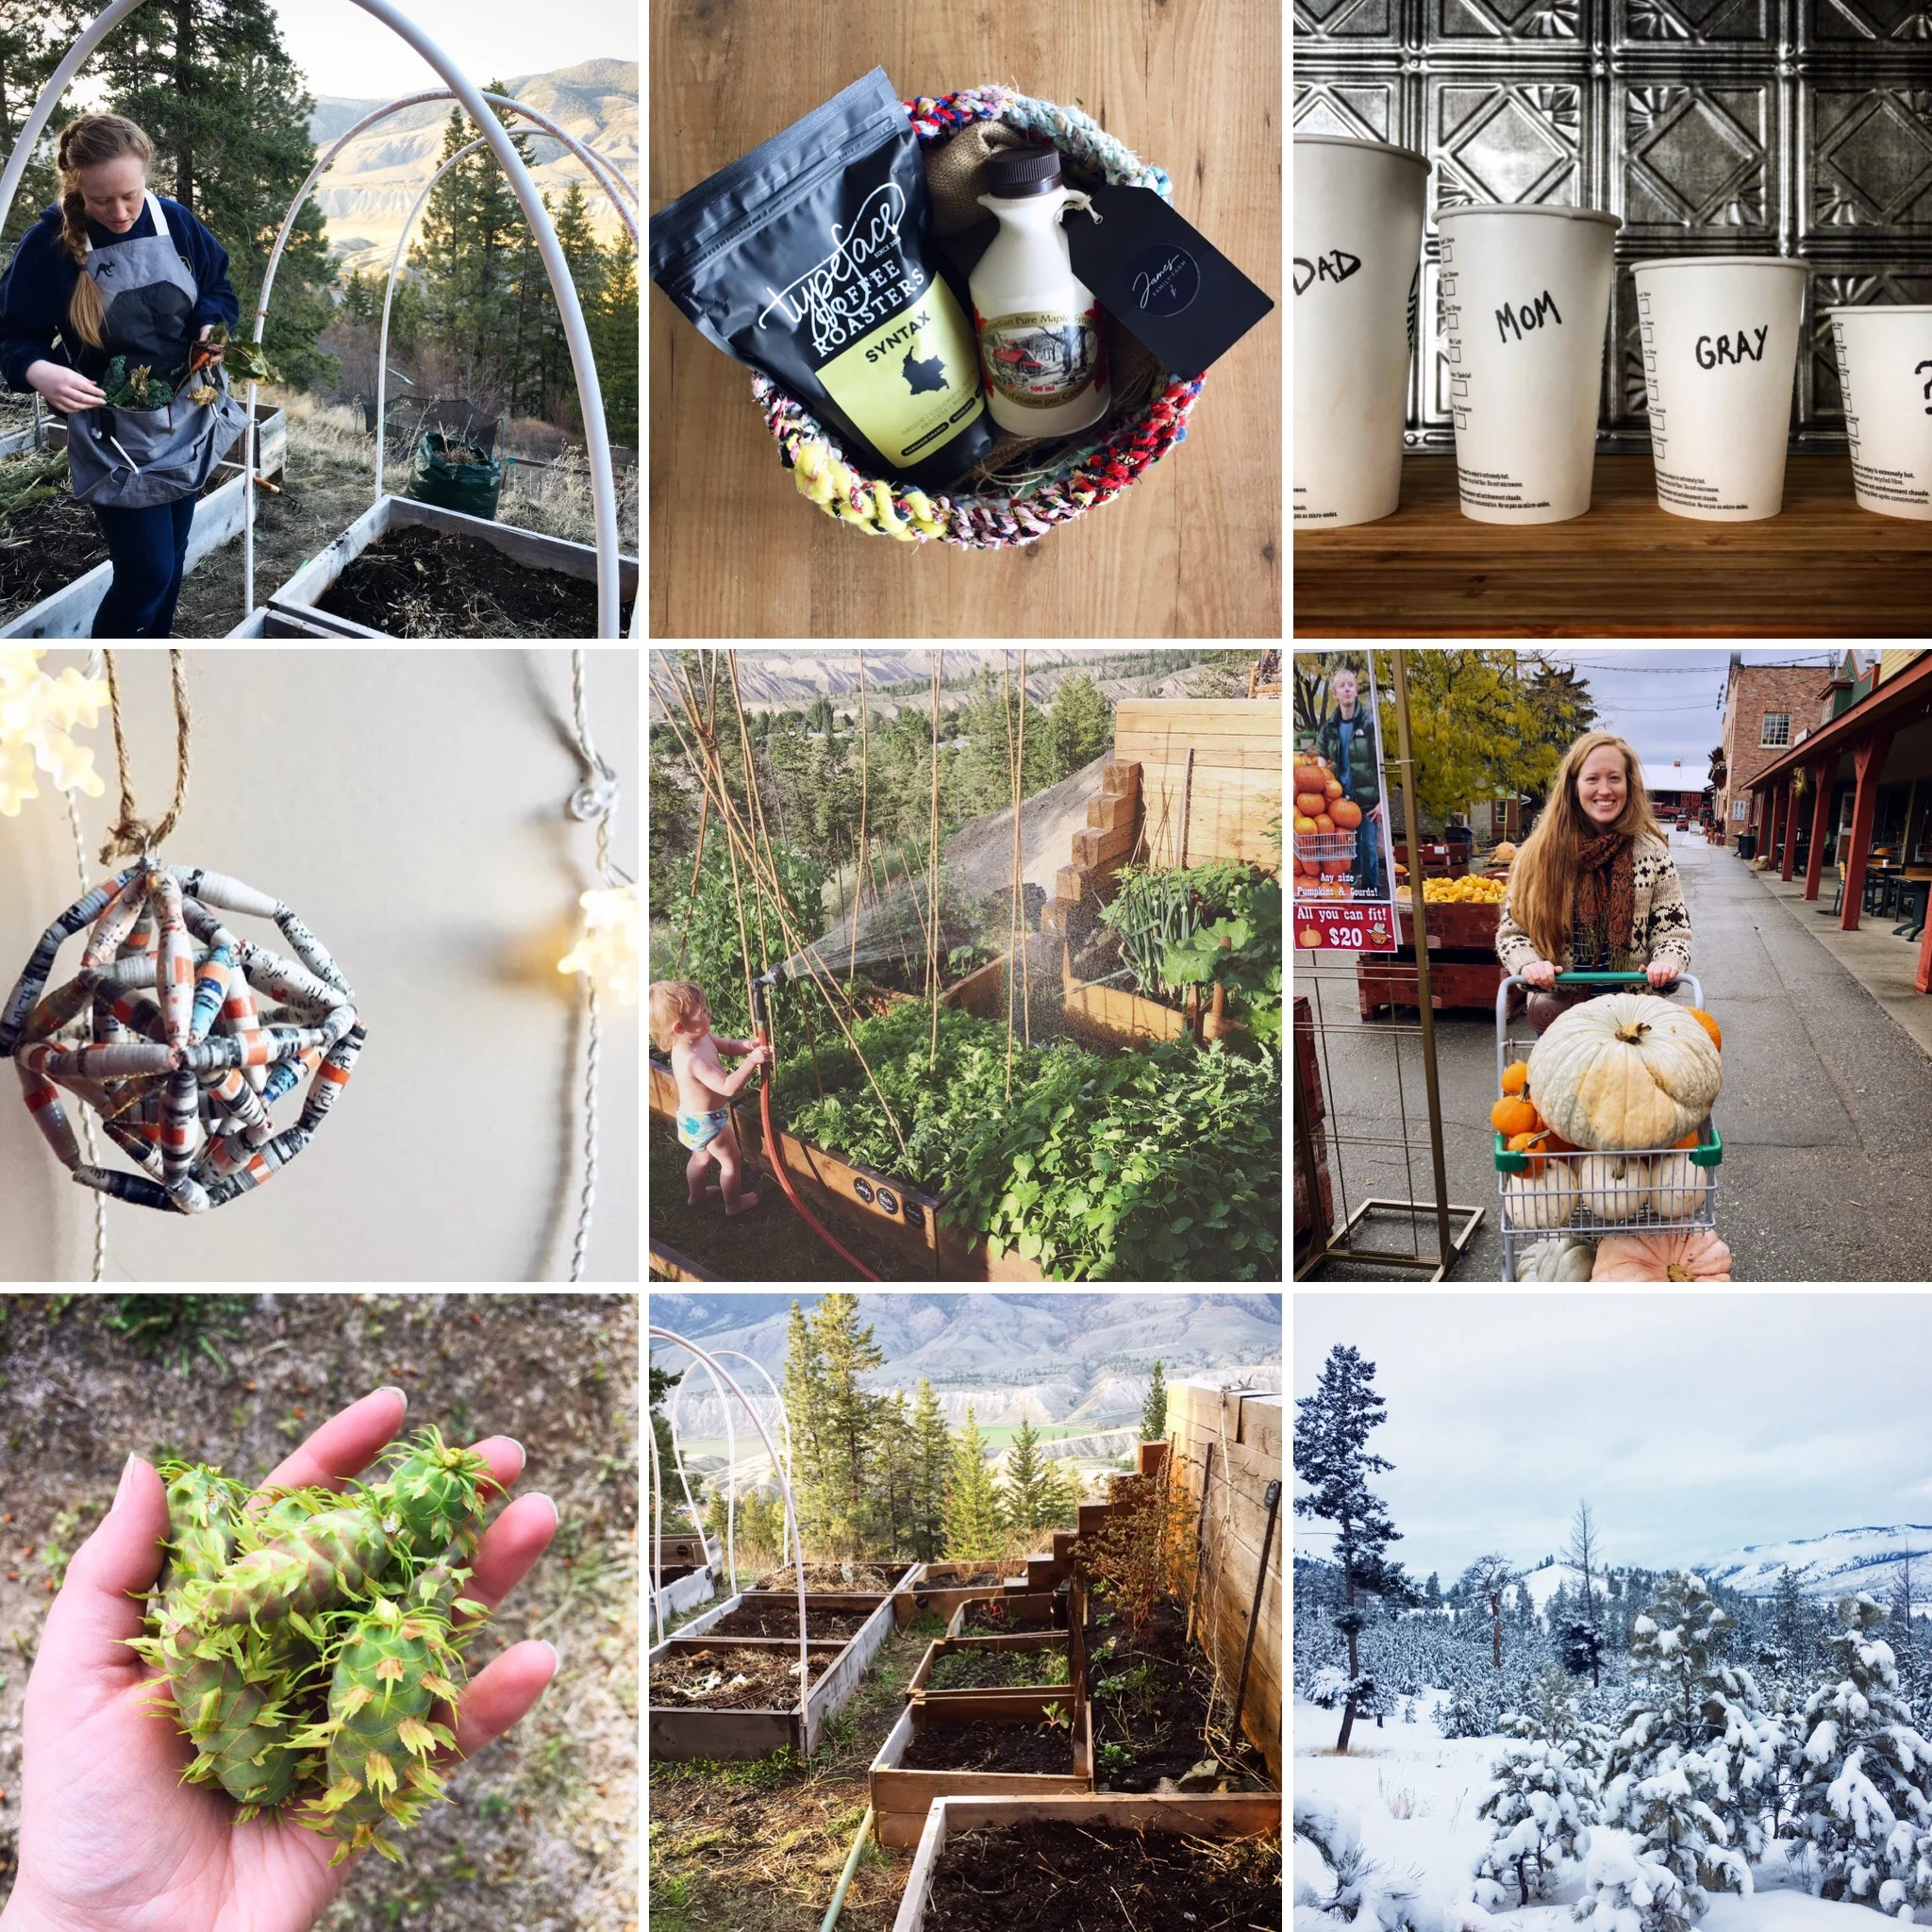
Foraging and Gardening Goals for 2019
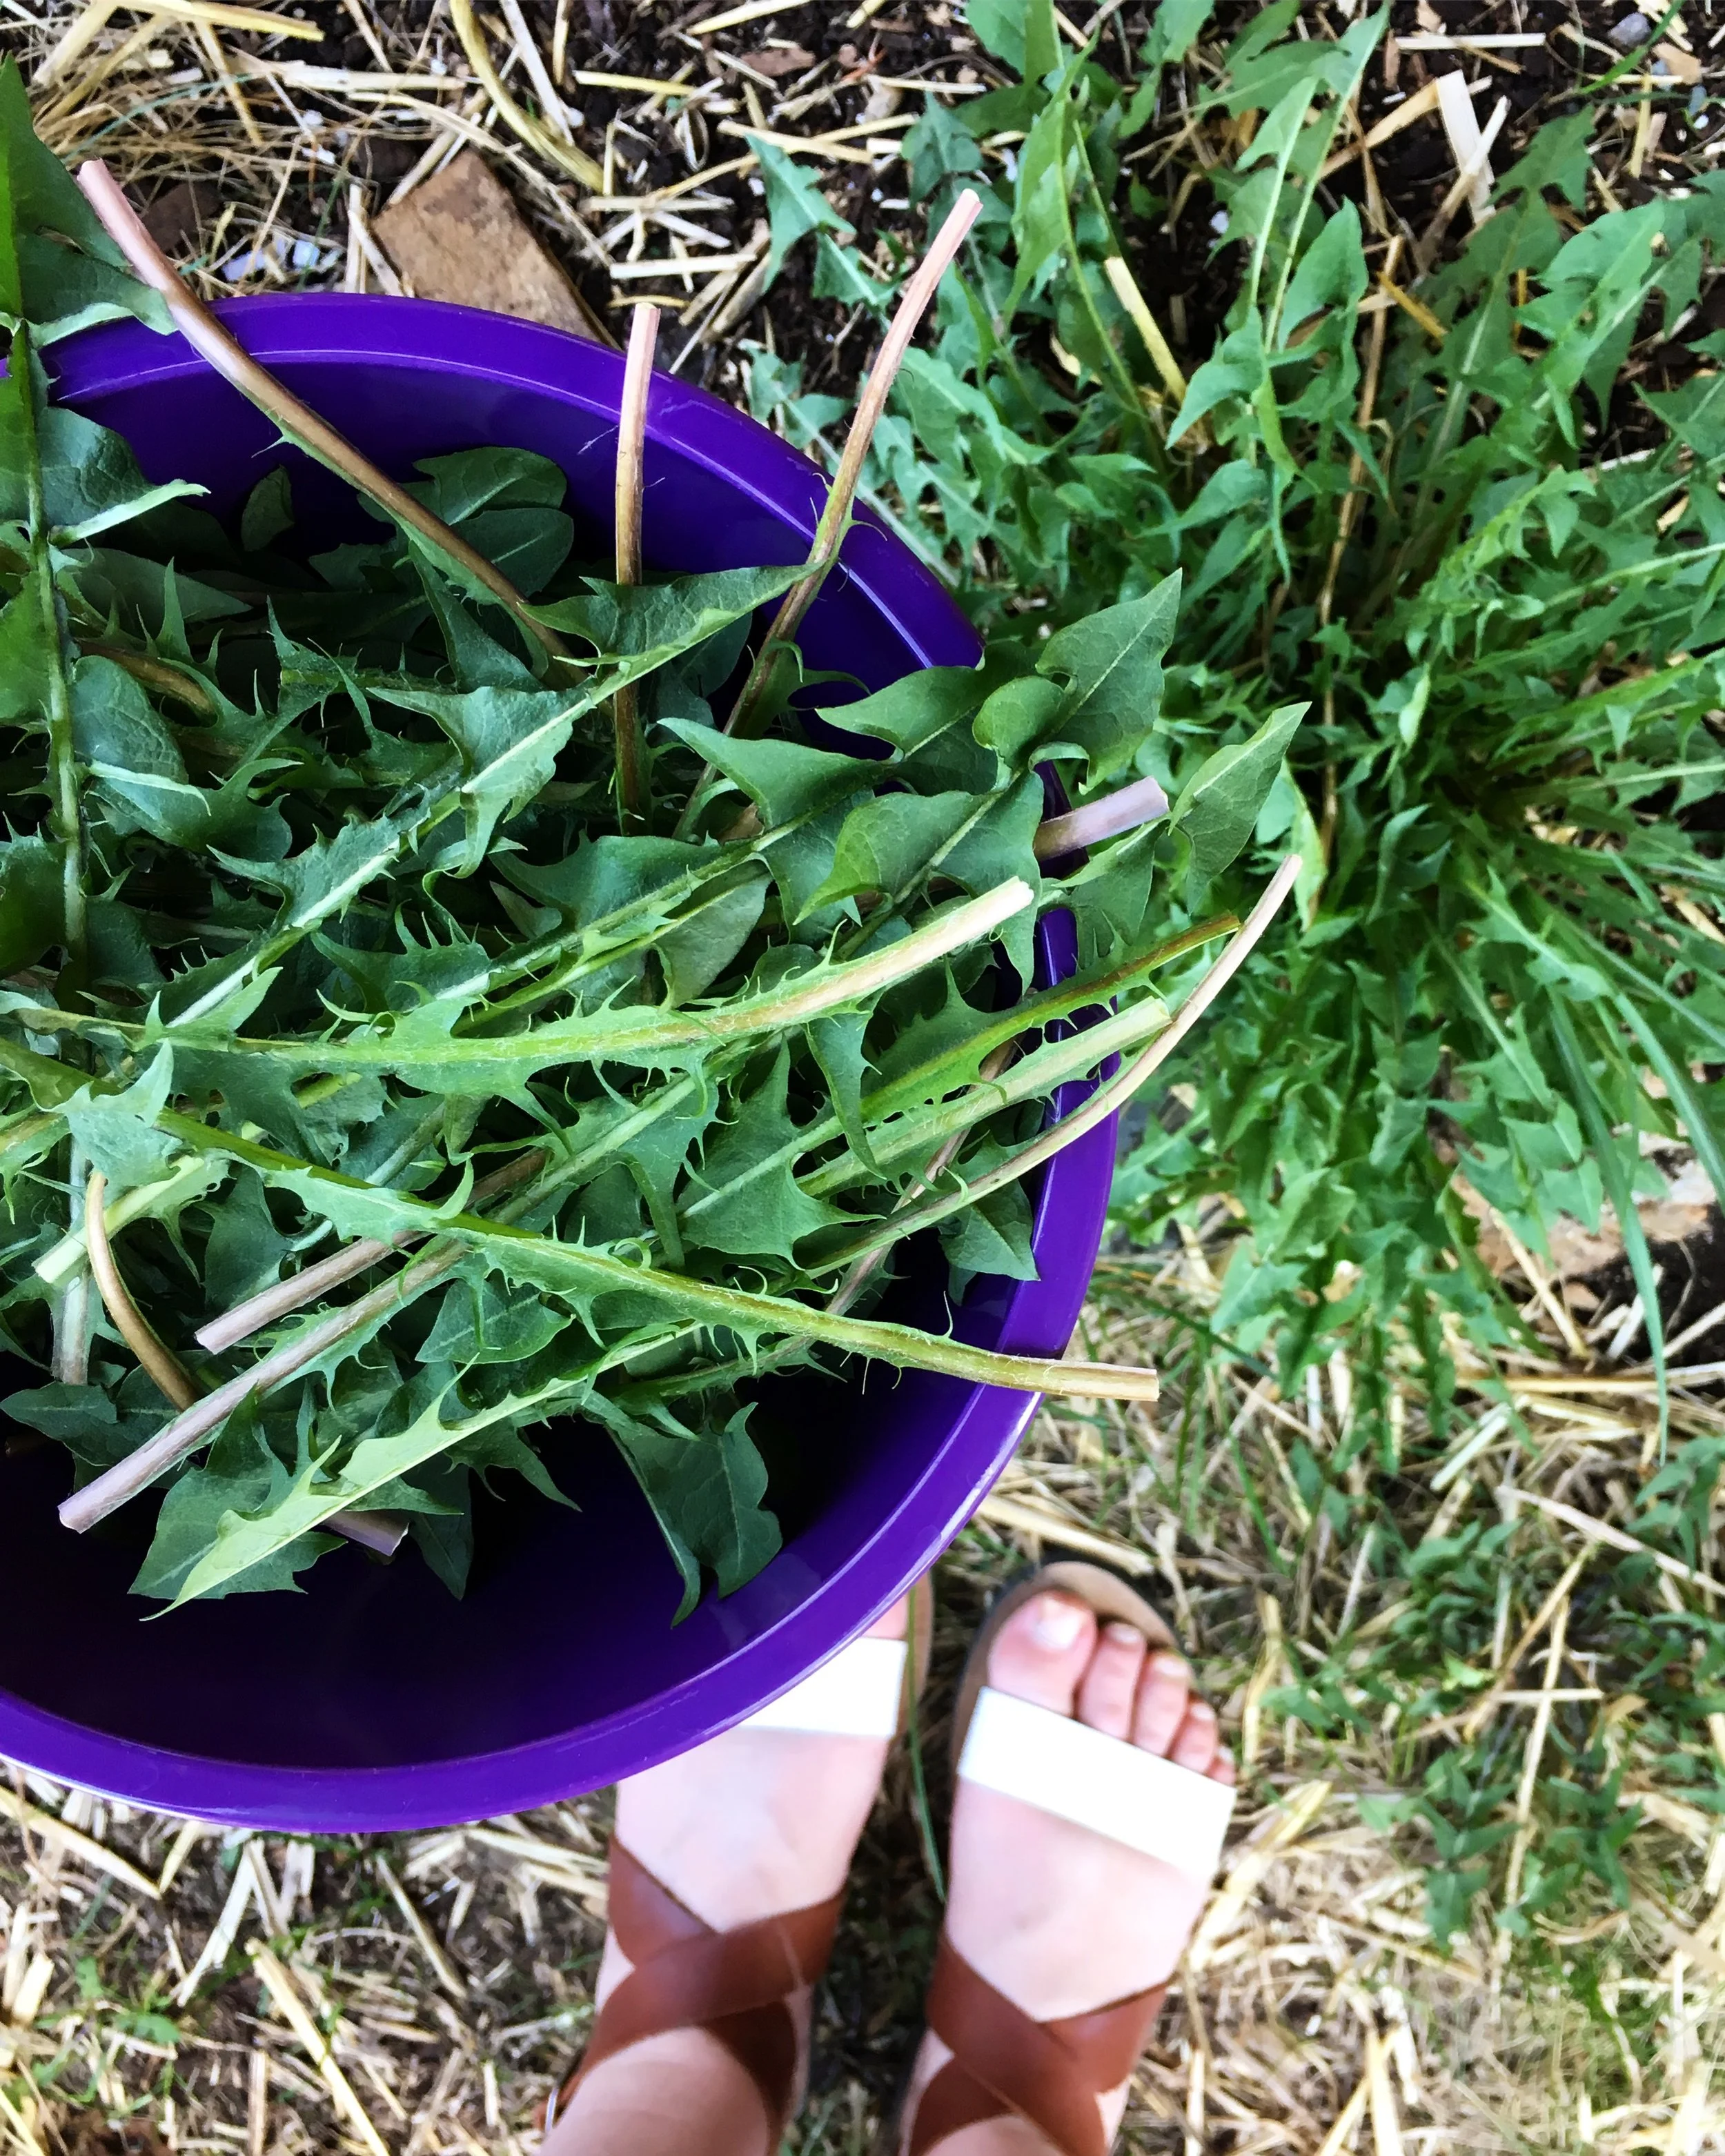
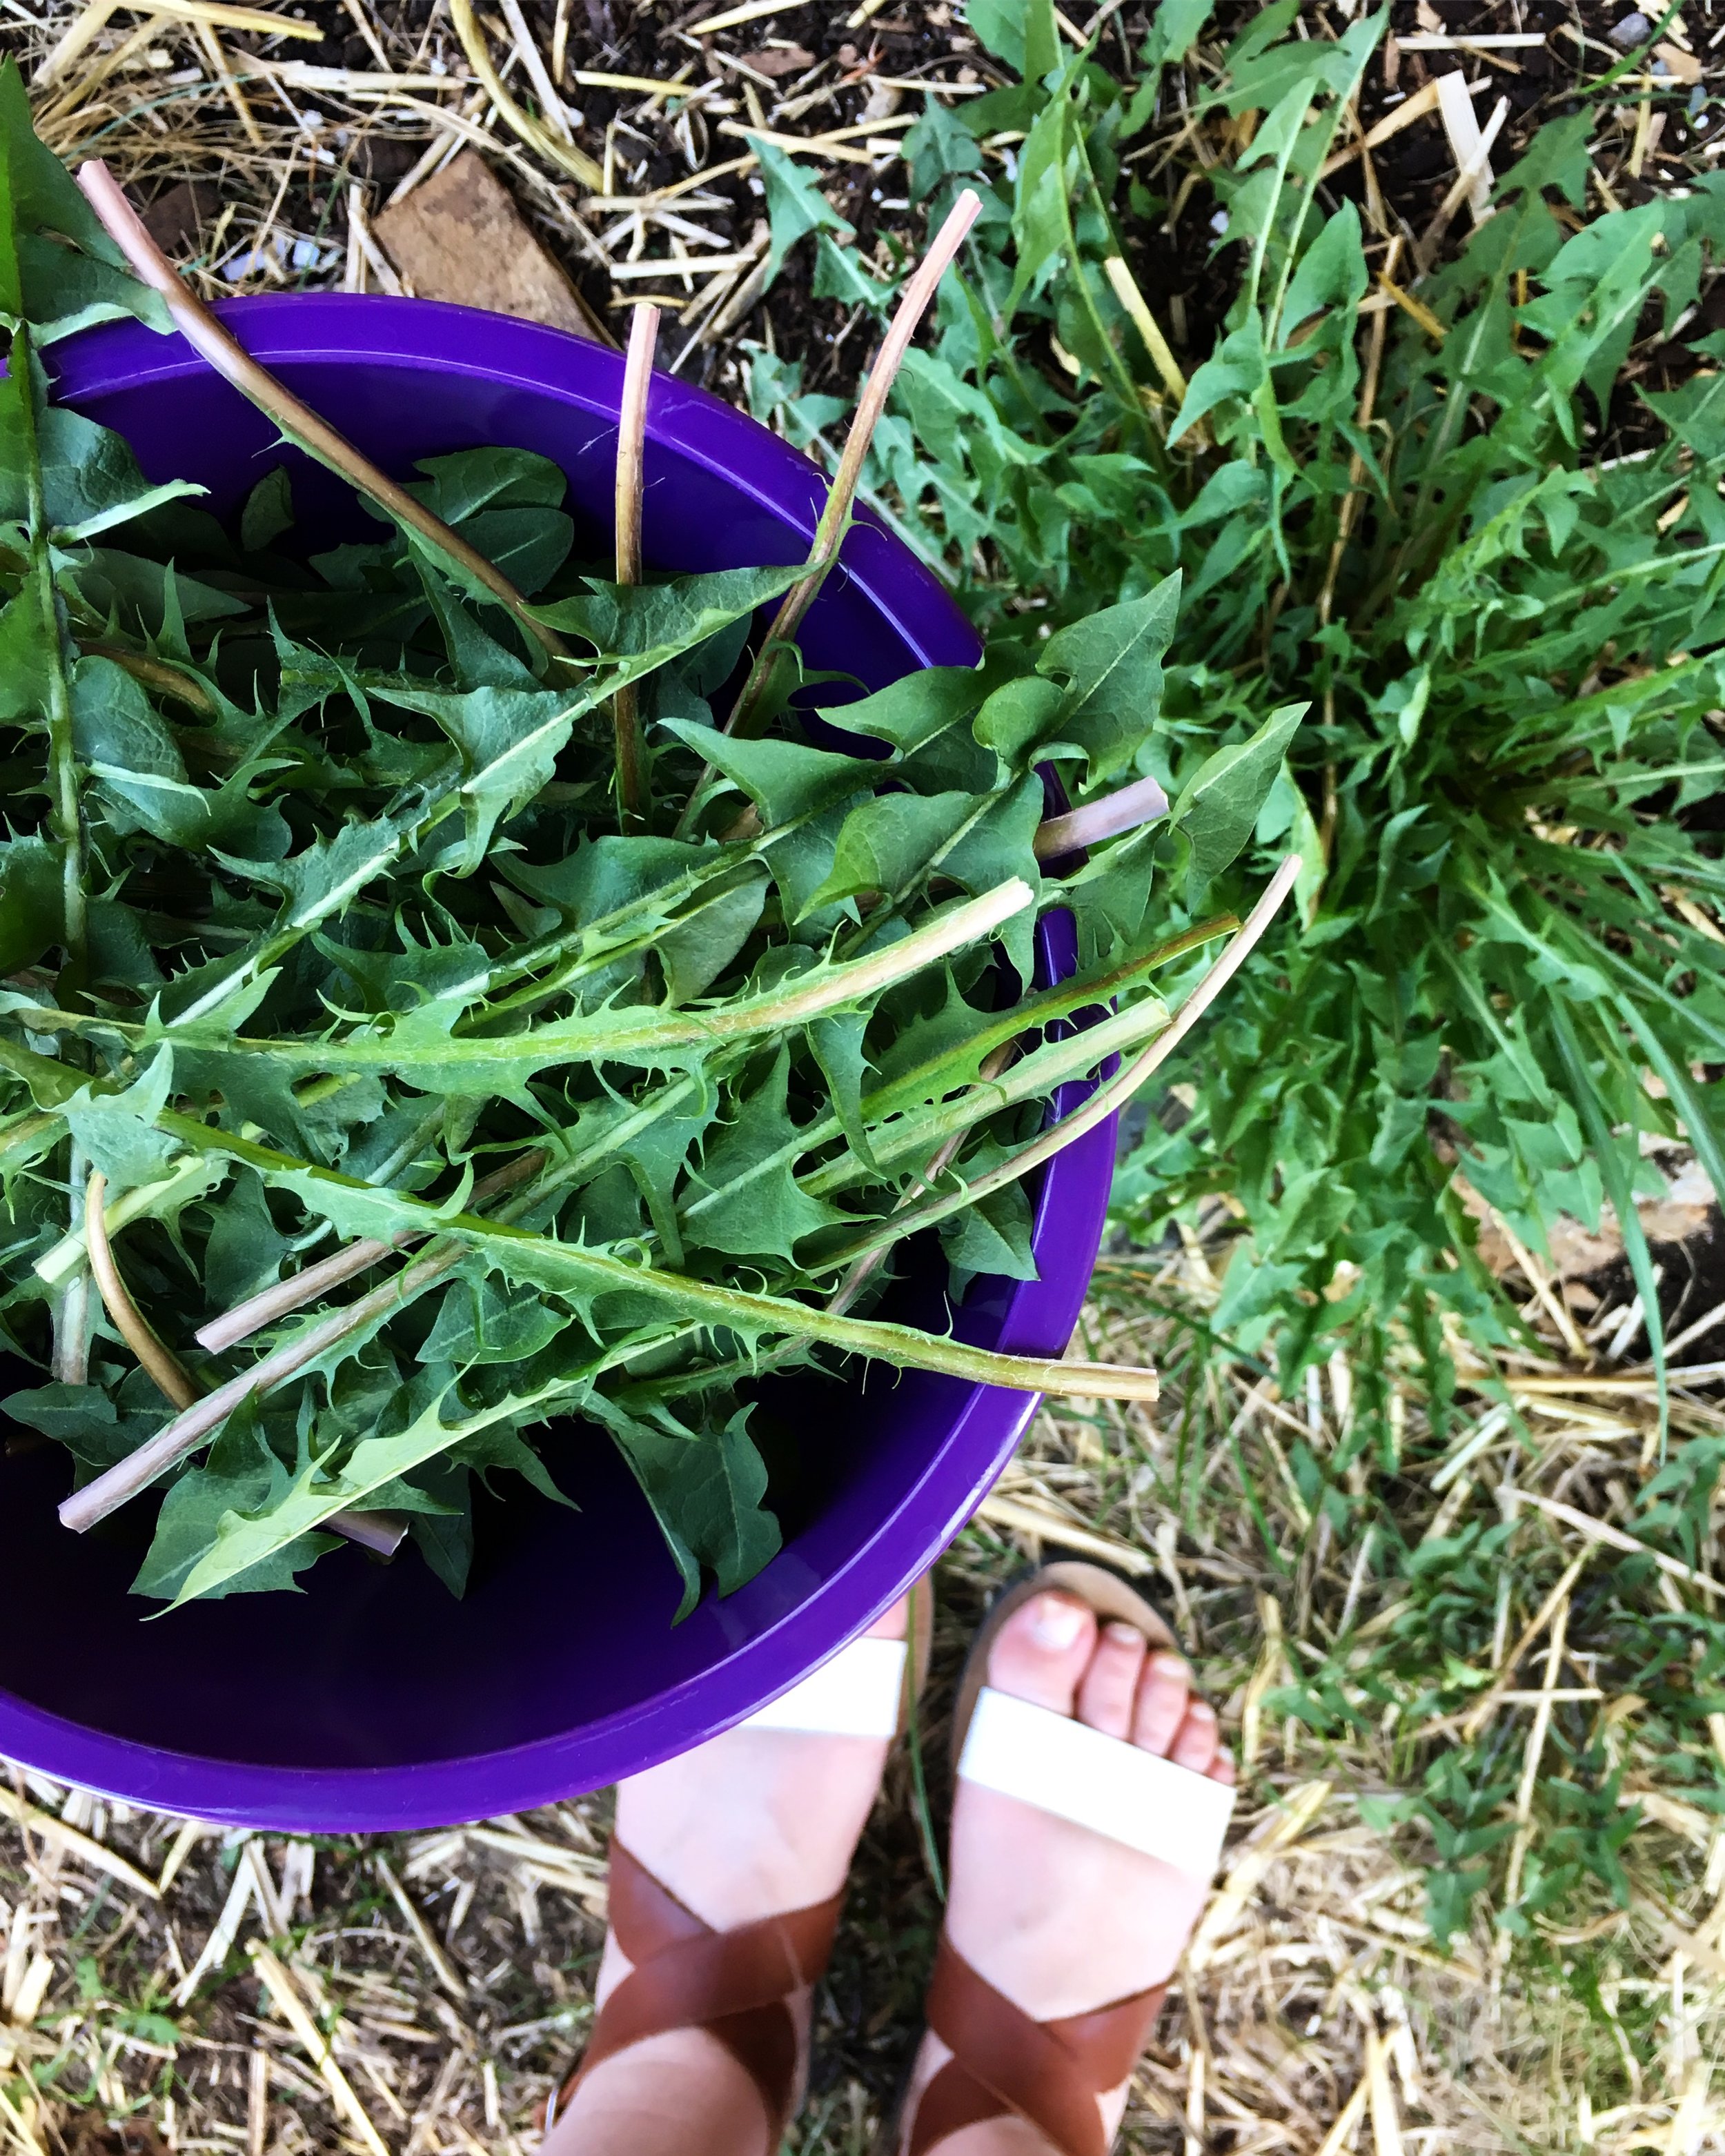
Dandelion leaves are very nutritious and abundant! Consider allowing them to grow in your yard and you’ll have the lowest maintenance food crop ever!
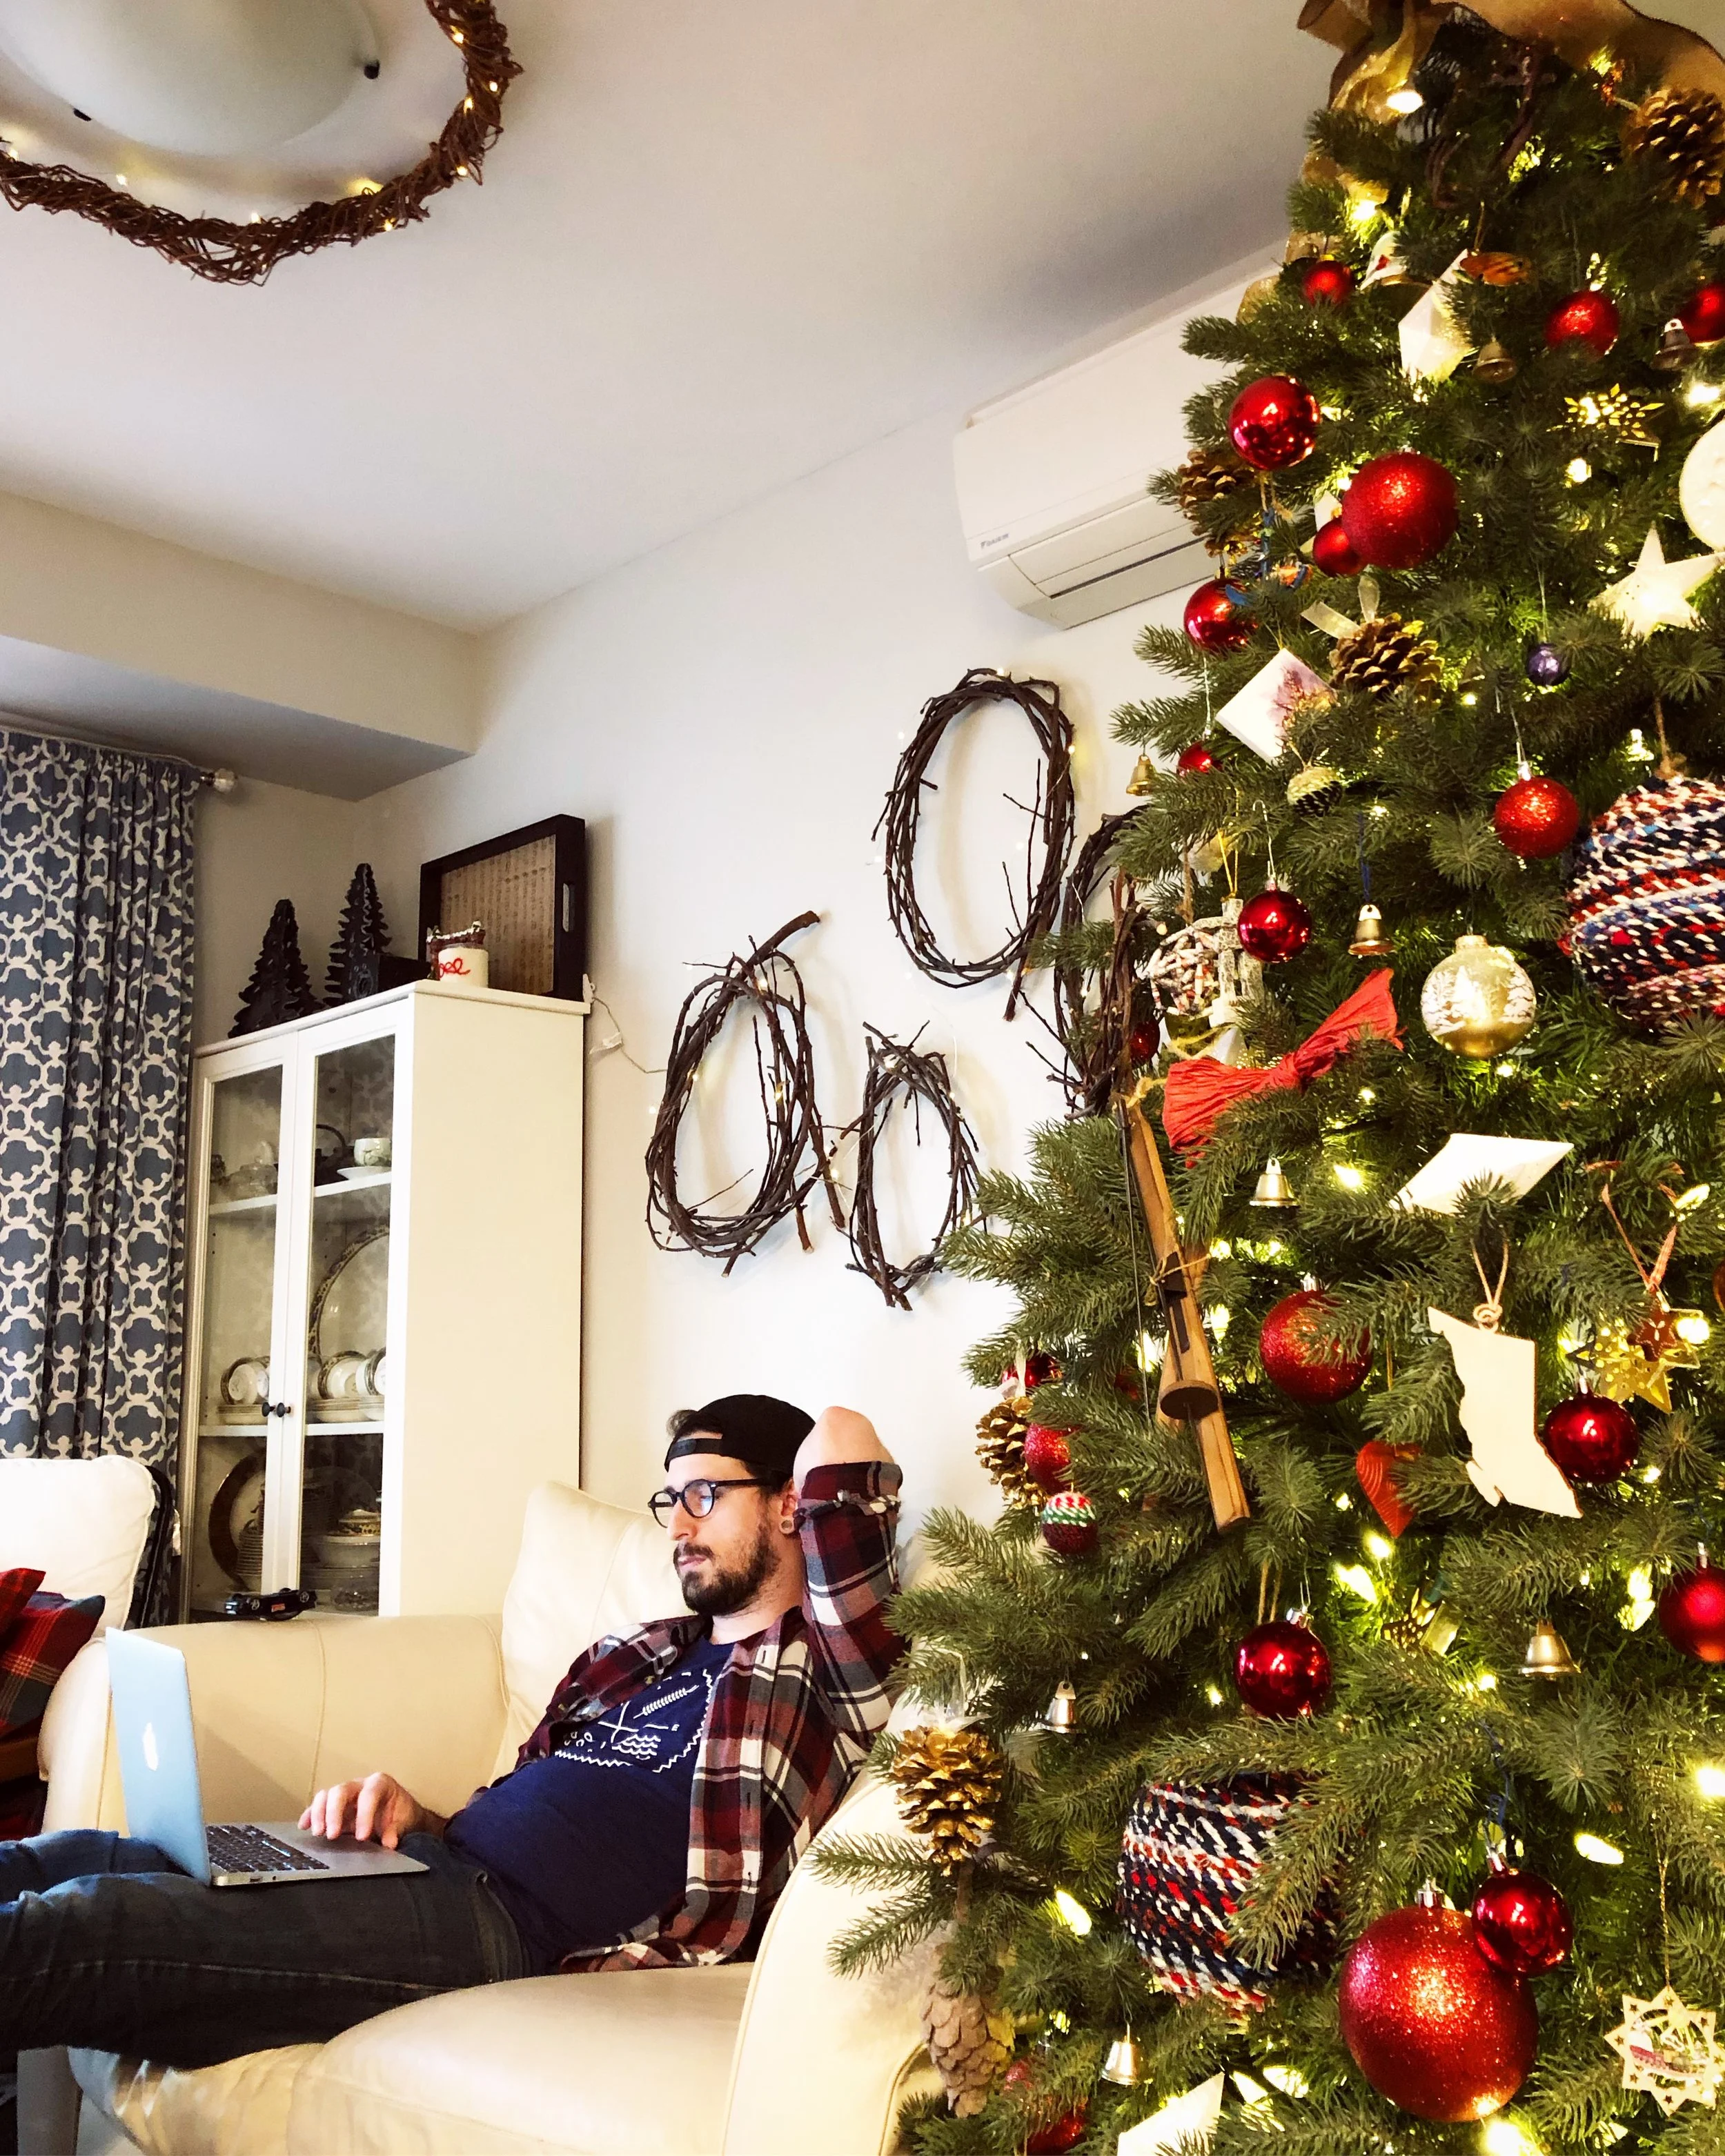
This year I have decided to pare down my goal setting just a little bit. I used to write out ten different goals for each of these categories, but I realized I wasn’t achieving even half of them. I also realized while looking over my goals for the past few years that I would write one or two larger scale general goals, and then the rest would be just about specific plants. While this isn’t a terrible way to set goals, I’ve found so many things - from weather, vacations, family growth, to other random surprises - can derail the search for growing or finding specific plants, and various things in my life kept doing just that. This year I have a new baby coming, and a smaller garden, so I figured five goals for each category would be a much more fulfilling way of going about things! We’ll see how I like that for this year and maybe next year I’ll do something different. Who knows!
The whole point of why I set these goals is so that I have some inspiration for the year going forward, not about the number of things I actually accomplish in the end or not. I hope you find some inspiration from my goals, and maybe you’ll set some of your own! If you do please let me know in the comments below because I’d love to hear about it!
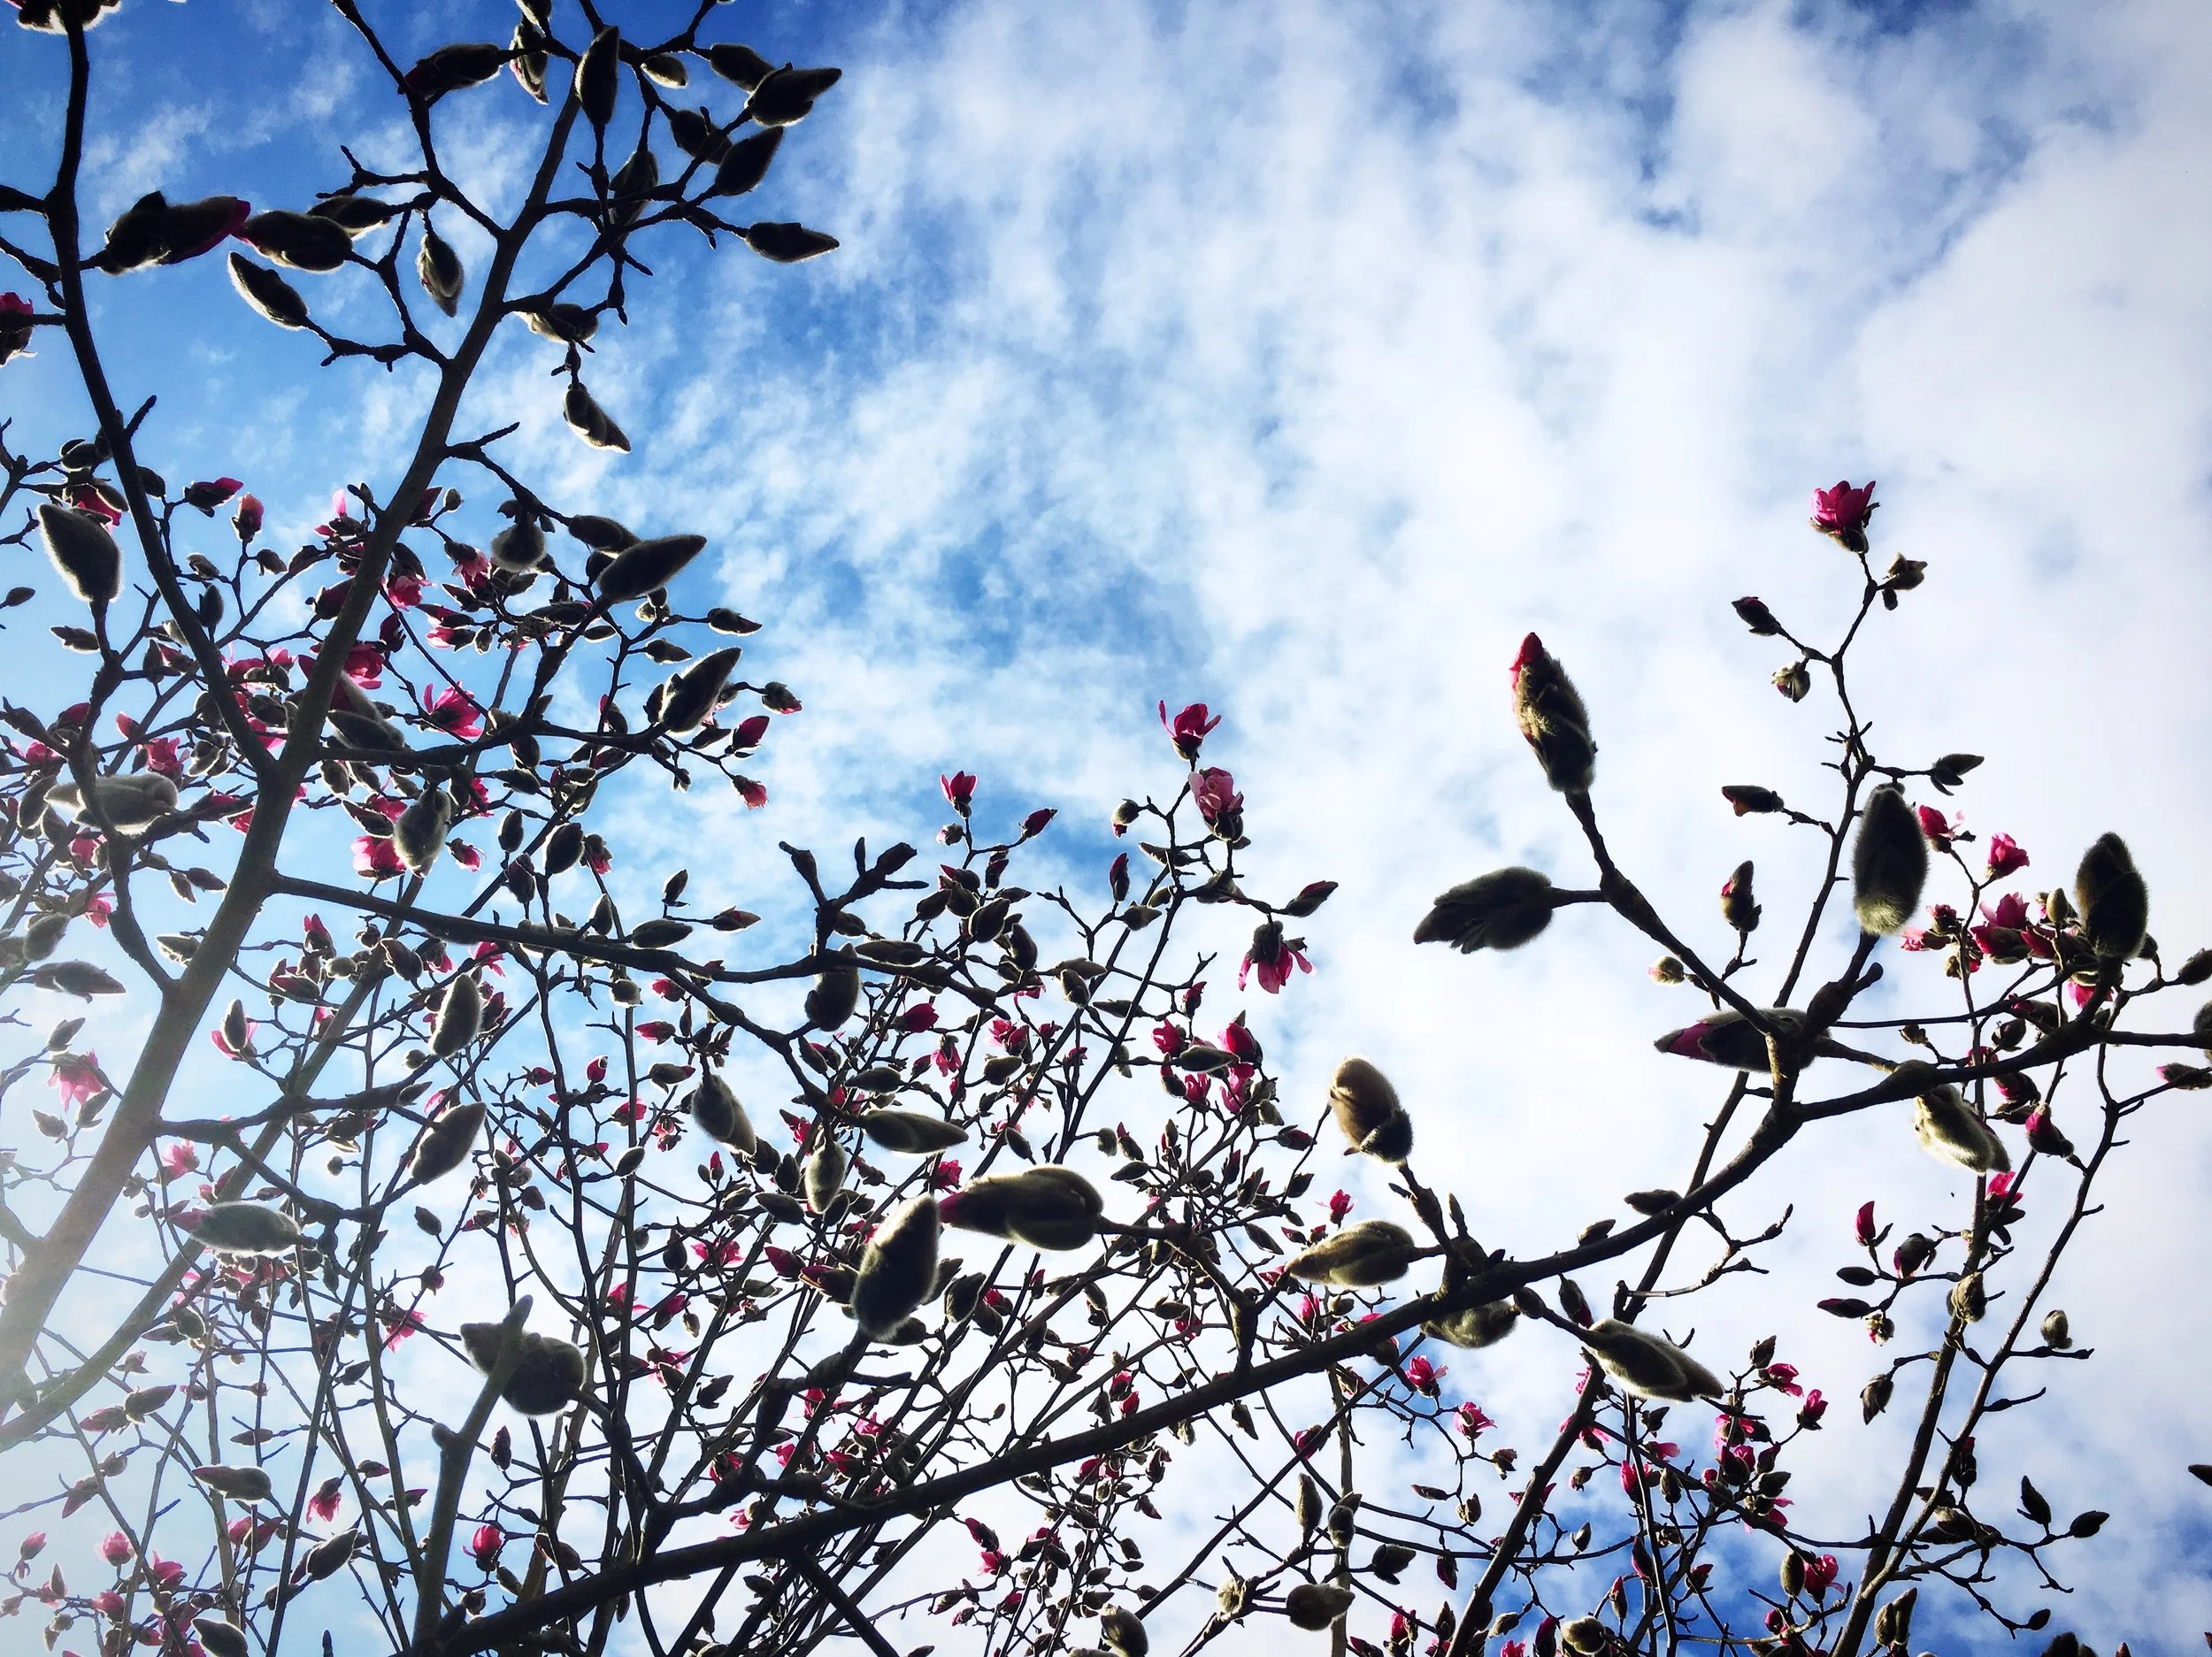
I hear magnolia is edible, but it doesn’t grow a lot here. I’d love to try it some day since I saw so many people posting lovely things about it on their instagram feeds last year.
Foraging Goals
Learn more from the local indigenous community.
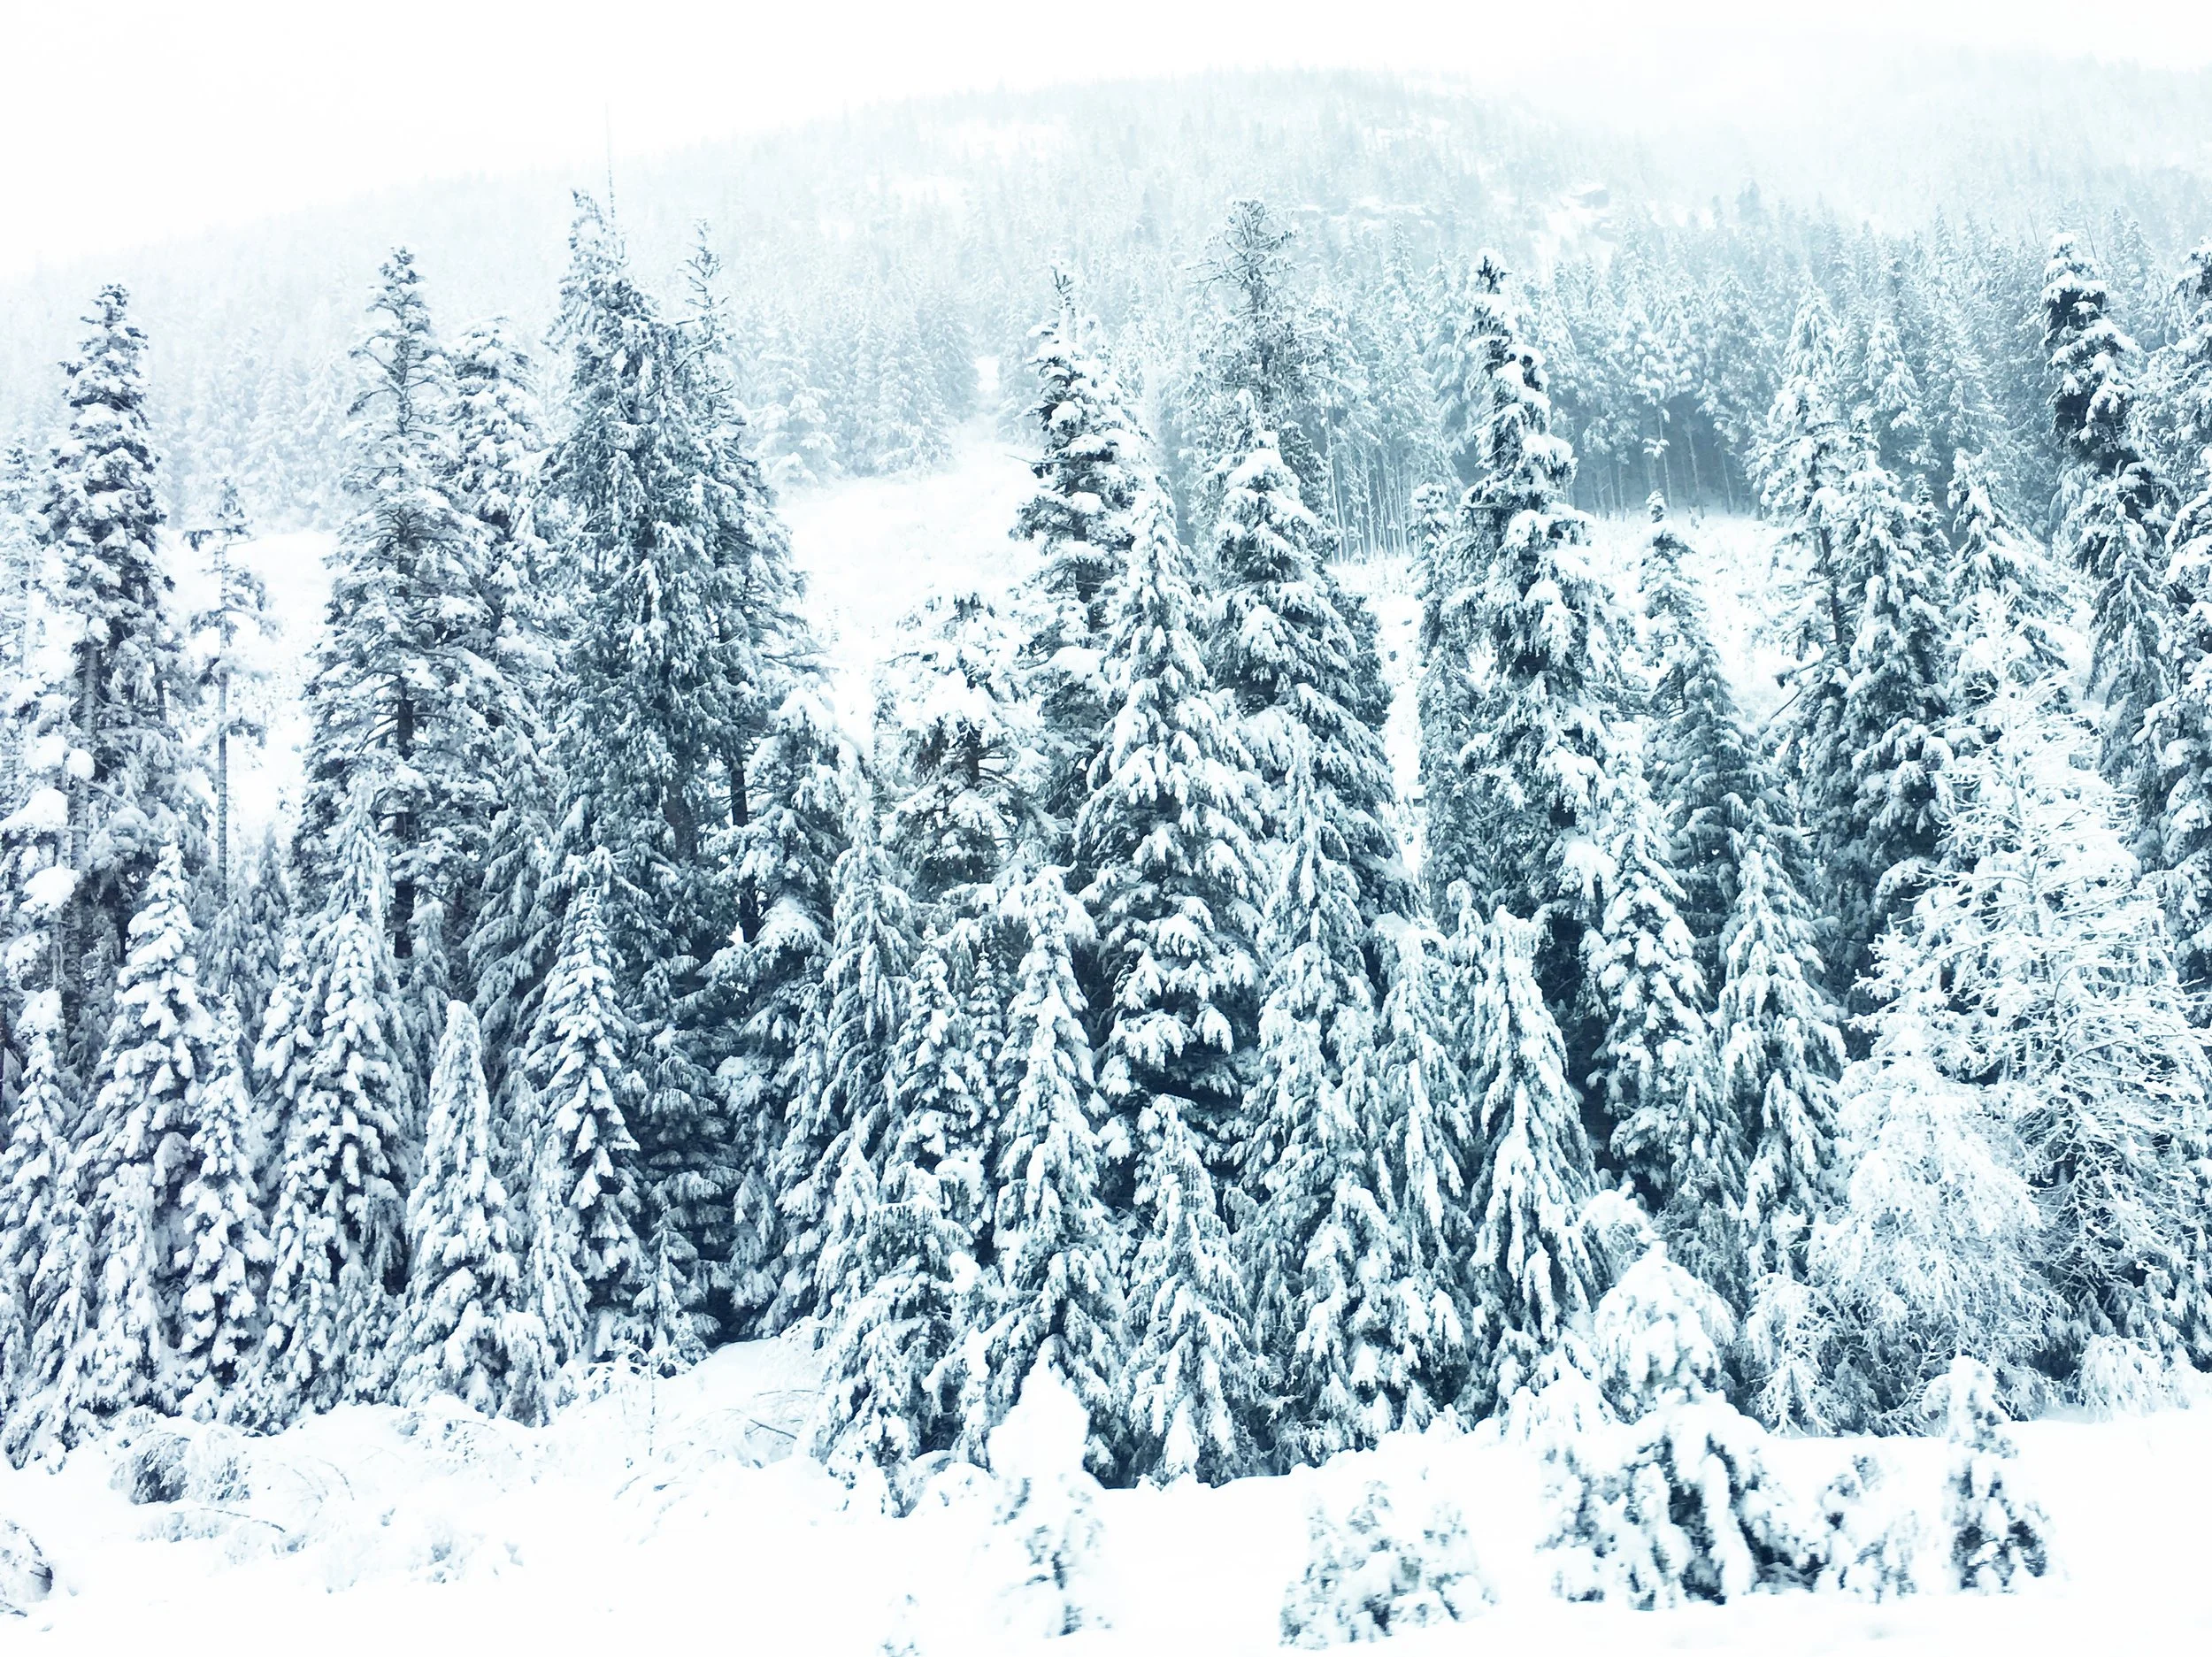
I feel really strongly that to forage ethically anywhere in North America you have to consider the fact that there is already so much history here of people and their relationship - sometimes even a spiritual relationship - to wild plants and resources. I’ve done small amounts of online research in the past, but I’d ideally love to learn more from actual people. if this is impossible I will definitely be seeking out other resources like books and museums. I feel like this is an important step as I continue to respectfully forage and explore in land that is unceded traditional Secwepemc territory.
Mushrooms
You might be thinking that you remember just reading me say that I wasn’t going to include specifics in my goals list this year, and you’d be correct, but I still want to include mushrooms as a goal of mine this year regardless. I’ve included this as a goal in my past lists, but aside from finding someone selling morels at the farmers’ market last spring, I haven’t really done much in this area. This is such a broad category that I have very little experience with, so even if I don’t end up going out and picking huge amounts to bring home and eat, I still want this to be a focus of learning for this year. One small thing I’ve been doing is to photograph and research the mushrooms I do come across, and I feel that has been a really great start. I missed my local opportunity to do a guided mushroom walk last year, so making one of those happen this fall is something I am very interested in.
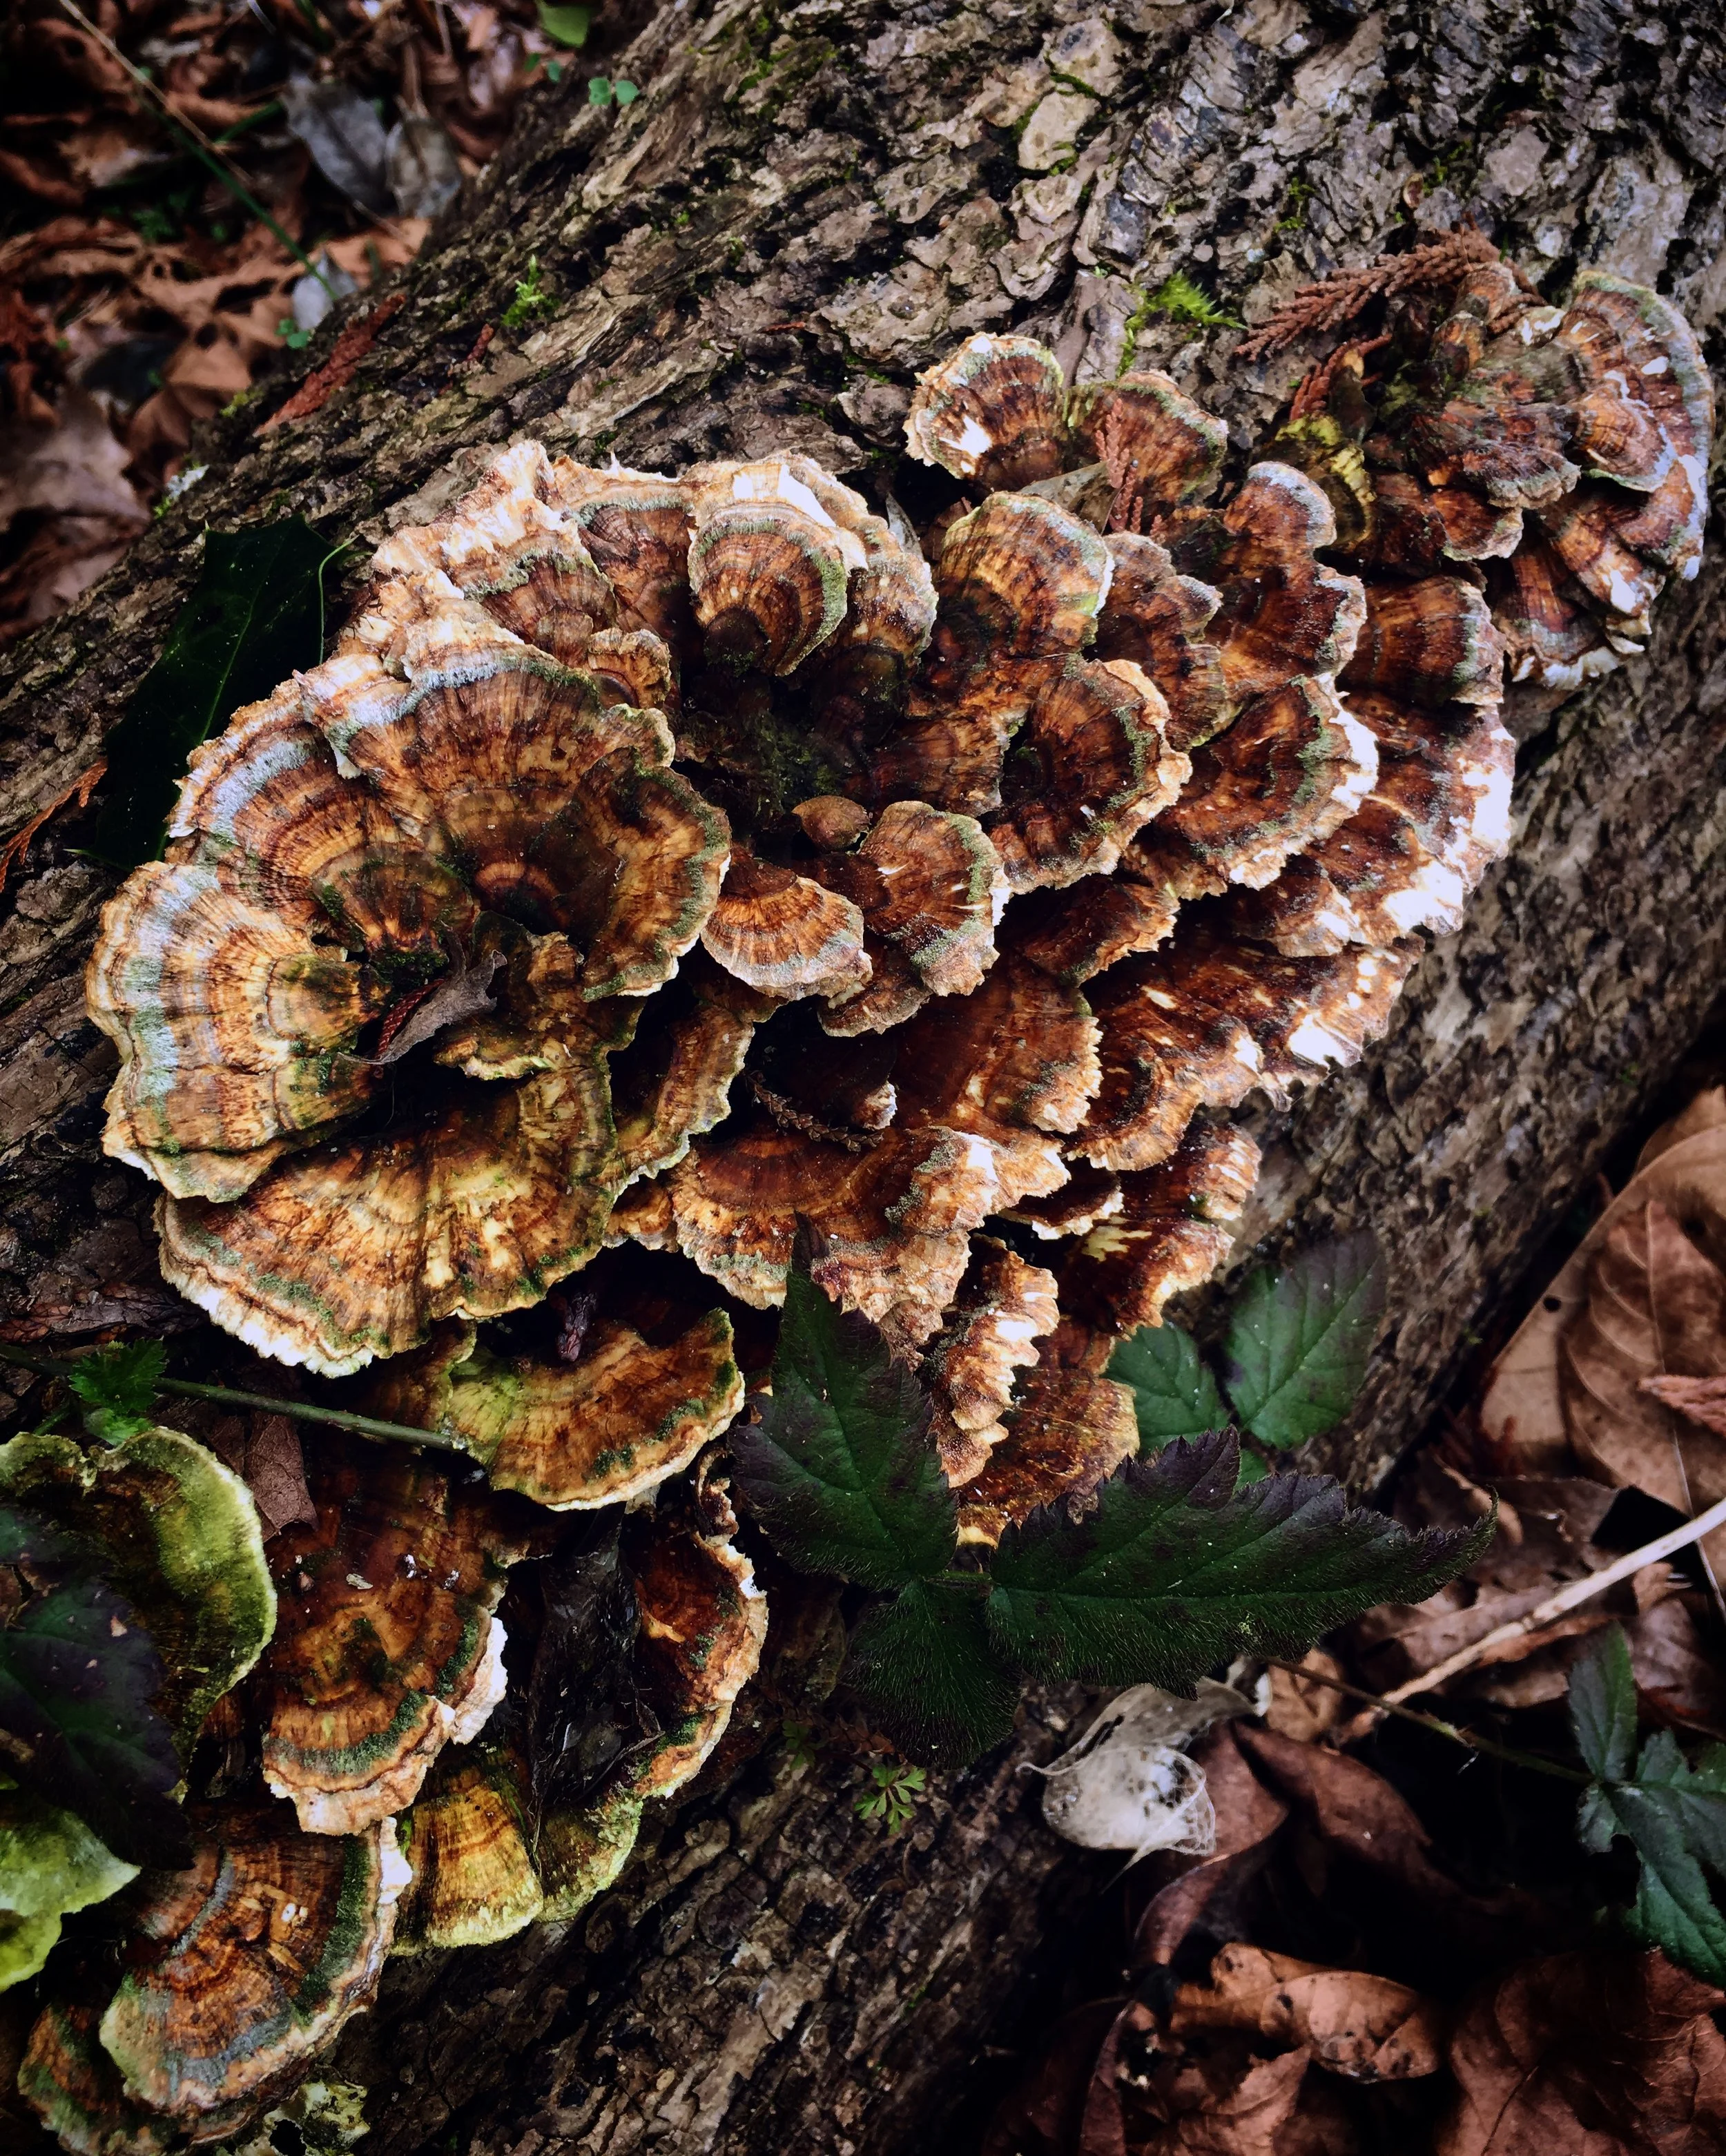
With the help of the amazing Mushroom Identification group on Facebook, I think this is an old Turkey Tail mushroom that I came across last spring near the Museum of Anthropology in Vancouver, BC. Even in its old age it is still beautiful!
Fishing
I know this one is also kind of specific too, but we actually didn’t get out fishing once last year! I’m not totally sure how practical this will be now that we’re going to be a family of four, but I still want to make sure I give it a try this year. Or maybe it’s something I can delegate to Mr. Forager to go find a fishing buddy and bring back some of the delicious local trout that are abundant here! Either way I’d like to try to make it a priority to go out at least a few times this year.
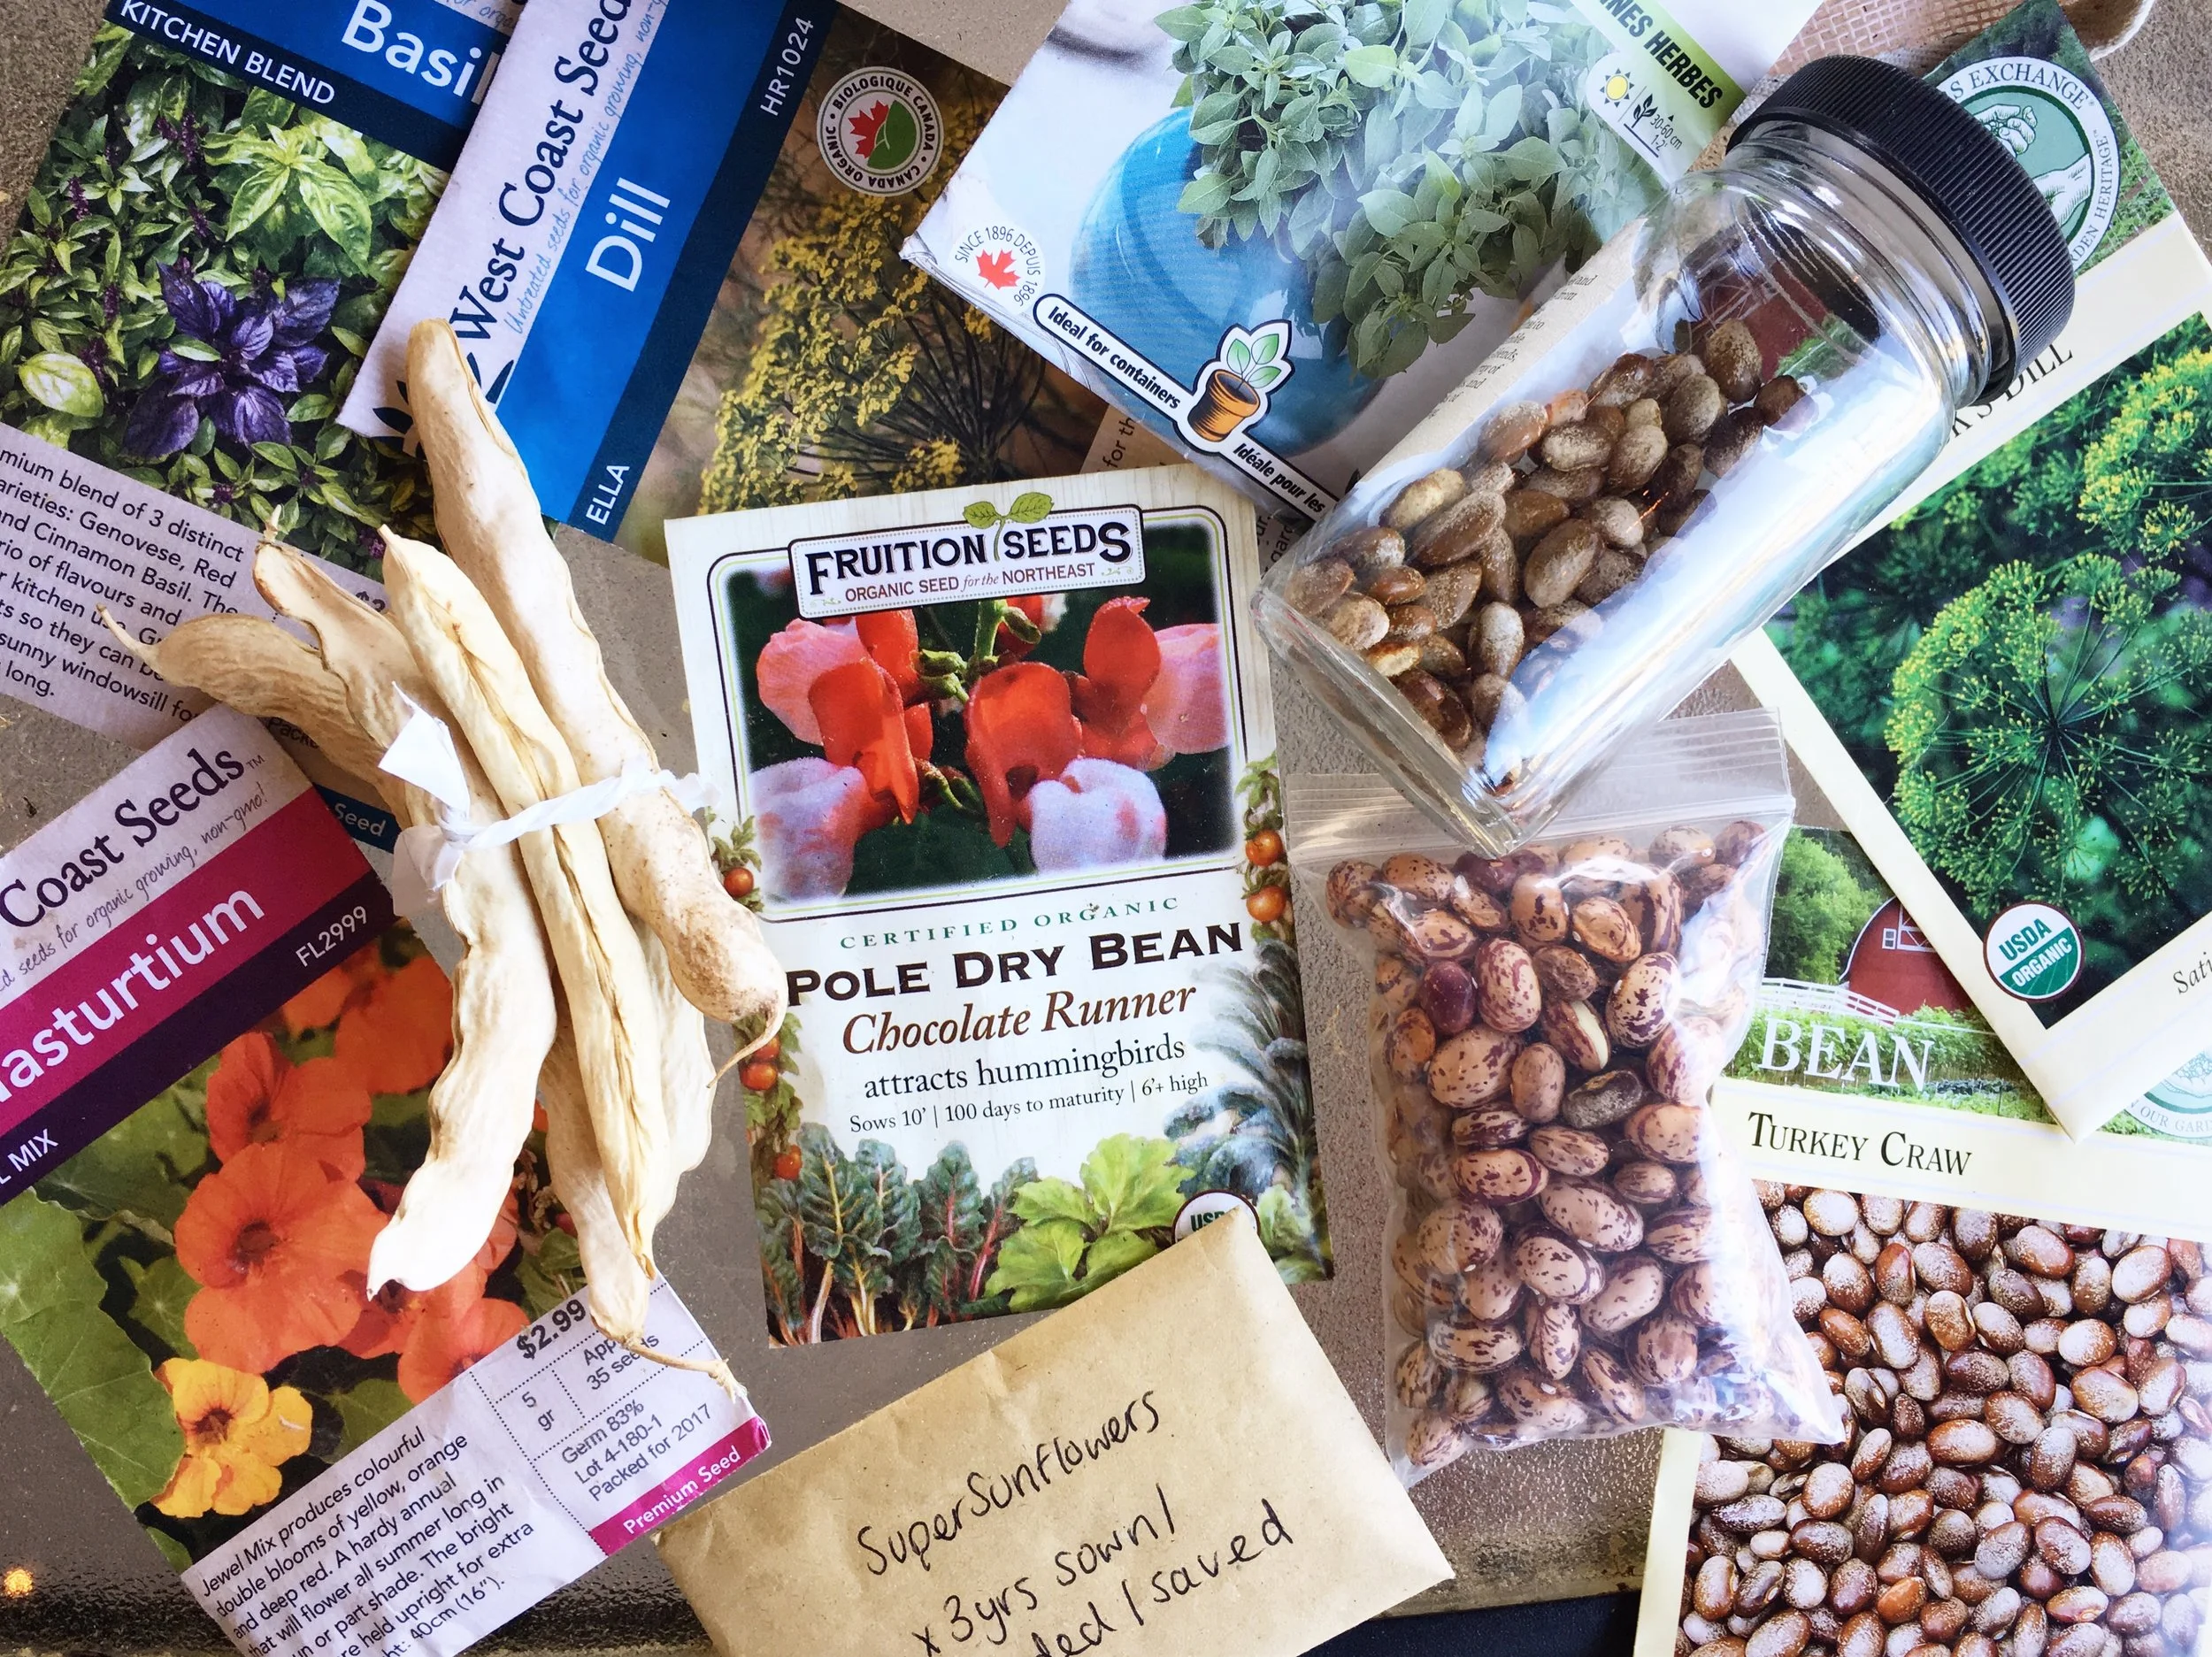
Wild Staples
I definitely want to concentrate on this one more strongly this year. I am very curious about using acorns, and other plants - maybe even pine bark - to create wild flours. There are also other plans I’ve heard about but have very little experience with like cattails that are so useful and nutritious.
If you don’t want to keep dandelions in your yard consider digging up the plants rather than spraying for them. Every part of these little cheery flowers is edible from root to blossom!
Find more flavours.
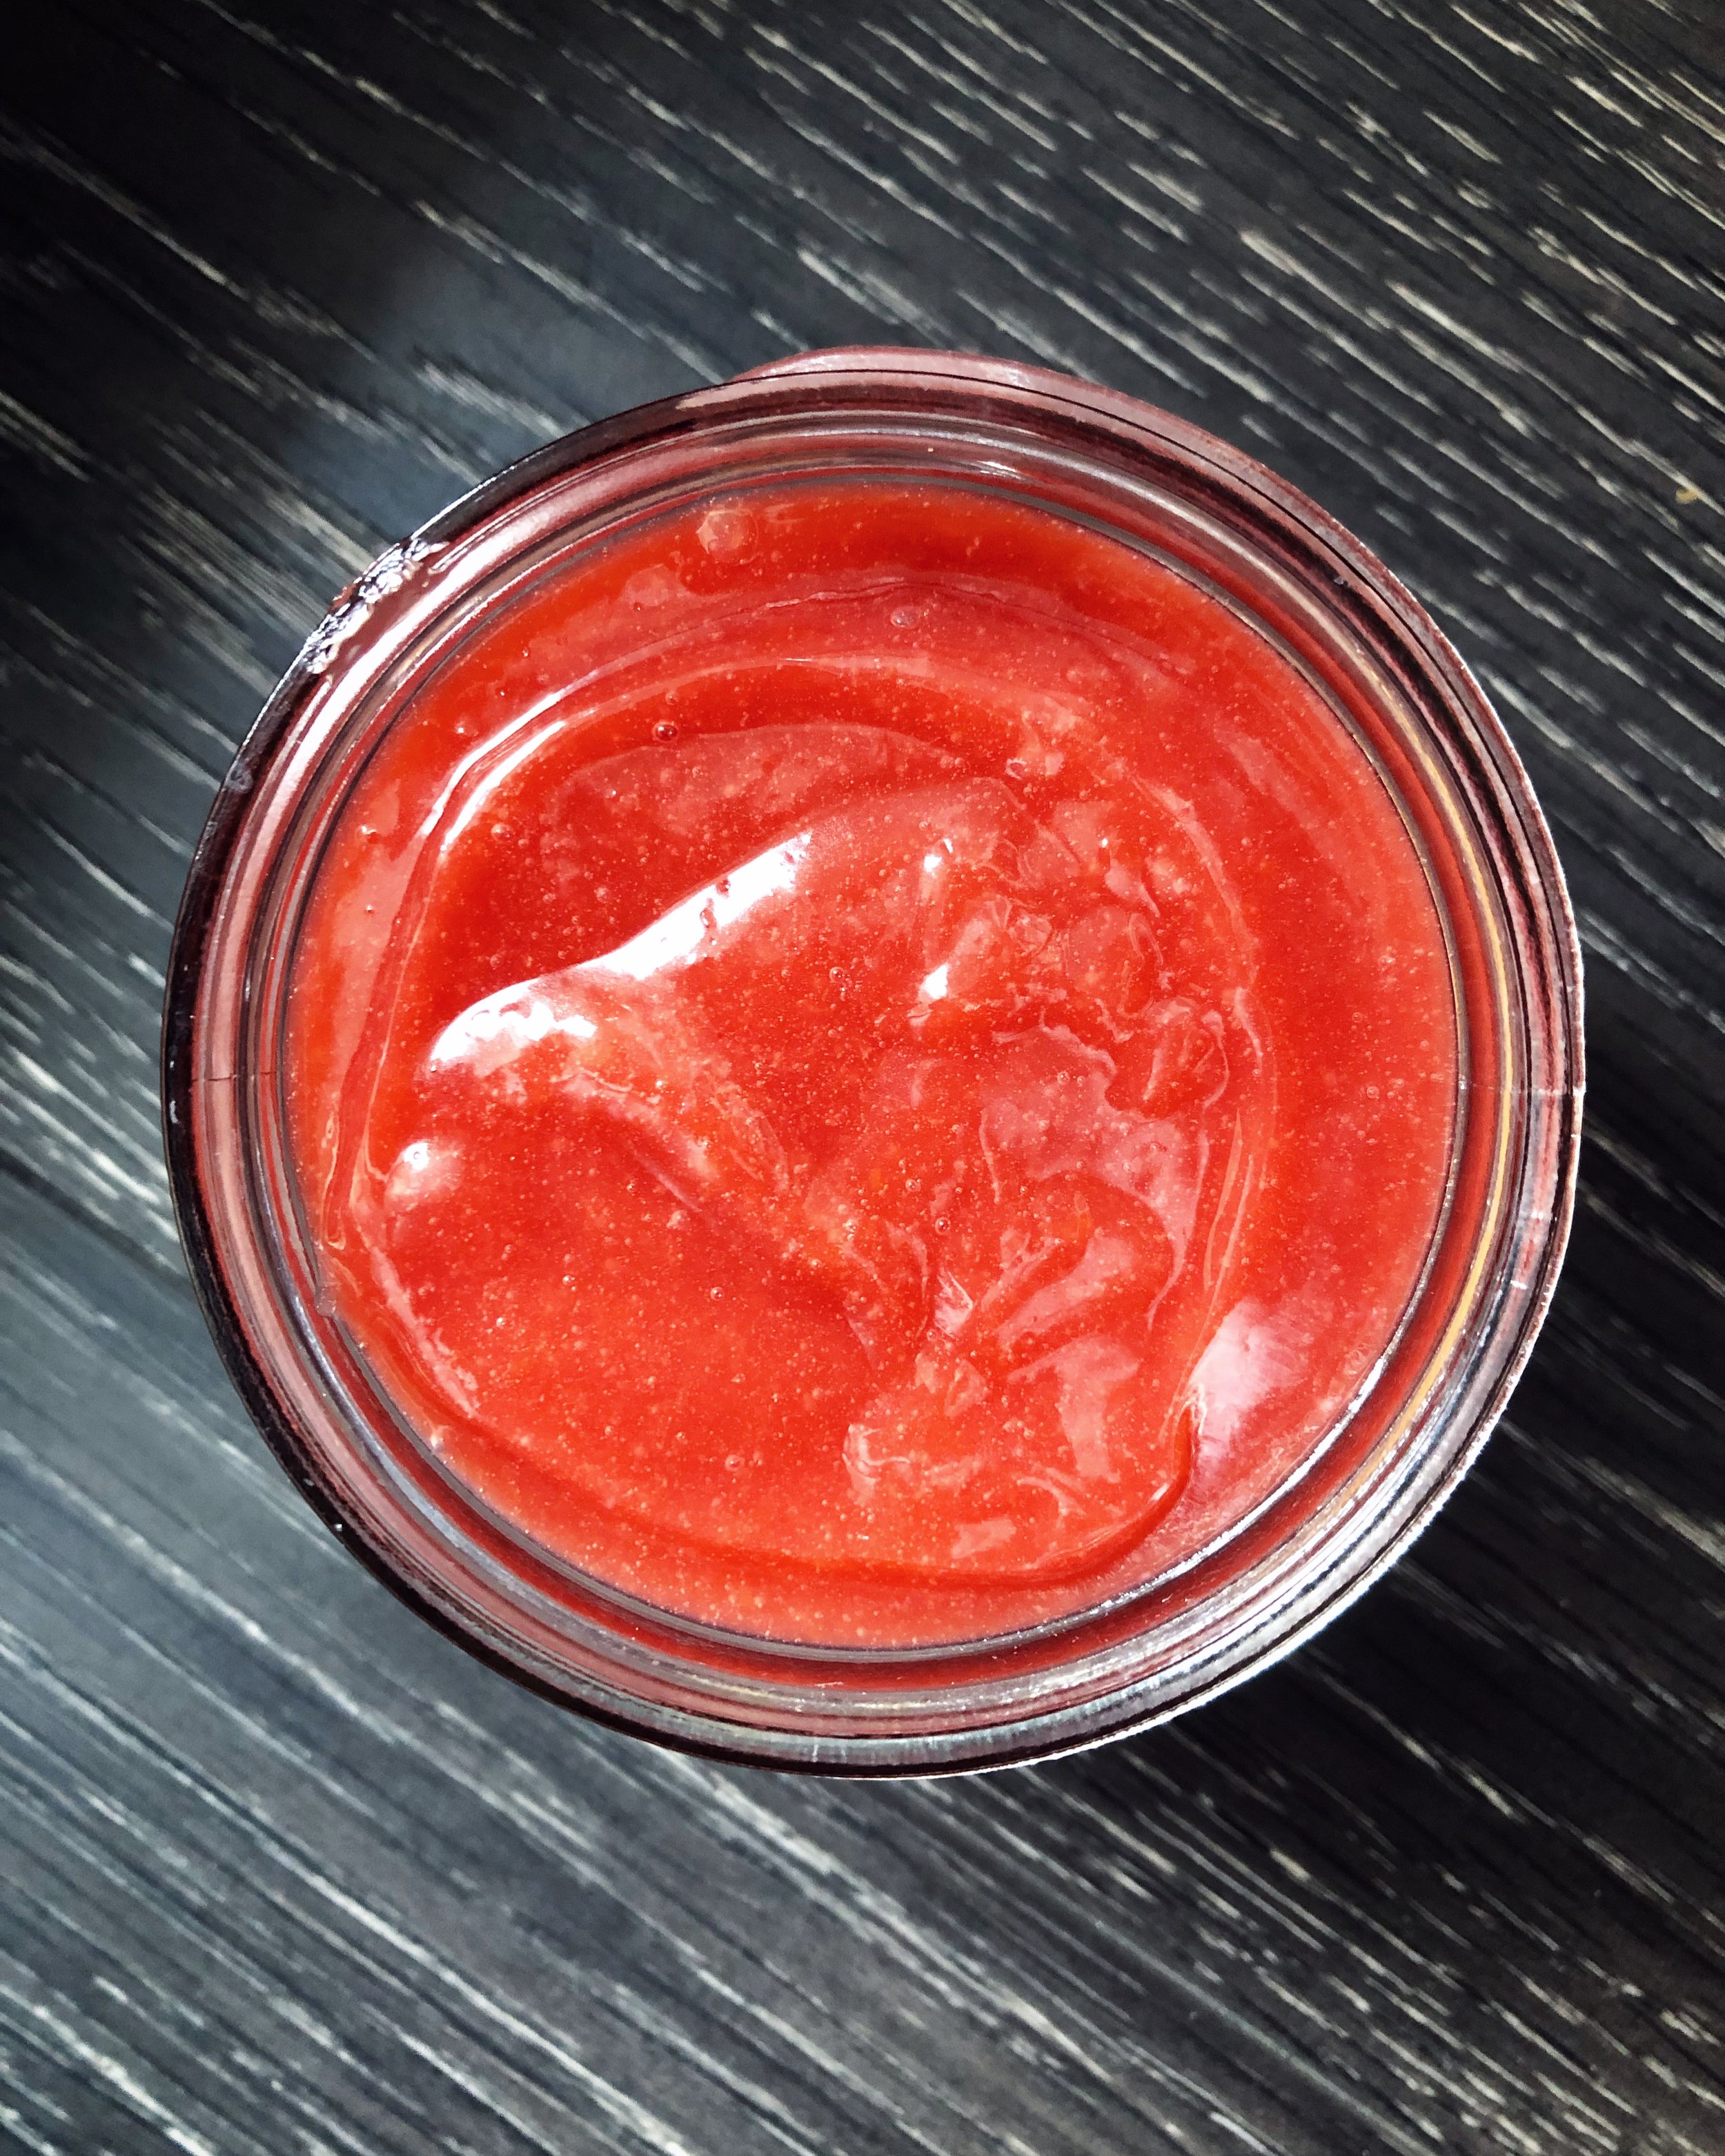
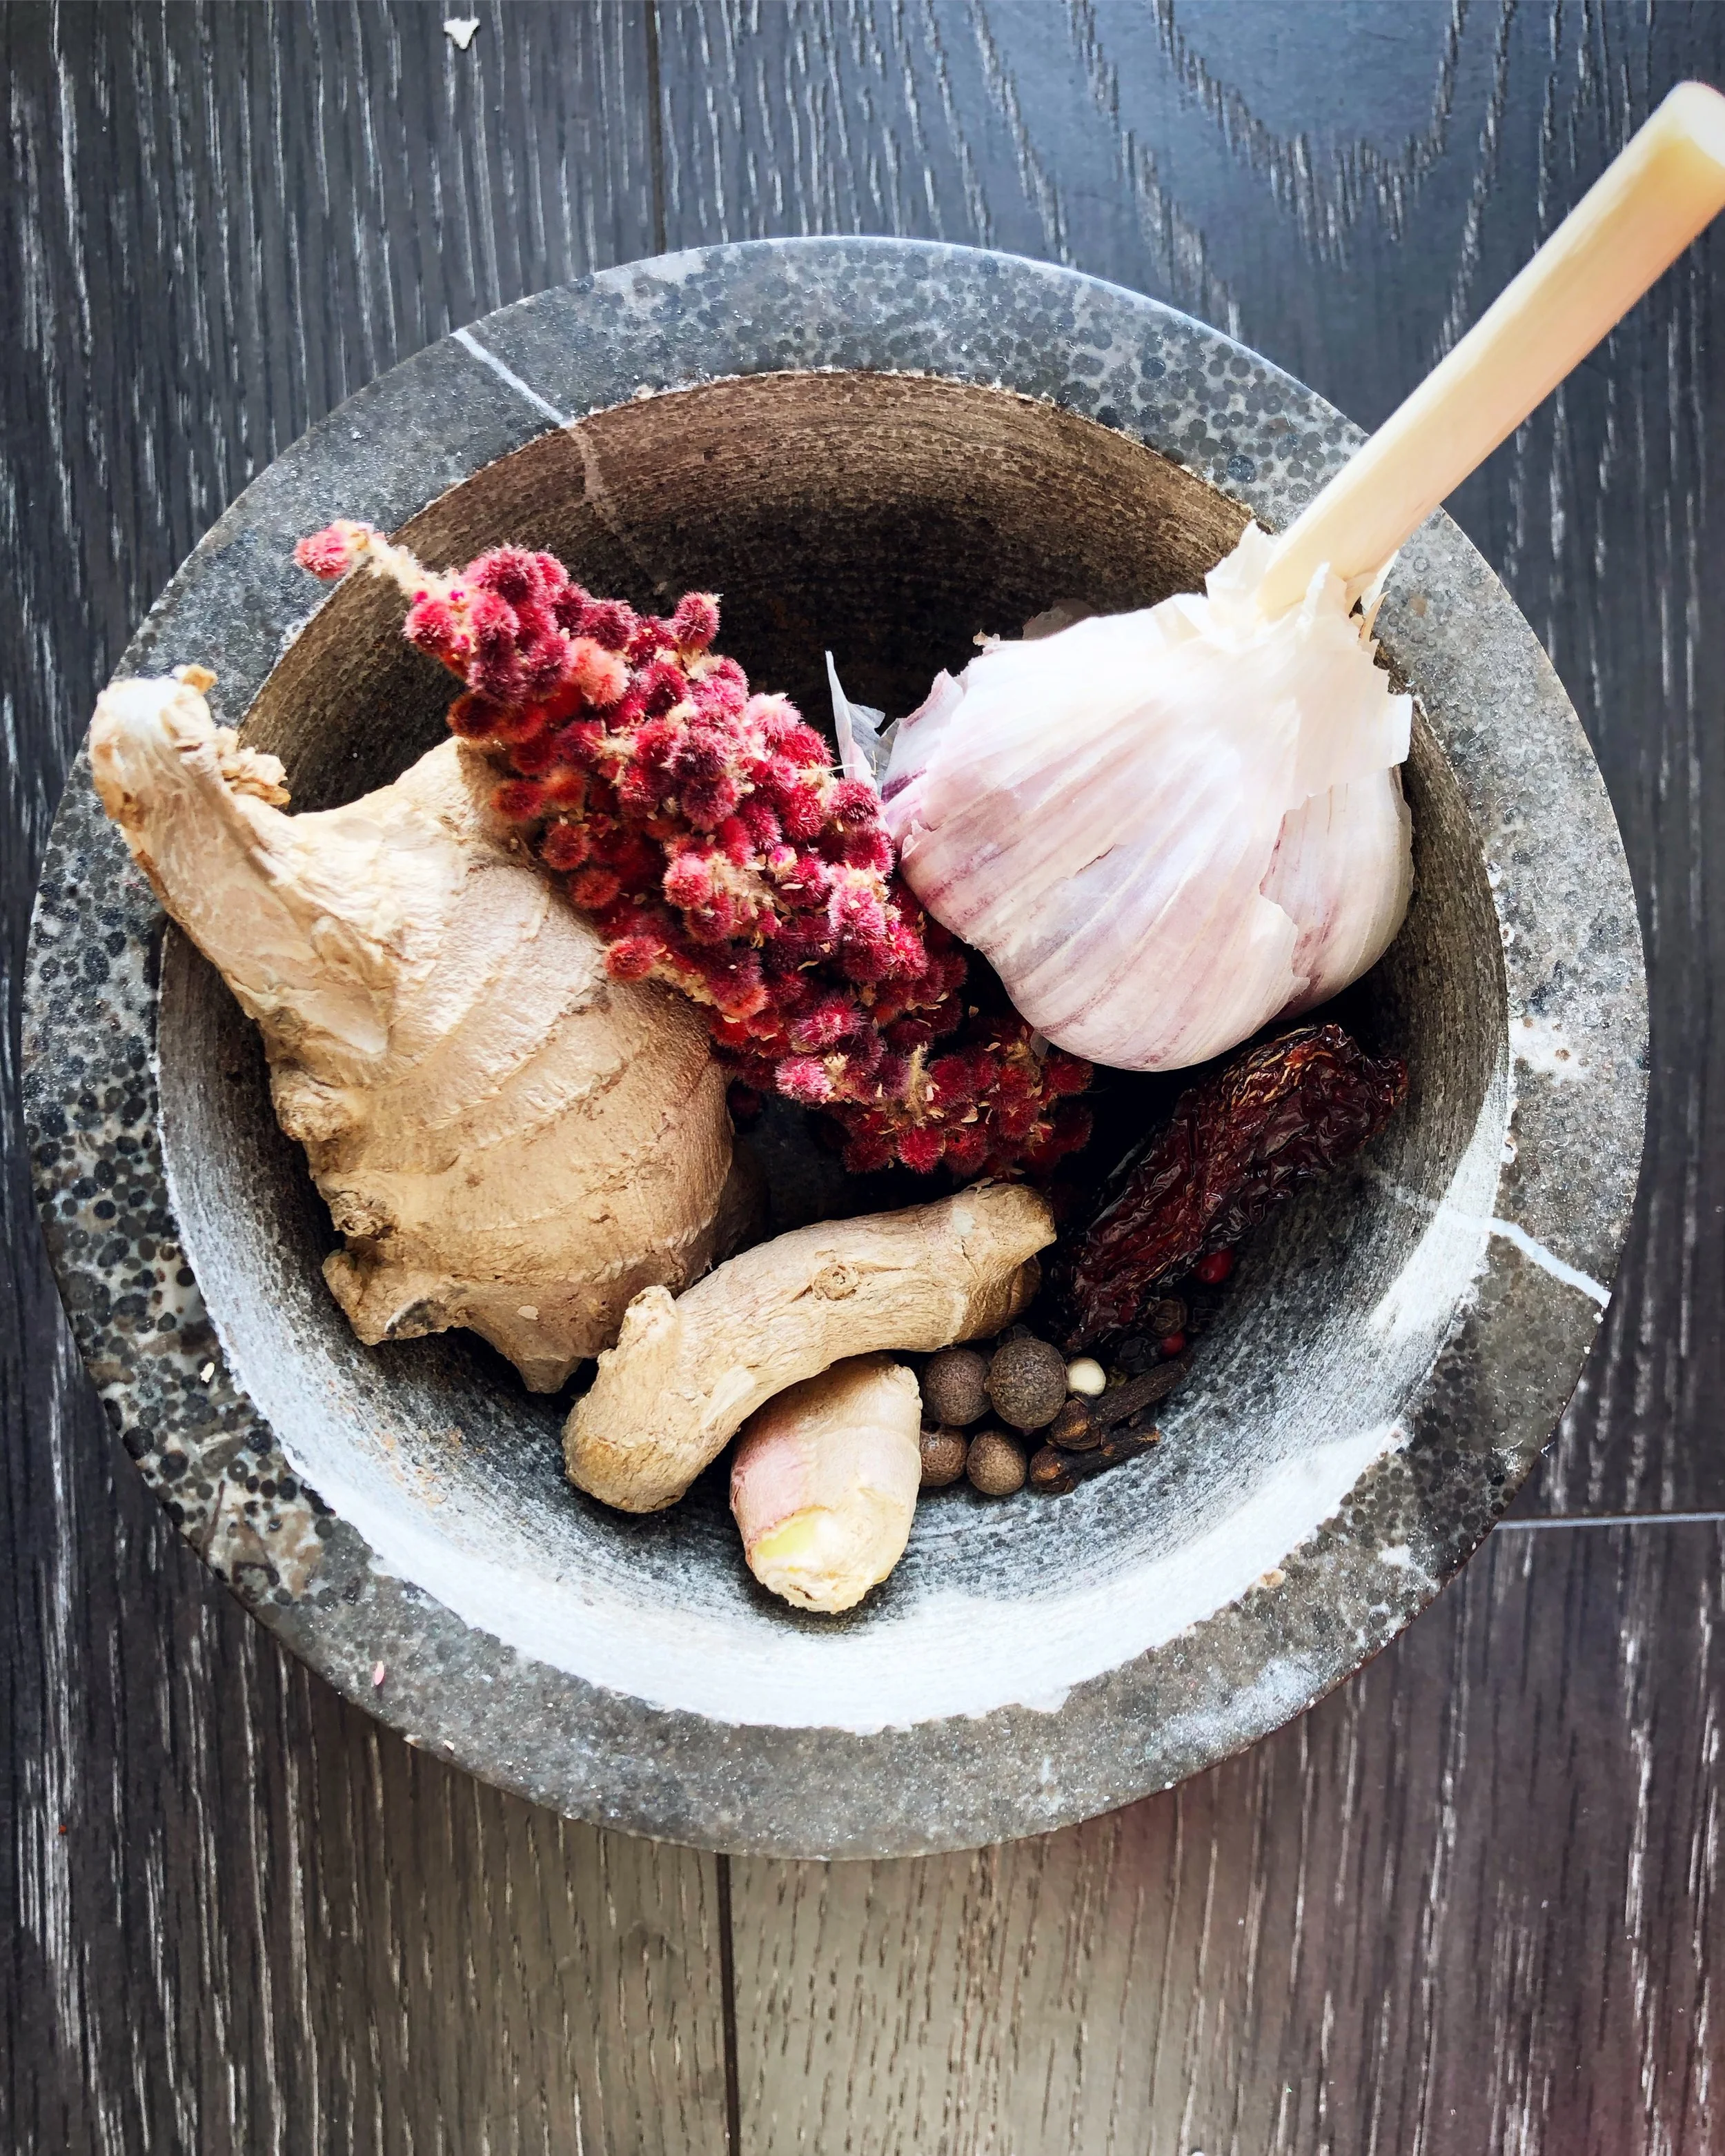
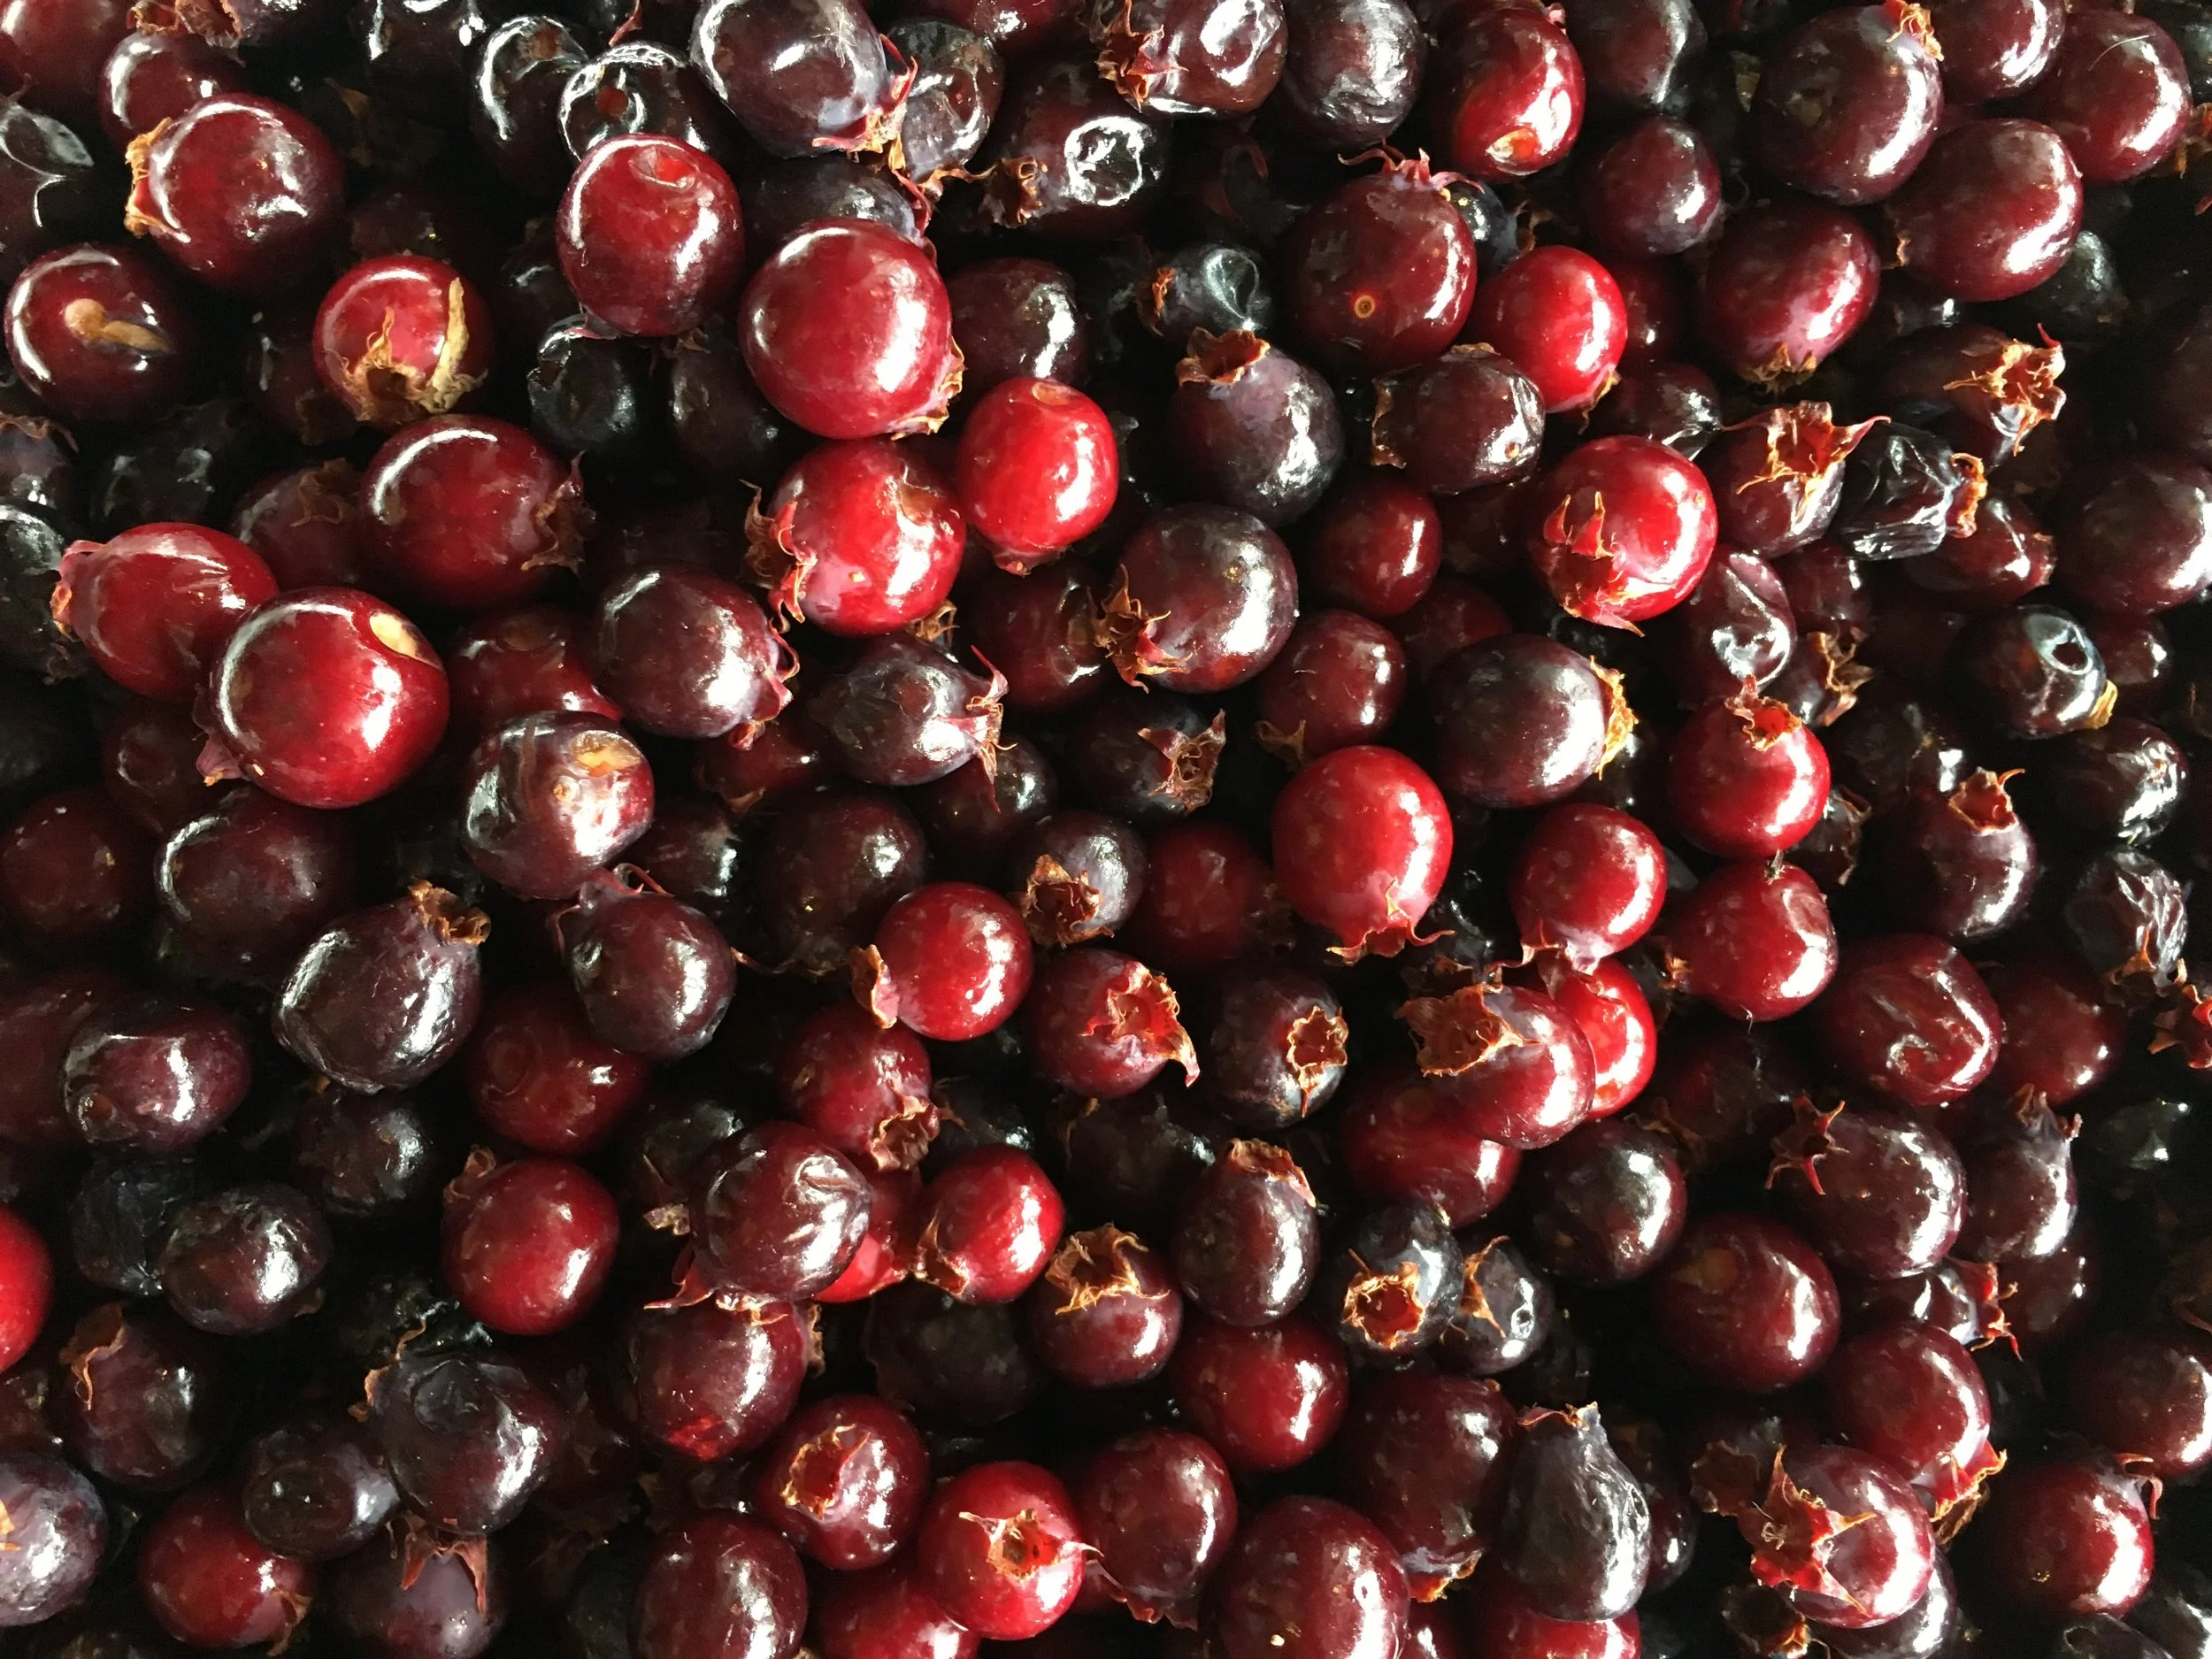
This might be a bit of a catchall category, but one of the things that I have loved about this foraging journey I’ve been on is finding the new flavours of these local plants. Last year I got a chance to experiment with Douglas-fir cones, for example, and they turned out to be so delicious, and the cookies and flavoured sugar I made with them were so lovely. I’ve also been having so much fun with sumac in the kitchen, so I can’t wait to get out there and find some more delicious flavours to experiment with this year.
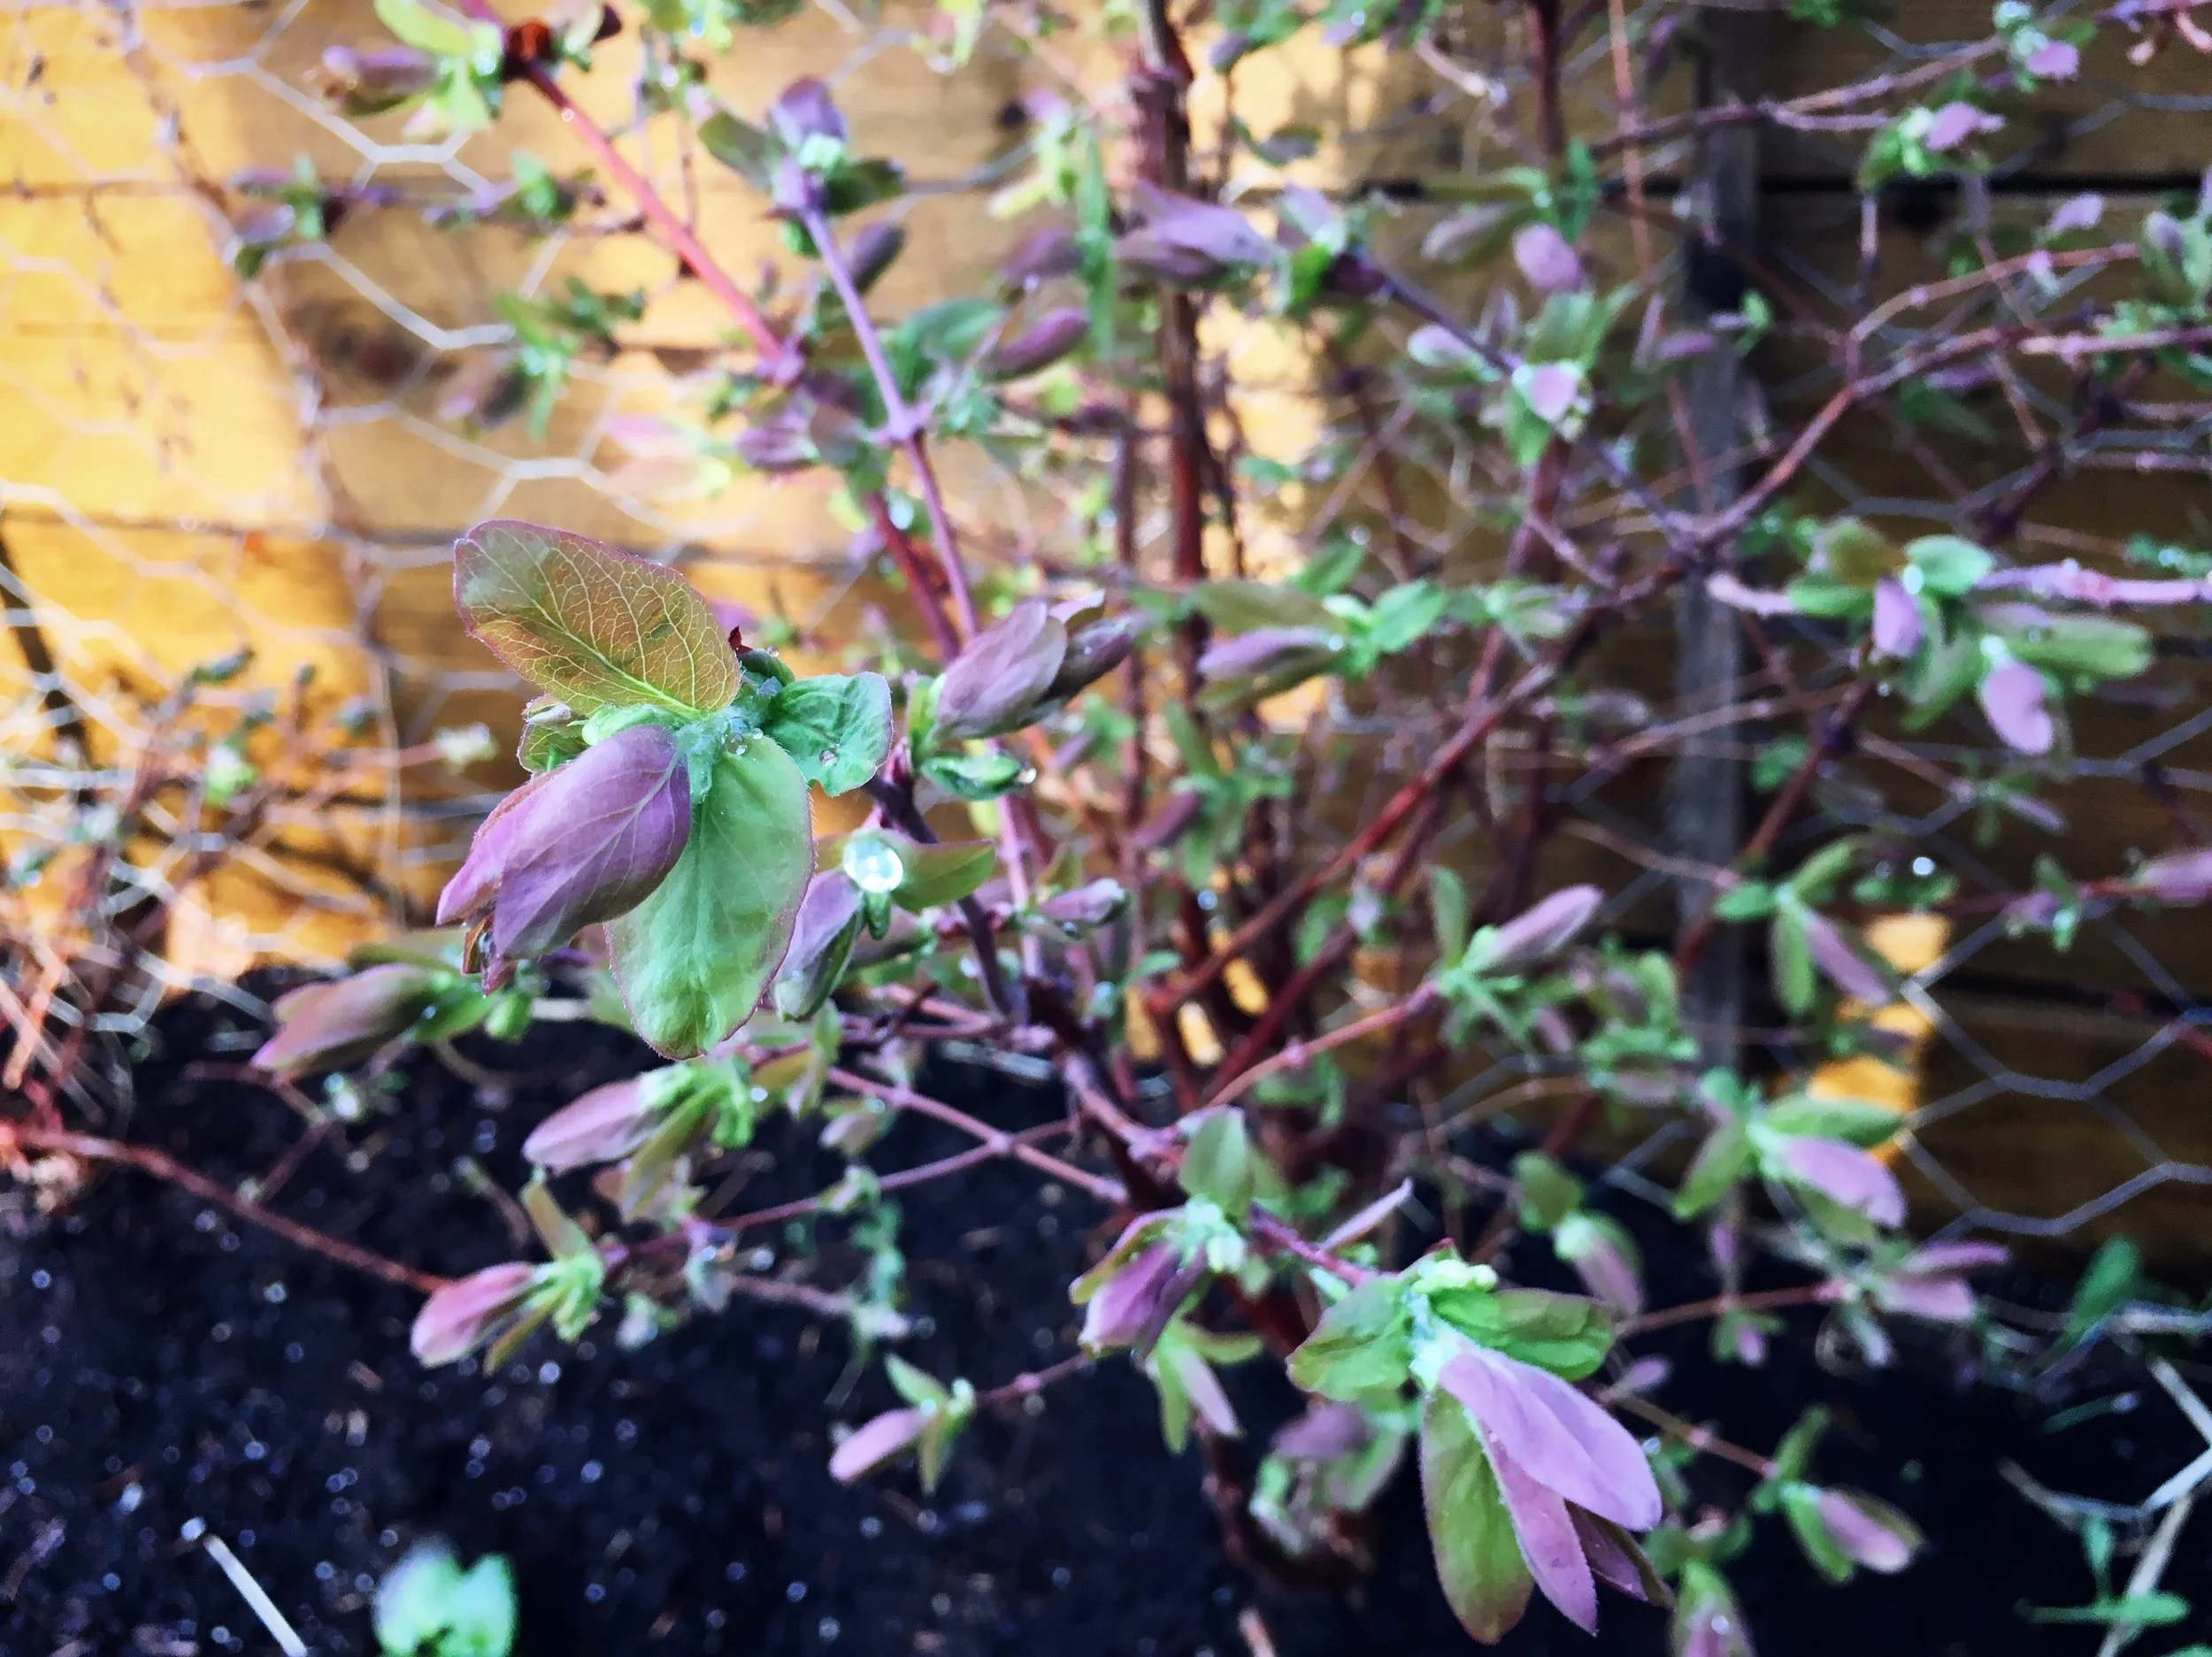
Haskap bushes in my old garden just as they start to get their leaves in the spring.
Garden Goals
Research container gardening.
If you’ve been following along with my blog over the past little while you’ll know that recently I’ve had to say goodbye to my garden of the past four seasons. This year’s garden will be a balcony one, so I am making it a priority to look into what container garden systems work best. I’ve had to consider a lot of different things so far since my deck is south facing, and there is no spigot for watering. I’ll be posting in a few weeks about the kinds of solutions we’ve come up with, and I can’t wait to share it all with you since I know I’m not the only one who would like to continue producing at least some food with only my balcony as garden space.
Research varieties that work best in small spaces and containers.
This one is very related to the above goal, but I felt it was different enough to be considered its own focus. Not only will my garden be dependent on coming up with a system that works (above goal), it will only be successful if I grow the right plants for my environment. I am actually a little bit excited about my new challenge, because I am going to get a whole lot more sun than I used to in my north facing, shady garden. I am thinking I might actually have some decent success with heat loving crops like tomatoes and peppers, and I can’t wait to see what happens!
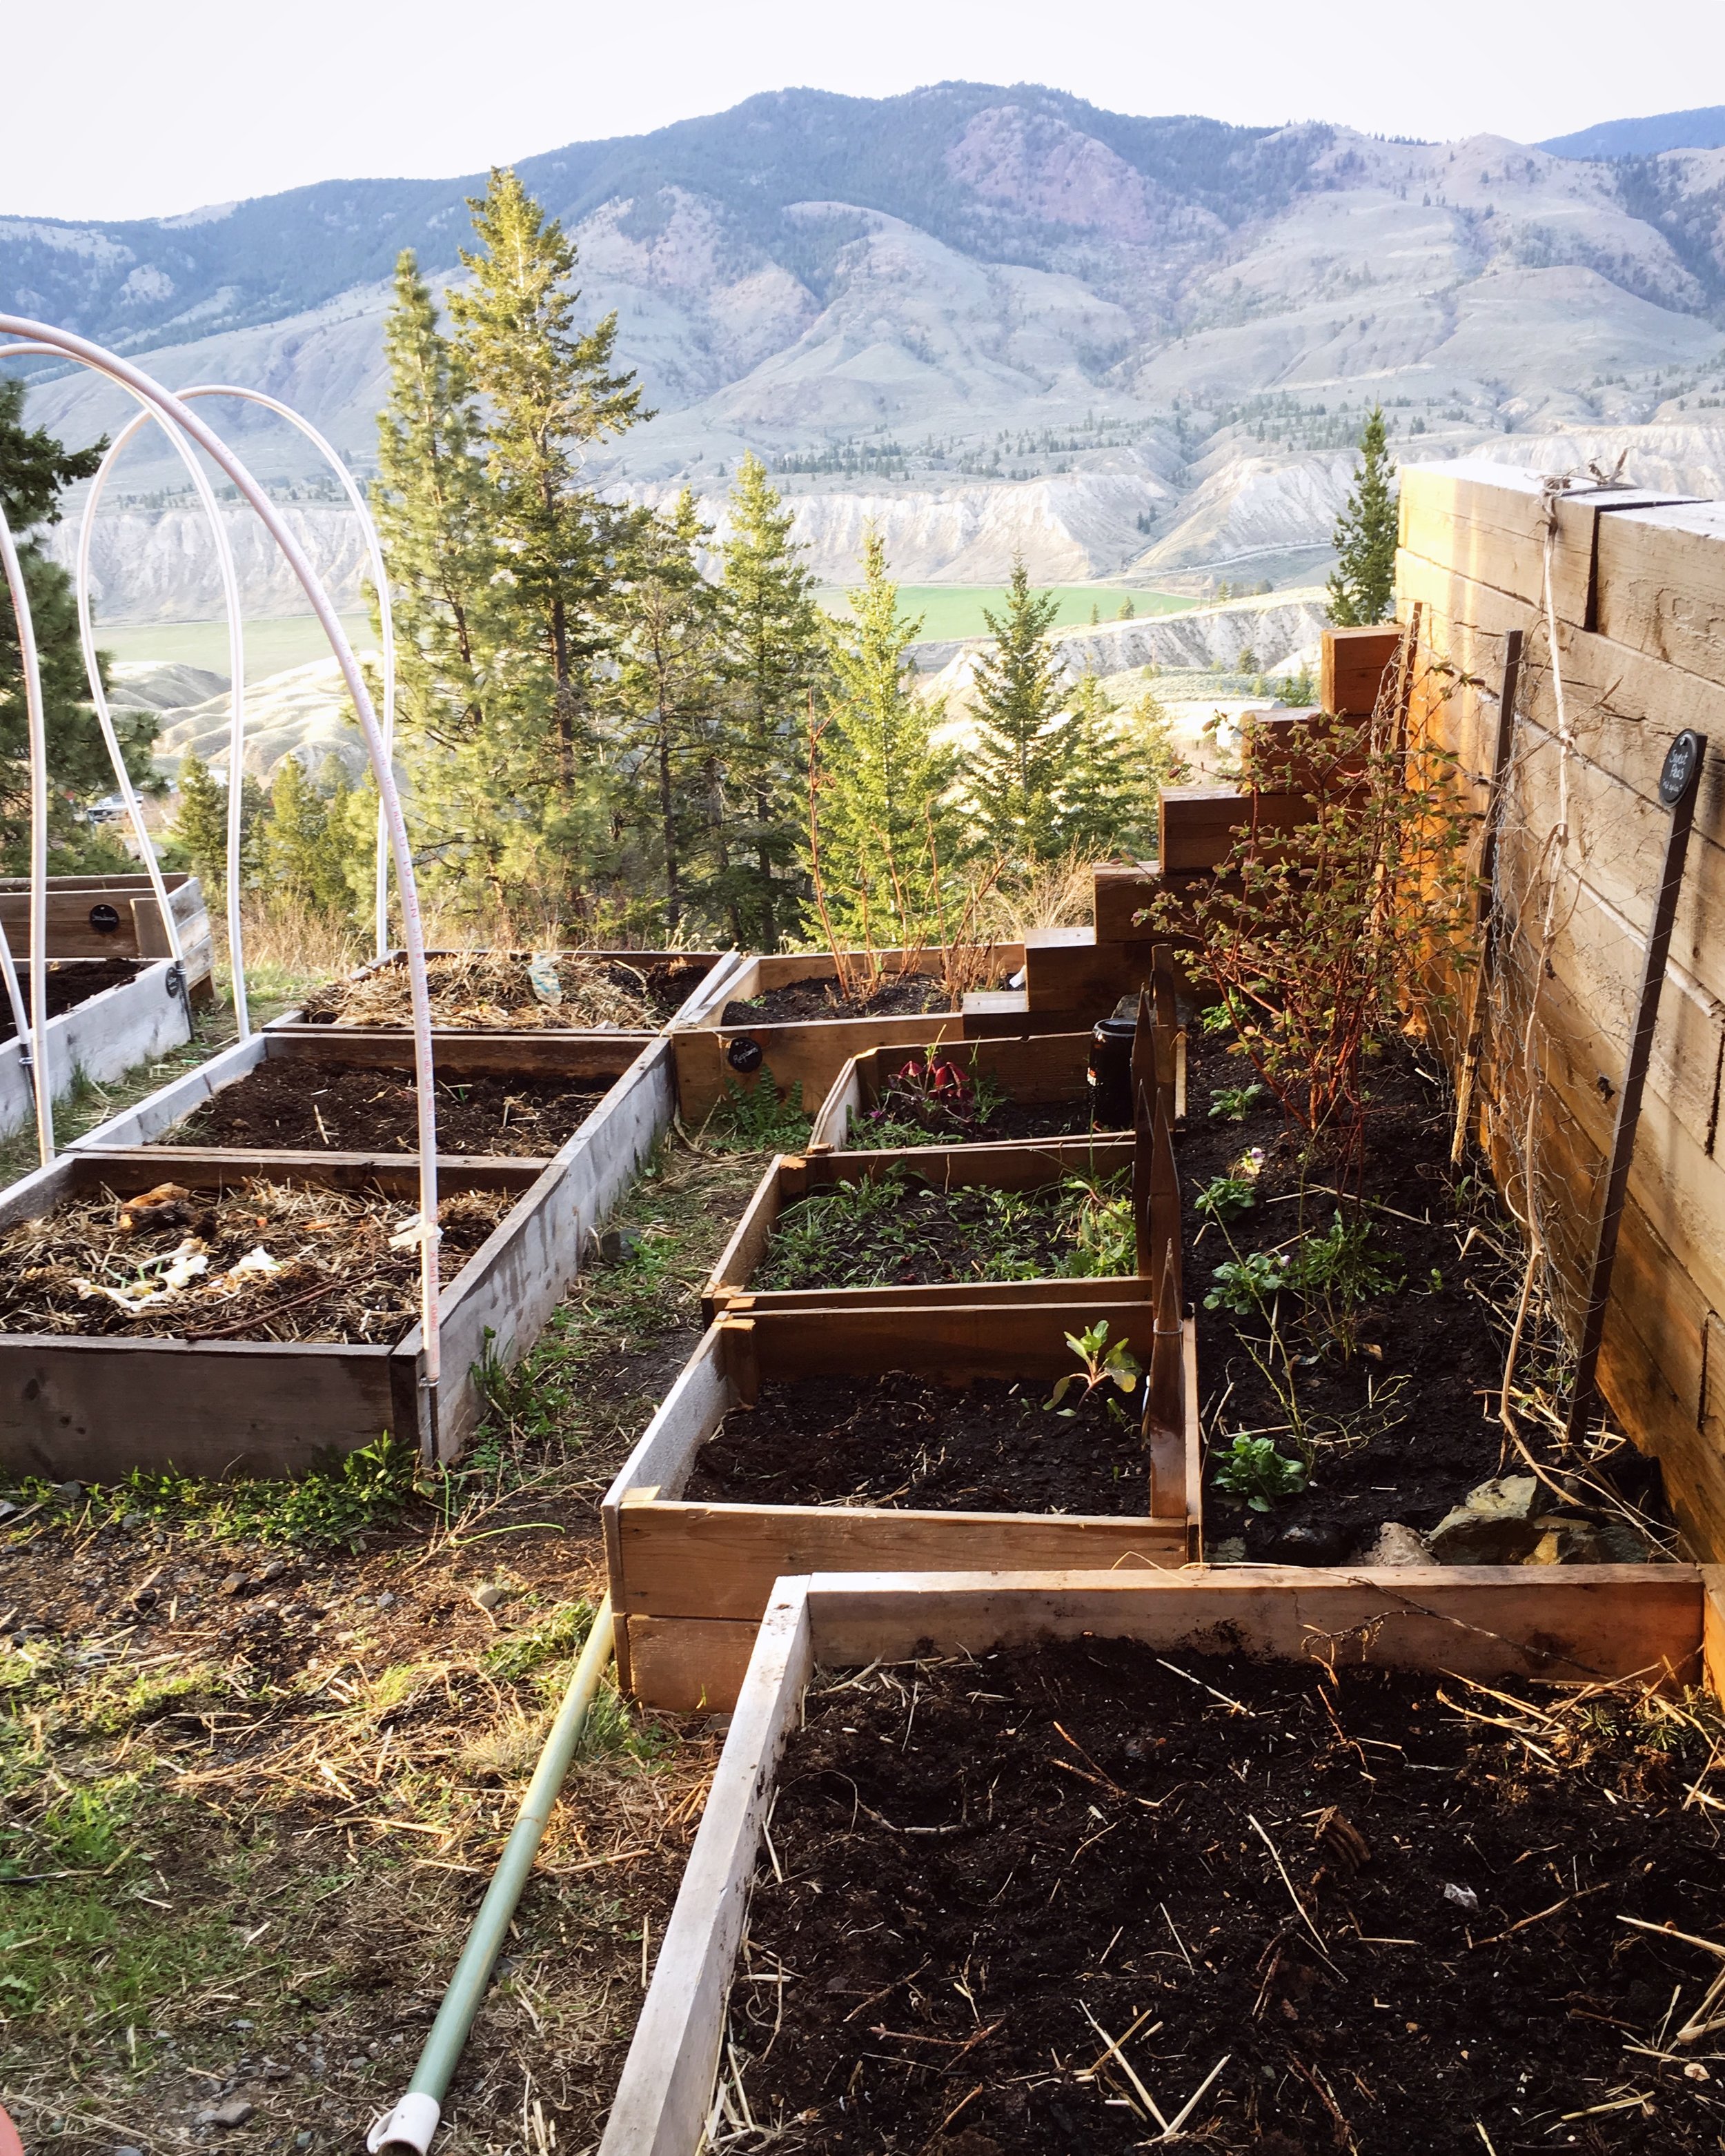
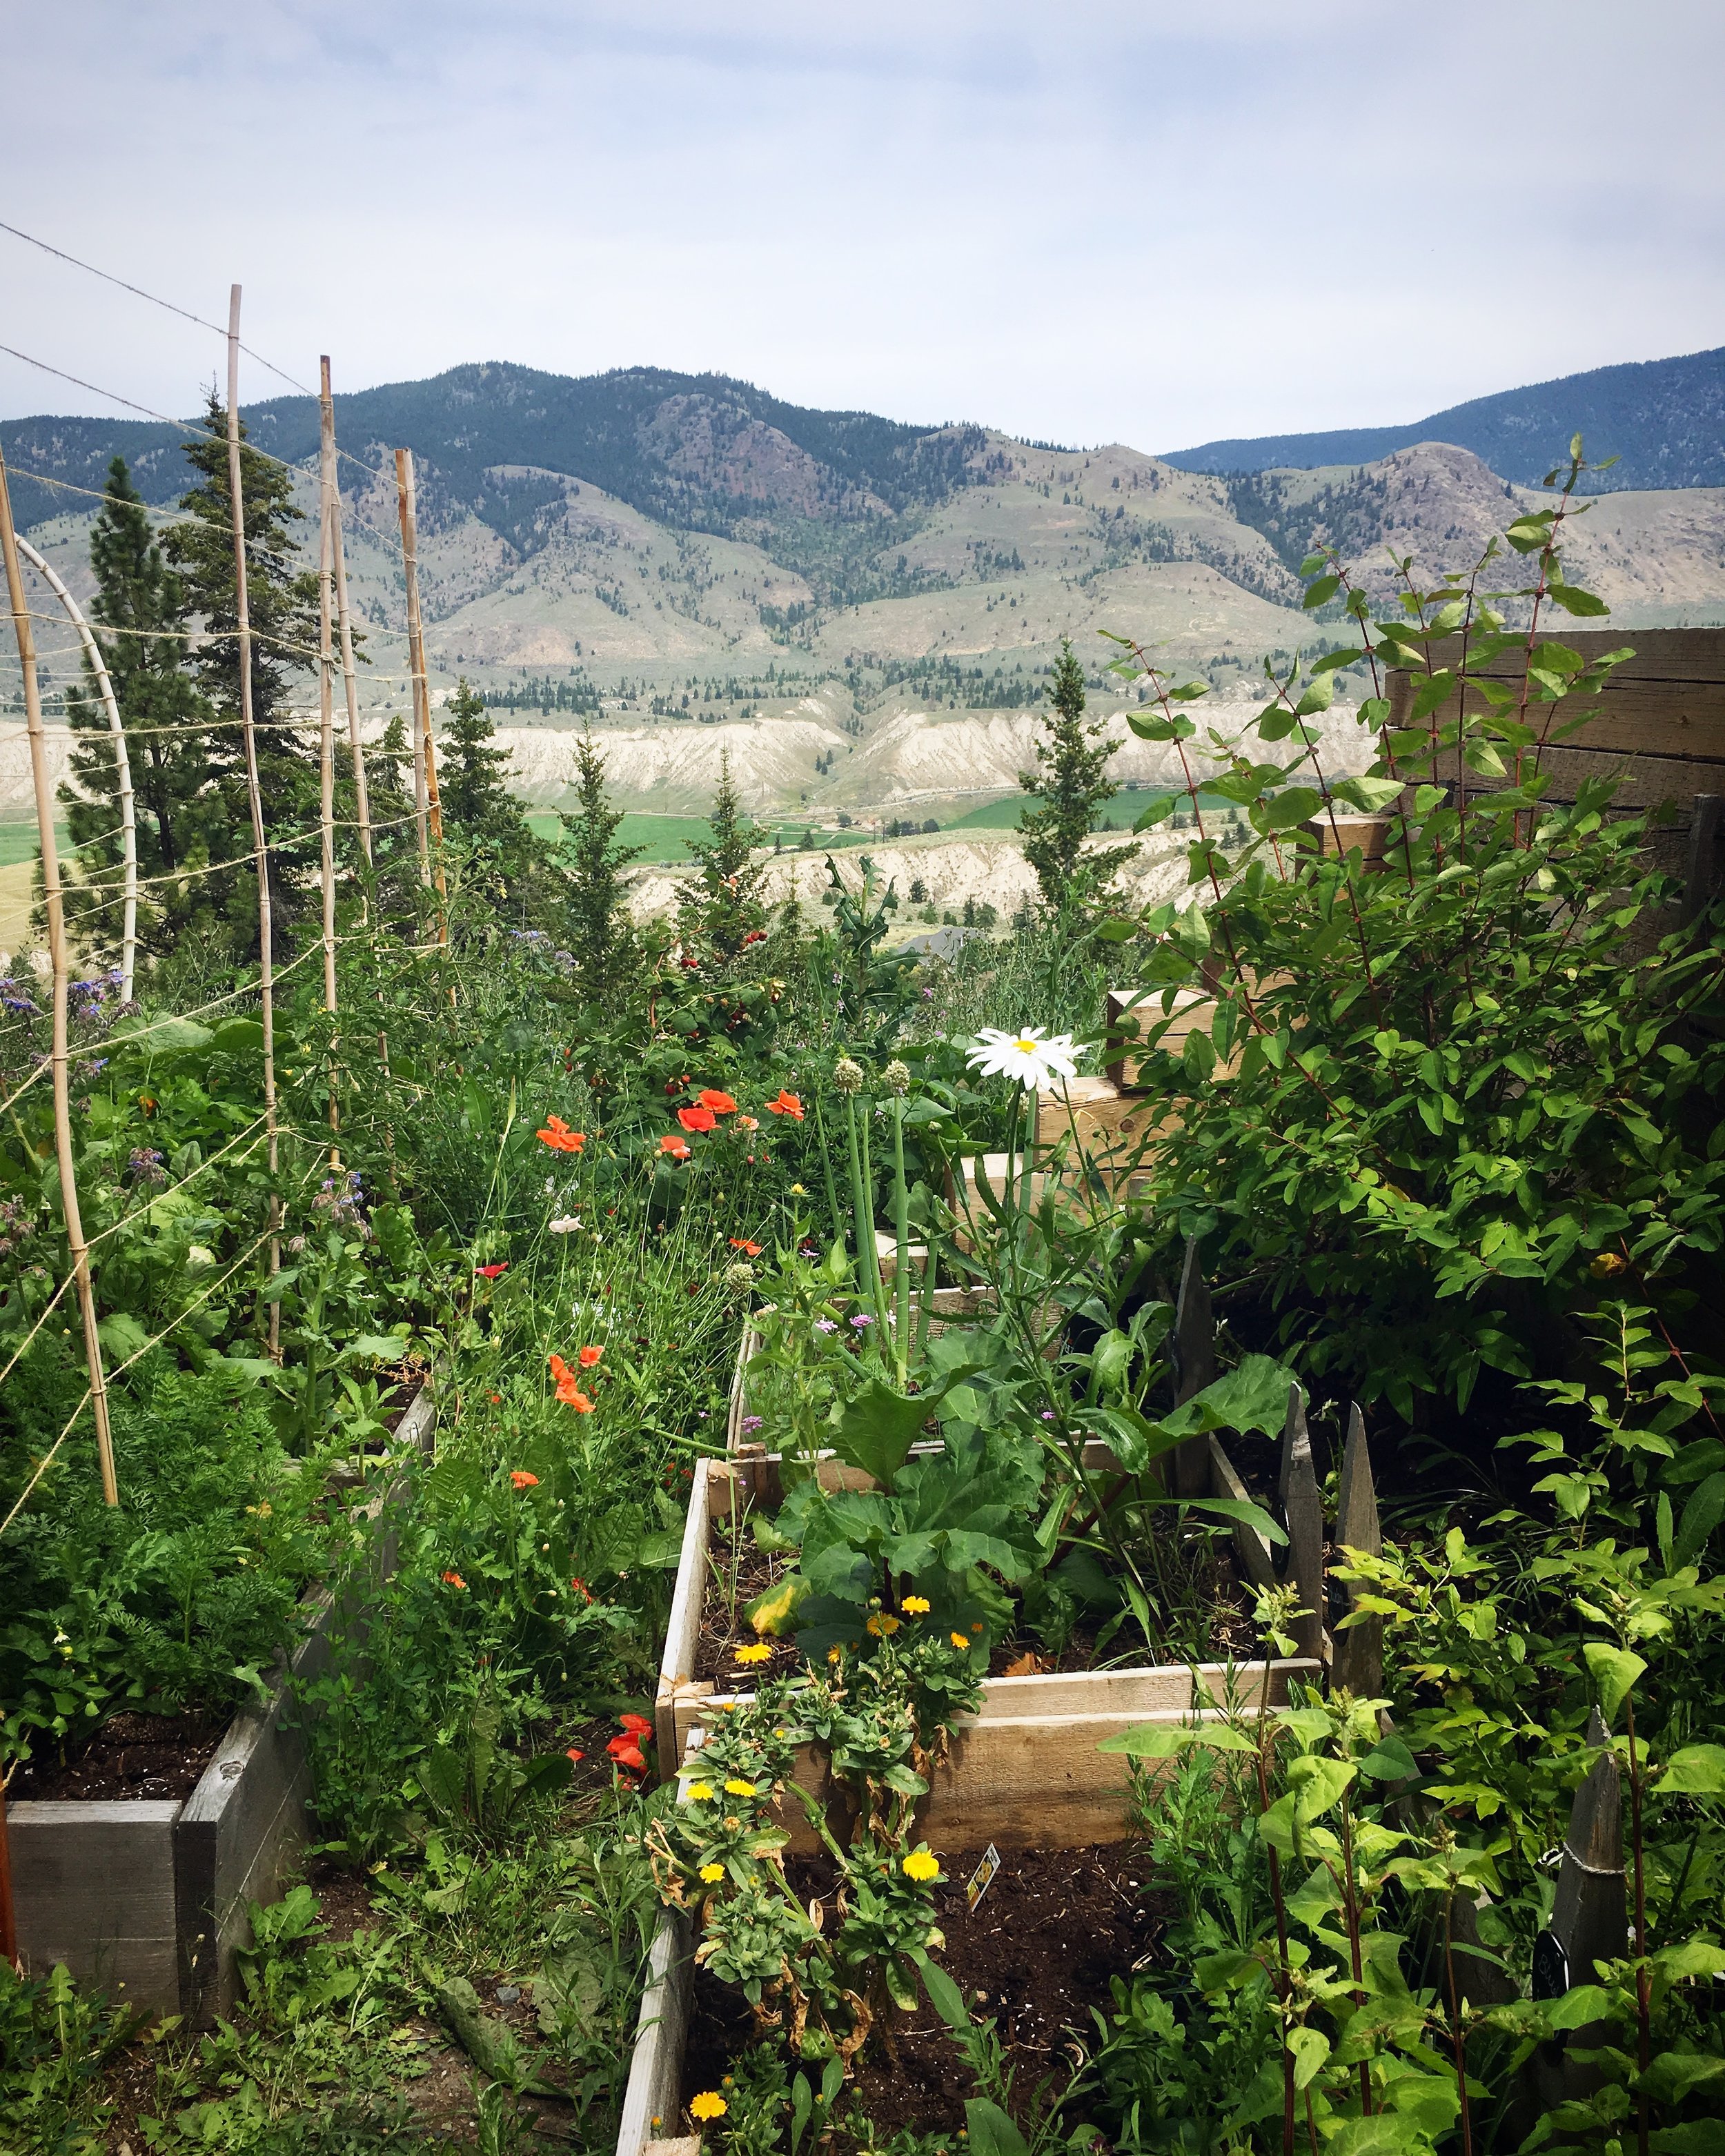
Early spring in my old garden.
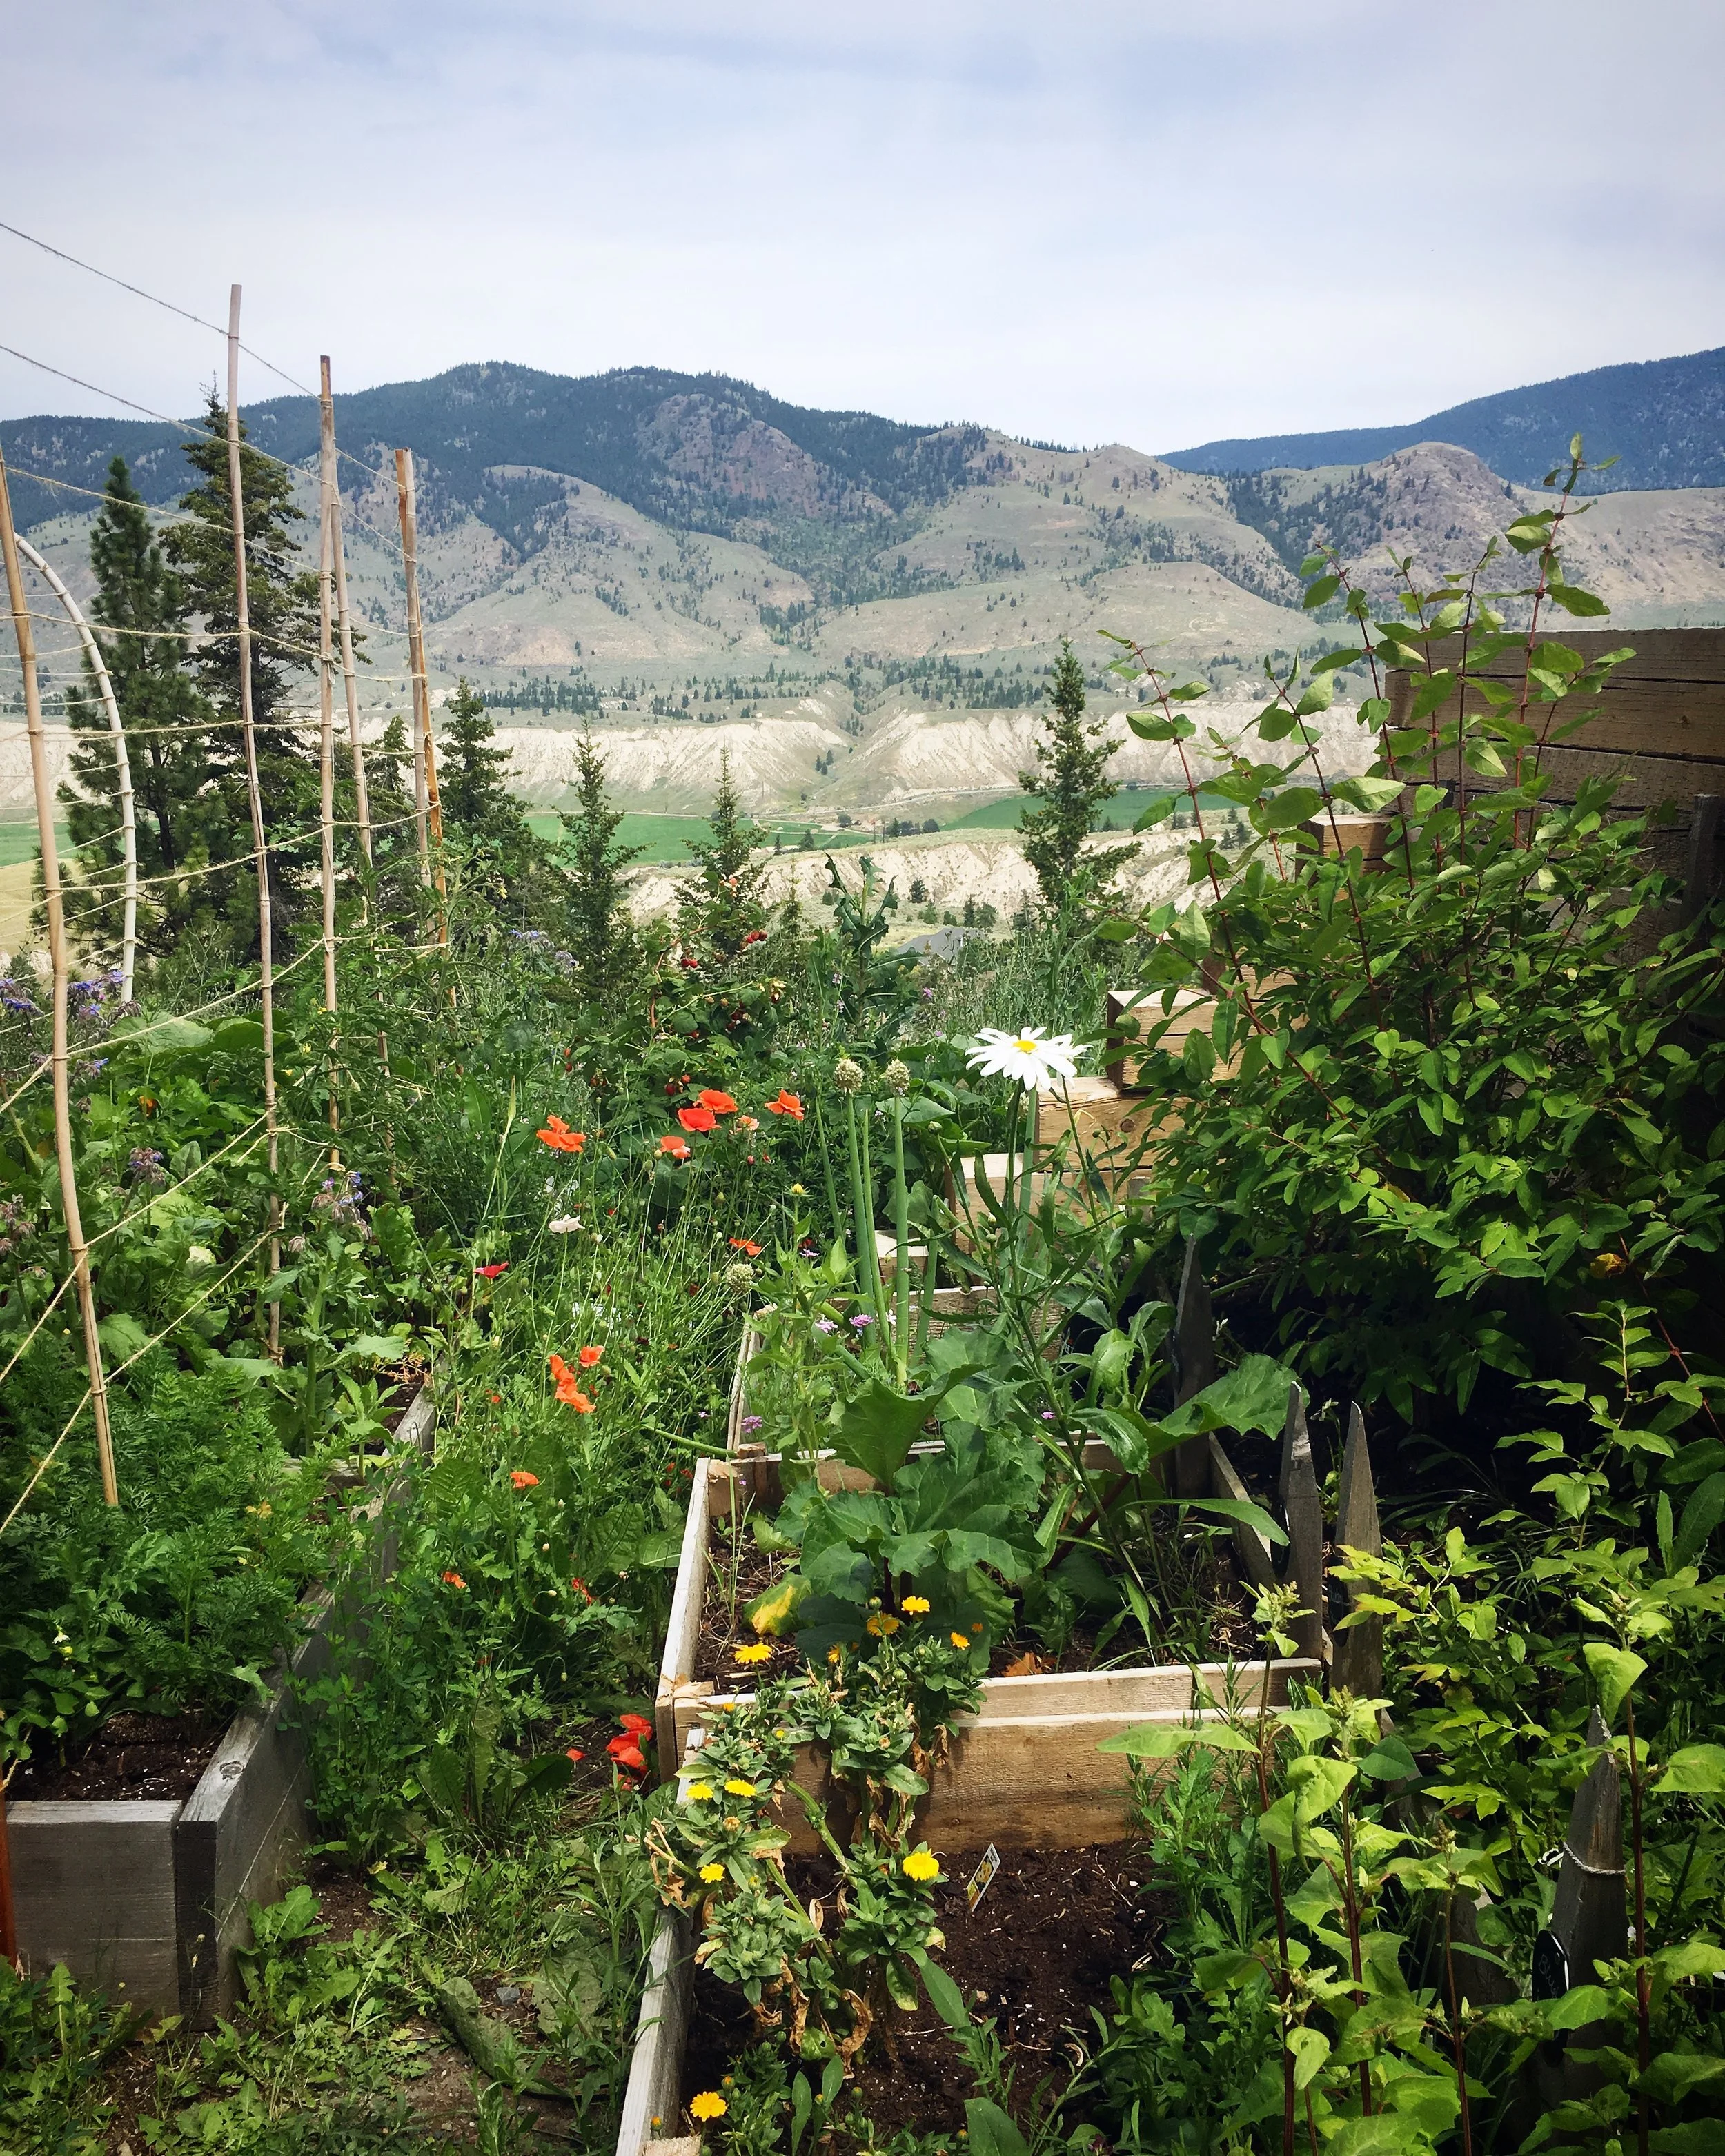
Same view, after a few months of growing.
Continue to produce food.
This goal is very important to me. I know I’m not going to be able to do this on the scale that I am used to, but I still want my garden to be a way to provide at least a little bit of food for my family. I really like working with food crops - especially heirlooms and other interesting varieties. There will always be flowers in my garden too since I want to attract lots of pollinators and beneficial insects otherwise the food crops on my balcony will struggle.
Look into Community Garden options.
I’m not sure if this is something I’ll have time for with the new baby on the way, but I do know that there are lots of community gardens in town, so I’d like to at least look into it a little bit and see what kind of commitment would be involved. I rented a community garden plot one season, and it really didn’t work out, because of the location. I wasn’t able to get there as often as I wanted, and nothing I grew there thrived. After that experience, I know now what kind of things I would grow in a community plot, and what I would keep at home. I think it might be something I could handle if I was growing garlic, rhubarb, or other things that don’t need as much daily attention.
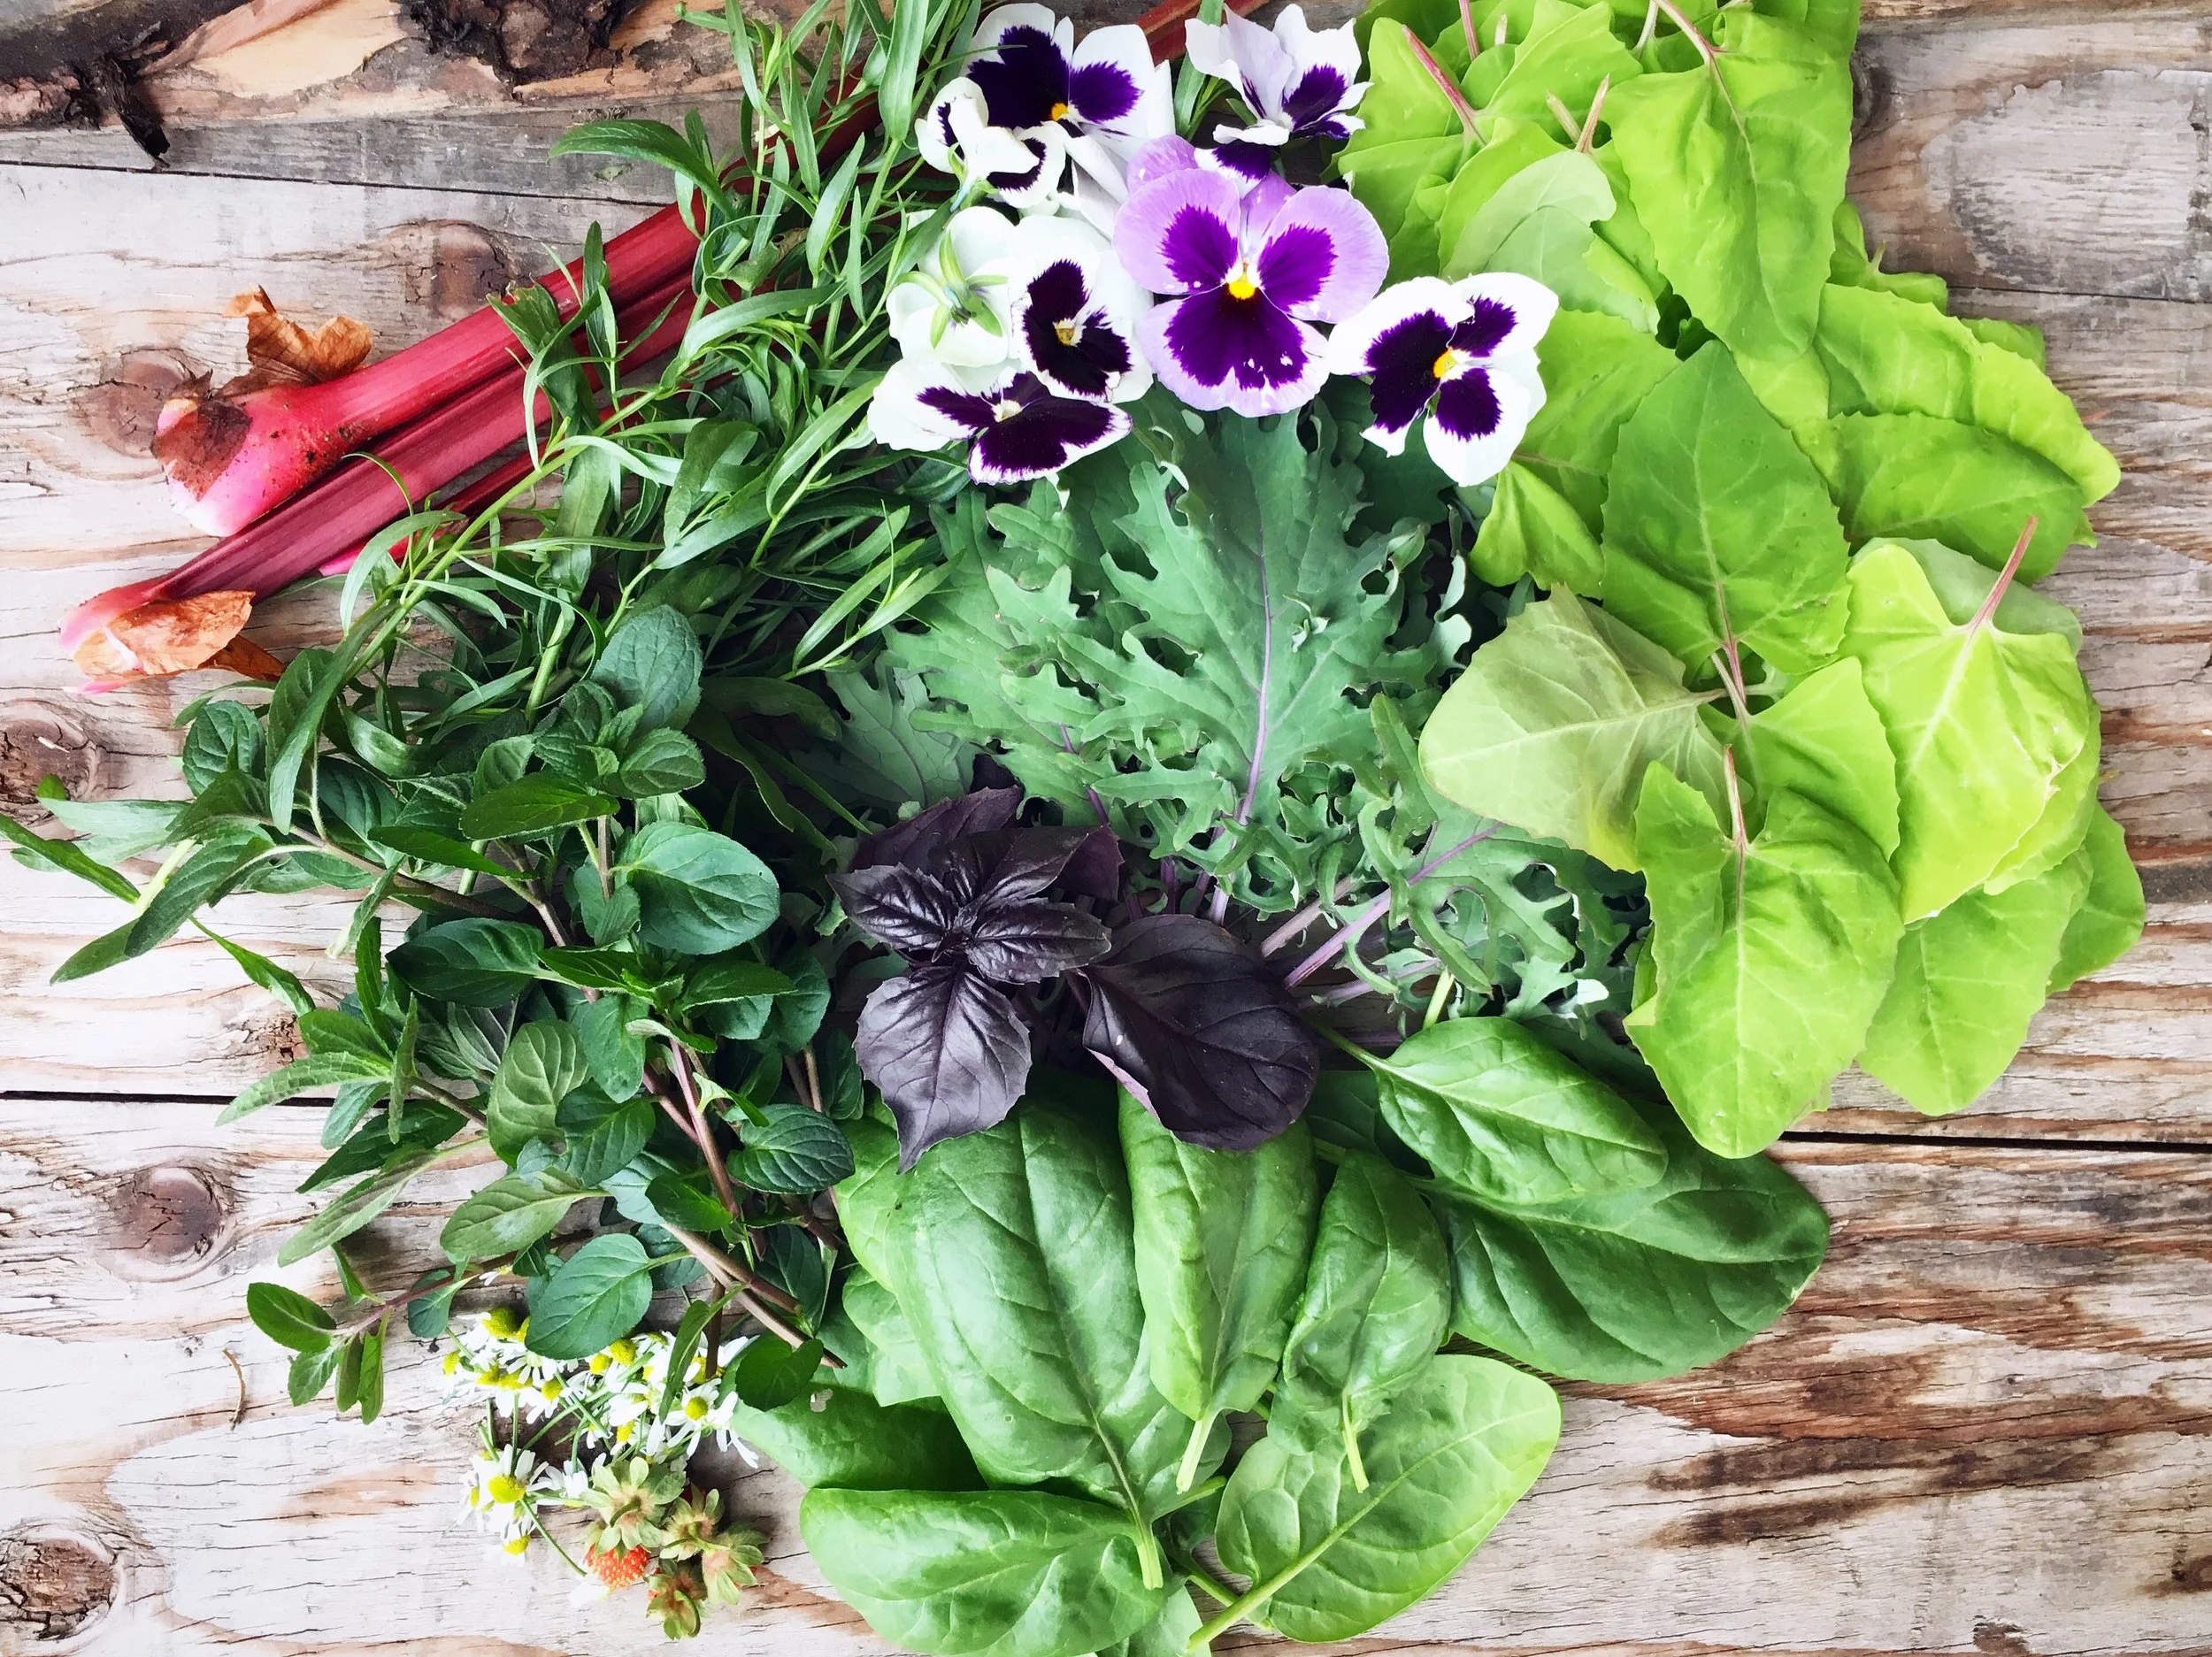
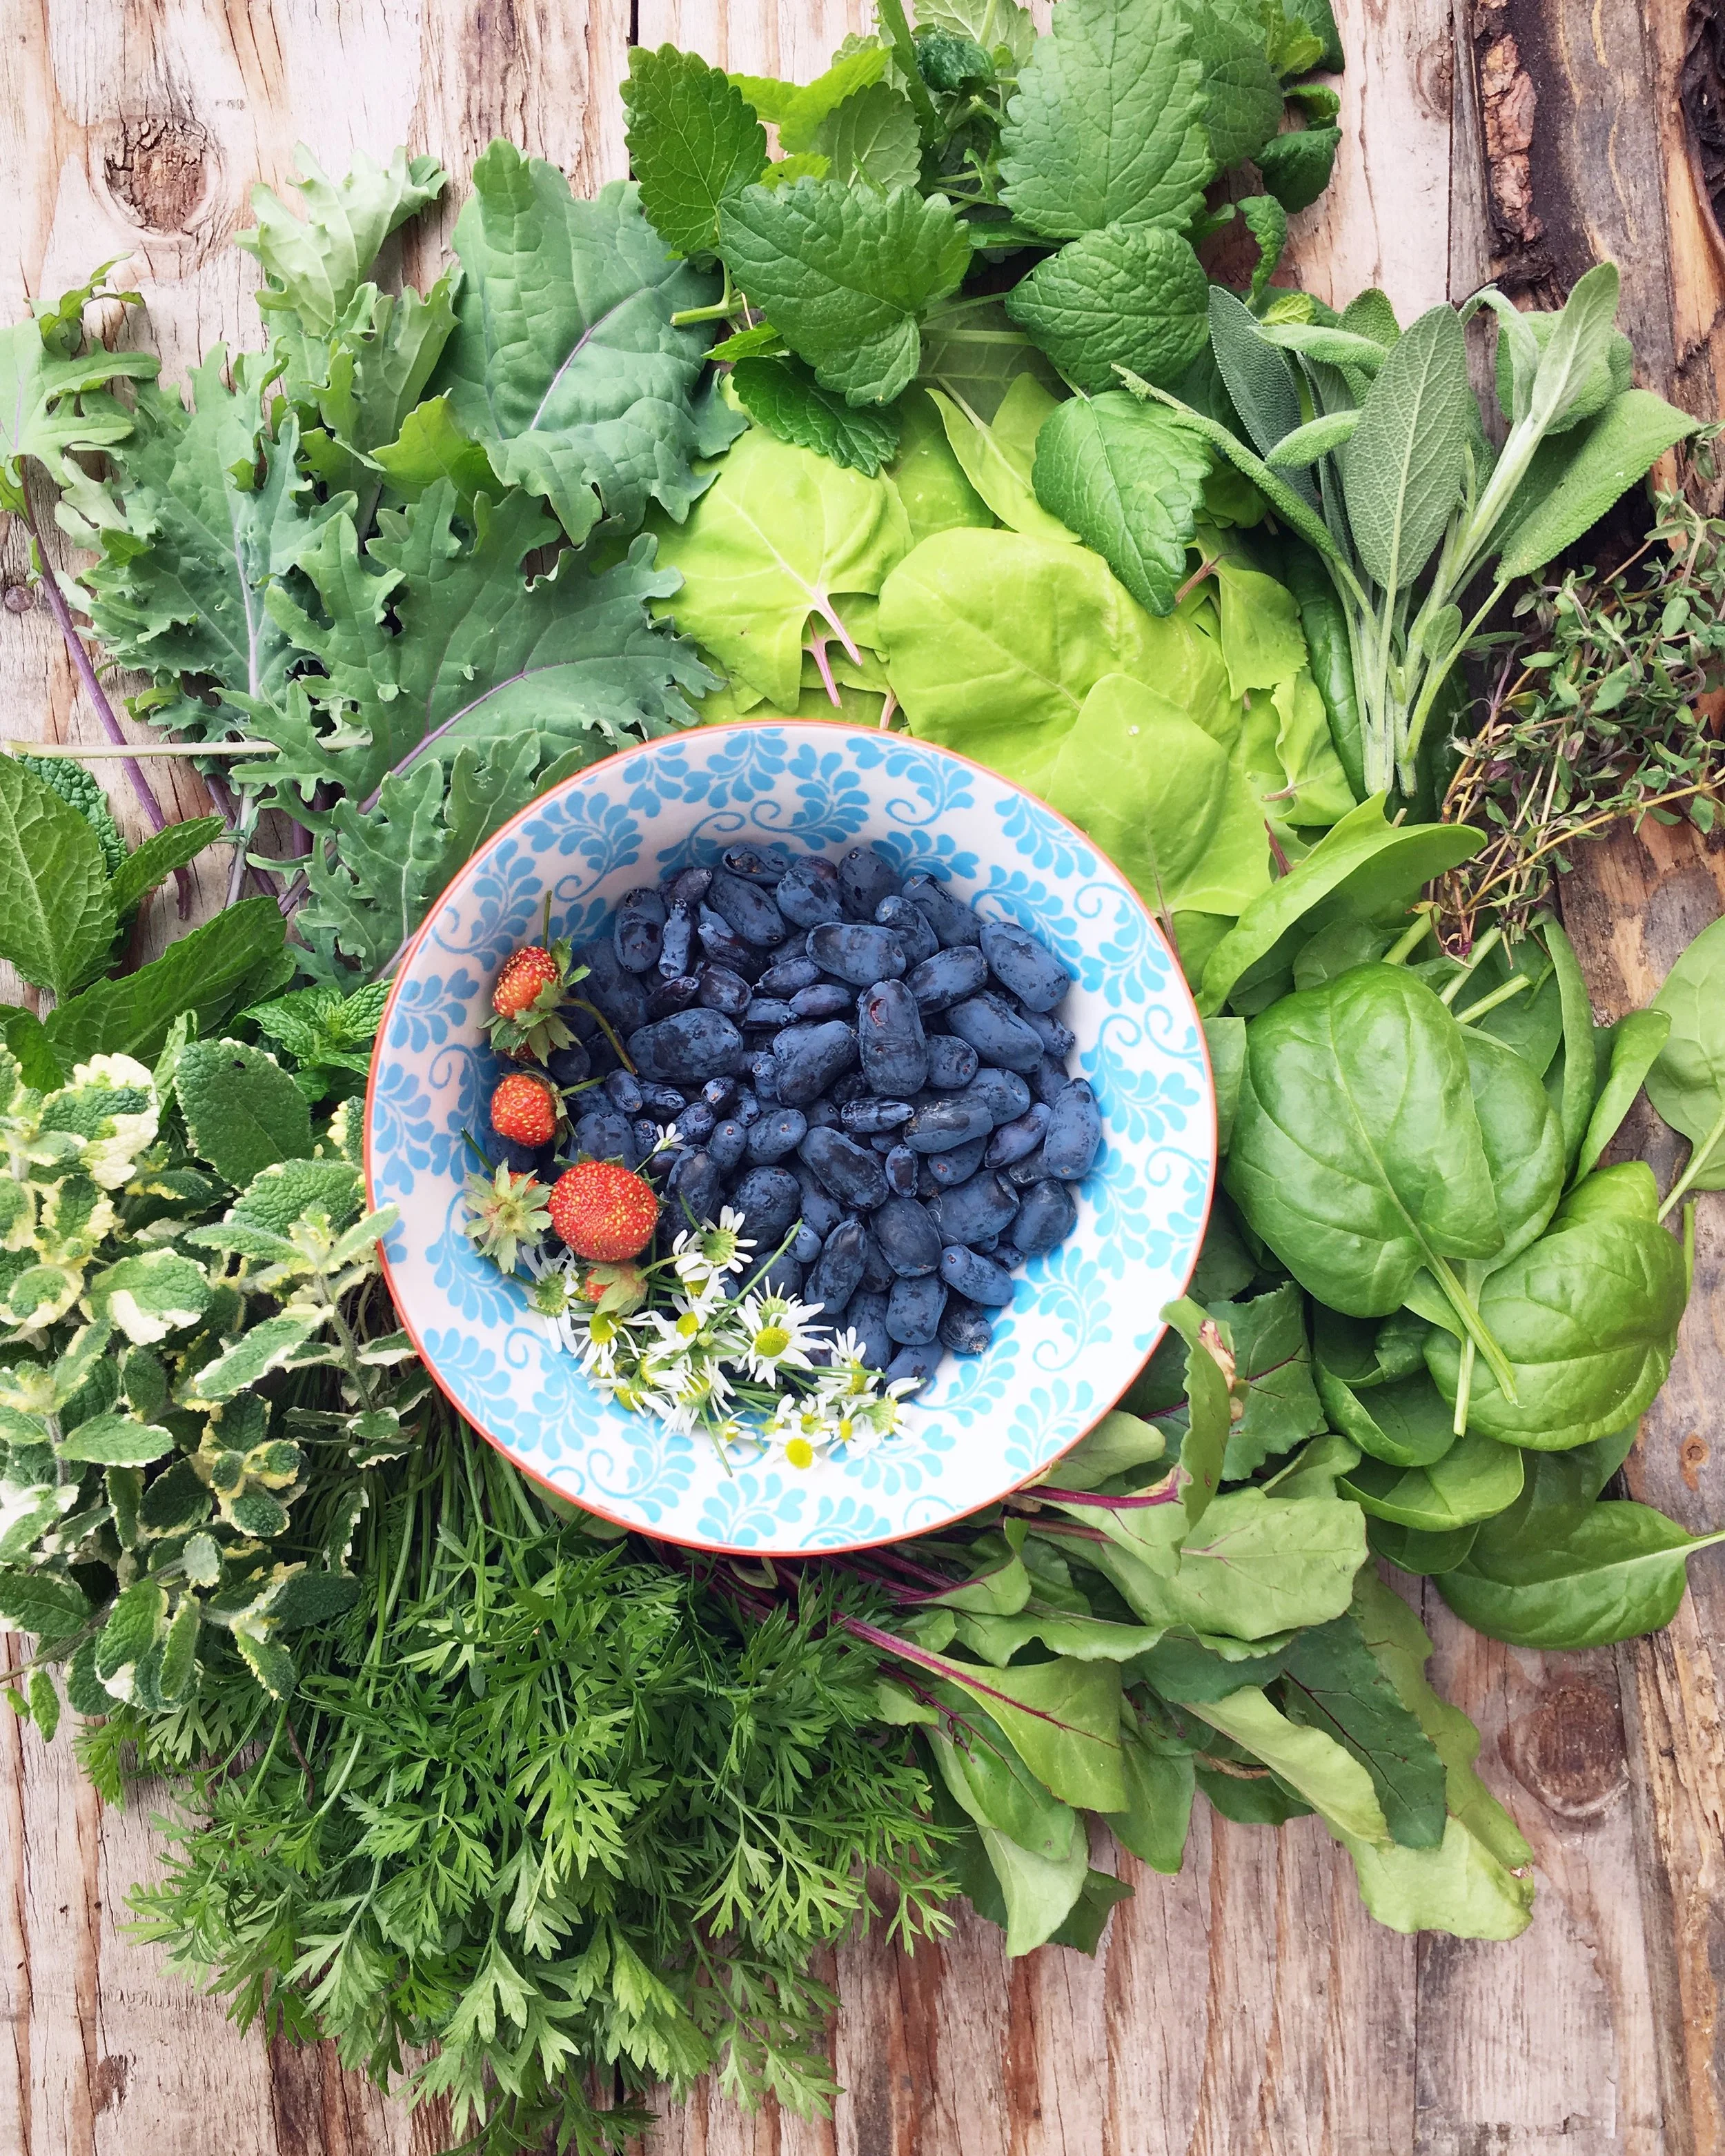
One of my springtime harvests from last year. Lots of leafy greens!
Grow lots of herbs.
This one will be very convenient to focus on for me, since a lot of herbs do well in smaller spaces, and that’s definitely what I’ll be working with! I also think they will help create a nice environment on my balcony, and help add a little bit of biodiversity to my other plants. This is one of the easiest ways I can still grow things to eat as well, since snipping some herbs from the balcony and bringing them right in to my kitchen is so easy. I’m excited about this goal, and am planning to cultivate a large collection!
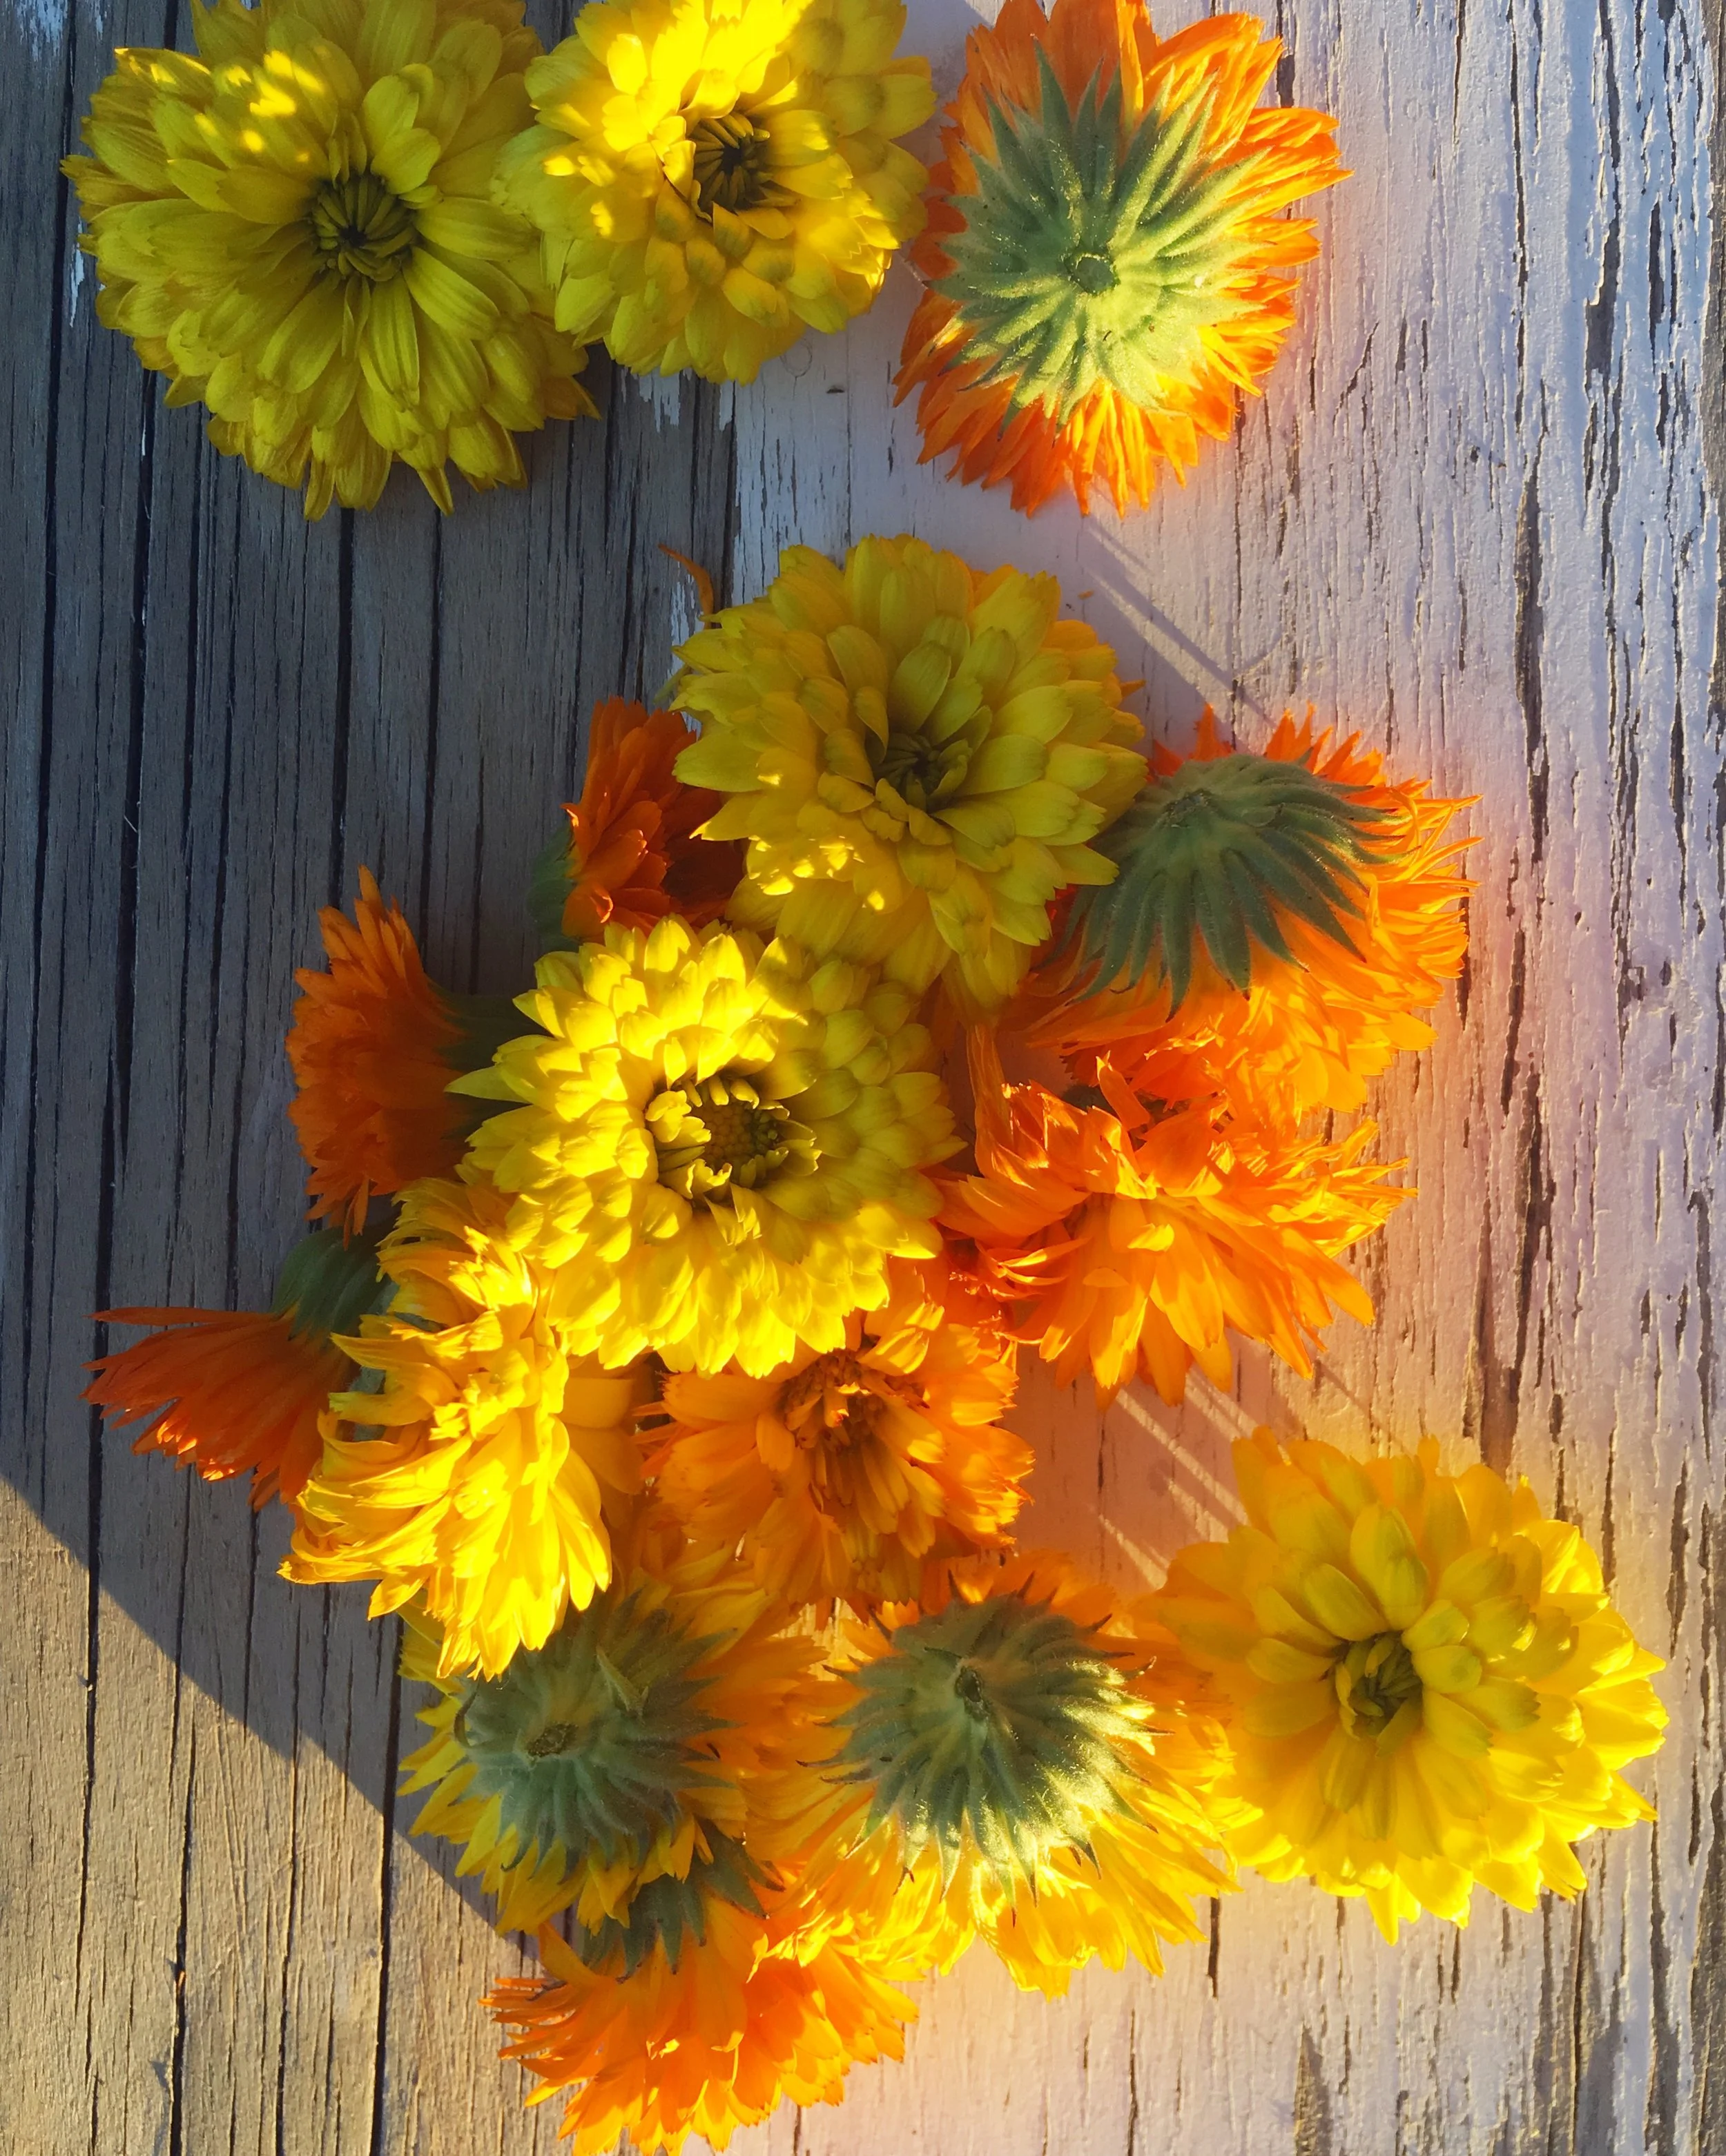
Calendula blossoms harvested from my garden last summer.