A Forager's Home

Grow. Find. Eat. Make.

  • Blog
  • About
  • DIY
  • Recipes
  • Foraging
IMG_1518.JPG

Reflections on 2018

December 31, 2018 by Kelsey Fast

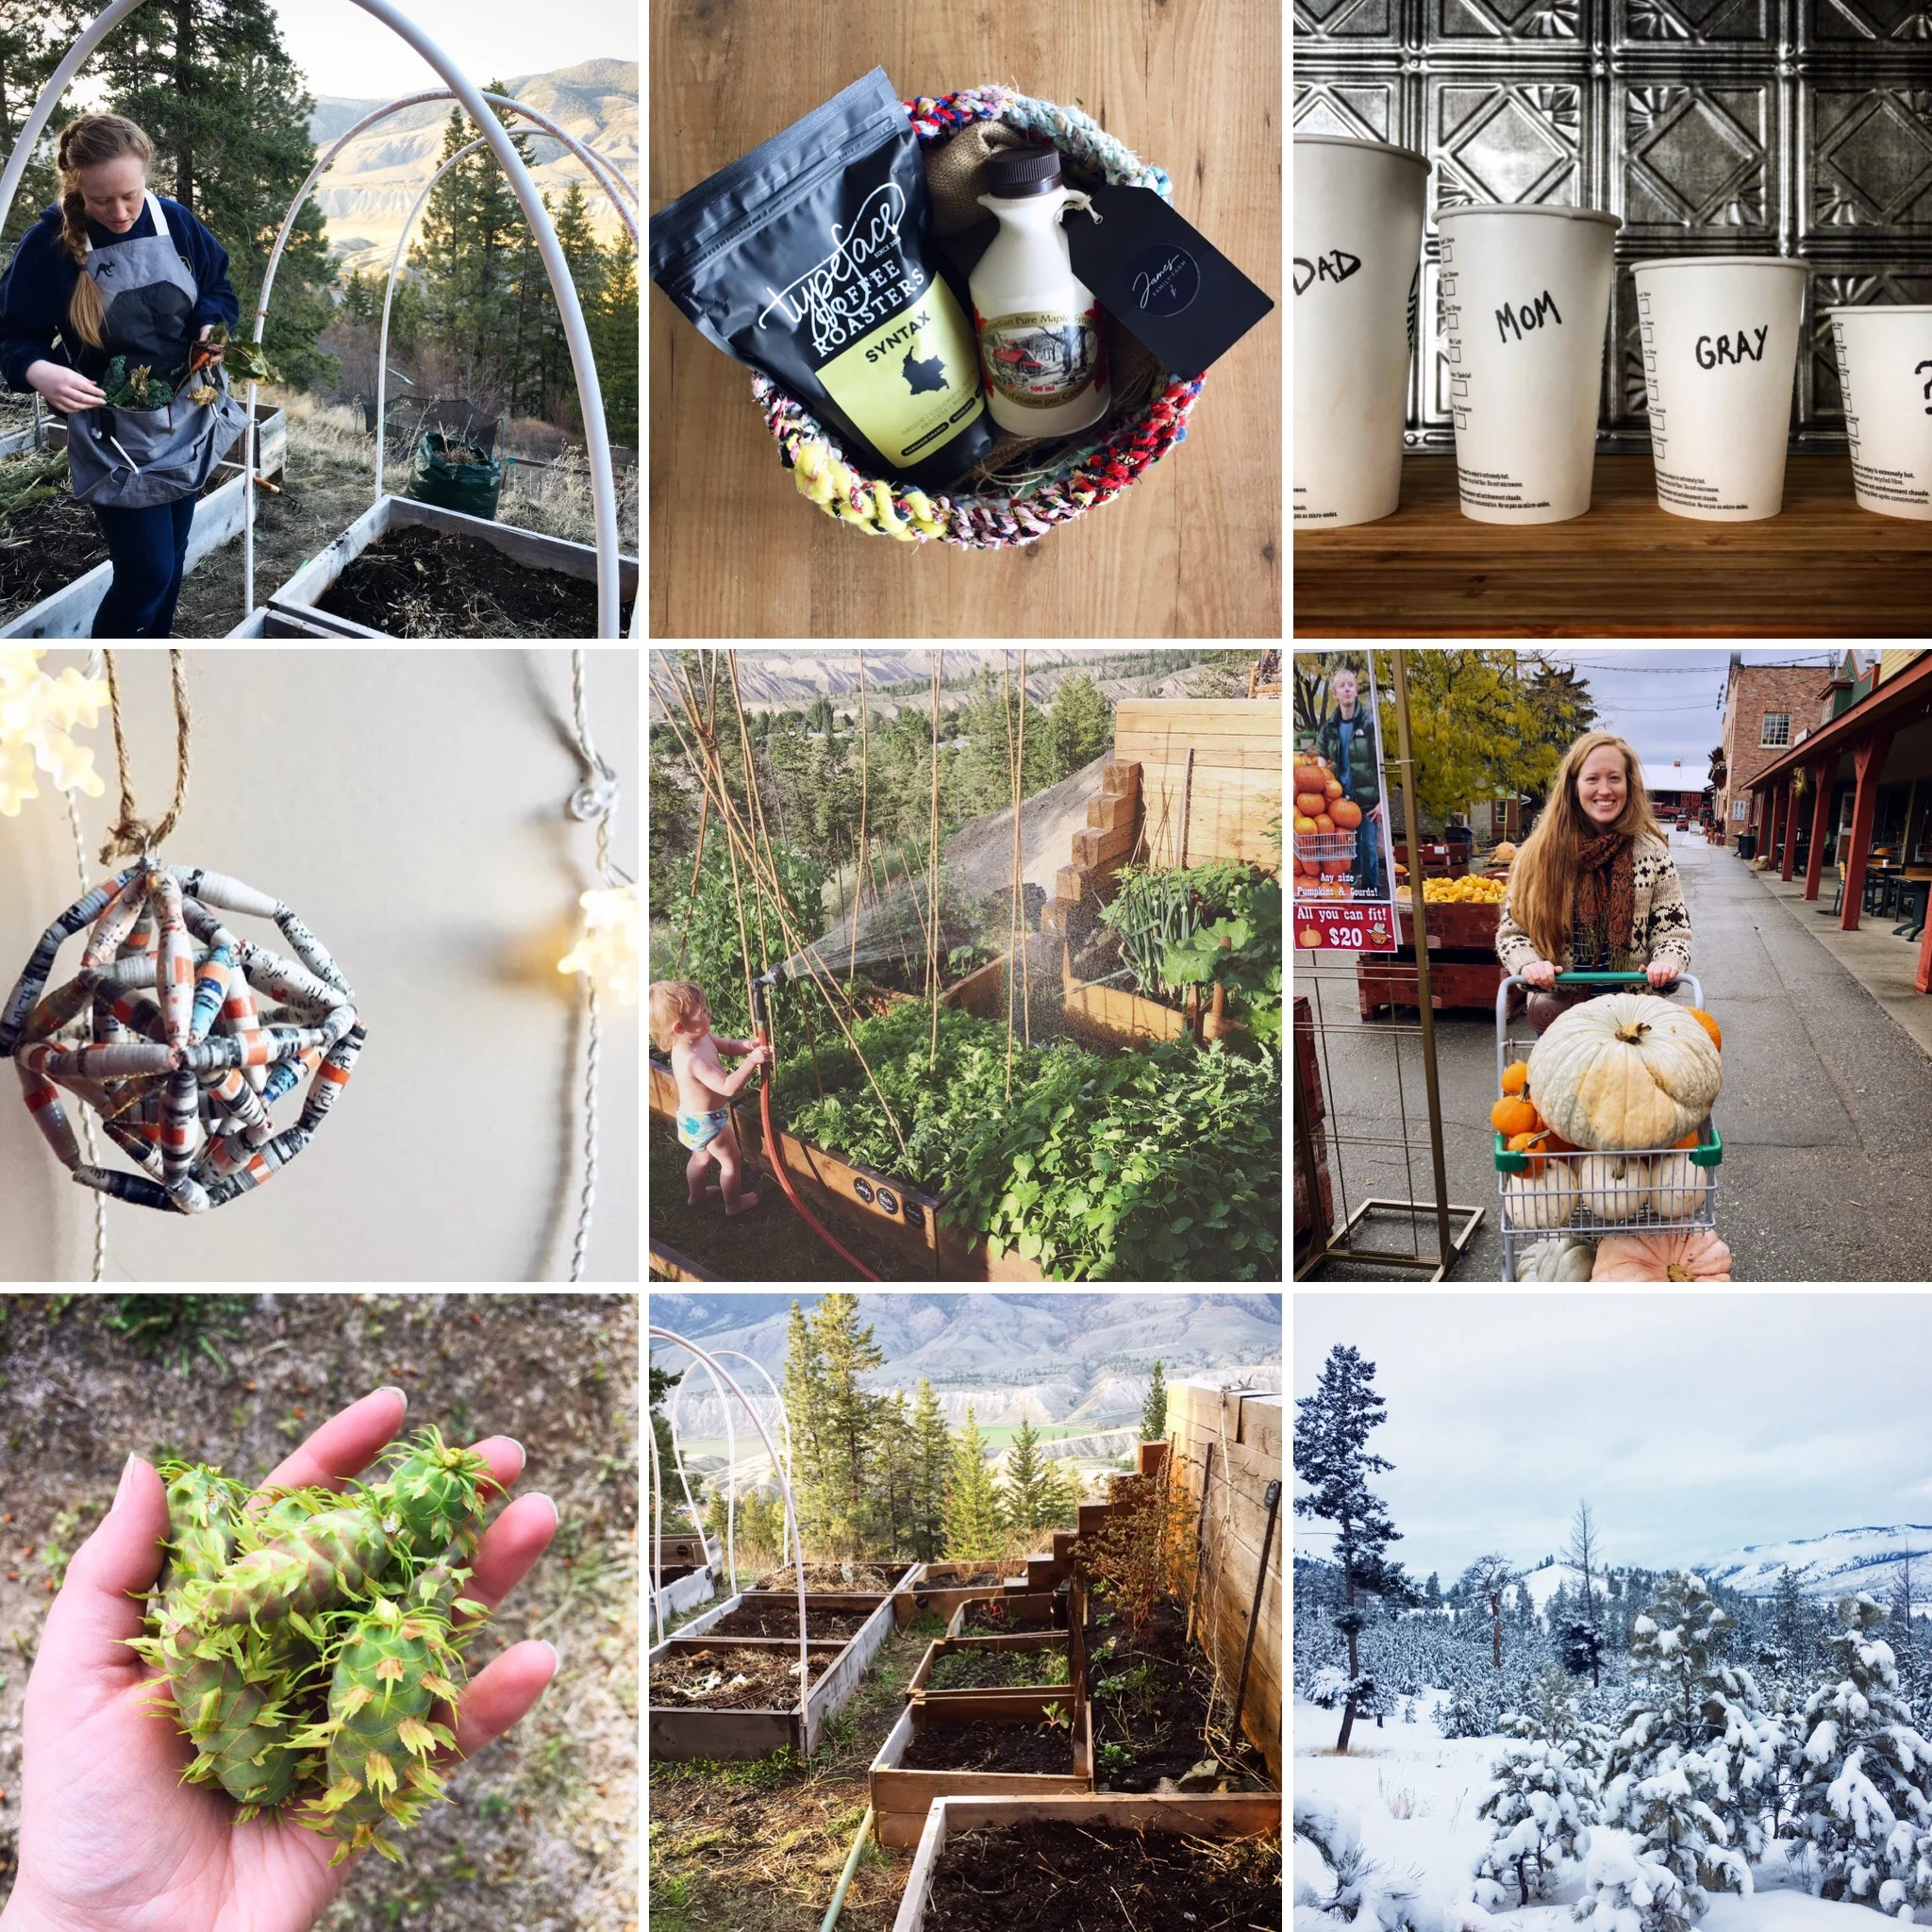
In the above collage I have what Instagram deems as my top nine posts of 2018. I think they are pretty good, and they hold a lot of memories, but I wanted to do a fuller reflection on my year and share a few other photos that might not have got as much attention based on Instagram’s algorithm, but were very special to me.

I read my 2017 reflections over again before starting to write this one, and was again struck by how busy December is. I had so many ideas and plans that will have to be put off for another time, but I’m really happy with what we were able to accomplish this year.

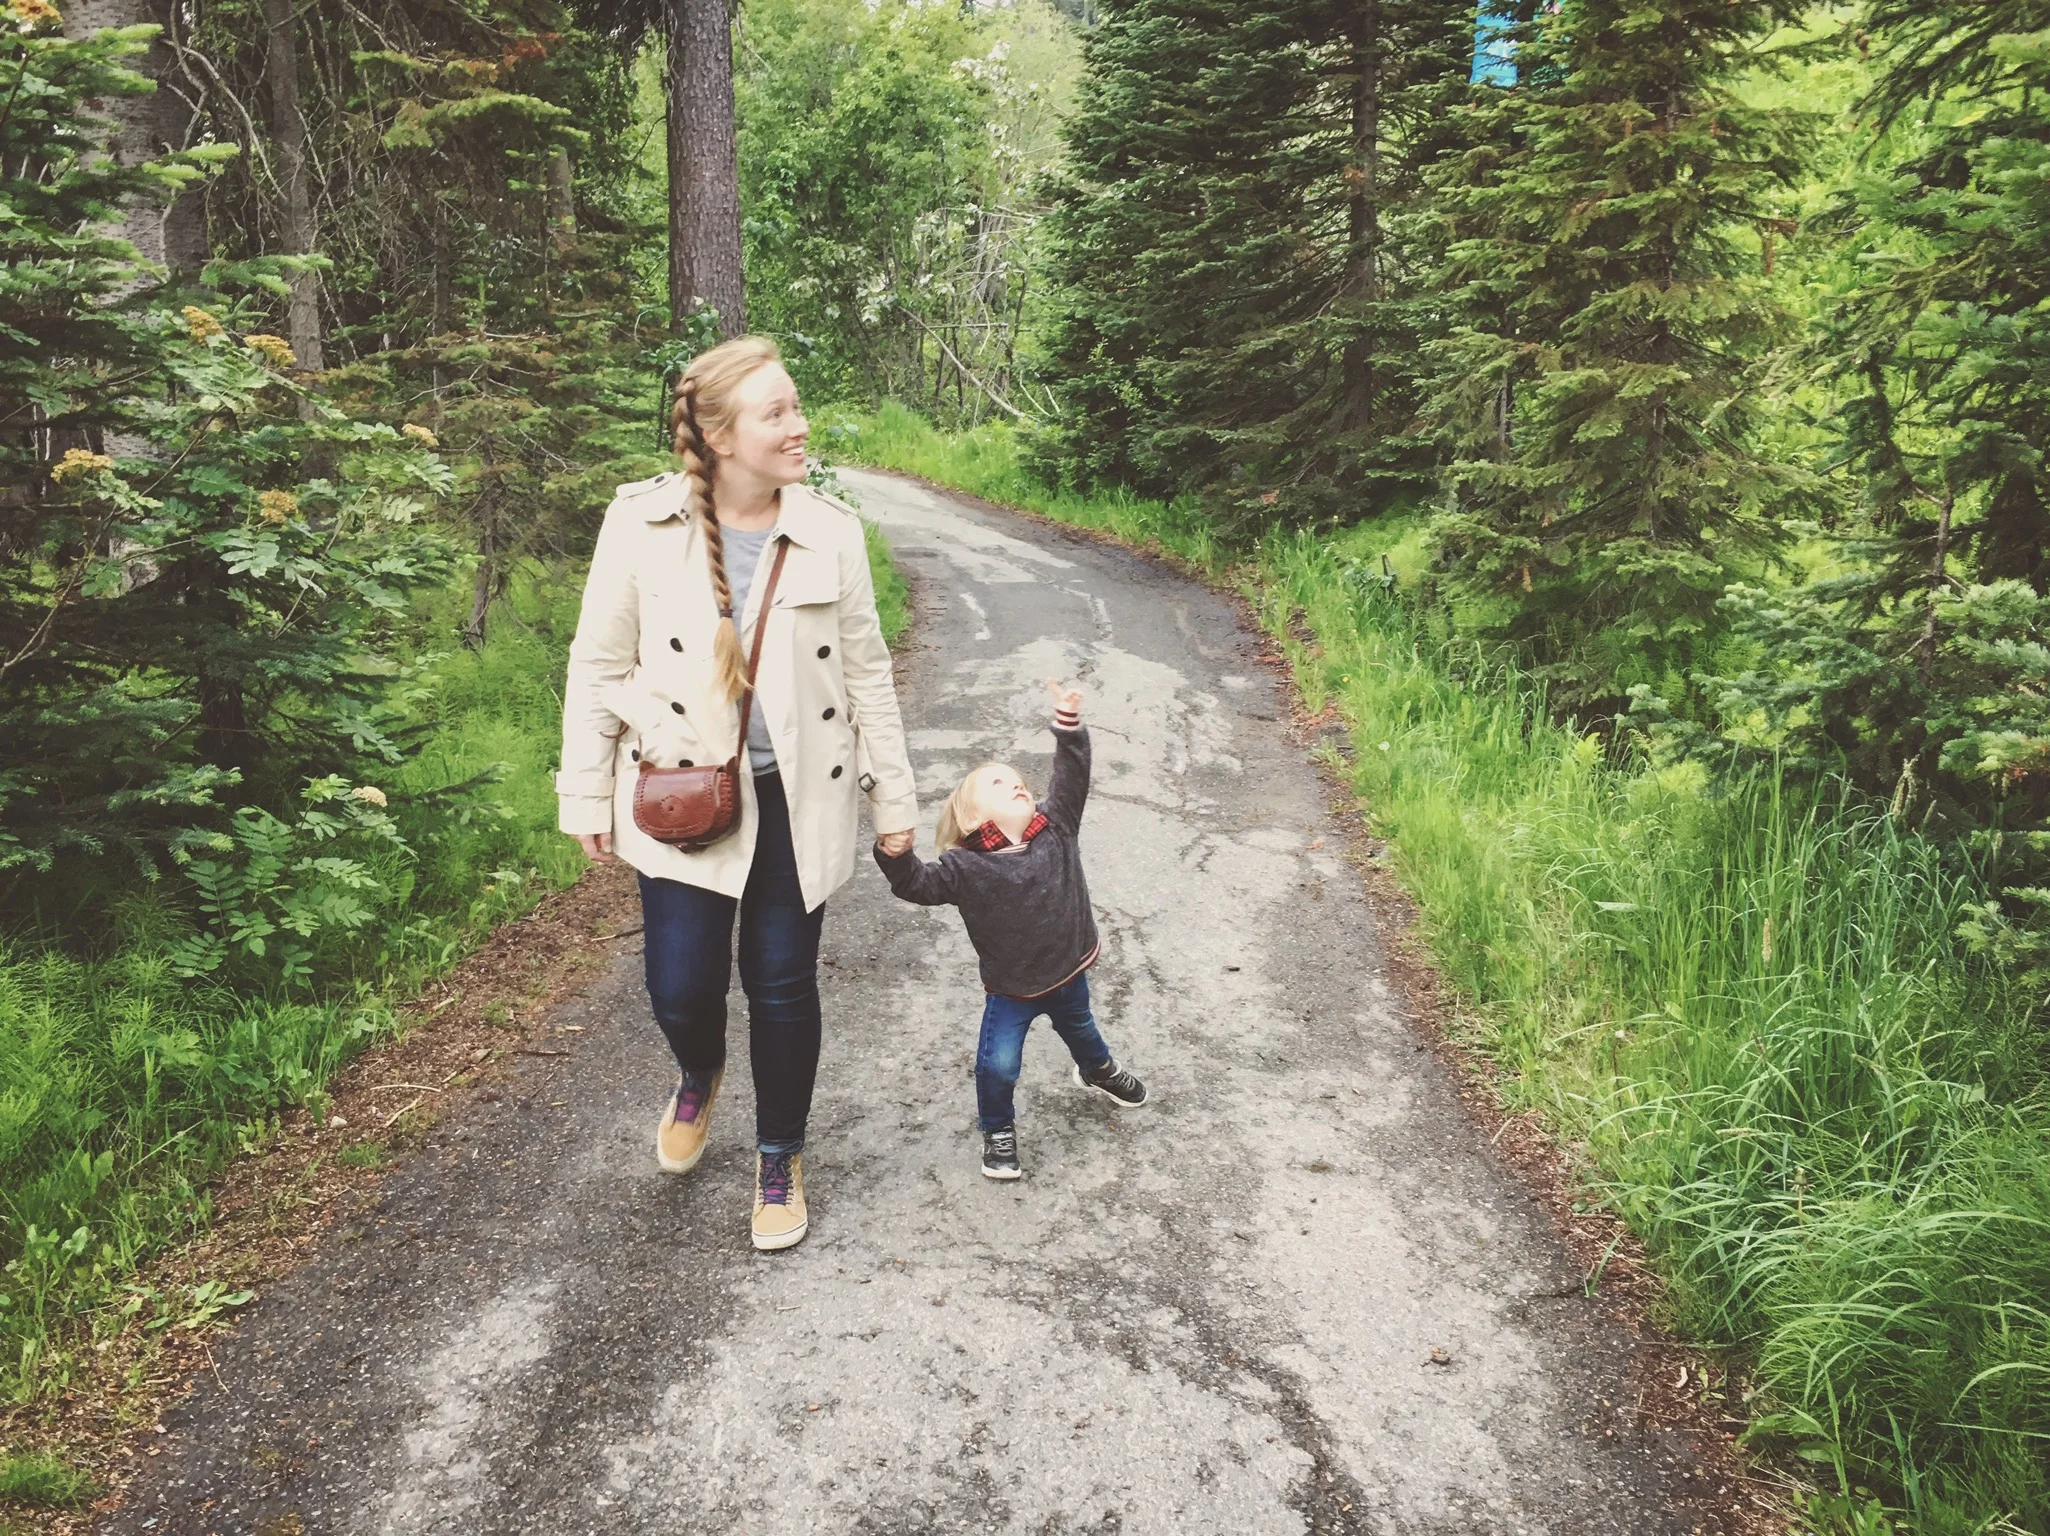
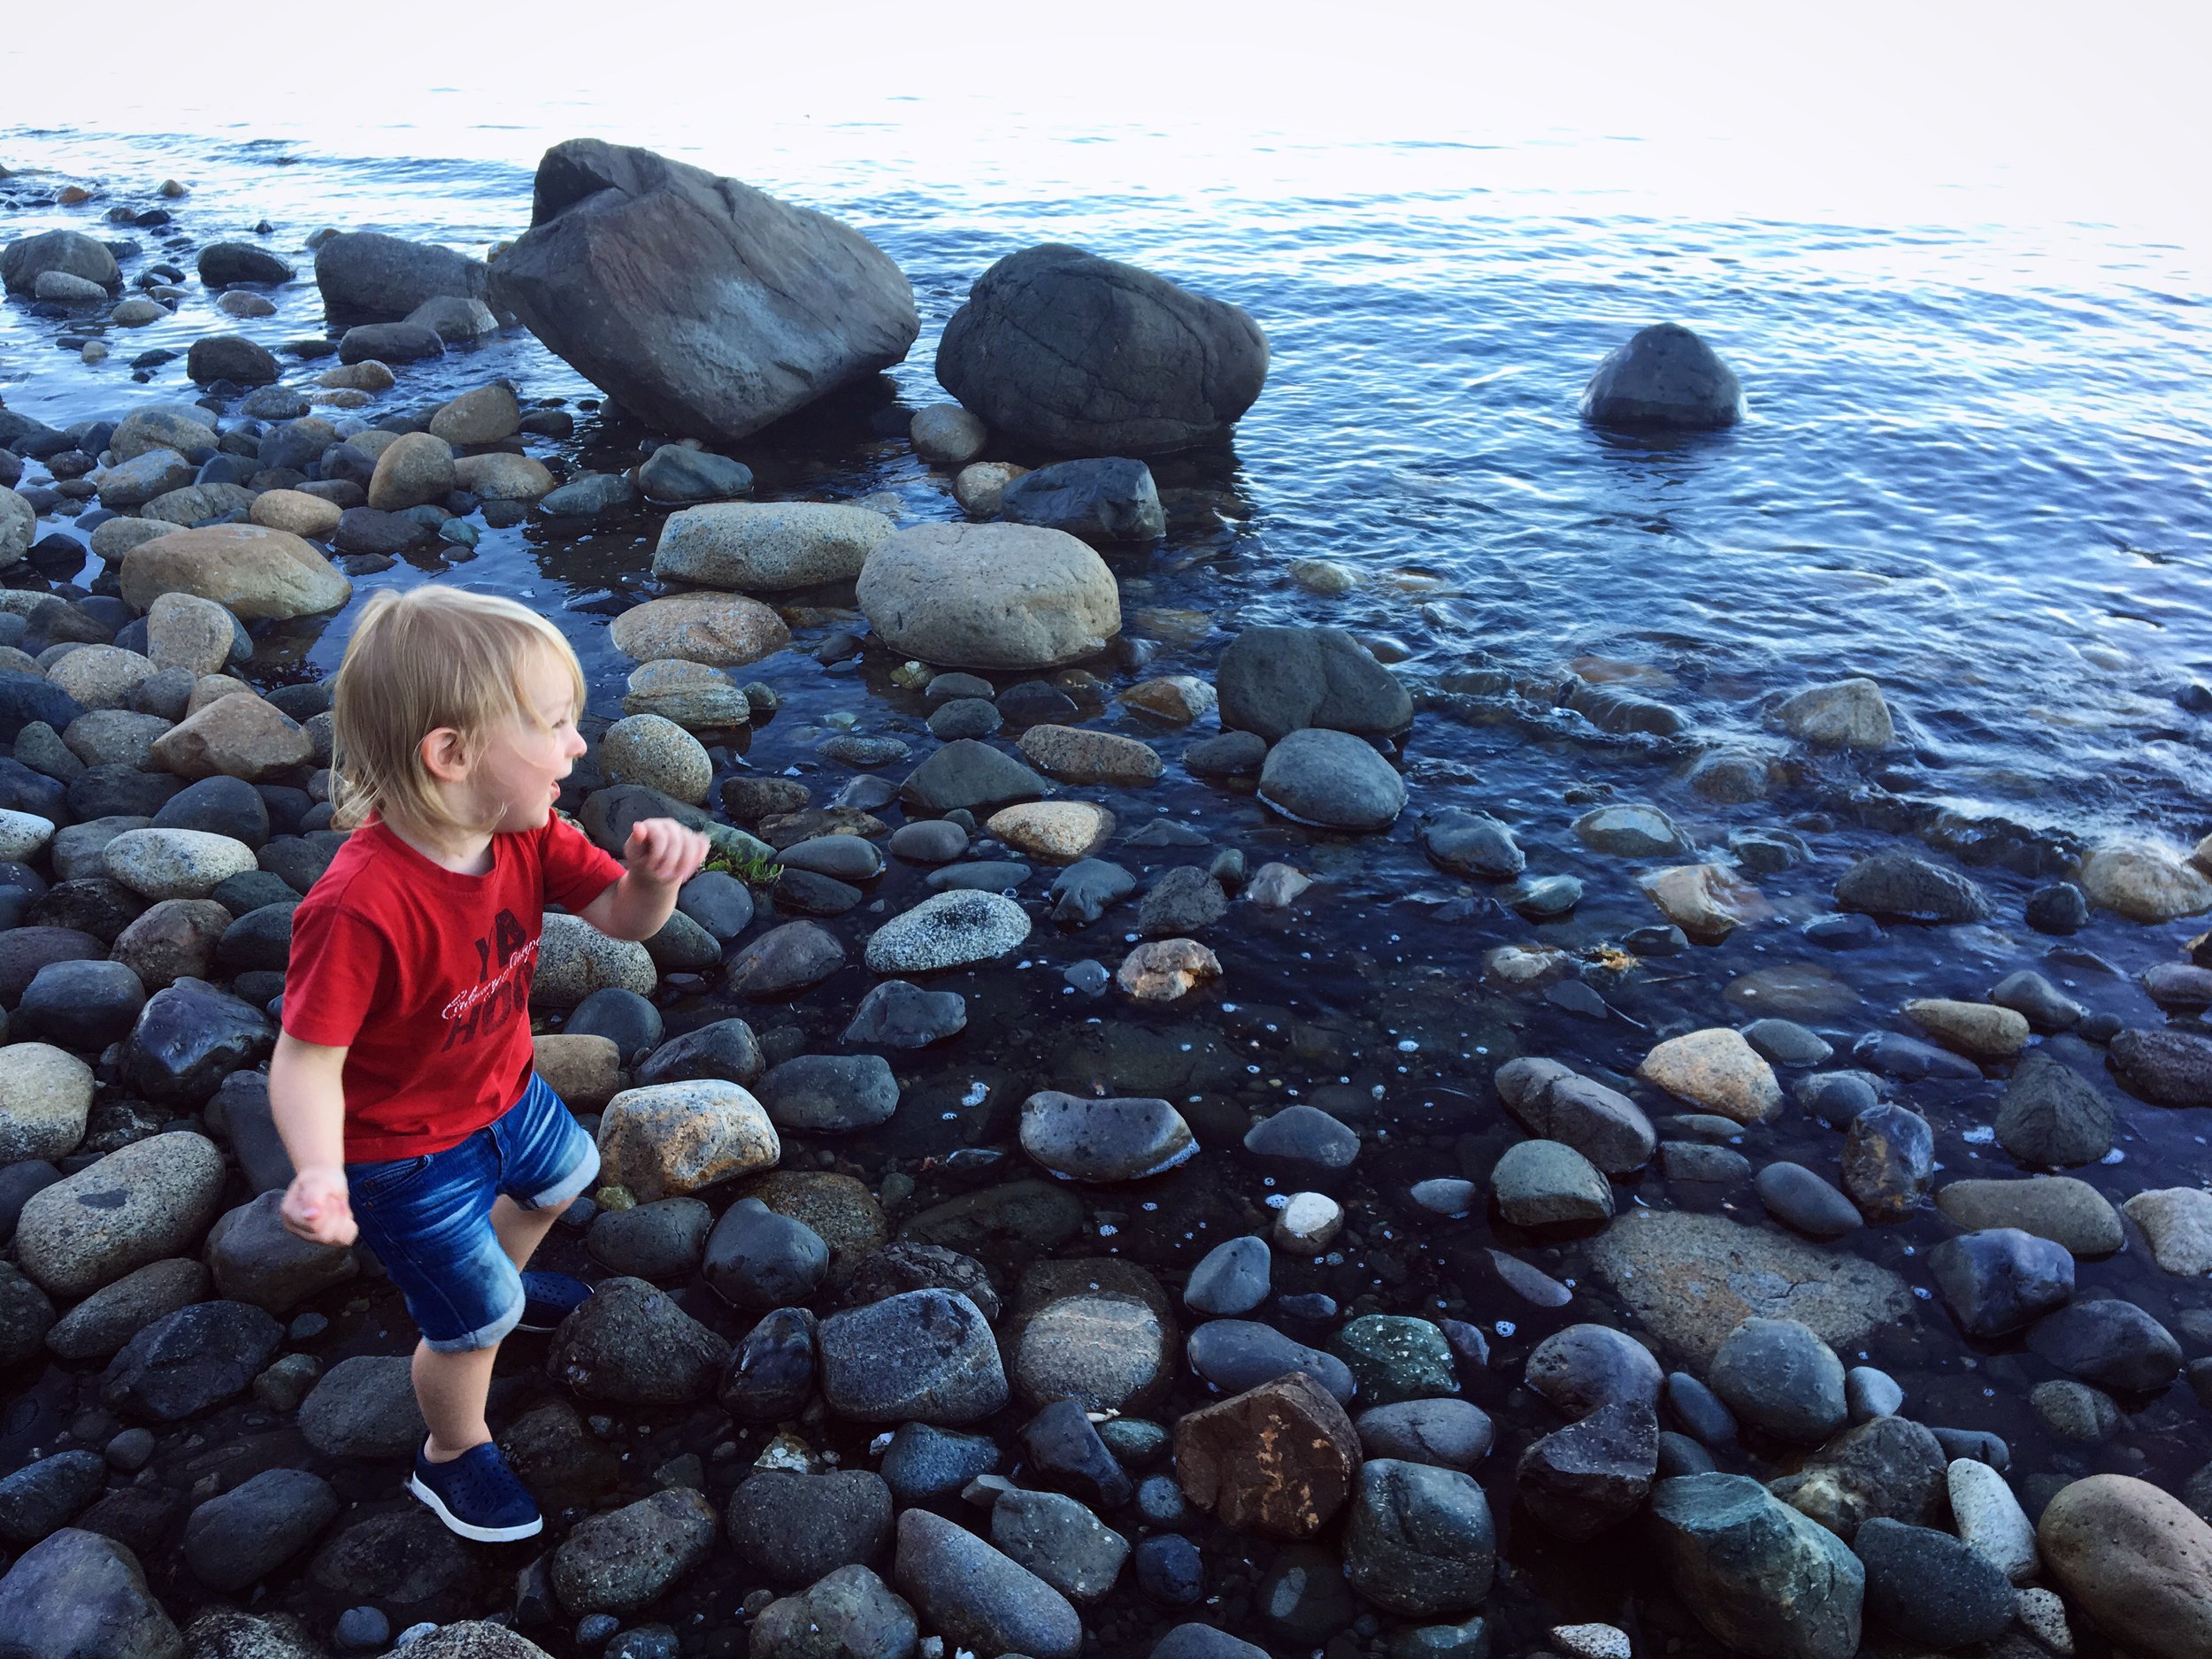
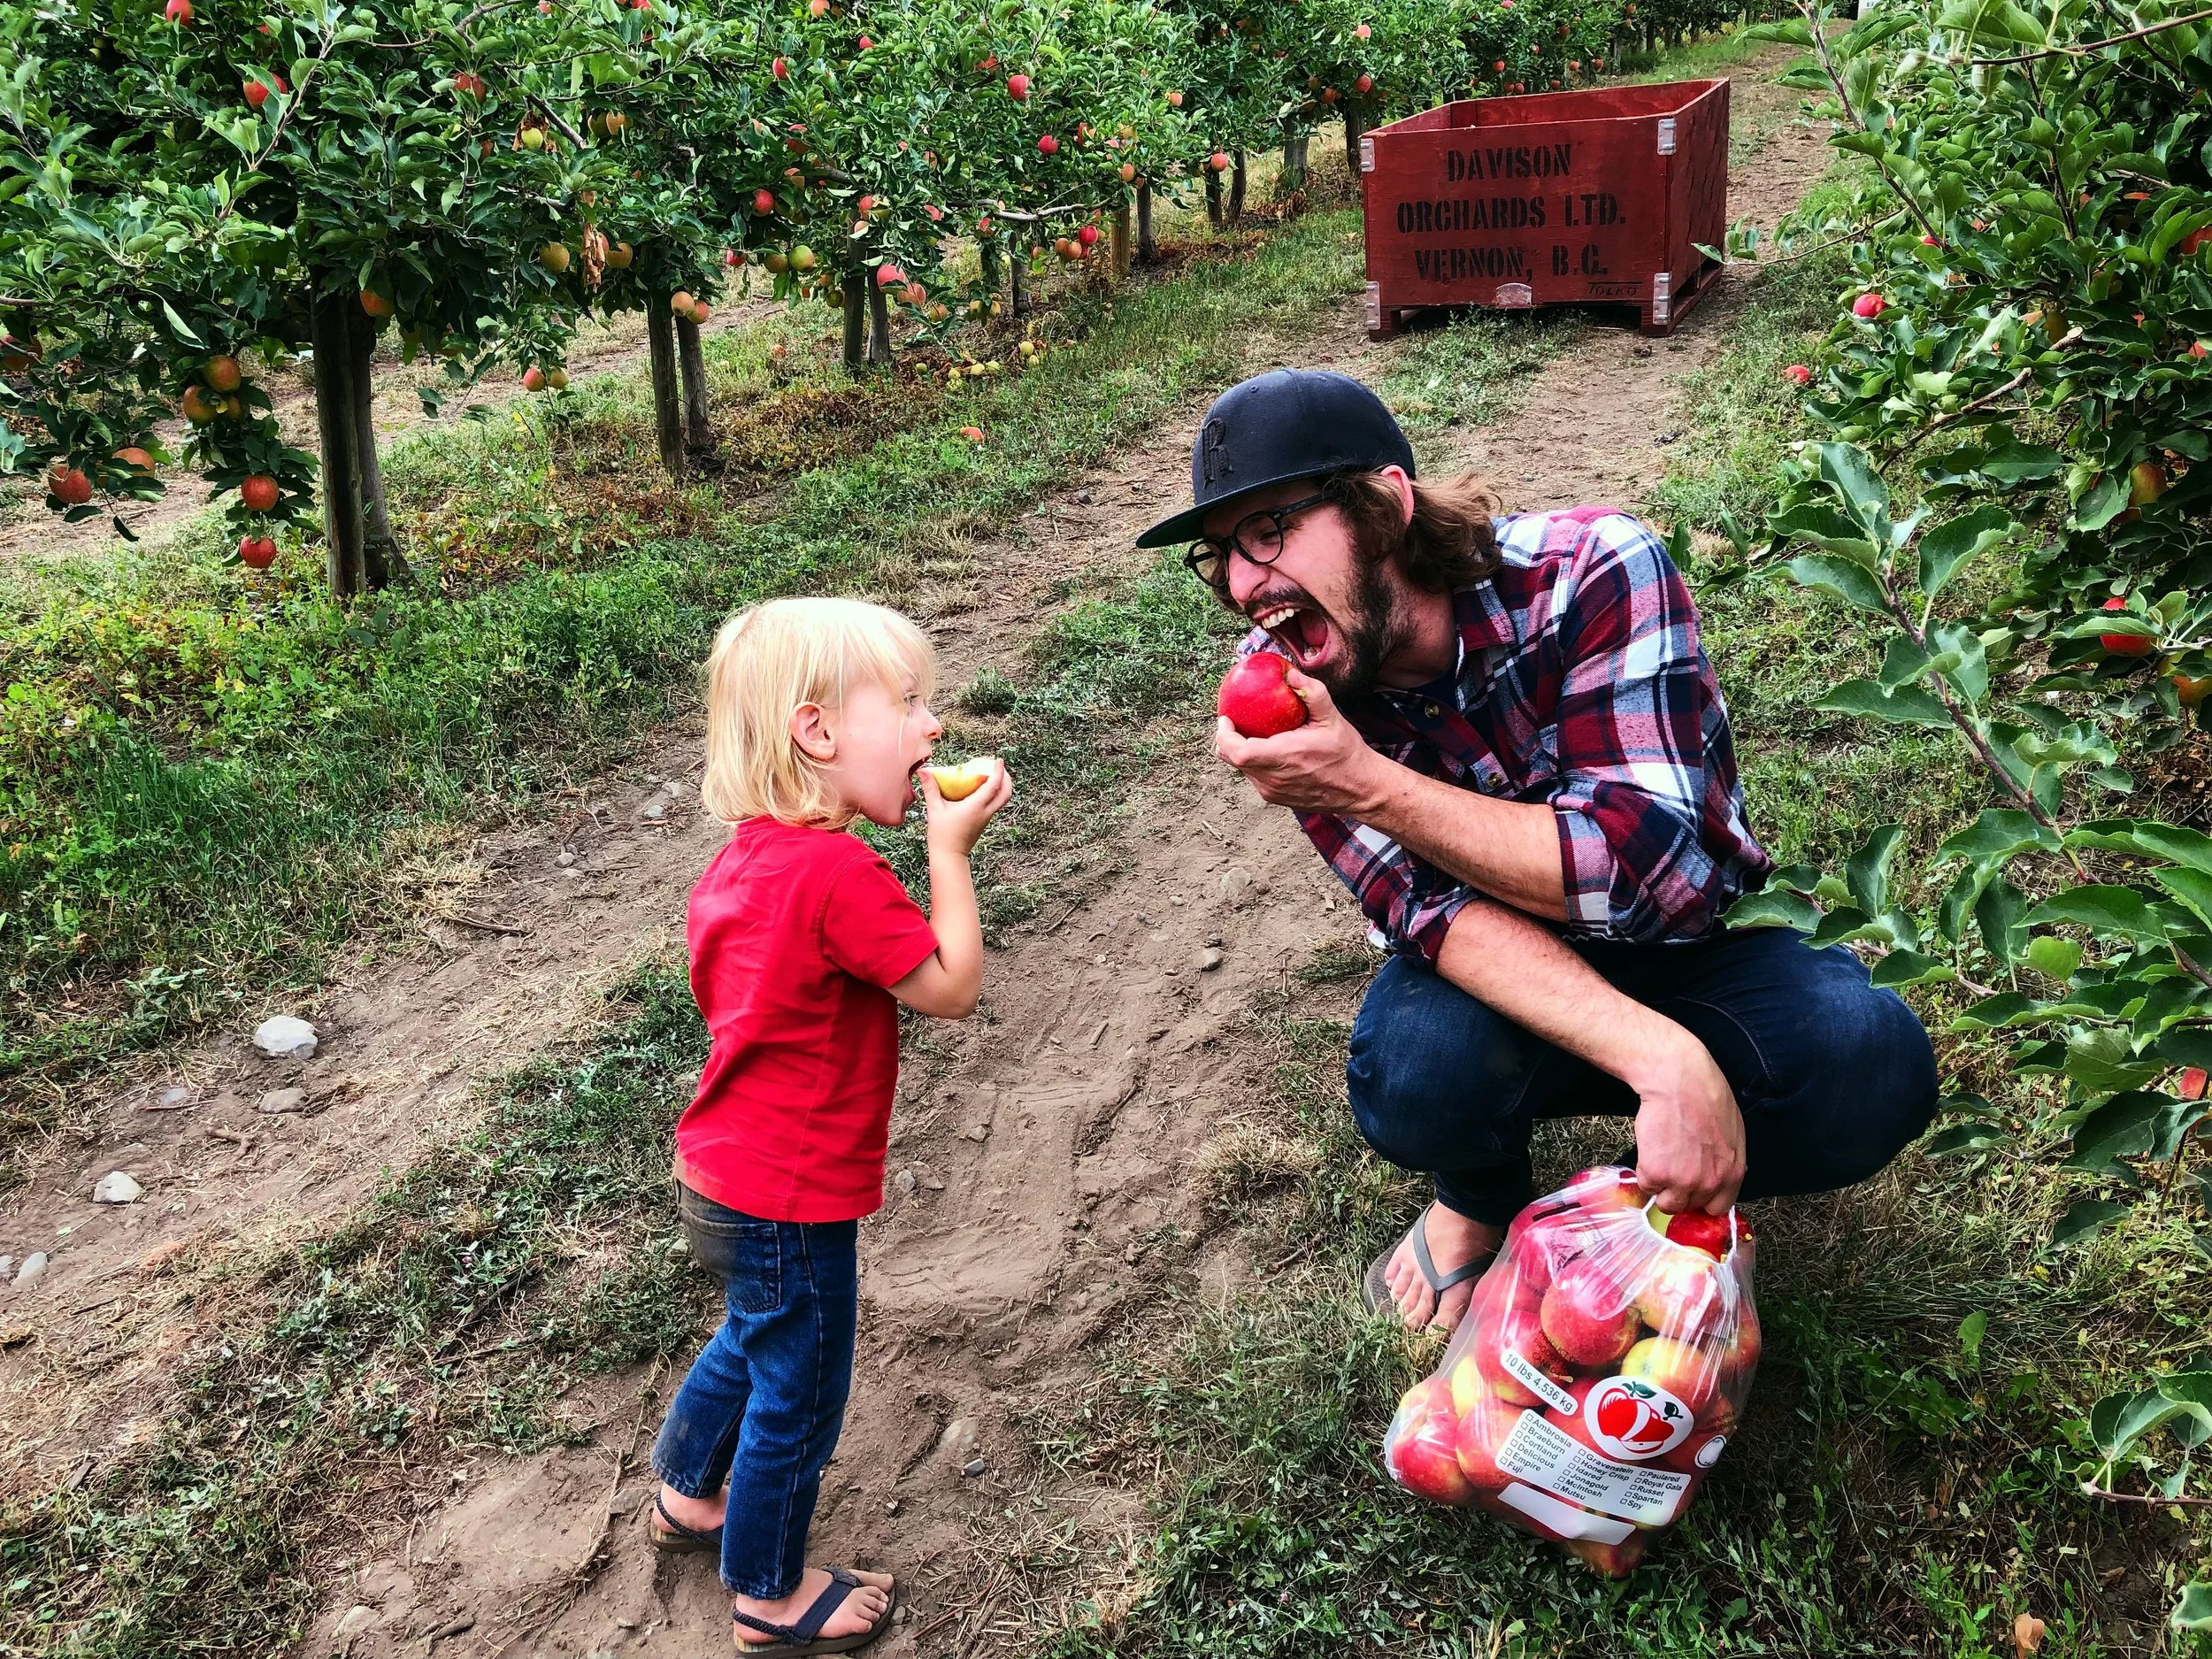
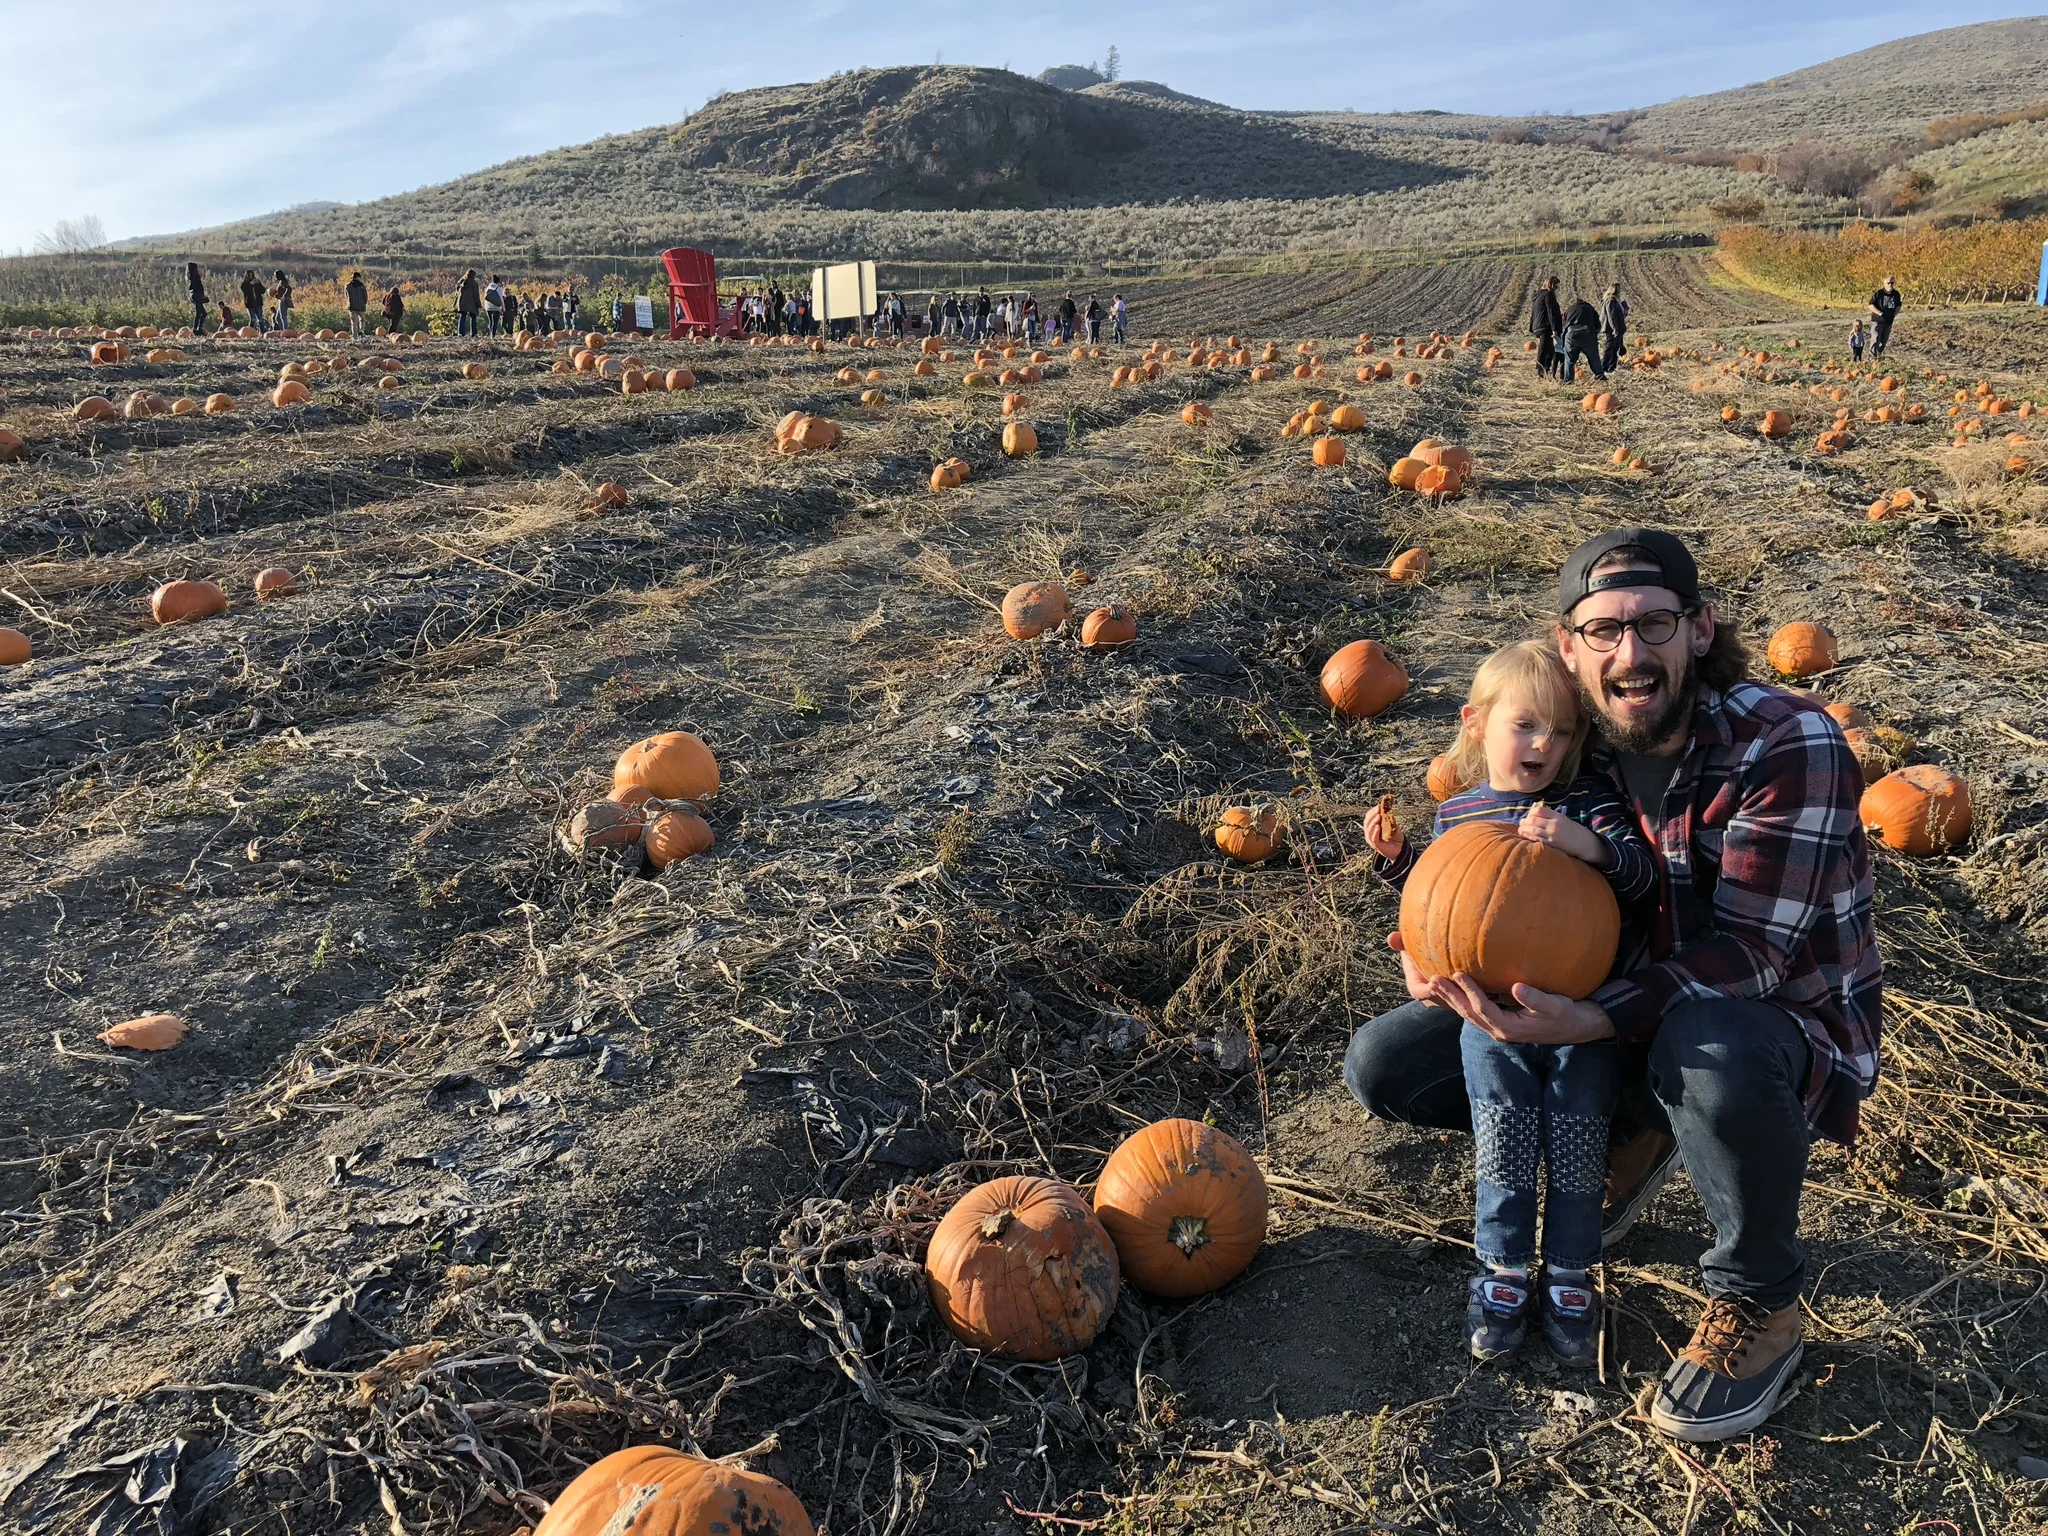
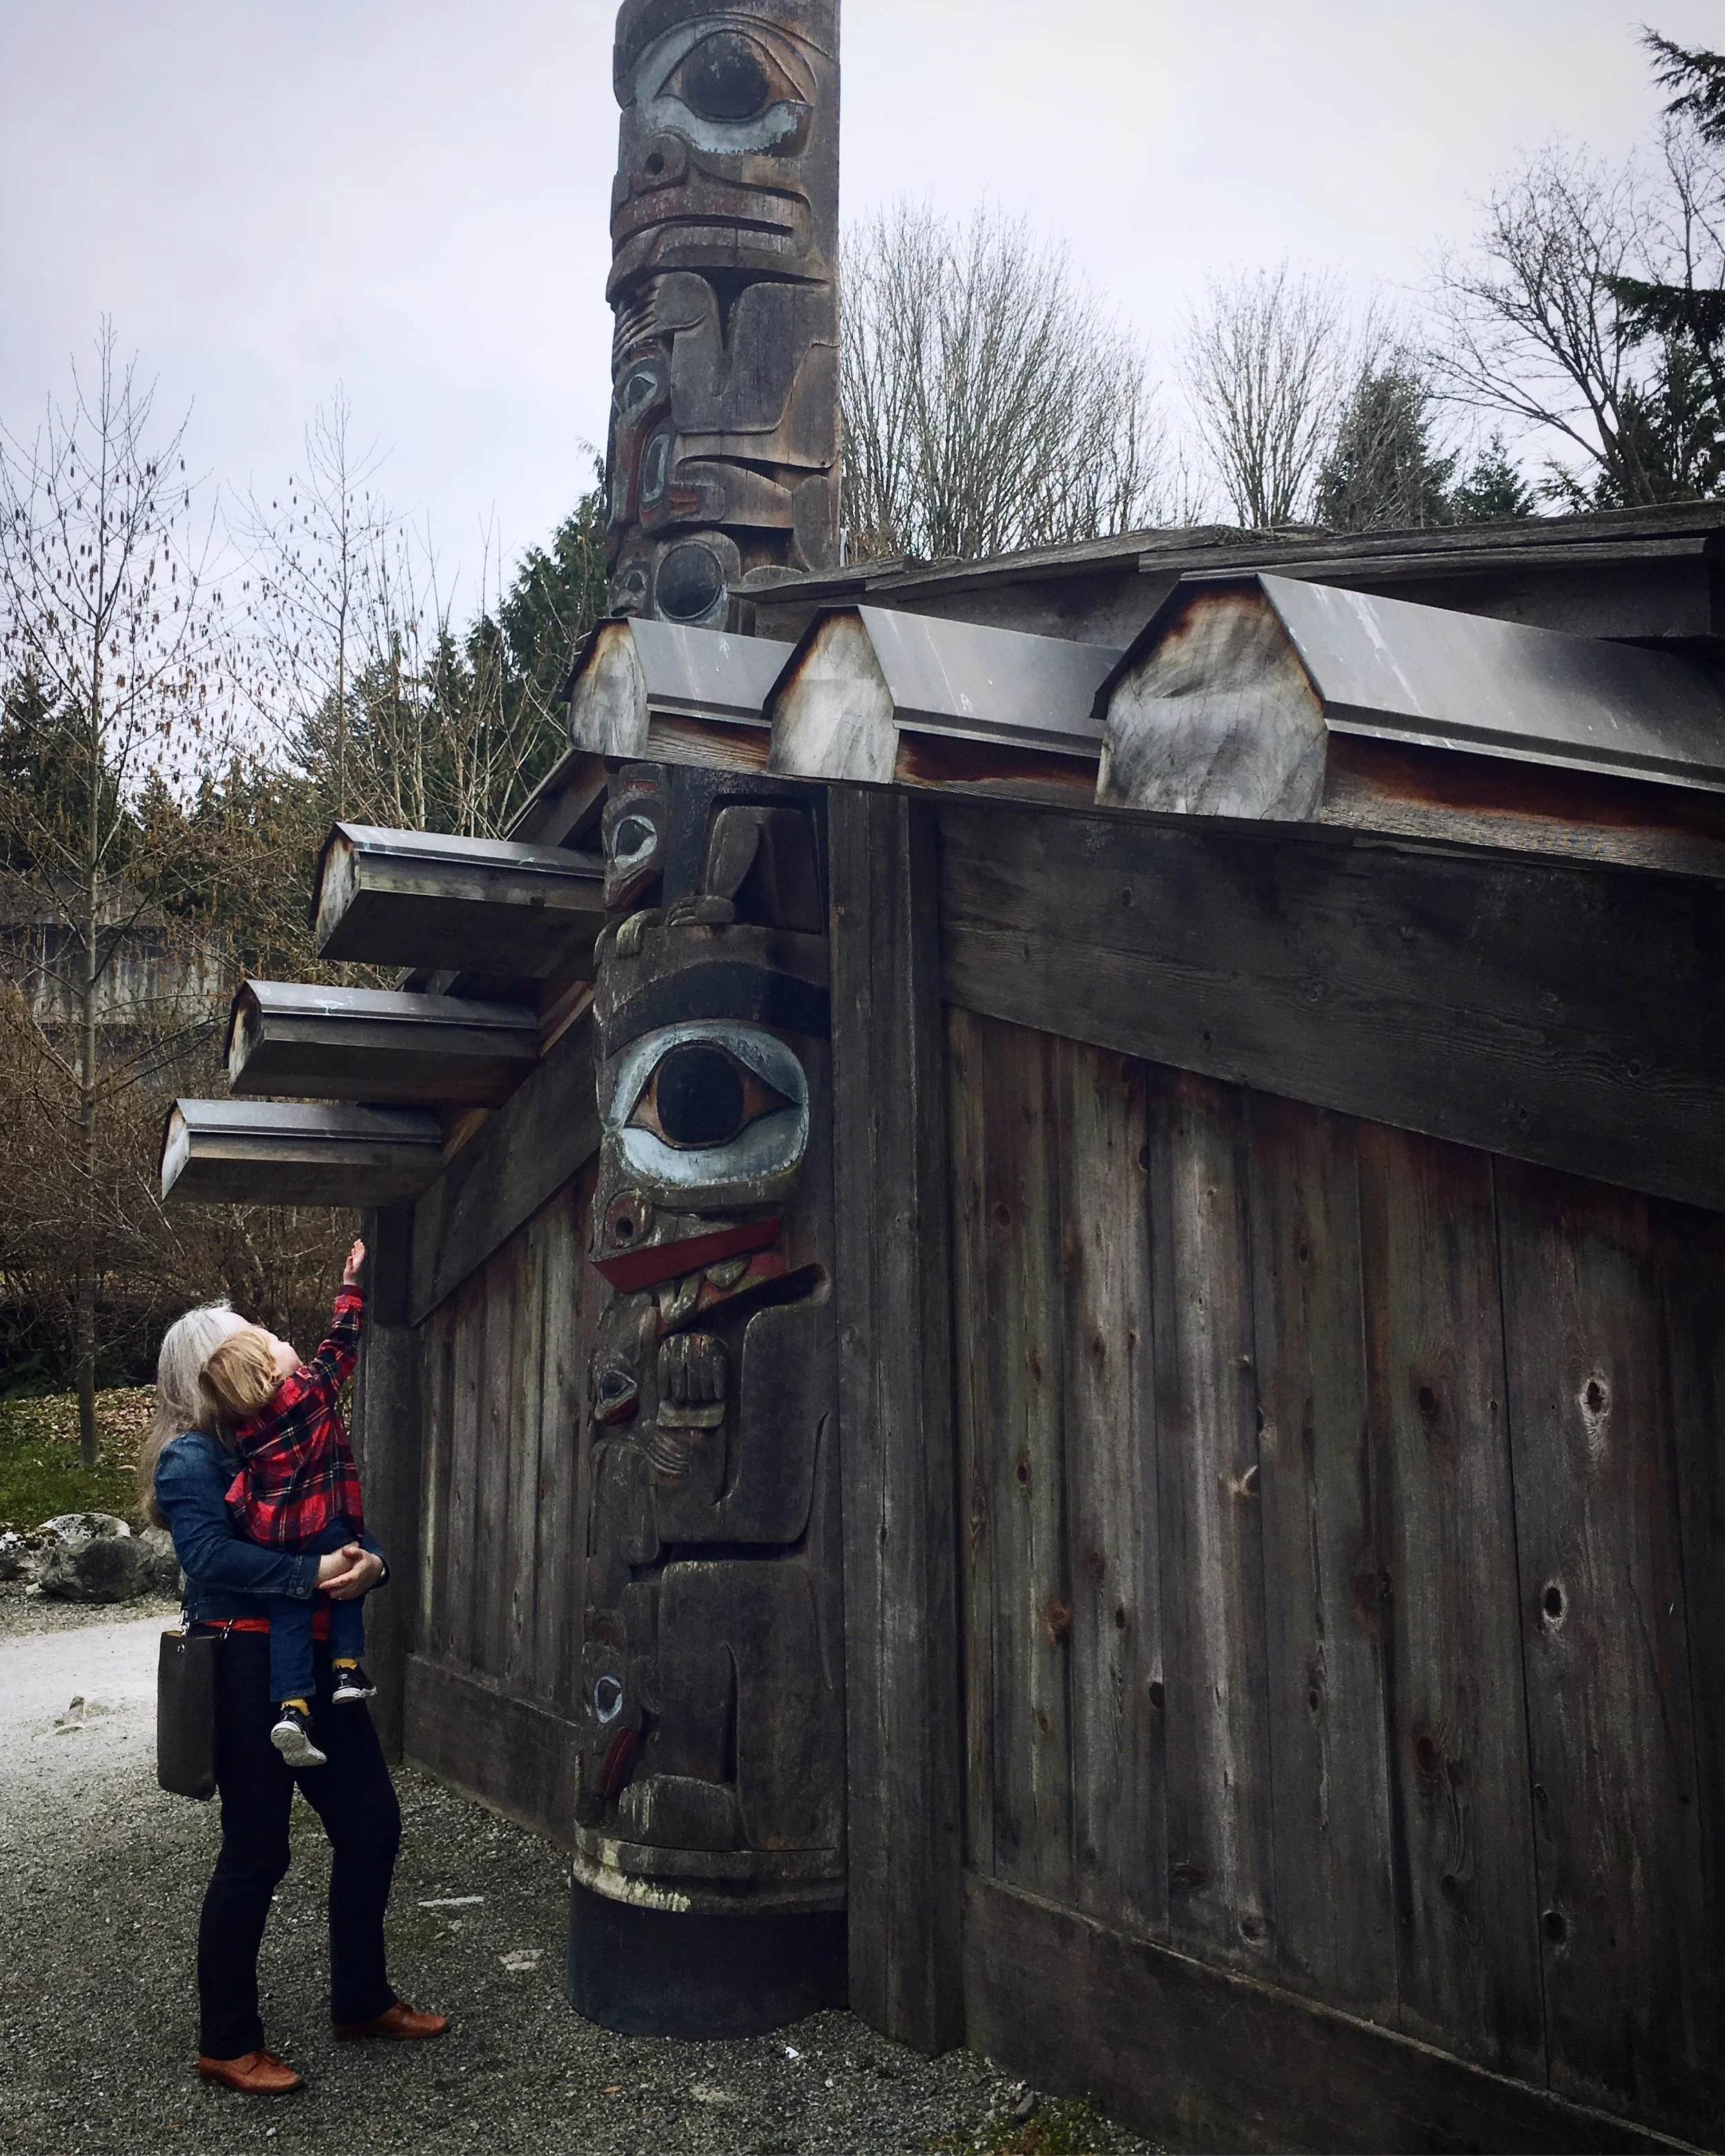
We had a lot of little trips throughout the year, and we were so happy to be able to take a flight to visit family in Manitoba. There were so many firsts in Little Forager’s second year, and we enjoyed soaking up every minute of them - especially his first real experiences with the ocean, and his first airplane trip!

IMG_0177.JPG
IMG_0611.JPG
IMG_0879.jpeg
IMG_0491.JPG

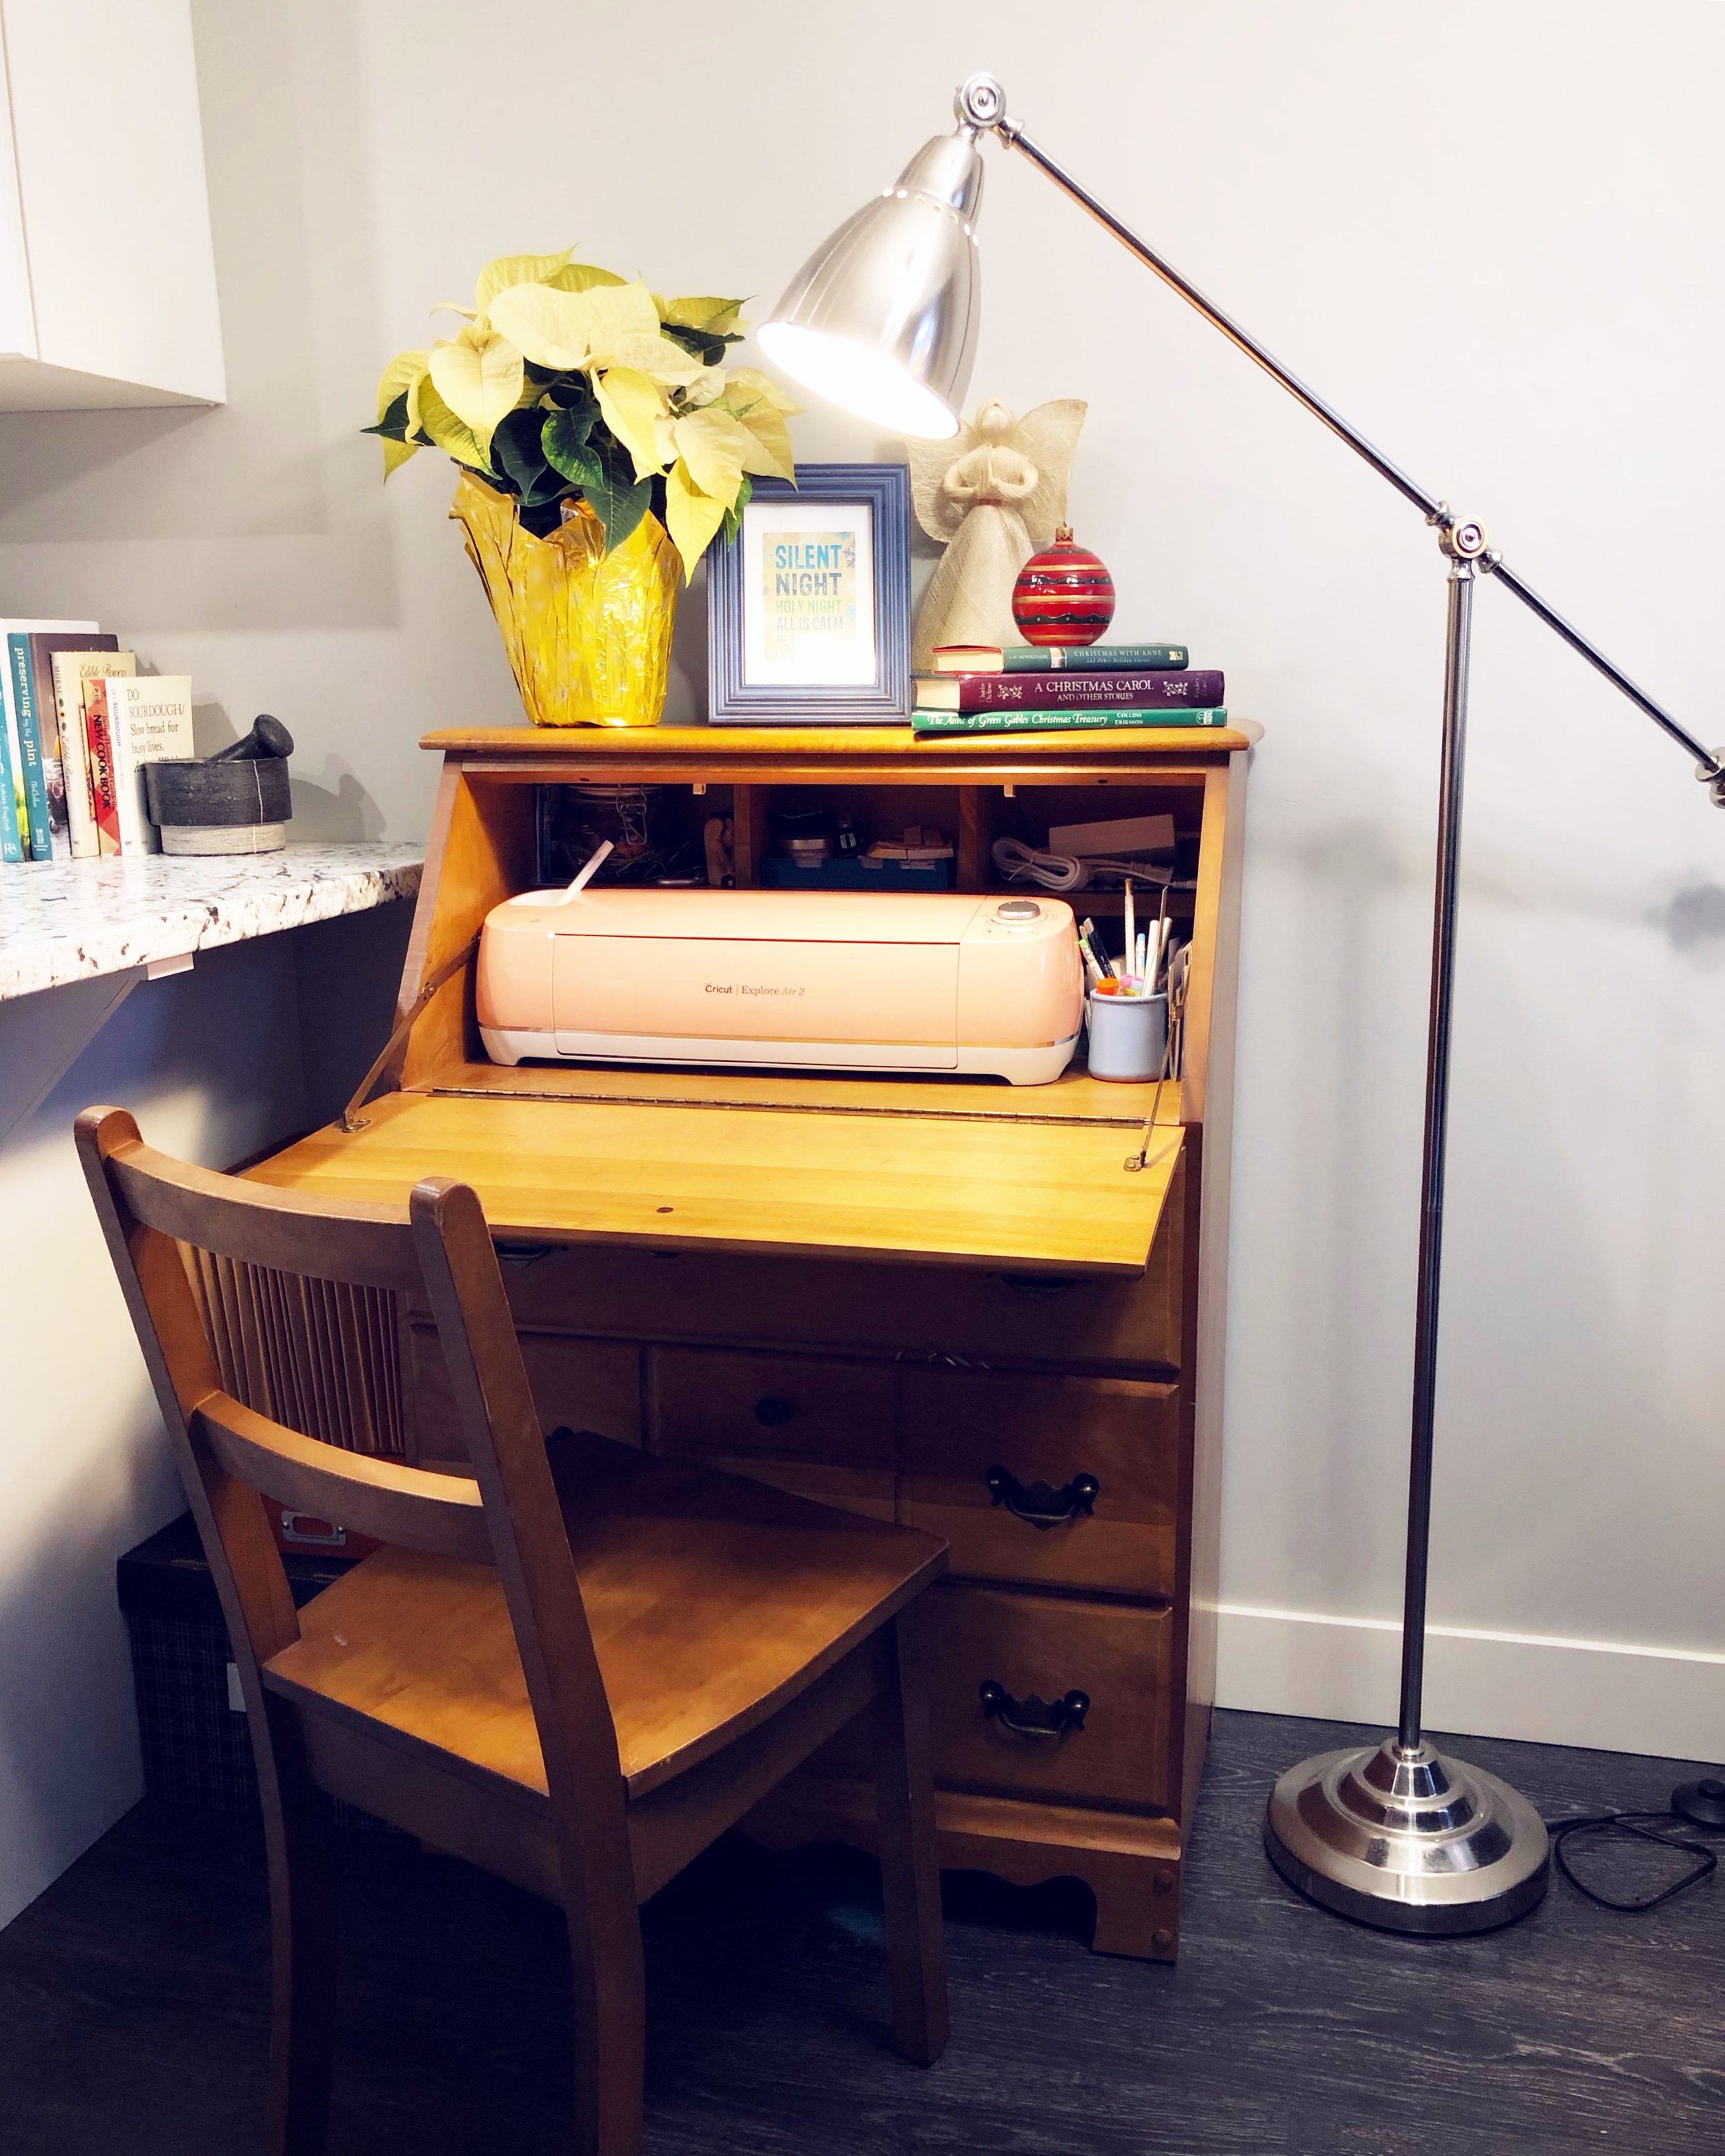
This year was the first full year the A Forager’s Home Shop was open for business, and it was really nice to have that outlet for my creativity. I really enjoy making things for others, and I have been so blown away by your support in this endeavour! I look forward to what the coming year brings!

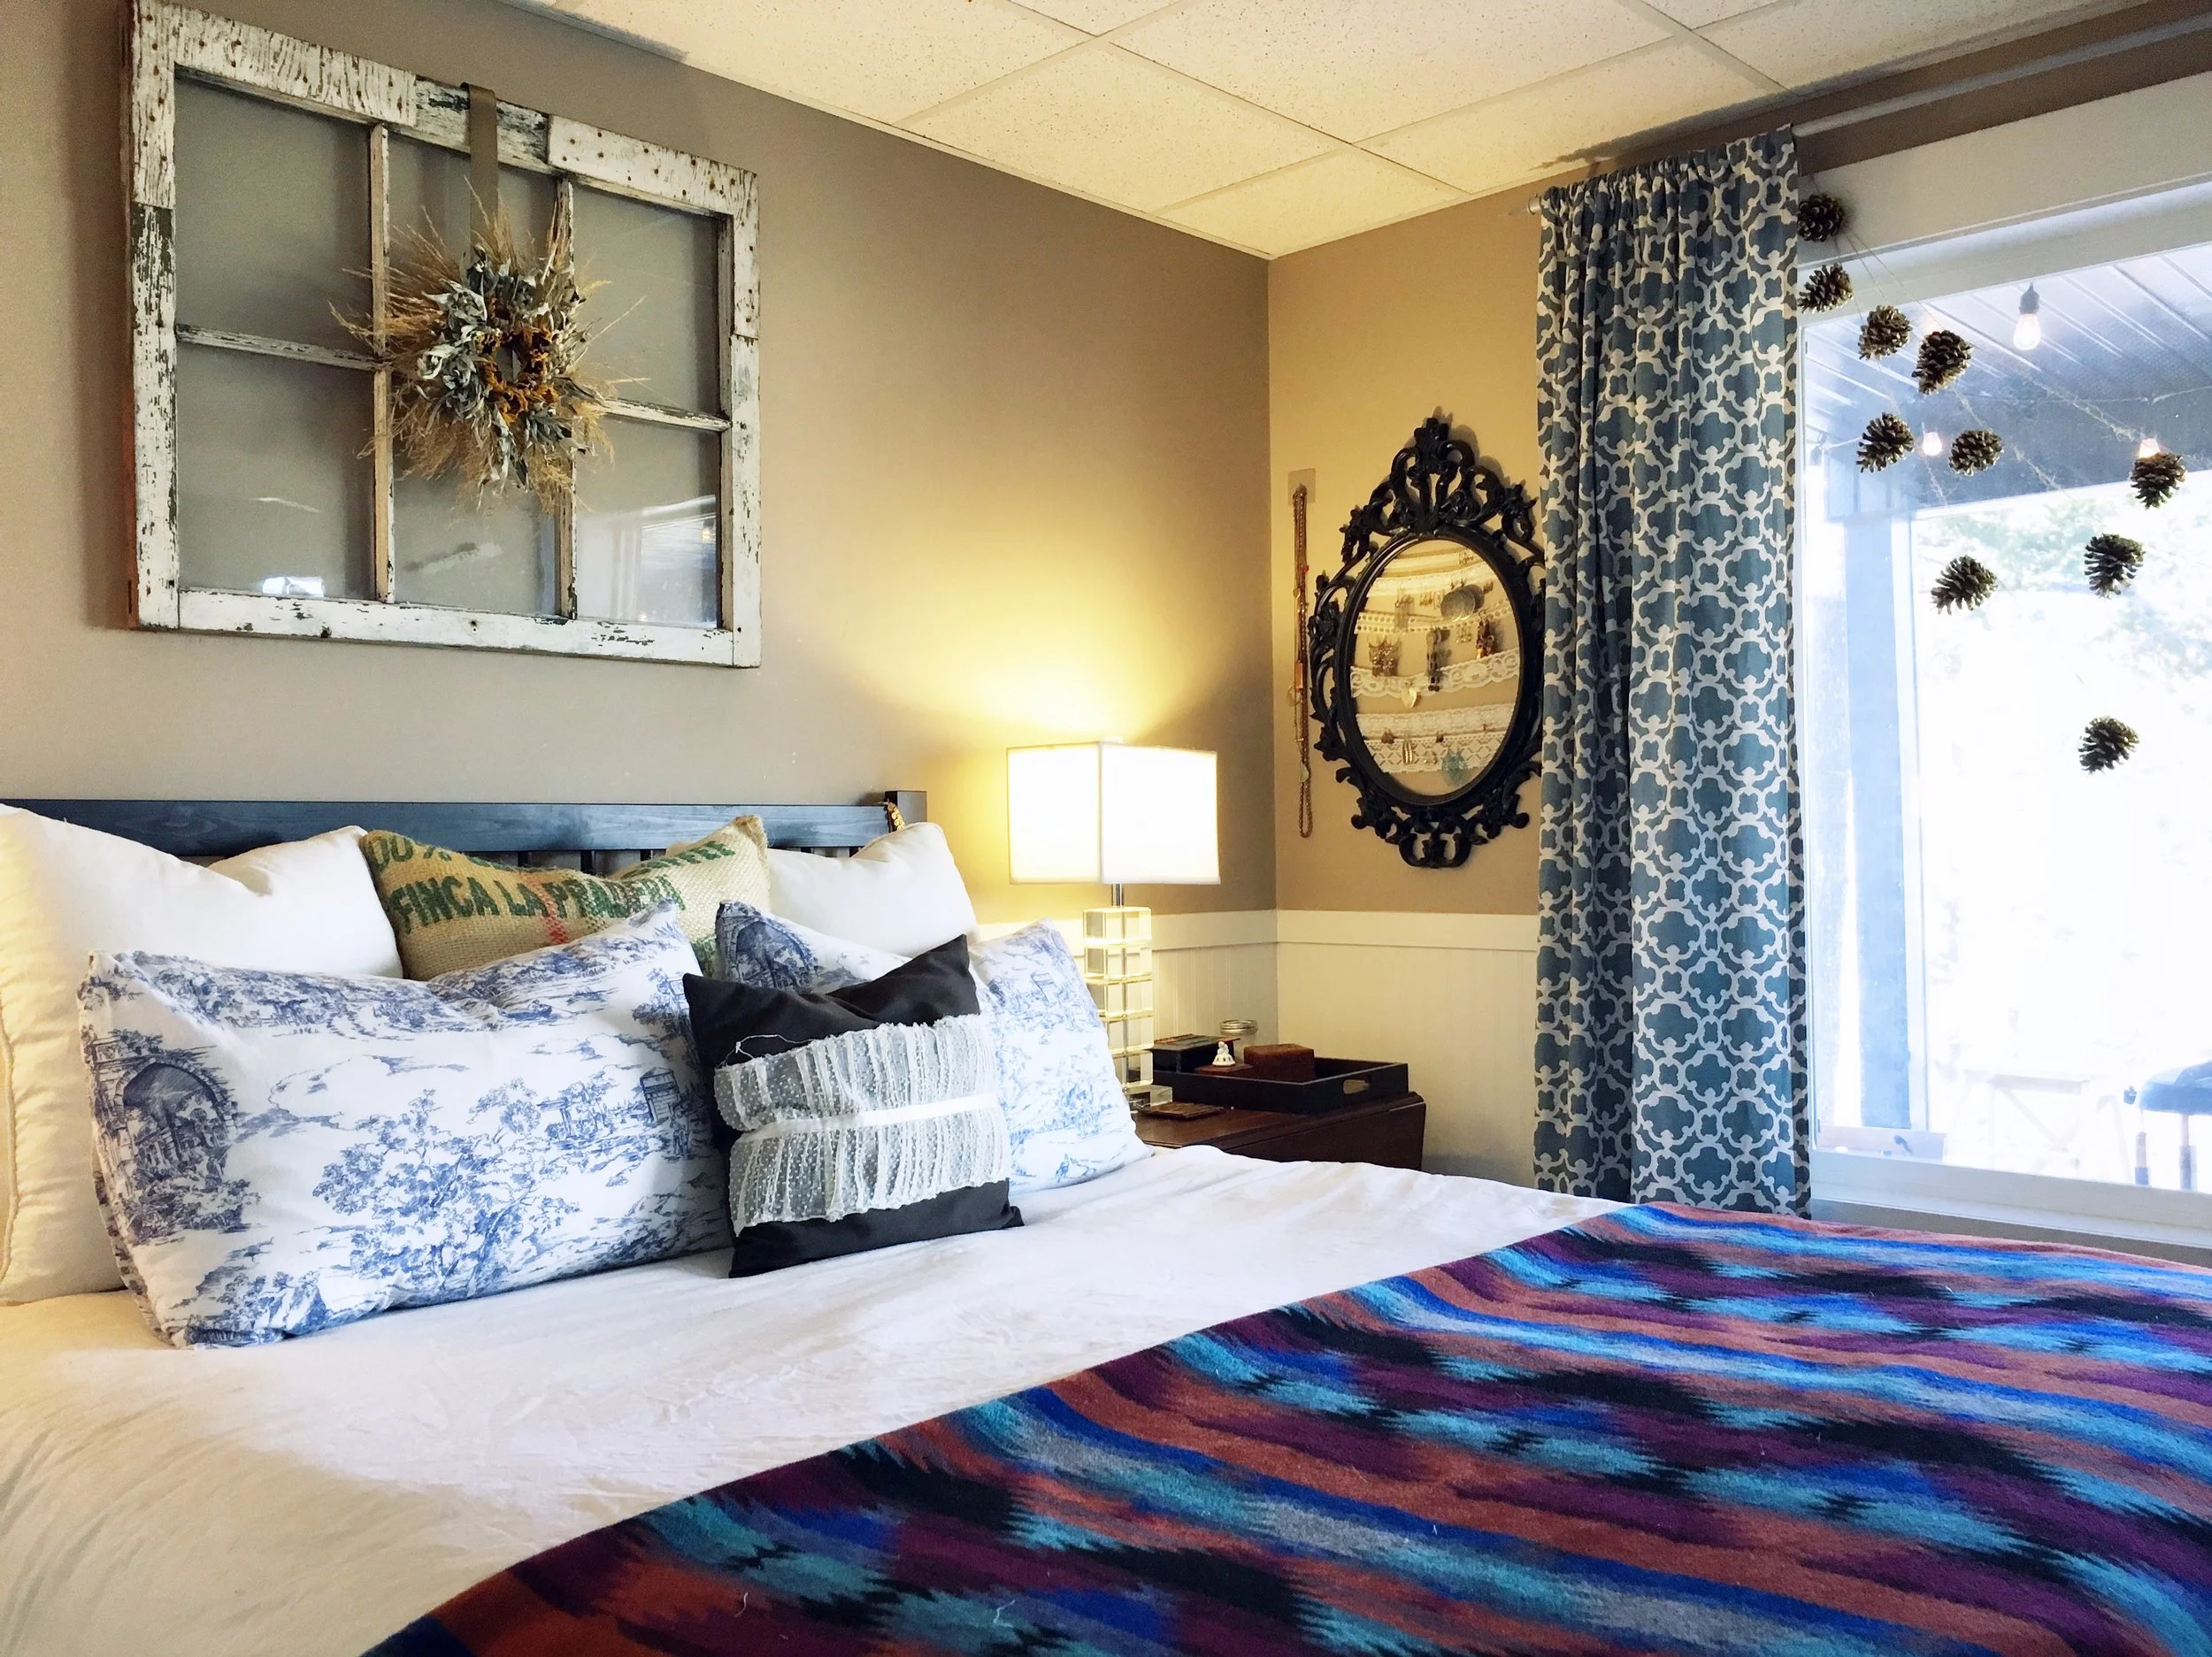
In addition to my regular topics, I also took more of a focus on eco-friendly home decor and/or organization on a budget on the blog. There are not a lot of gardening and foraging topics to cover in my area in the winter, so last year I shared how I redid my bedroom spending only $10. I also was able to feature a few of my products in there including the now out of stock autumn forage wreath, and the golden pinecone garland (still in stock and available in gold or silver via the link to the right).

IMG_8524.JPG

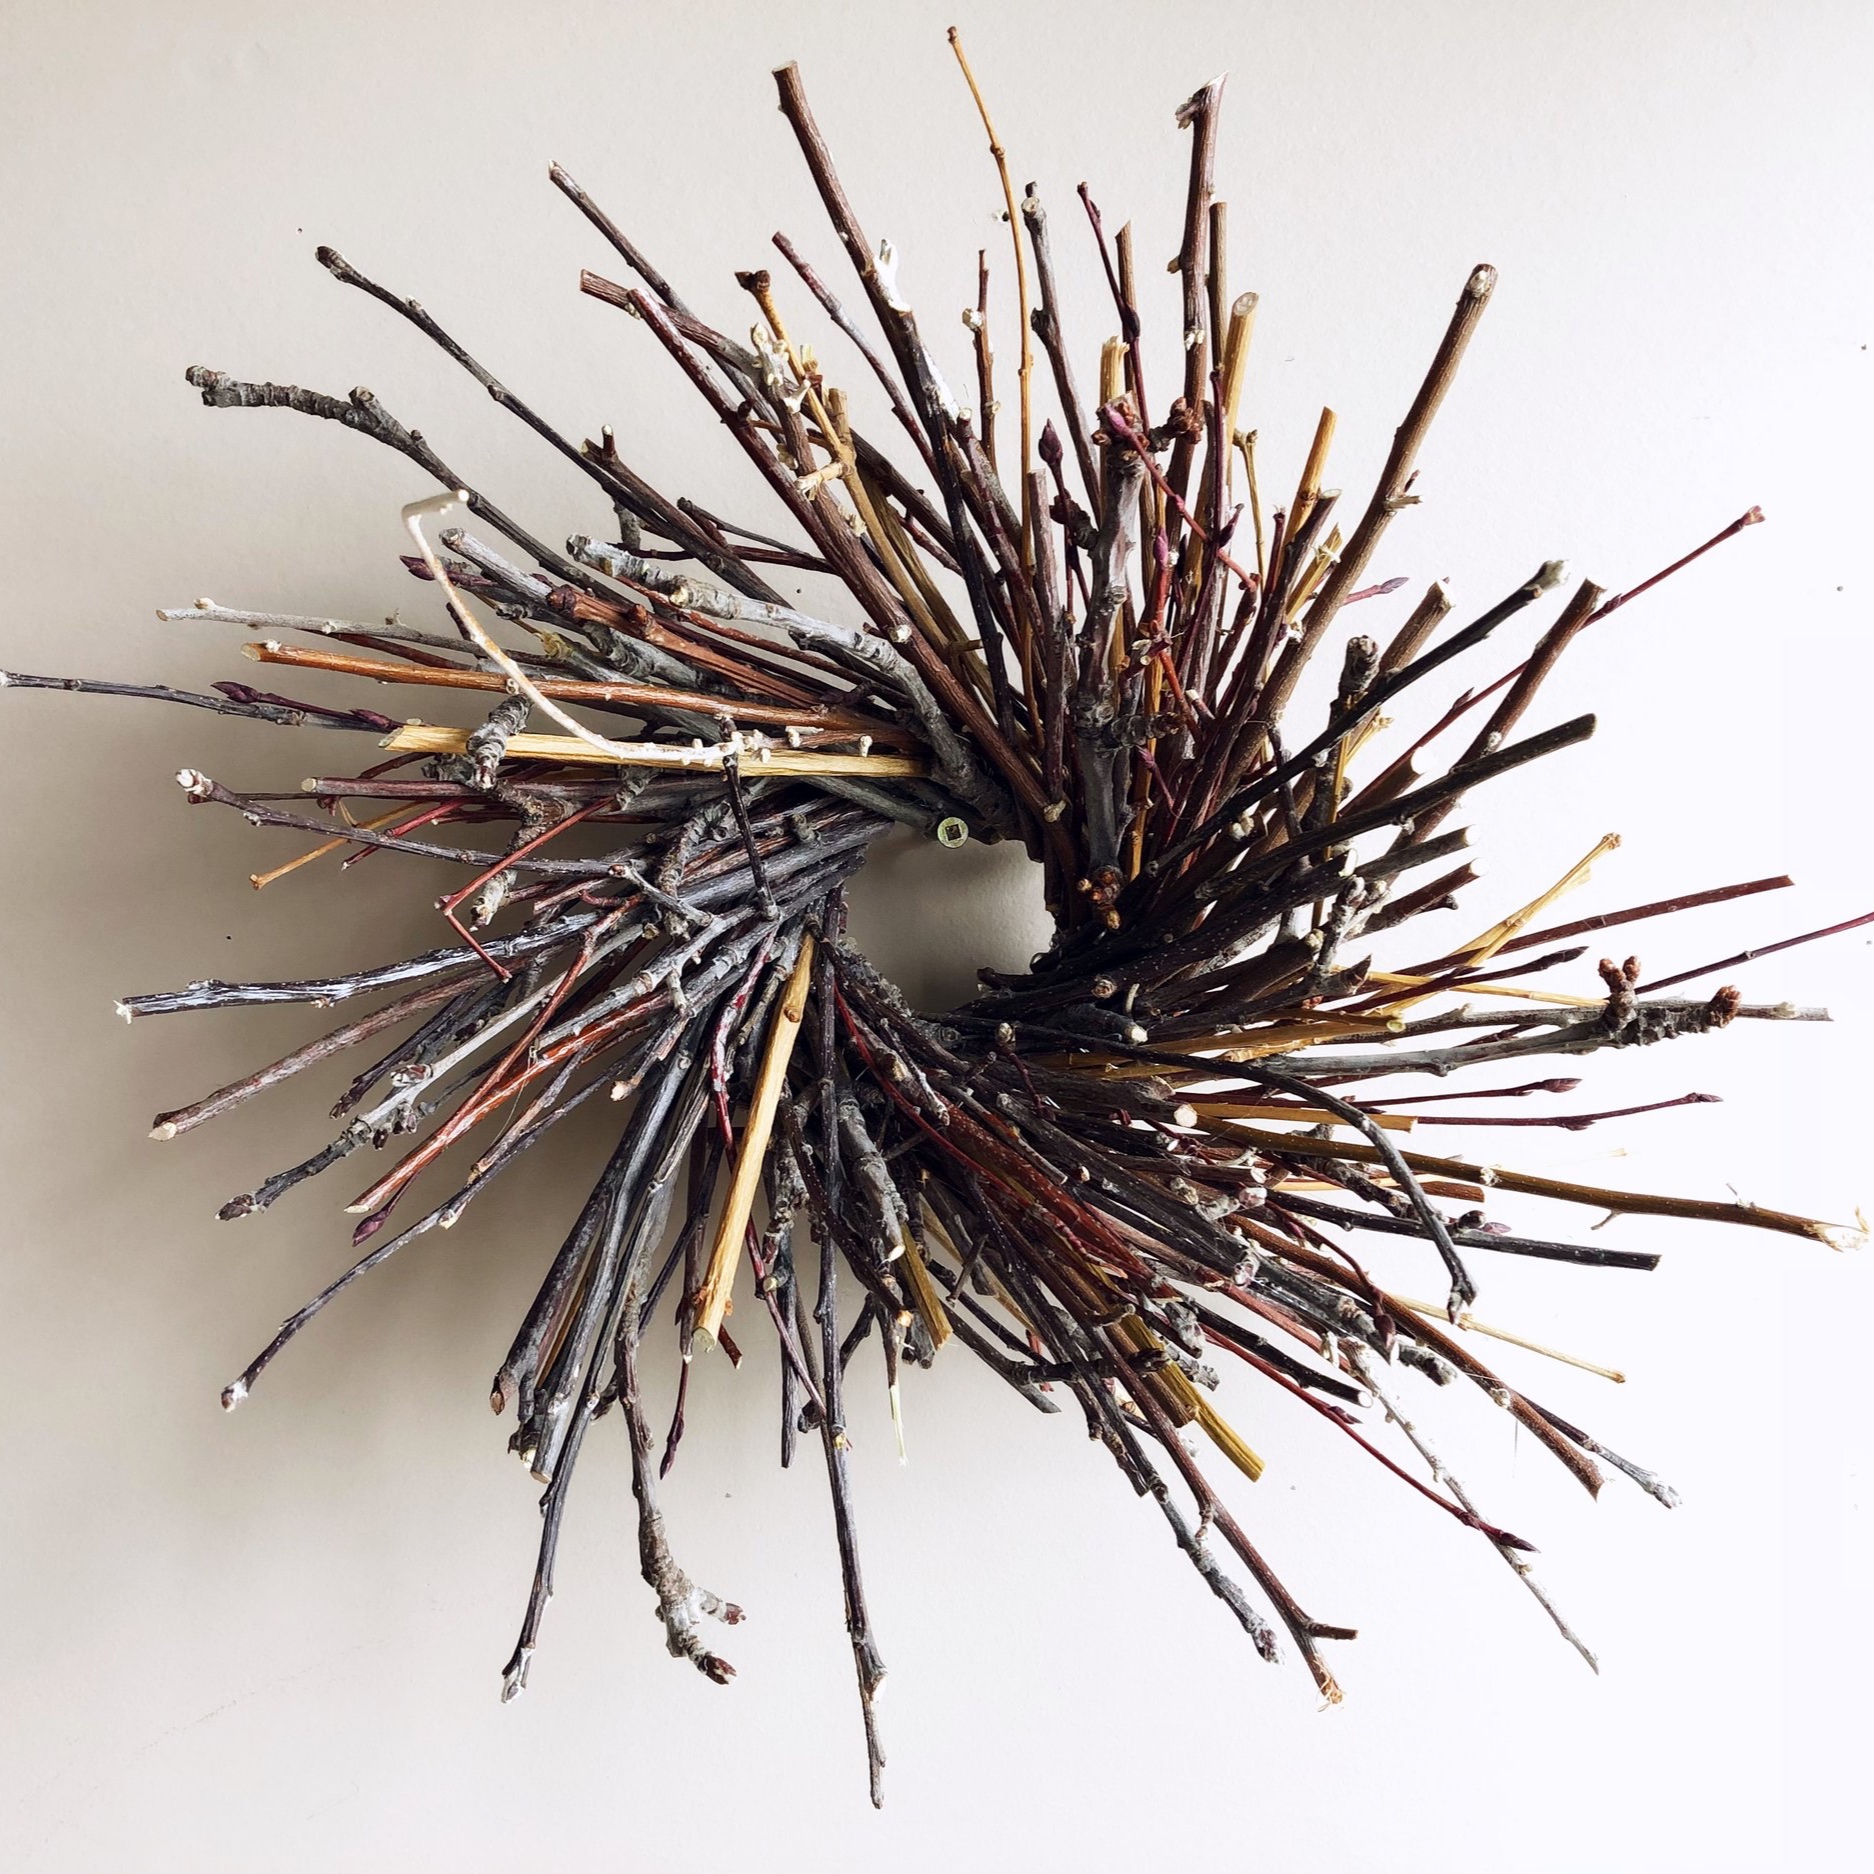
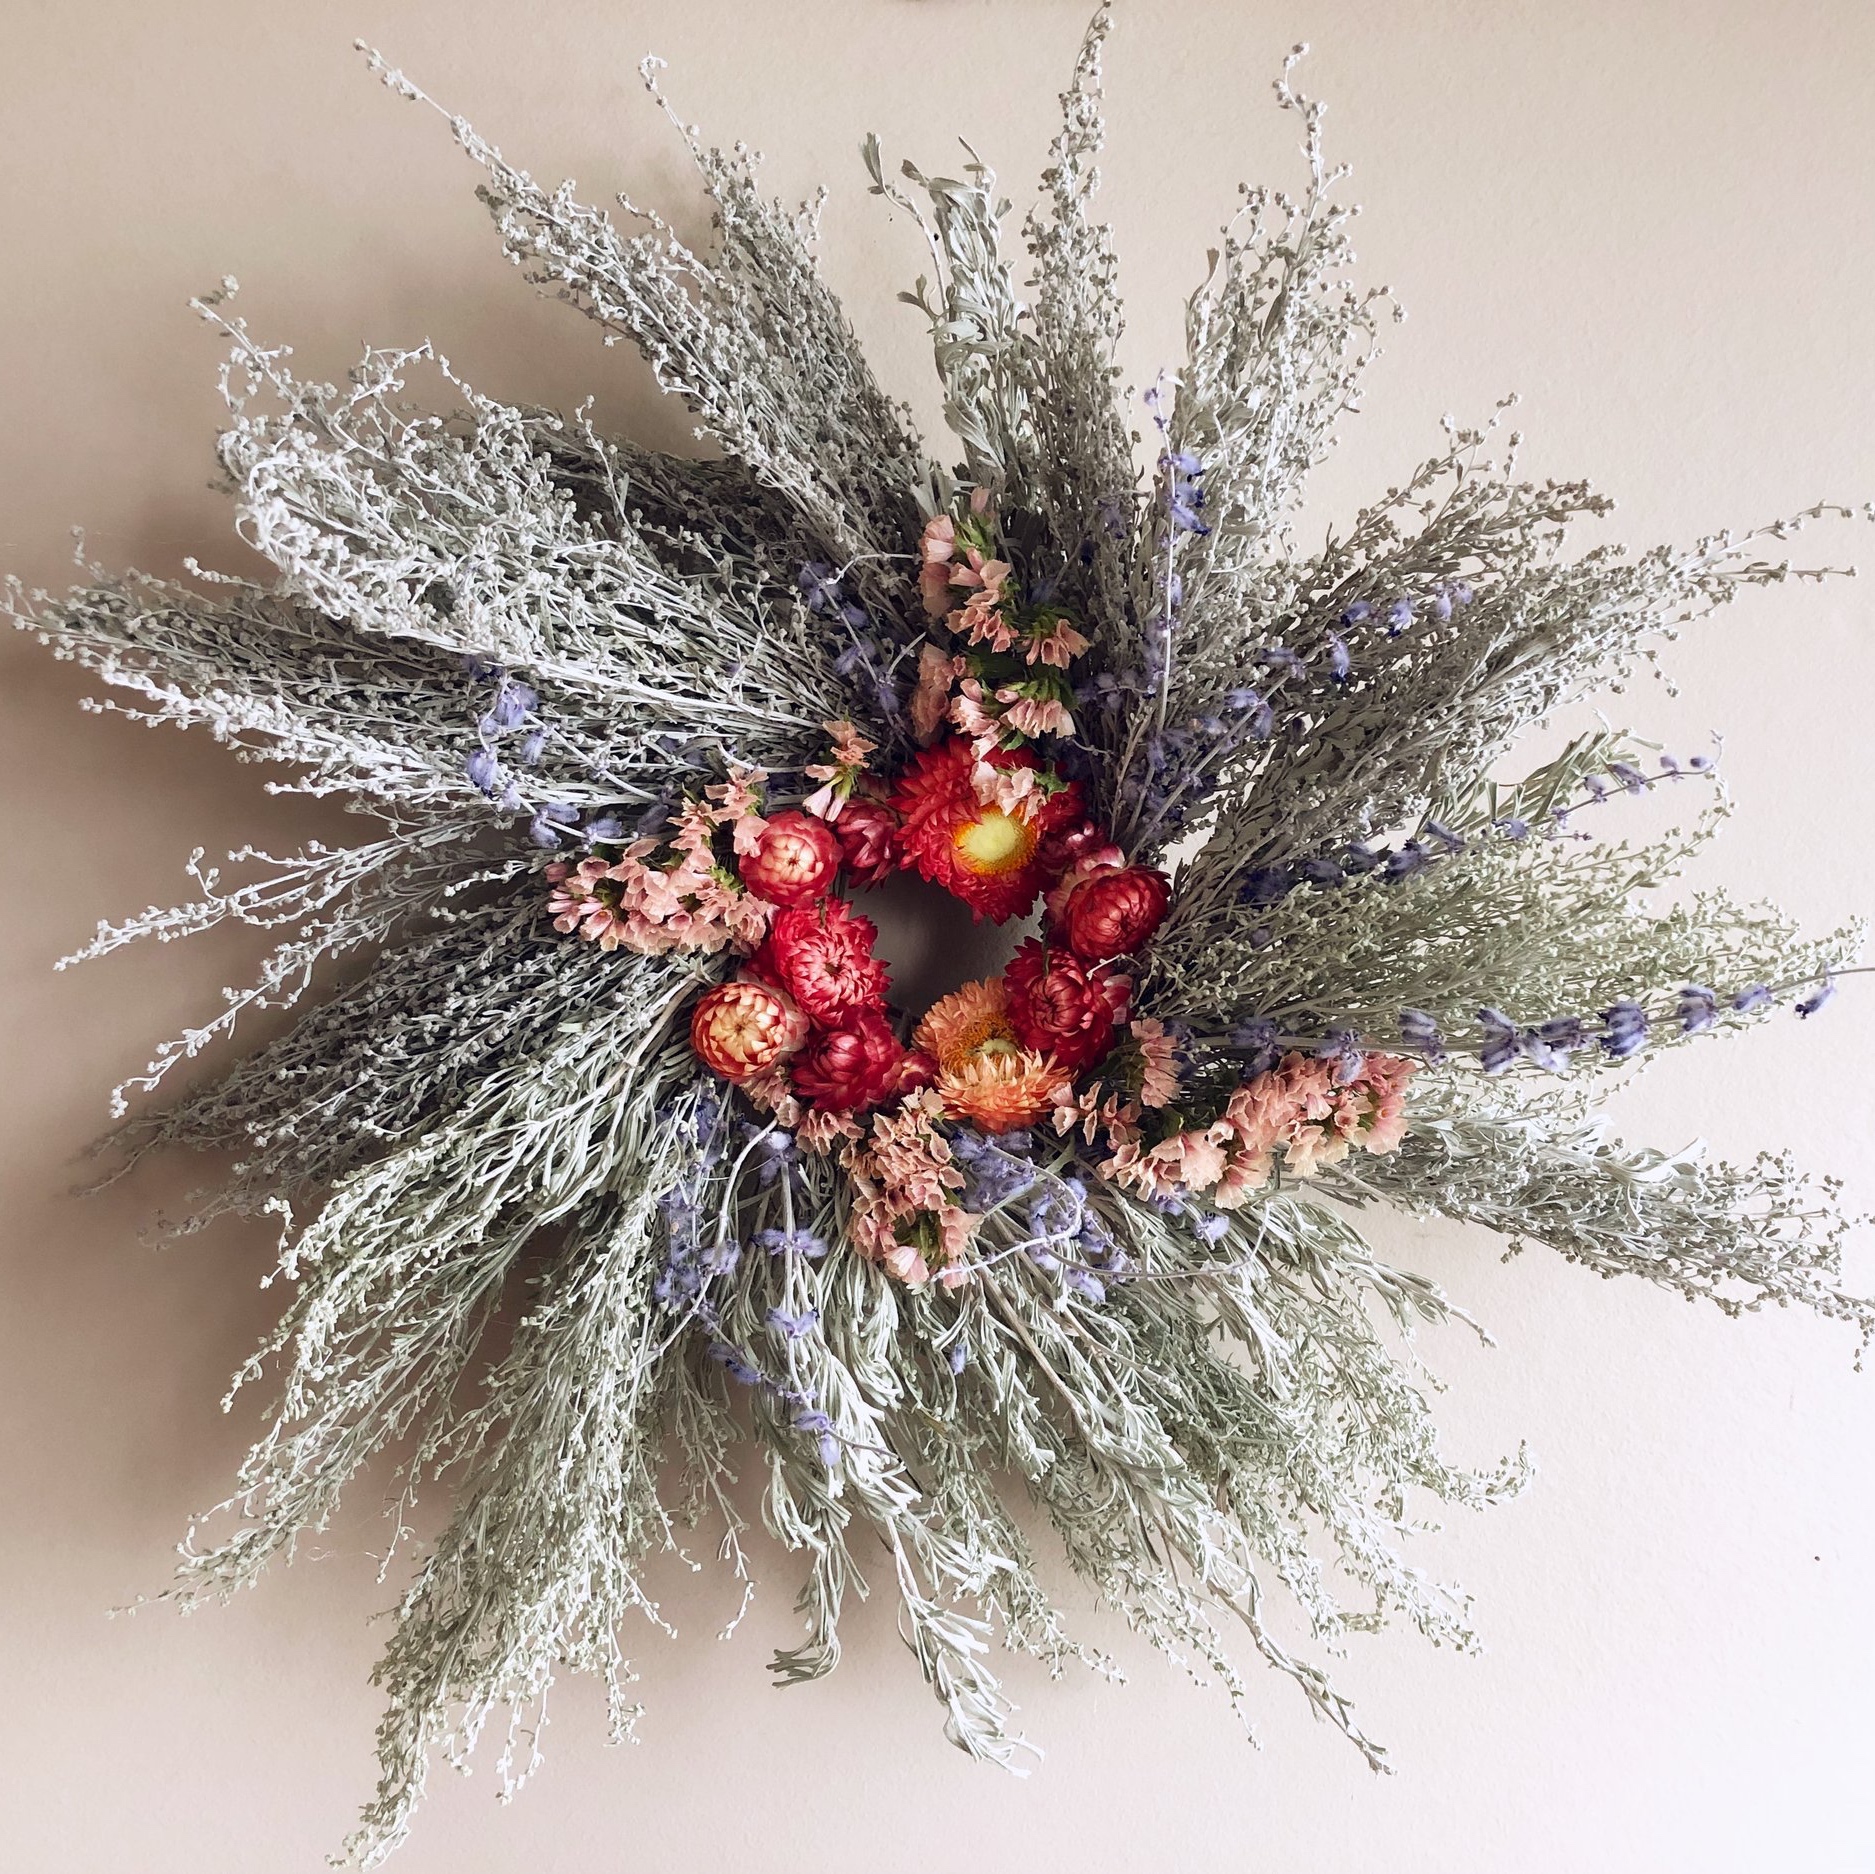
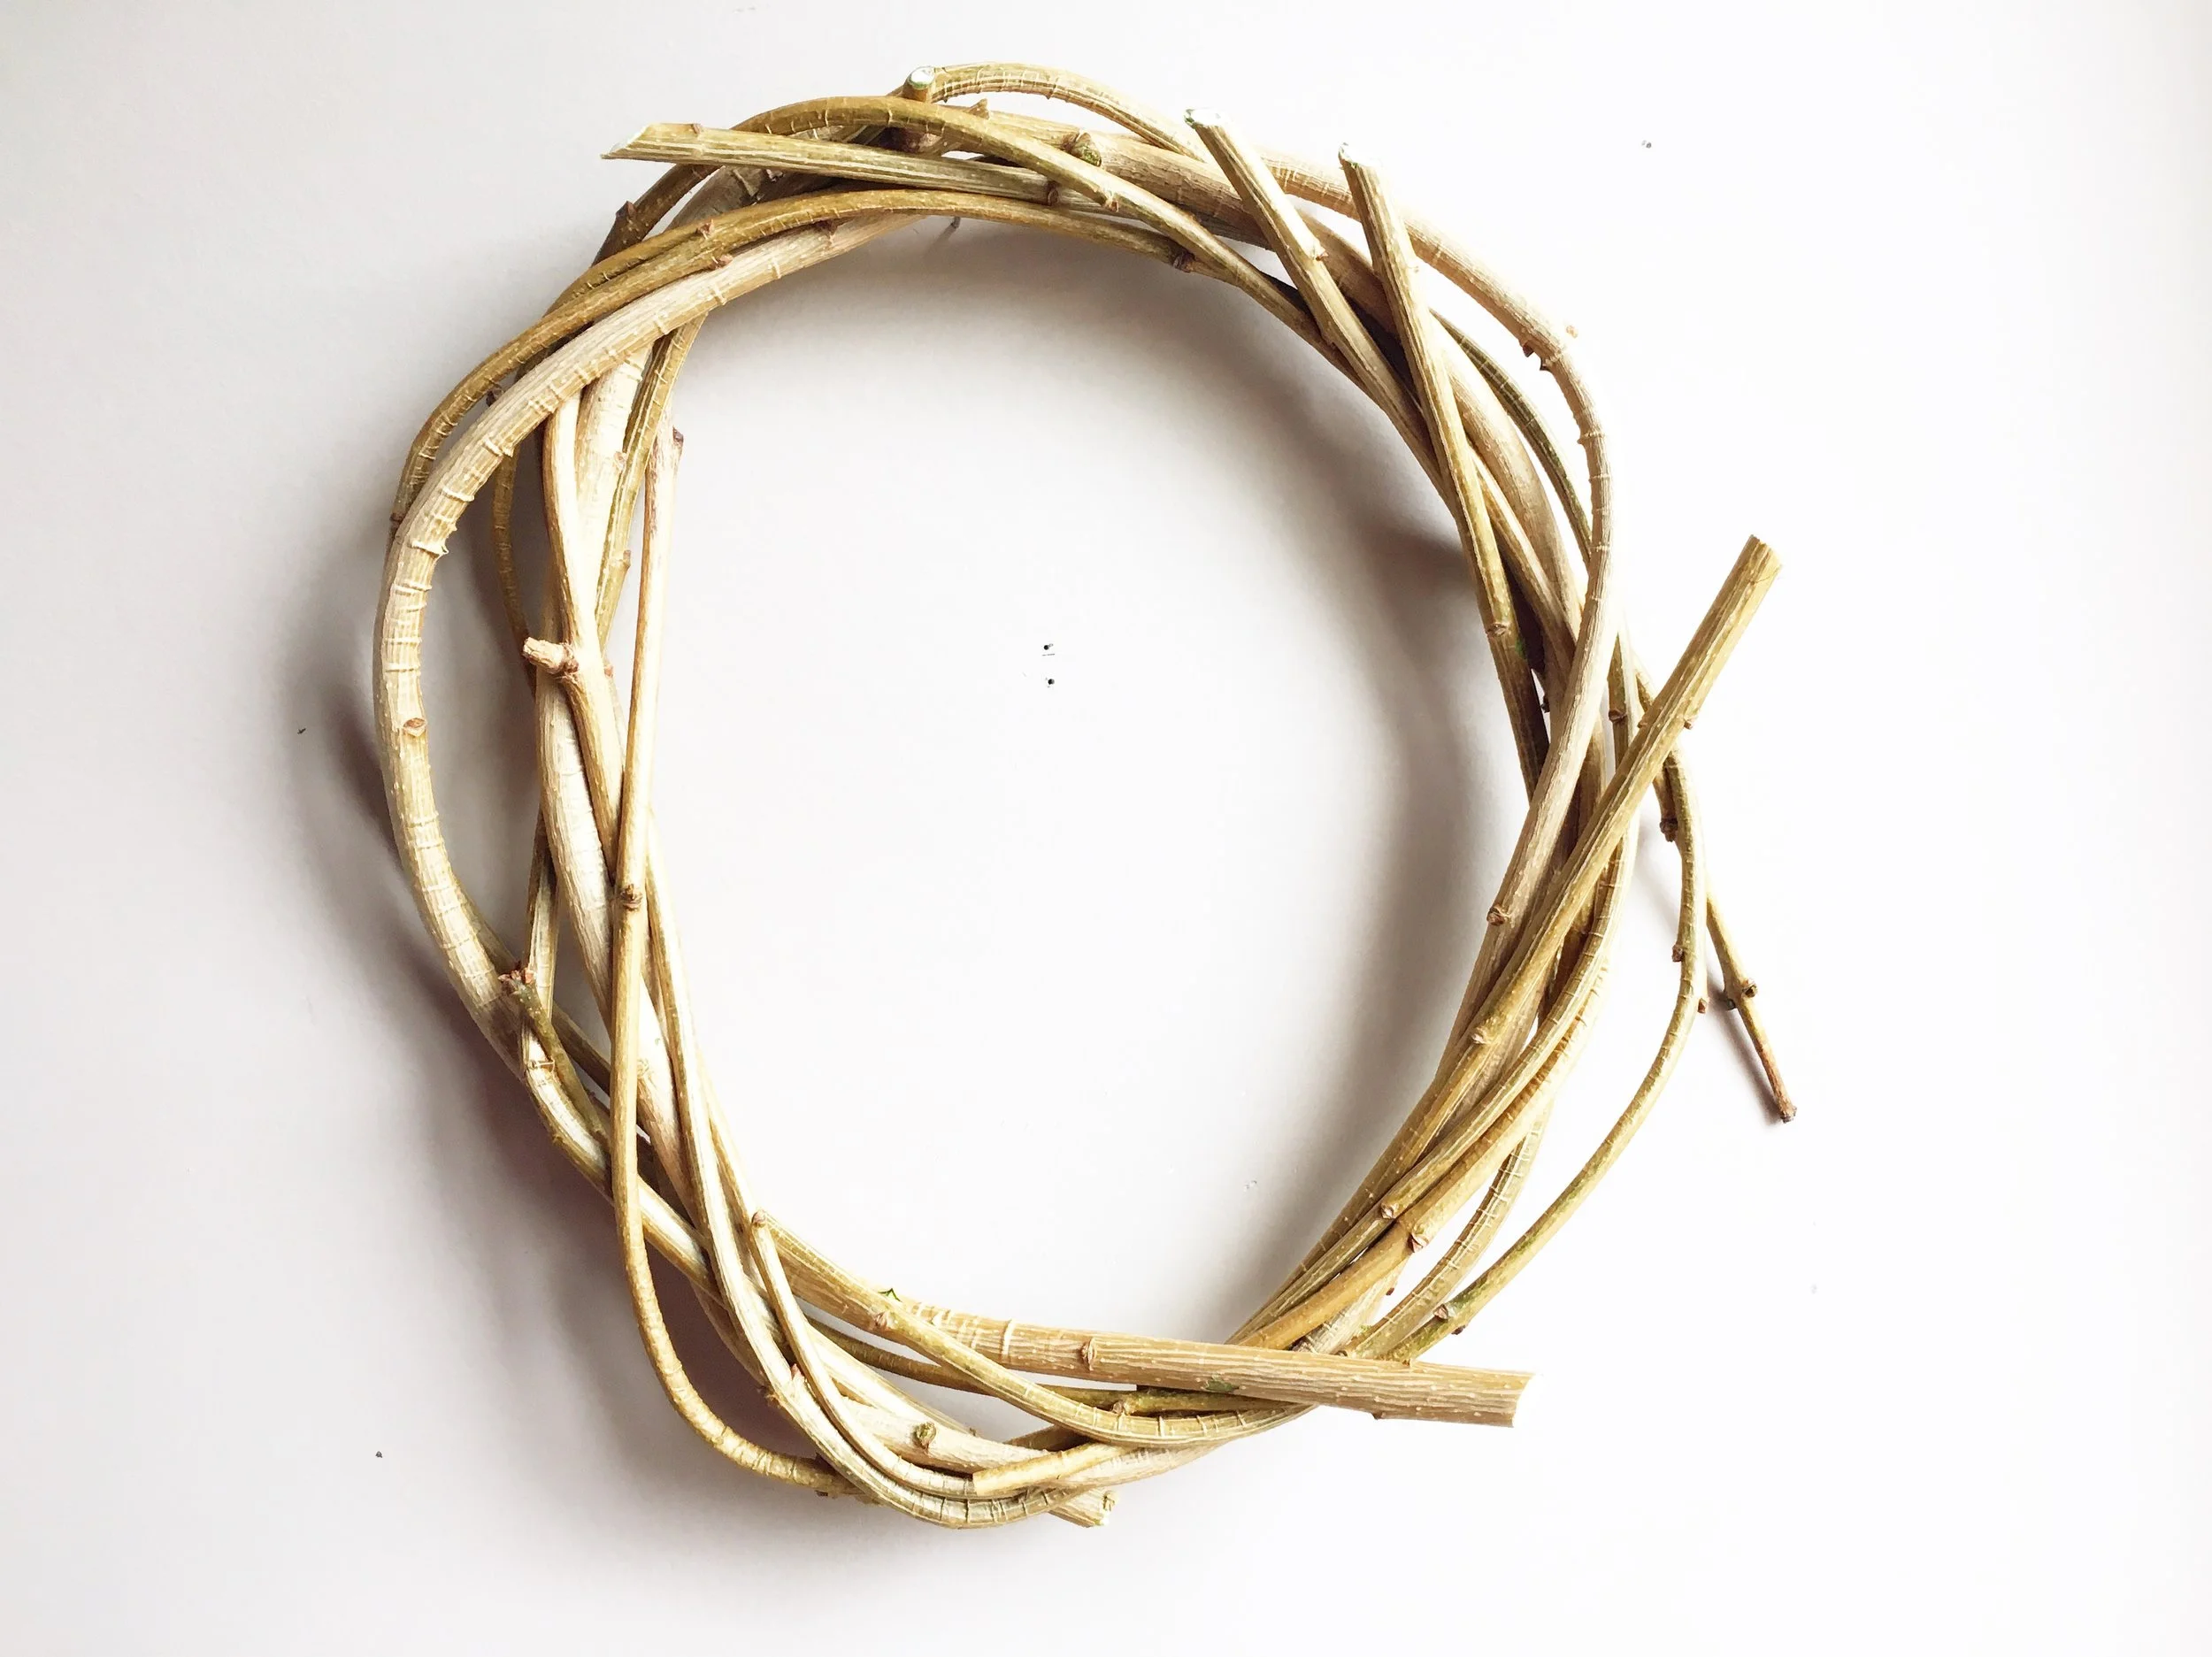
I was able to make so many beautiful wreaths for the shop this year! Some of them were absolutely one of a kind, and will not be made again, others I will probably recreate like the sagebrush wreath and twig wreaths below. The Autumn Forage Wreath (pictured above in my bedroom), and the Summer Forage Wreath (pictured below, second from the right) were made from what was available at the time, and while I might make something like them again, I won’t be able to exactly recreate them. You can shop the current wreath collection by clicking here.

edited.jpg
IMG_0221.jpg
edited.jpg
IMG_8477.jpg
Fabric Twine Basket

Fabric Twine Basket

Handwoven Rag Rug

Handwoven Rag Rug

Fabric Twine Coasters

Fabric Twine Coasters

I was also able to work on lots of items from recycled fabric this year, and that gave me a lot of joy. I get my fabric scraps from various groups that are doing really worthy work. Some of them come from a few of the ladies that are a part of my Church’s “Sewing for Dignity” group that makes clothing, baby blankets, and feminine hygiene packs for underprivileged communities. Some also come from my Grandma who is a part of her Church’s used clothing ministry and helps sort out what is quality, and what is unusable from the various donations they get. Previously all of these bits would have just become garbage, so I am happy to give them life as useful, beautiful objects.

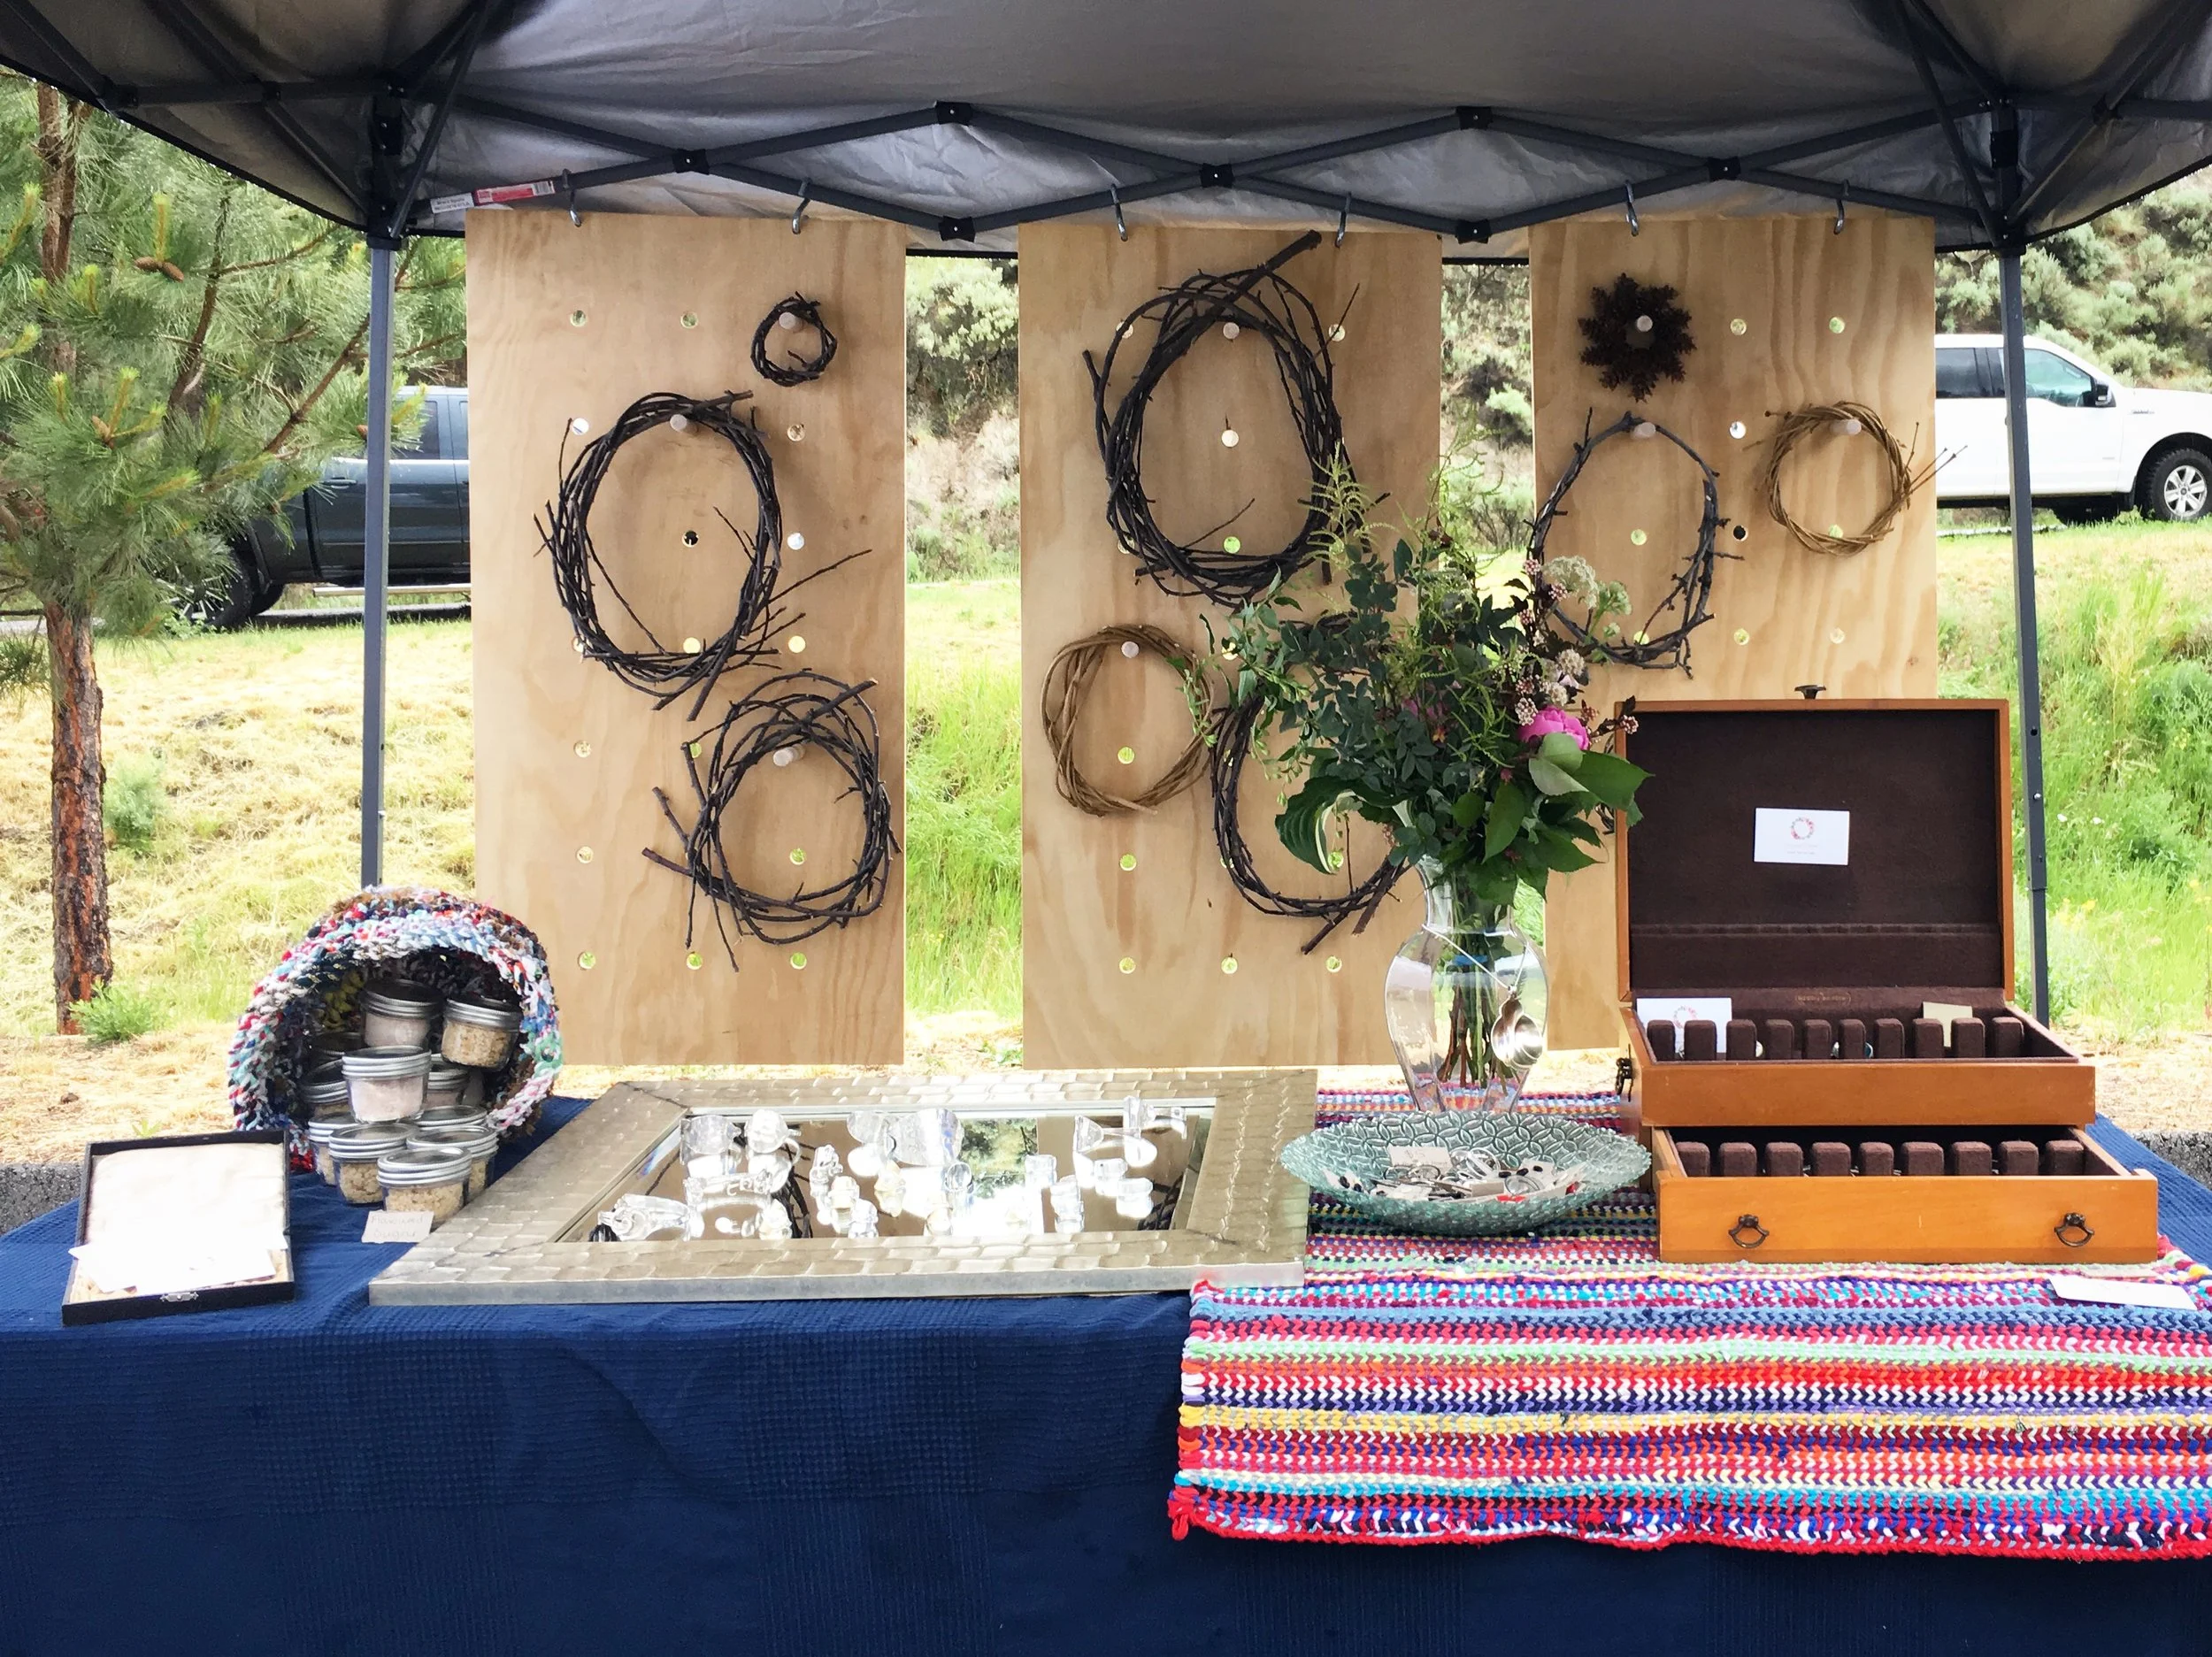
I also got a chance to be a vendor at the inaugural season of the Dallas Barnhartvale Farmers’ Market this summer. It was a really great opportunity to meet a lot of local people, and the support from my community was incredible. I’d be absolutely happy to do it over again next season!

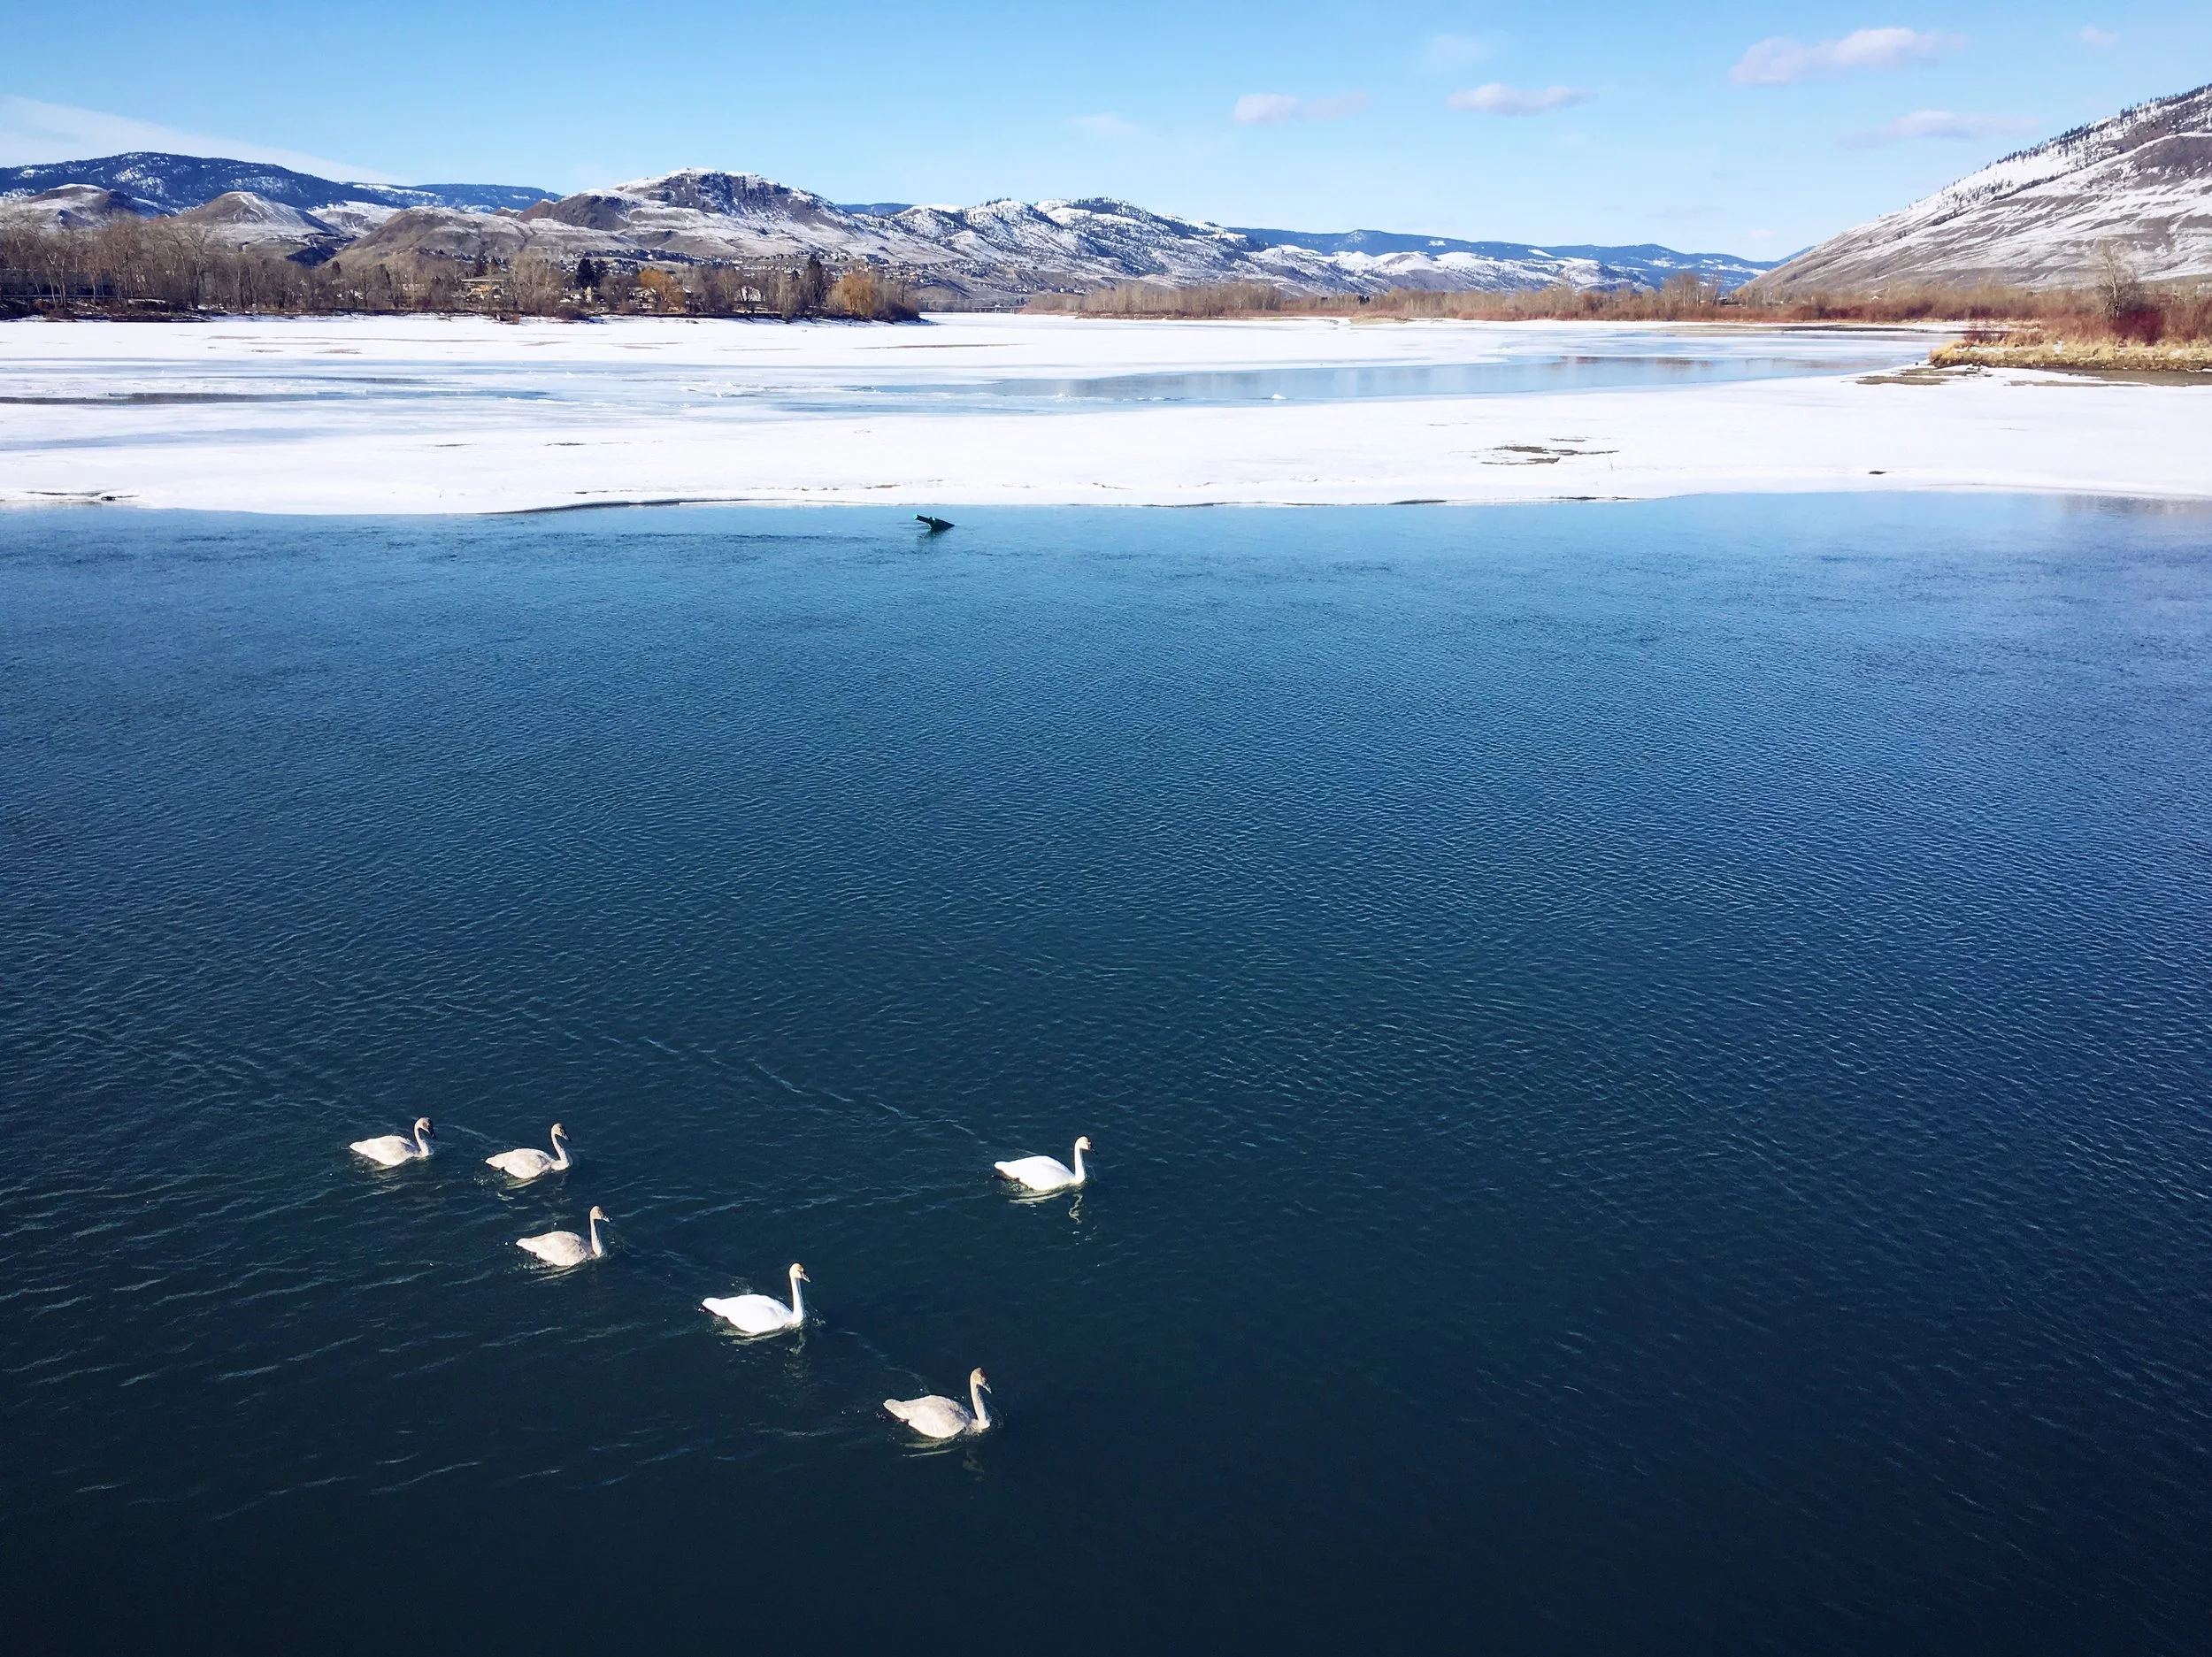
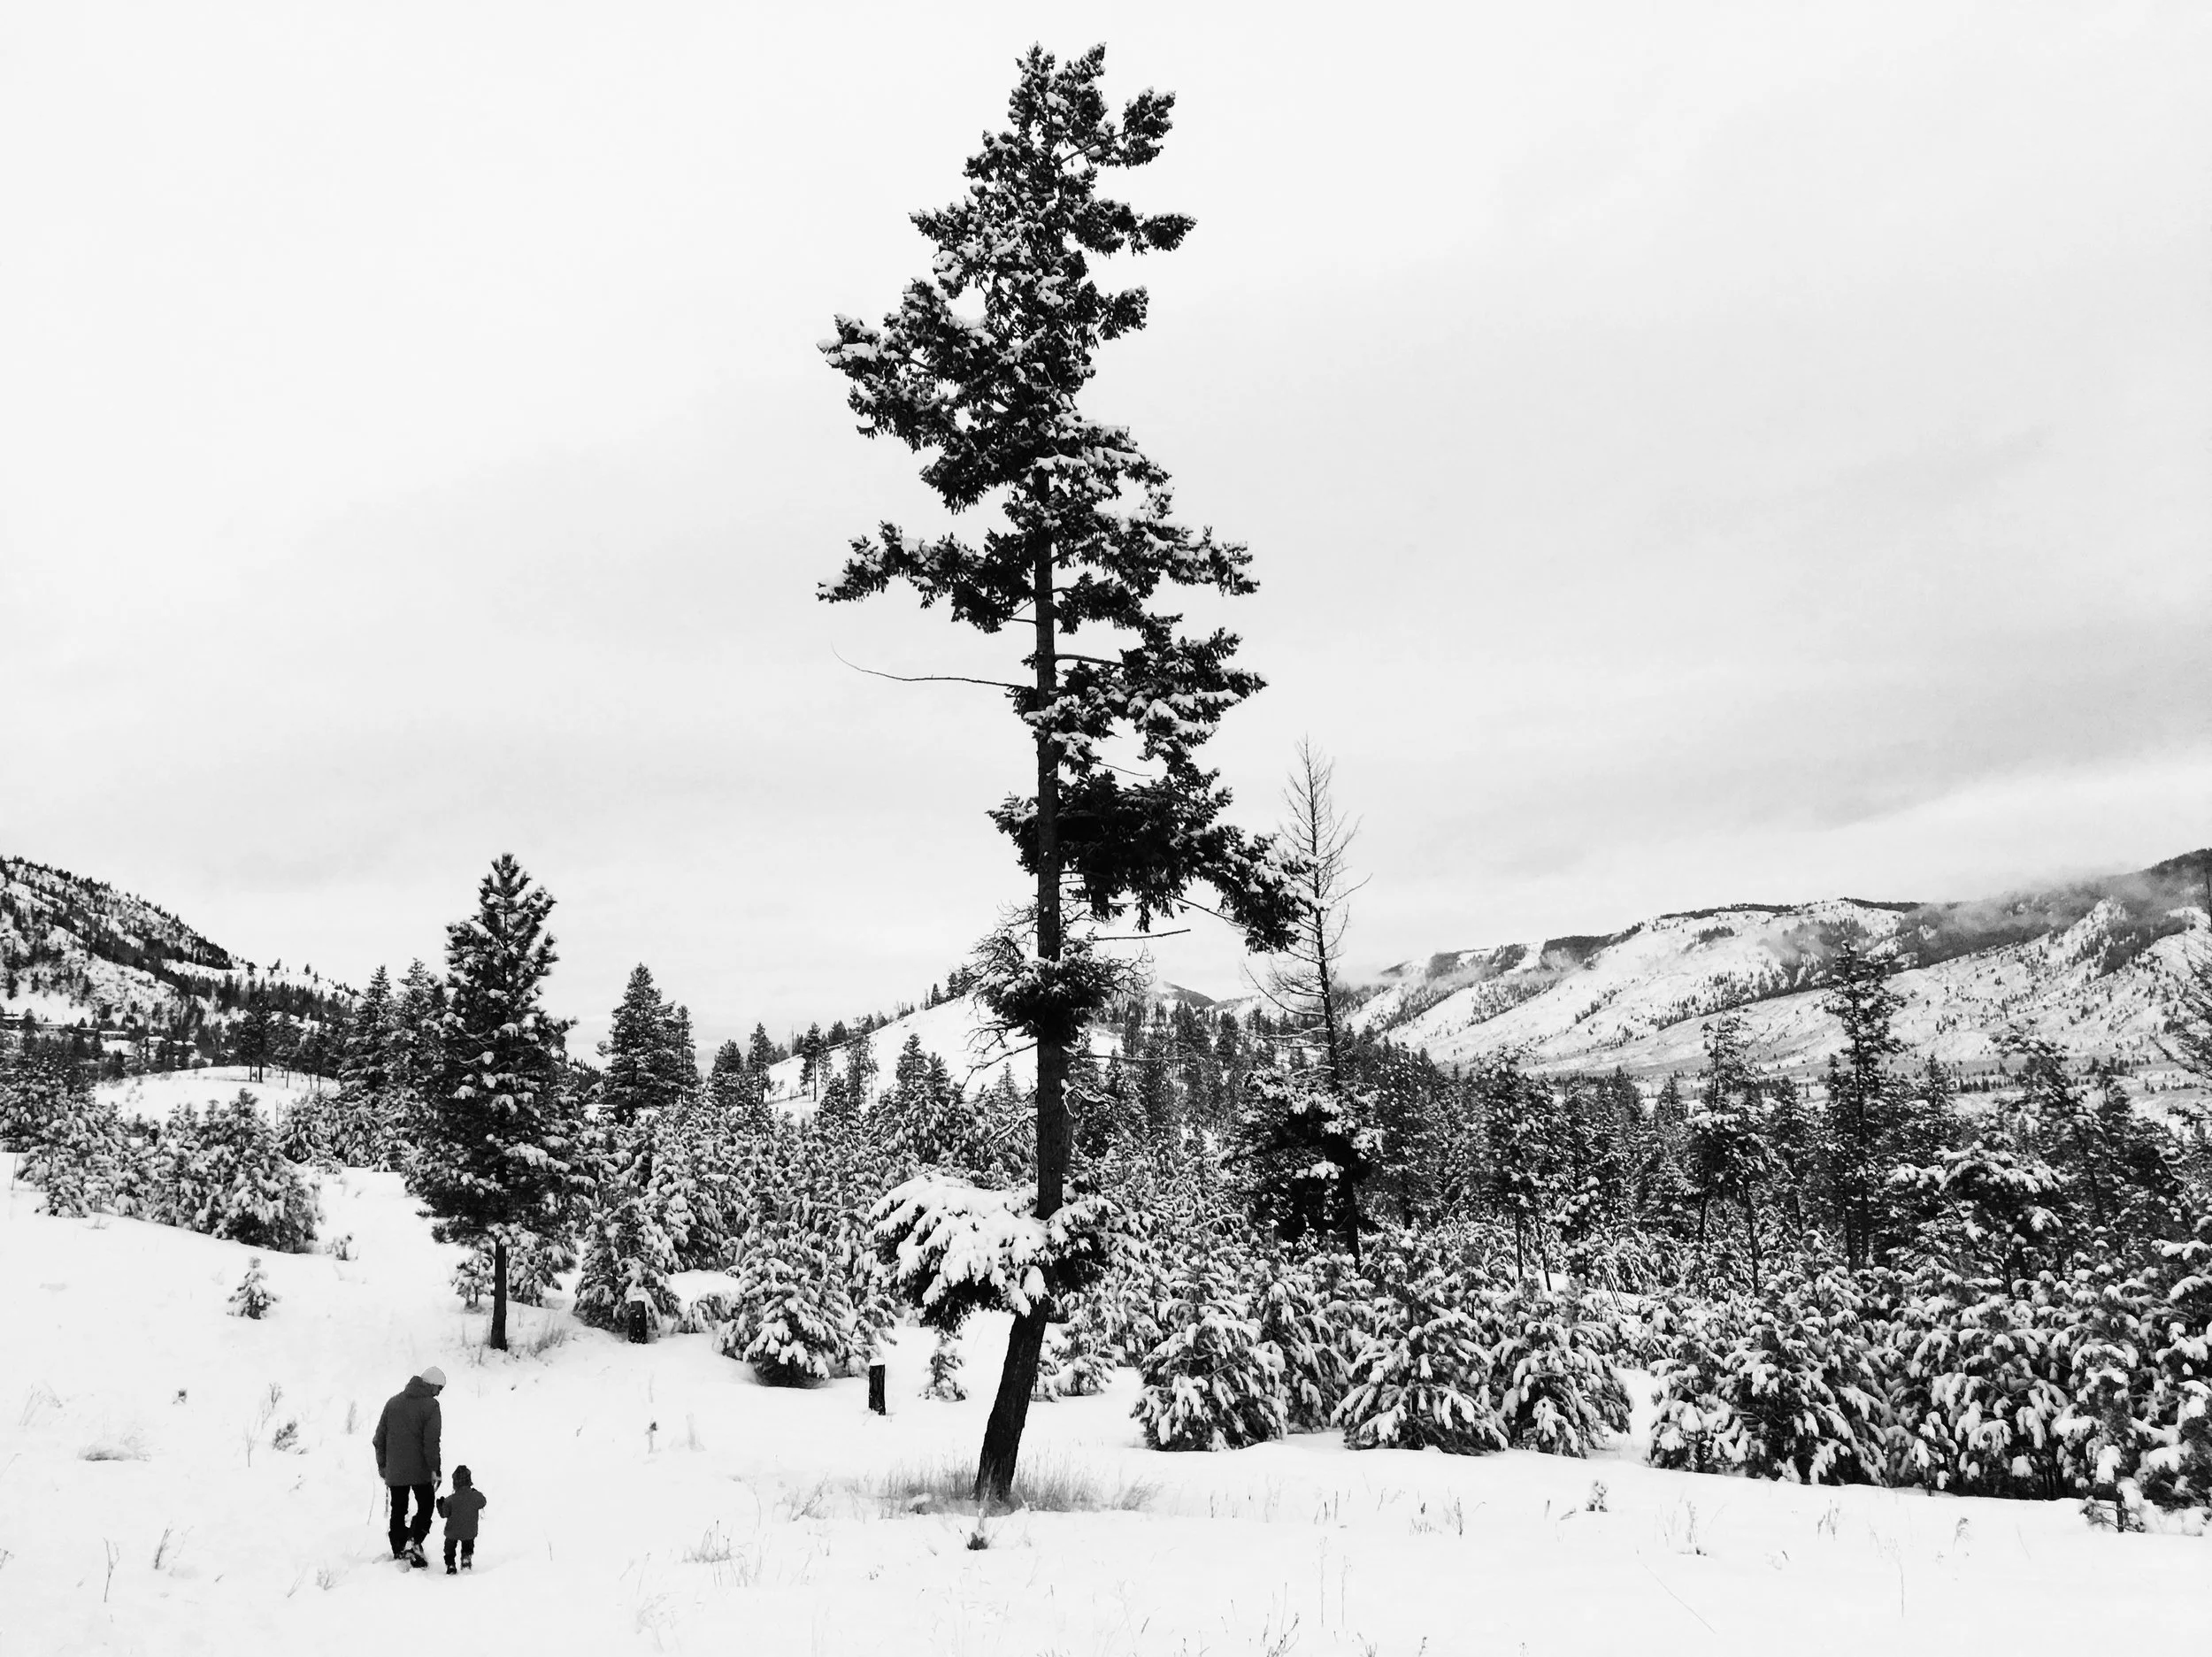
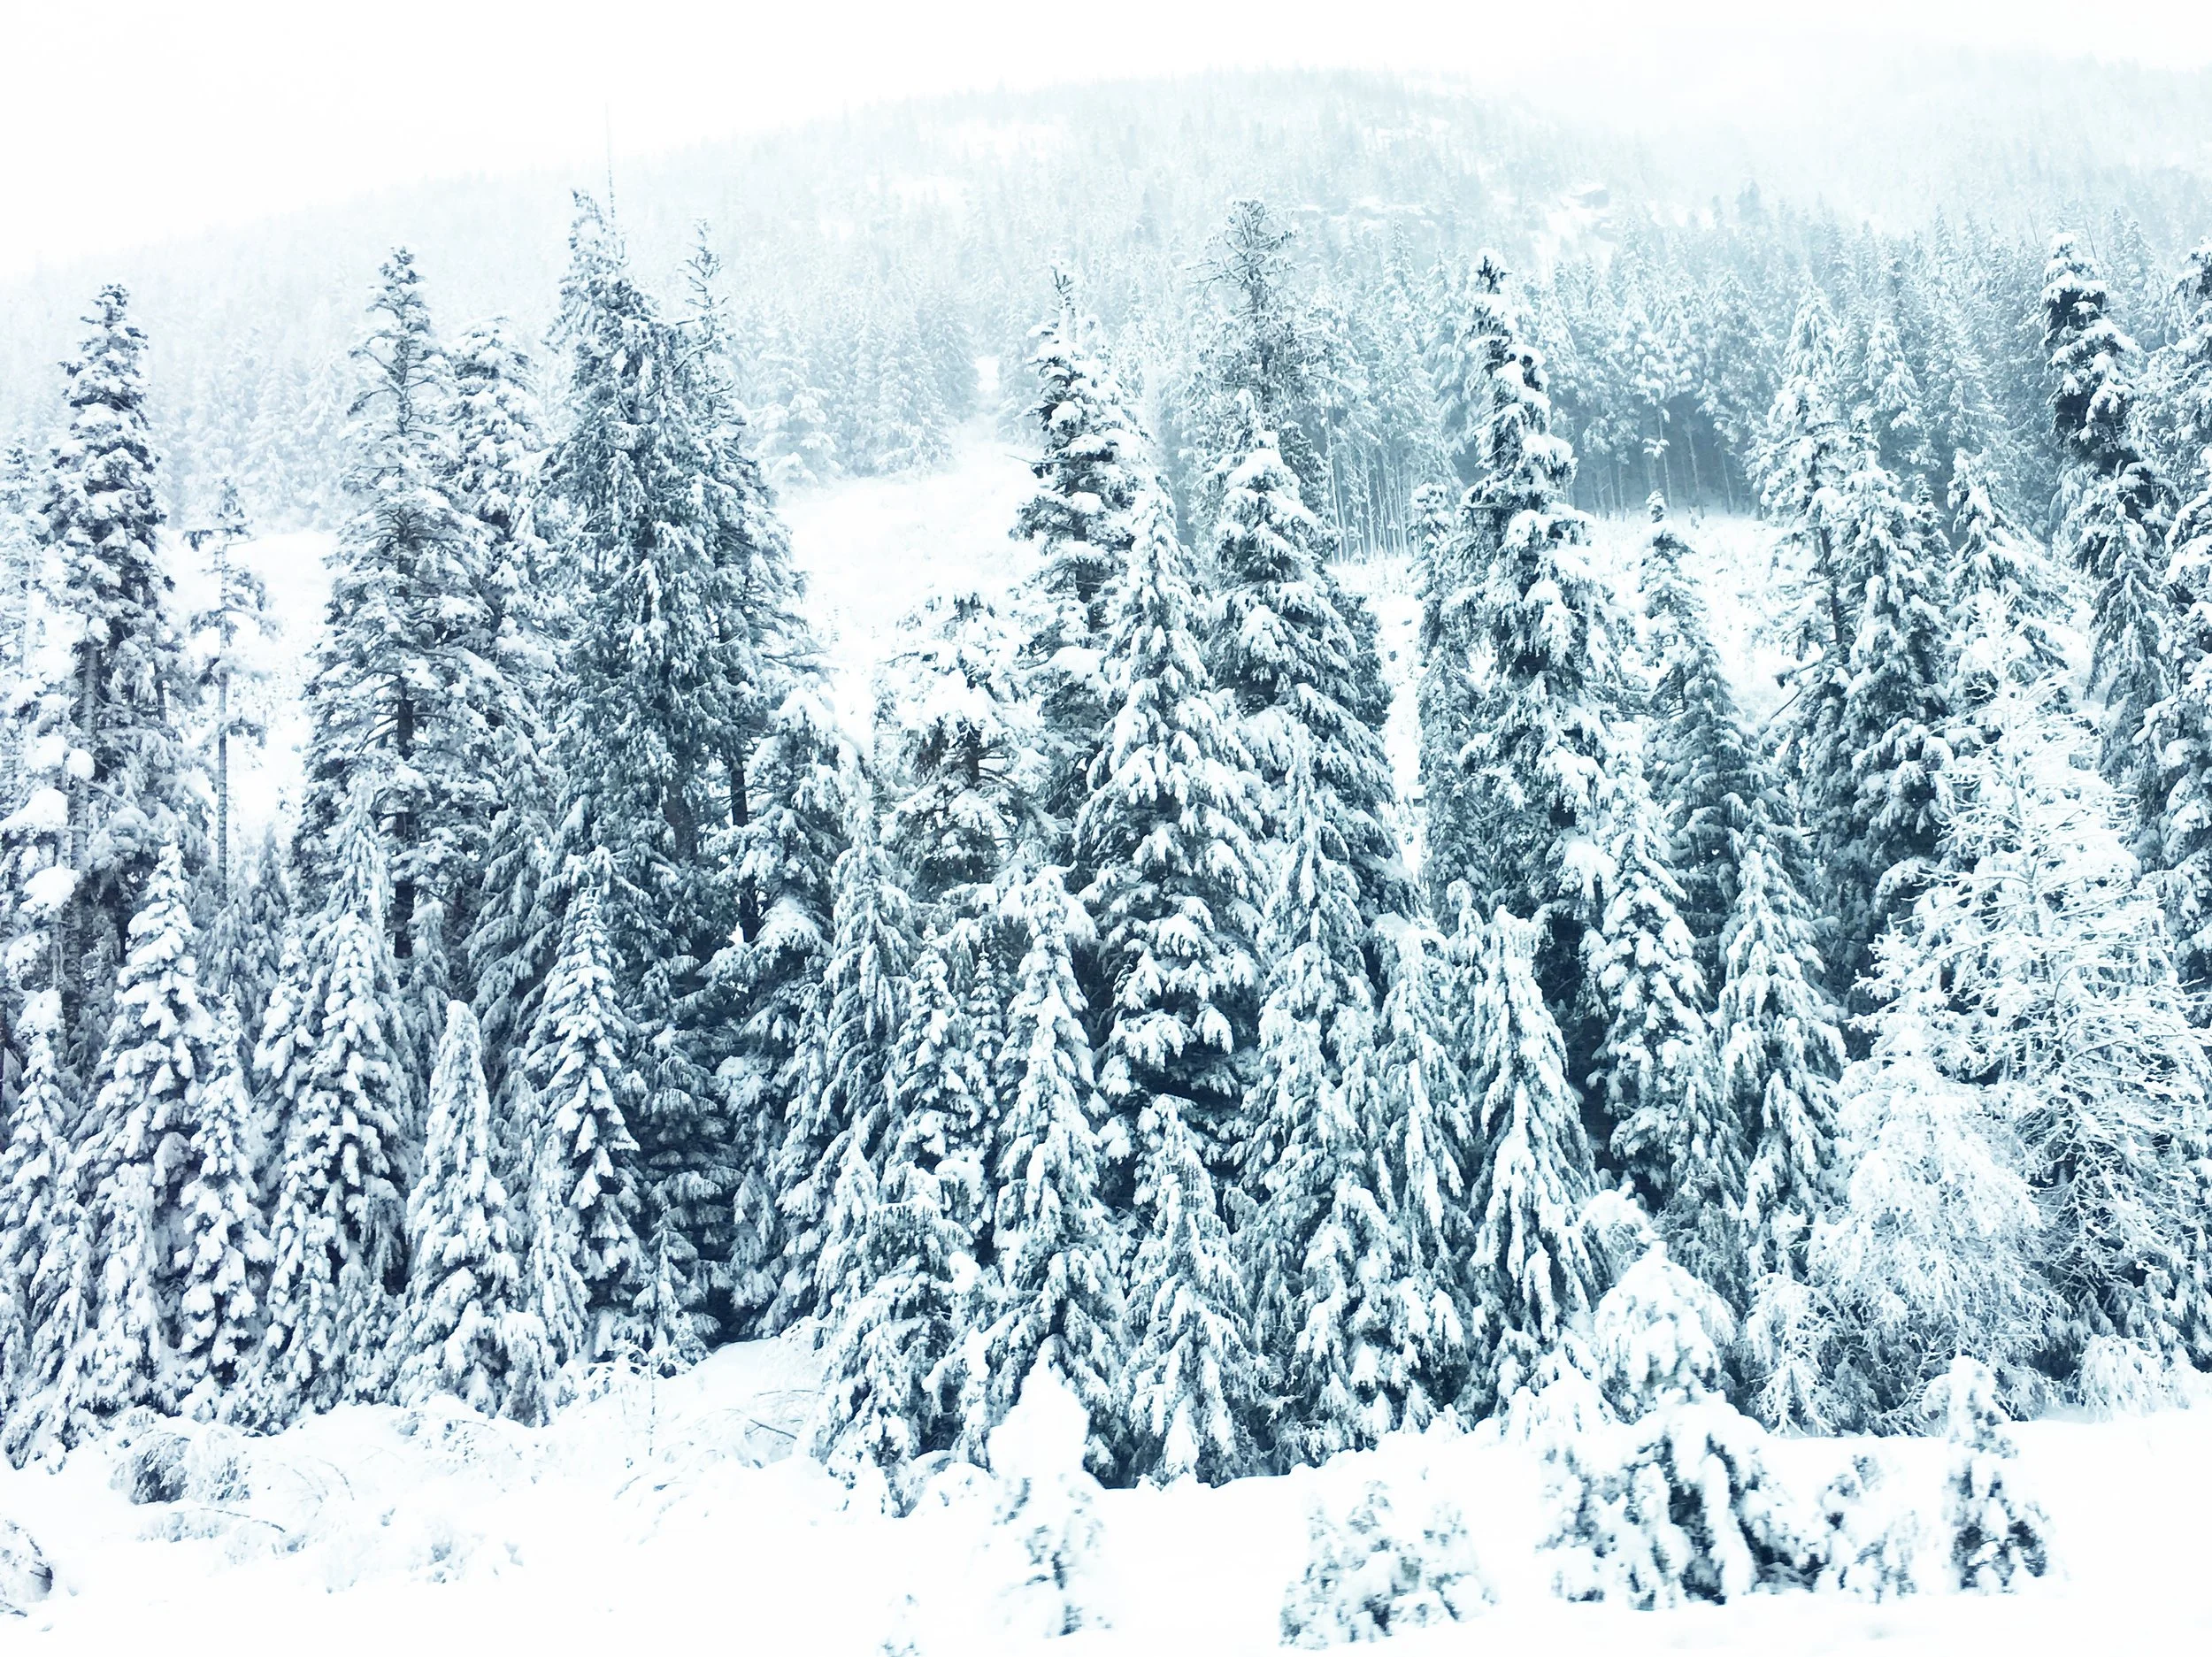
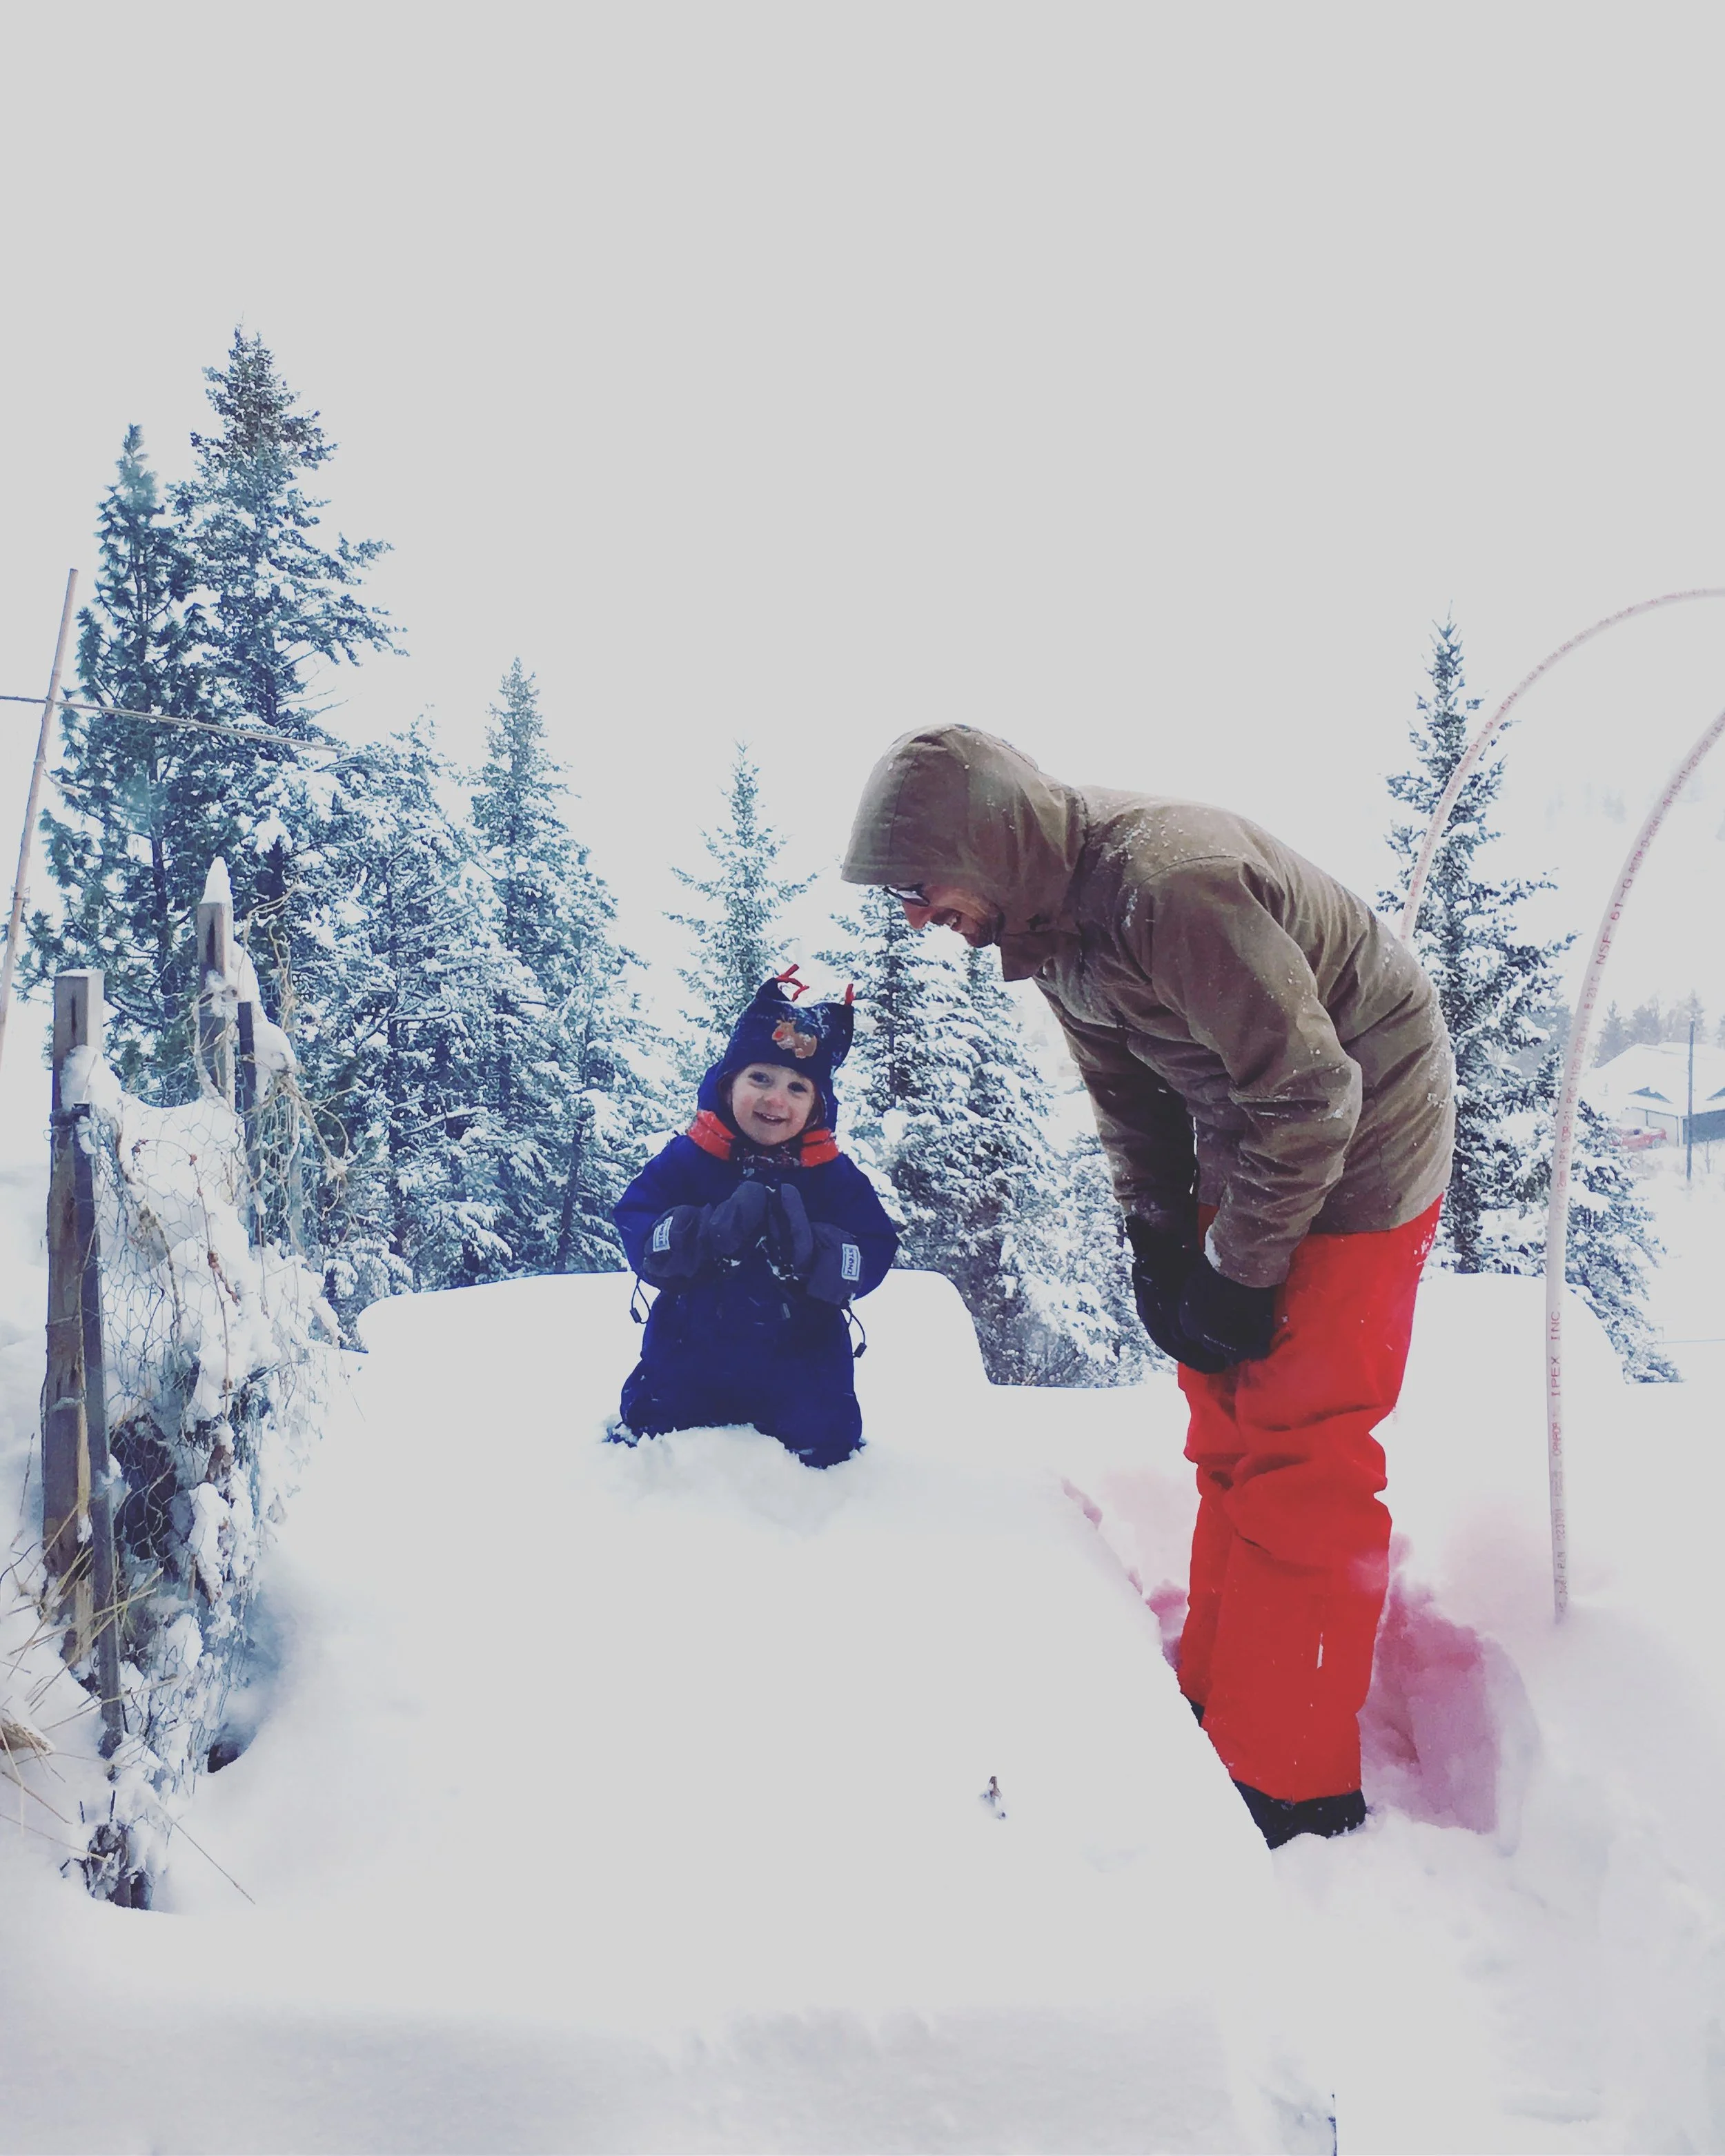
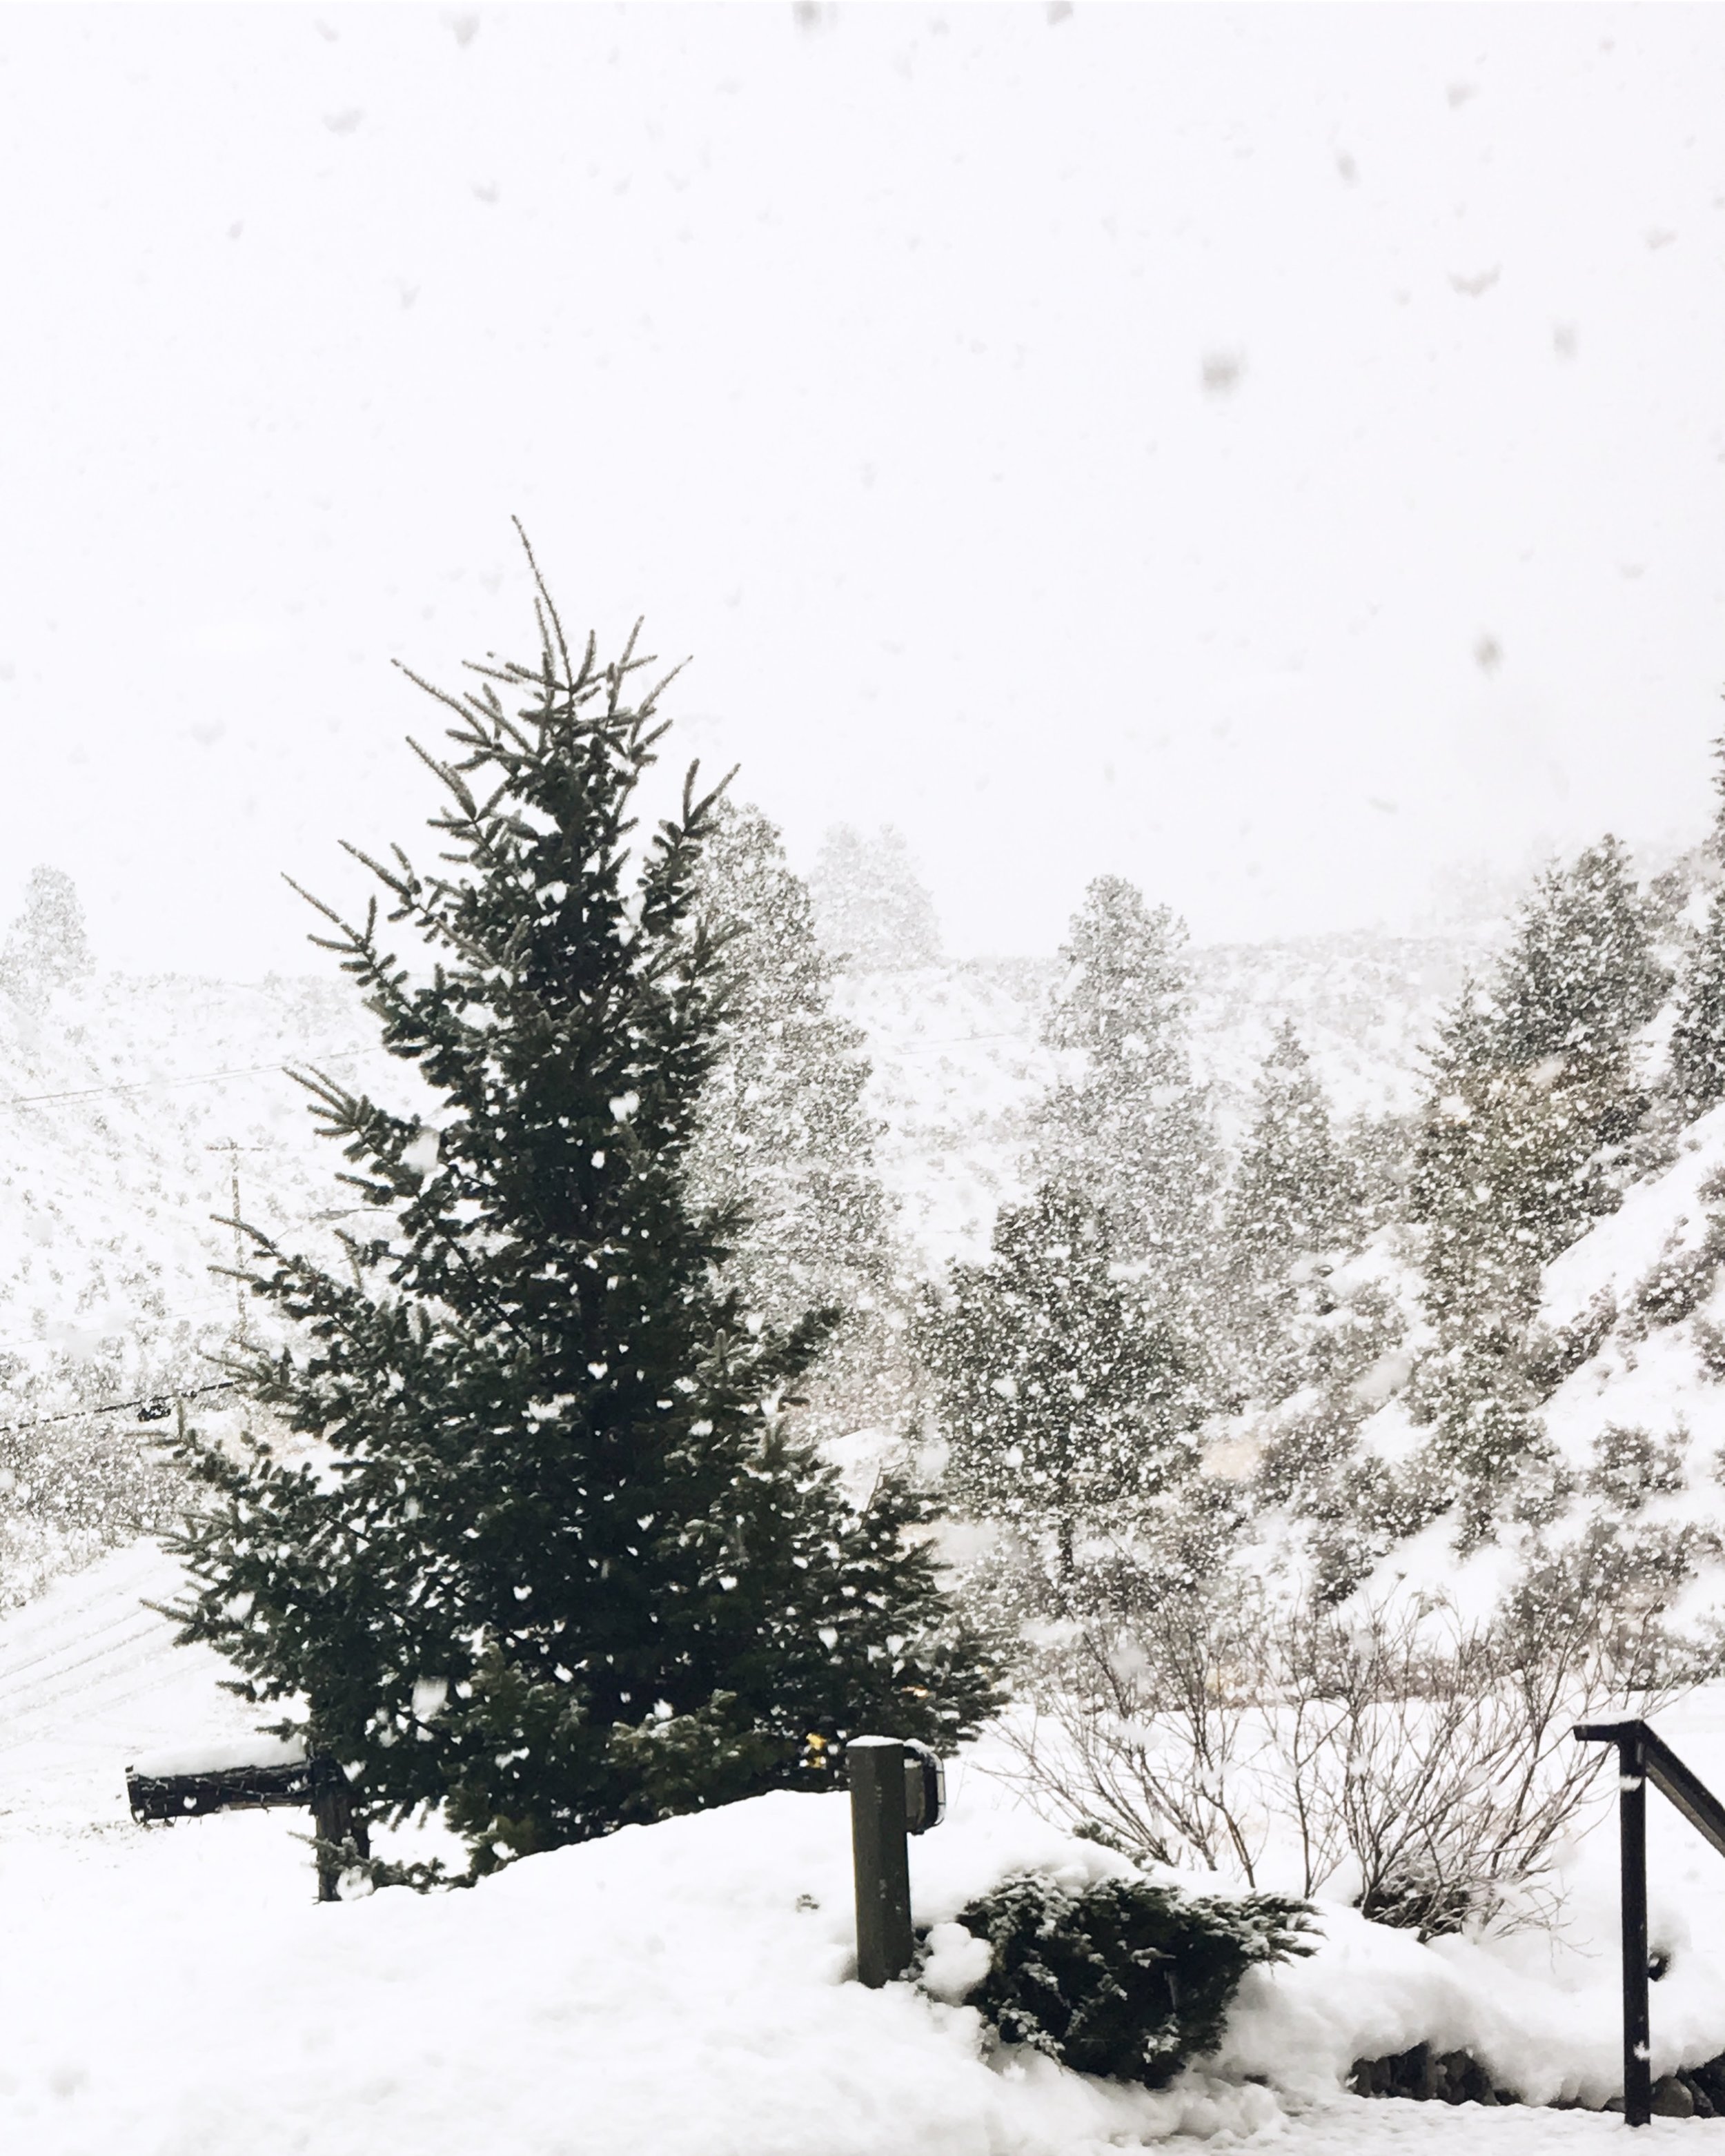
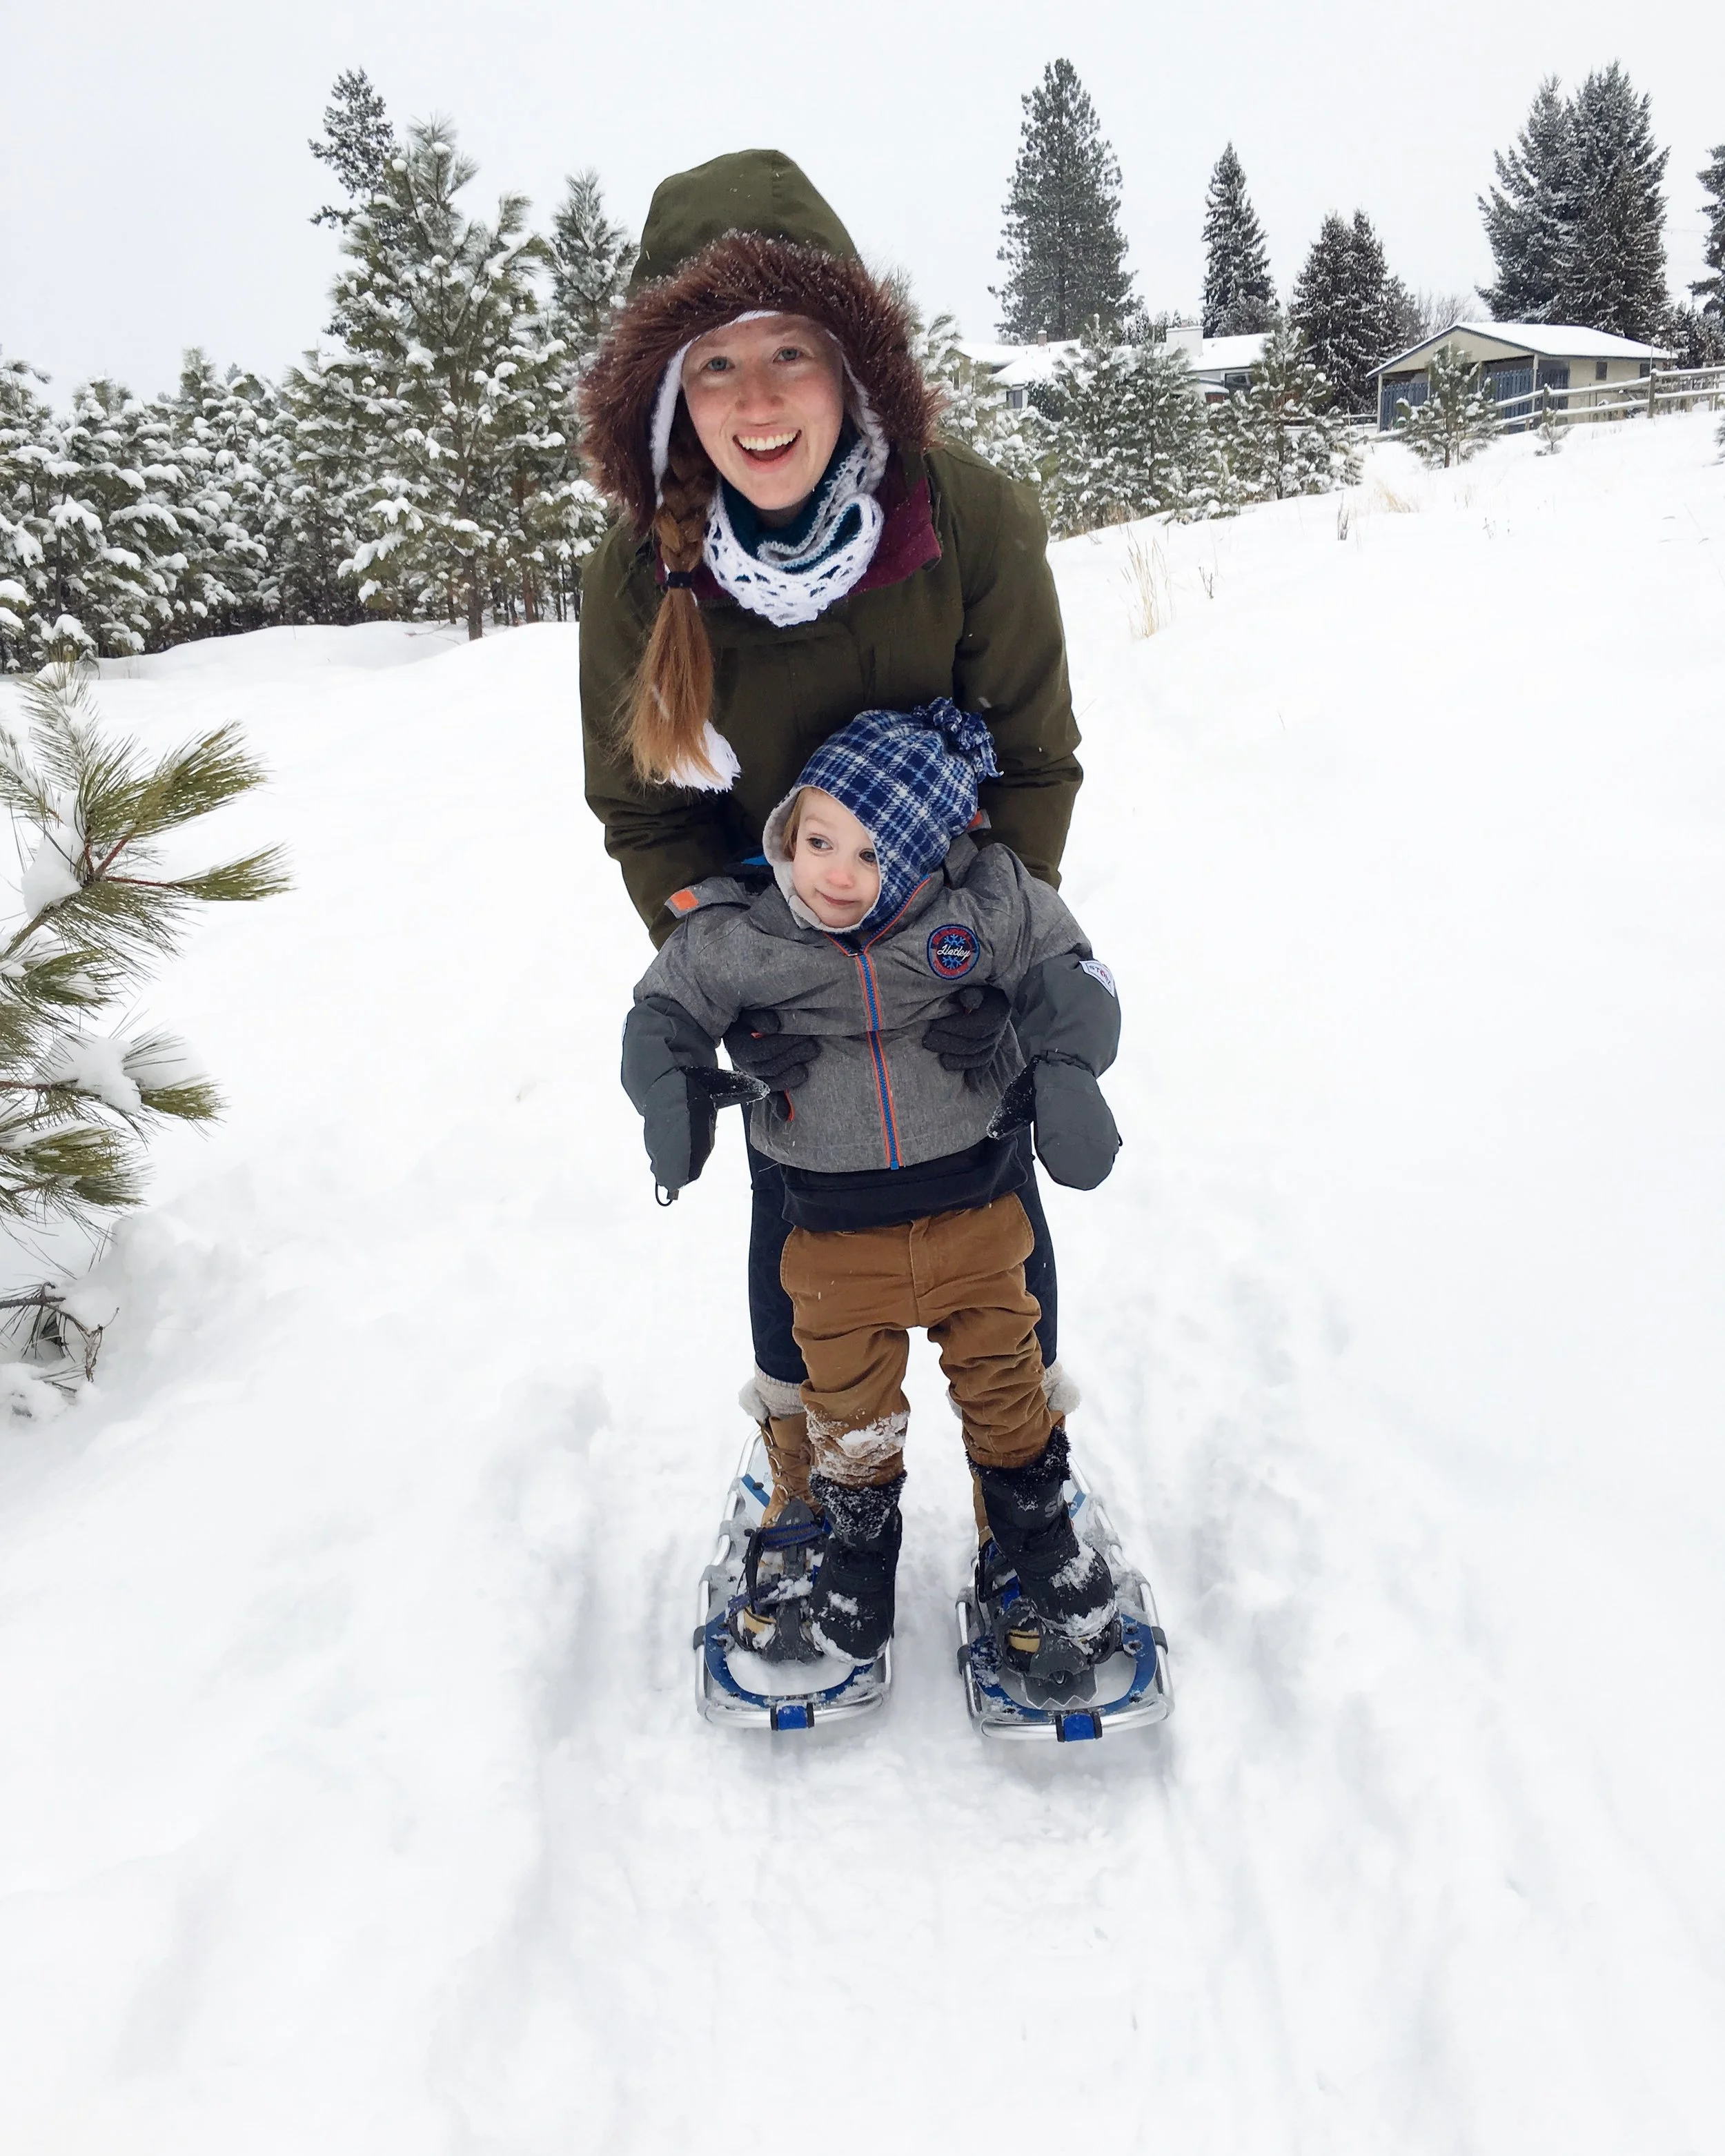
This year also involved a lot of winter! It snowed straight through until April, so we made great use of our snowshoes, and skates. Kamloops is very beautiful in the snow! This year Little Forager also began what might be an undying love of skating and hockey. He’s now a diehard Blazer’s fan, and loves watching the Canucks on TV. This Christmas he got his own pair of tiny skates and is hard at work learning how to stay up by himself on them.

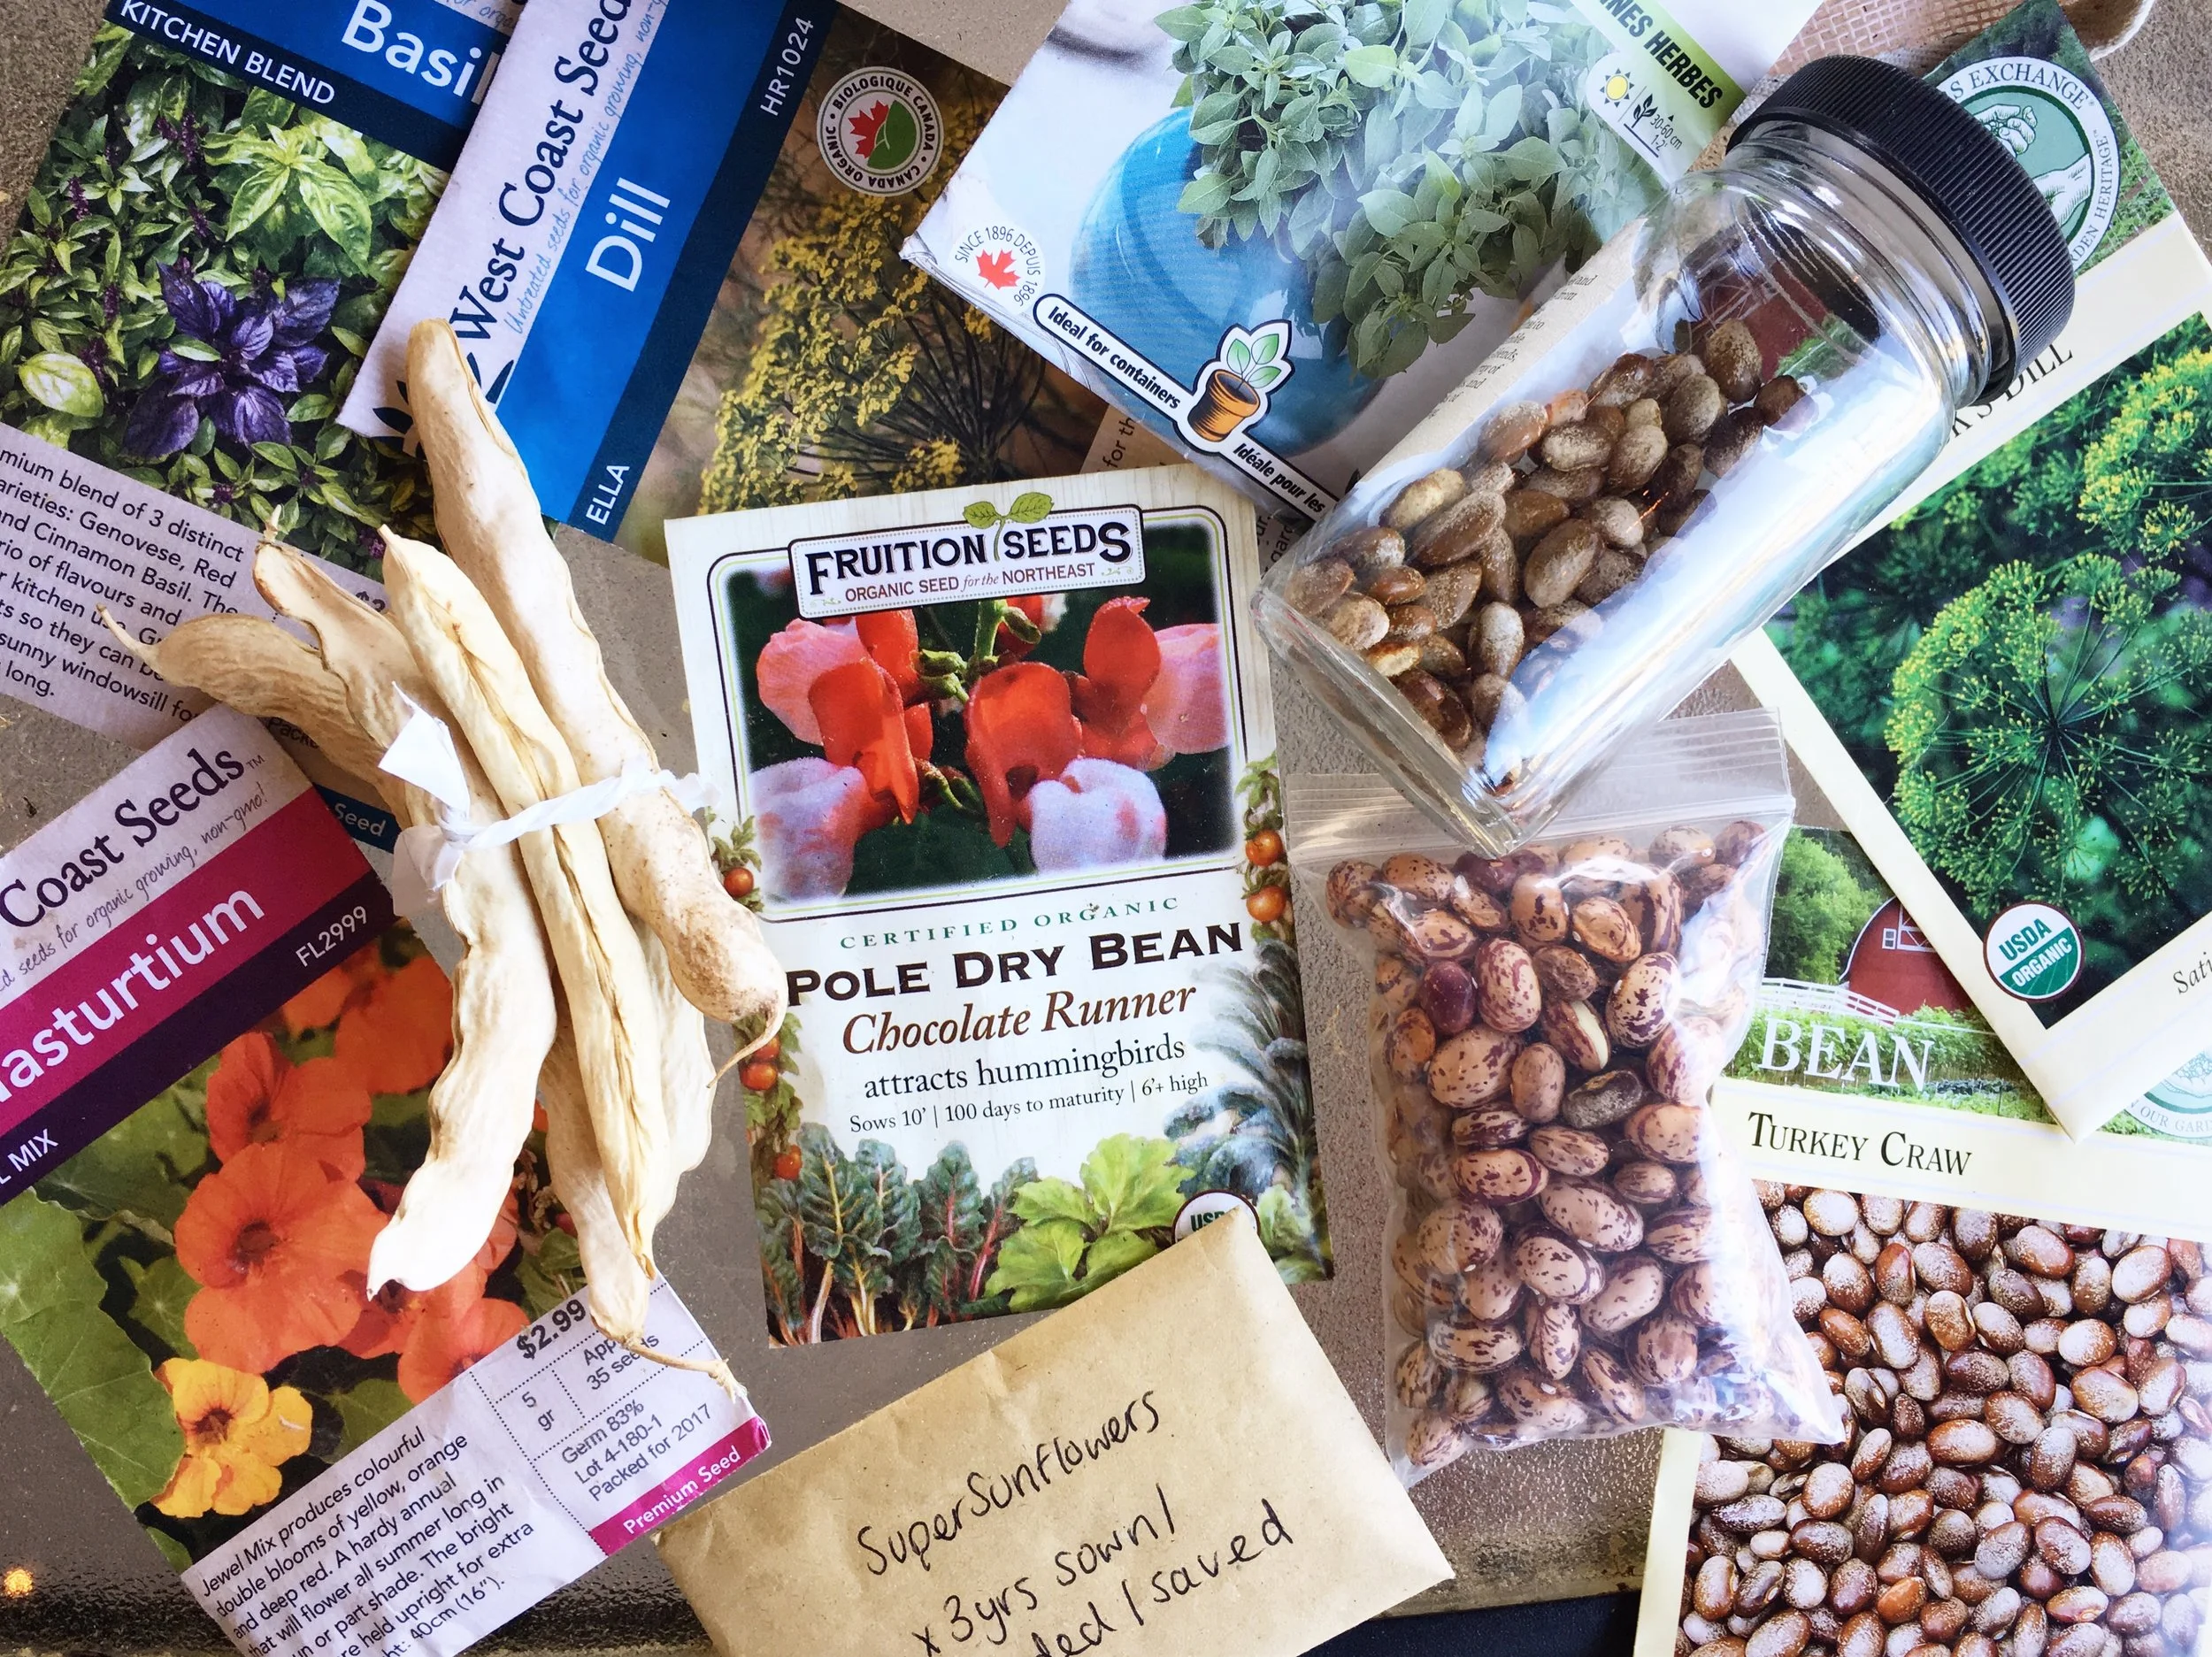
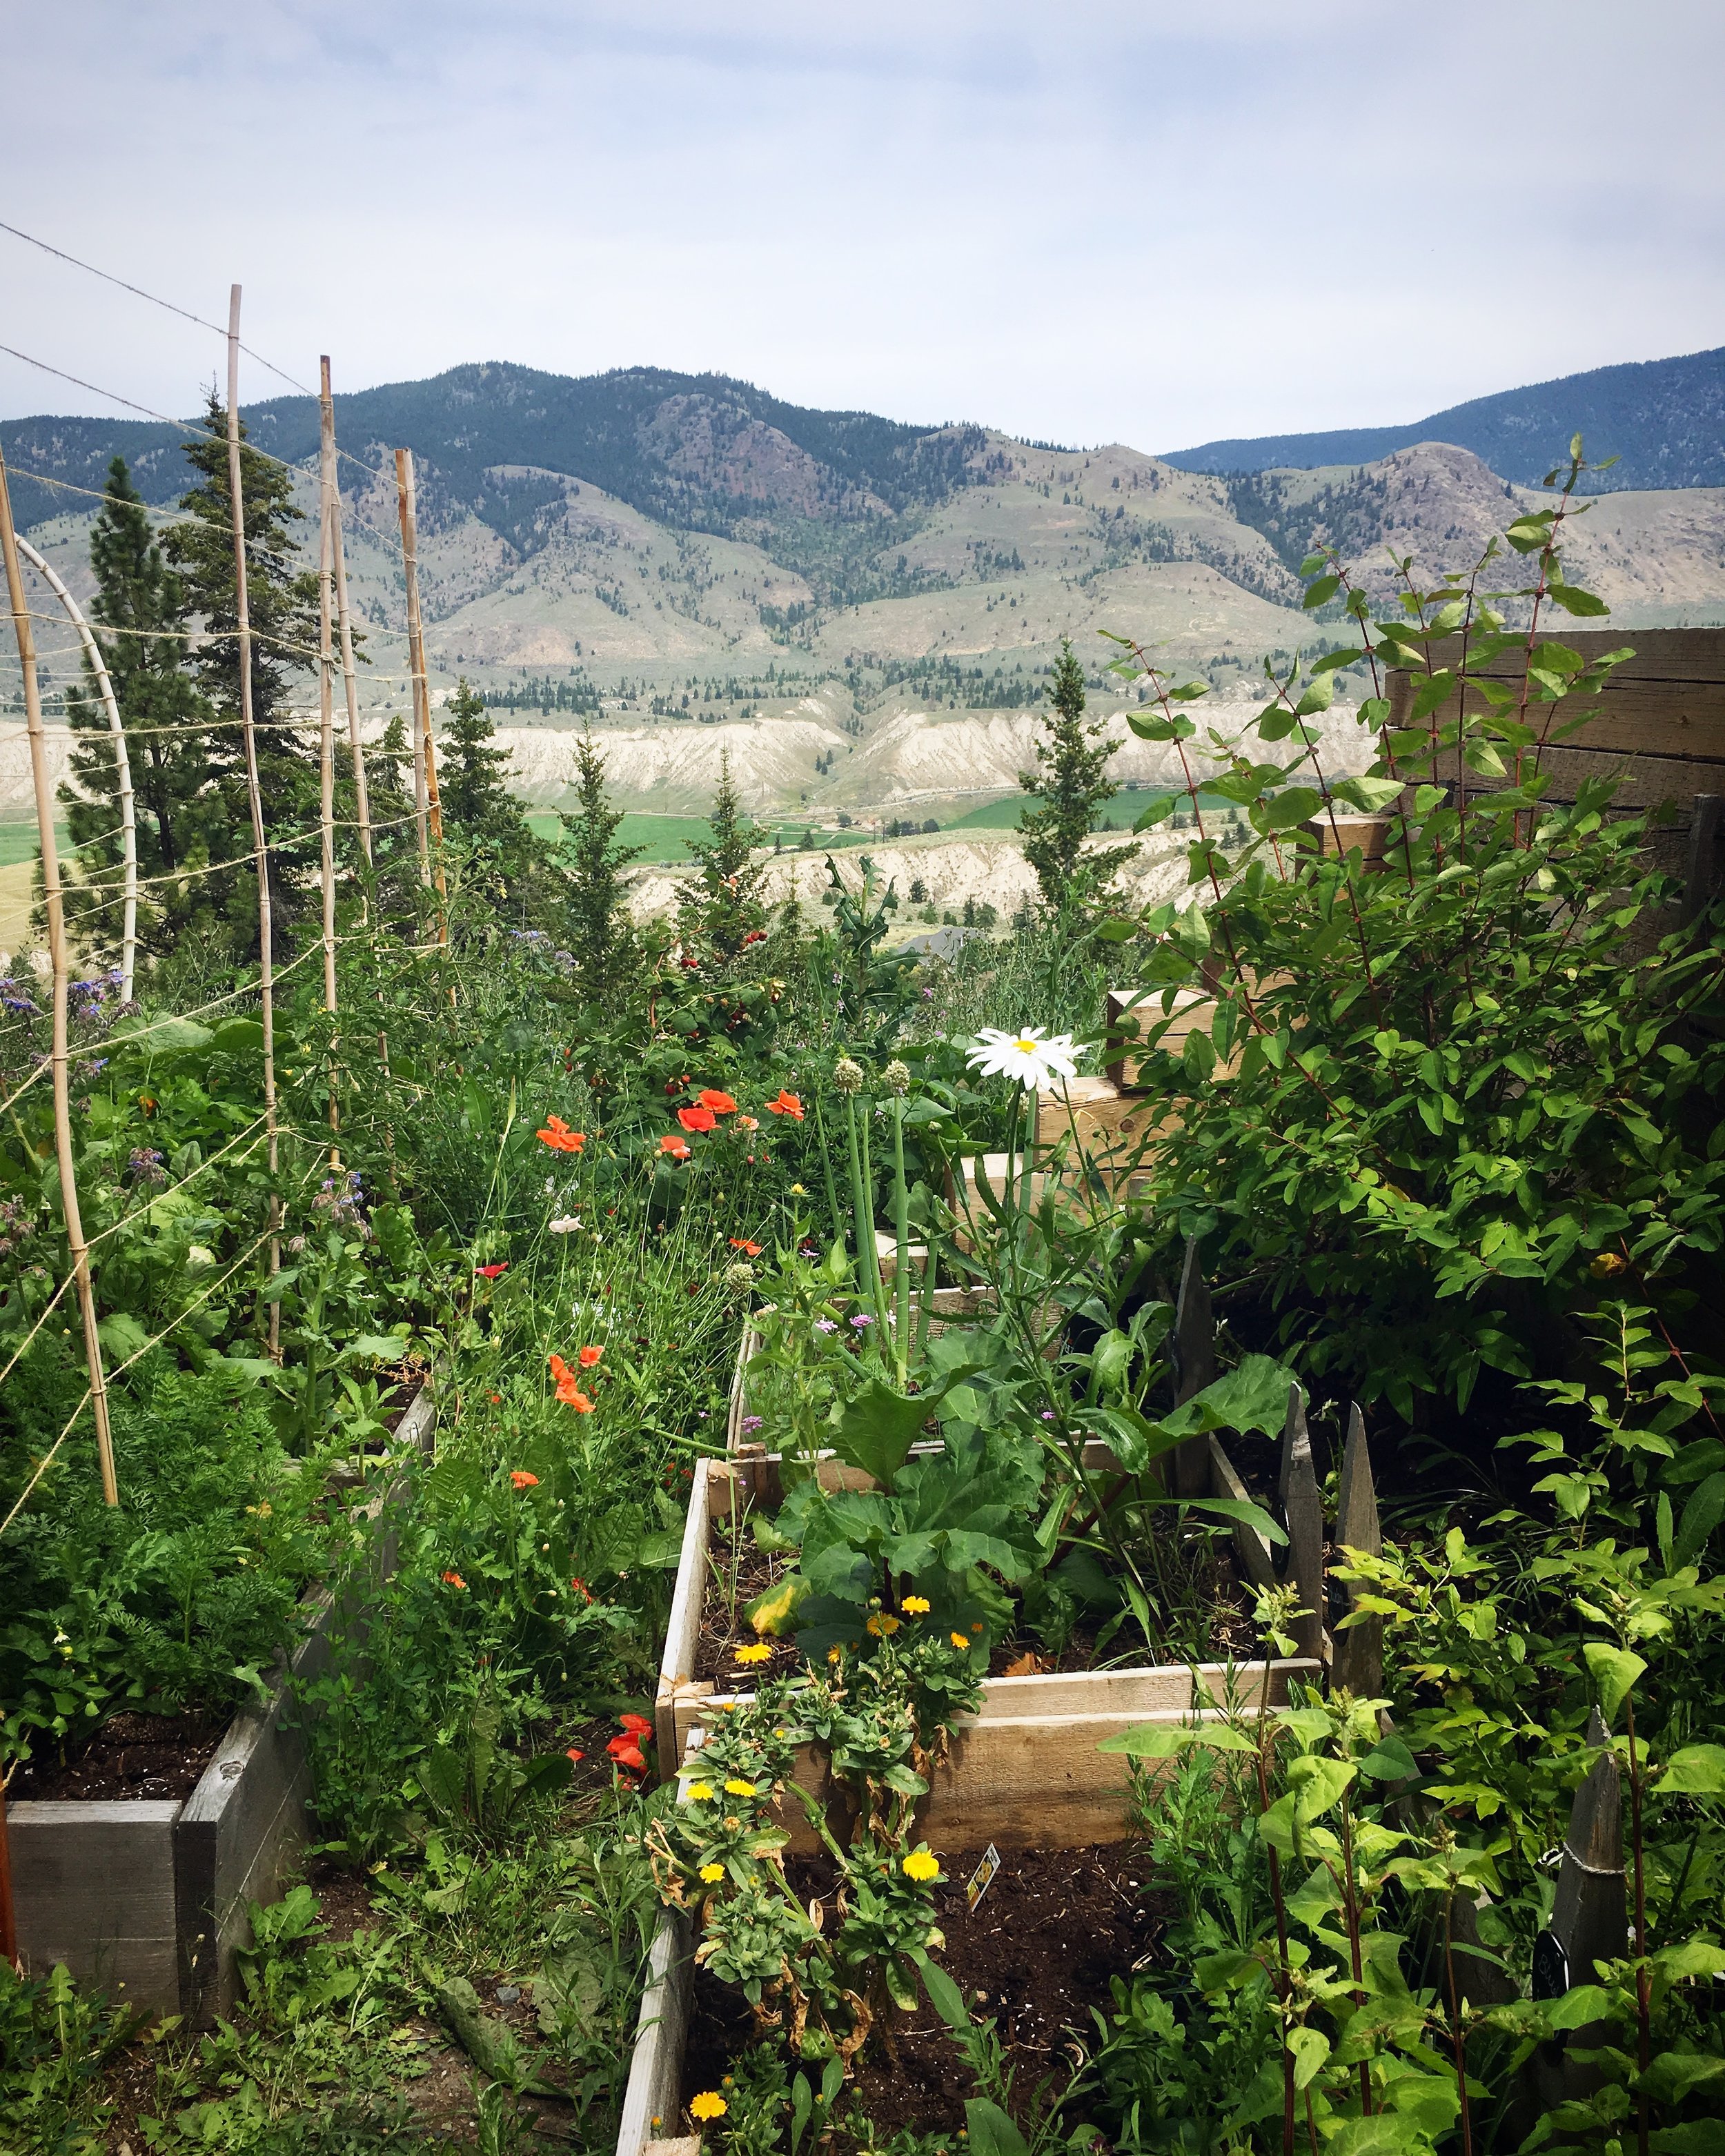
This year - unbeknownst to me - was my last season with my garden. I have so loved working on that project, and feeding my family with my own two hands. Balcony gardening is my future, and I am looking forward to the challenges and learning experiences that will bring. Even without the space I am used to, I will still be keeping the “grow” category of topics alive here on the blog.

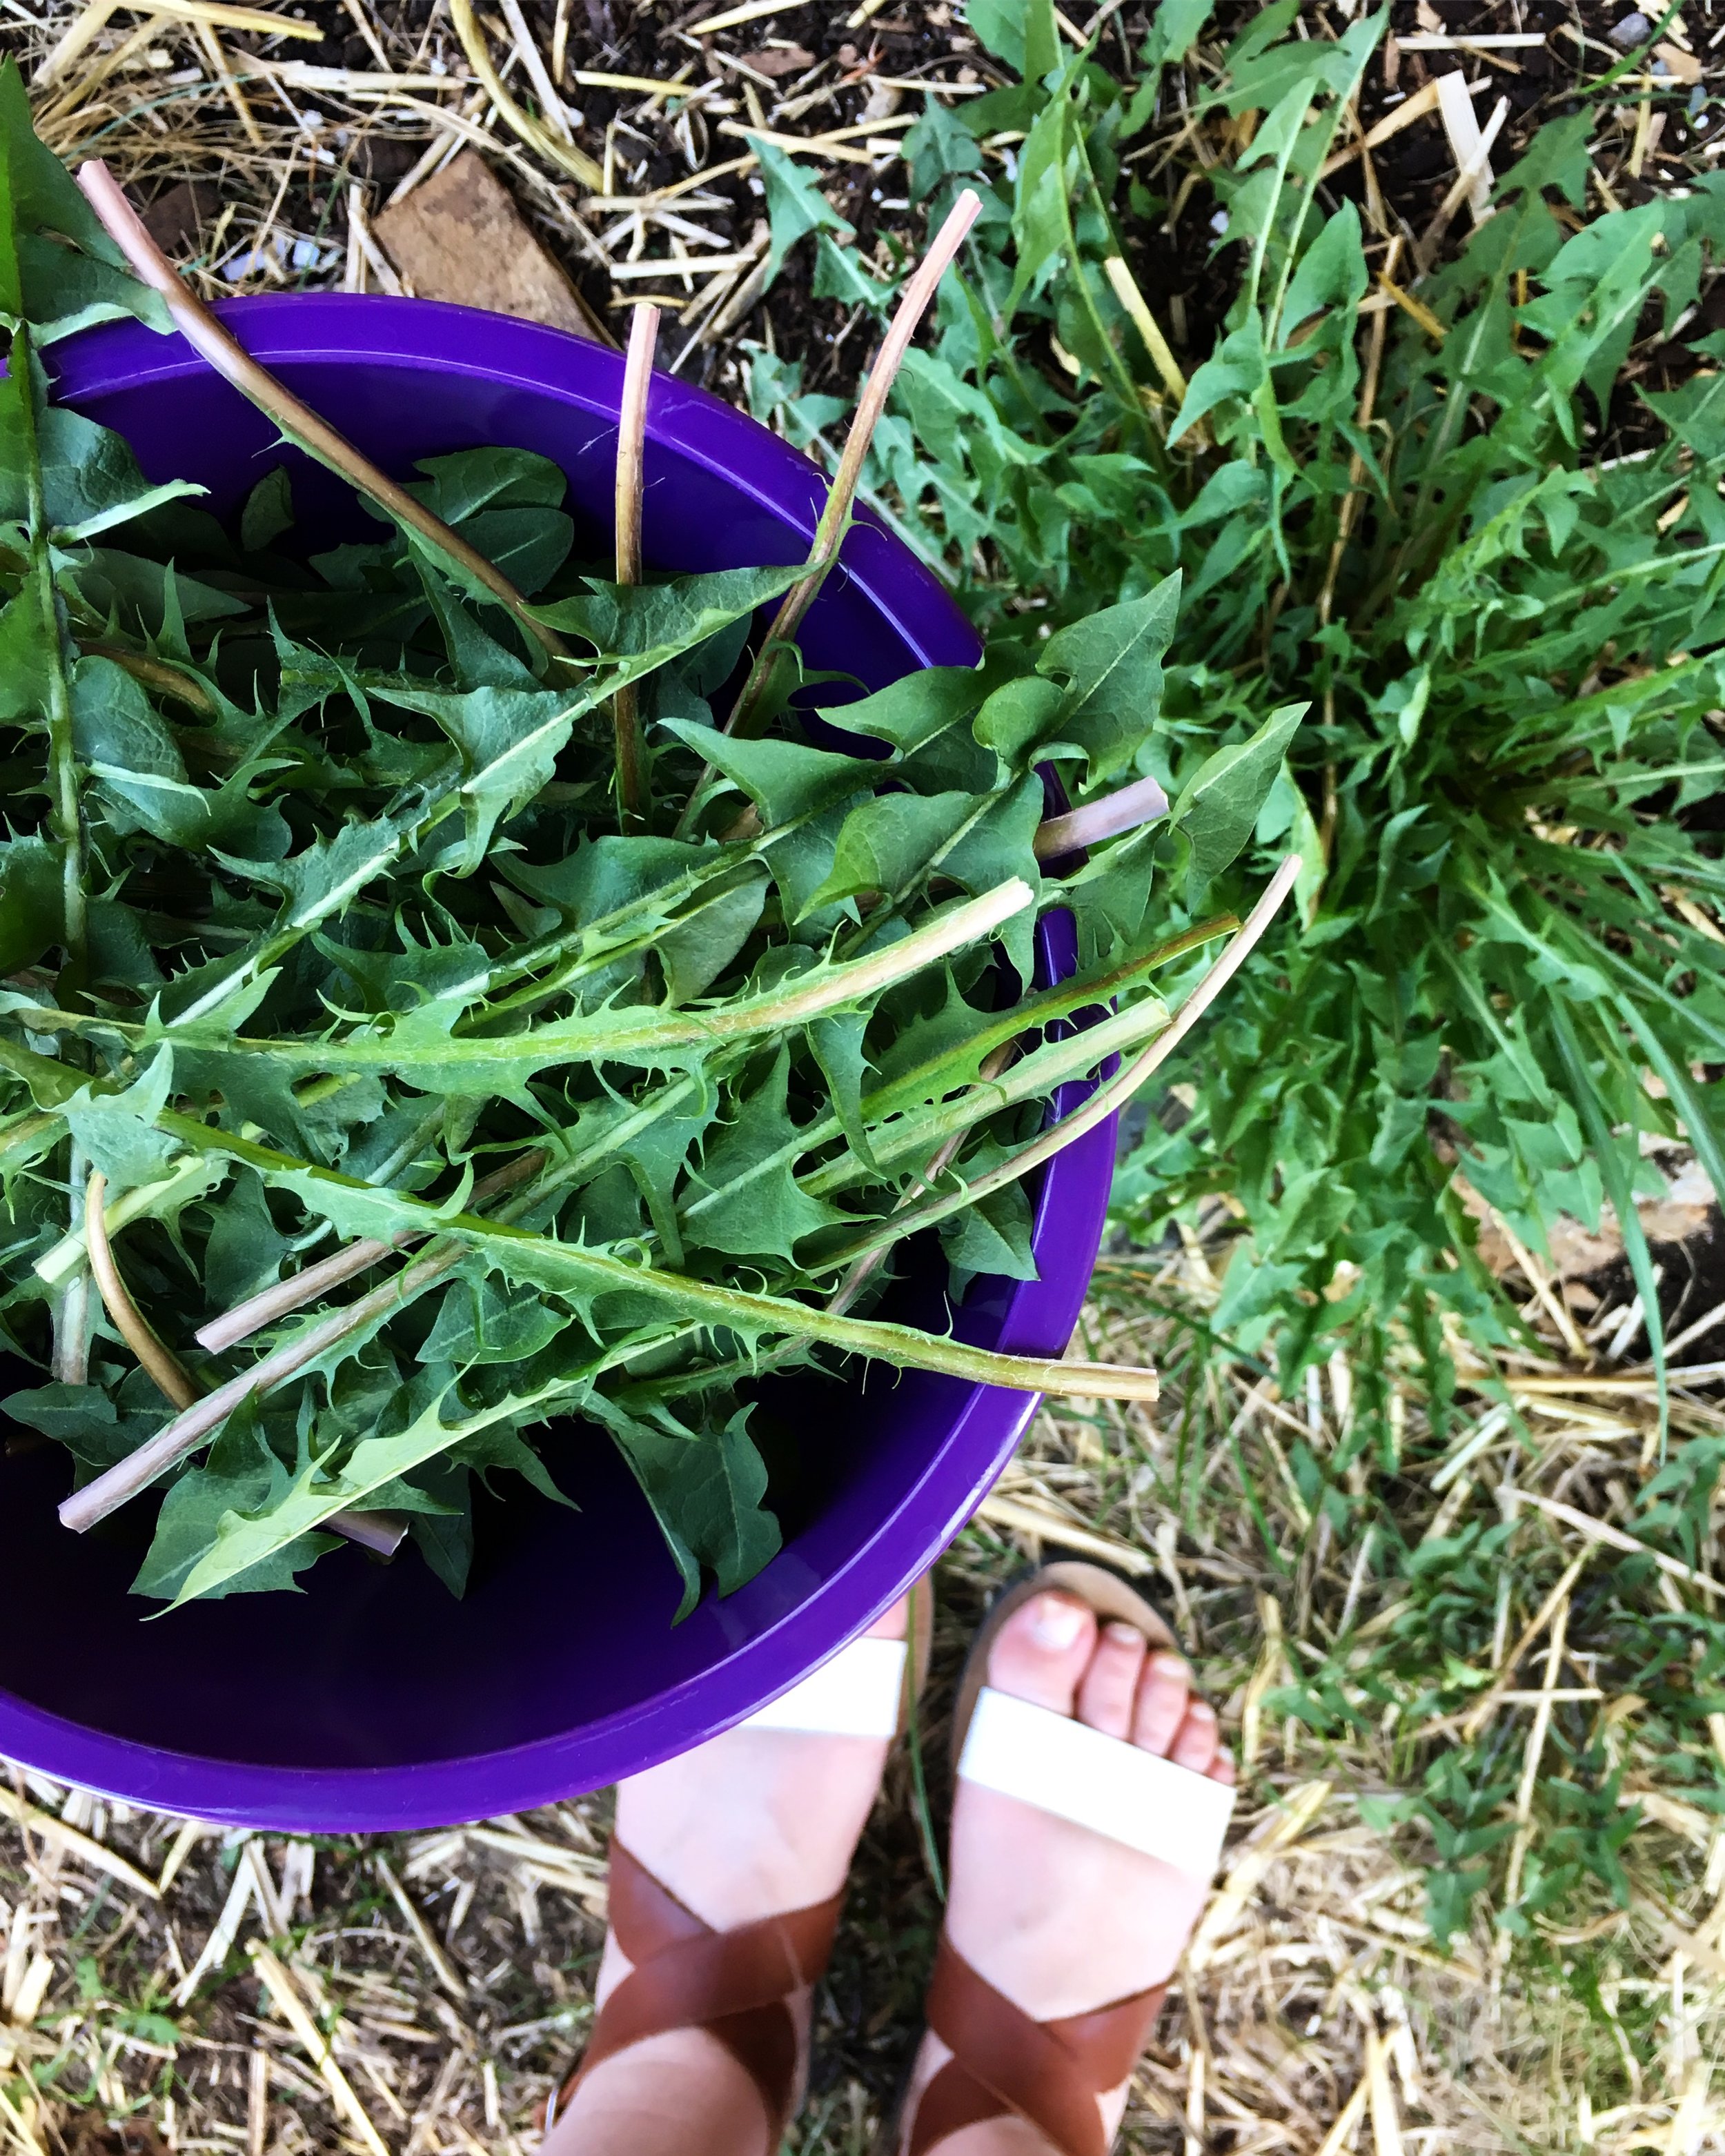
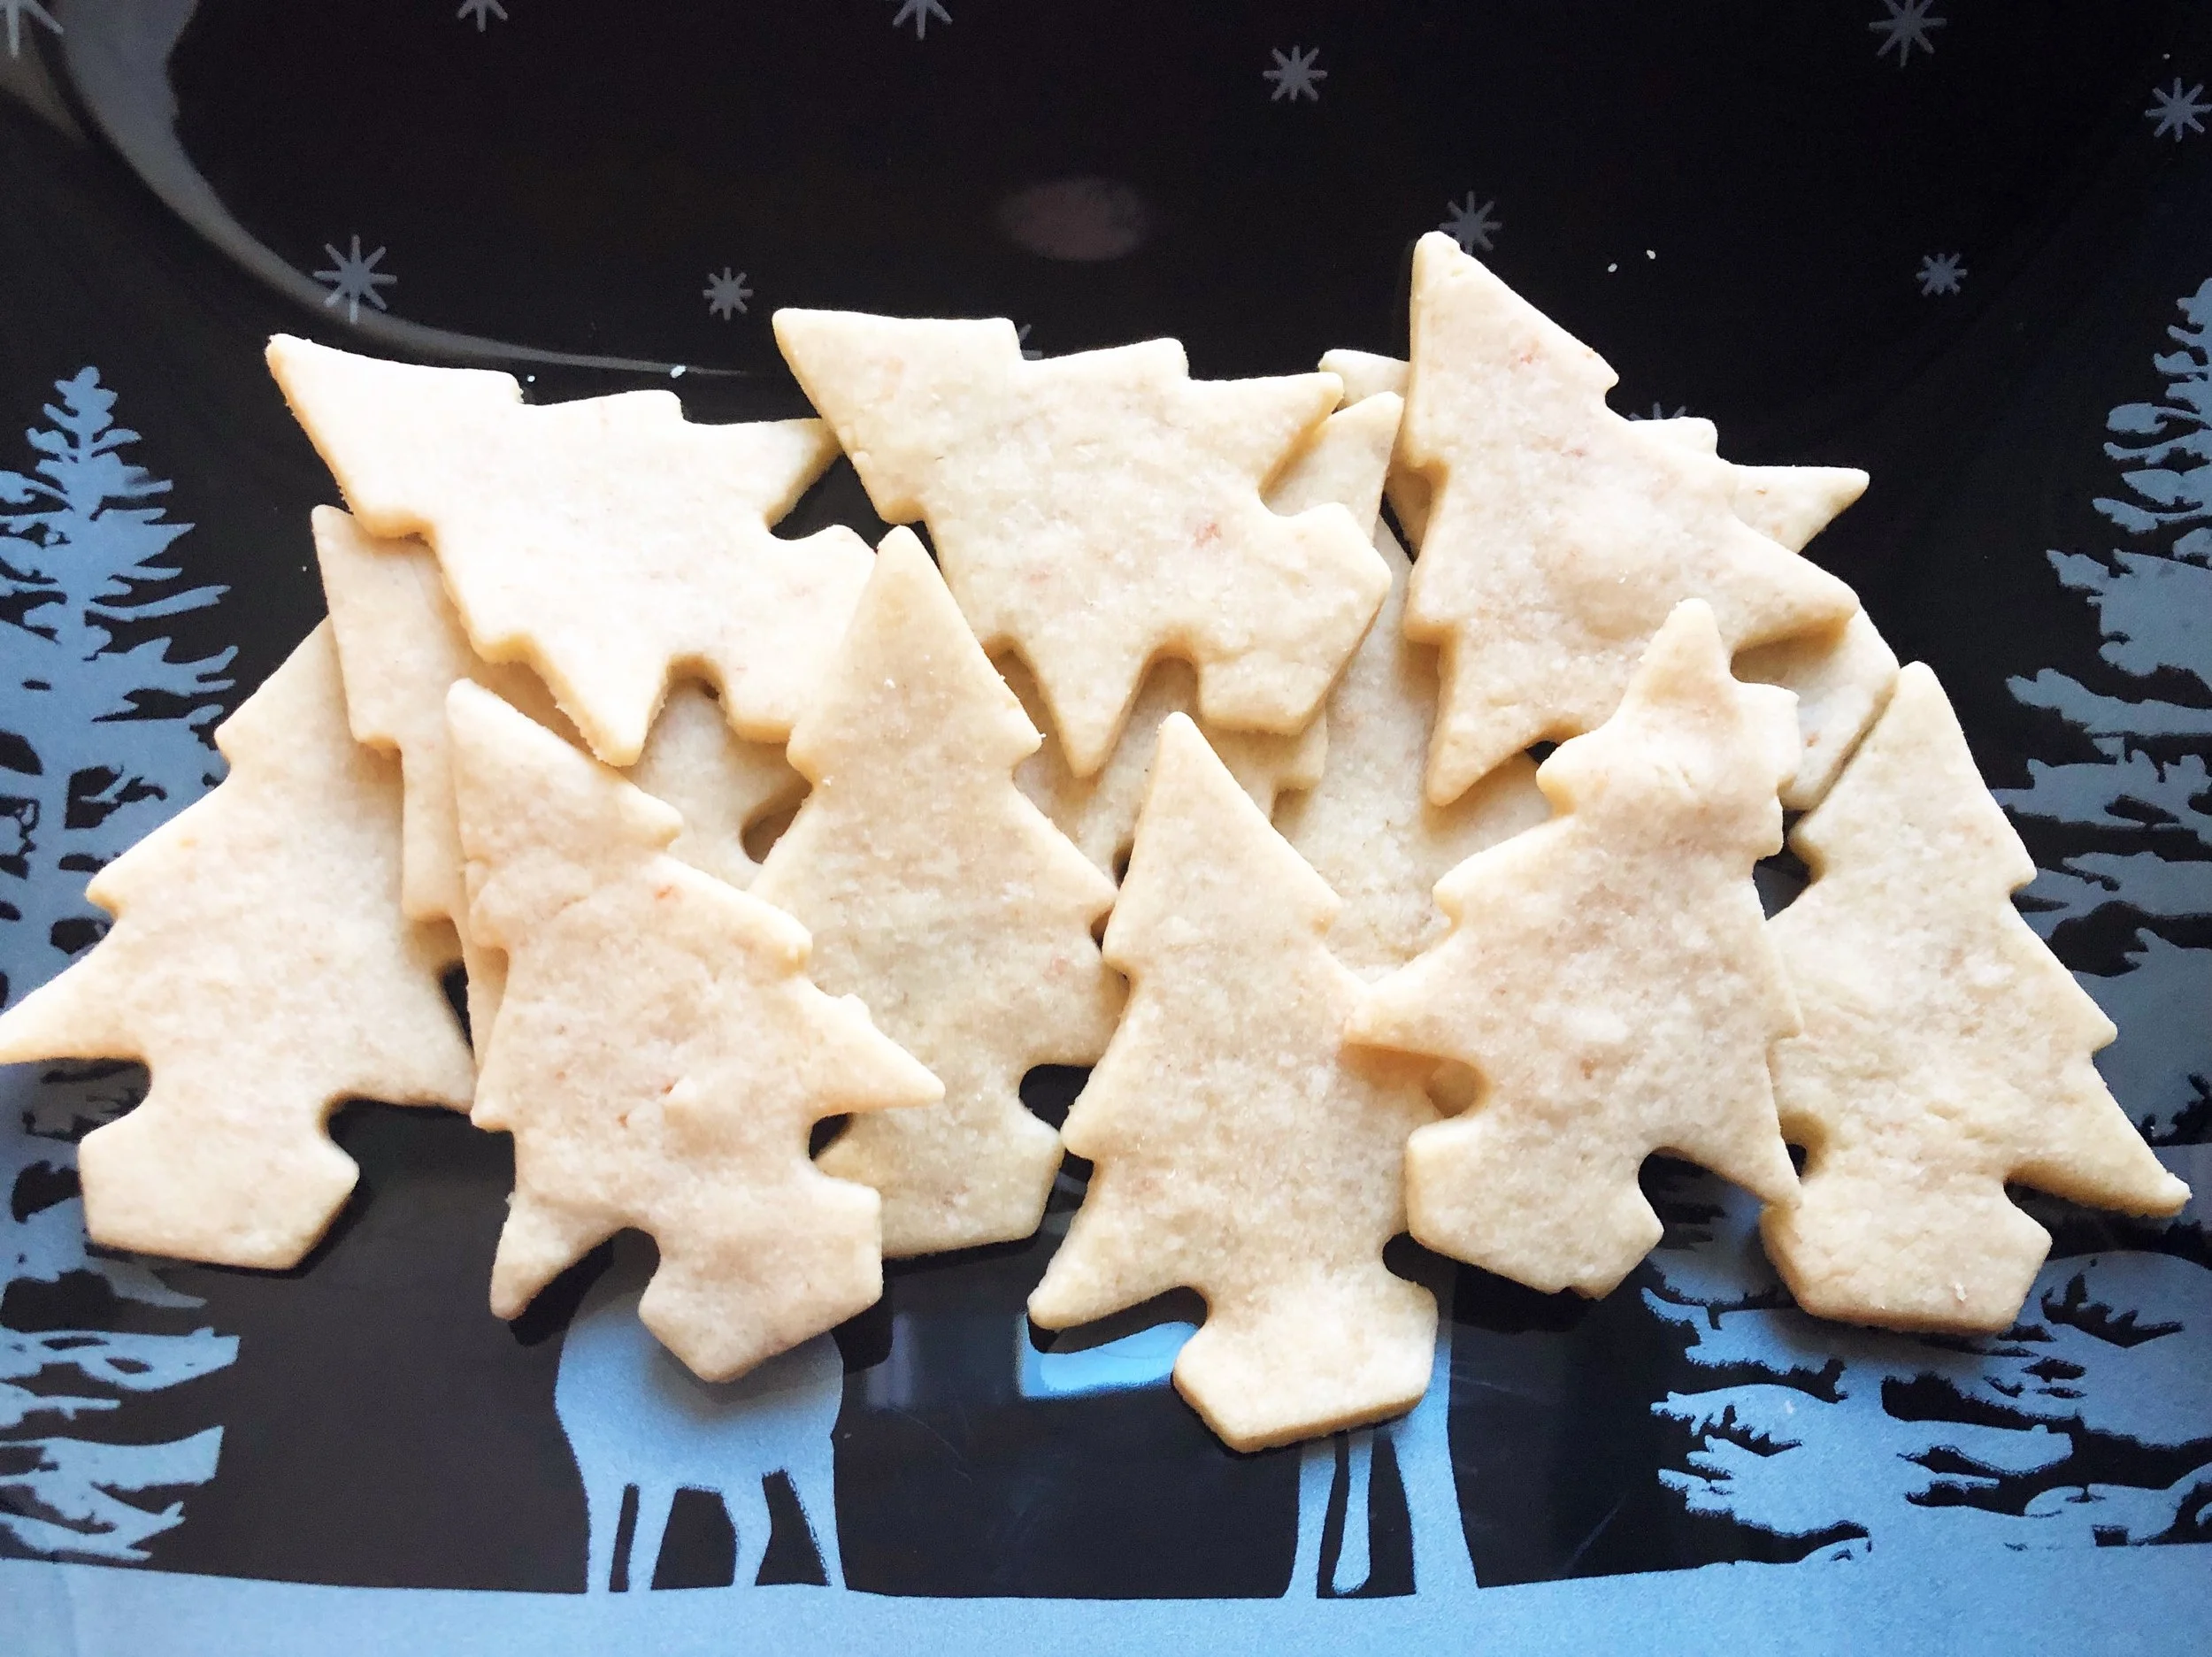
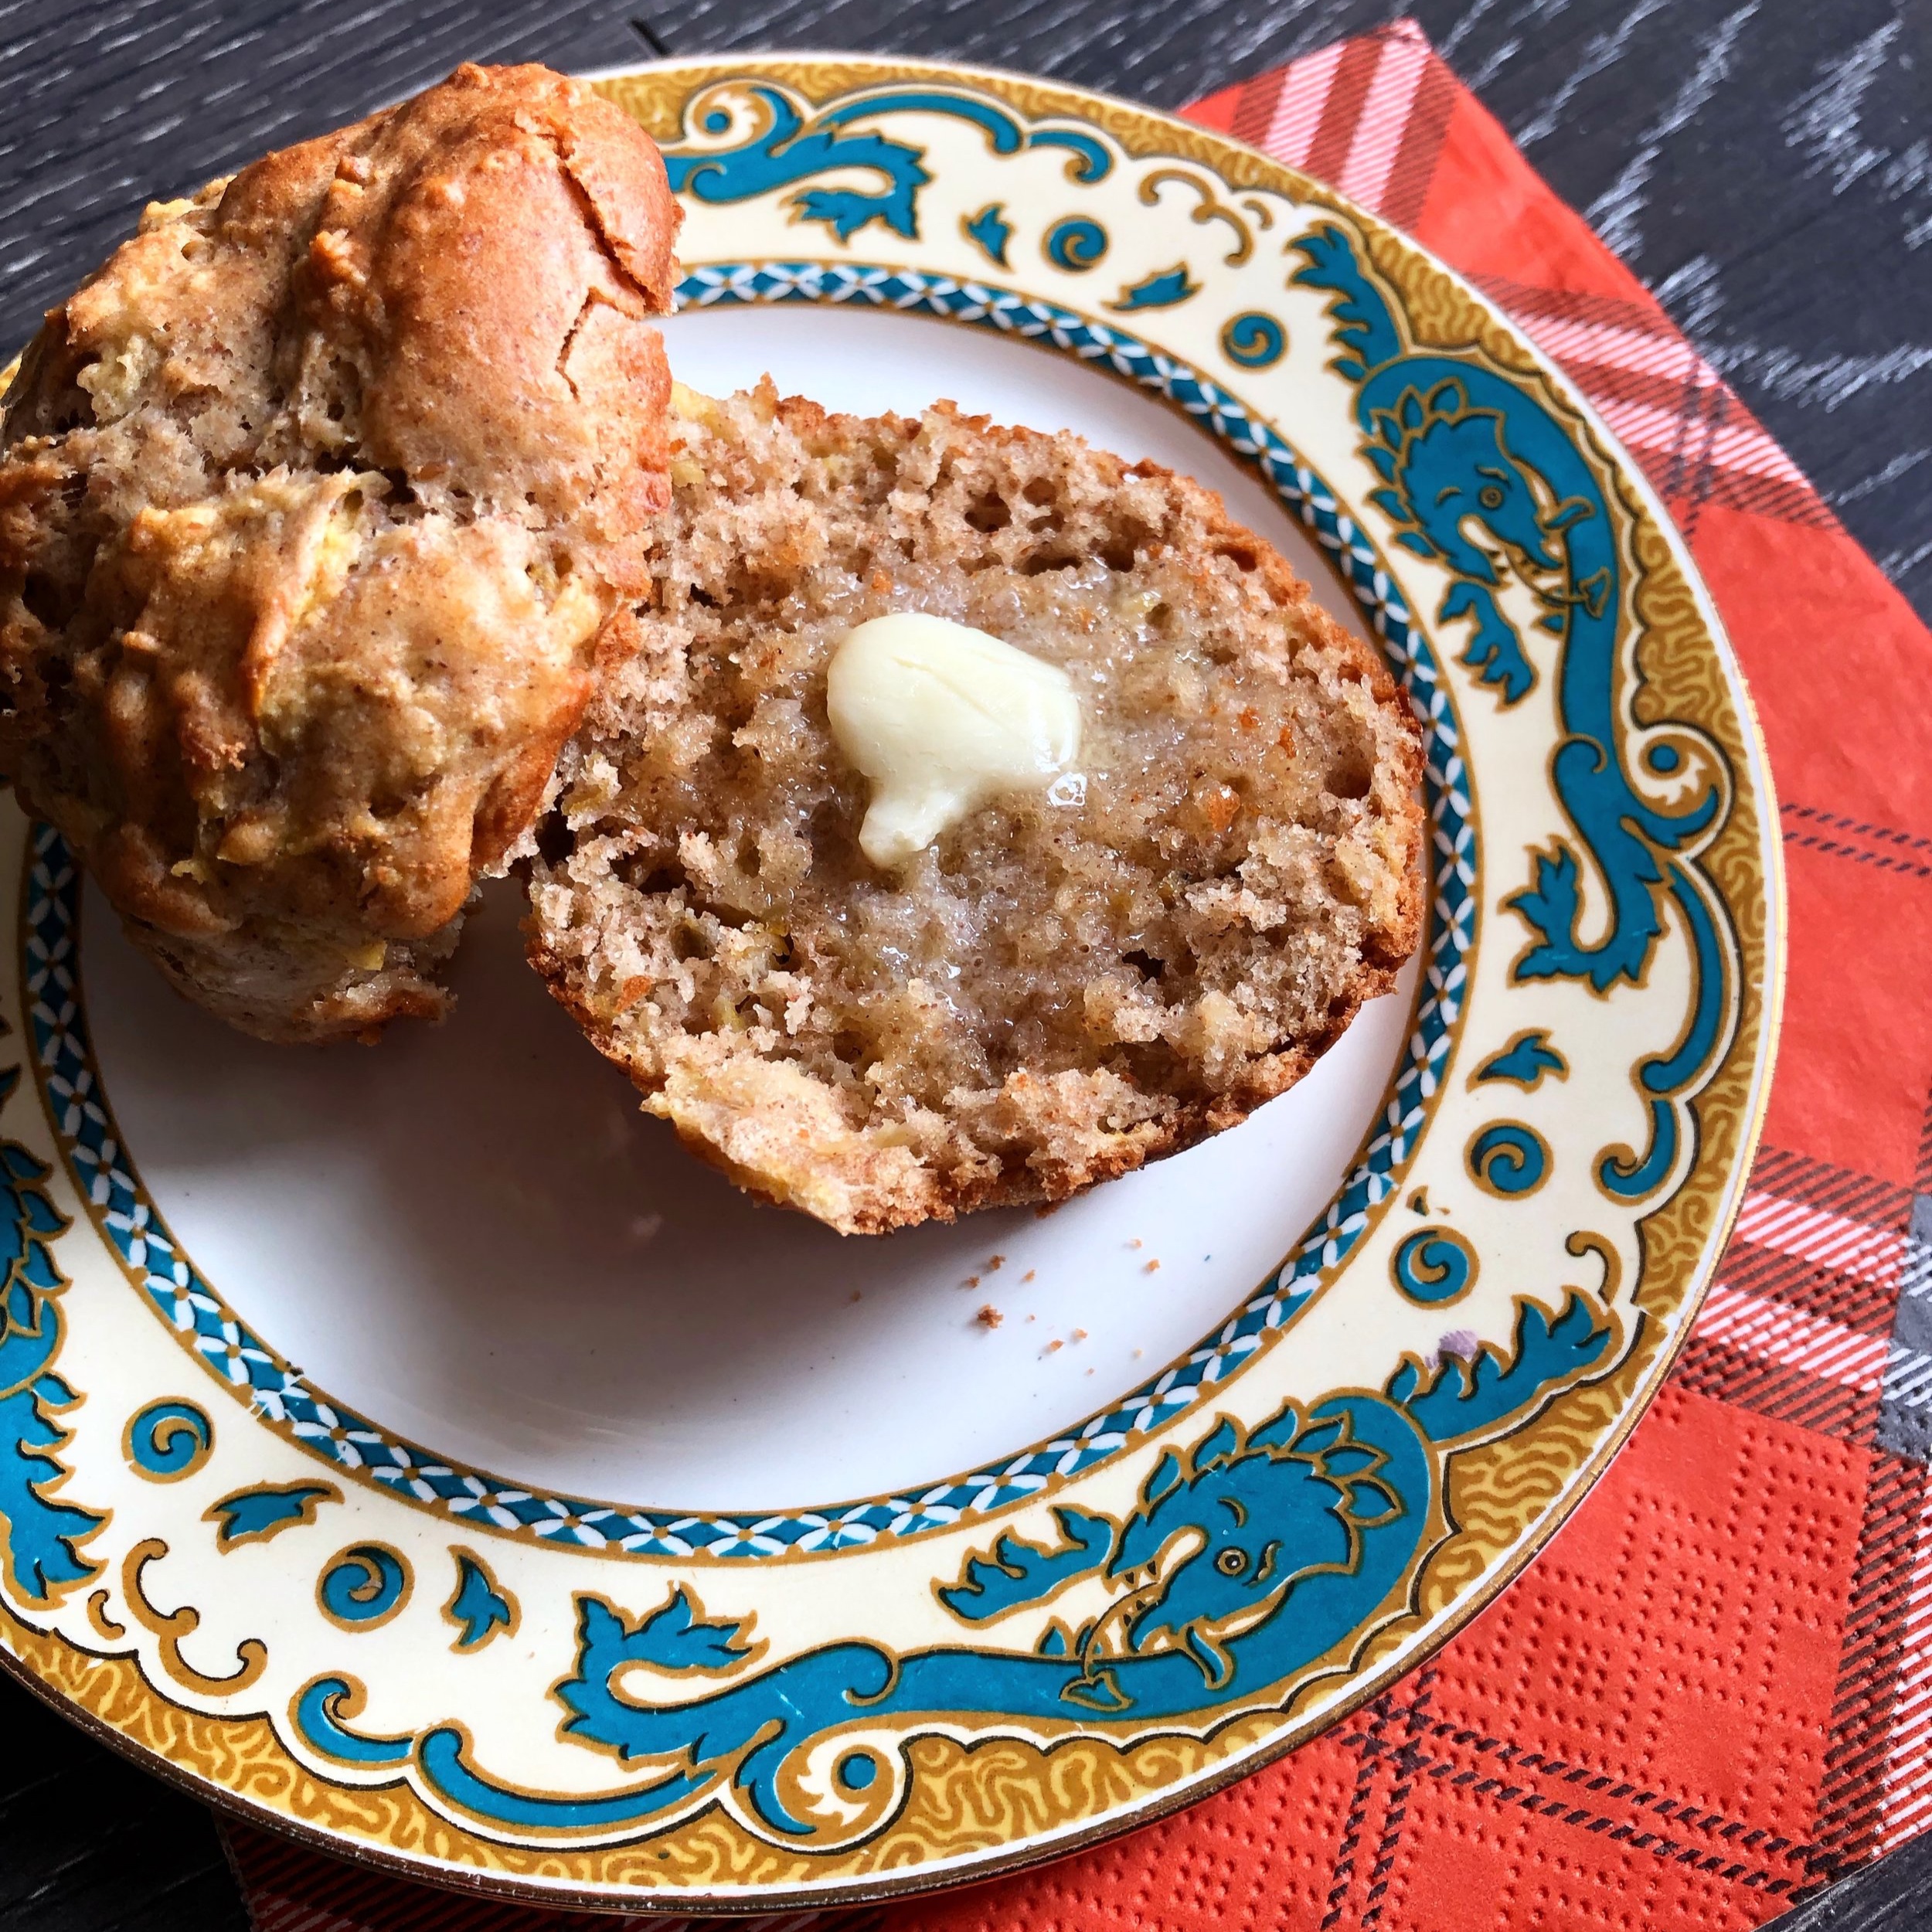
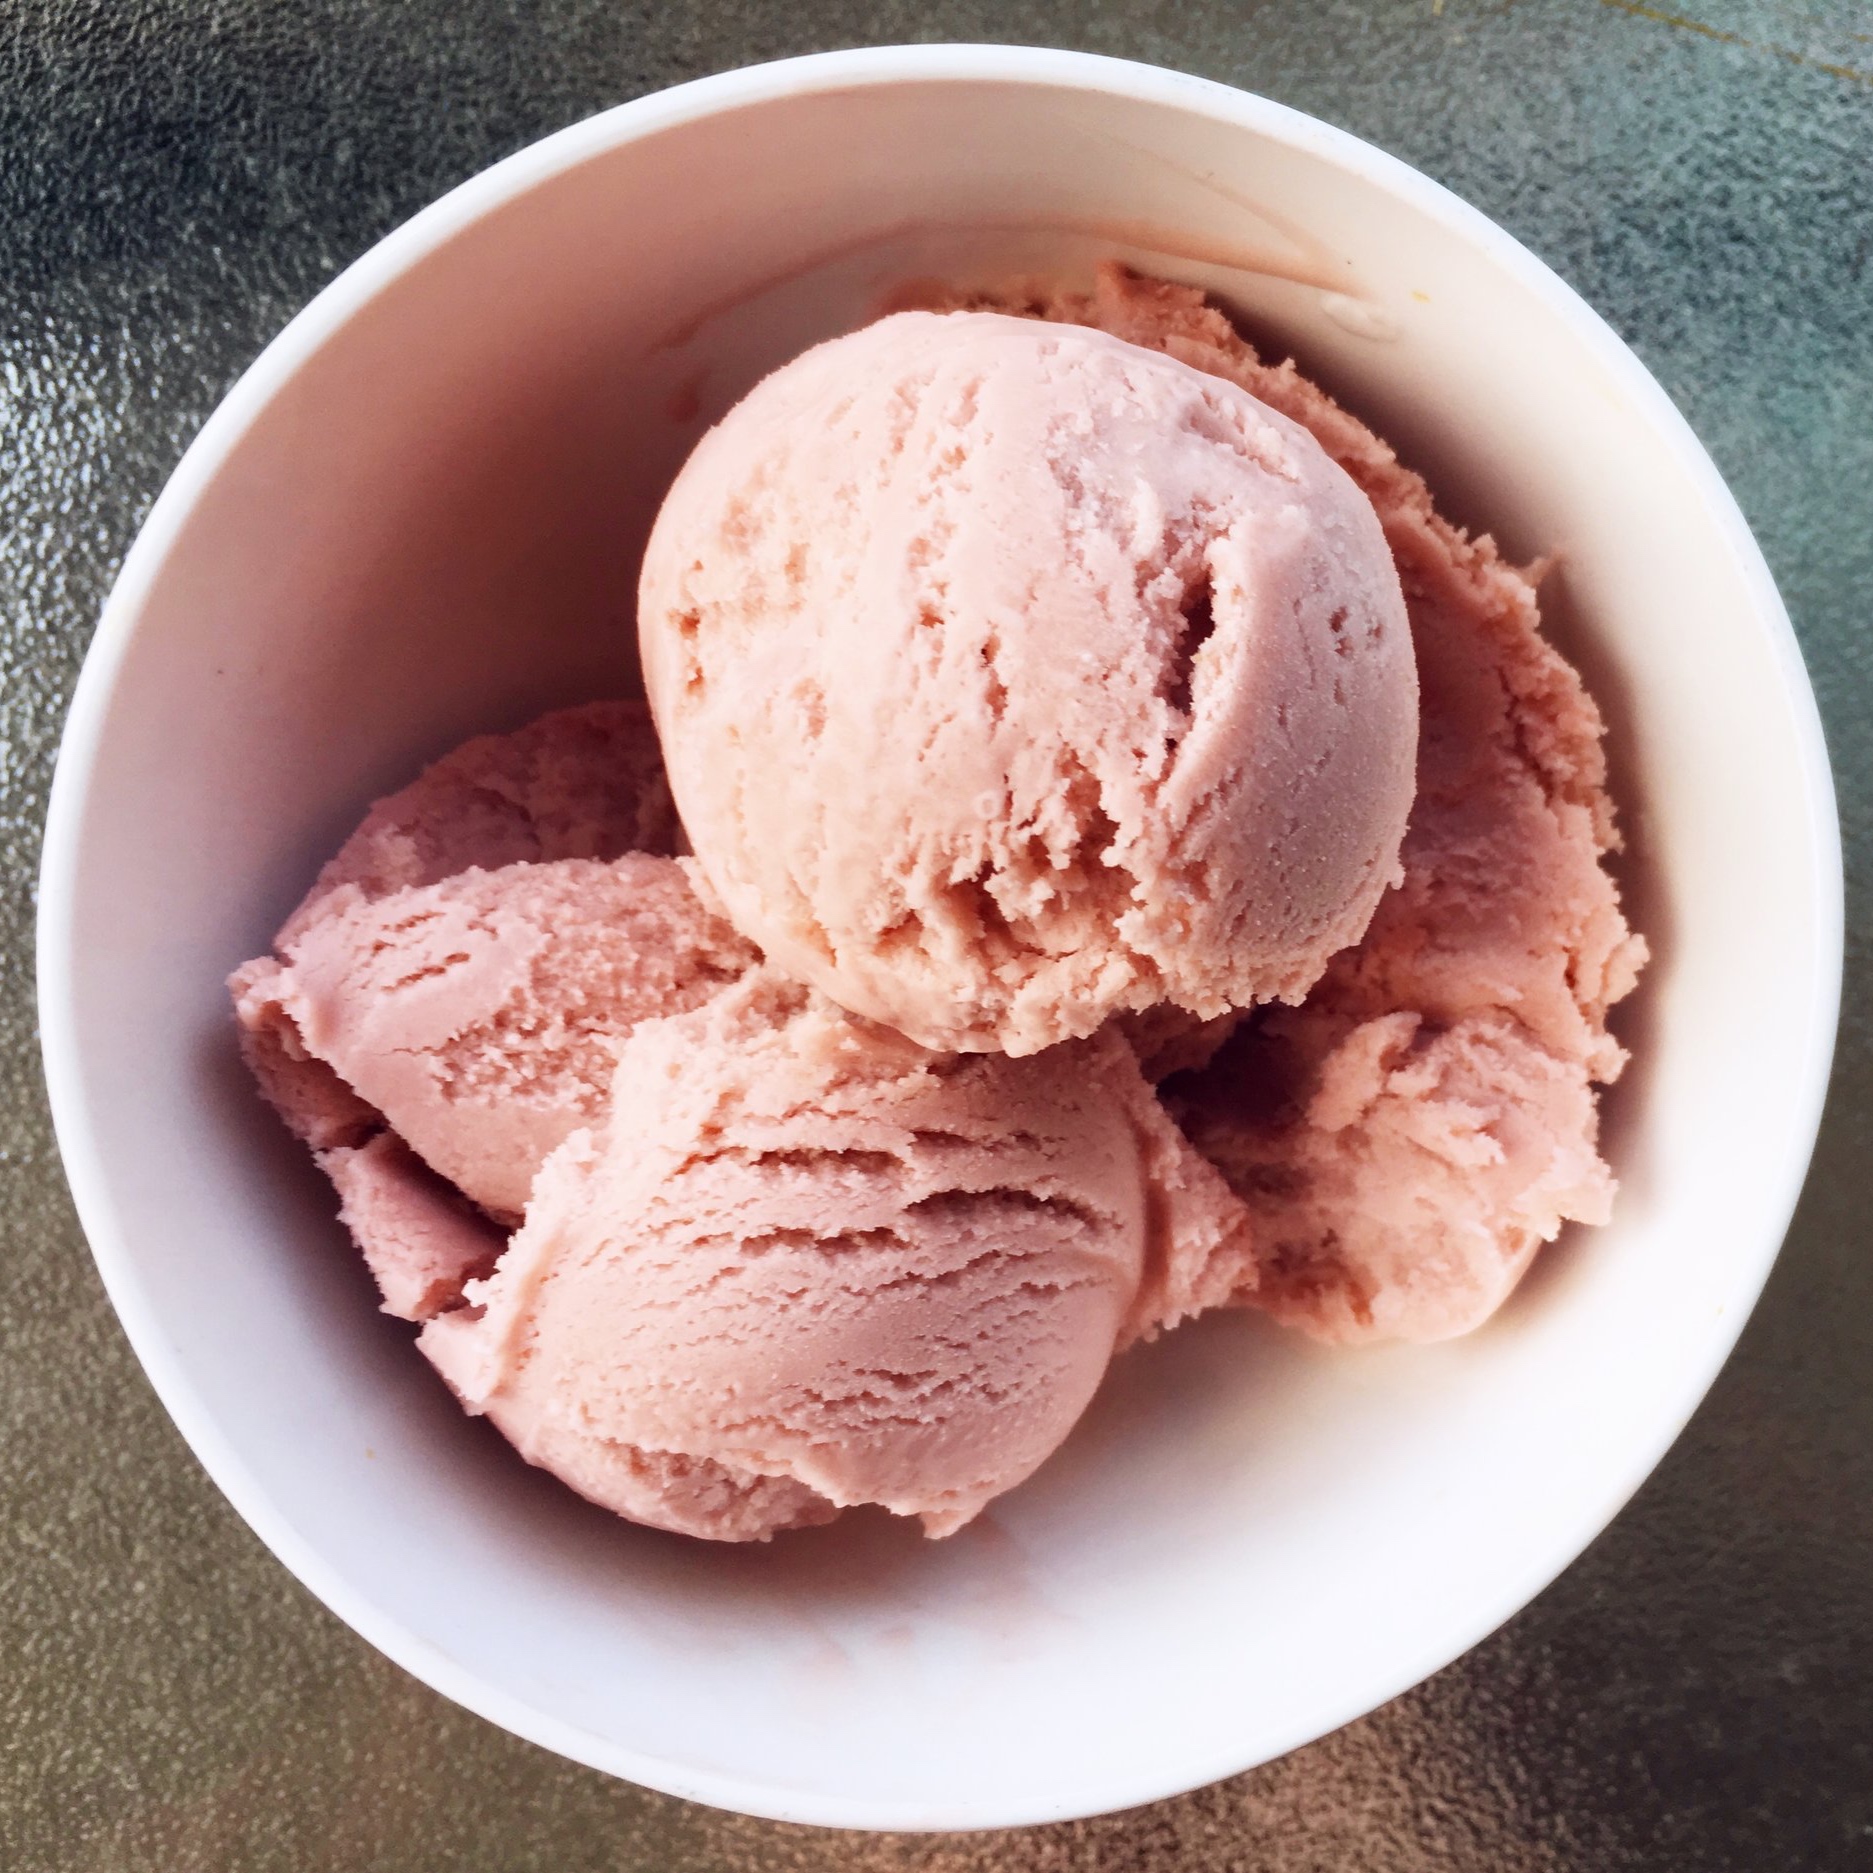
2018 also featured a lot of recipes! I enjoyed writing the “meals from the pantry” series, and might pick that up again this winter if there is interest, and I also love creating and sharing the recipes I make from foraged ingredients. This is “A Forager’s Home”, after all!

Douglas-Fir Sugar Cookies

Douglas-Fir Sugar Cookies

“Pop Stars”

“Pop Stars”

Mixed Bean Turkey Chilli

Mixed Bean Turkey Chilli

Wild Lettuce Soup

Wild Lettuce Soup

Apple Muffins with Sourdough Starter

Apple Muffins with Sourdough Starter

Roasted Vegetable Soup

Roasted Vegetable Soup

Dandelion Leaf Kimchi

Dandelion Leaf Kimchi

Floral Ice Cream

Floral Ice Cream

Pumpkin Apple Blender Muffins

Pumpkin Apple Blender Muffins

Sourdough Doughnuts

Sourdough Doughnuts

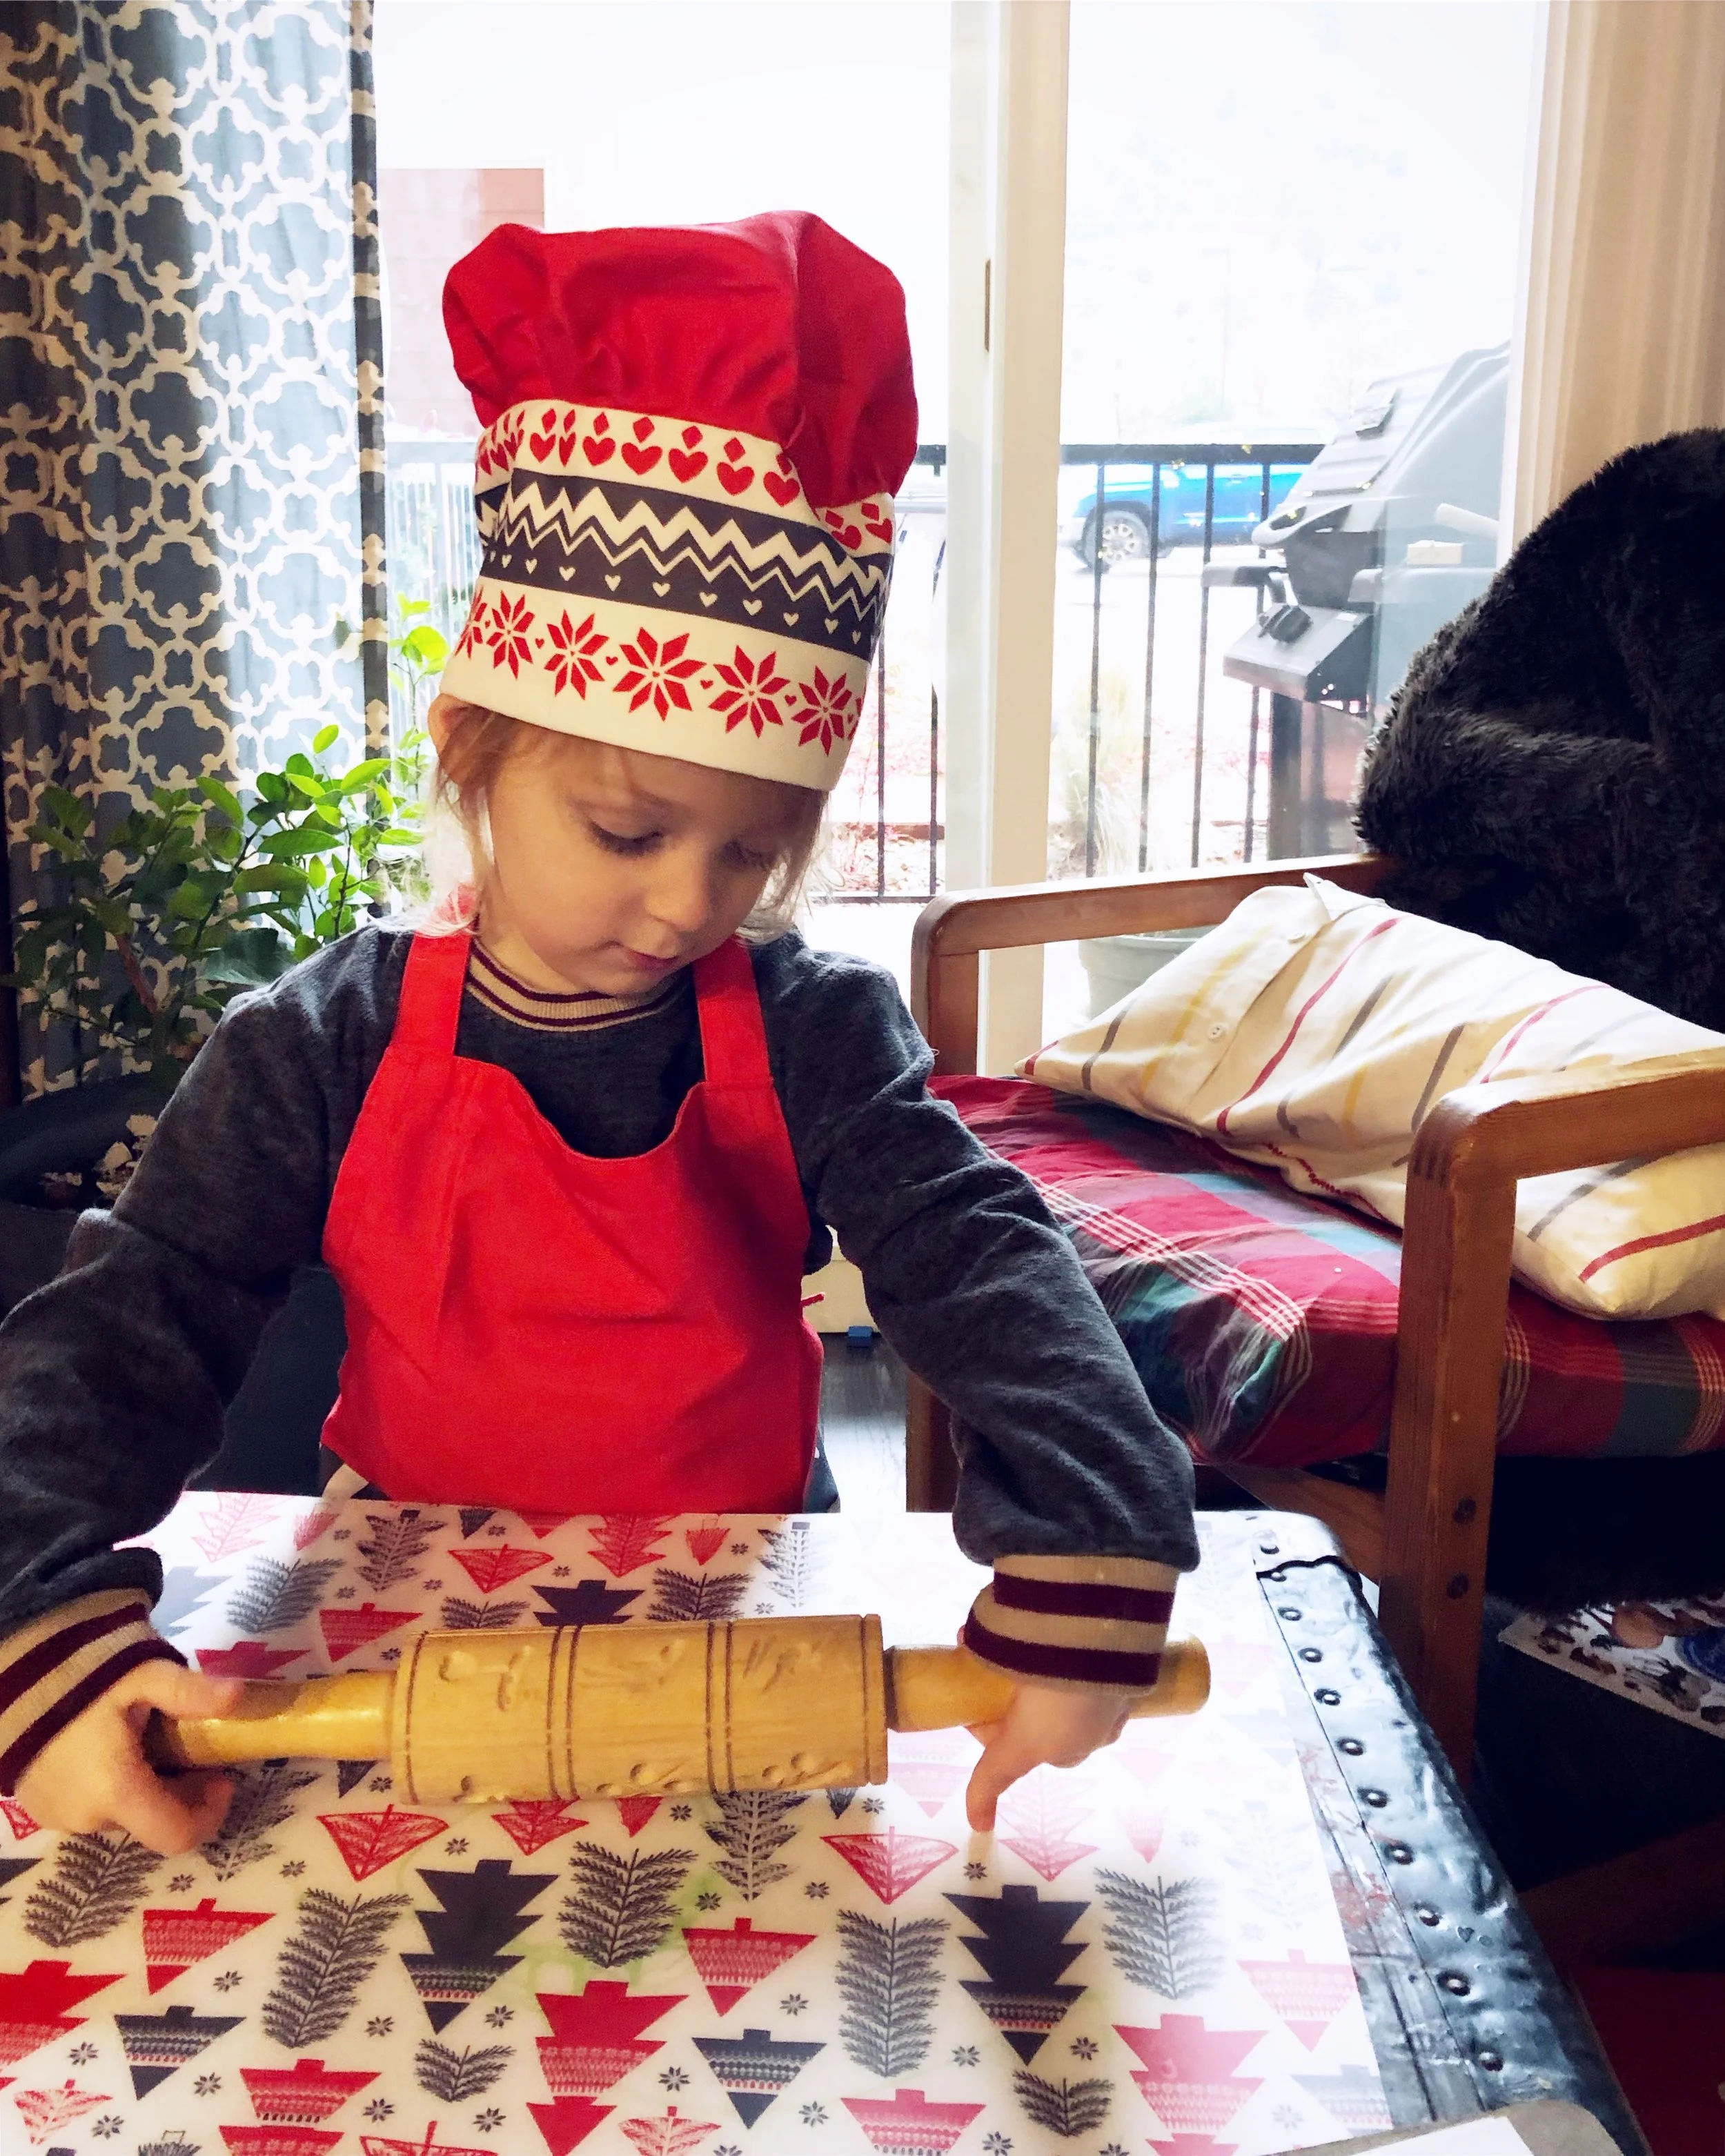
If you have been reading this blog for the past little while you’ll know we recently had to move house. I was hoping to do some sort of “holiday home tour” this month and show off how we set up our new place, but our crazy schedule got the best of us, and all I have to show you are these few photos below.

IMG_1312.JPG
IMG_1524.JPG
IMG_1520.JPG

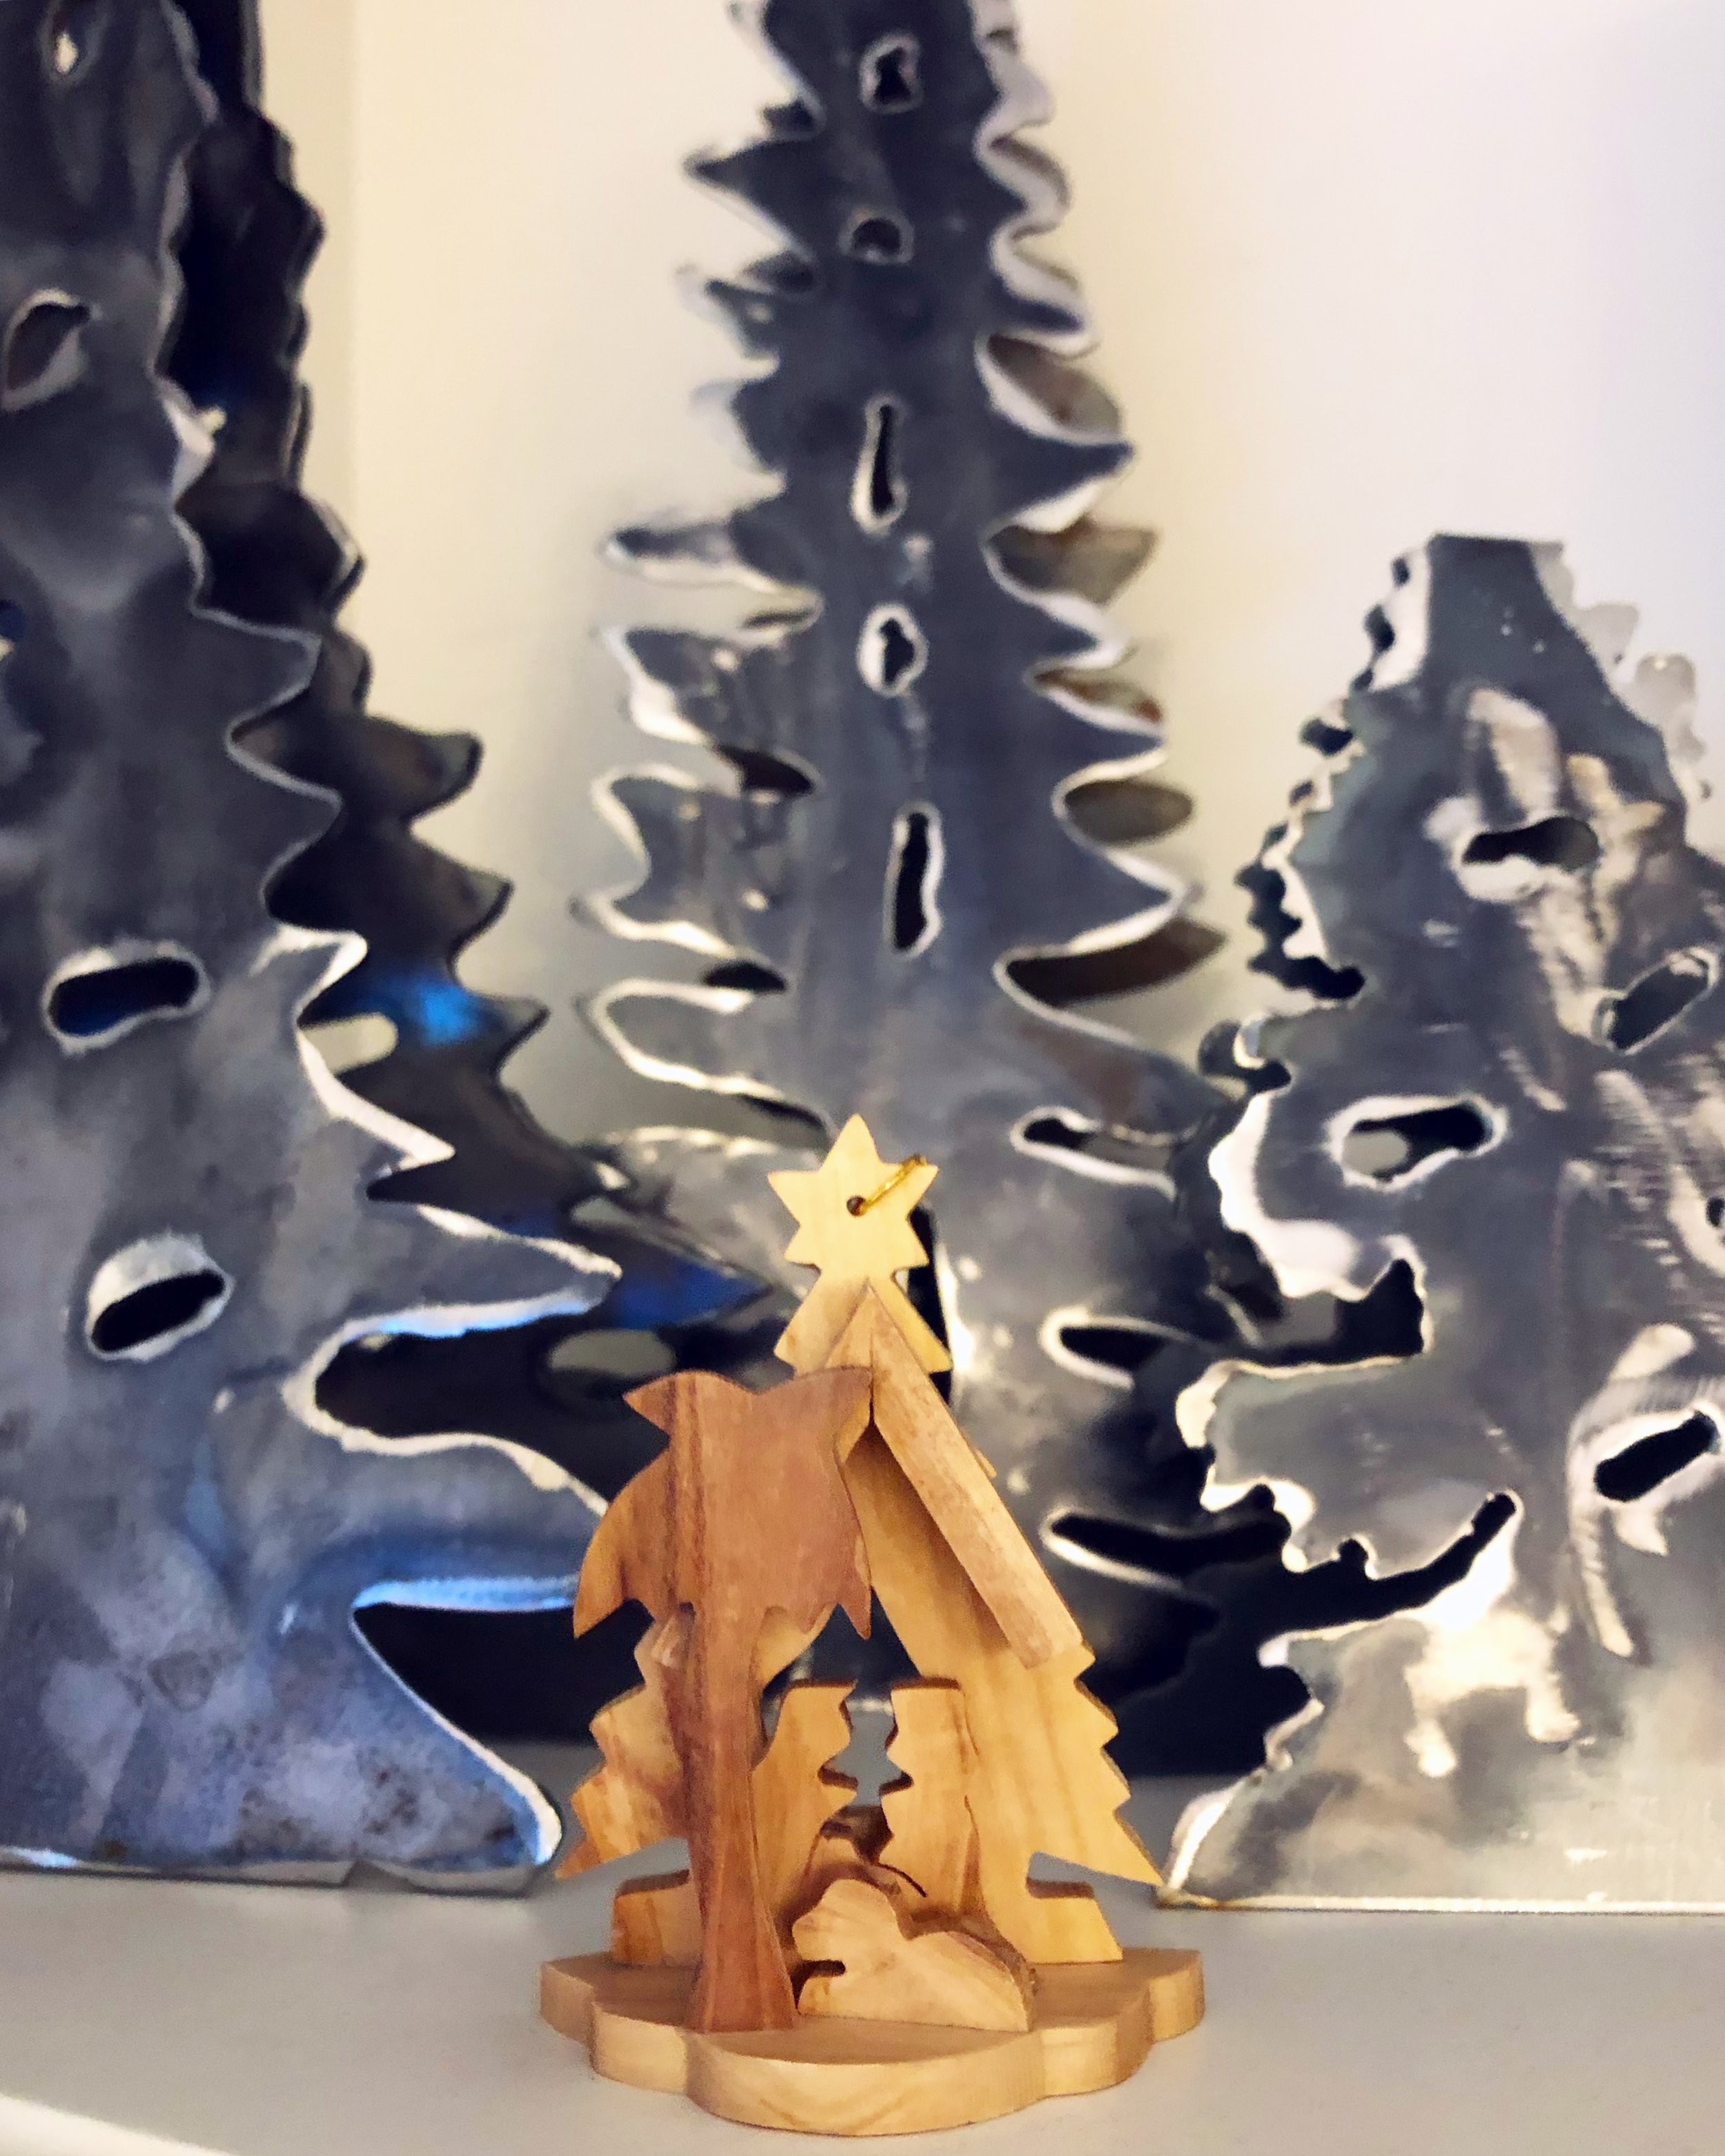
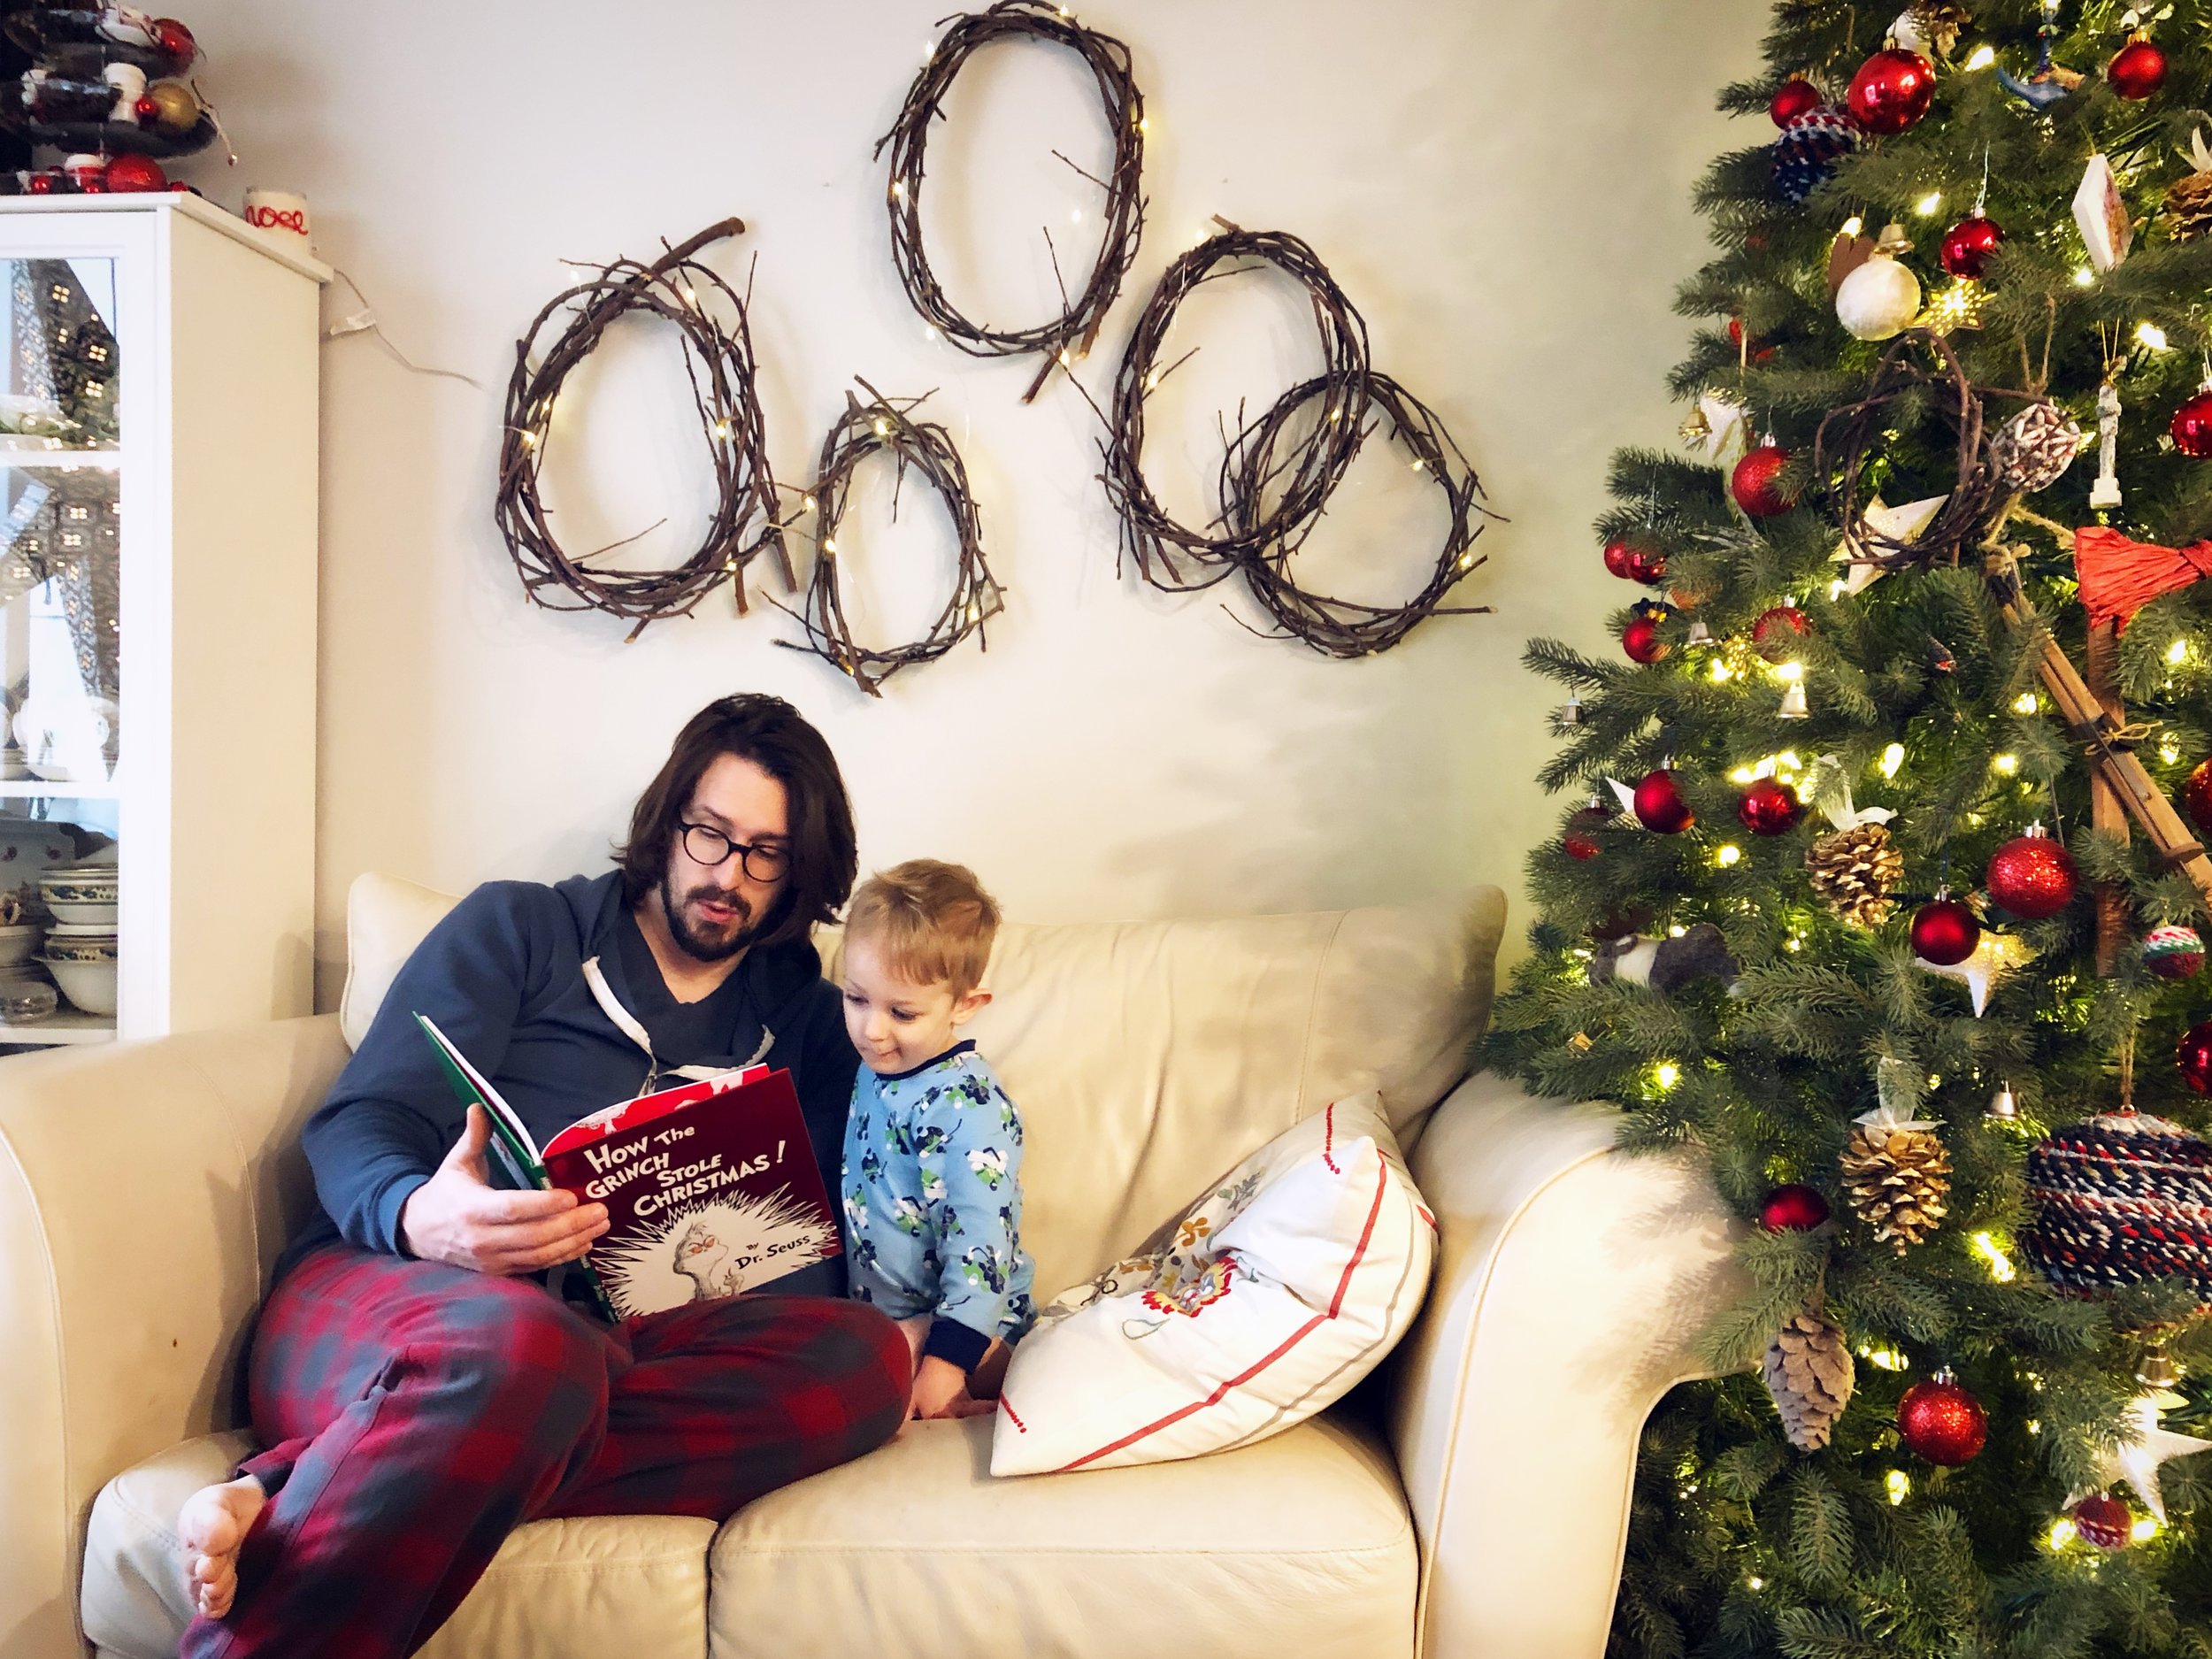
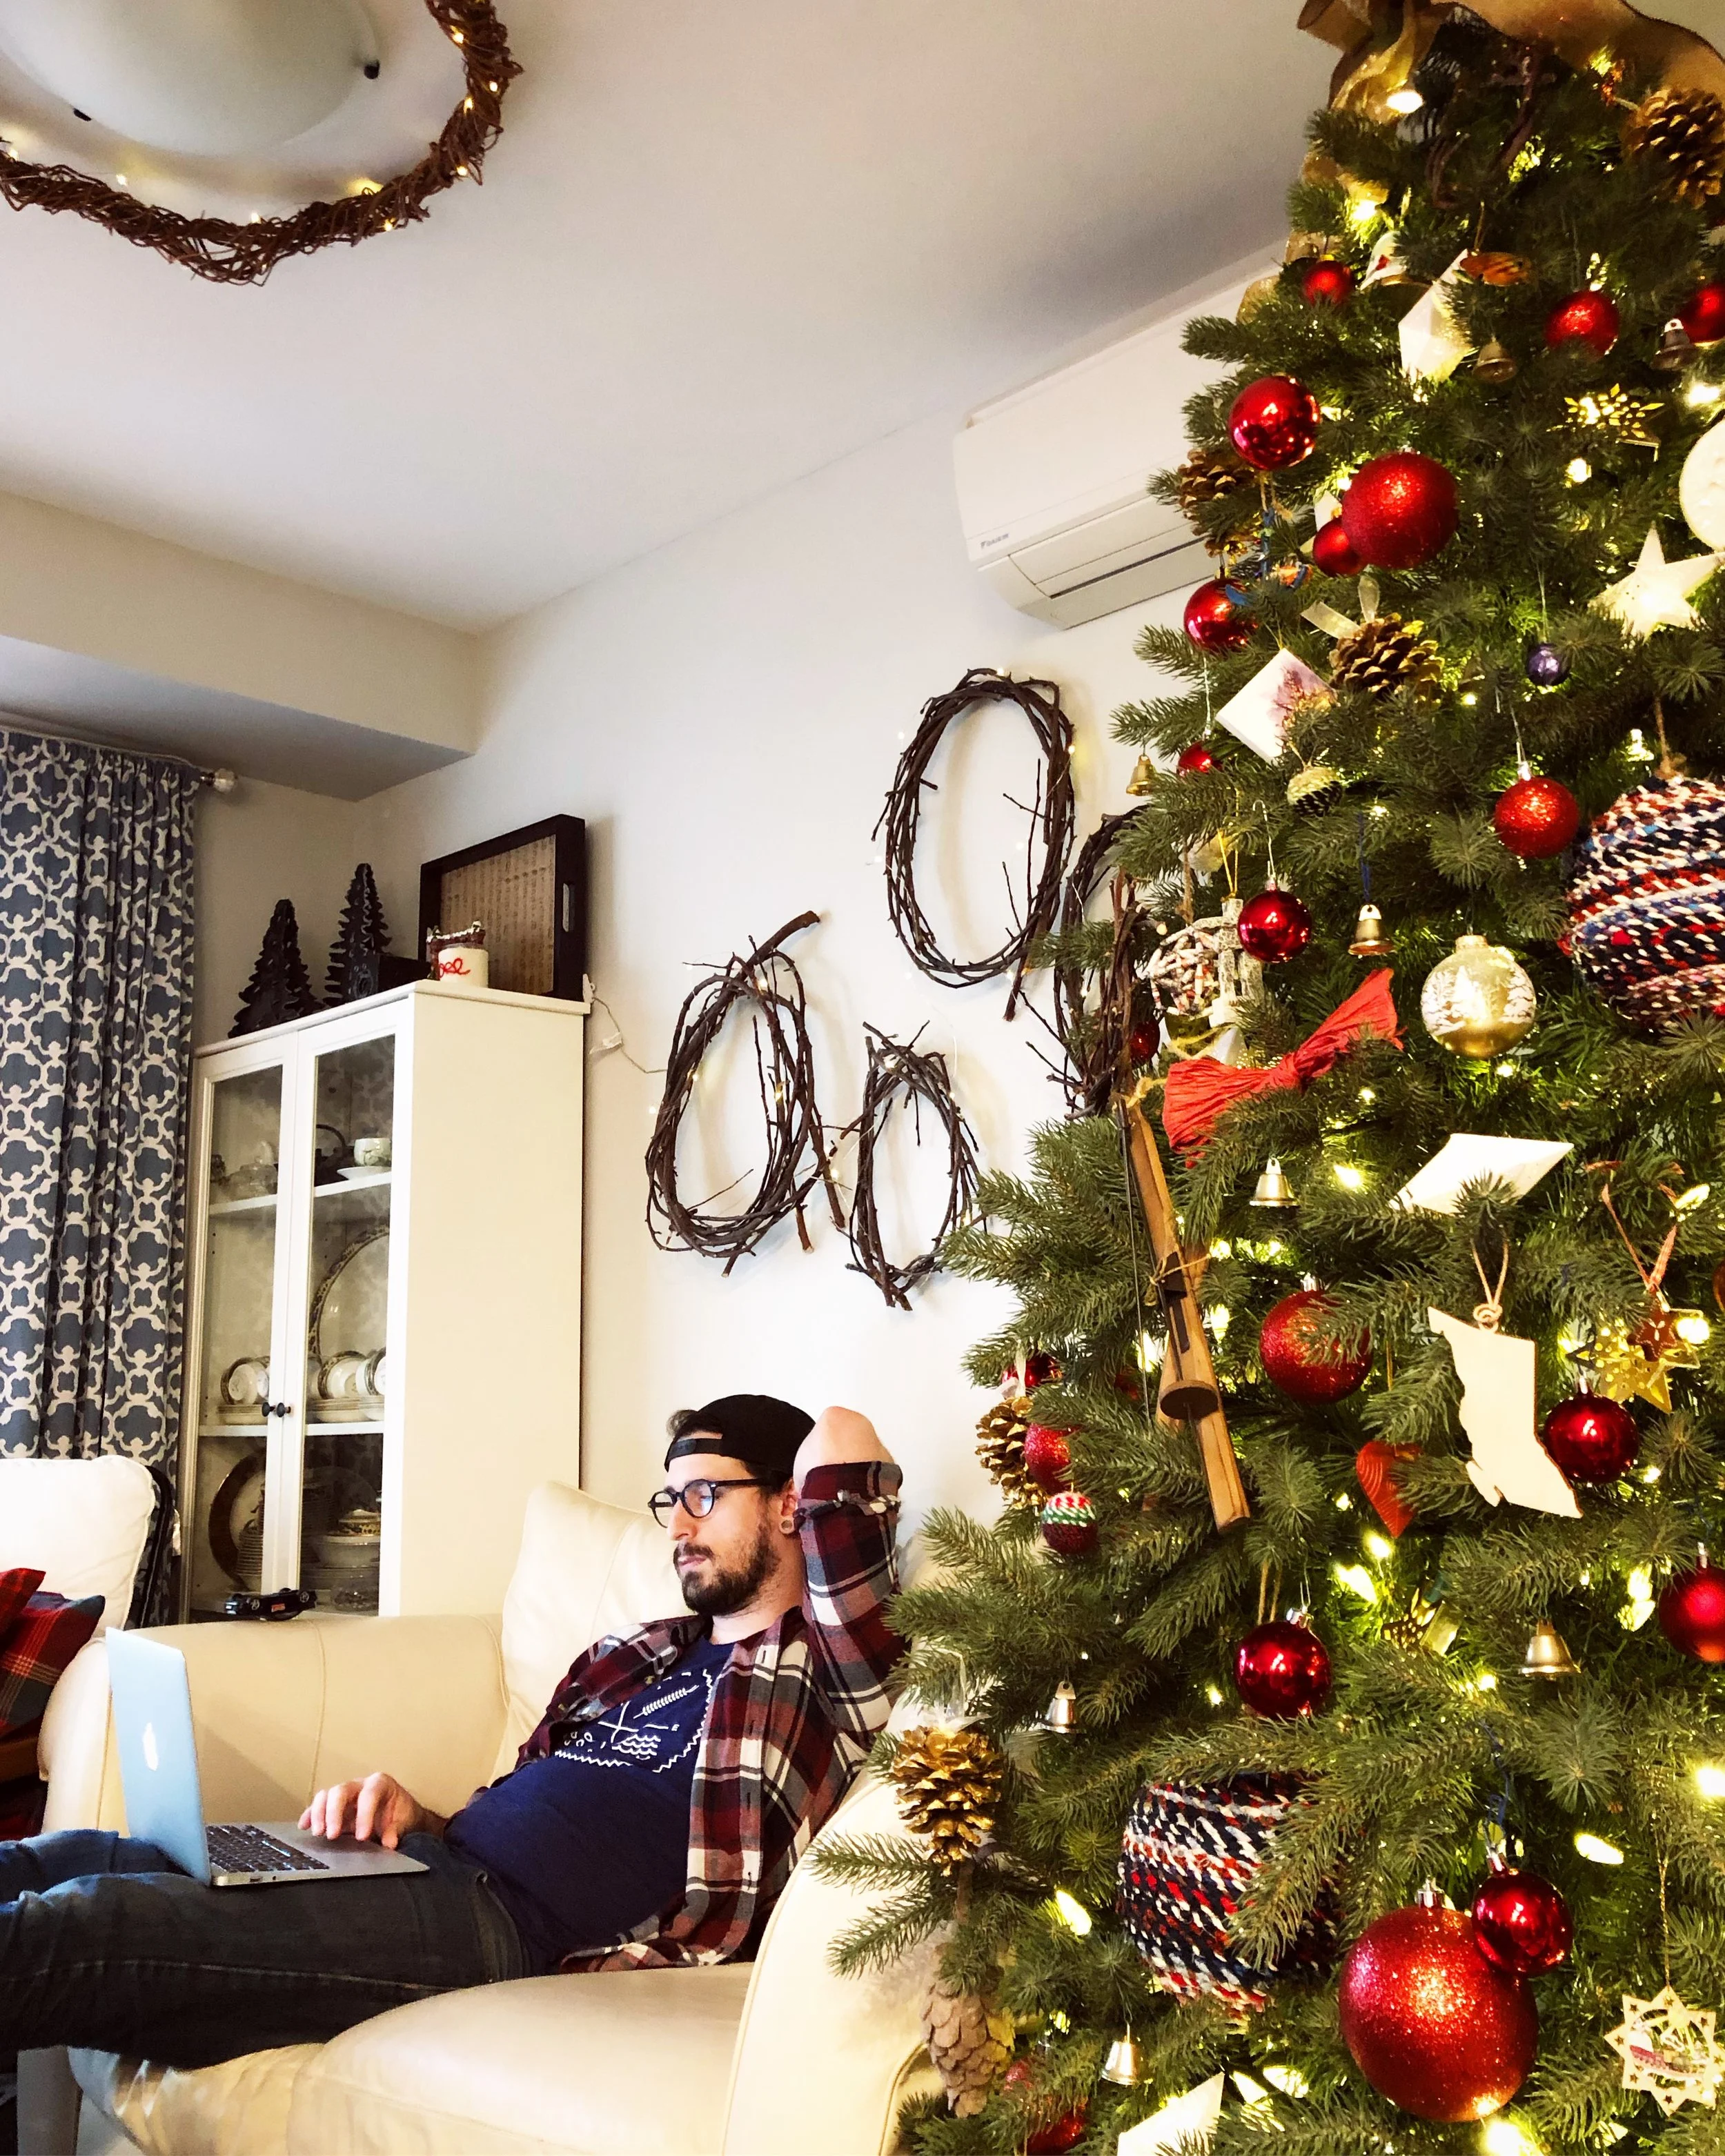
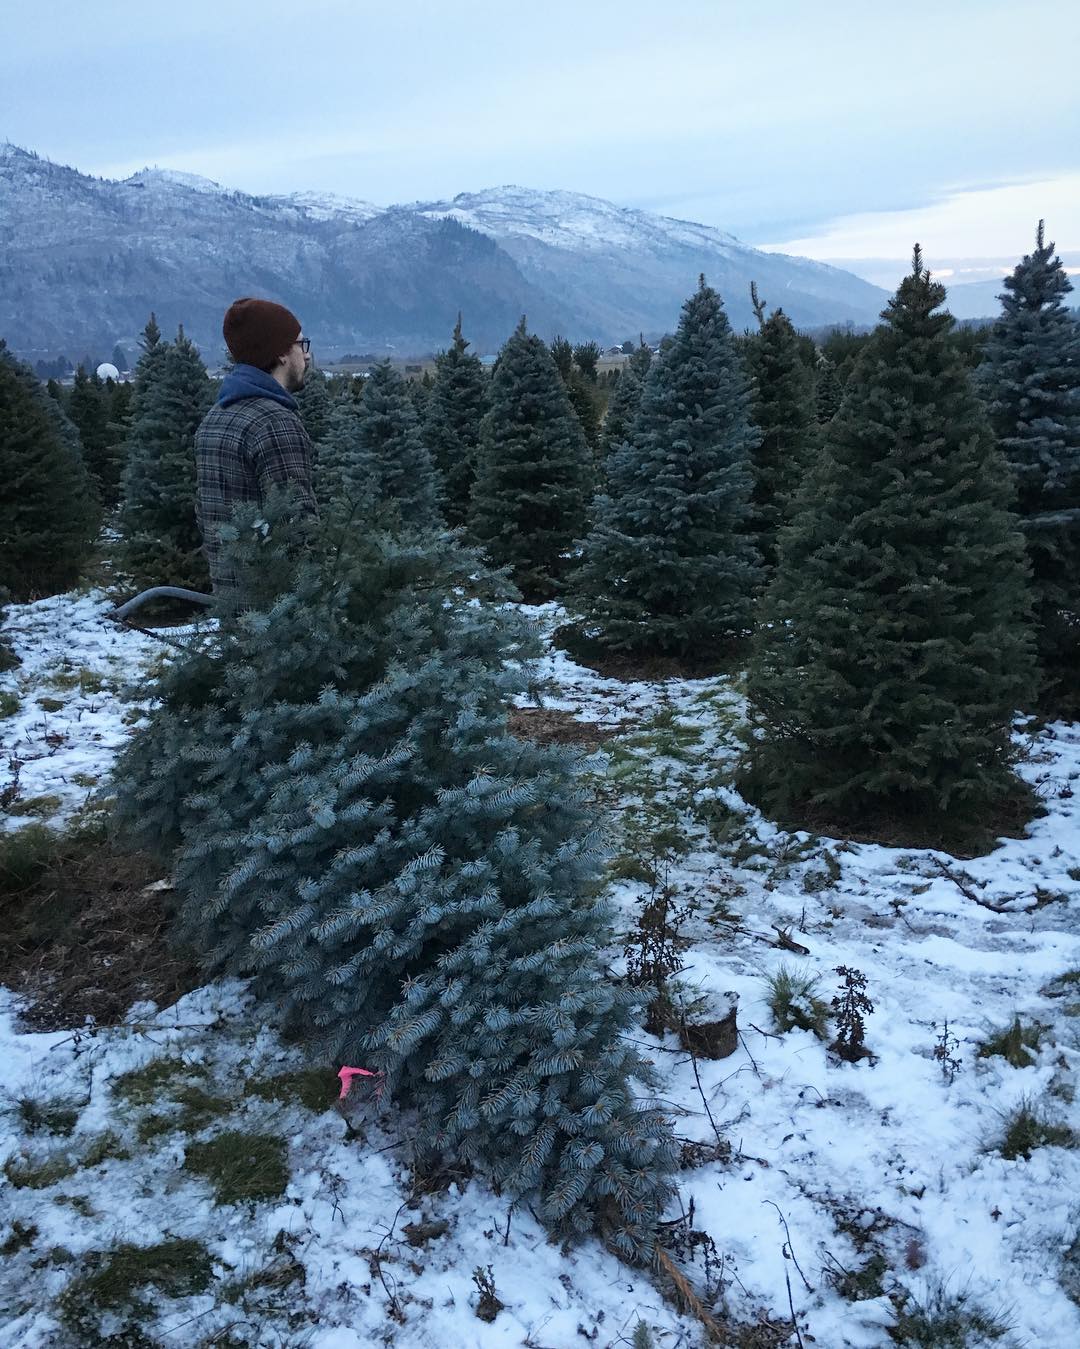
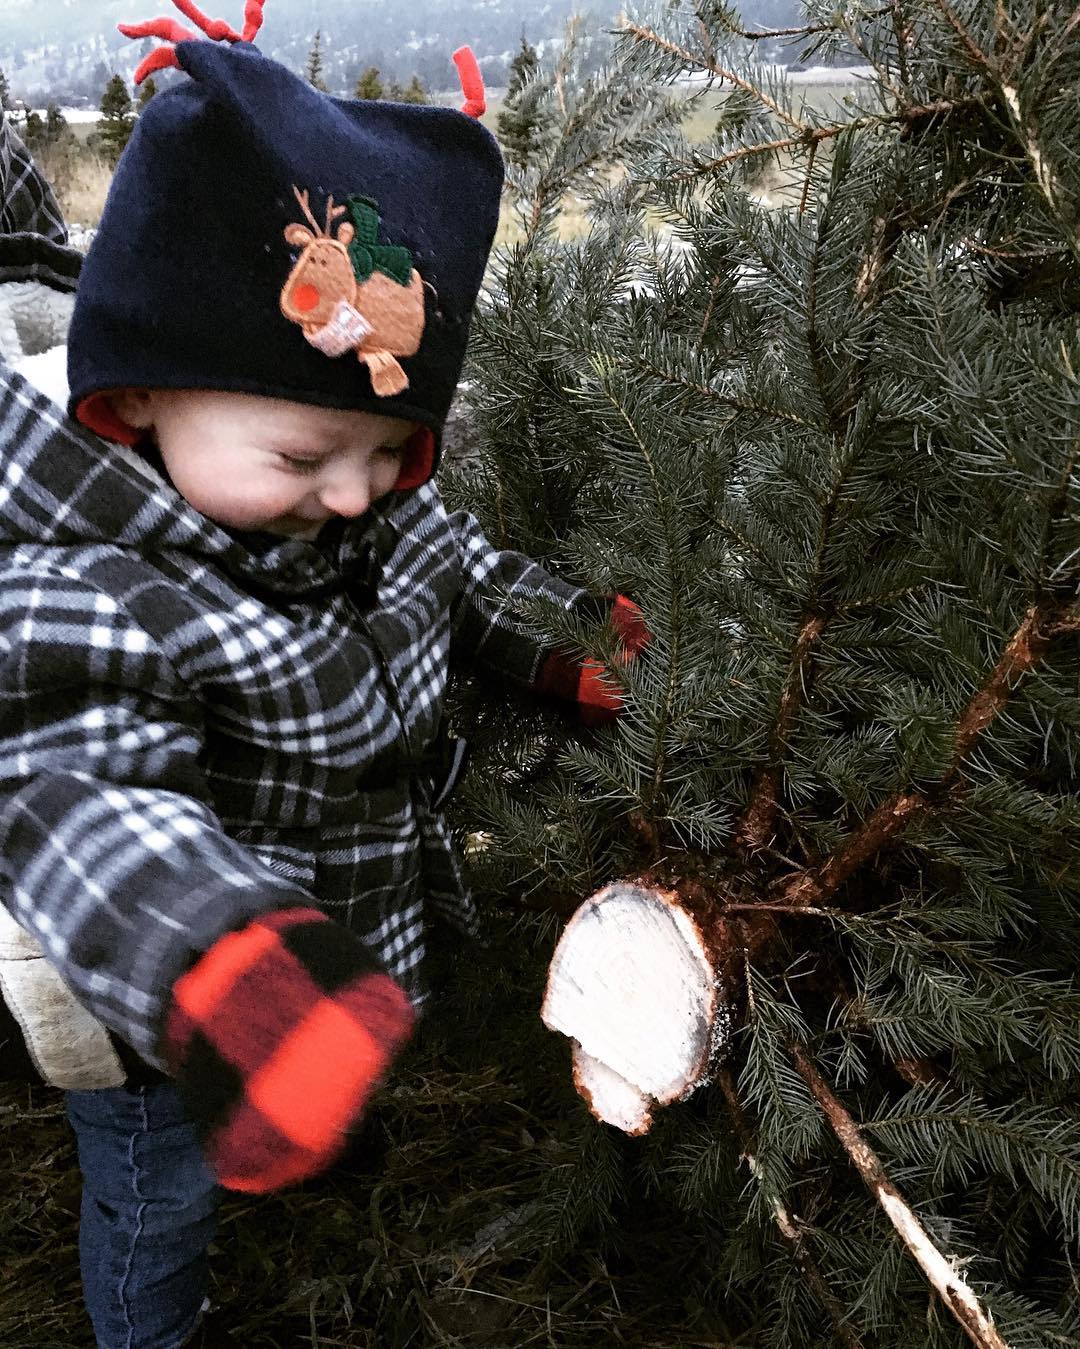
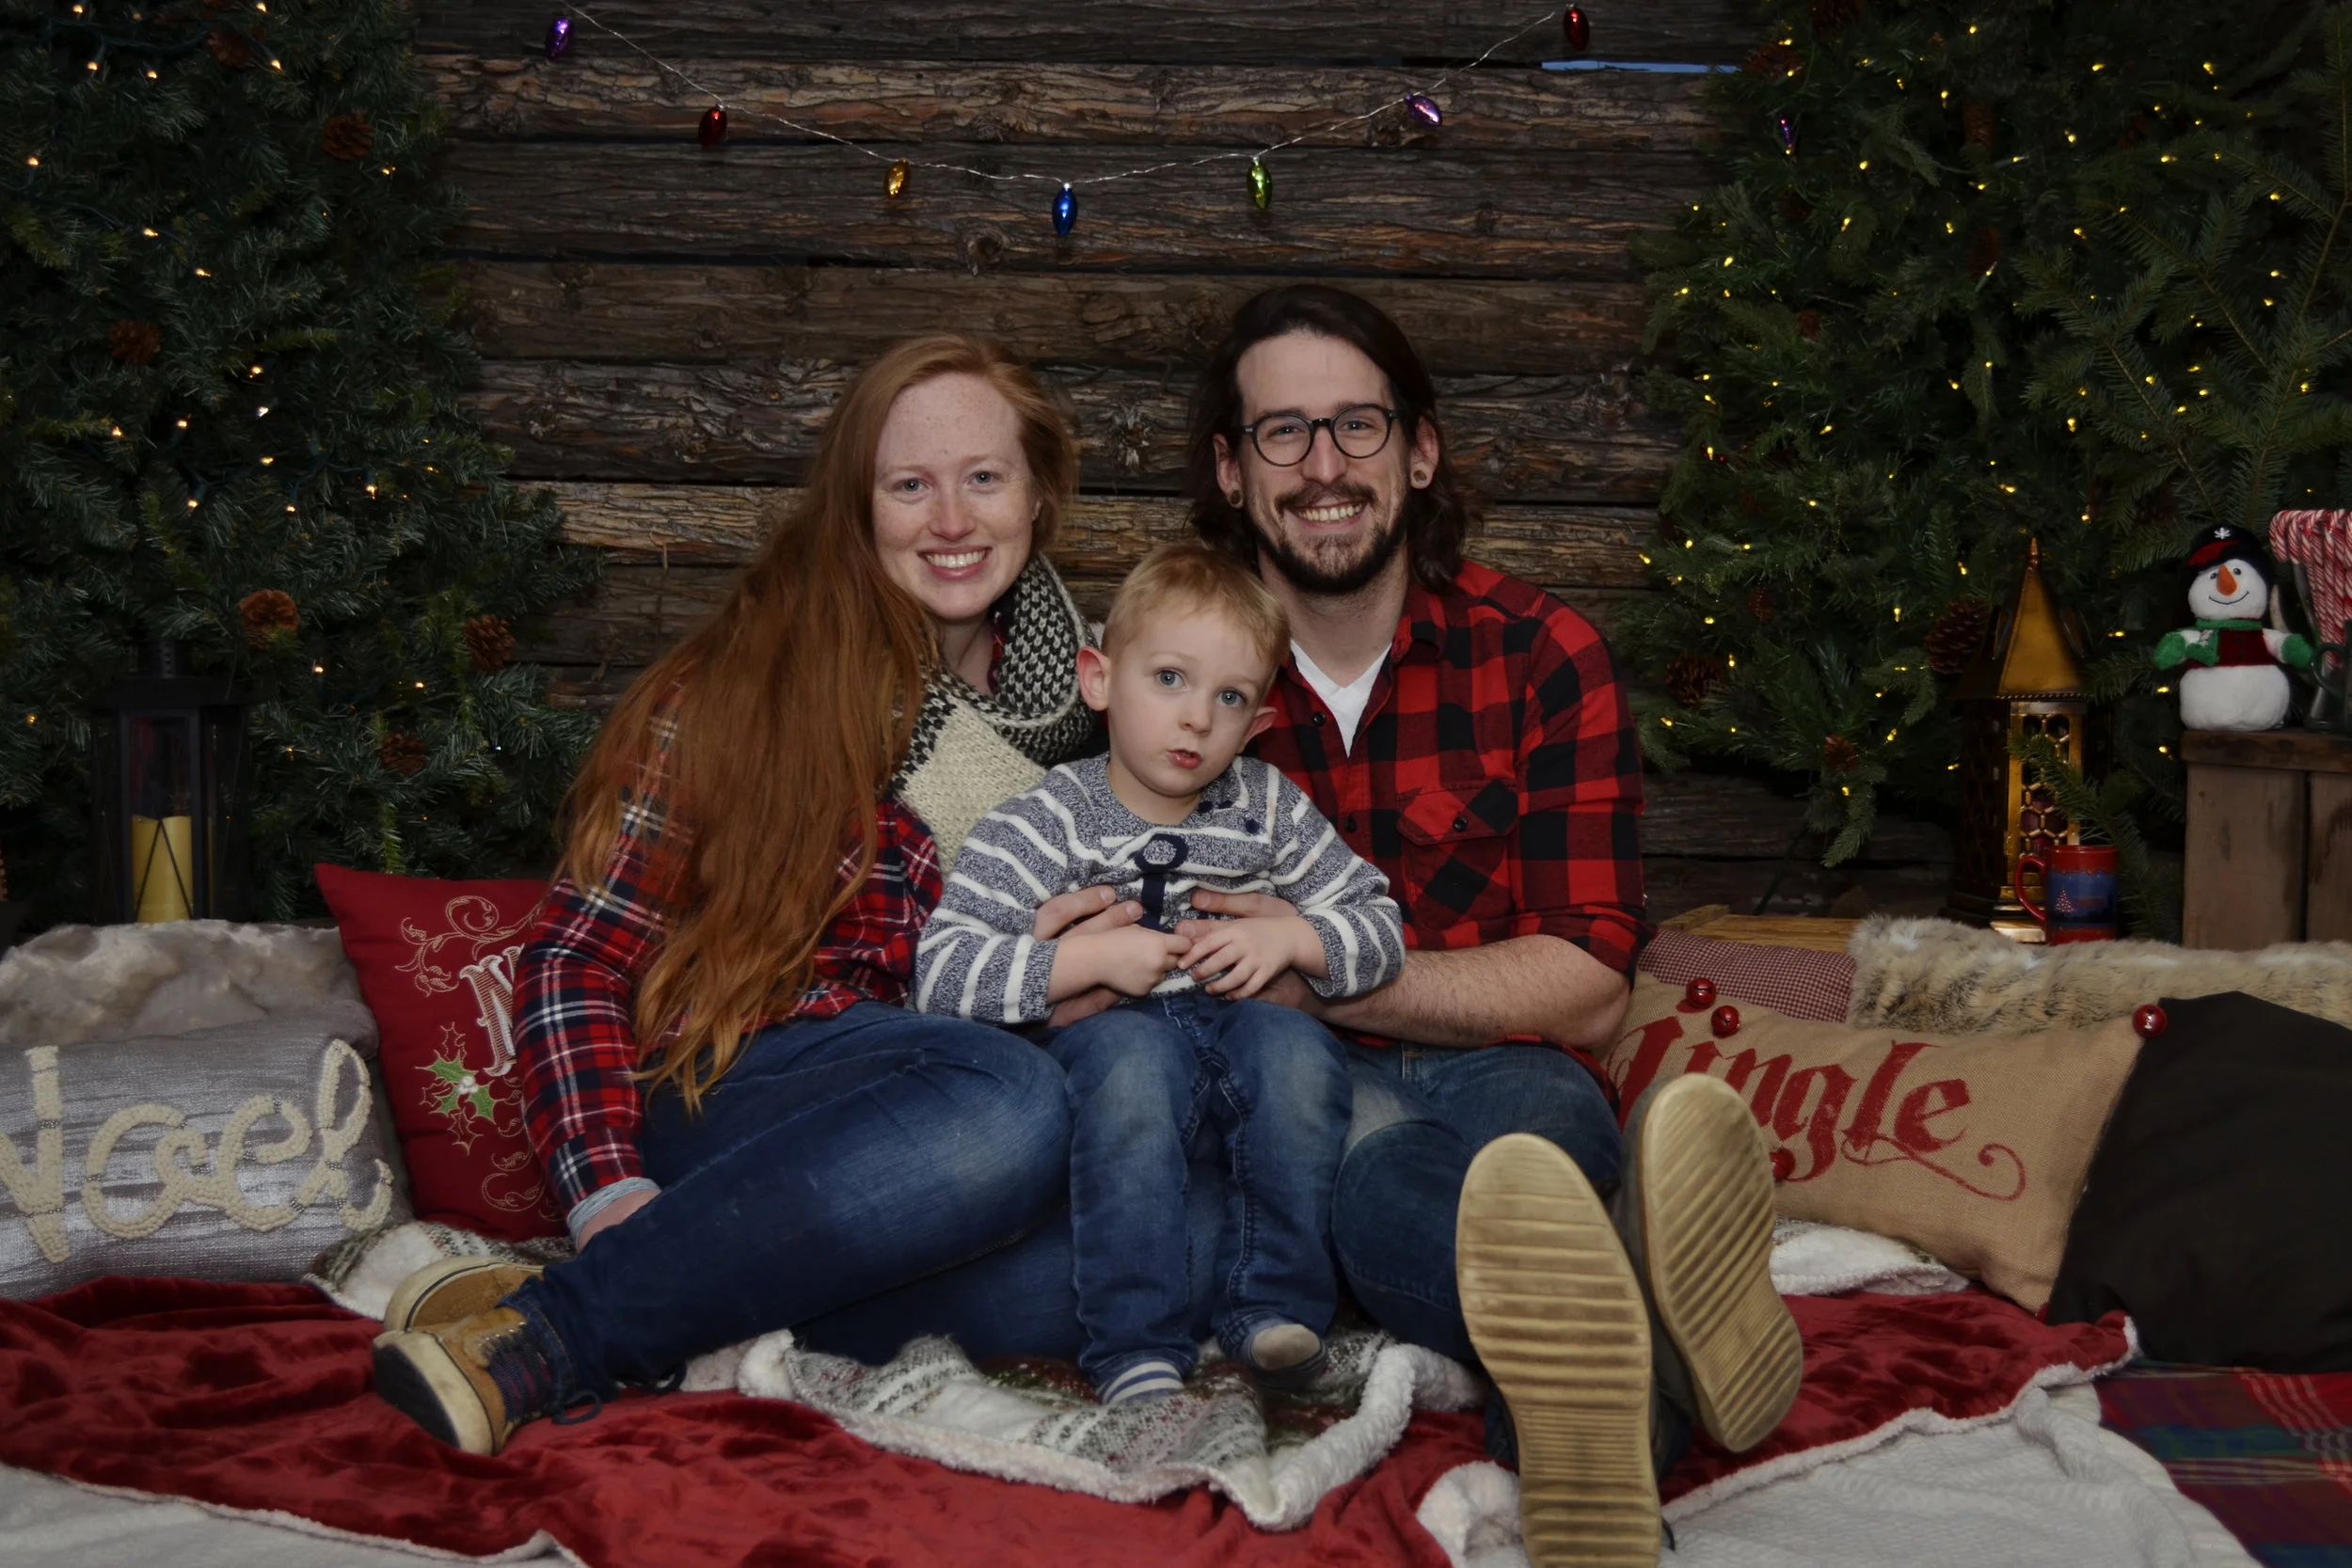
We spent Christmas with my side of the family in my parents’ new place. This was the first year they had enough room for a full Christmas tree, and I have to say it made it feel a lot more like Christmastime knowing that my parents had their tree set up!

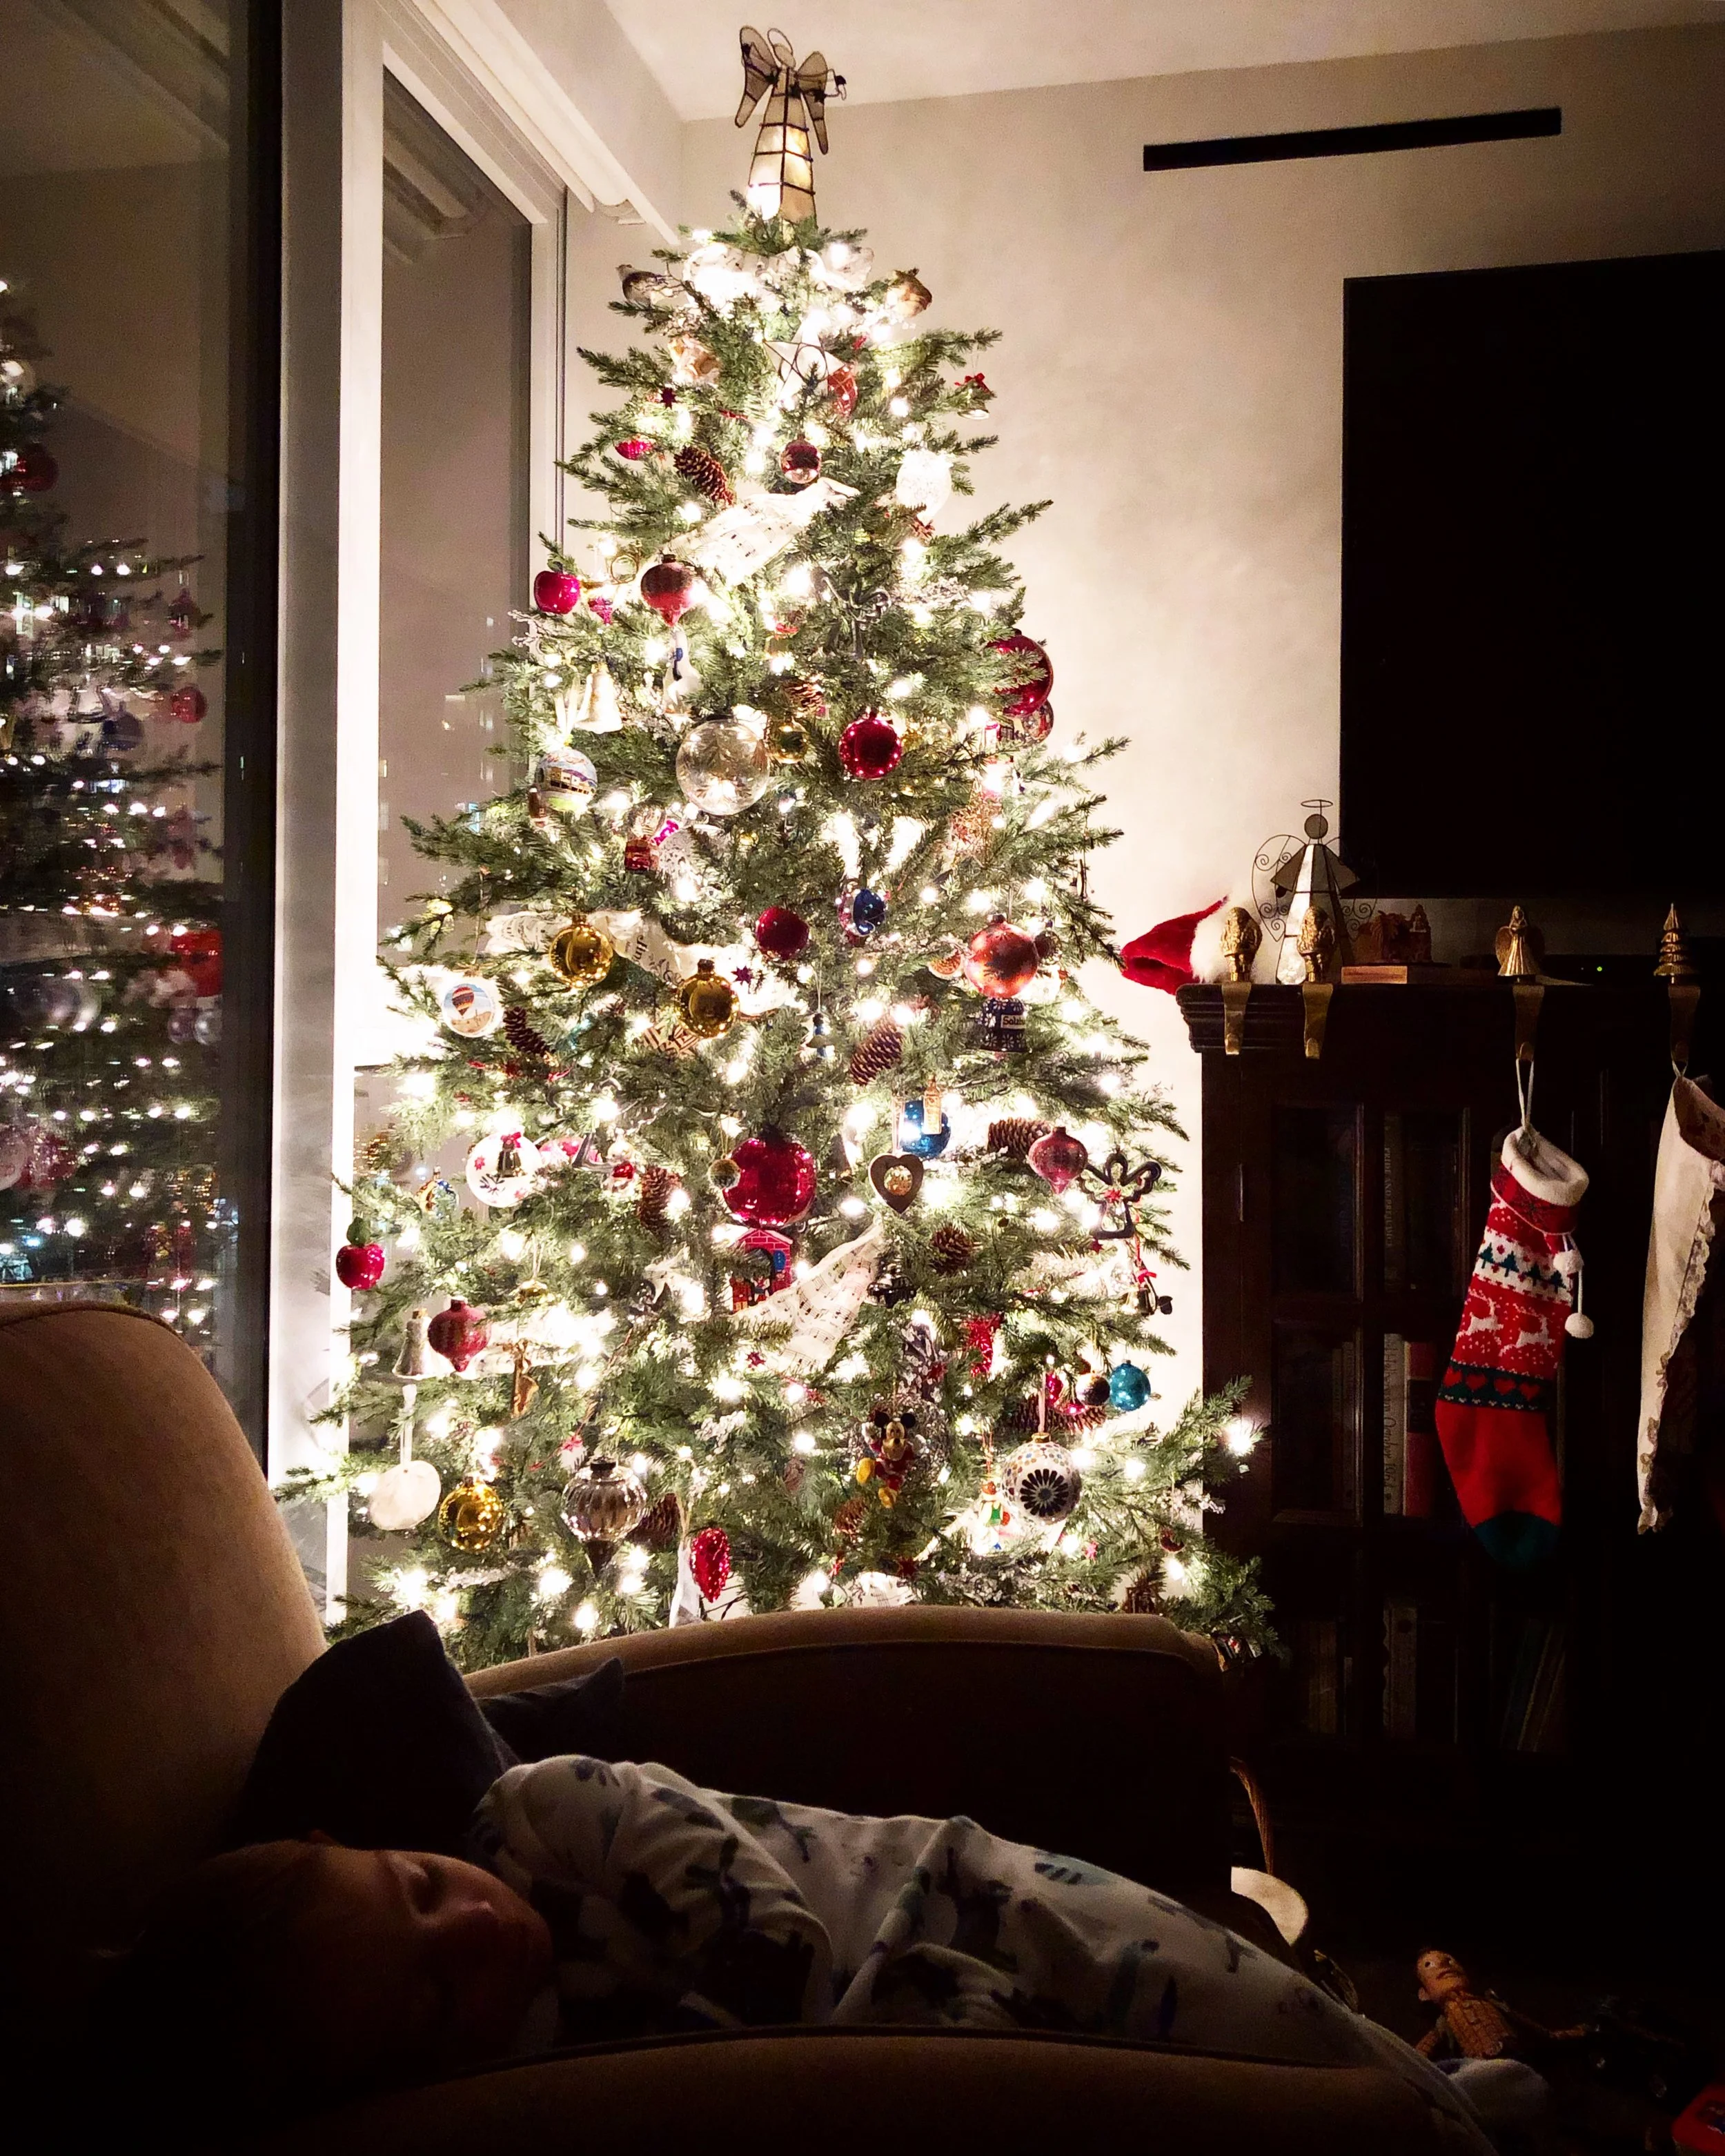
This photo of Little Forager sleeping in the glow of the Christmas tree is possibly a candidate for my absolute favourite photo of the year.

IMG_1736.JPG

I’ve saved our biggest news of the year for last - although we’ve already shared it quite a bit so you might already know. This year we were so thrilled to find out that our little family would be growing by one in Spring of 2019! We are expecting a little girl to join us, and we couldn’t be more excited!

IMG_0258.JPG

2018 was a complicated year, but filled to the brim with good things, and we can’t wait to see what 2019 has in store for us! How was your year? I’d love to hear how things were for you in the comments.

IMG_9045.JPG
December 31, 2018 /Kelsey Fast
a forager's home shop, family, foraging, food, garden, holiday, home decor, handmade, Christmas, musings, upcycle, Winter
Comment

Douglas-Fir Sugar Cookies

December 07, 2018 by Kelsey Fast in Eat, Find

It’s beginning to look at least a little bit like Christmas over here! There isn’t all that much snow compared to the last couple years, and November was unseasonably warm. No matter what the weather is doing Christmas is on its way and I’ve got a great sugar cookie recipe to share with you!  

Douglas-fir might be a common choice for Christmas trees, but the one behind this plate of cookies is an artificial tree so don’t use this as an example if you’re trying to make a positive ID!

Douglas-fir might be a common choice for Christmas trees, but the one behind this plate of cookies is an artificial tree so don’t use this as an example if you’re trying to make a positive ID!

Where I live Douglas-fir trees are one of the dominant features in our landscape. You can see a whole bunch of them in the panorama shot below of my old backyard view. Pseudotsuga menzesii aren’t a true fir tree at all, and come in a couple varieties - one coastal, and the other inland. The latter ‘Rocky mountain Douglas-fir’ (or pseudotsuga menziesii var. glauca) is what we typically find in our area. They have a few different features, but their uses are the same. I haven’t had a chance to taste the coastal Douglas-fir, so I can’t comment on the difference, but this recipe could be made with either. The main thing I’ve observed is that the cones are slightly different shapes, and there are a few other differences in the overall growth habit of the trees.

There are very few naturally occurring coniferous trees in the BC Interior that are poisonous - and in fact all trees in the family Pinaceae which includes the Douglas-fir are completely edible. The main danger you might come across the Western yew. This is not actually a coniferous tree, but it is an evergreen and is very toxic, so make sure you know what you’re gathering. You can tell it’s yew because of the way the needles connect to the branches, and the little red “berries” called arils that grow on it. These arils themselves are technically edible, but the seed inside them, and the branches they grow on are one of the most toxic substances growing in nature. I don’t say this to scare you off foraging from trees, but rather to encourage caution and that you’ve studied enough to feel confident on your ID. Eat the Weeds has an excellent article about yew that covers much more than I have time for here, and the Provincial Government of BC has a really great online guide to common native trees in this area.

The flavoured sugar I made this spring/summer was using the green cones of the Douglas-fir. I really loved the way the sugar turned out, and was already dreaming of making Christmas cookies in the shape of Christmas trees, using actual Christmas trees as one of the ingredients! These are really easy to identify if you’re a little nervous about your tree identification skills. If the cones you’ve gathered look like my photo below you can be fairly confident that you’ve not gathered anything poisonous, but please don’t rely on my photos alone for identification purposes. Pick up a reputable field guide (like the BC Government one I linked to above), and use more than one feature as your basis for identification. Douglas-fir cones have these little bracts that stick out which makes them easy to spot. There is a legend that a little mouse tried to hide in the cones from a forest fire and got stuck there. When the cones are fully dried (like in the wreath I have in my shop) you can see how the bracts look like the hind feet and tails of little mice! This makes them really easy to identify.

This sugar cookie recipe is great using the flavoured sugar (and I’m already thinking about making some lilac or rose flavoured ones with the floral sugars I made earlier this summer too), but it would be equally as good as one done with just plain granulated sugar. I also want to go out and try to make some sugar with the mature needles of the tree and see how that tastes. I was kind of hoping that the sugar and the resulting cookies would be greener, but as you can see the outside of the cones were a very light green, and when you cut them open they are white inside, so what I ended up with was a very light coloured sugar that actually turned more yellow in time, and didn’t colour the resulting cookies at all. I also want to do a taste comparison with the mature needles because I think the taste would be stronger, and I want to know if that would be a good thing, or an overpowering thing! Most of the advice you find online about using pine/fir/spruce needles for food is that you usually gather the immature tips in the spring when they are the most tender. If I end up doing a follow up experiment I’ll definitely be posting the results either in a follow-up post, or editing this one to reflect it!

As it is, the taste of the fir cones is fairly subtle, but it comes through such a simple recipe like this in a really pleasing way. You aren’t going to raise any eyebrows if you include these on your holiday cookie platter, but they still have a little extra something in their flavour profile that sets them apart from your average sugar cookie. The flavoured sugar when it is fresh tastes almost like a Sour Patch Kids candy - acidic and almost citrusy. This is because Douglas-fir naturally contains a lot of vitamin C. I found that over the months of storage the brightness in the flavour mellows somewhat and you notice more of the resinous tree flavours that were more of a backdrop when the sugar was fresh.

Here you can really see the little flecks of Douglas-fir cones in the dough.

Here you can really see the little flecks of Douglas-fir cones in the dough.

You don’t need anything special for this recipe, although I highly recommend GRAIN flours. They’re not paying me to say this, but I so appreciate what they are doing, and the quality of the flour they produce. I know exactly which place in Canada (Etzikom, AB) the wheat for my flour was grown in and that makes me very happy.

I also like to use a marble rolling pin (because of the weight of it, and because you can throw them in the freezer to make them really cold for rolling out pastry), and I love the shape of this vintage cookie cutter I found in an antique store even if the handle and backing part make it a little tricky to see if you are overlapping your cookies when you cut them.

I also found that chilling the dough for this recipe was really important. It helped the flavour from the sugar seep into the dough more, and also helped make it easier for rolling. It ended up being a bit on the sticky side for sugar cookies, so you’ll need to flour your rolling/cutting surface, but try not to add too much or else that’s all your cookies will taste like. Just use the bare minimum to keep things from sticking. Also please note that the temperature in the recipe below is not a typo! I used to think that you were supposed to cook sugar cookies at a hot temperature for a very short time, but my pastry chef friend showed me another way that in my opinion results in a much nicer cookie. You’ll need between 20-25ish minutes per batch in the oven, but it is so worth it in the end for the overall texture so just trust me and give it a try. You’ll also need to rotate the tray in the oven, and what I mean by that is halfway through the baking time (after 10-13 minutes) you’ll pull the tray out and turn it so that the cookies that were in the front of the oven are now in the back. This was another step that no one really taught me before, but it helps ensure the cookies are all baked evenly.

Douglas Fir Sugar Cookies

Ingredients

  • 1 cup butter
  • 1 cup Douglas fir Sugar
  • 1 large egg
  • 1 tsp vanilla
  • 1 tsp baking powder
  • 1/2 tsp salt
  • 2 cups flour (plus more for dusting when rolling dough)

Takes 1 hour, serves 5 dozen.

Instructions

  1. Preheat your oven to 250˚F.
  2. Cream butter and sugar in mixer until butter is light and fluffy, and no granules of sugar remain. This step is particularly important for these cookies because the homemade flavoured sugars tend to be on the coarser side and you don’t want big sugar crystals in your finished cookies.
  3. Add the egg and vanilla and cream until emulsified and the mixture is homogenous.
  4. Sift dry ingredients together in a separate bowl, and add slowly to the egg/sugar/butter mixture.
  5. Chill dough in the fridge for a minimum of two hours or up to two days. Dust counter with flour roll to 1/4 inch thickness. Cut into desired shapes. You can choose to re-roll the scrap dough as many times as you like but the more you do it the more flour will be incorporated and the quality of the cookies will suffer some, but not to the point of making them less delicious. I chose to use all my dough since my flavoured sugars are a bit precious and I wanted to make as many cookies as possible without wasting.
  6. Place on parchment lined baking sheets in preheated 250˚F oven. Bake for 10-13 minutes, rotate cookie sheet so the cookies in the back are now in the front, and bake for another 10-13 minutes until cookies are baked through but have not begun to colour on the edges.
December 07, 2018 /Kelsey Fast
cookies, baking, foraging, food, holiday, Winter, Douglas-Fir, Christmas
Eat, Find
2 Comments

2017 Holiday Season Recap

January 05, 2018 by Kelsey Fast in Find

A visit to Woodward Christmas Tree Farm, and exploring the Kamloops Wine Trail.

Read More
January 05, 2018 /Kelsey Fast
holiday, Kamloops BC, travel, local farms, Kamloops Wine Trail, Christmas
Find
2 Comments
IMG_6936.JPG

Gingerbread Cutout Cookies

November 29, 2017 by Kelsey Fast in Eat, Make

I have a cousin who is just incredible at decorating cookies, and on a recent visit I asked her to show me a few tricks.  I also just love gingerbread cookies, and I wanted to come up with my own special version of them.  Since they turned out so well I thought I'd share them with you!

IMG_6935.JPG
IMG_6934.JPG
This was my favourite of the cookies I decorated.  I have a lot to learn, but it was really fun to try and I will definitely practice my royal icing skills another time!

This was my favourite of the cookies I decorated.  I have a lot to learn, but it was really fun to try and I will definitely practice my royal icing skills another time!

These cookies are perfect for those of you who - like me - like a dark, spiced gingerbread cookie.  The ginger flavour is quite pronounced since there is both ground, and candied ginger in them.  The finished result is not too sweet which is perfect since I knew we were going to be icing them. If you like a sweeter cookie and are not planning on doing any icing, I would probably increase the sugar a little bit.  I used honey in my recipe instead of molasses, so they do have a bit of a different taste, and have a soft texture after baking that is quite nice.  We also added some "Black Onyx" cocoa powder from Silk Road Spice Merchant that gives them a really lovely deep chocolate undertone, but don't buy this cocoa especially unless you want to.  It will work with whatever good quality dark cocoa you have available to you.  Feel free to tweak the spices as you like.  We went lighter on the clove this time since my mom isn't as big of a fan.


Print Friendly and PDF

Gingerbread Cutout Cookies

Ingredients

  • 3 cups Flour
  • 1 cup Butter
  • 3/4 cup Sugar
  • 3/4 cup Dark Honey
  • 1 Egg
  • 2 tbsp Chai Tea (can sub water)
  • 1/2 tsp Salt
  • 1 tsp Baking Soda
  • 1 tsp Vanilla
  • 2 tsp Ground Ginger
  • 1 tsp Ground Cinnamon
  • 1 tsp Ground Cardamom
  • 1/2 tsp Ground Clove
  • 1 tsp Allspice
  • 1 1/2 tbsp Dark Cocoa Powder
  • 1/2 cup Finely Minced Candied Ginger

Takes approx 1 hour, yields about 3 dozen.

Instructions

  1. Preheat oven to 350 degrees Fahrenheit.
  2. Cream Butter, Honey, and Sugar in a blender until it lightens in colour and the sugar crystals are beginning to dissolve. Add egg, chai tea, and vanilla and mix until emulsified.
  3. Combine dry ingredients in a separate bowl, and make sure there are no lumps. Sifting is helpful here.
  4. Add the dry ingredients to the wet, and when fully mixed throw in the minced ginger. Make sure it is a really fine mince since these will be rolled out quite thin.
  5. Wrap dough well and refrigerate for a few hours, or preferably overnight.
  6. Roll out cookies and bake for 10 - 12 minutes. The edges should be just starting to brown (it's a bit hard to tell with these dark cookies, but you'll be able to). The cookies will remain fairly soft due to the honey in the dough, but they should be firm enough that you don't feel they will fall apart.
  7. When they are completely cool decorate them as you like!
November 29, 2017 /Kelsey Fast
cookies, Christmas, holiday, baking
Eat, Make
Comment

Local Farm Spotlight: Woodward Christmas Tree Farm

December 10, 2016 by Kelsey Fast in Find

One of the ways we are excited to be able to support our local farms this Christmas is by visiting Woodward Christmas Tree Farm to pick out the perfect tree for our home.  When we went last year our little Forager hadn't been born yet so while he was technically there for it all he didn't get quite the same experience.

Isn't it beautiful out there?  We went right at sunset and unintentionally made the evening even more magical.  The tree farm shares the same property as Privato Winery so you can stop in for a tasting and pick up some wine for the holidays.  If you make it out for their first weekend open you can also enjoy some mulled wine by the fire!  Hot chocolate and other treats are available at the concession.

Part of the fun of getting your tree here at the farm is the tractor ride that takes you out to the trees.  I think this was Little Forager's favourite part.  I tried so hard to get a photo of his smiling face on the ride but he was so interested in the tractor he wouldn't look away!

2016-12-07 16.08.55 1400358266843702329_760198195.jpg

We looked and looked and finally we found the best tree.  It was hard because all of the trees are so nice.  We were looking for a blue spruce in particular since they have seriously sharp needles. 

Yes, you read that right!  

Our plan of keeping our decorated tree safe from our toddler included finding the prickliest Christmas tree we could!  So far between that and keeping non breakable ornaments near the bottom we have been successful.

2016-12-03 19.10.40 1397550635508290178_760198195.jpg
2016-12-11 00.15.31 1402777503148766806_760198195.jpg

I love decorating my tree, but for me it is important to do it as a family.  I like that tradition but it made it hard to find a time that worked this year.  We had the tree outside in a bucket of water for a few days.  Then we had the tree inside with only lights on for another few.  And then finally we decorated!

2016-12-08 14.07.42 1401022027650147999_760198195.jpg
December 10, 2016 /Kelsey Fast
Christmas, holiday, local farms, Kamloops BC
Find
Comment

Terms and Conditions | Privacy Policy | Shipping and Returns

Powered by Squarespace