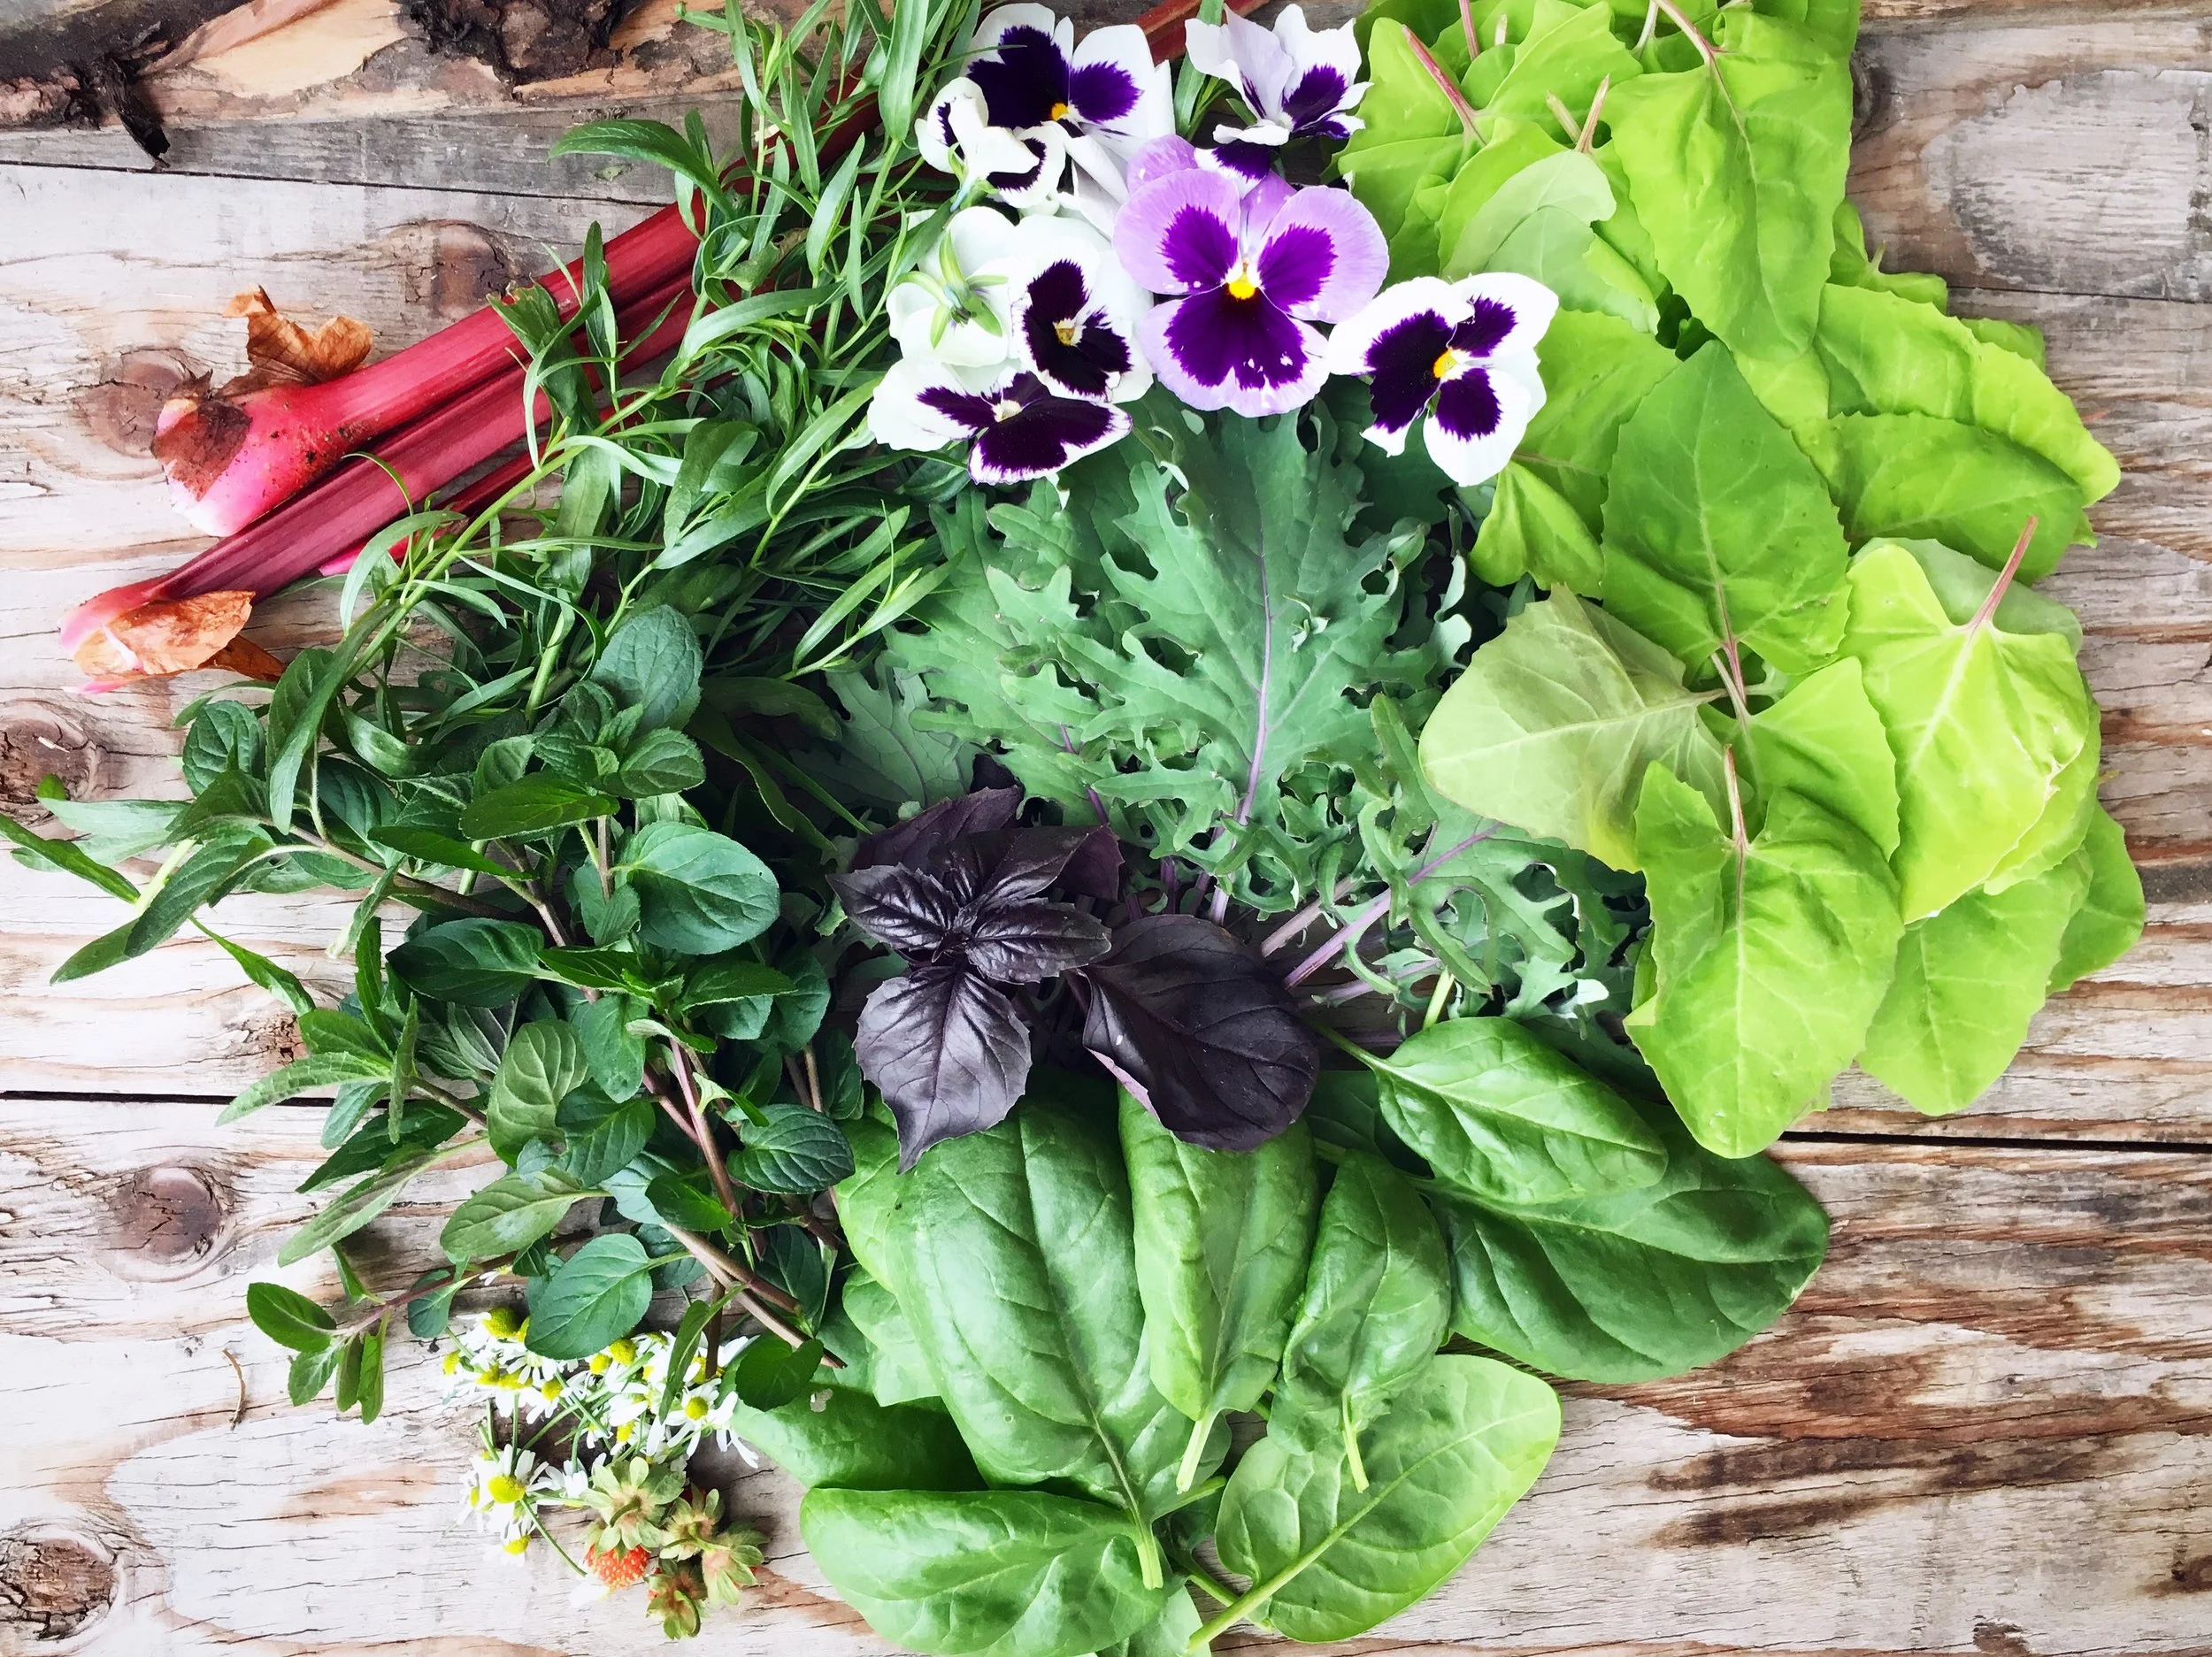
A Forager's Home

Grow. Find. Eat. Make.

  • Blog
  • About
  • DIY
  • Recipes
  • Foraging

June Harvest Totals

July 11, 2018 by Kelsey Fast in Grow

Asterisk denotes foraged item.

  • Basil (purple): 2 g
  • Beets (mixed): 57 g
  • Calendula: 14 g
  • Carrots (mixed): 91 g
  • Chamomile: 50 g
  • Dill: 36 g
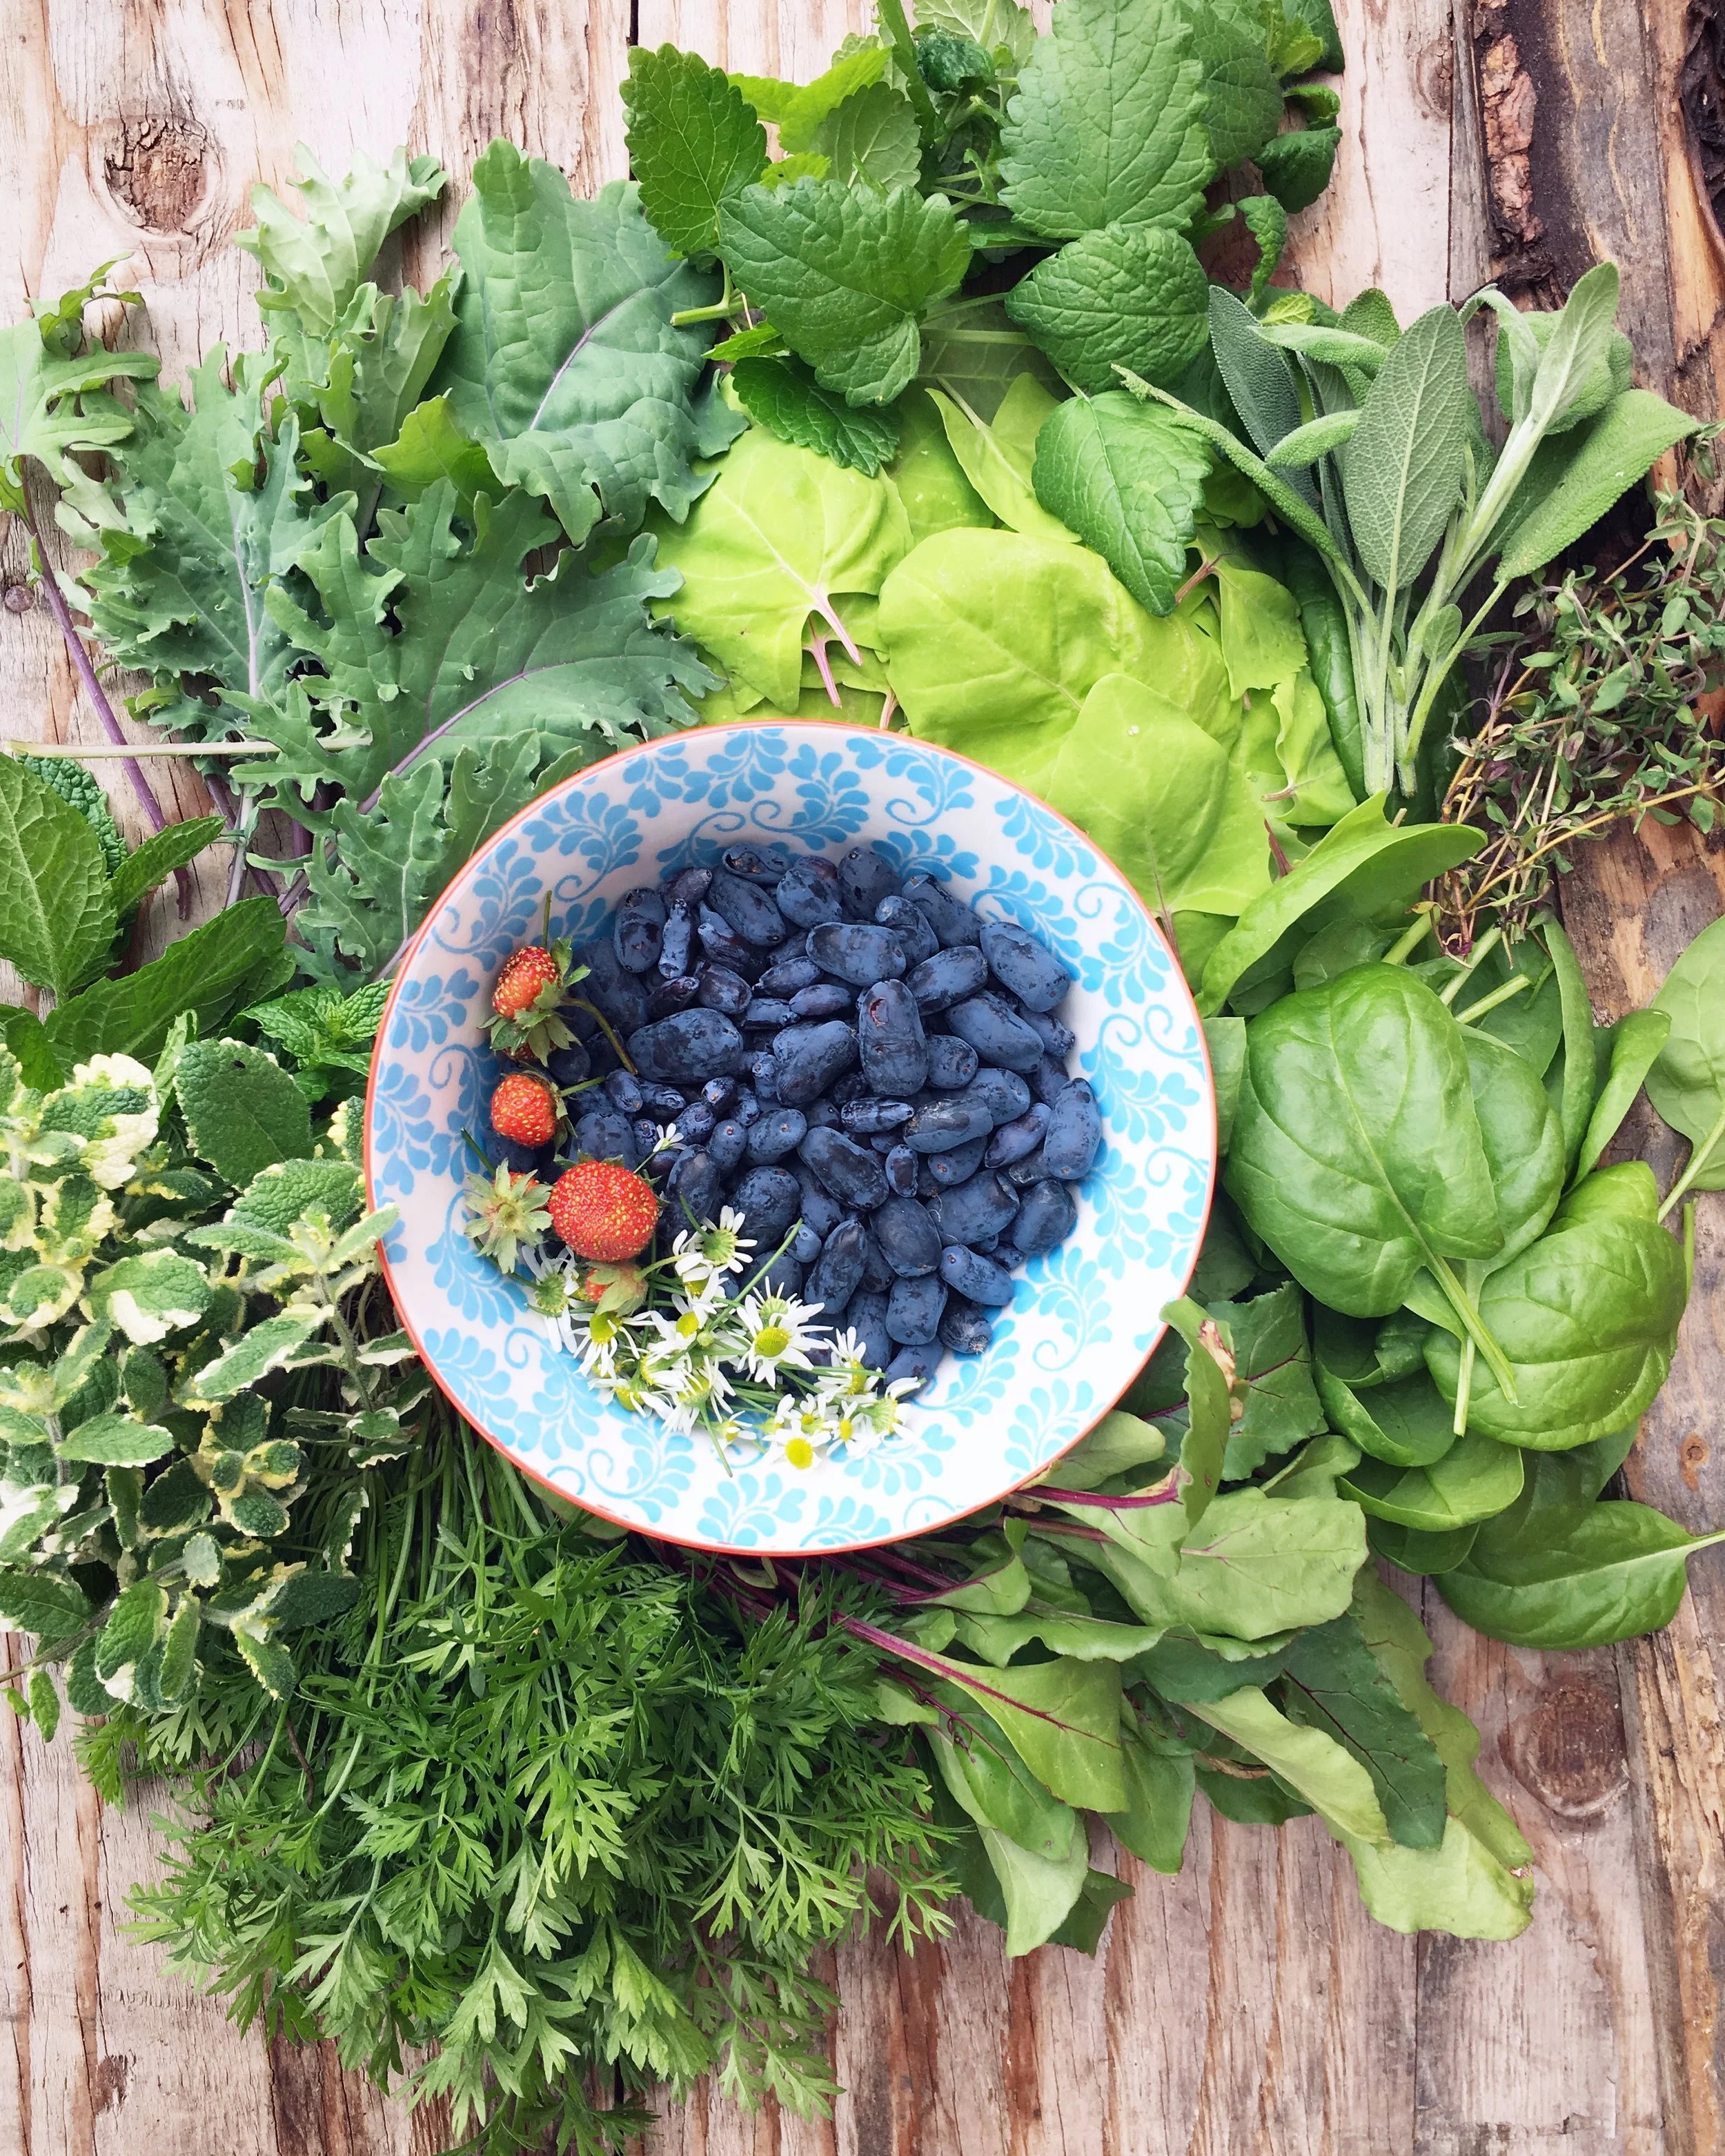
  • Haskap Berries: 160 g
  • Hyssop: 39 g
  • Kale (Red Russian): 76 g
  • Lemon Balm: 7 g
  • Mint (Mojito): 5 g
  • Mint (Peppermint): 11 g
  • Mint (Pineapple): 11 g
  • *Orach: 115 g
  • Orach: 96 g
  • Pansies: 2 g
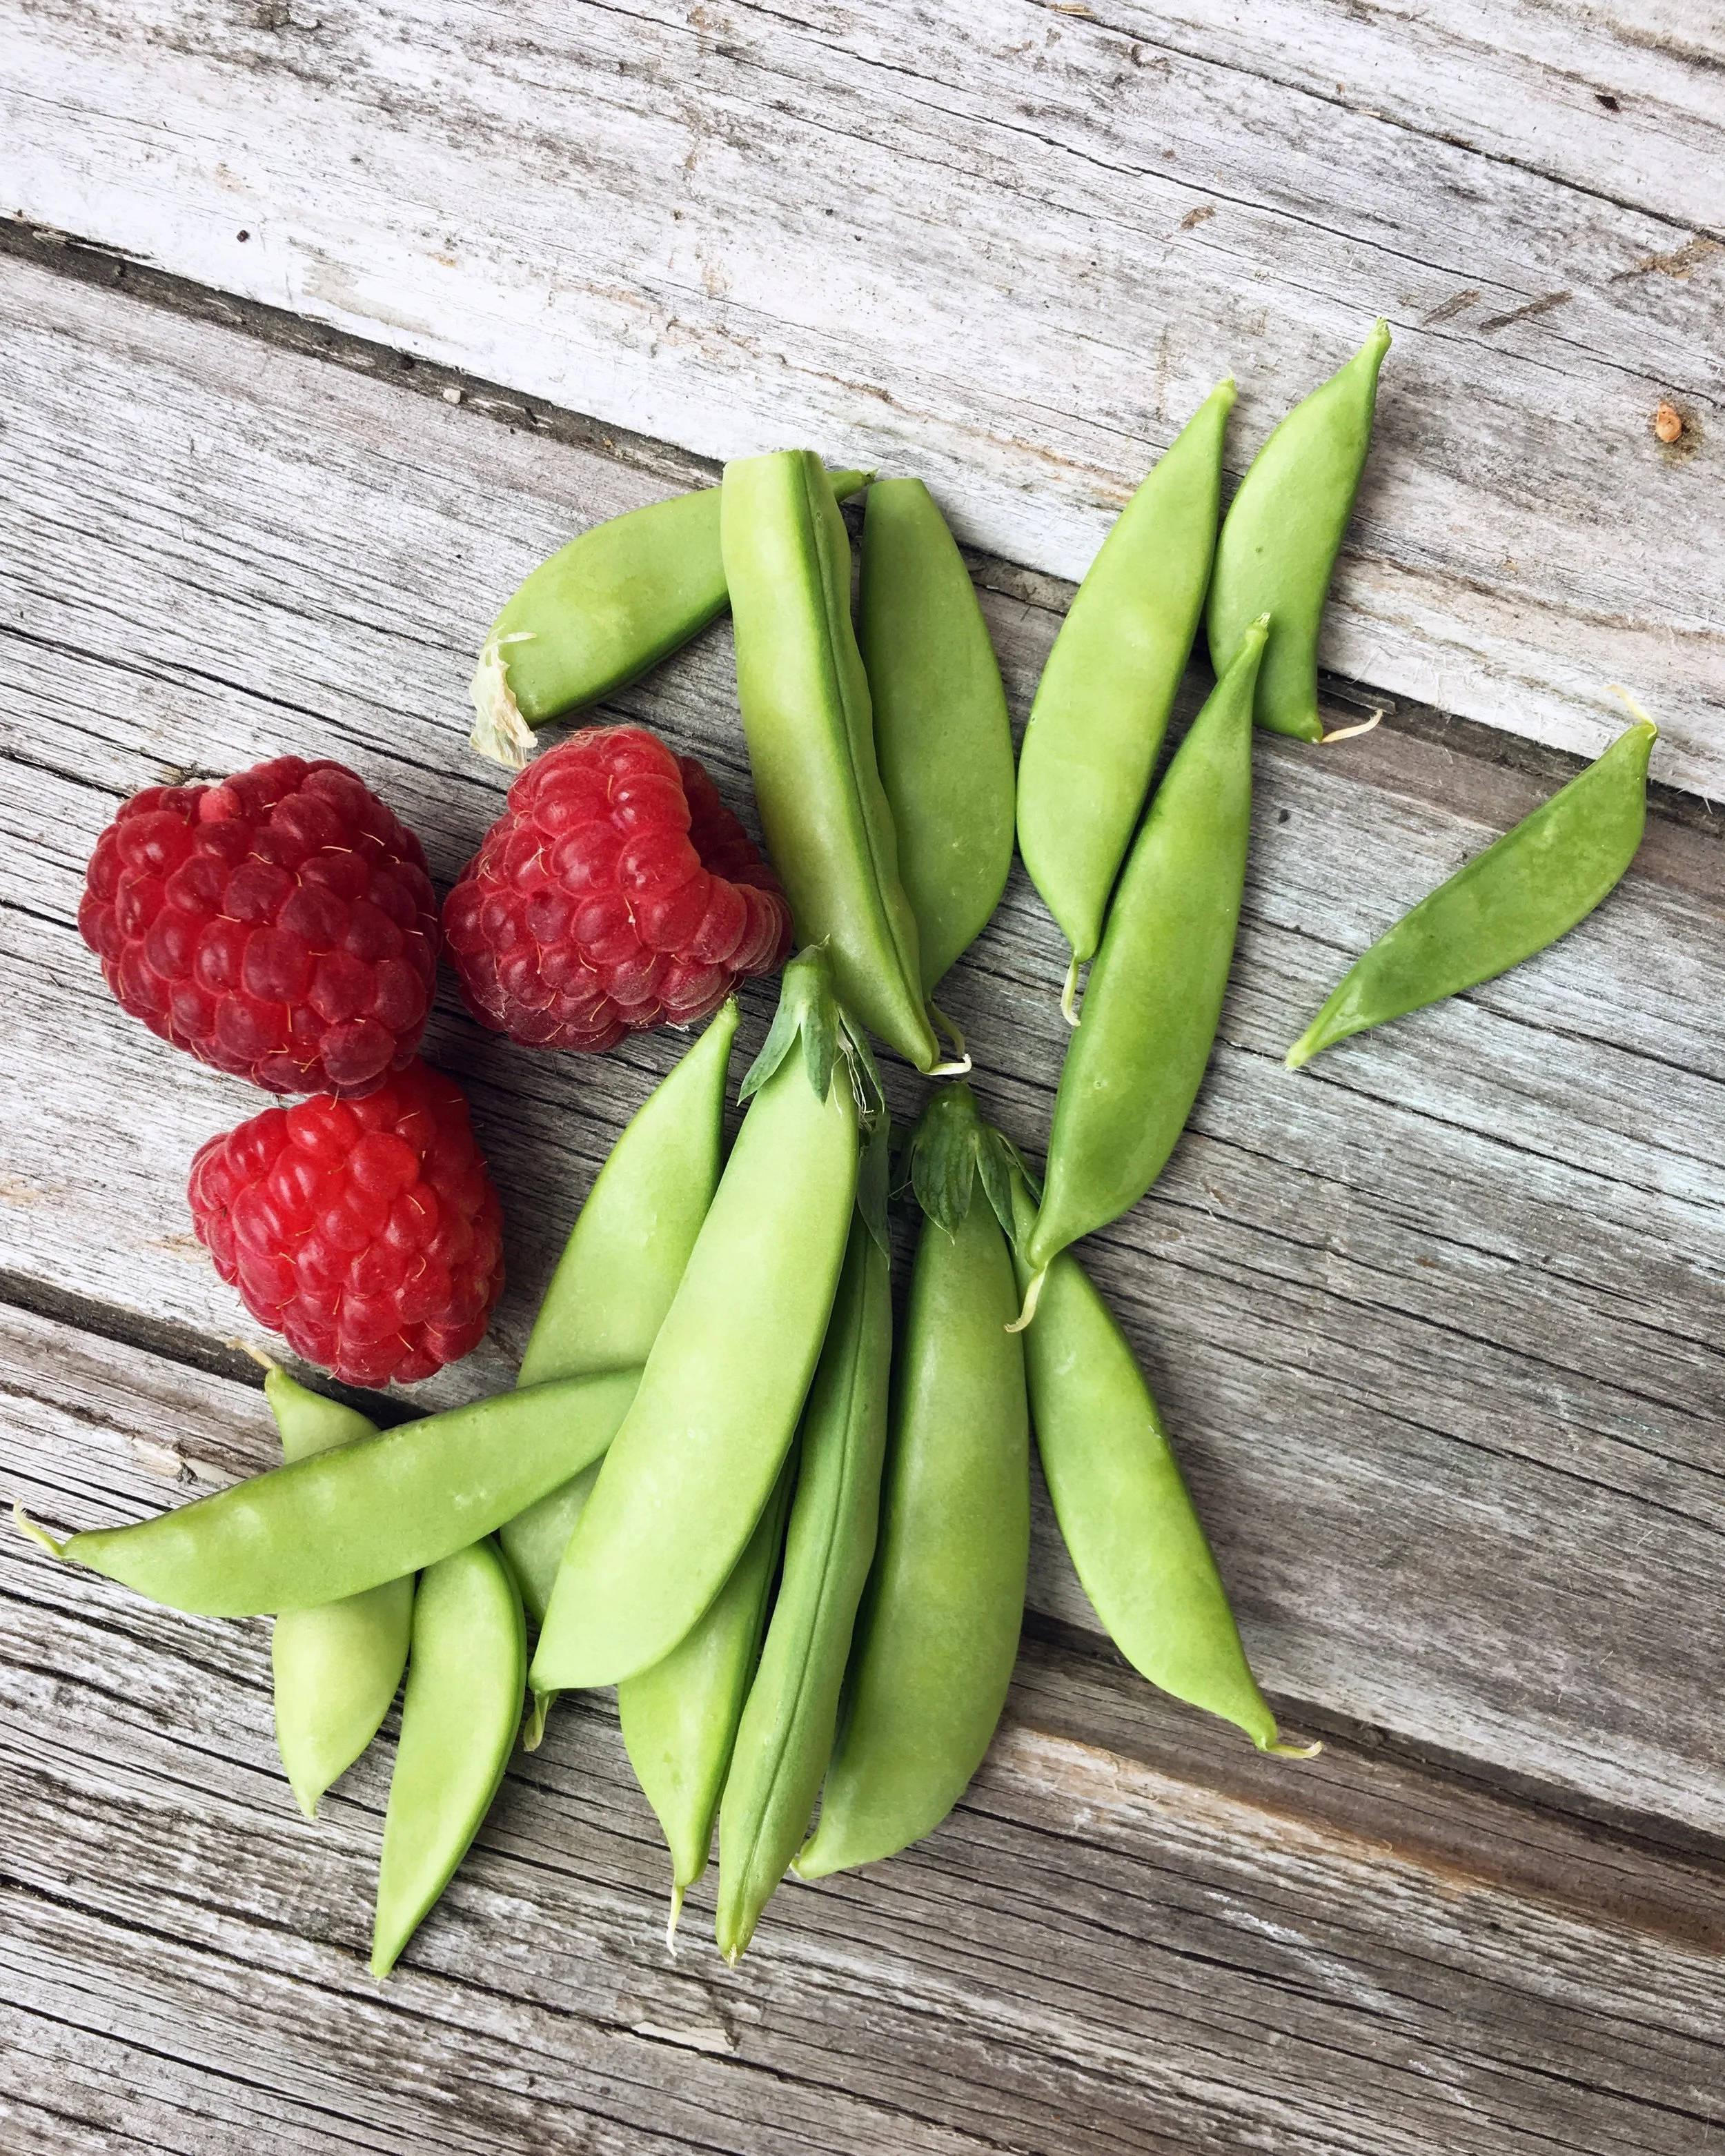
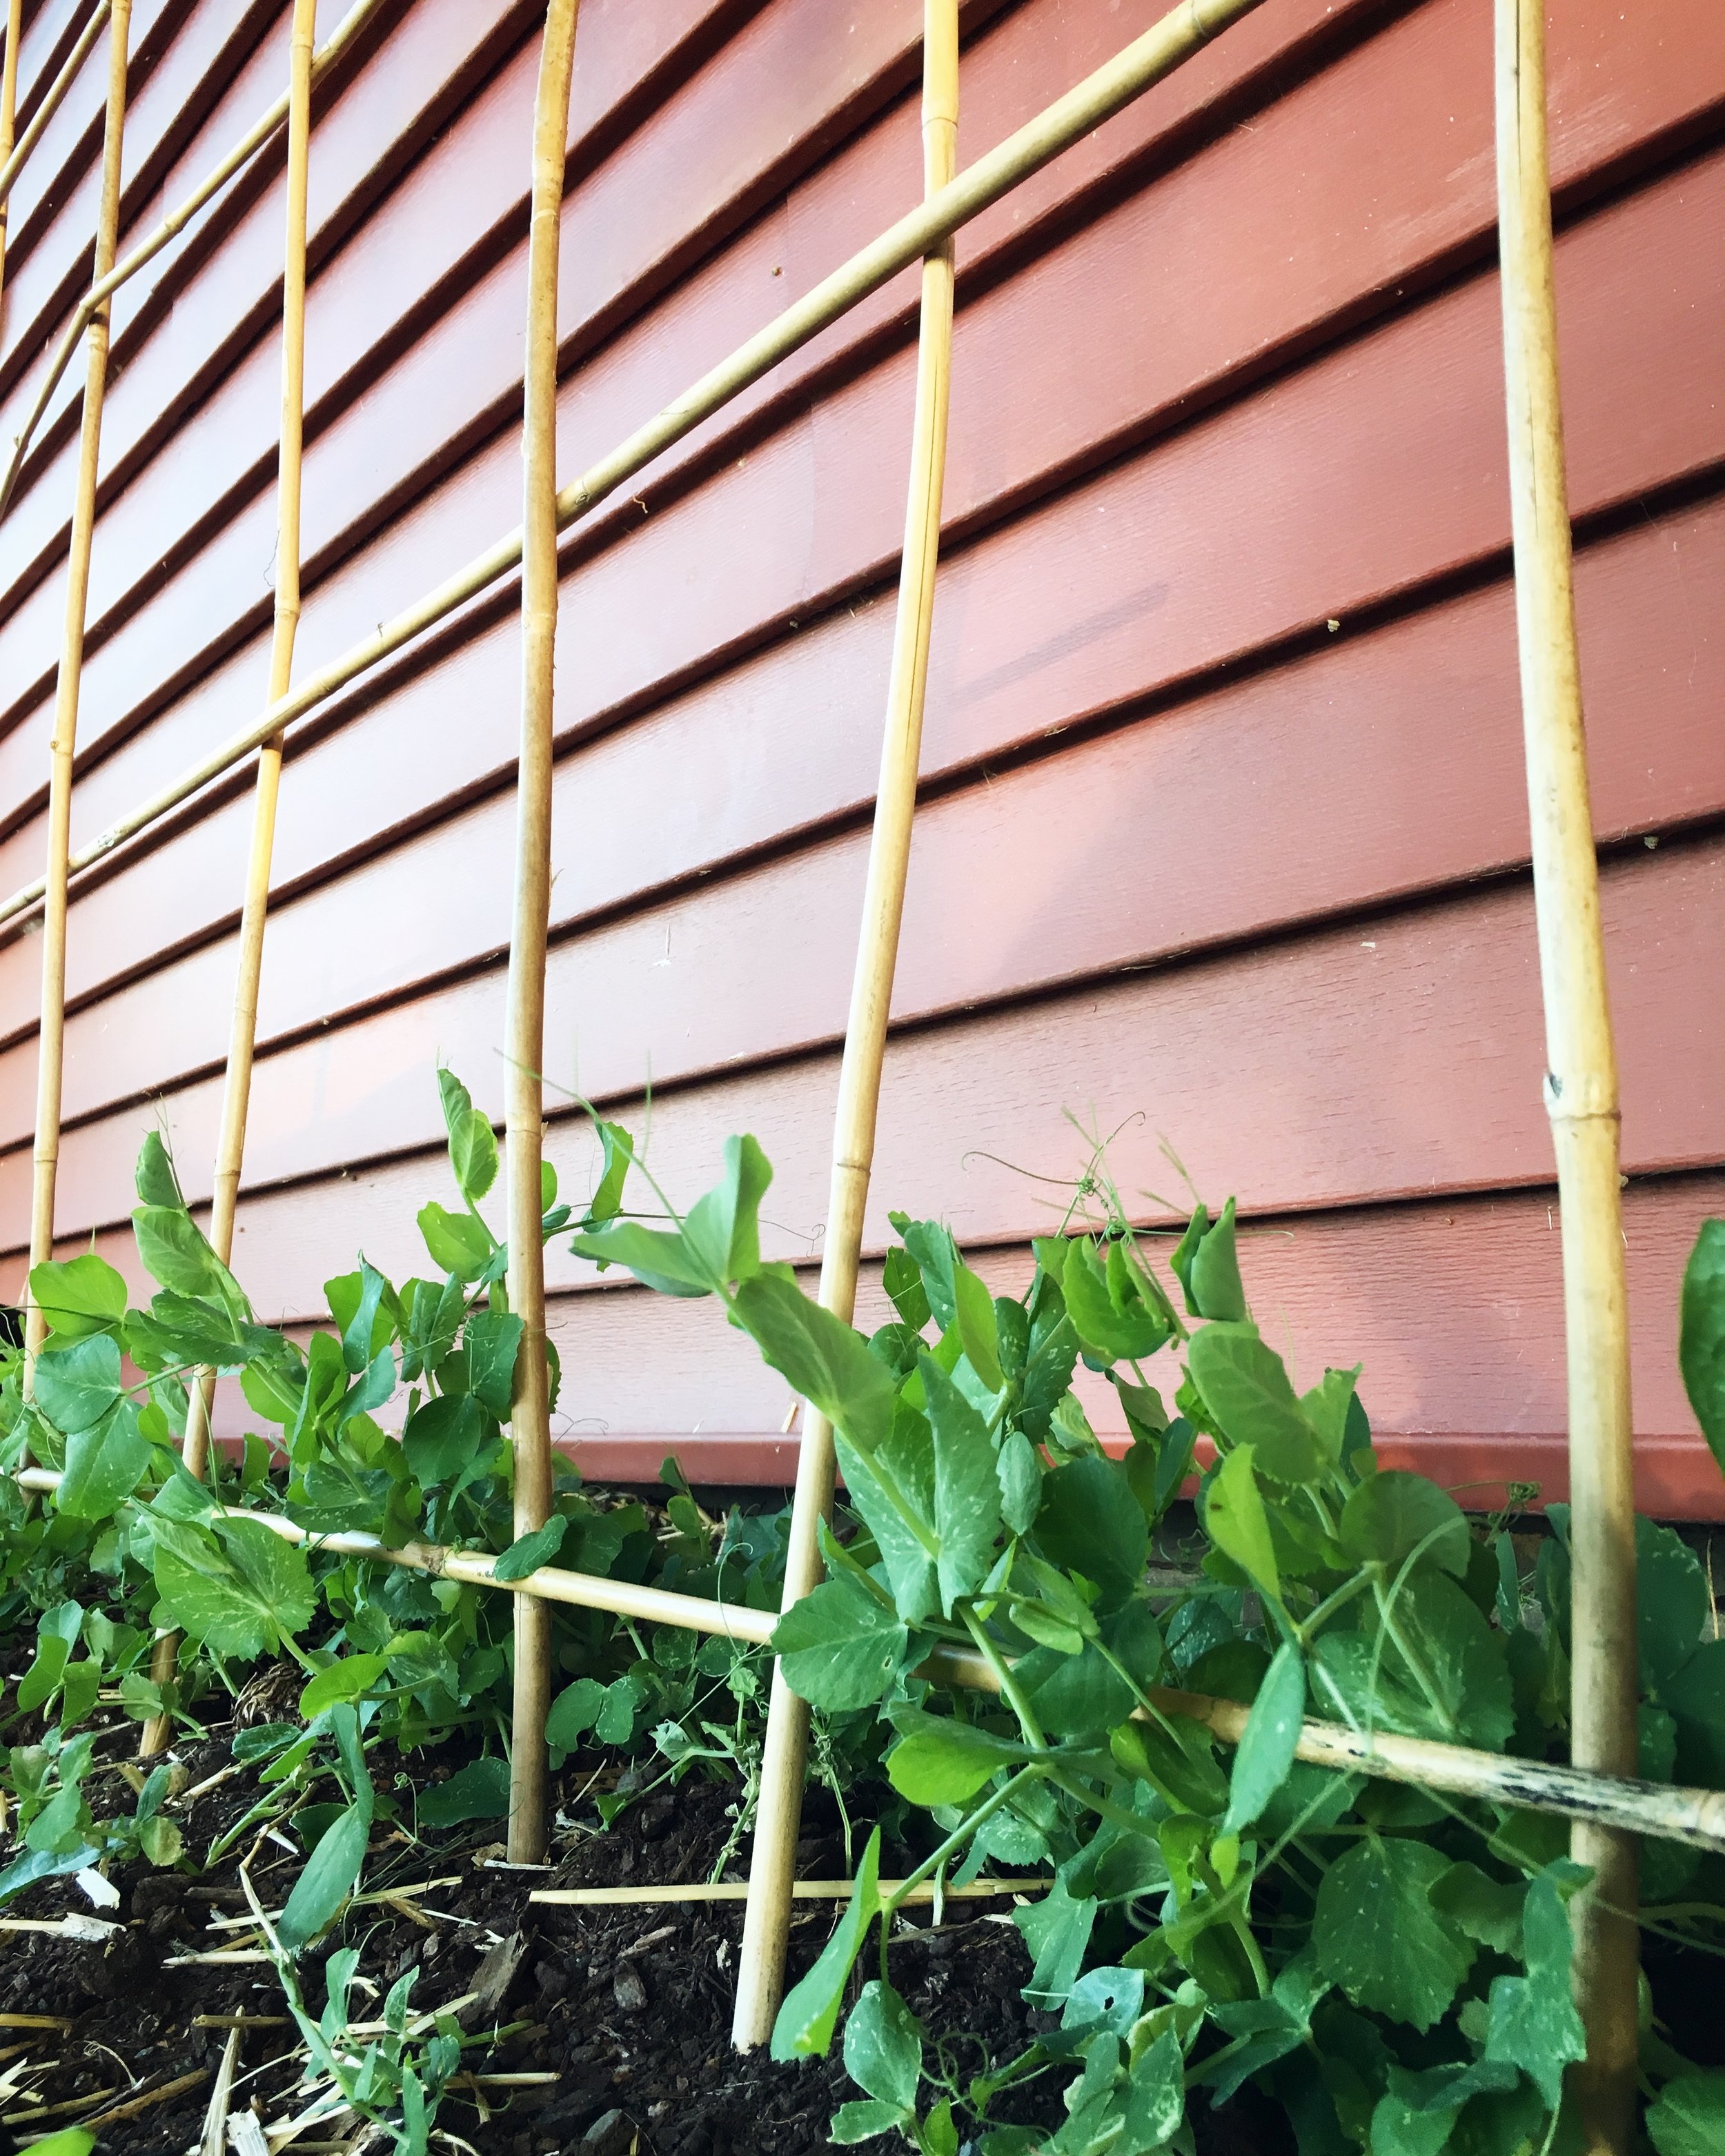
  • Peas (Amish Snap): 84 g
  • Raspberries: 15 g
  • Rhubarb: 37 g
  • Sage: 4 g
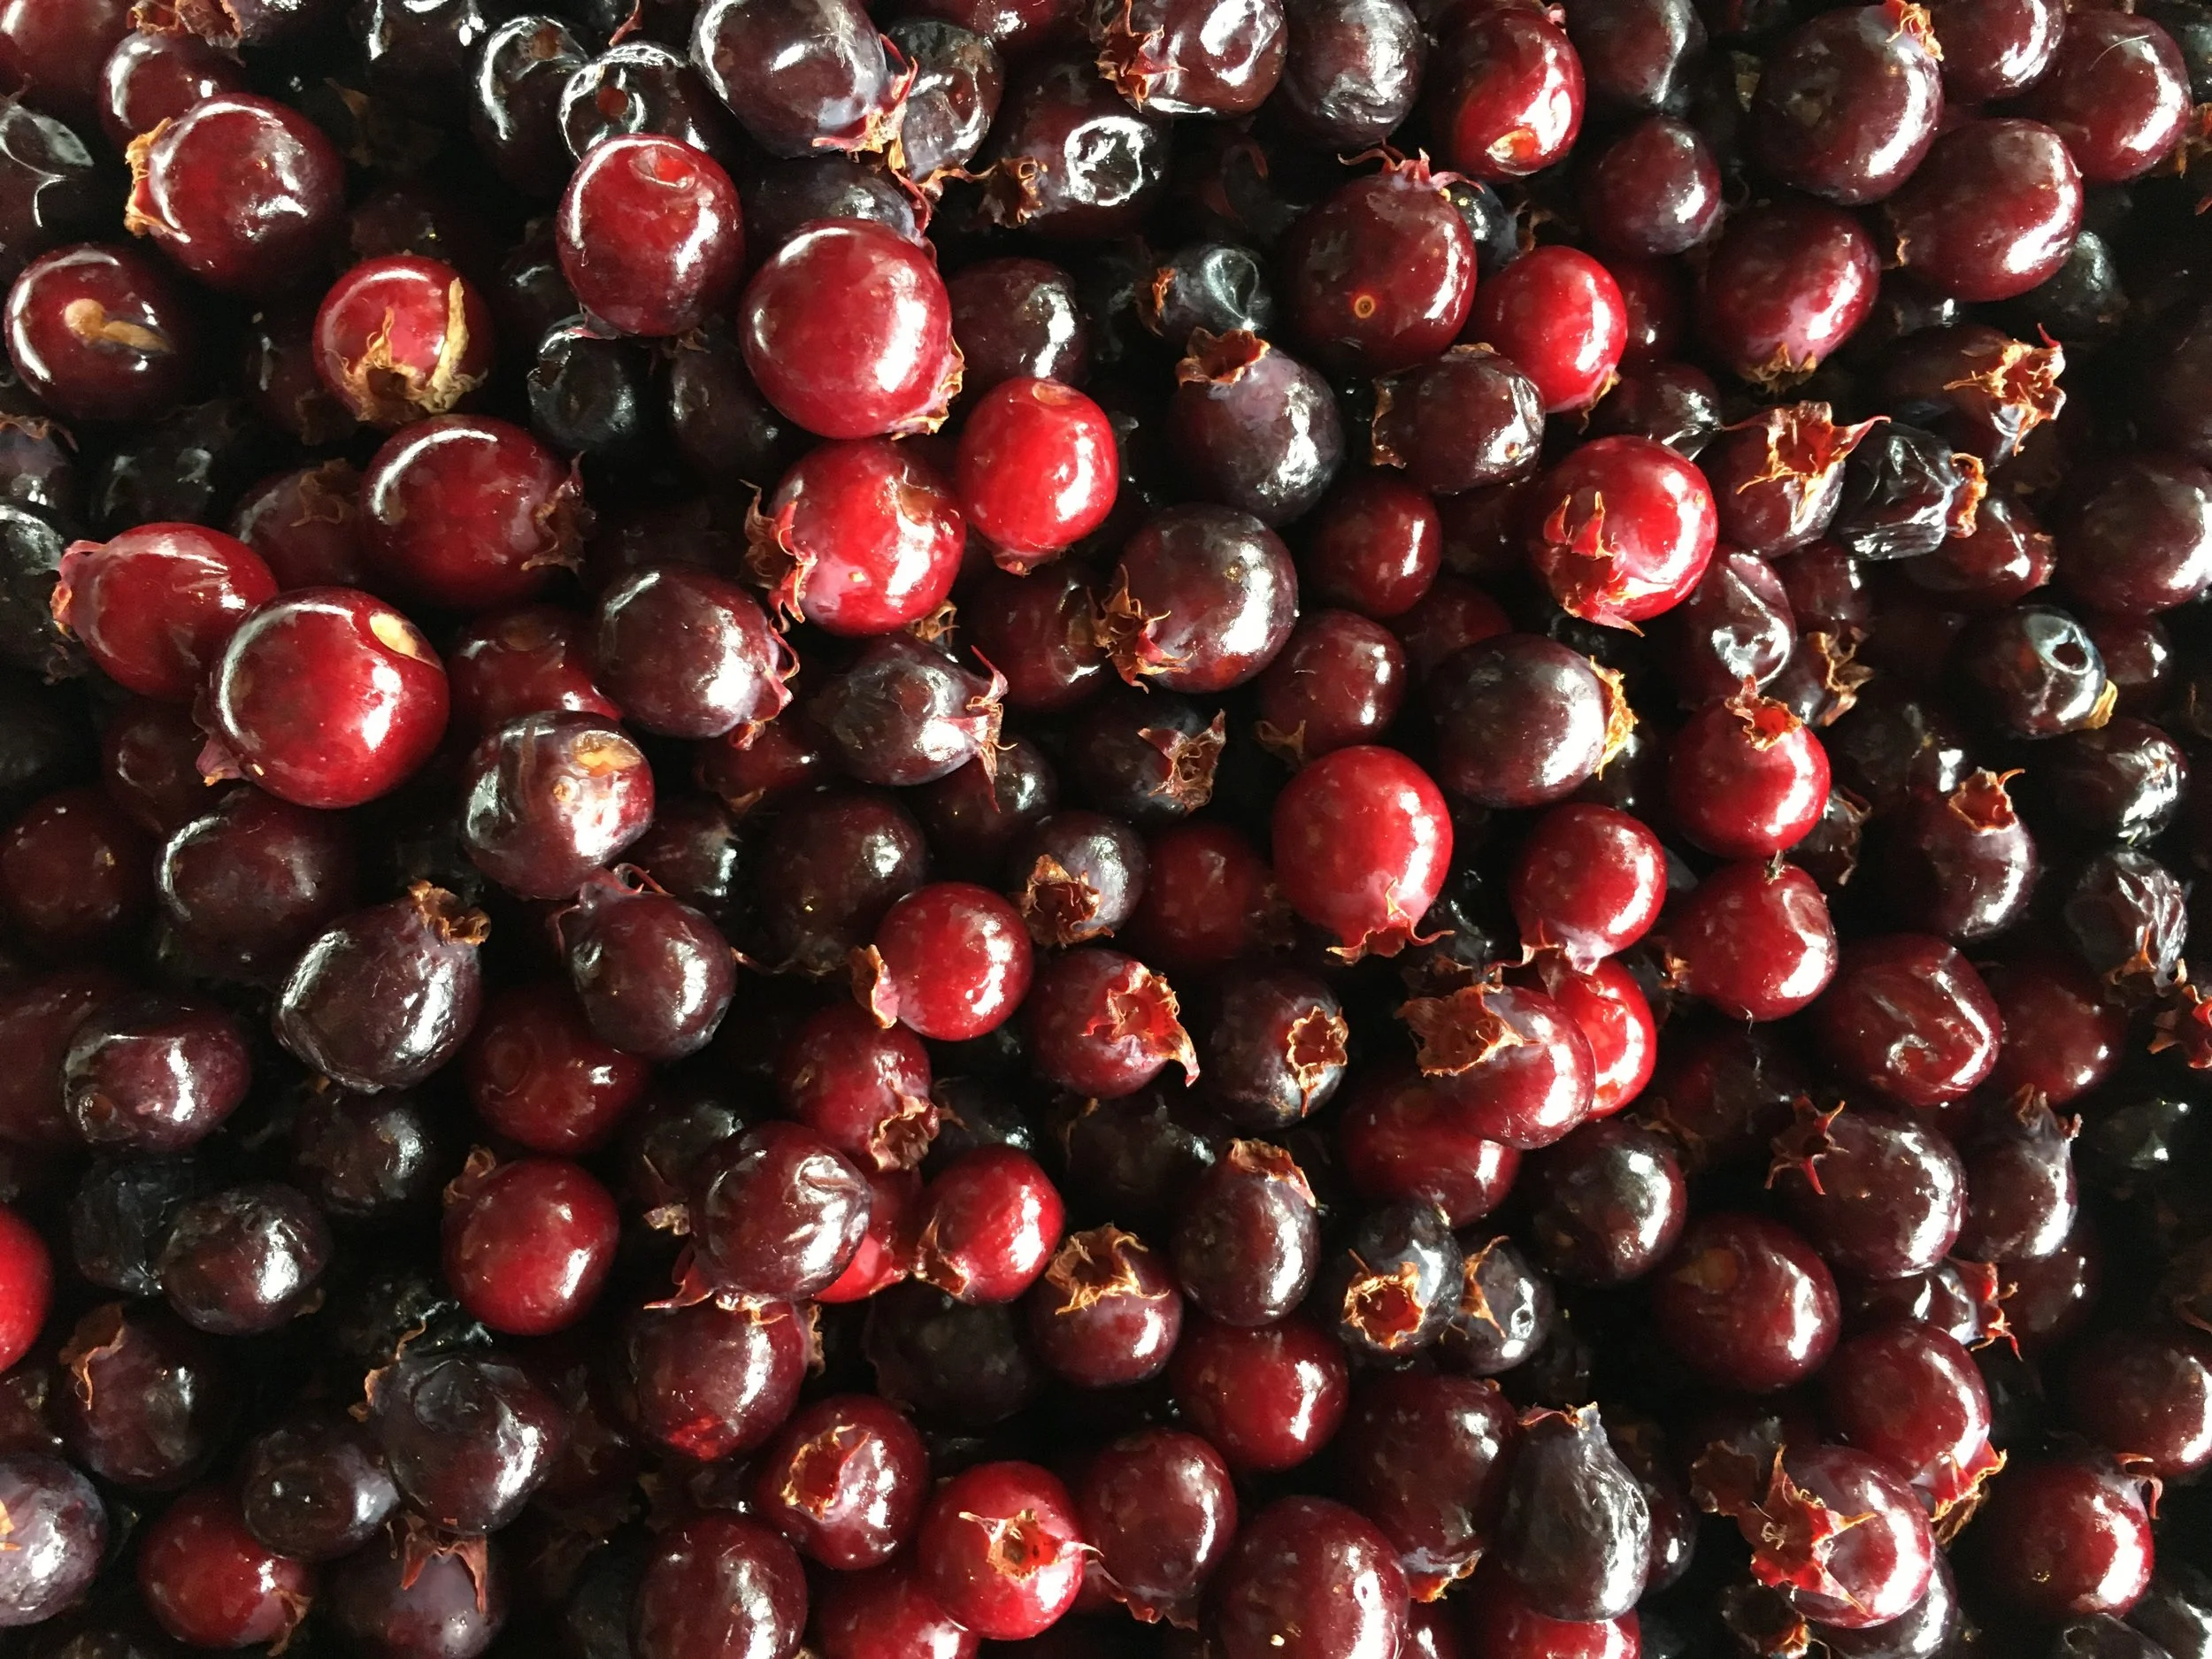
  • Saskatoon Berries: 3147 g
  • Spinach: 43 g
  • Strawberries: 21 g
  • Tarragon: 14 g
  • Thyme: 2 g

Total: 4.2 kg

IMG_9823.JPG

This June seemed to have less going on in the garden for some reason. Last year I got more peas, more rhubarb, I remembered to pick the wild asparagus, and just overall I got about two kilos more from the garden and the wild. I'm not sure what's going on with my rhubarb - I guess it's having an off year. Last year I harvested nearly a kilogram from it in June, but this year just a a few little stalks! I'm going to give it more fertilizer in the fall this year and see if that helps kickstart it for the spring. It also got pretty choked in with weeds, so maybe I didn't get to those in time.

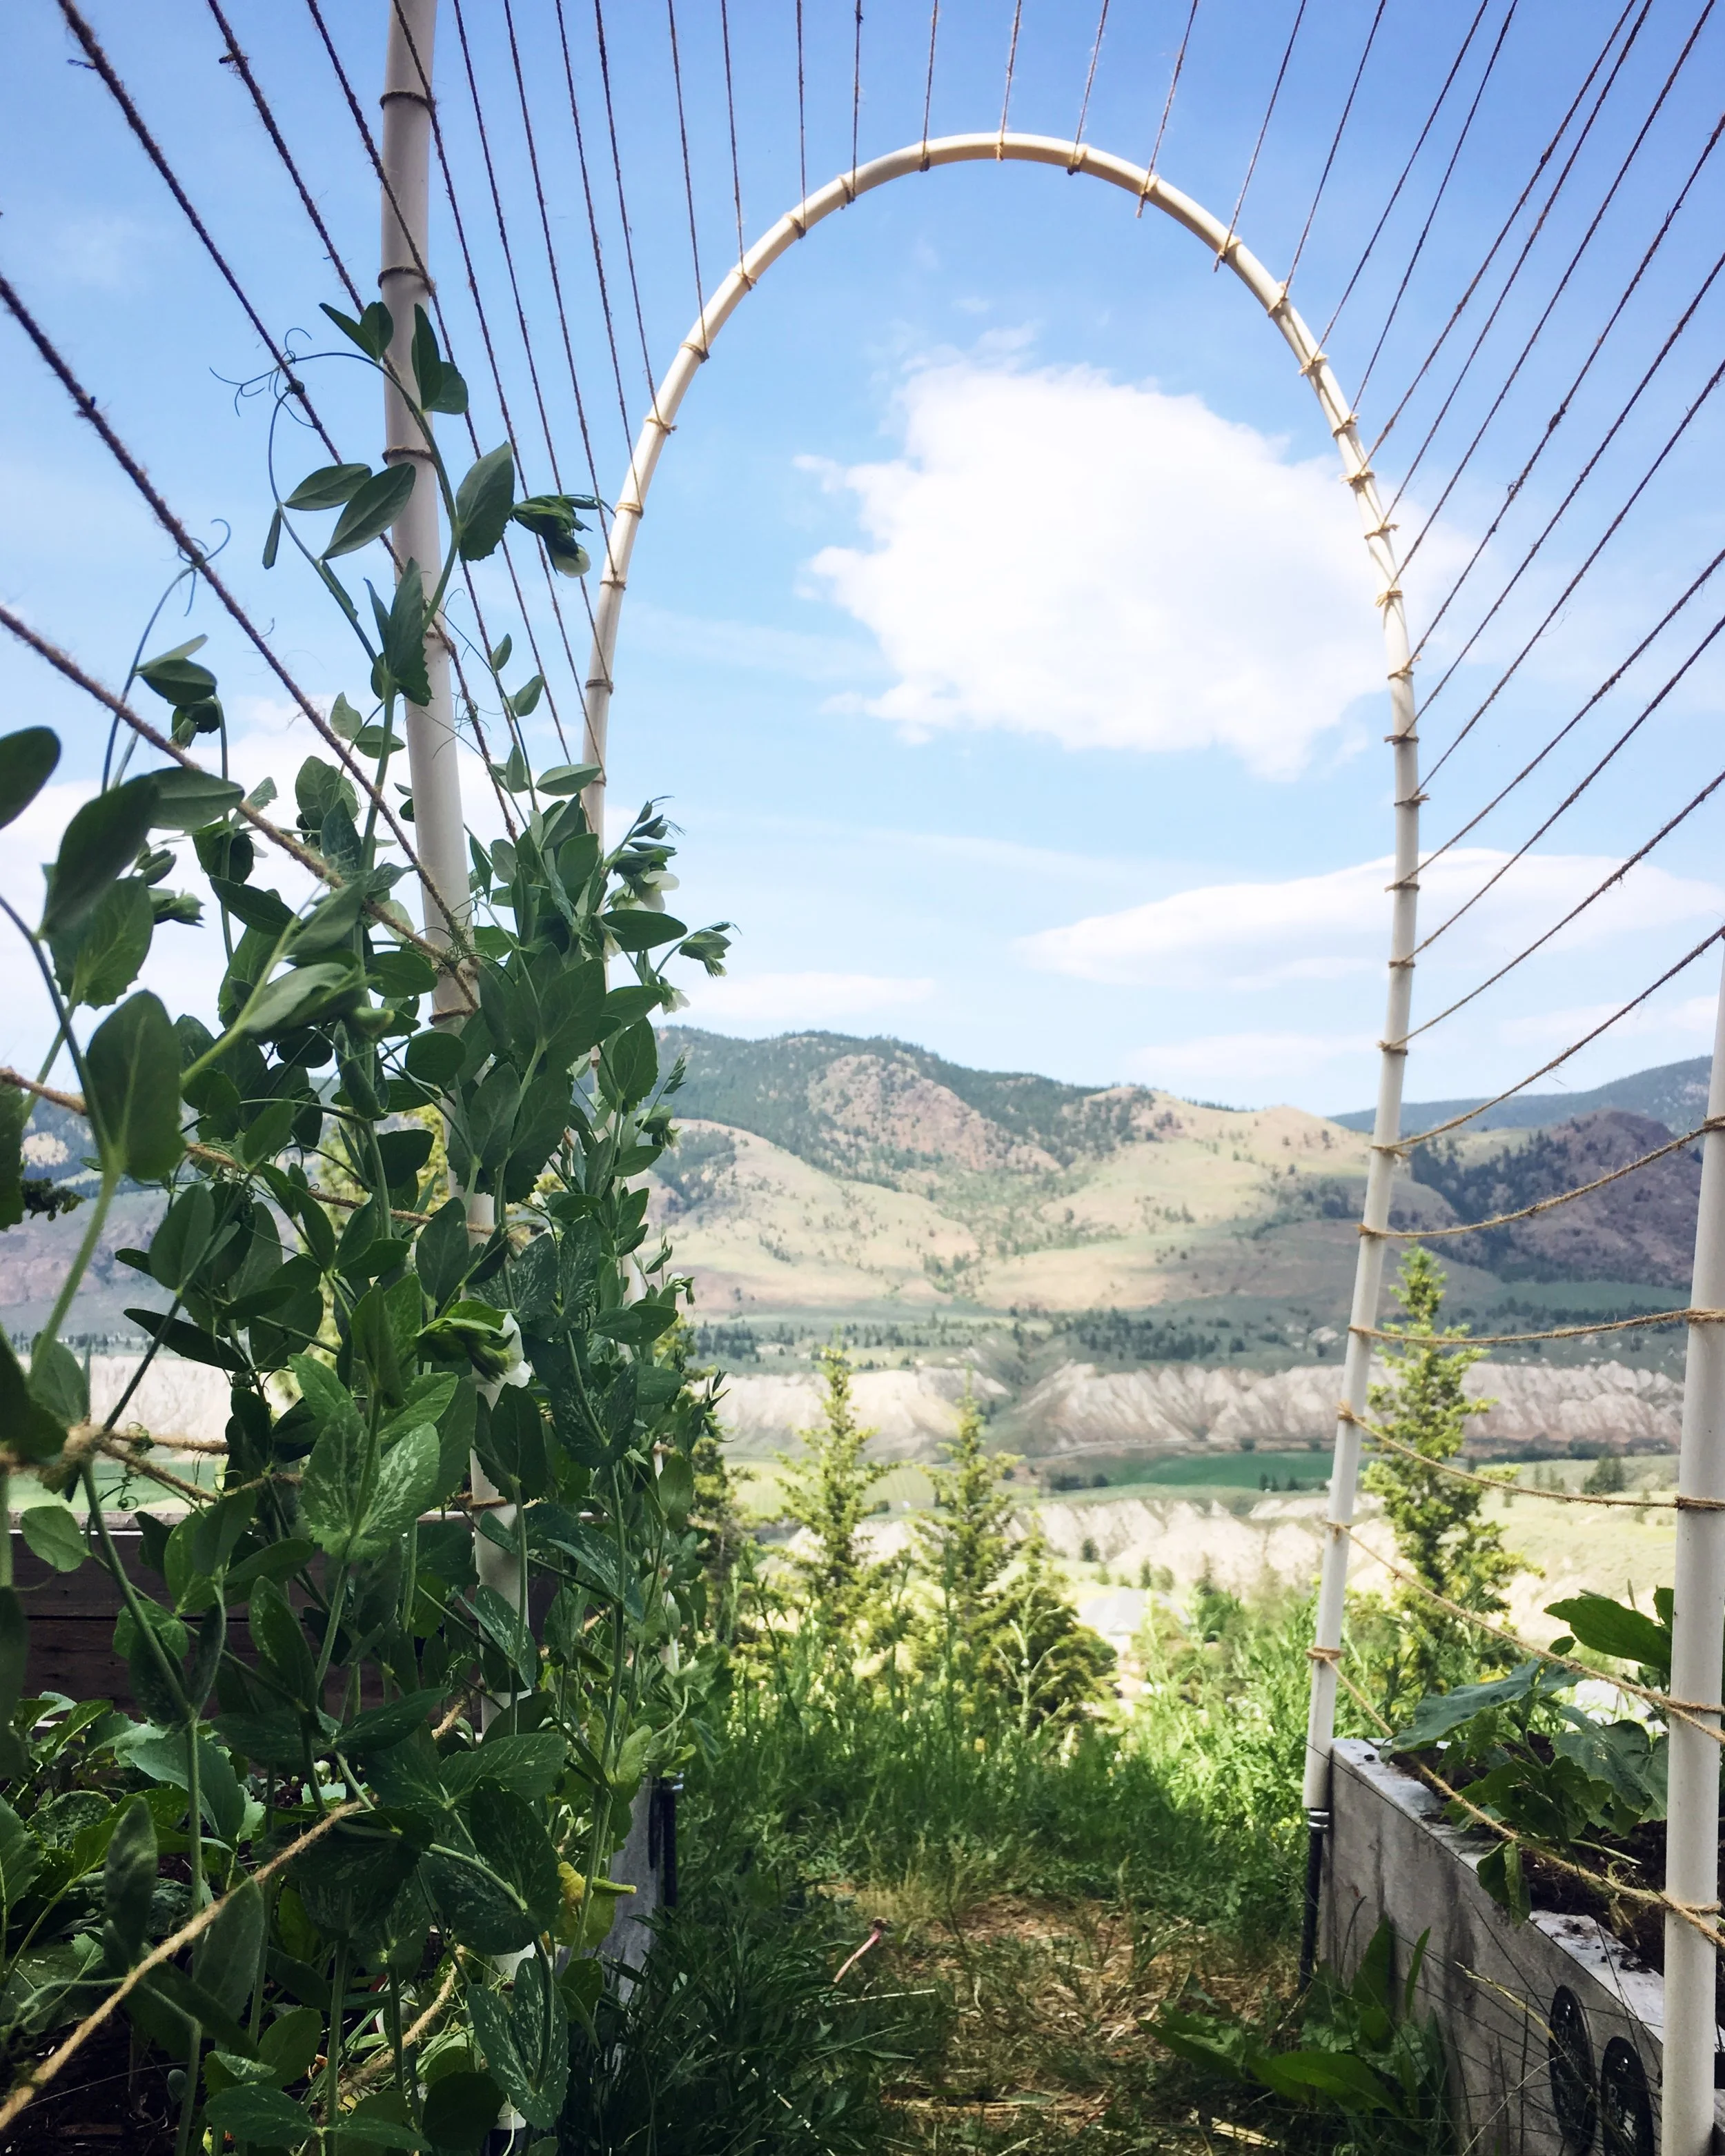
I suspected the peas would be a smaller harvest this year, because I was very picky about the seed I was saving from the Amish Snap Peas I've been planting and saving for over 5 seasons now. They were starting to look quite a bit different from what I remember receiving from Seed Savers Exchange almost six years ago. I kept only 15 seeds from last year because I only wanted seeds from pods that produced at least three seeds per pod, and looked smooth and round - identical to what I received when I purchased them. I also held off on harvesting some of the most beautiful pods growing from them because I want to make sure that my seed is excellent for the years to come. I can't save seeds from many things because my garden is too small, but legumes, and a few other things are possible so I want to do the best job I can with stewarding those varieties.

IMG_0081.JPG
IMG_9971.JPG

Despite the lack of rhubarb, the berries this month have been fantastic. I've never seen saskatoons, or raspberries the size I've been picking this month. Raspberries were just beginning to ripen, but they were all enormous and so heavy the branches on my little bushes were all falling over! The wild saskatoons this here were also gigantic. Our bowl full of them looked more like cranberries or grapes. I have some cultivated saskatoons in my freezer from last year, and these are almost double their size, when it's usually the other way around!

IMG_0078.JPG

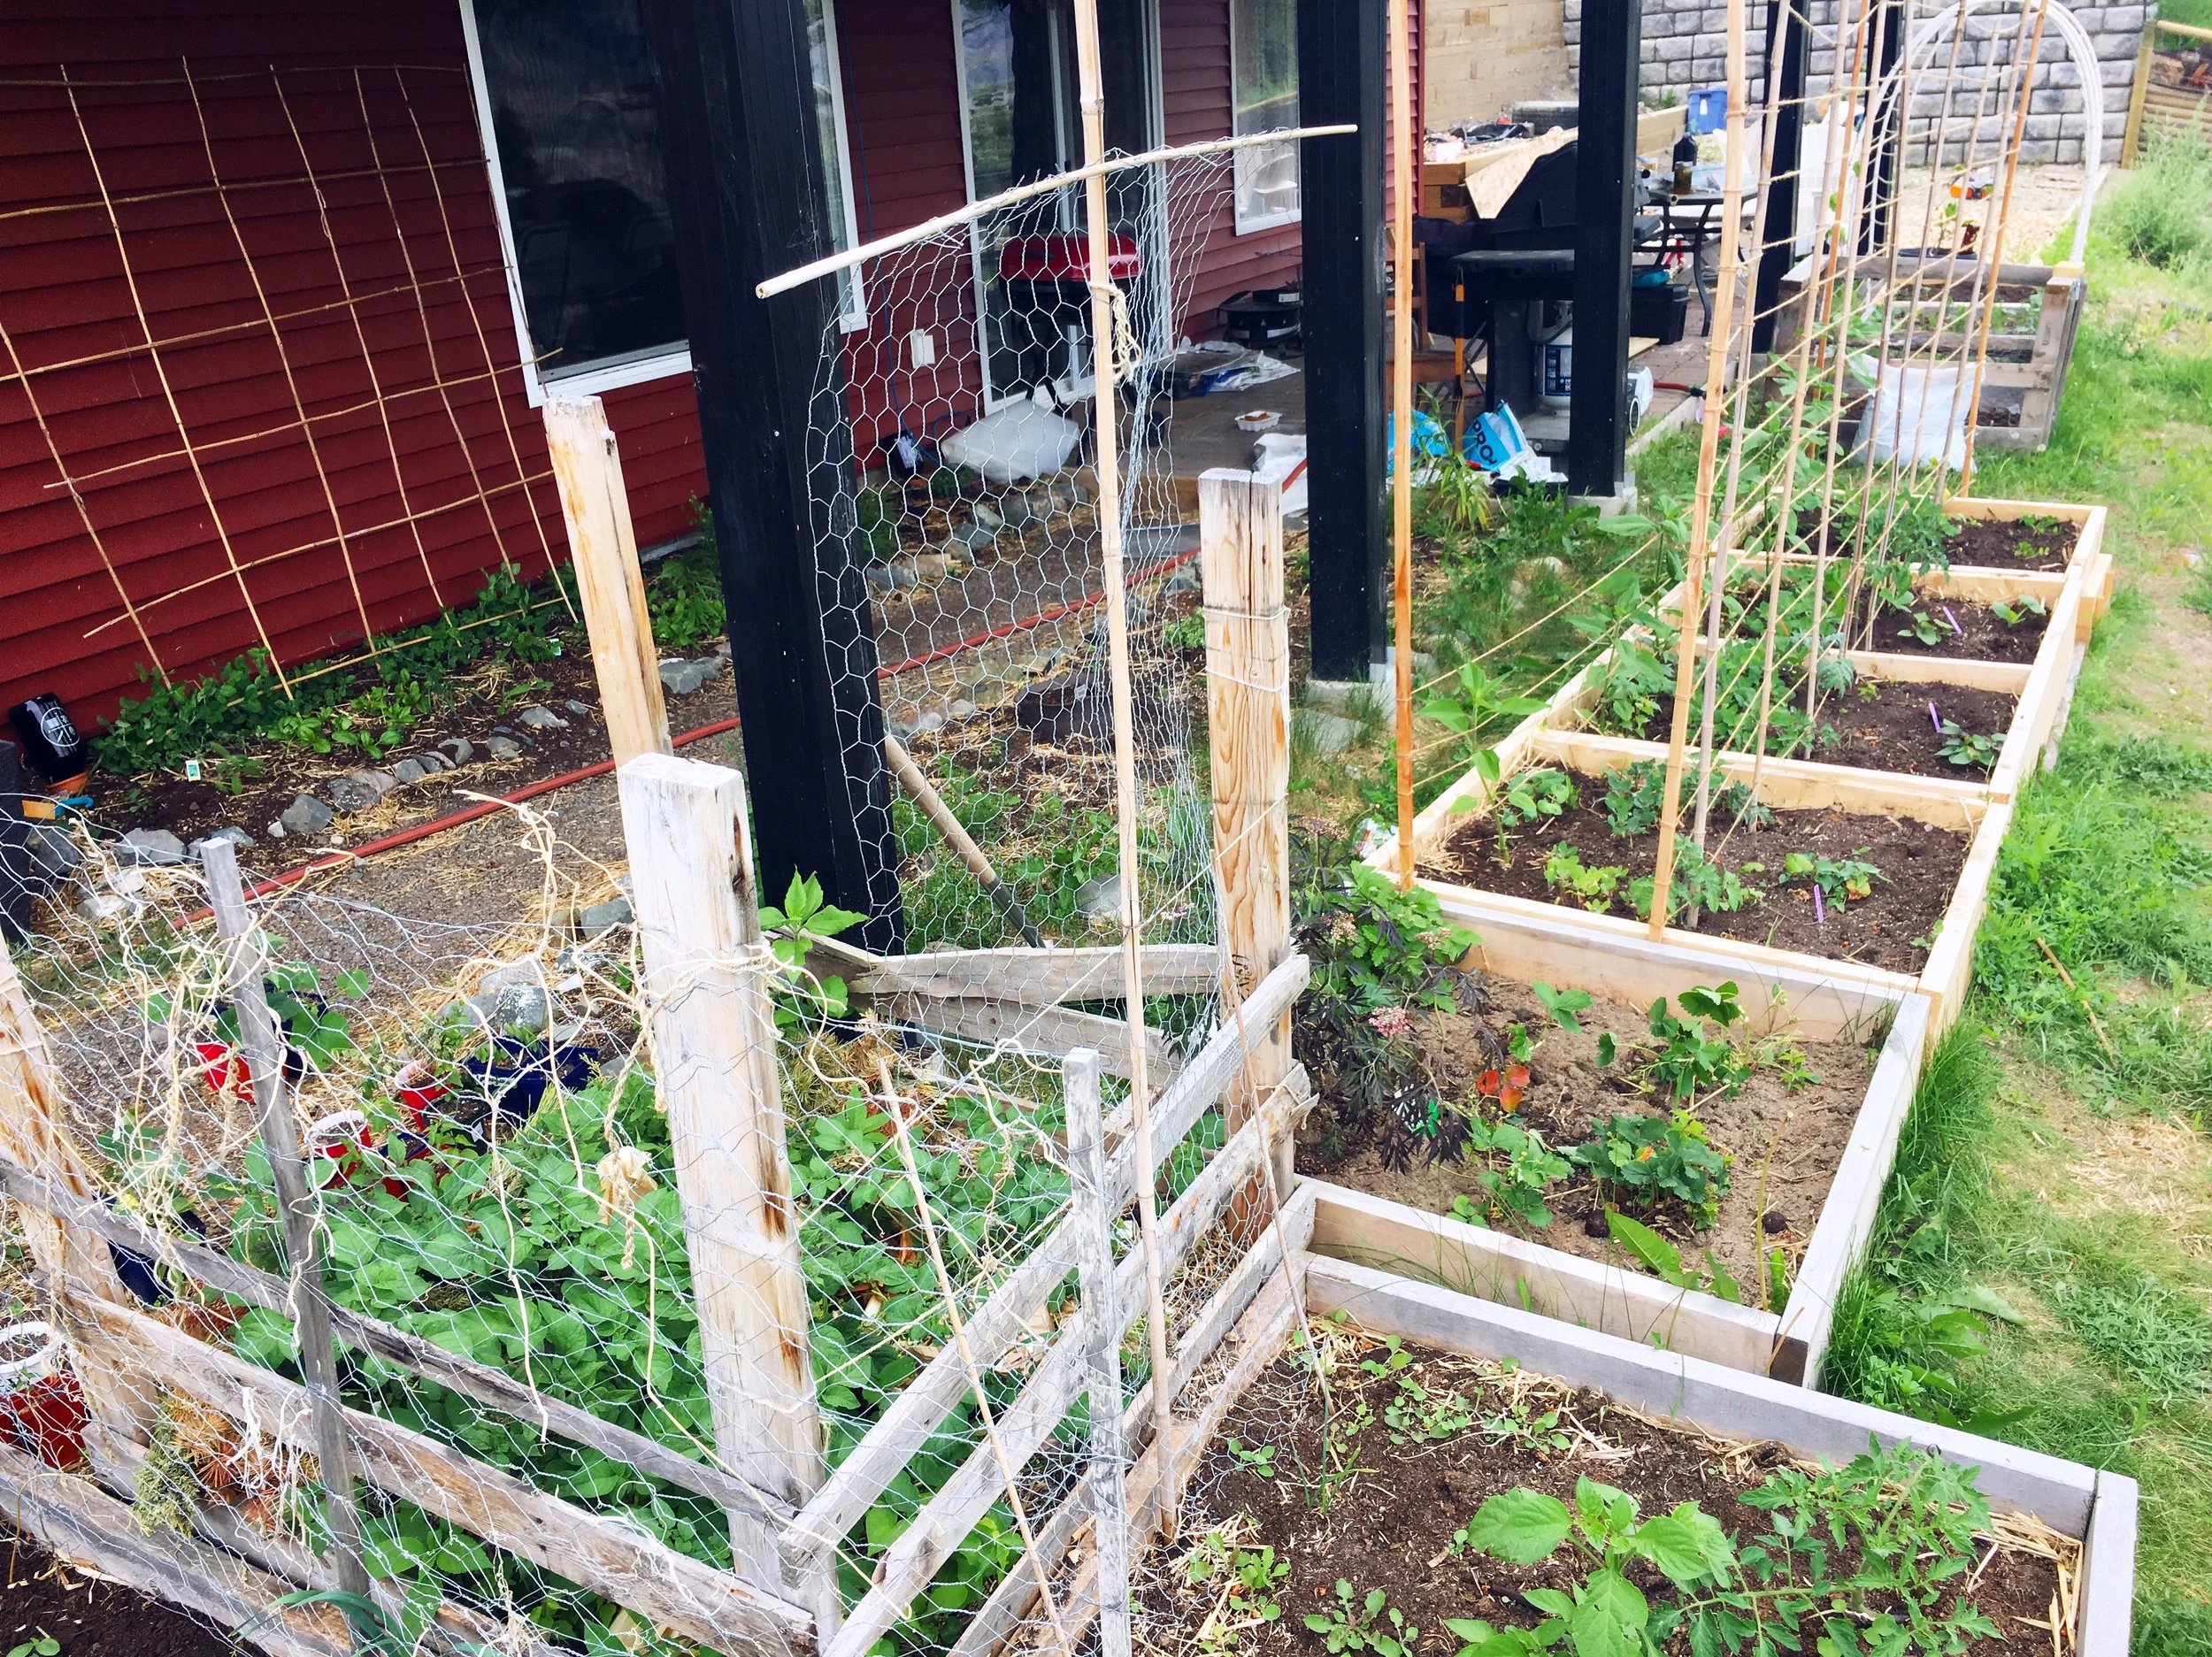
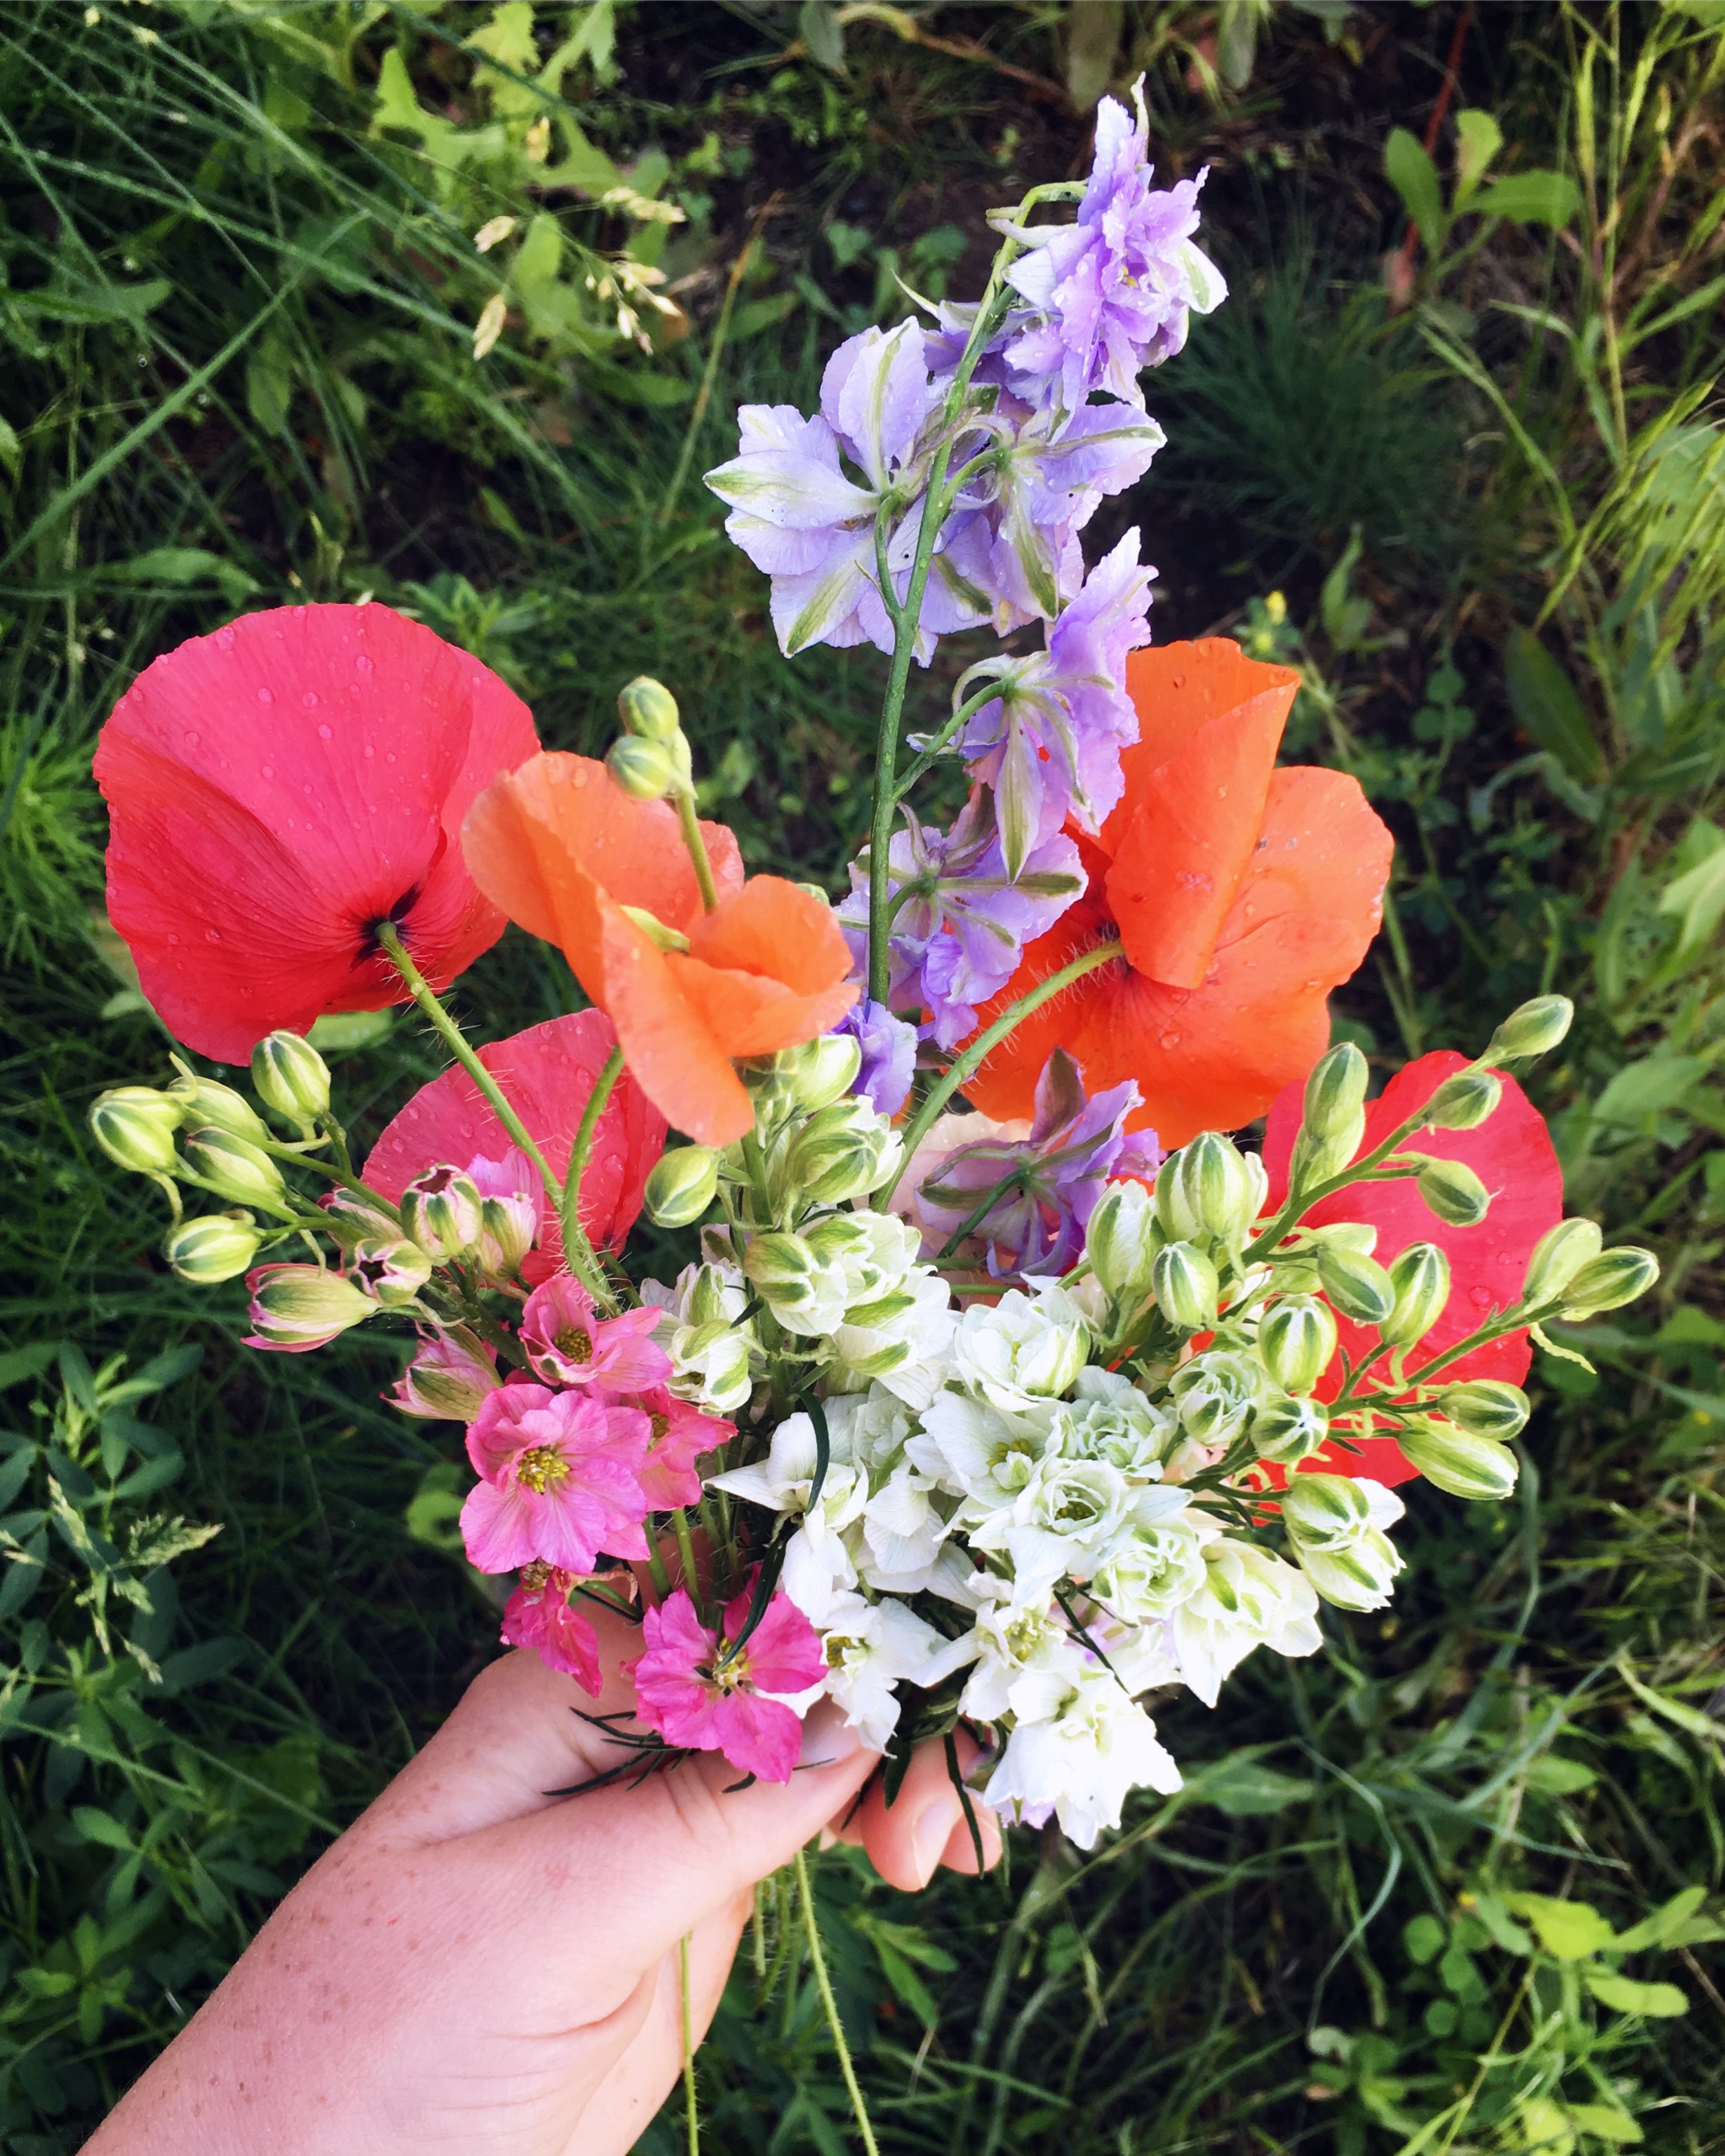
There is also a lot of promise still out there in the garden. My tomato plants are getting big, and many have already set quite a bit of fruit which I wait for with great anticipation! I've got loads of sun chokes, the quinoa is about to flower, and the beans are climbing high! I also have a bed of the healthiest looking brassicas I've ever grown, so those are making me pretty happy each time I step out into the garden. All in all it's been a decent month for harvesting, but I look forward to the major bounty that is to come as summer reaches its fullness.

July 11, 2018 /Kelsey Fast
harvest totals, spring, garden, harvest
Grow
Comment
My market booth on the first week.

My market booth on the first week.

Market Day at the Dallas Barnhartvale Farmers' Market!

Dallas Barnhartvale Farmers Market
July 08, 2018 by Kelsey Fast

Today I am happy to finally have a chance to tell you here on the blog about the amazing market that I have been going to as a vendor. I've posted about it on Instagram but I wanted to do an overall summary here, and be able to share in more detail. 

A while back some folks in our community brought up the fact that there is no farmers' market in our area. The Kamloops Regional Farmers' Market is not too far away, but our area has historically felt quite separate from the rest of Kamloops - and I think if you go far back enough it started out as its own separate community that then joined the rest of the city. Most of the neighbourhood is quite rural, and a lot of people actually don't like driving downtown and dealing with city parking and all of that kind of thing. We also have a lot of small scale local producers and makers here that have businesses that might be too small for the larger downtown market. Based on all these reasons the Dallas Barnhartvale Farmers' Market was born. 

Market Dates:

July 8th (TODAY!)

July 22nd

August 12th

August 26th

September 9th

September 23rd

The market is in the parking lot of Dallas Barnhartvale Baptist Church from 4:00 - 7:00 PM.

IMG_0035.JPG
IMG_9957.JPG

One thing that's been really amazing, is that the market is actually run by our Church. We have the perfect facility, and the resources to make it happen we were able to partner with the community in this. Since this is the first year, there are no table fees being charged to make it less of a risk for vendors to try out a new market, and to enable some smaller businesses to be able to afford it. Although the market is fairly small right now, there is a wide assortment of vendors - flowers, veggies, garden plants, decor, jewelry, packaged meat, eggs, freshly made doughnuts, vegan baking, and many other things. One vendor is selling items to raise money to help send a team to Haiti to aid in the work that a kids camp there is doing. There is also a concession, bouncy castle, and other fun things for the whole family.

Incredible doughnuts from Saorsa (Pronounced "Soar-sha" which is Gaelic for "Freedom")

Incredible doughnuts from Saorsa (Pronounced "Soar-sha" which is Gaelic for "Freedom")

I am so happy to be bringing items from my shop to this market, and can't wait to see all of you there! You might also notice there are a few more things at my table than are online in the shop at the moment. I haven't had a chance to photograph everything I have to get it up there yet, so if you are local come on down and take a look! 

IMG_9711.JPG
IMG_9949.JPG

This week at the market I will have:

  • silver jewelry made from 100% sterling silver from reclaimed antique flatware (rings, pendant necklaces, cuff bracelets)
  • earrings made with buttons, ceramic pieces, and coffee beans
  • jewelry made from broken teacup pieces, resin, and sterling silver
  • flavoured sugars: lilac, Douglas fir cone, and mint lime
  • fabric twine baskets
  • fabric twine coaster sets
  • handwoven area rug
  • keychains made from vintage silver plate or souvenir spoons
  • twisted branch wreaths: apple, and lilac
July 08, 2018 /Kelsey Fast
2 Comments
IMG_0085.JPG

Friday Favourites

June 29, 2018 by Kelsey Fast in Find

In these "Friday Favourites" posts I link up to some of the best things I've seen on the internet recently.  My favourite real life moment recently was picking Saskatoon berries with my family - spanning four generations!


Grow

  • Curing and Storing Garlic - harvest time is coming up pretty soon!
  • Harvesting and storing edible flowers.
  • Creating a living privacy screen in the garden.

Find

  • Some amazing tips for how to go hiking with your toddlers.
  • Recipe using foraged elderflower to make strawberry elderflower cordial.
  • Foraging linden flowers and serviceberries.

Eat

  • A lot of great ideas for using the veggies you are growing, or receiving in a CSA share.
  • Fried blueberry hand pies.
  • Homemade watermelon juice.

Make

  • This idea for giving new life to thrifted wooden trays.
  • Free printable wall art - oversized book page quotes from women authors.
  • Free cotton dishcloth pattern.

Misc

  • Really great advice about food writing, and why you should absolutely write a food blog!
  • "Can Together" challenge from Marisa McClellan of Food in Jars.
  • I just want to say how much I LOVE these shoes. What they do for my feet and fashion is one thing, but what they do for the environment and how they impact the lives of the people who make them is incredible. Check them out for sure.

Some of these links are affiliate links for which I will receive a small commission from any sale made.  Any product linked here is something I have tried and would absolutely recommend from my own experience with the company.

June 29, 2018 /Kelsey Fast
friday favourites
Find
Comment
IMG_0111.JPG

Meals From the Pantry: "Pop Stars"

June 27, 2018 by Kelsey Fast in Eat

It feels like it's been forever since I've written anything here, but I guess the last post was only a couple weeks ago. Our schedules in June are always overflowing, so we've been a bit preoccupied. My other job is as a private instructor for piano and singing, and my husband is the youth pastor of our local church, so our lives pretty much revolve around the school year with June bringing it all to a close. As our summer begins, so does a bit of a rest period - we're still very busy, but we can focus on tasks for ourselves, visiting family, and working on our writing projects (this blog for me, and a masters degree for him). 

In all the craziness, I've actually been keeping up with the garden and foraging fairly well. I'm worried that I've missed all the elderflower again, but you can't always get everything. I've been making this little recipe quite a bit, and I thought I'd share it within that "meals from the pantry" category I was writing recipes for a while back. With the coming onslaught of berries, and summer fruit, jam making season is about to hit in full swing, so I've been thinking of recipes to use up what we still haven't eaten.

I also wanted to share a recipe that after making lots of pies has become my go-to recipe for an amazing pie crust. I feel like everyone should have a fantastic pie crust recipe in their back pocket and this one is so easy to remember you don't even need a recipe.

Lady grey tea pie crust cut into star shapes.

Lady grey tea pie crust cut into star shapes.

I think of these as tiny pop tarts. And because they are shaped like stars (this is completely optional, but usually too cute a result for me to pass up doing it any other way), I've been calling them "pop stars". I started doing these partially as a way to use up my overstock of jam, and partially because I don't like wasting the crust that gets trimmed when making a large pie. In the past I'd just roll it out, cut into rectangles, and then spoon in some jam, or applesauce, or other filling like that. A little while back, I thought my star shaped cookie cutter was probably large enough to use for this, and now I can't go back to my boring old rectangles anymore. Even though I normally make this from excess crust, it would be perfect to make up a batch of pie crust just to make these. I promise they are much easier to make than you'd think.


Pop Stars

For the Crust

  • 2 cups Flour
  • 1/2 tsp Salt
  • 1 tbsp Sugar (optional: grind lady grey or other tea into the sugar using mortar and pestle)
  • 1 cup Cold Butter
  • Very Cold Water

Takes 30 minutes, yield depends on amount of crust made and size of shapes cut.

Instructions

  1. Combine all dry ingredients in a large bowl.
  2. Cut butter into 1 inch (but don't be so precise here - the measurement is just to give you a workable size) chunks, and place it all into the dry ingredients.
  3. Work the butter into your dry ingredients using your fingertips. I've used a pastry cutter before, or two knives, but I haven't found anything that gives a better result than just getting your hands in there and being able to control the texture by feel. You want to smoosh the butter chunks into the flour so that they make flakes. Don't incorporate it all too much. The butter melting and creating steam as the pastry bakes is what gives you the flaky texture, so if you have some larger flakes in there that is actually a good thing. Don't spend so long trying to make this perfect that your butter gets soft either - working quickly is the name of the game.
  4. Sprinkle your water tablespoon by tablespoon over the mixture, stirring lightly with a fork between each tablespoon. Watch as it slowly incorporates into a cohesive dough, but stop adding water when you can tell that it will be sticky enough to come together to make a ball. Don't worry if you don't get this quite right the first time. Keep trying and eventually you'll know what to look and feel for.
  5. If you are not rolling your pie crust out right away wrap it well and store it in the fridge.

To Make the Pop Stars

  • Jam (a thicker consistency will make these much easier to work with. In the ones above I used roasted rhubarb that I canned last year)
  • Pie crust from above recipe or leftover from making another pie
  • 1 egg
  • Splash of Milk

Instructions

  1. Preheat the oven to 415 degrees Fahrenheit.
  2. Beat egg with a splash of milk until homogenous
  3. Roll out your dough and cut into desired shapes. Since these are small cookies-type-things, I don't find the texture is impacted too much by re-rolling the scraps to get more yield out of the dough recipe, so feel free to do so if you don't want to waste anything. You'll want to make sure you cut an even amount of shapes so each has both a bottom and a top.
  4. Count how many pieces you ended up with, and brush half of them with the egg mixture.
  5. Spoon some jam into the middle of each egg washed piece. Go really easy here. For mine which are only about 3 inches from tip to tip I only put about a teaspoon in the middle of each. If you add too much it will all spill out and you'll get a sticky, caramelized mess.
  6. Cover them all with your top pieces, and press the edges down carefully. You may need to stretch them slightly to make sure all your jam is covered.
  7. Crimp the edges with a fork - you want a really good seal here otherwise you'll have the sticky caramelized/burnt mess I mentioned earlier.
  8. Stab the tops of each a couple times with your fork to give some vents for the steam from the filling to escape while they are baking.
  9. Brush some more of the egg wash over the tops after they are all ready, and sprinkle liberally with sugar.
  10. Transfer to a baking sheet lined with parchment (another safeguard against the potential for leaked filling - I know from too much experience that it is VERY hard to clean burnt jam off) and bake for about 15 minutes, or until the crust is golden, and the edges are crispy.
June 27, 2018 /Kelsey Fast
recipe, pie, baking, jam, meals from the pantry, in my kitchen, food
Eat
Comment

Growing Up - Trellises and Other Garden Structures

June 12, 2018 by Kelsey Fast in Grow, Make

I don't have a whole lot of space to garden, so I try my best to make the most of my vertical space using trellises and other structures. We're also renting our space, so nothing can be too permanent. I've designed my whole garden to be able to be taken apart if we need to move - we'll undo the raised beds, and the grass that is seeded there will be so healthy from my lovely garden soil. I say that as a preface because there are other great options out there, but for us it is most important that they work well, are cheap, and are easy to remove when needed.

IMG_9743.JPG
IMG_9773.JPG

We work with bamboo poles and twine, for the most part. This year we wanted to do some low tunnels over our raised beds, so we bought some PVC pipe and rebar stakes. We cut them too big last year, but that worked in our favour because I am enjoying using their length for trellising. In the above photos you can see my twine and PVC archway (left) that I have peas growing up one side, and cucumbers and squash on the other. In the photo on the right is a square trellis for peas that I made by weaving thinner bamboo stakes (6 ft. length) and leaning it against the wall. You can see it more fully in the photo below.

The above photo is a bit cluttered, but it does show what the garden actually looks like on a day to day basis - not just when I take a beautiful photo for Instagram! You can see my potato tower here, which I am still enjoying using. I've actually added another bin to grow potatoes in this way since it worked so well. I've got some chicken wire for things to grow up, and the long line of poles and twine is something I am trying for tomato supports. I've seen a lot of people use farm fencing for this, so I sort of made my own thing using six foot hardwood stakes, bamboo poles, and twine. The stakes are drilled into the raised beds, and the poles are keeping each tomato plant upright. The twine running between them keeps everything together and strong. 

We're also using plants as trellises - I put in a lot of sunchokes this year, and I've got beans planted below to climb them. I've done the same elsewhere with sunflowers. I'm hoping the corn will grow tall enough to help some of my beans out as well, but I've got some other supports ready in case it fails me again this year.

What are some of your favourite ways to use the vertical space in your garden? I'd love to hear all about it in the comment section!

June 12, 2018 /Kelsey Fast
DIY, garden planning, garden, trellises, garden maintenance
Grow, Make
Comment
  • Newer
  • Older

Terms and Conditions | Privacy Policy | Shipping and Returns

Powered by Squarespace