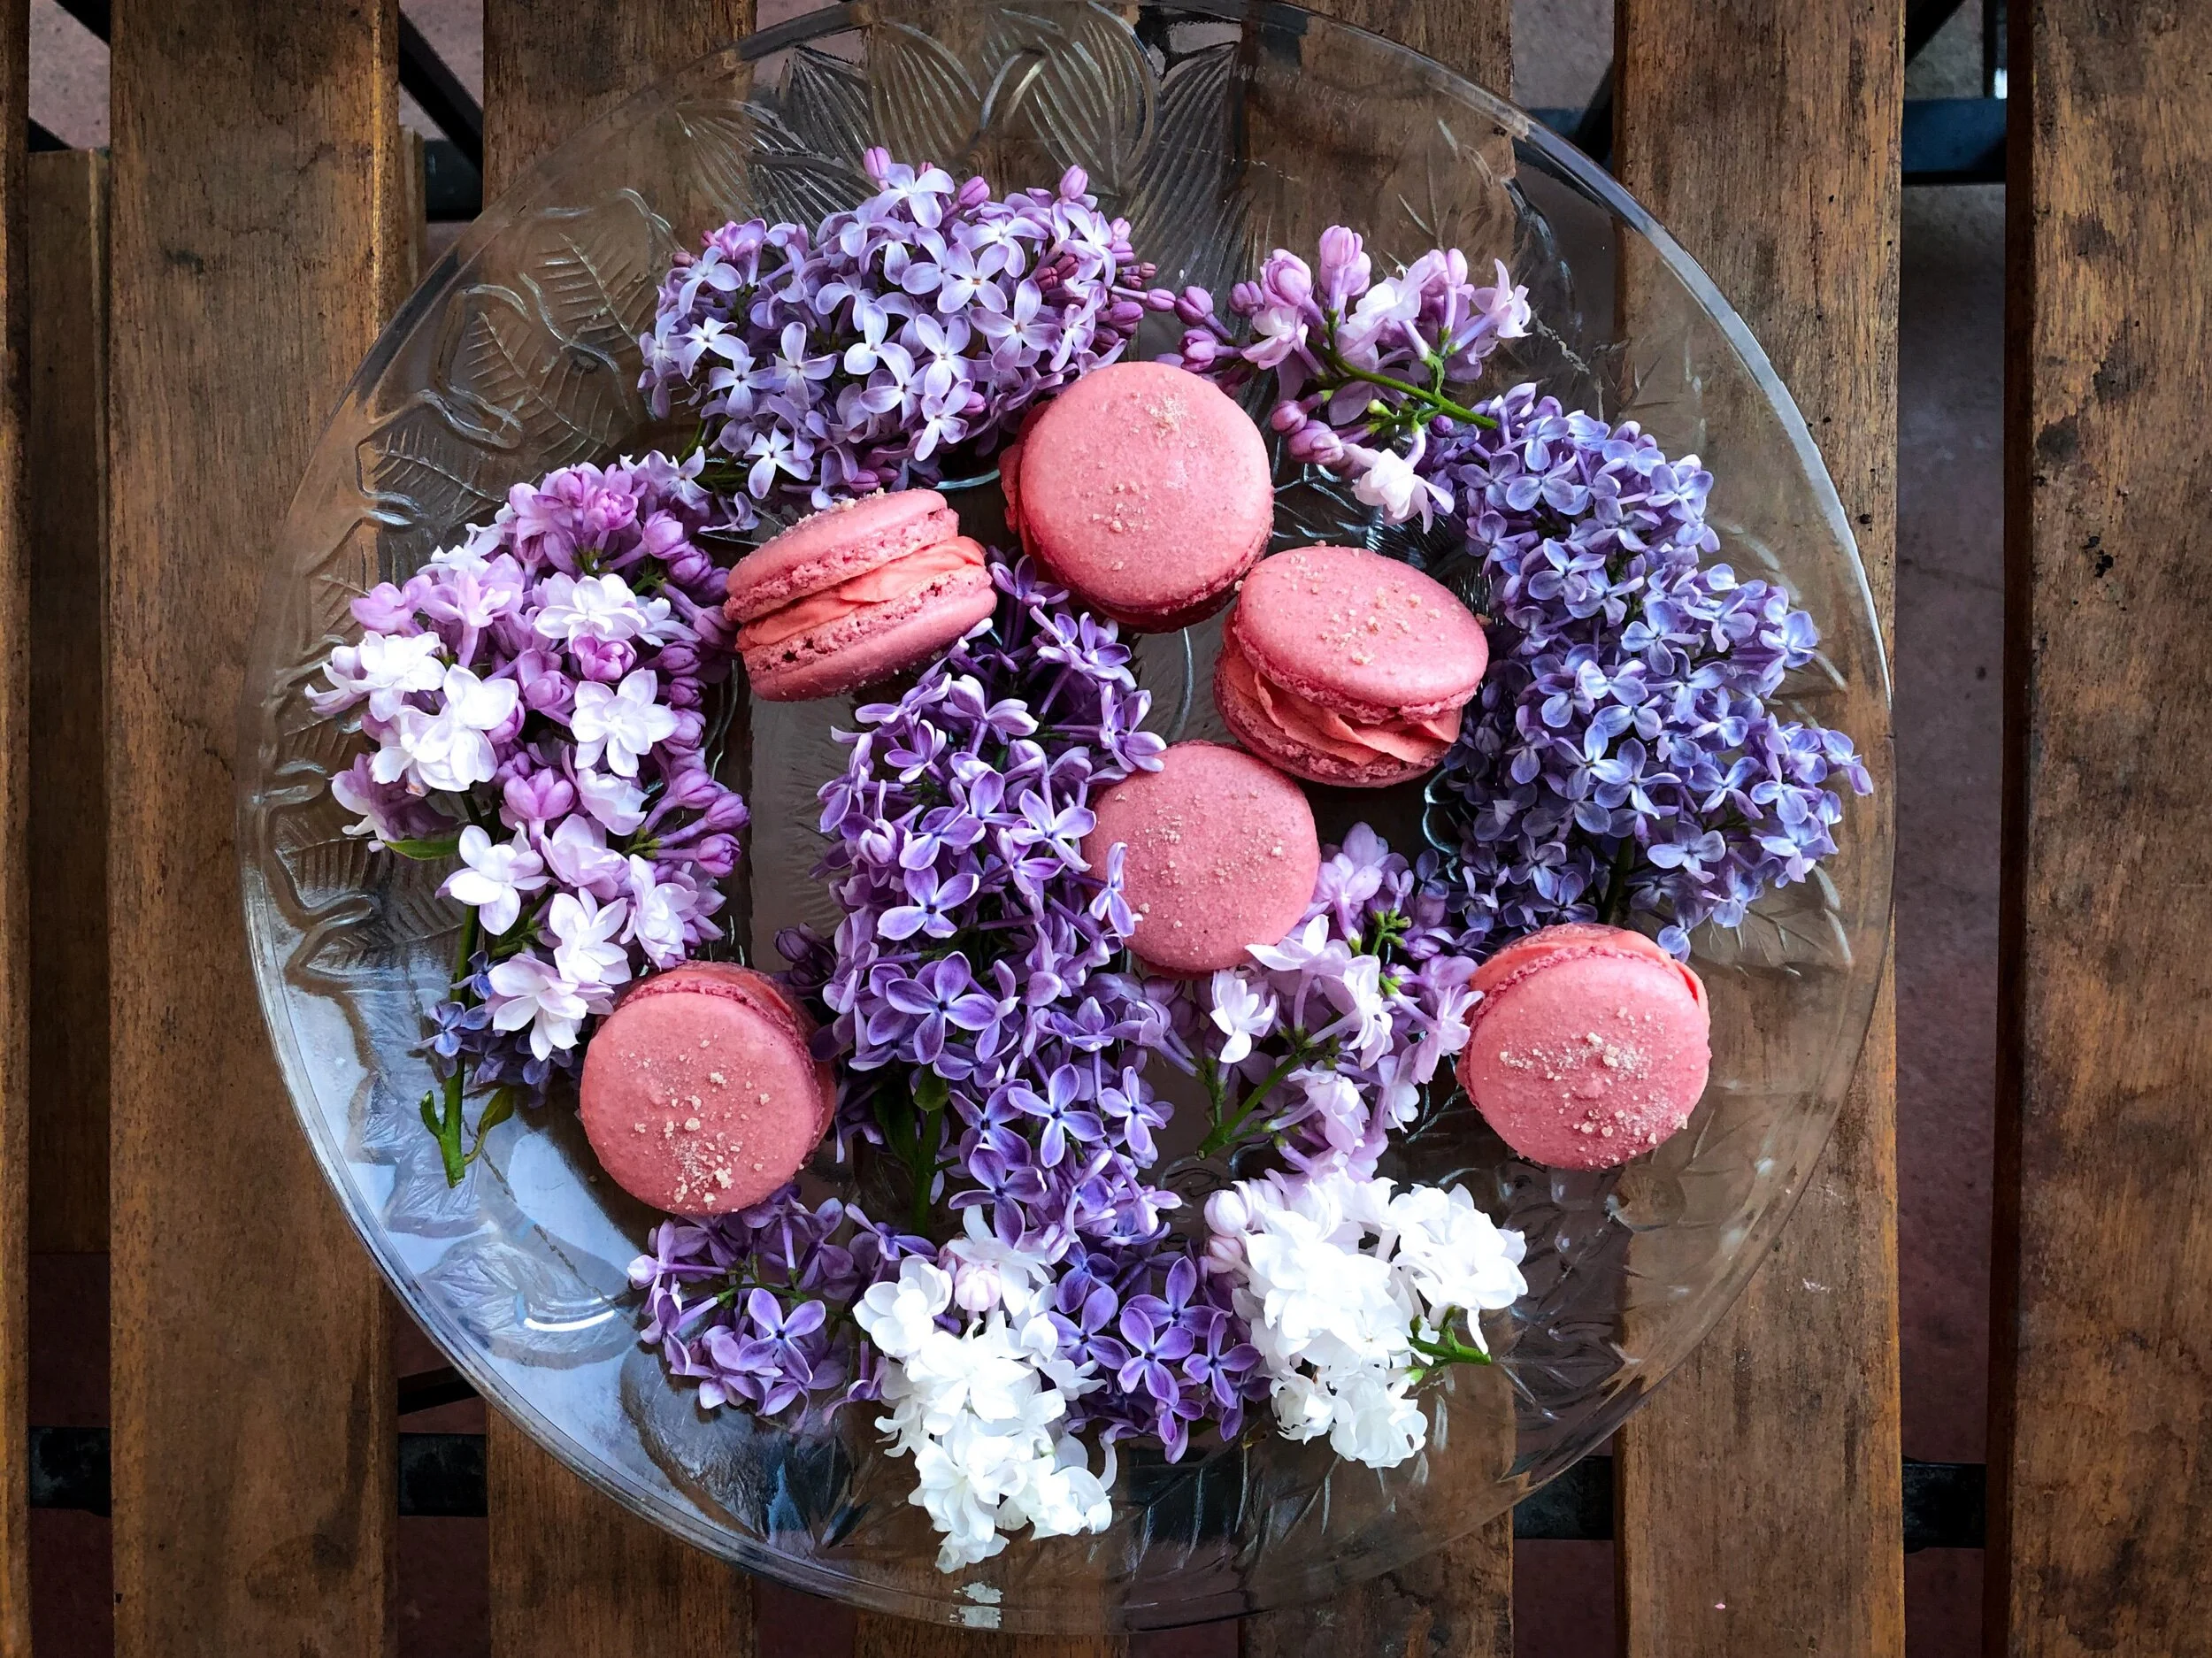
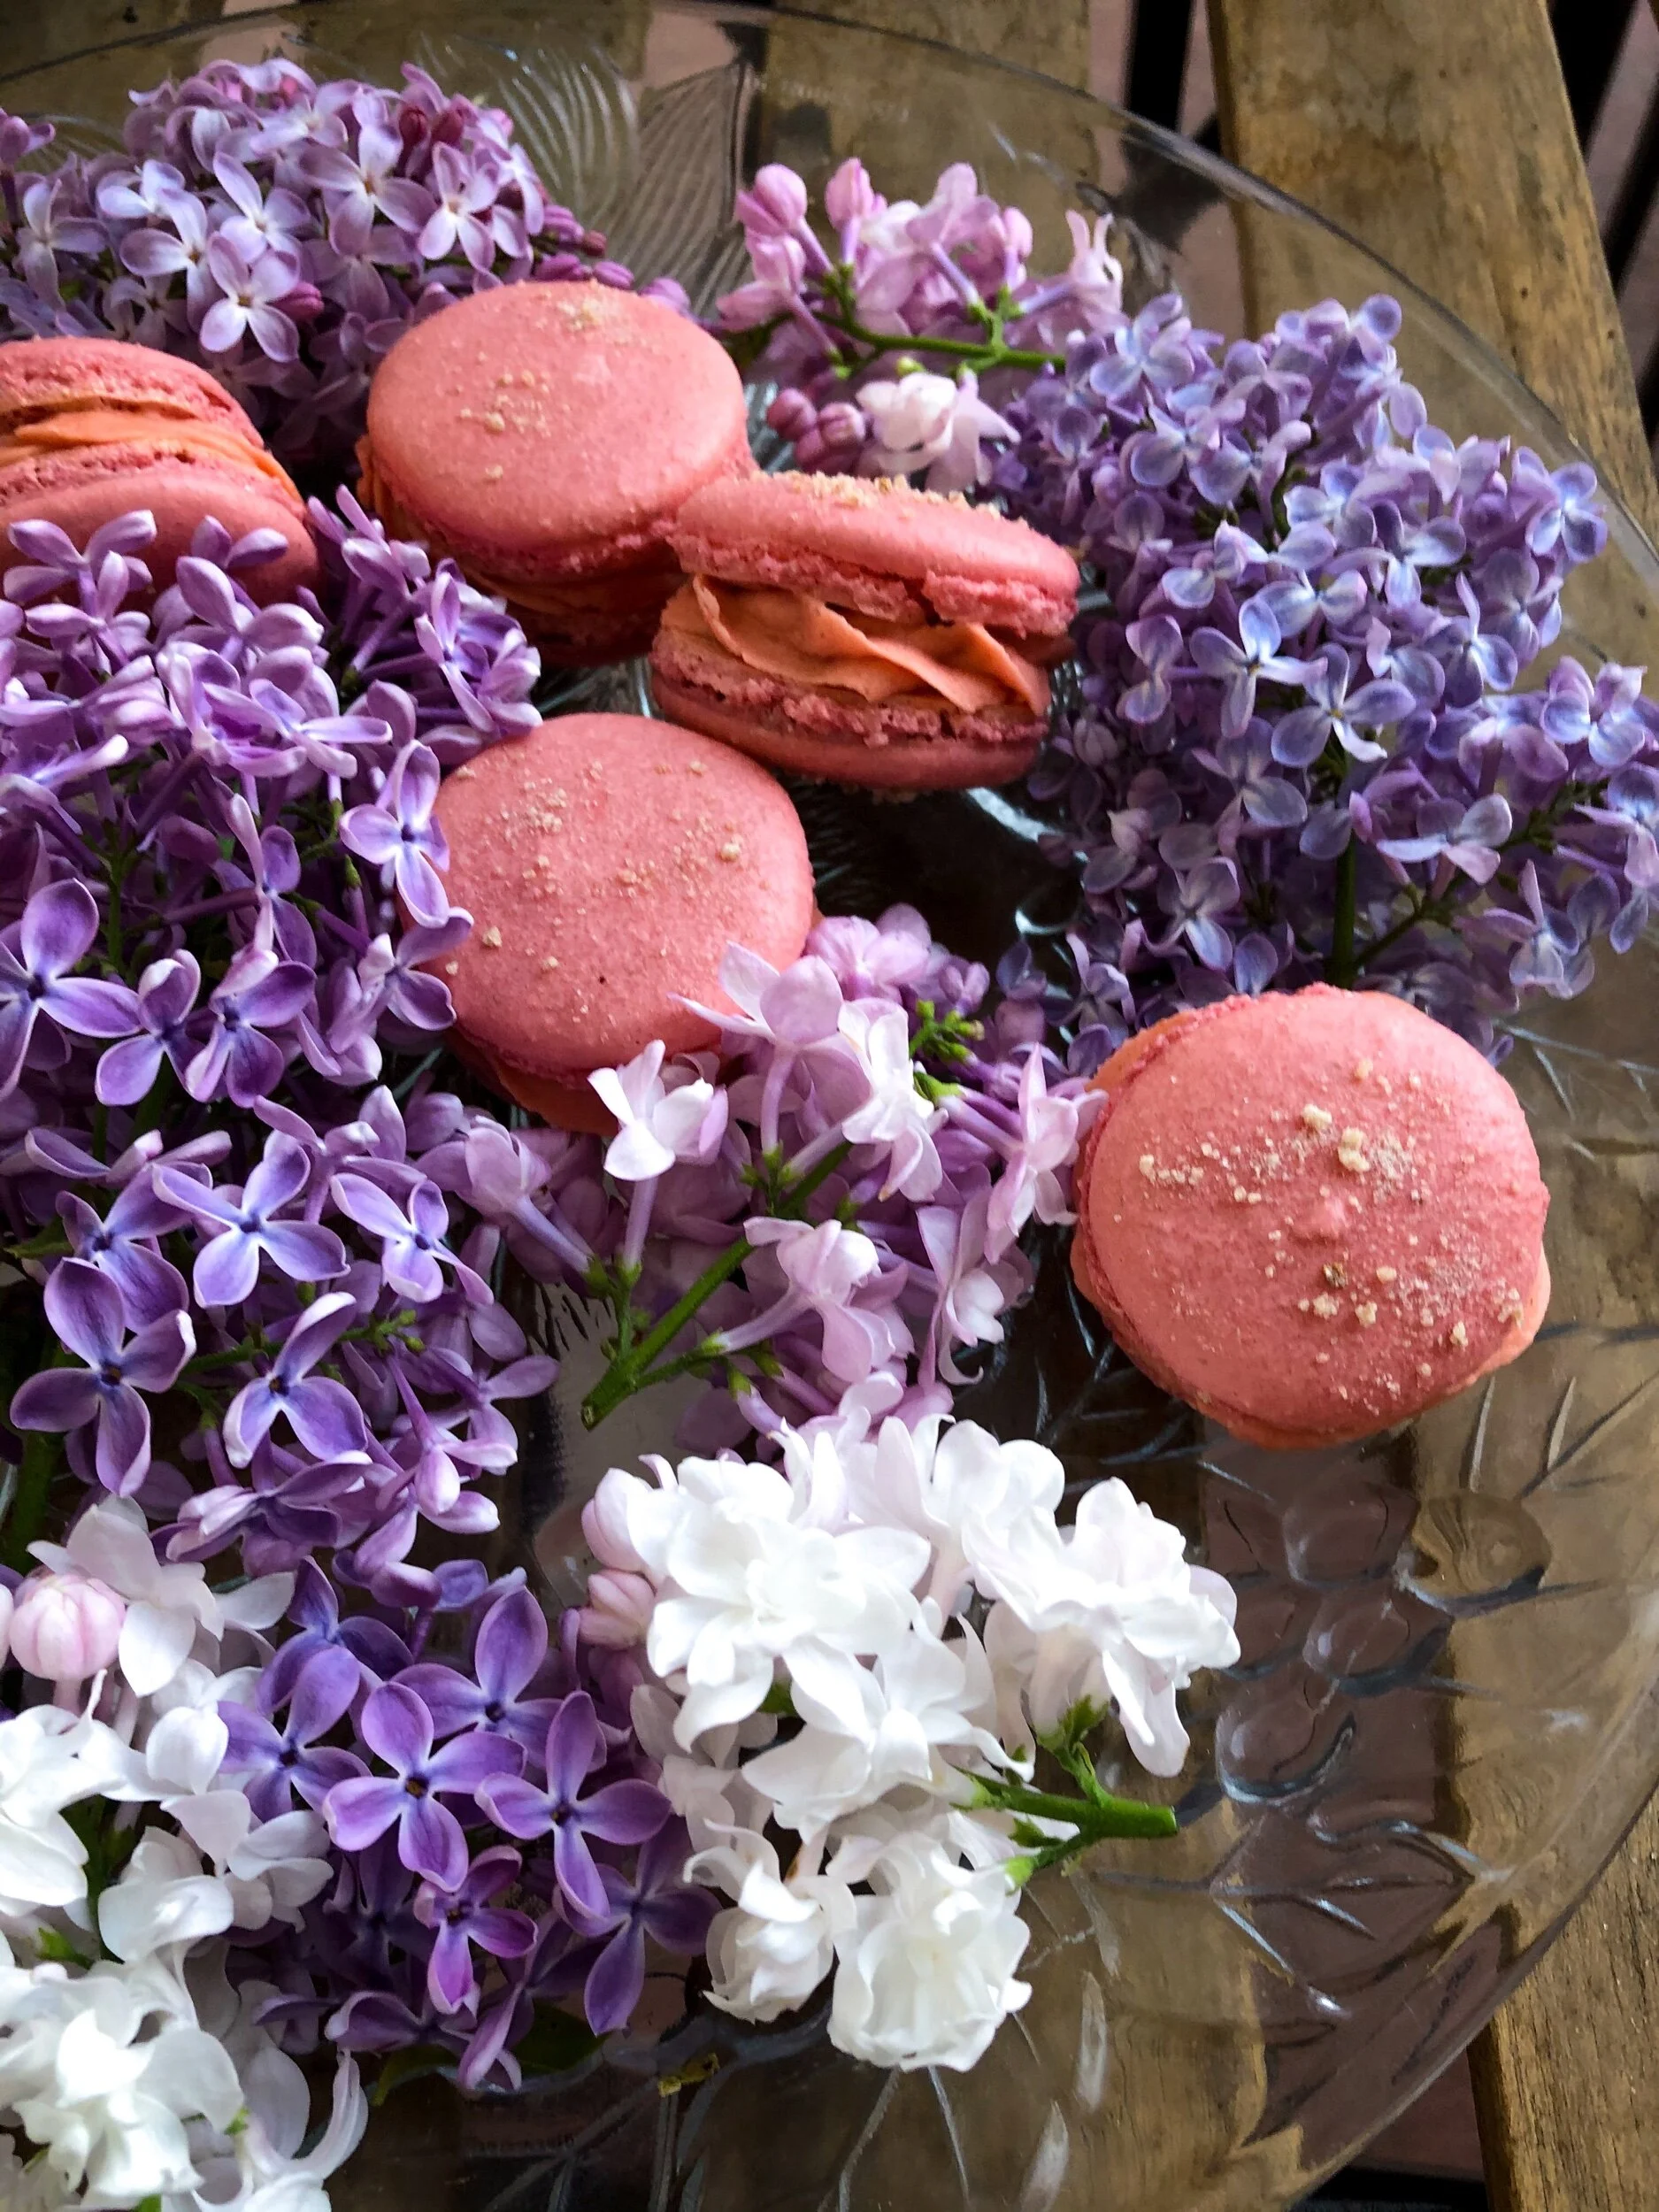
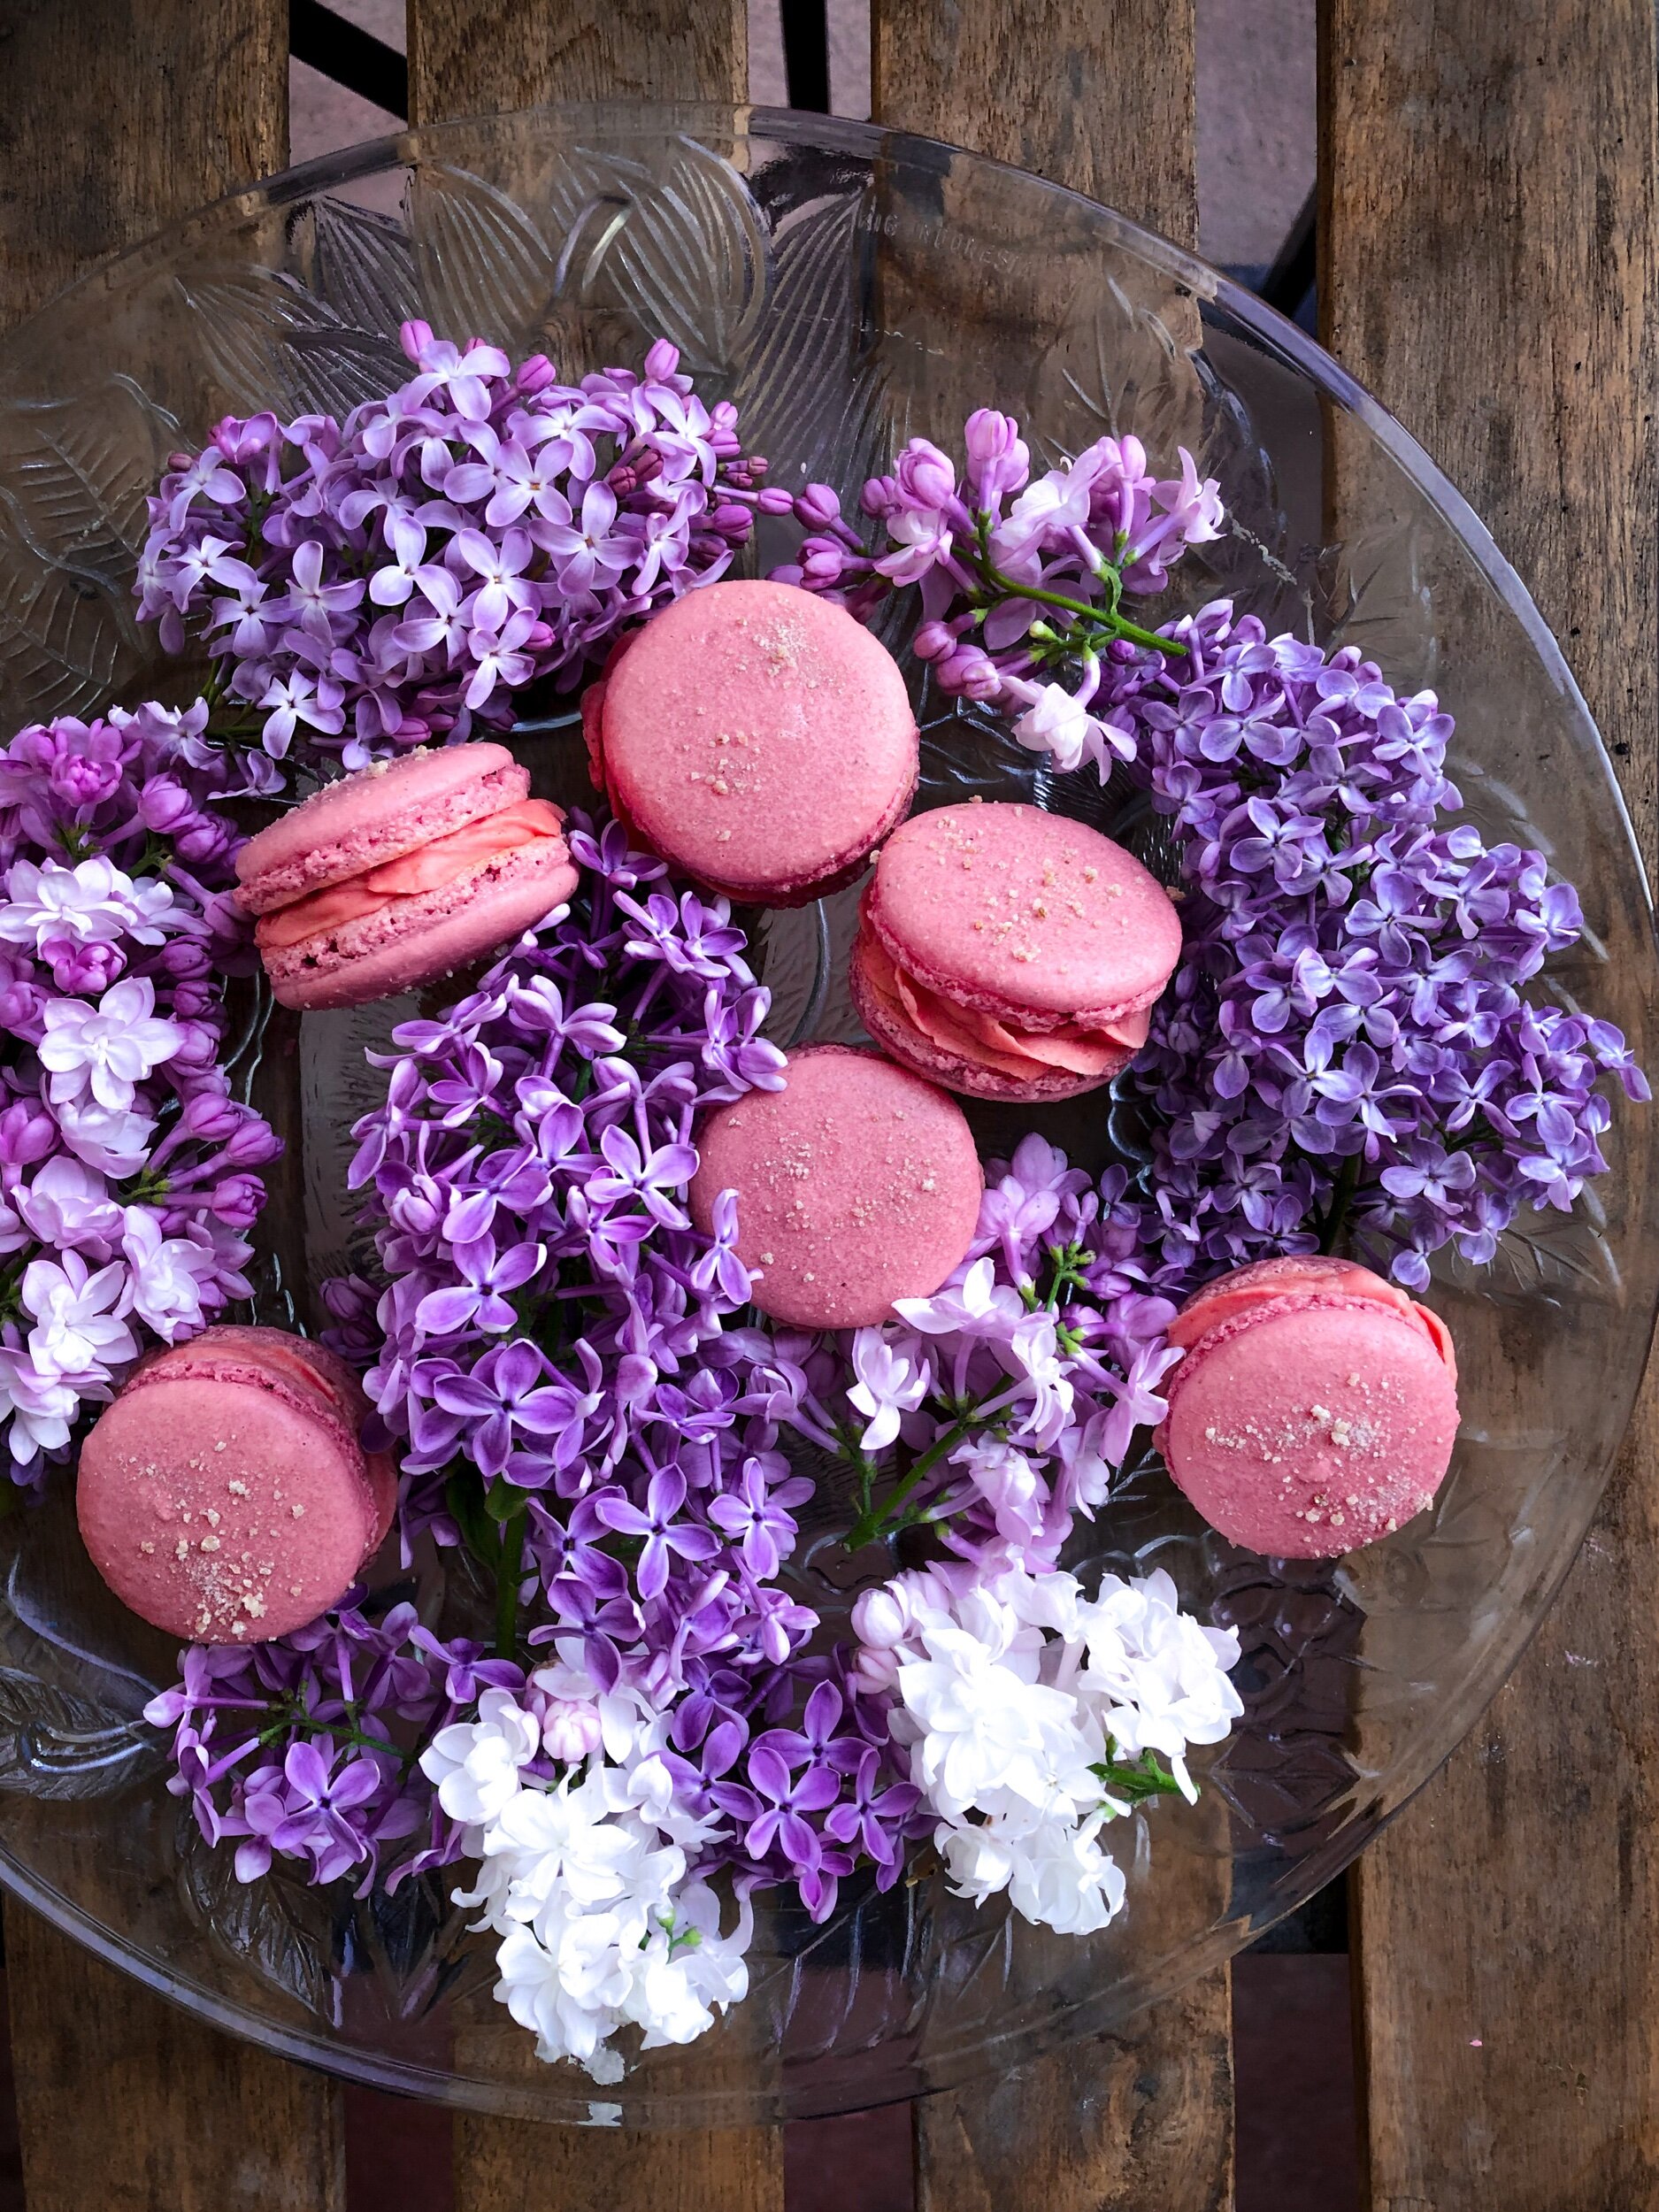
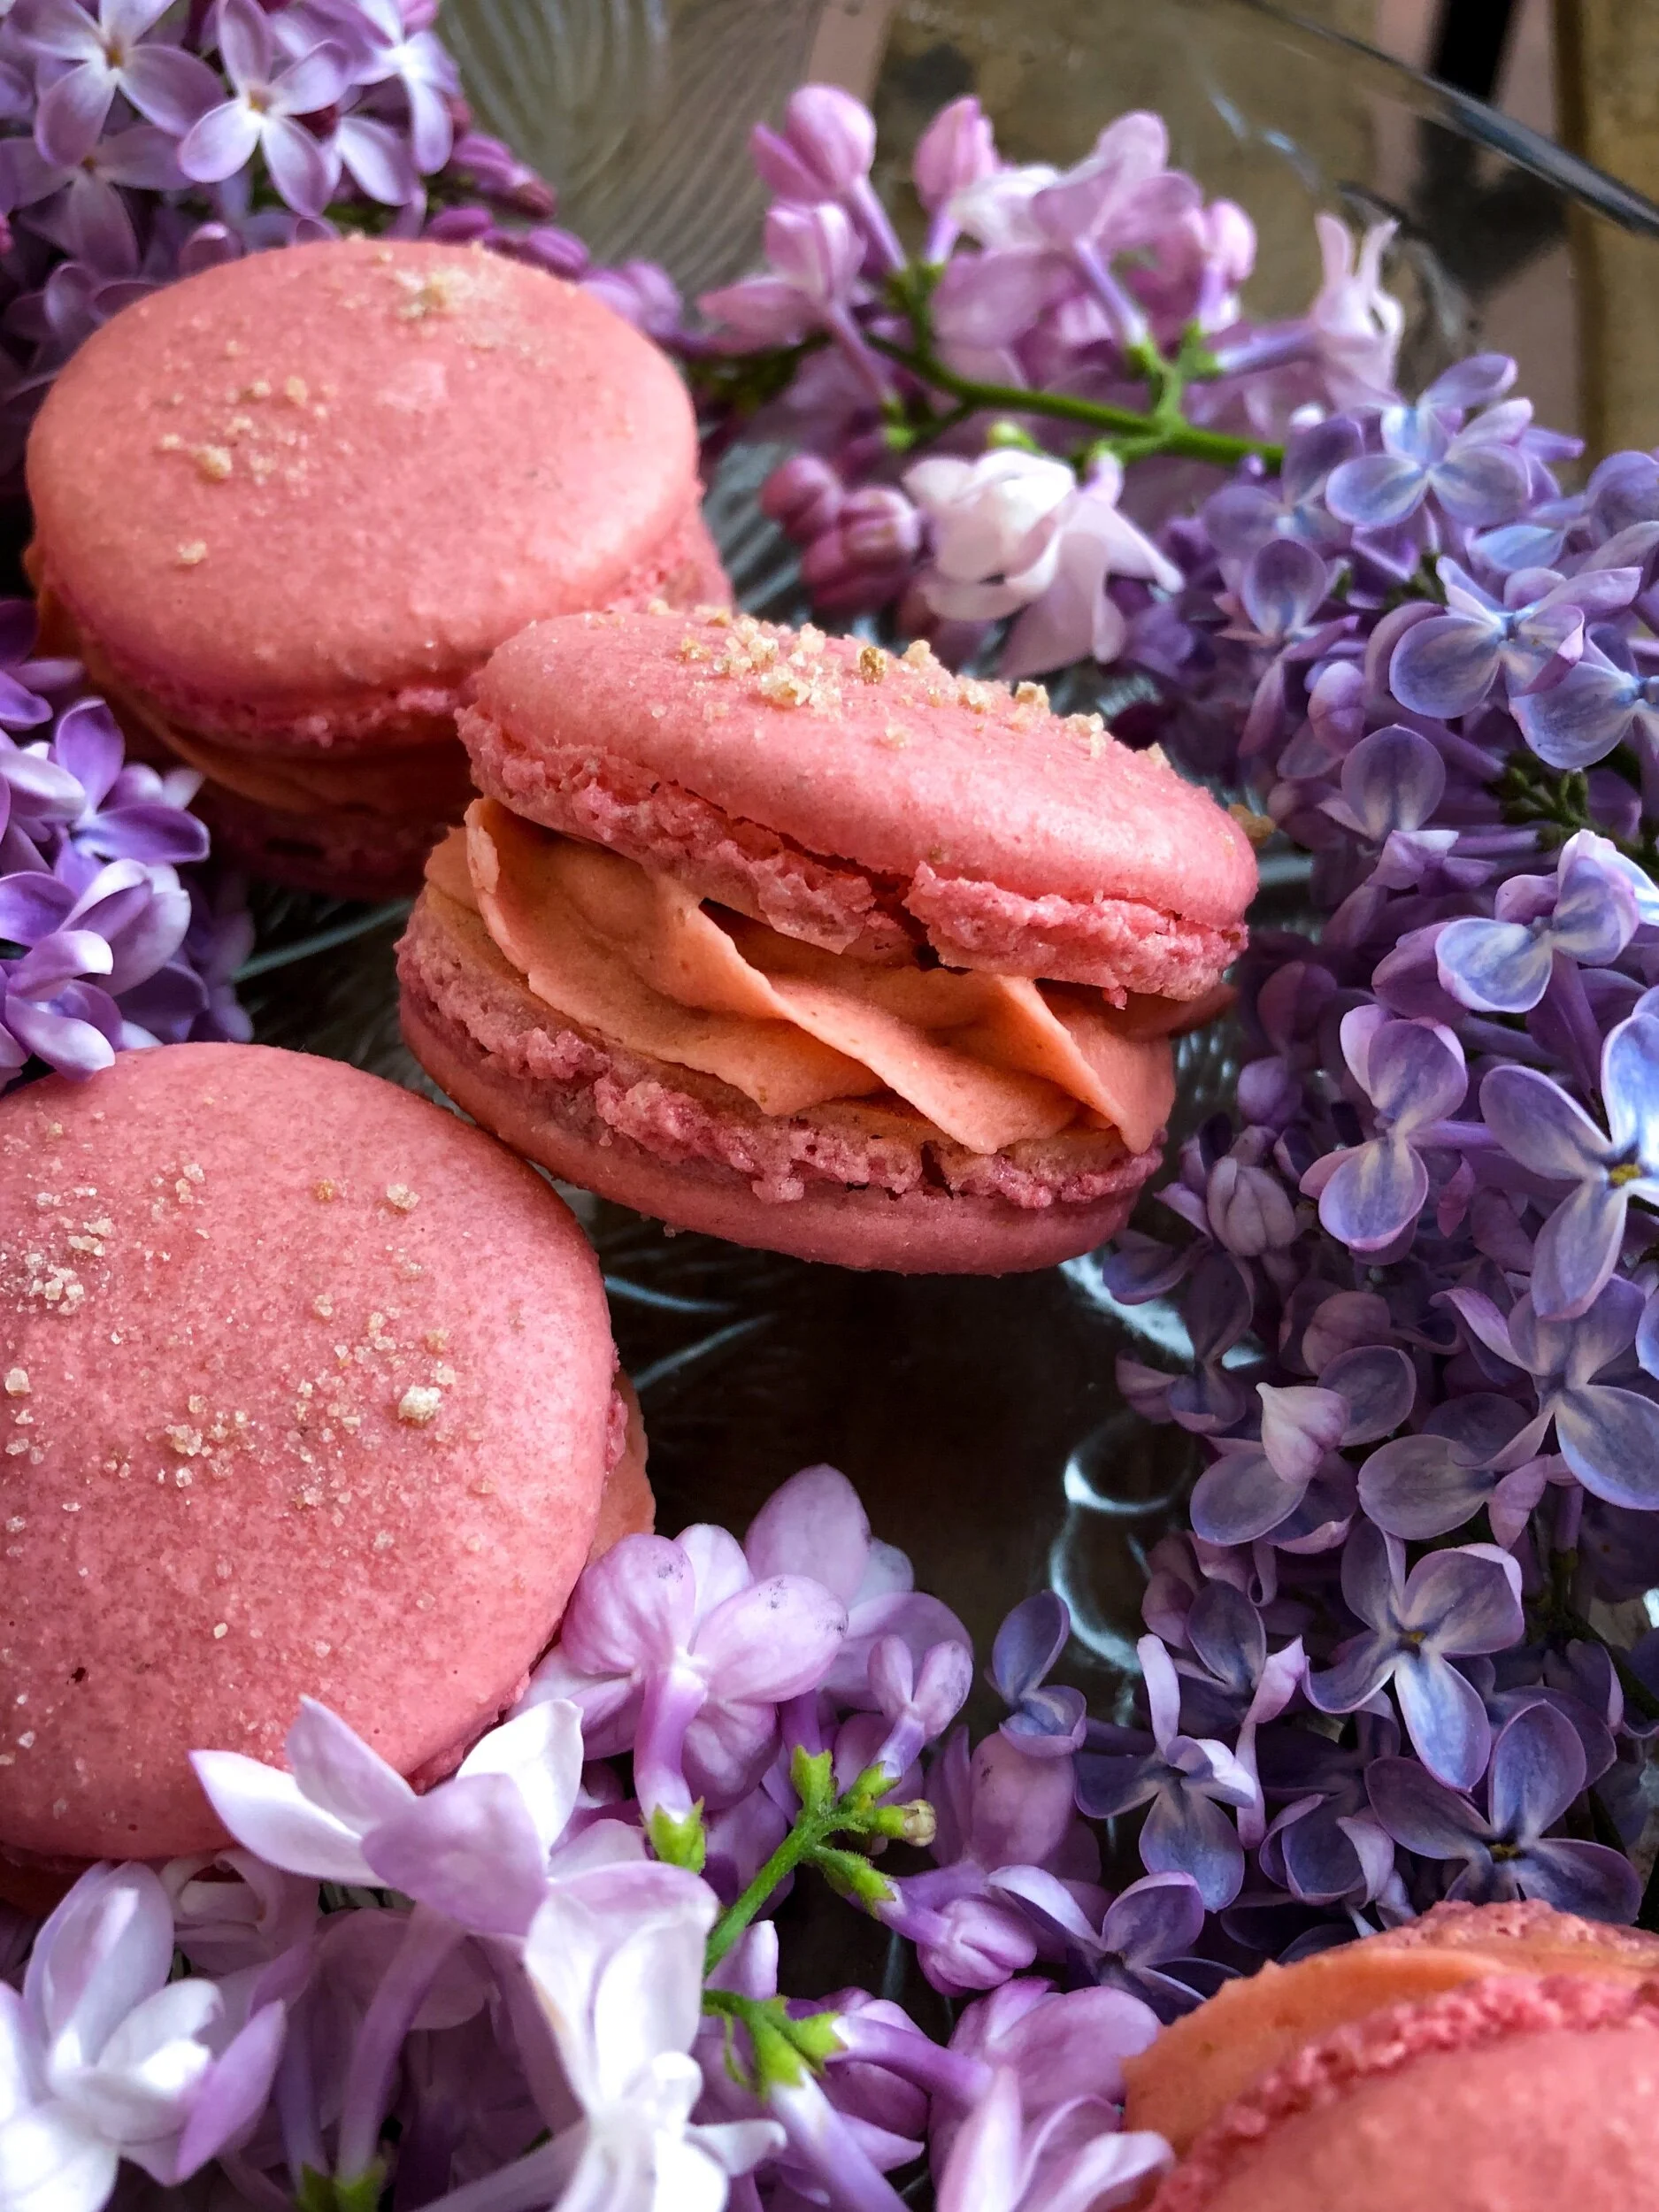
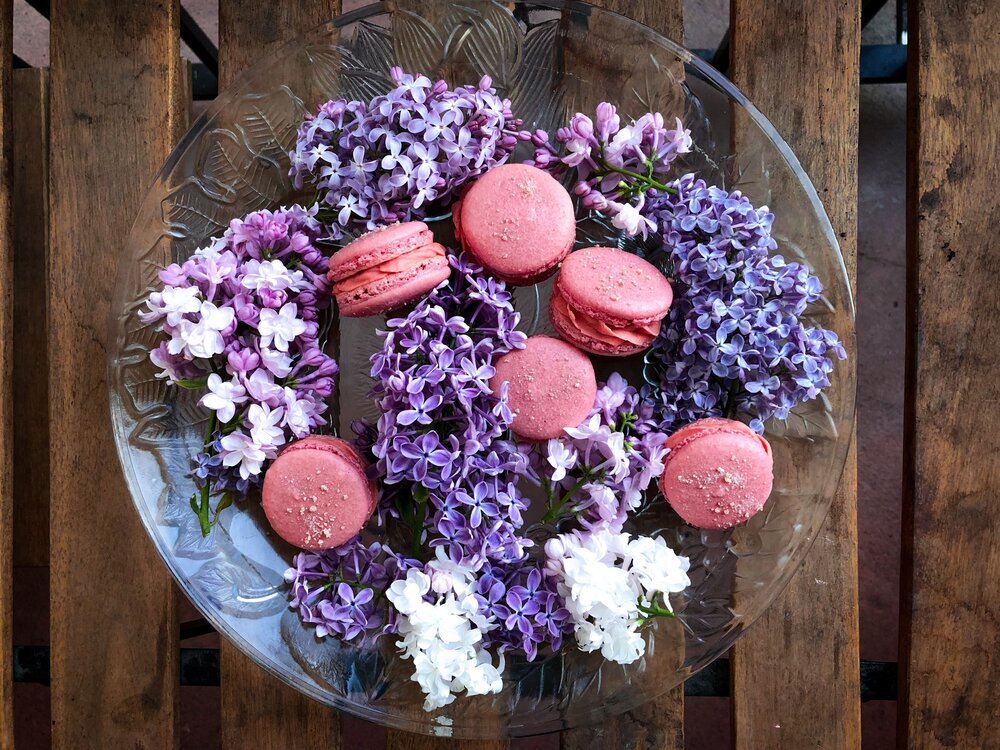
Lilac Macarons with Rhubarb Ginger Buttercream
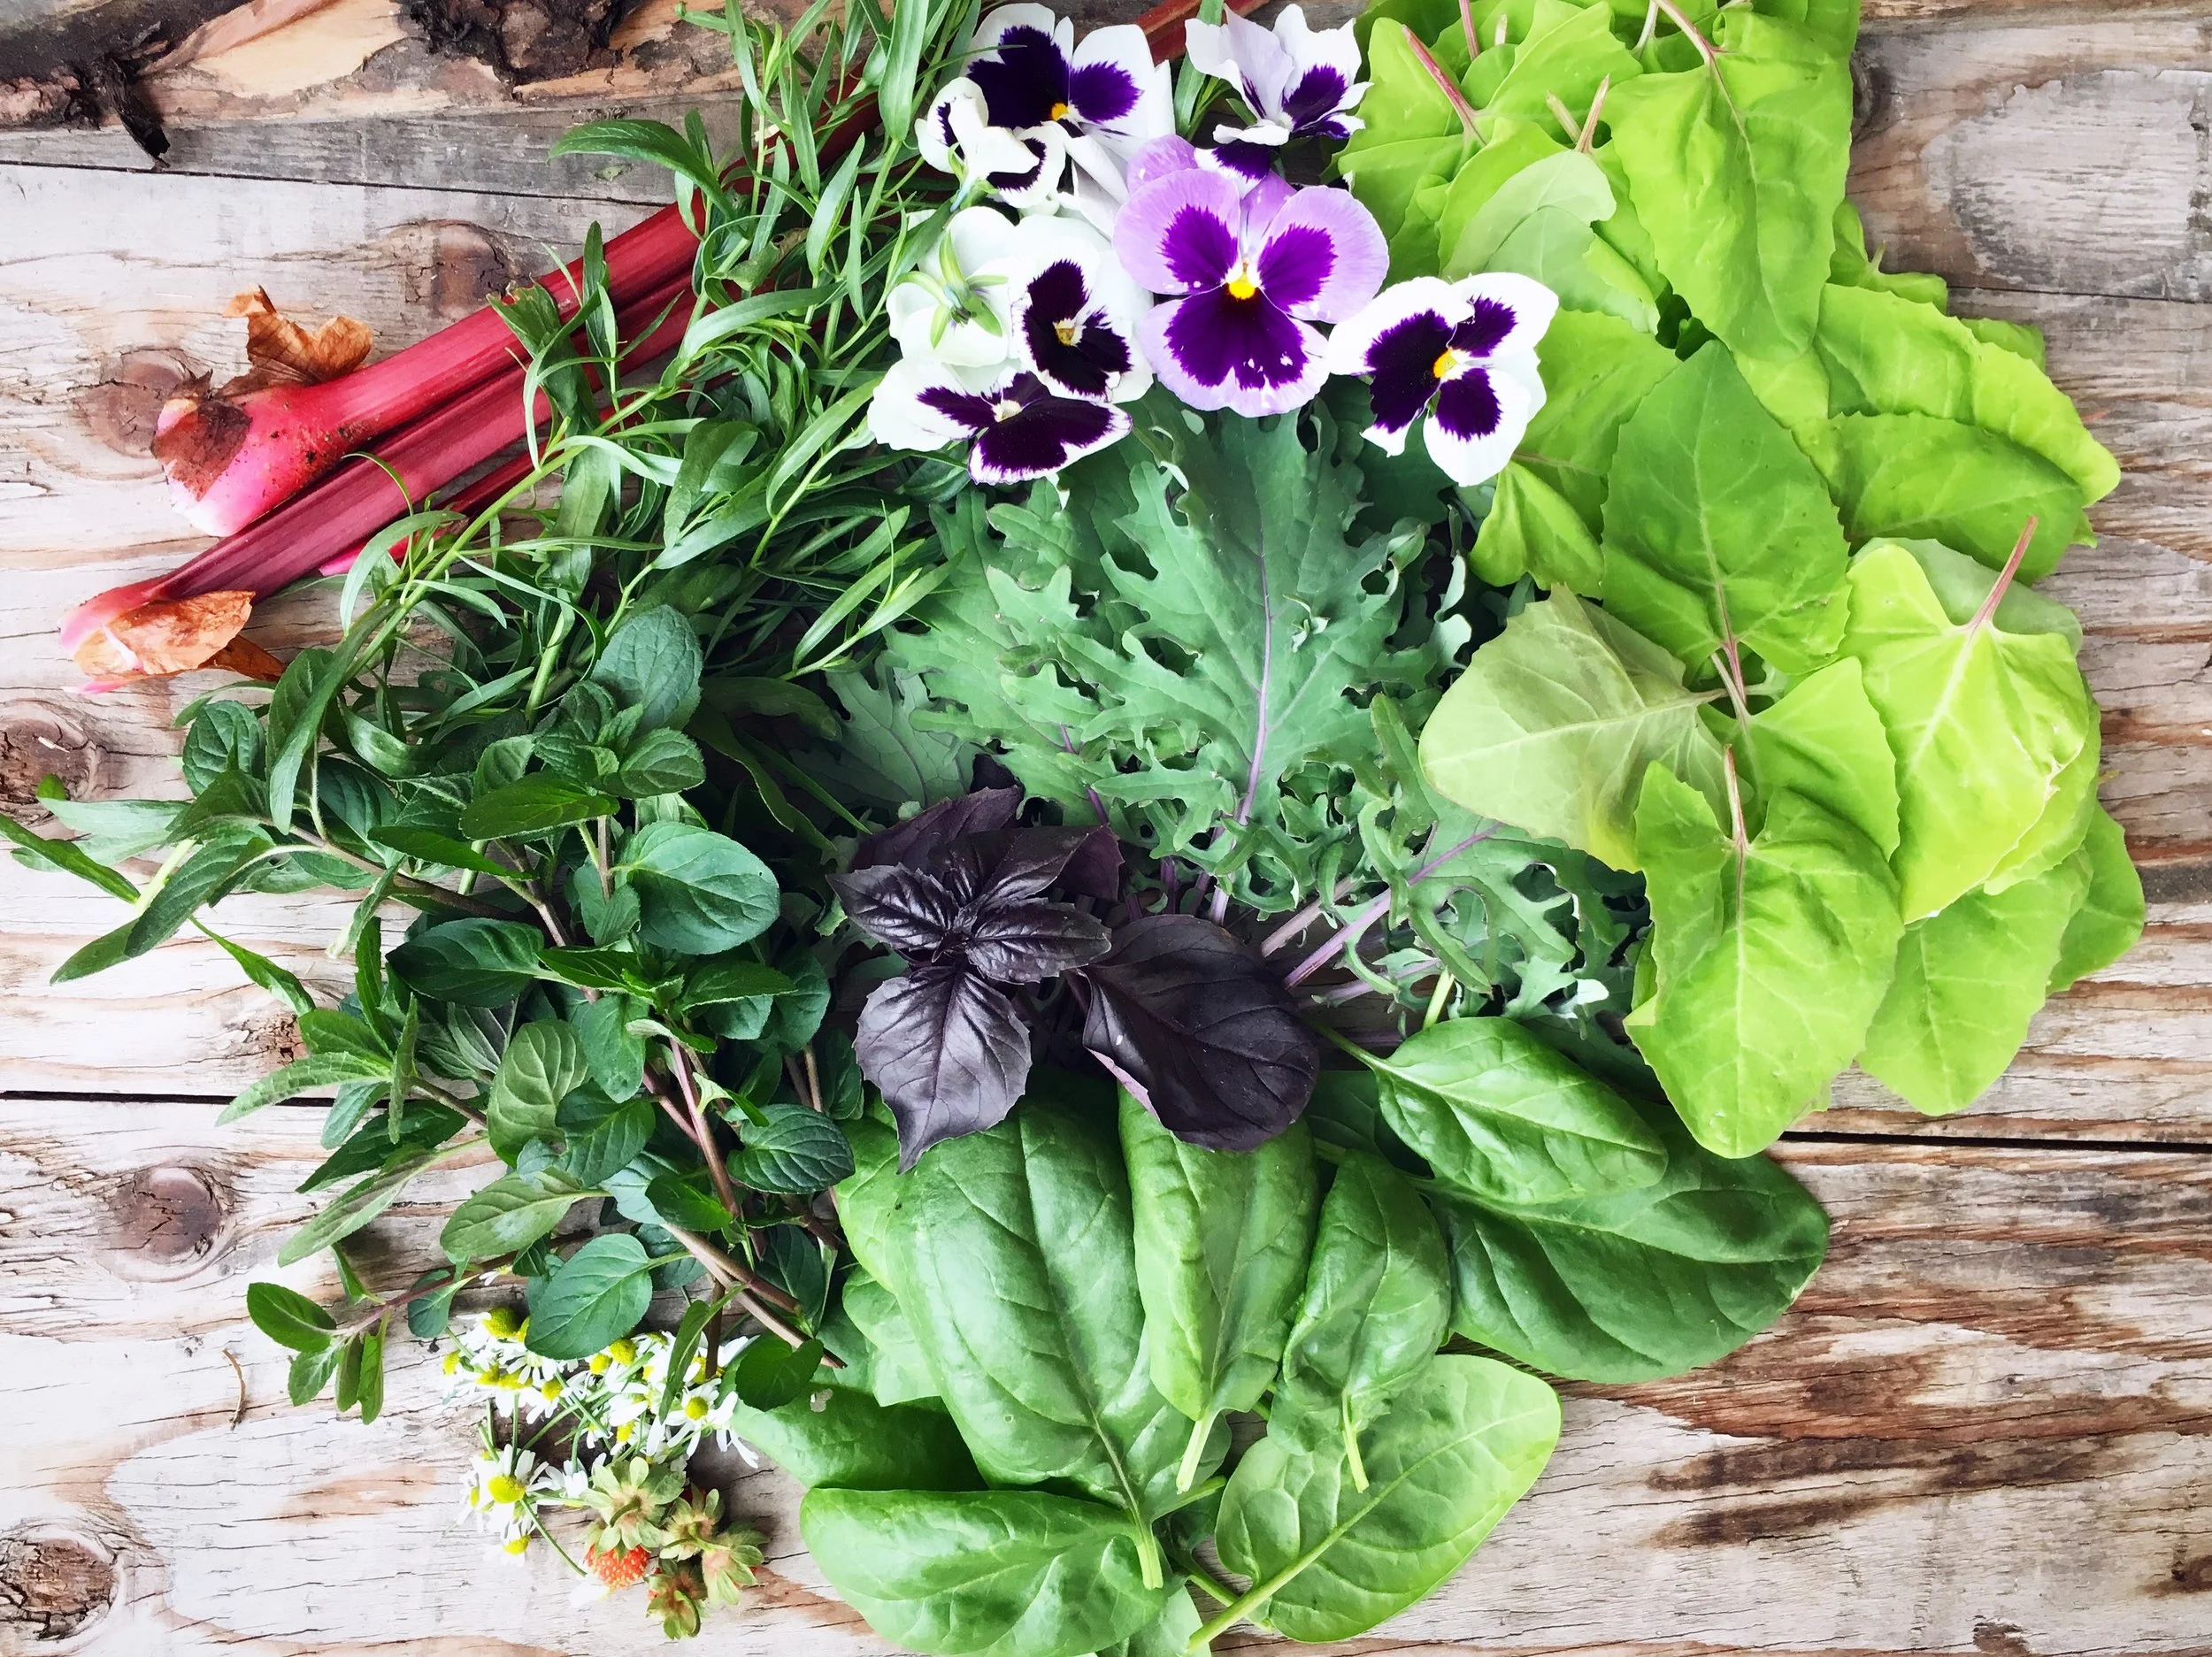
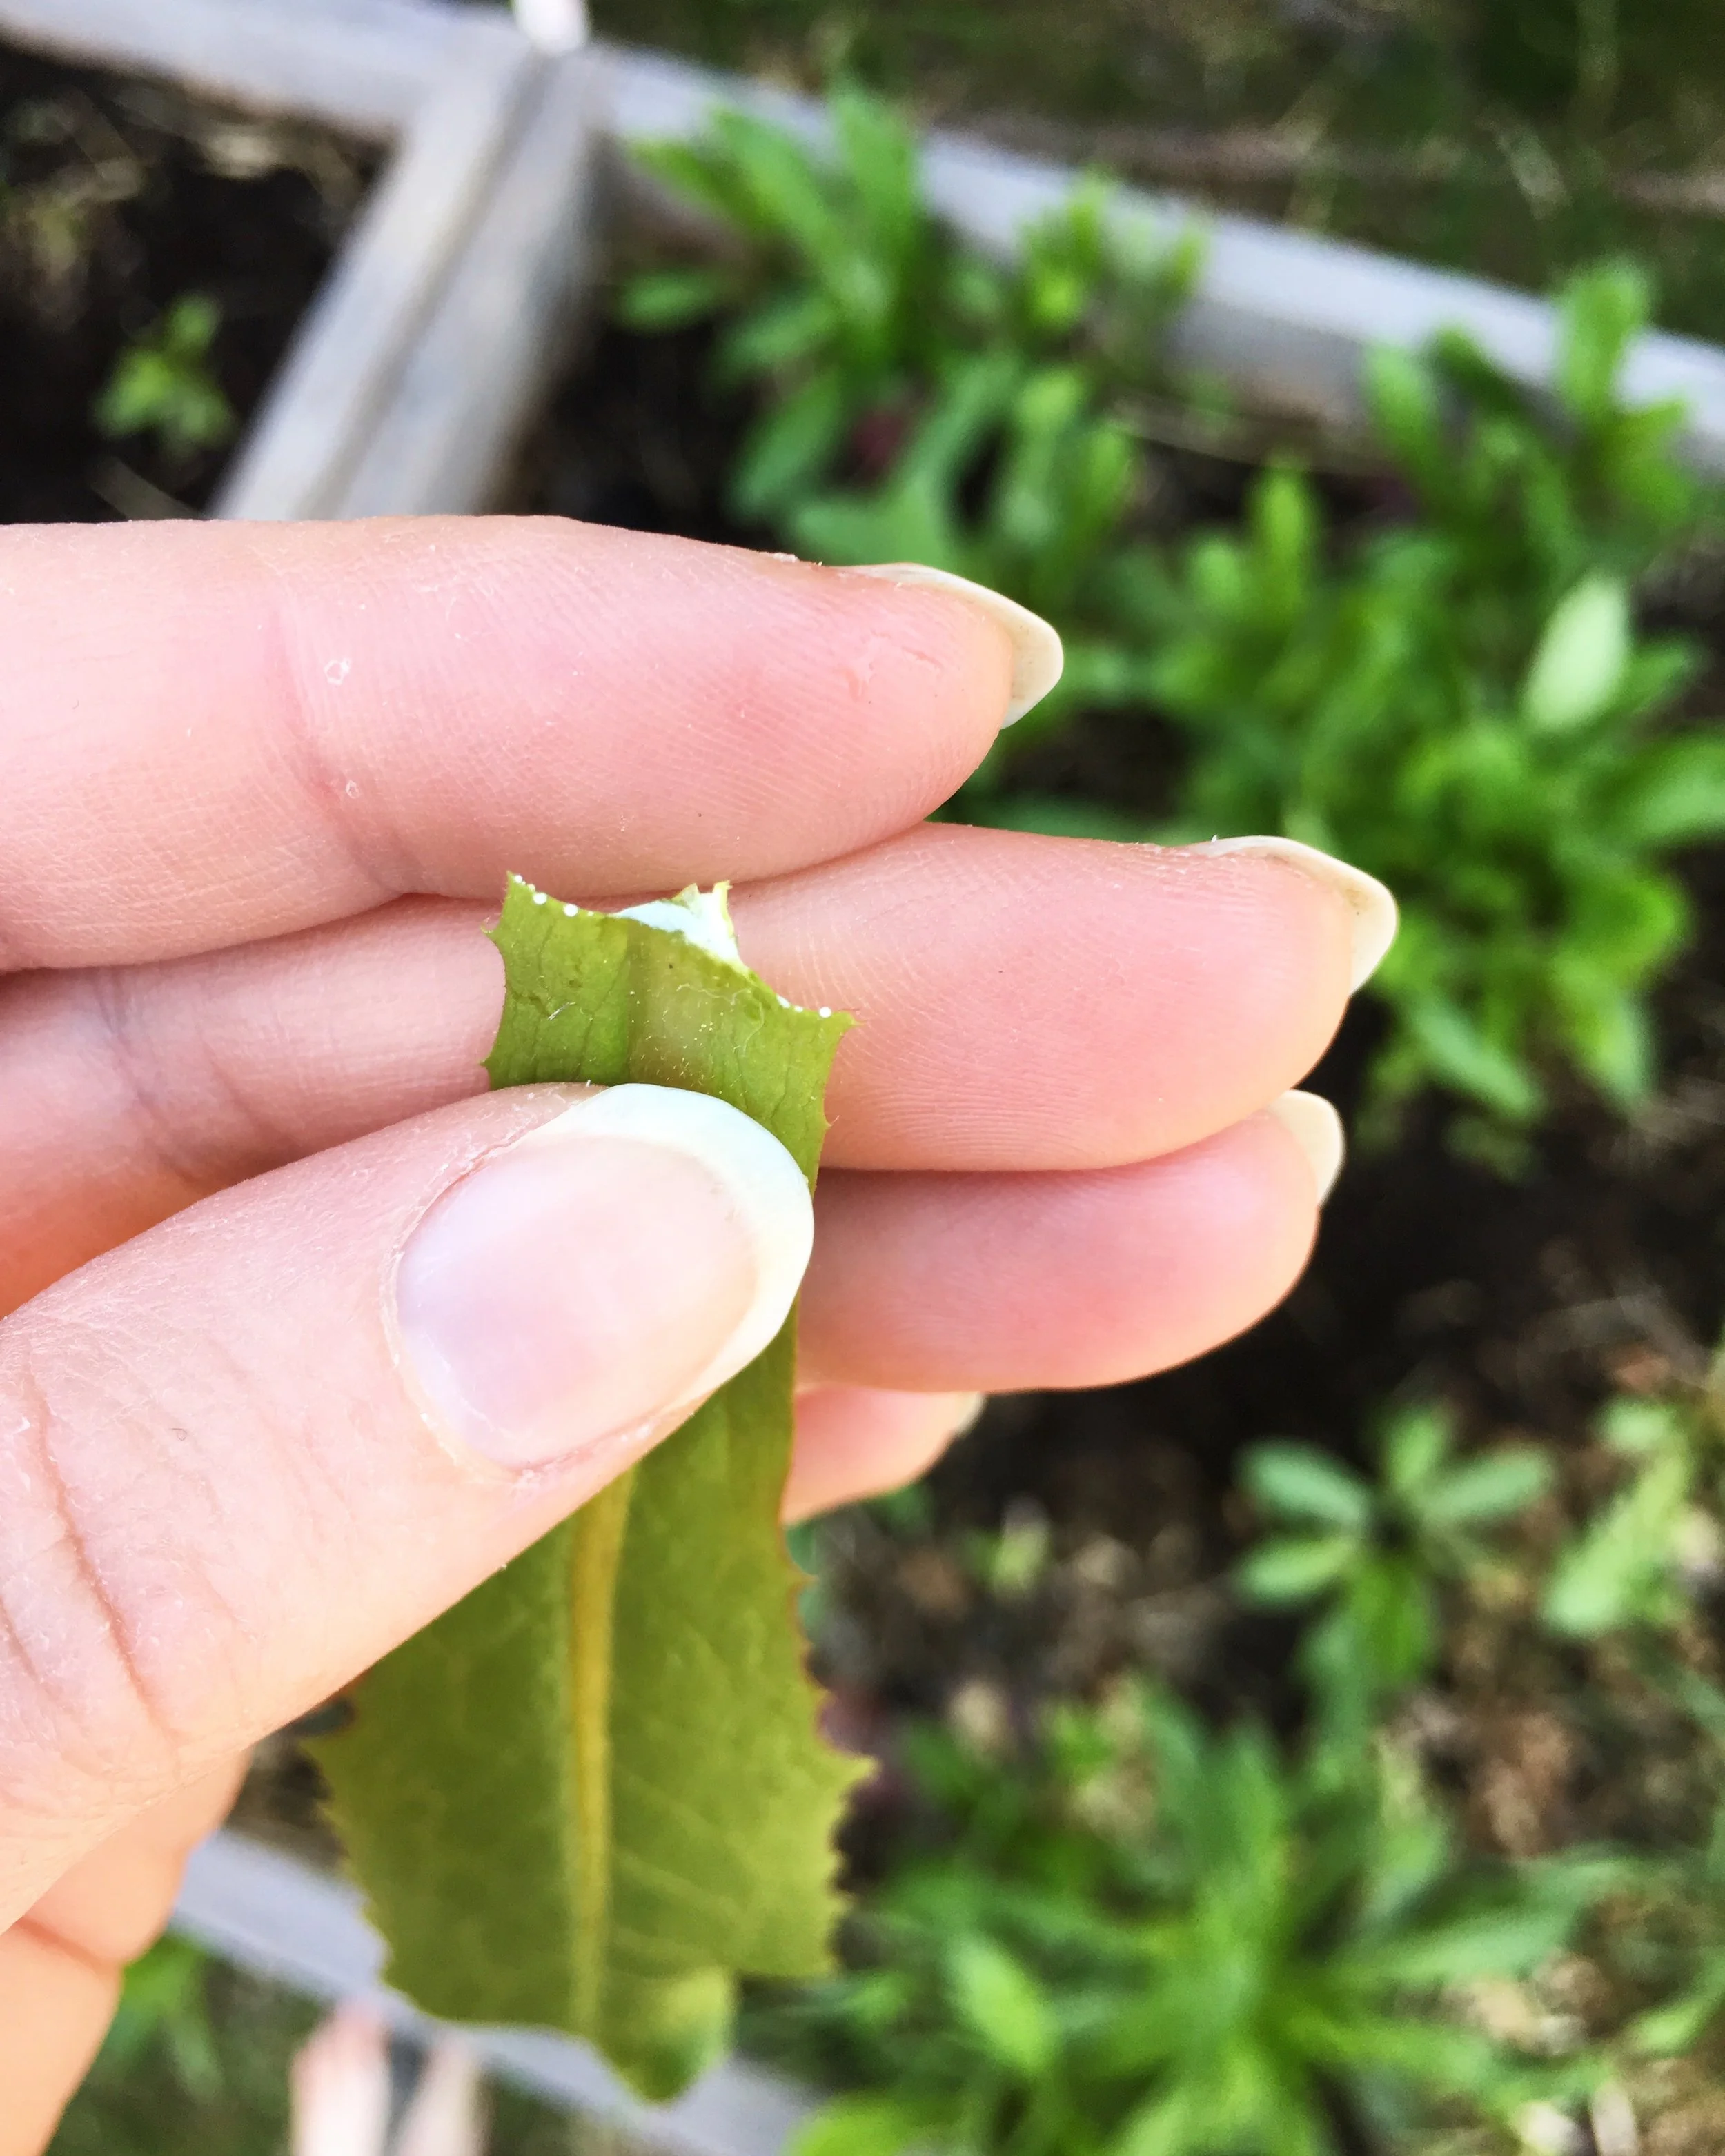
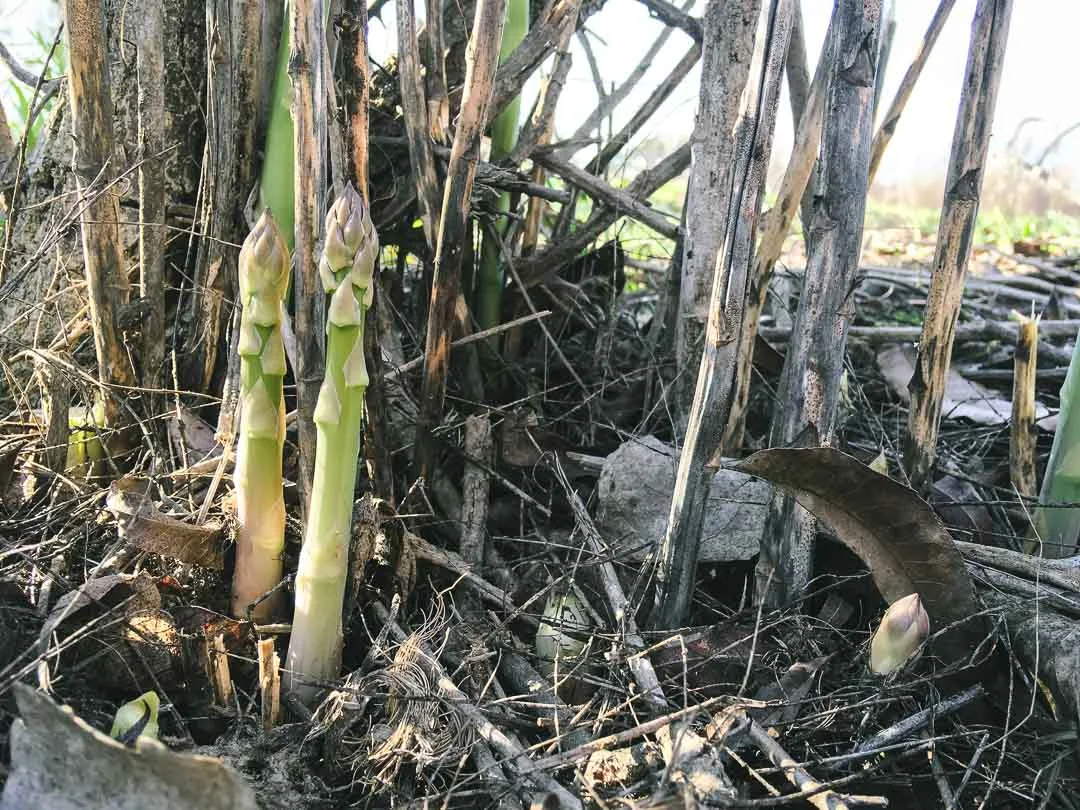
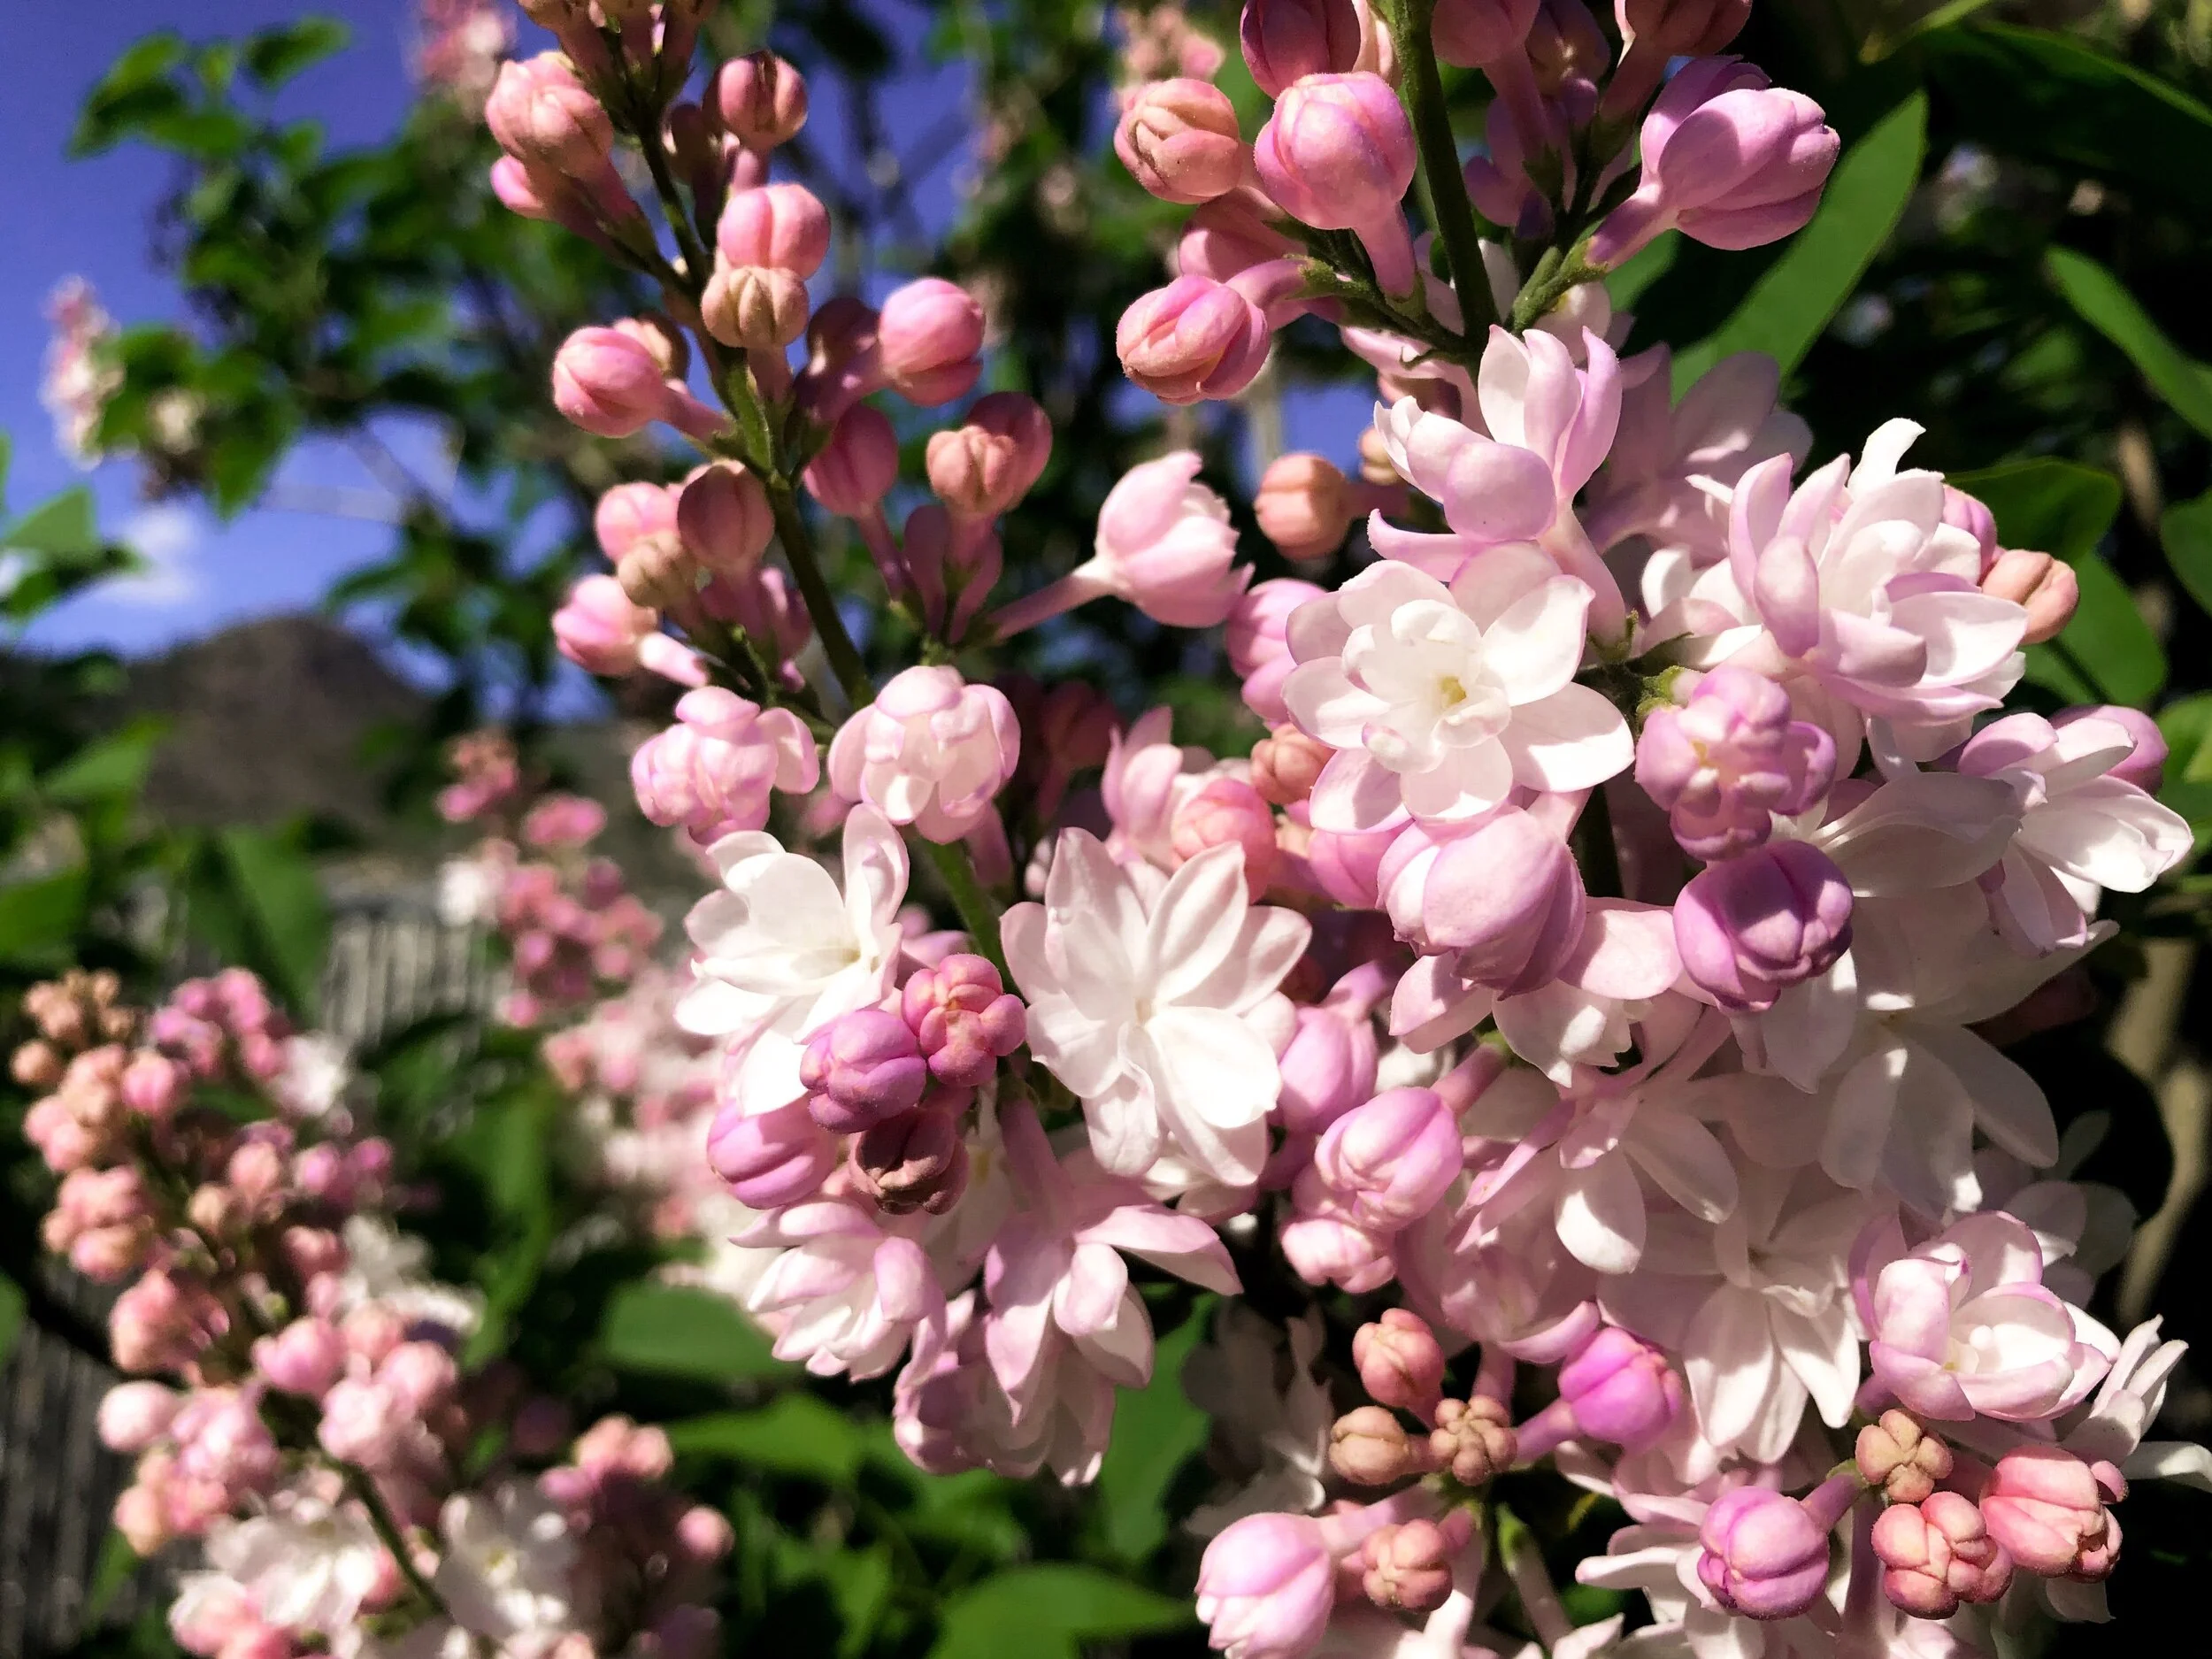
For the past few weeks my entire neighbourhood smells of lilacs. They are so abundant it seems like everyone’s yard has at least one shrub, and the public walkways are even lined with them. There are even a few feral shrubs that have self-seeded and are now growing along the highway and in some of the ditches. I usually do something each year to capture their beautiful aroma and create something sweet. In past years I’ve done flavoured sugar, and ice cream. This year it occurred to me that lilac would be a lovely macaron flavour.
I decided not to let the teeny issue of never having made macarons before stop me, and embarked on a few test batches. The general consensus seemed to be that while fiddly, macarons aren’t as difficult as their reputation would have you believe. I tried some basic ones with French meringue, but when I tried to make them that way with my lilac sugar it was too coarse and heavy to dissolve properly in the egg whites, so I decided to go with the Swiss meringue method, since that seemed to have a greater chance of getting everything dissolved. I bet that the Italian method would work really well here too and I might try that one next time.
The key thing I found with getting the texture right was making sure the mix was liquid enough before you finish the “macaronage” stage. My first few batches had some real problems with lumpy tops because I couldn’t get my mix to the right stage. I think I read so many times to “be careful not to overmix” that I was making the opposite problem. I also had to adjust some of the proportions and that helped me get the right consistency. Some of the recipes talked about a “honey” or “lava” consistency for the finished batter and I definitely found those images helpful. I think even this batch I just did could have been taken a little bit further, but they still ended up with fairly smooth tops.
I’m going to write this recipe as a bit of a choose-your-own-adventure where you can decide which meringue method works best for you. I will say that if you are using heavier sugar (like in this recipe) make sure you choose either Swiss or Italian or you’ll never end up with stiff peaks. I’m also going to suggest that you head on over to YouTube and watch some videos on your preferred meringue method (and a video of macaronage if you’ve never done these before) if you’re feeling a bit hesitant. There are very many different macaron methods, so which you use just depends on what you’re working with and what is most comfortable for you.
I’m not going into massive amounts of detail here with macaron technique, because I am not an expert. I think these macarons look pretty good, but there was still a bit of an issue I was having with hollow shells, so I am not the best resource when it comes to the technical side of things. I was such a fan of the flavours and overall result of these that I still wanted to share how I made them even if they weren’t technically perfect. I will share different tips and tricks that I found helpful as a beginner, though and I hope my explanations are complete enough. Please let me know in the comments if you have any questions!
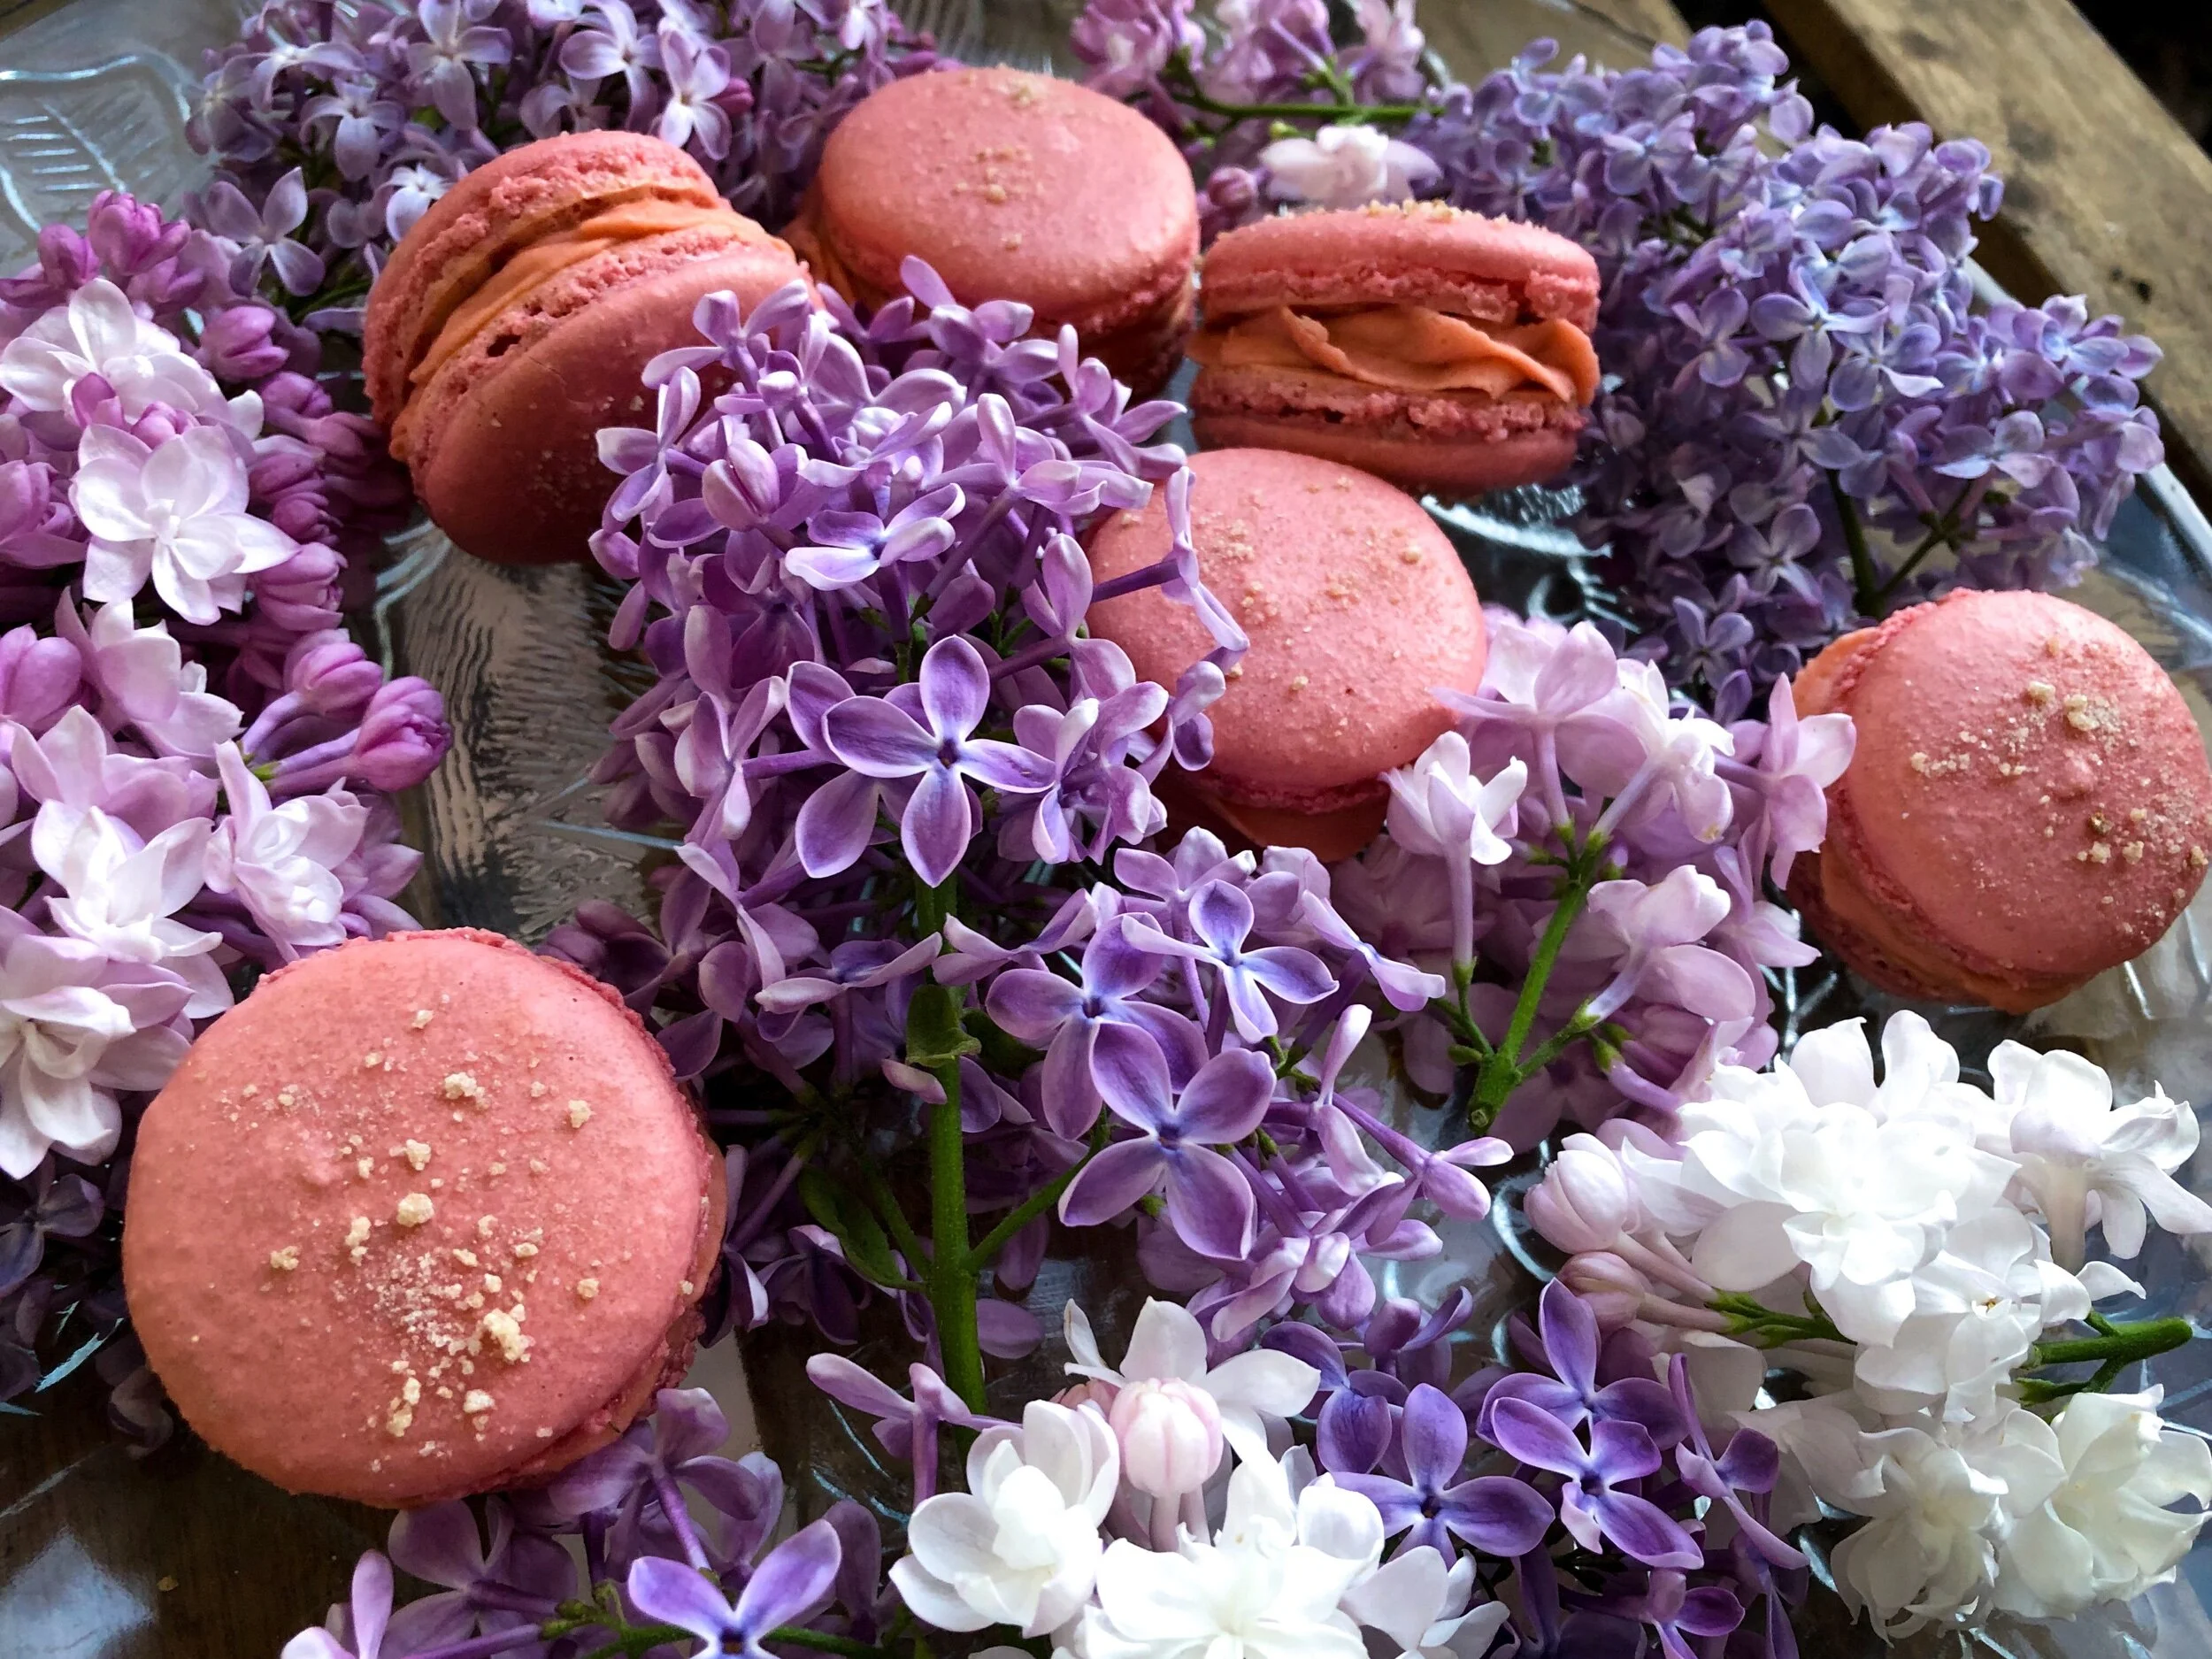
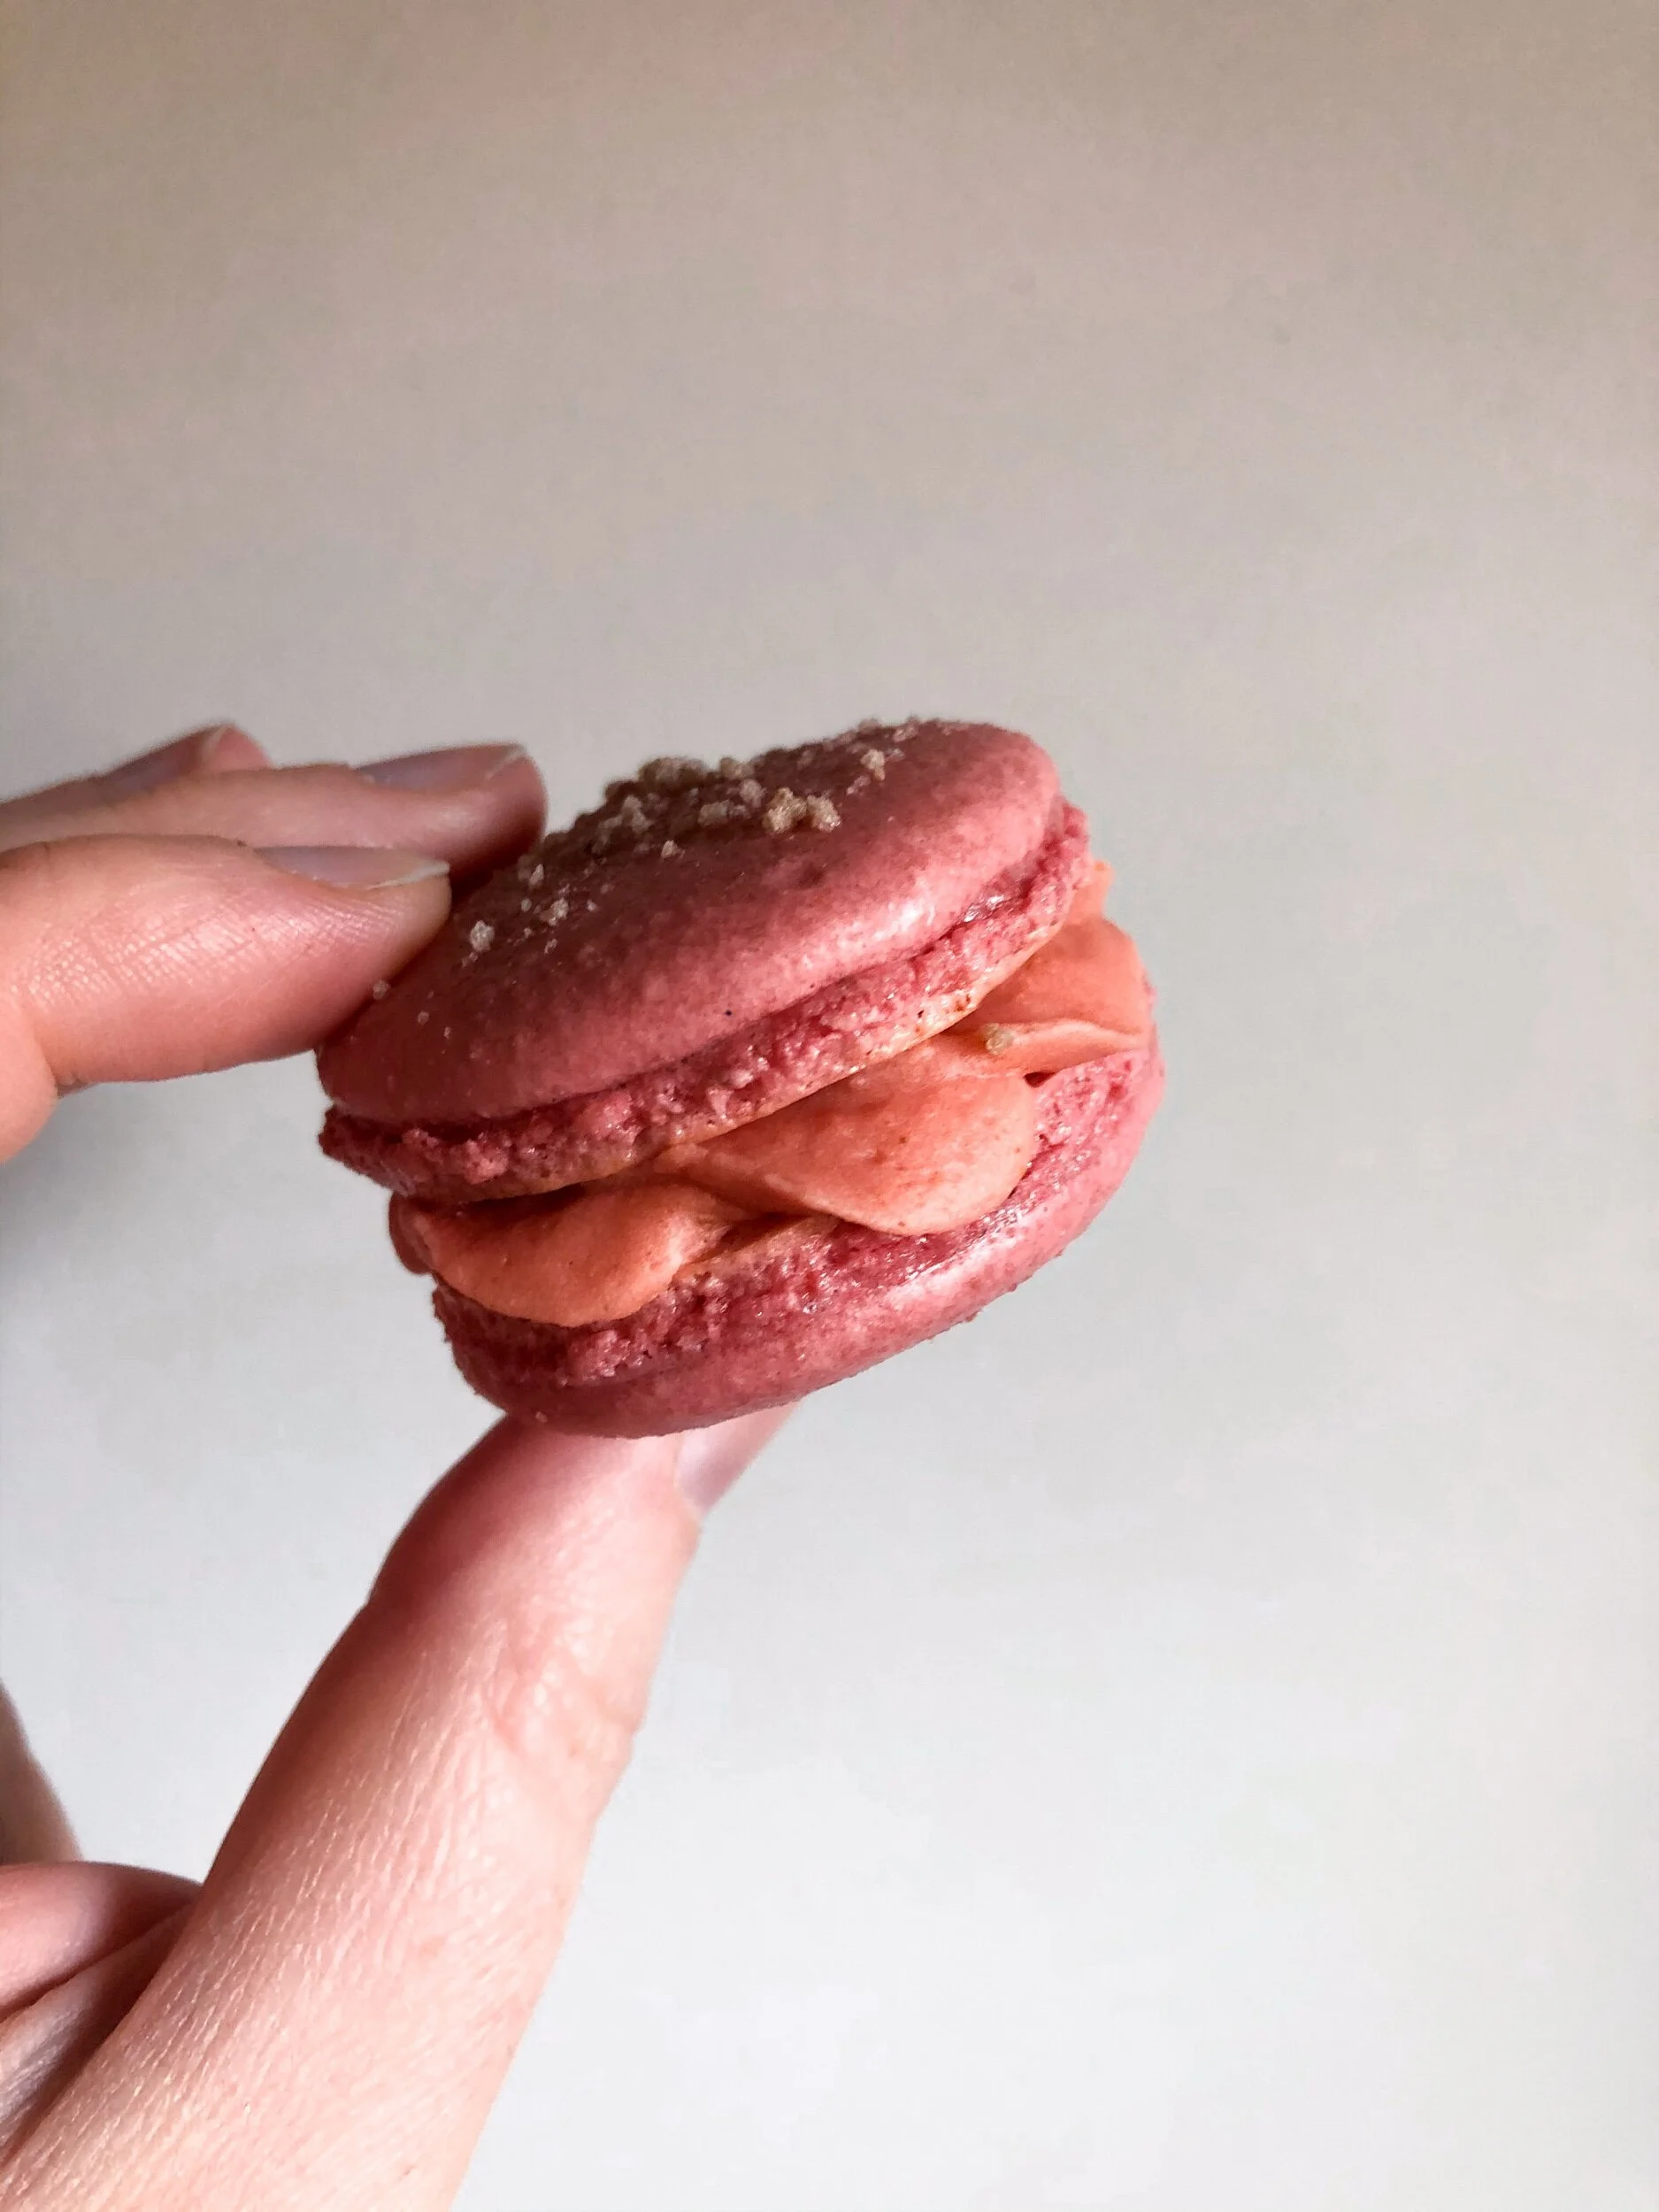
The inspiration for the filling came from wanting to pair seasonal flavours together. I think that rhubarb and ginger are made for each other, and both of those pair so nicely with florals! Initially I thought I’d just fill it with a curd, but right before filling them I decided to change it up and use the curd in a buttercream. I think that was the right choice because the curd was just slightly too edgy for the lilacs as it was. The other thing I do when working with lilac is add a little bit of food dye. When you cook with lilac the delicate purples and pinks tend to shift to a sort of murky brown. I try to stay with natural colouring as much as possible when I’m cooking, but I also want my creations to be appetizing when I’m done with them too!
Lilac Macarons with Rhubarb Ginger Buttercream
Ingredients
- 3 egg whites
- 90 g lilac sugar (can sub regular unflavoured sugar)
- 100 g finely ground almond flour
- 100 g icing sugar
- 2 cups rhubarb
- 1 cup sugar
- 3 egg yolks
- 1 cup unsalted butter, plus three tablespoons
- 4 cups icing sugar
- 2 tbsp ground ginger
For the Macaron Shells:
For the Filling:
Instructions
- Sift together the almond flour and icing sugar for the macaron shells. Some recipes call for blitzing this mixture in a food processor and sifting again to make it even smoother, but I had no trouble using mine as is just sifting one or two times to remove the larger lumps.
- For Swiss meringue (essential to do this or the Italian method if you are using heavy sugar like the lilac sugar) Heat a few inches of water to boiling in a pot large enough to hold the heatproof mixing bowl you are going to make your meringue in. Lightly whisk the egg whites and lilac sugar together and then put the bowl over the pot so that it is near to but not touching the boiling water. As this heats continue whisking the mixture until it starts getting very foamy. You want to make sure you’re getting all the sugar dissolved as you do this part. Don’t cook the eggs - you should be able to touch them with a finger and feel that they are warm but not too hot. At this point whisk the mixture on high speed until you reach glossy stiff peaks. One way to check if you are unsure is that if the bowl is turned upside down everything will stay put inside.
- Fold your almond flour and icing sugar mixture into the meringue slowly. I like to do one third at a time. Continue folding until you have fully incorporated all the ingredients, and your mix has a honey-like texture. It is a little bit counterintuitive to beat so much air into the egg whites only to deflate it all at this stage, but it is necessary or you won’t be able to pipe it, or make nice smooth tops. Some recipes have you count the number of folds you do, but for me it was easier just to watch until the mix had the right texture - it slowly flowed and I could make a figure-eight with what was dripping off my spatula. You also want to gently fold in any gel food dye you are using at this point - ideally right before you are finished all your folds so you aren’t overmixing.
- At this point preheat your oven to 300 degrees Fahrenheit. I know my oven runs cold, so I increased my temperature to 325 degrees.
- Transfer the batter to a piping bag fitted with a larger circular tip. In my case I just chopped the end off a piping bag and did it with no tip because that was what I had on hand. Some of them weren’t perfect circles, but they were pretty close.
- Pipe even circles onto a parchment or silicone lined baking tray. You can draw or print out a template if you like, but for me it was simple enough to freehand them. Pipe in a steady stream holding the bag completely vertically, and at the end give your piping bag a little twist to finish off the edge. If there is a little bit still sticking up it should settle down if your mixture was liquid enough.
- Take your baking tray and bang it on the counter a few times to try to get rid of any air bubbles and to try to settle any irregularities you might have remaining on the surface of the shells.
- Sprinkle a little more of the lilac sugar on the tops while the shells are still wet enough for it to stick. This is optional, but I think it looks beautiful and adds more of the lilac flavour and aroma to the finished macaron.
- Leave the tray somewhere for about 30 minutes until the tops dry out - this is what creates the unique shape with the smooth top and frilly “feet”. Before they go in the oven the tops should be dry enough that touching them lightly with a finger leaves no impression.
- Bake for about eight minutes, and then rotate the pan and bake for another seven. Bake times may vary with your oven, so watch them closely. You want them to be dry with no browning or caramelization.
- After the shells have cooled put them in an airtight container in the fridge for a day or so (if you can be that patient) before filling them. They will age into an even nicer flavour, but if you are pressed for time they will still be delicious if you fill them right away.
- Chop rhubarb and stew with a little water on the stove. Add sugar and simmer until mixture is thick. Add egg yolks (remember to add a bit of hot to your eggs to temper them first) and cook on medium-low until thick. Don’t let this mixture boil. Press through a sieve and stir in three tablespoons unsalted butter. Allow to cool to room temperature or put in the fridge until you plan to make the buttercream.
- Bring the rhubarb curd and the rest of the unsalted butter to room temperature and then cream them together in a stand mixer using the paddle attachment.
- Add the powdered sugar and ground ginger (sifting out any large chunks beforehand) and continue to beat until there are no lumps. If your rhubarb for the curd was on the greener side add some gel food colouring (I did - remember that it’s better that food looks appetizing than being a stickler for absolutely no unnatural colouring!).
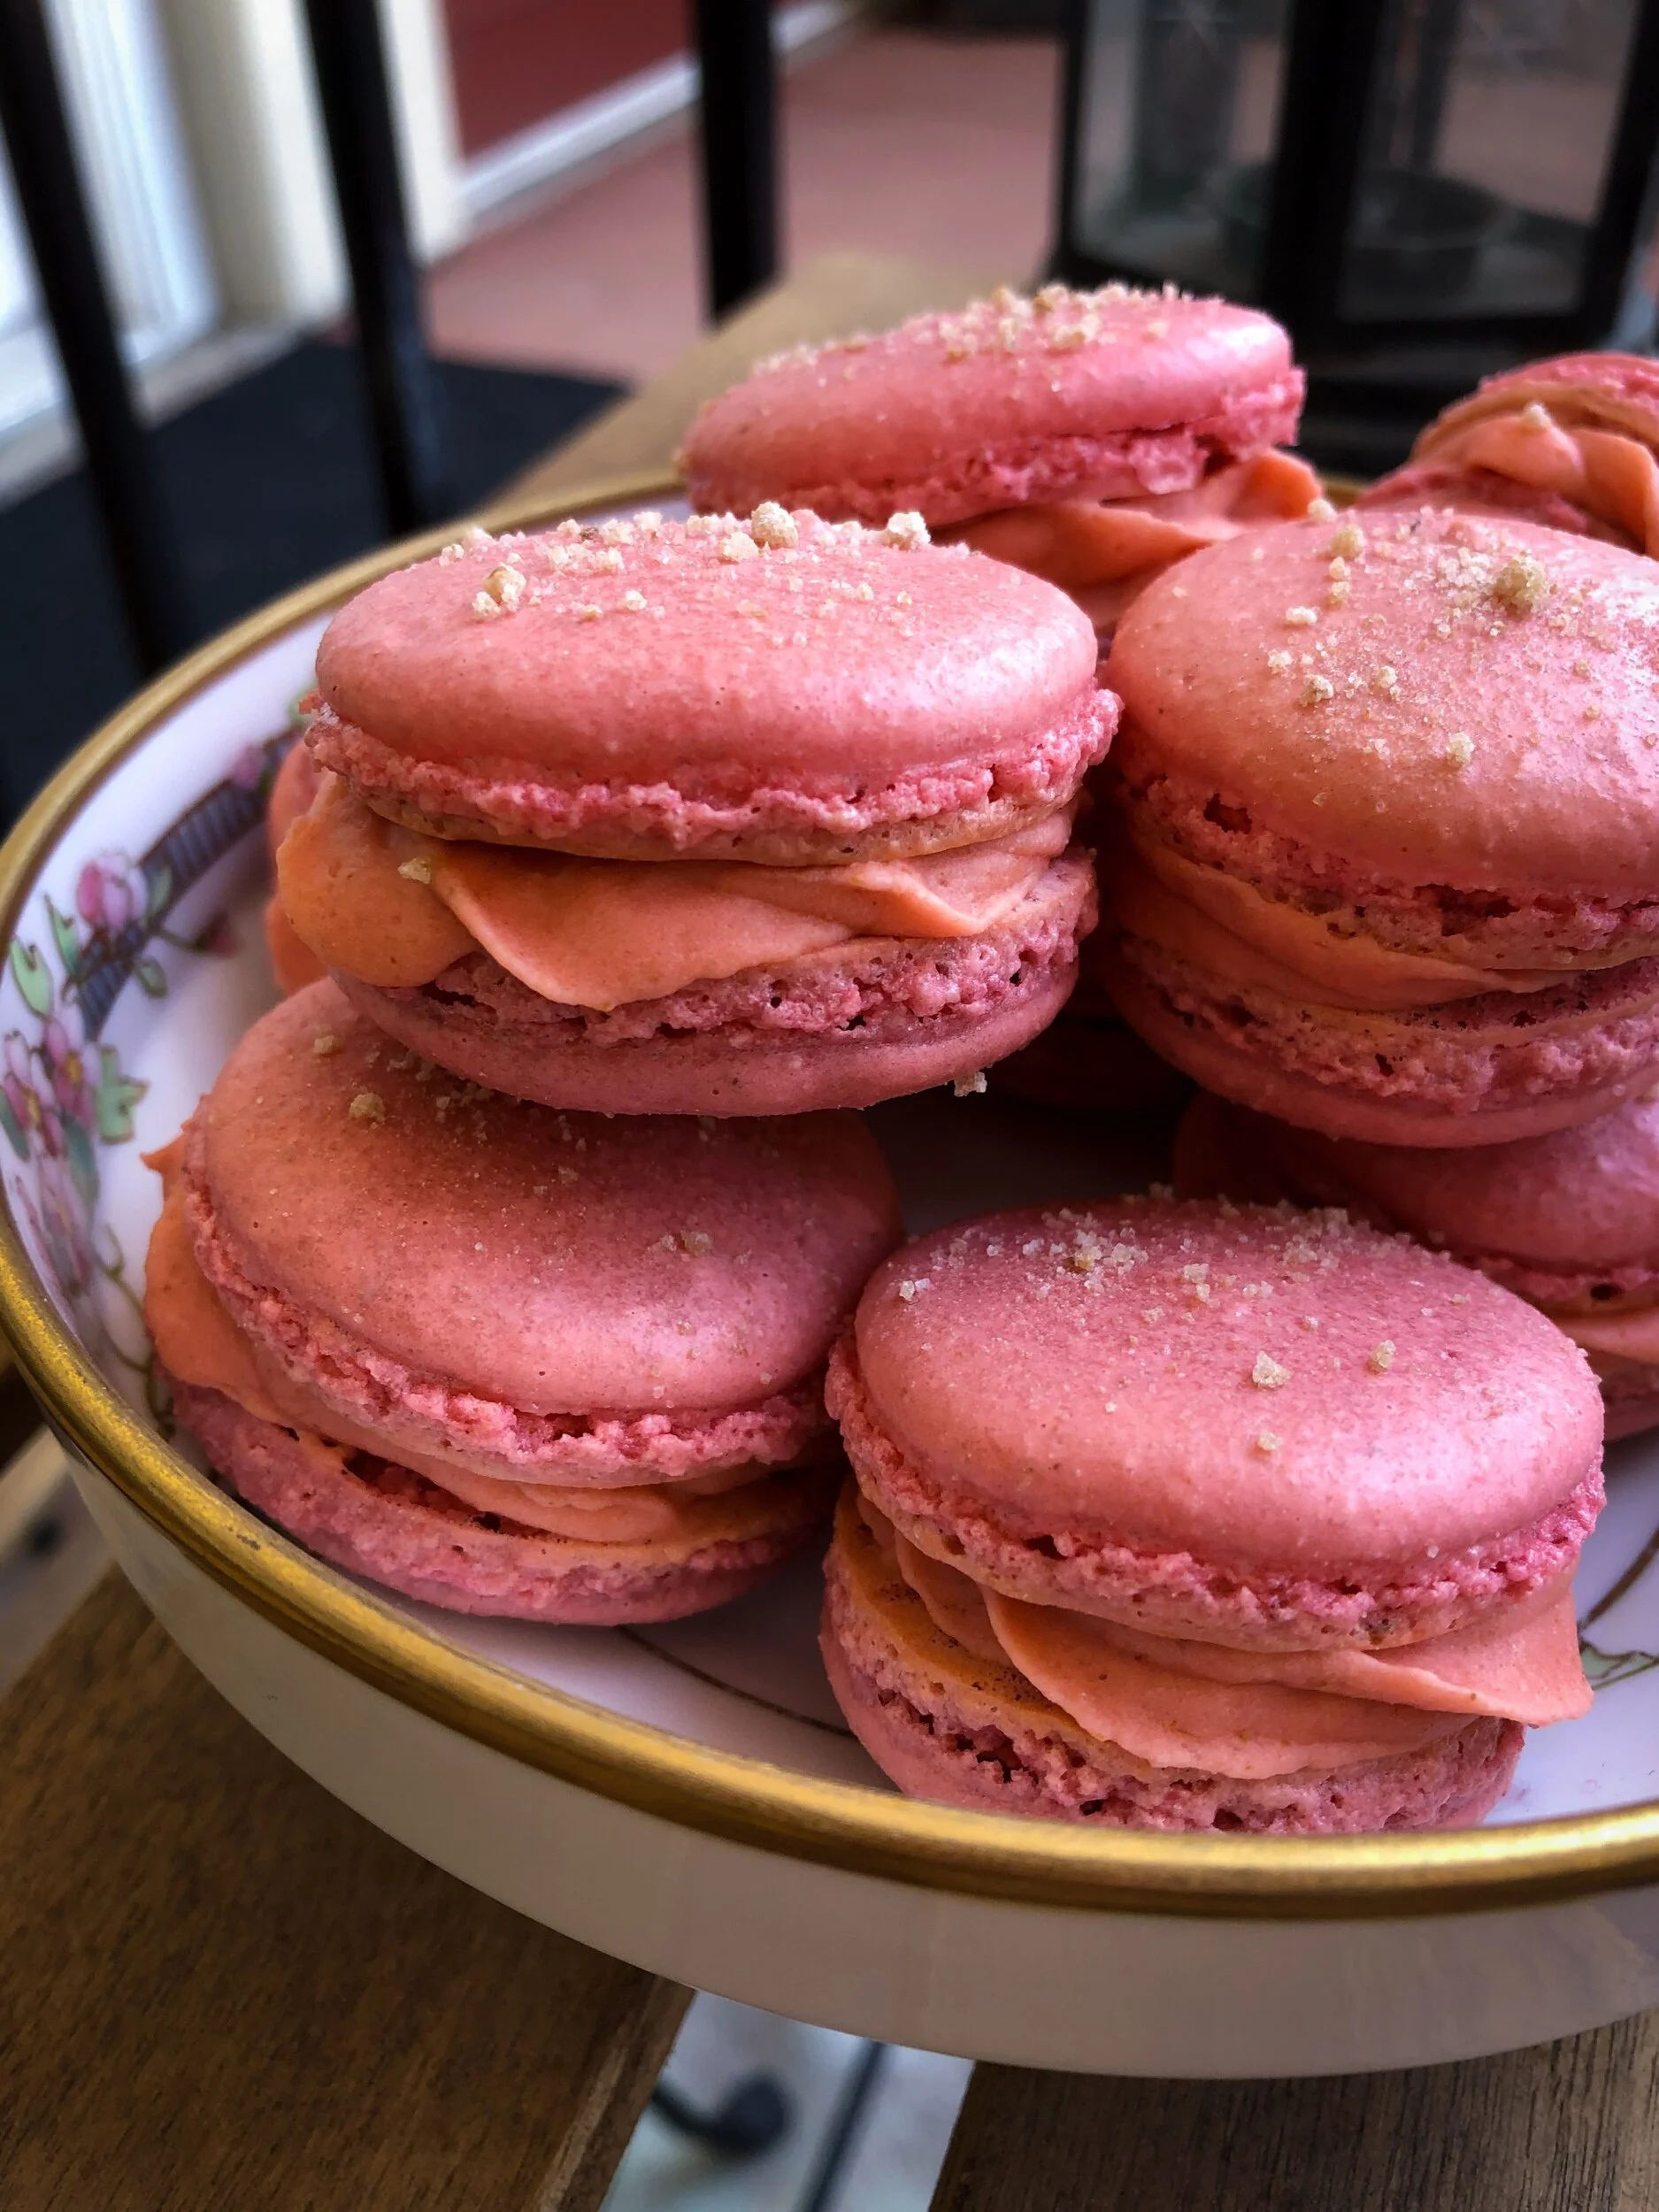
- Pipe the buttercream in the centre of a macaron shell and sandwich it together with another. Ideally speaking each layer should be the same thickness as the others for a uniform and balanced look. I piped mine with the star shaped piping tip because that was all I had on hand so I tried to make it look unique. You can make yours look more traditional if you like, or experiment with whatever you think would look most beautiful!
For the Macaron Shells:
For the Buttercream: