Meals From the Pantry: "Pop Stars"
It feels like it's been forever since I've written anything here, but I guess the last post was only a couple weeks ago. Our schedules in June are always overflowing, so we've been a bit preoccupied. My other job is as a private instructor for piano and singing, and my husband is the youth pastor of our local church, so our lives pretty much revolve around the school year with June bringing it all to a close. As our summer begins, so does a bit of a rest period - we're still very busy, but we can focus on tasks for ourselves, visiting family, and working on our writing projects (this blog for me, and a masters degree for him).

In all the craziness, I've actually been keeping up with the garden and foraging fairly well. I'm worried that I've missed all the elderflower again, but you can't always get everything. I've been making this little recipe quite a bit, and I thought I'd share it within that "meals from the pantry" category I was writing recipes for a while back. With the coming onslaught of berries, and summer fruit, jam making season is about to hit in full swing, so I've been thinking of recipes to use up what we still haven't eaten.
I also wanted to share a recipe that after making lots of pies has become my go-to recipe for an amazing pie crust. I feel like everyone should have a fantastic pie crust recipe in their back pocket and this one is so easy to remember you don't even need a recipe.
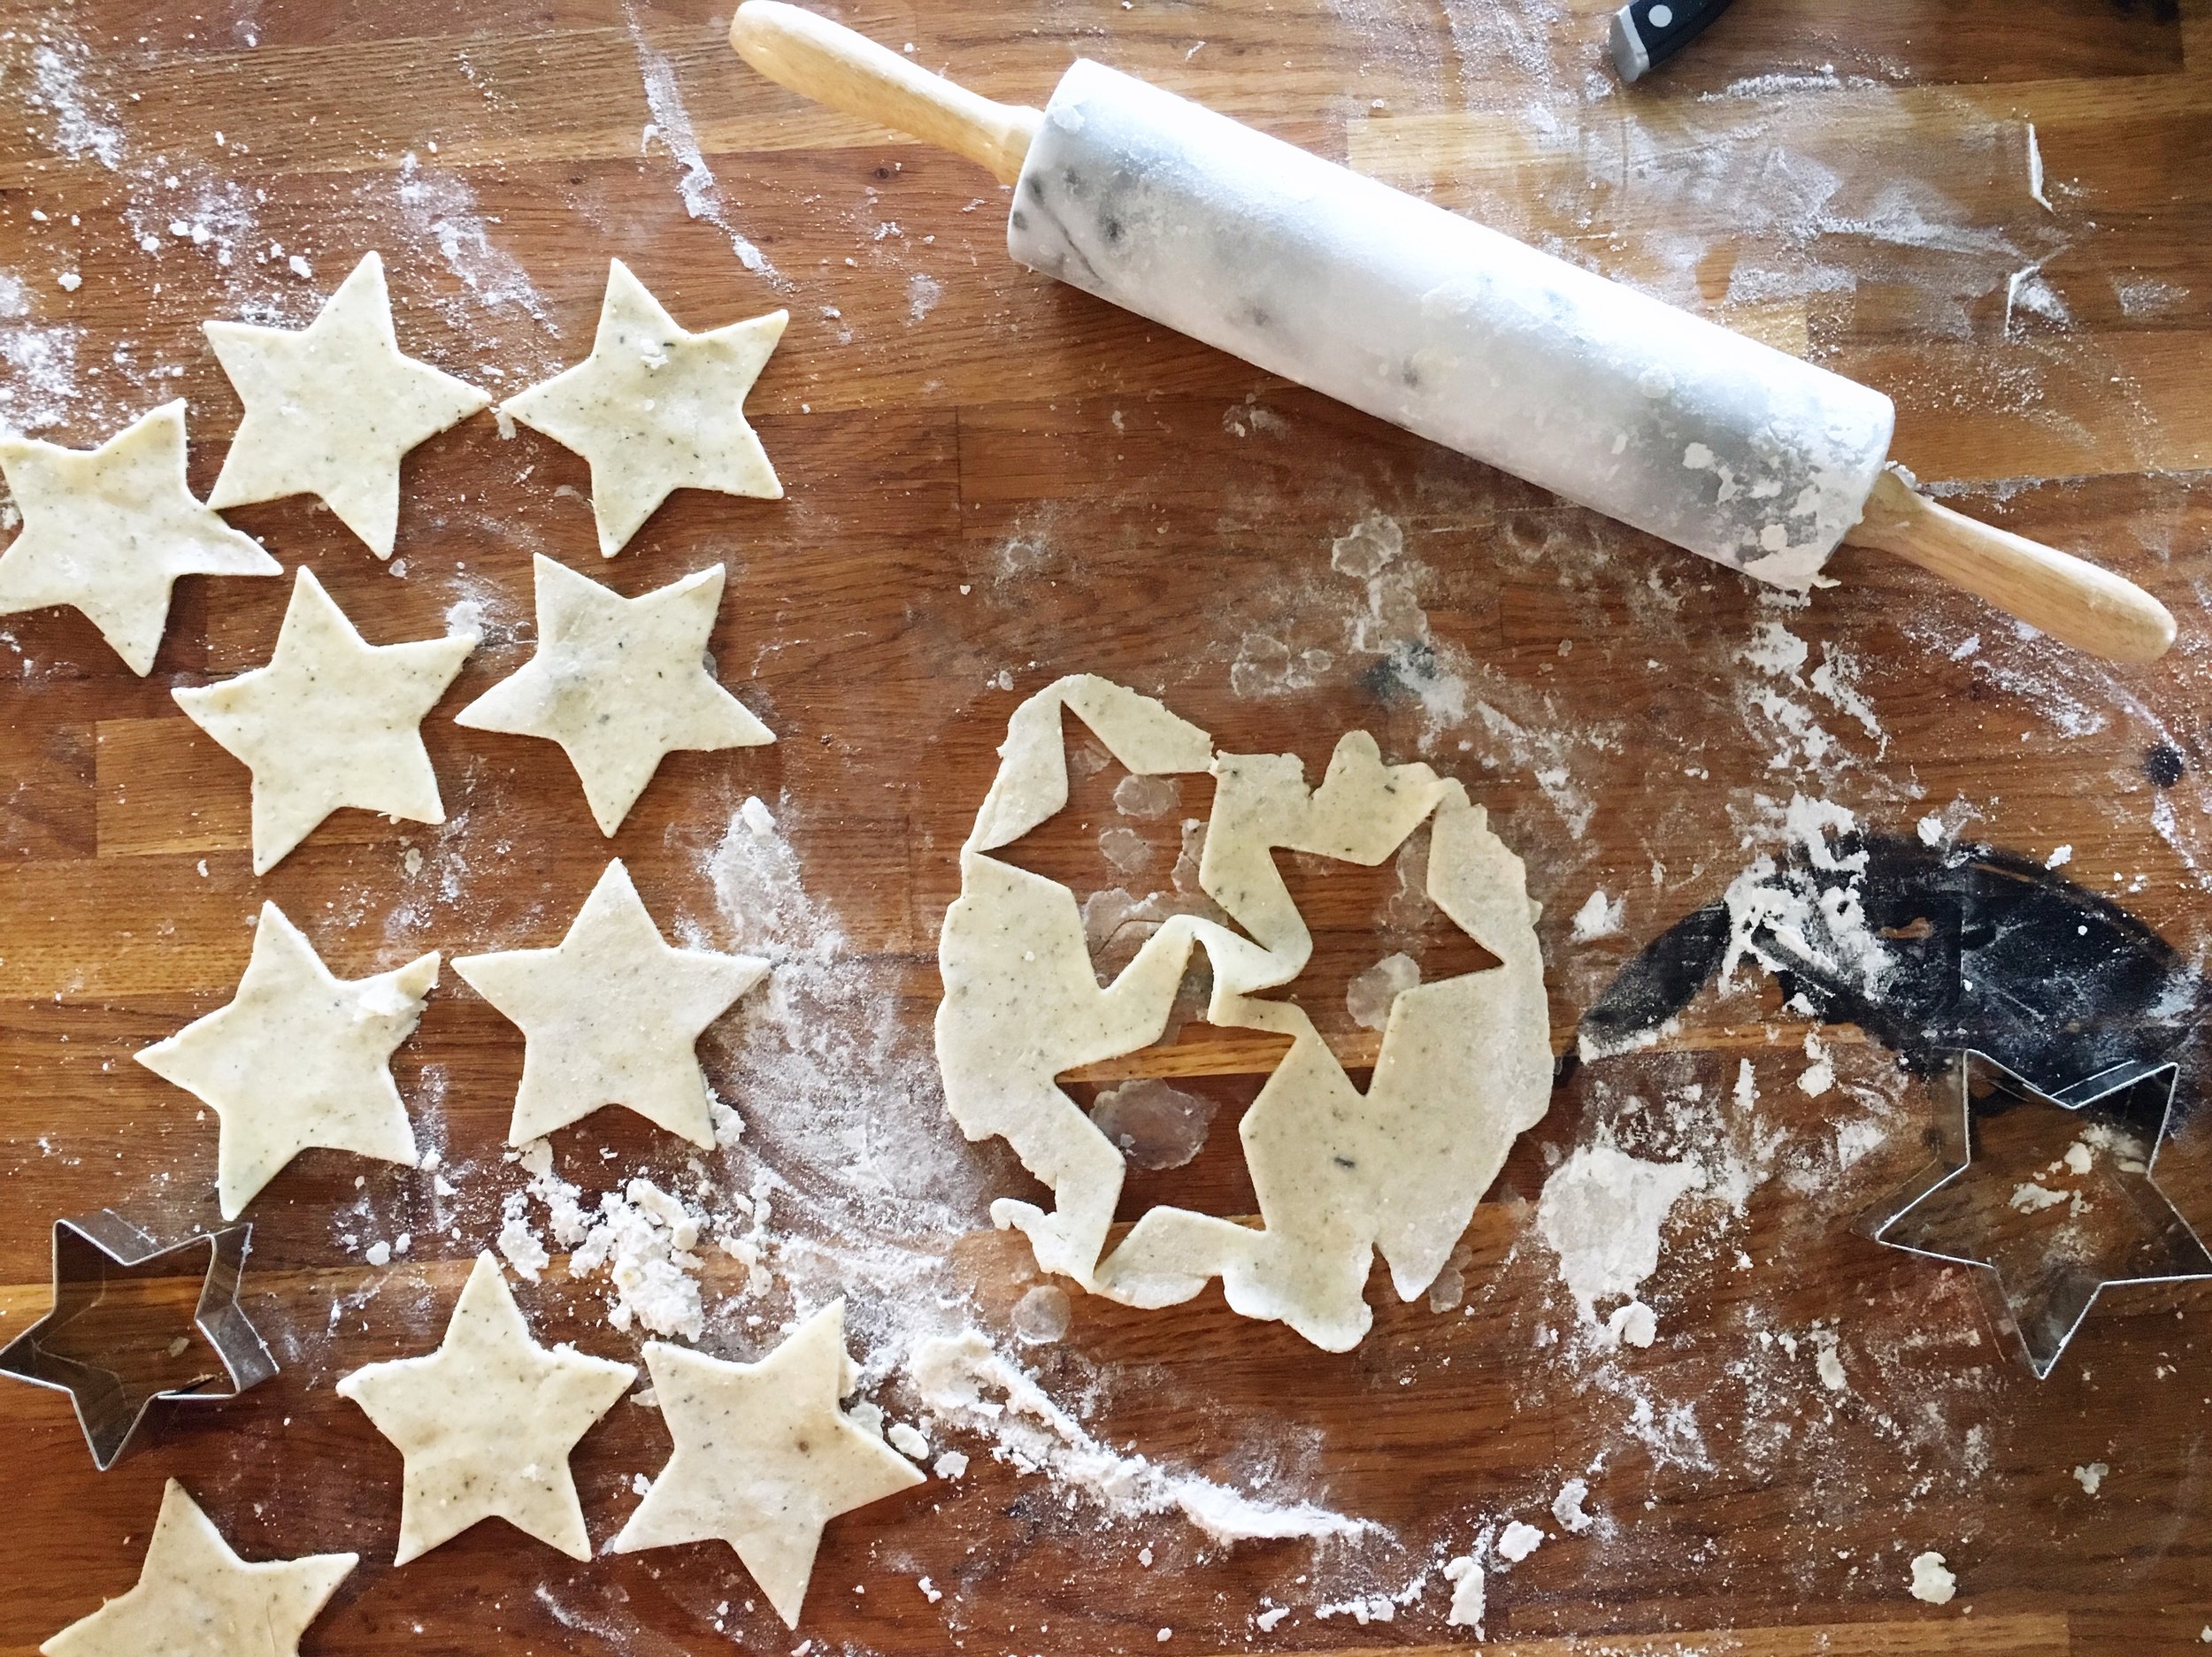
Lady grey tea pie crust cut into star shapes.
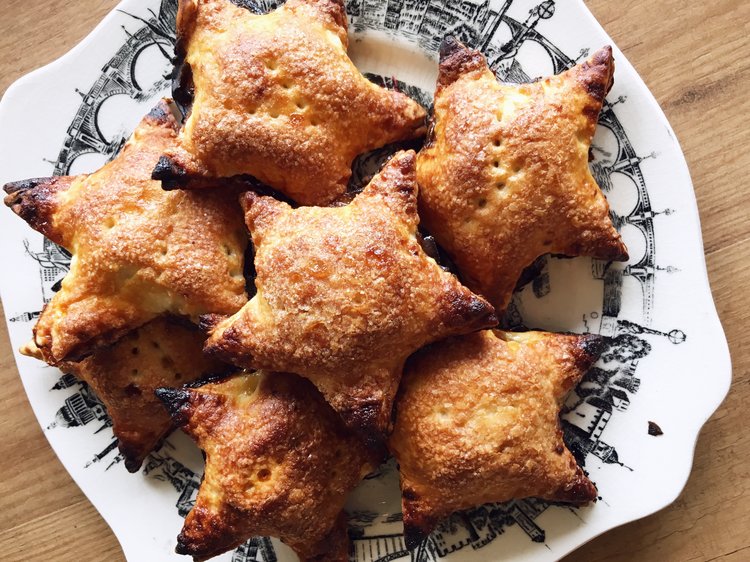
I think of these as tiny pop tarts. And because they are shaped like stars (this is completely optional, but usually too cute a result for me to pass up doing it any other way), I've been calling them "pop stars". I started doing these partially as a way to use up my overstock of jam, and partially because I don't like wasting the crust that gets trimmed when making a large pie. In the past I'd just roll it out, cut into rectangles, and then spoon in some jam, or applesauce, or other filling like that. A little while back, I thought my star shaped cookie cutter was probably large enough to use for this, and now I can't go back to my boring old rectangles anymore. Even though I normally make this from excess crust, it would be perfect to make up a batch of pie crust just to make these. I promise they are much easier to make than you'd think.
Pop Stars
For the Crust
- 2 cups Flour
- 1/2 tsp Salt
- 1 tbsp Sugar (optional: grind lady grey or other tea into the sugar using mortar and pestle)
- 1 cup Cold Butter
- Very Cold Water
Takes , yield depends on amount of crust made and size of shapes cut.
Instructions
- Combine all dry ingredients in a large bowl.
- Cut butter into 1 inch (but don't be so precise here - the measurement is just to give you a workable size) chunks, and place it all into the dry ingredients.
- Work the butter into your dry ingredients using your fingertips. I've used a pastry cutter before, or two knives, but I haven't found anything that gives a better result than just getting your hands in there and being able to control the texture by feel. You want to smoosh the butter chunks into the flour so that they make flakes. Don't incorporate it all too much. The butter melting and creating steam as the pastry bakes is what gives you the flaky texture, so if you have some larger flakes in there that is actually a good thing. Don't spend so long trying to make this perfect that your butter gets soft either - working quickly is the name of the game.
- Sprinkle your water tablespoon by tablespoon over the mixture, stirring lightly with a fork between each tablespoon. Watch as it slowly incorporates into a cohesive dough, but stop adding water when you can tell that it will be sticky enough to come together to make a ball. Don't worry if you don't get this quite right the first time. Keep trying and eventually you'll know what to look and feel for.
- If you are not rolling your pie crust out right away wrap it well and store it in the fridge.
To Make the Pop Stars
- Jam (a thicker consistency will make these much easier to work with. In the ones above I used roasted rhubarb that I canned last year)
- Pie crust from above recipe or leftover from making another pie
- 1 egg
- Splash of Milk
Instructions
- Preheat the oven to 415 degrees Fahrenheit.
- Beat egg with a splash of milk until homogenous
- Roll out your dough and cut into desired shapes. Since these are small cookies-type-things, I don't find the texture is impacted too much by re-rolling the scraps to get more yield out of the dough recipe, so feel free to do so if you don't want to waste anything. You'll want to make sure you cut an even amount of shapes so each has both a bottom and a top.
- Count how many pieces you ended up with, and brush half of them with the egg mixture.
- Spoon some jam into the middle of each egg washed piece. Go really easy here. For mine which are only about 3 inches from tip to tip I only put about a teaspoon in the middle of each. If you add too much it will all spill out and you'll get a sticky, caramelized mess.
- Cover them all with your top pieces, and press the edges down carefully. You may need to stretch them slightly to make sure all your jam is covered.
- Crimp the edges with a fork - you want a really good seal here otherwise you'll have the sticky caramelized/burnt mess I mentioned earlier.
- Stab the tops of each a couple times with your fork to give some vents for the steam from the filling to escape while they are baking.
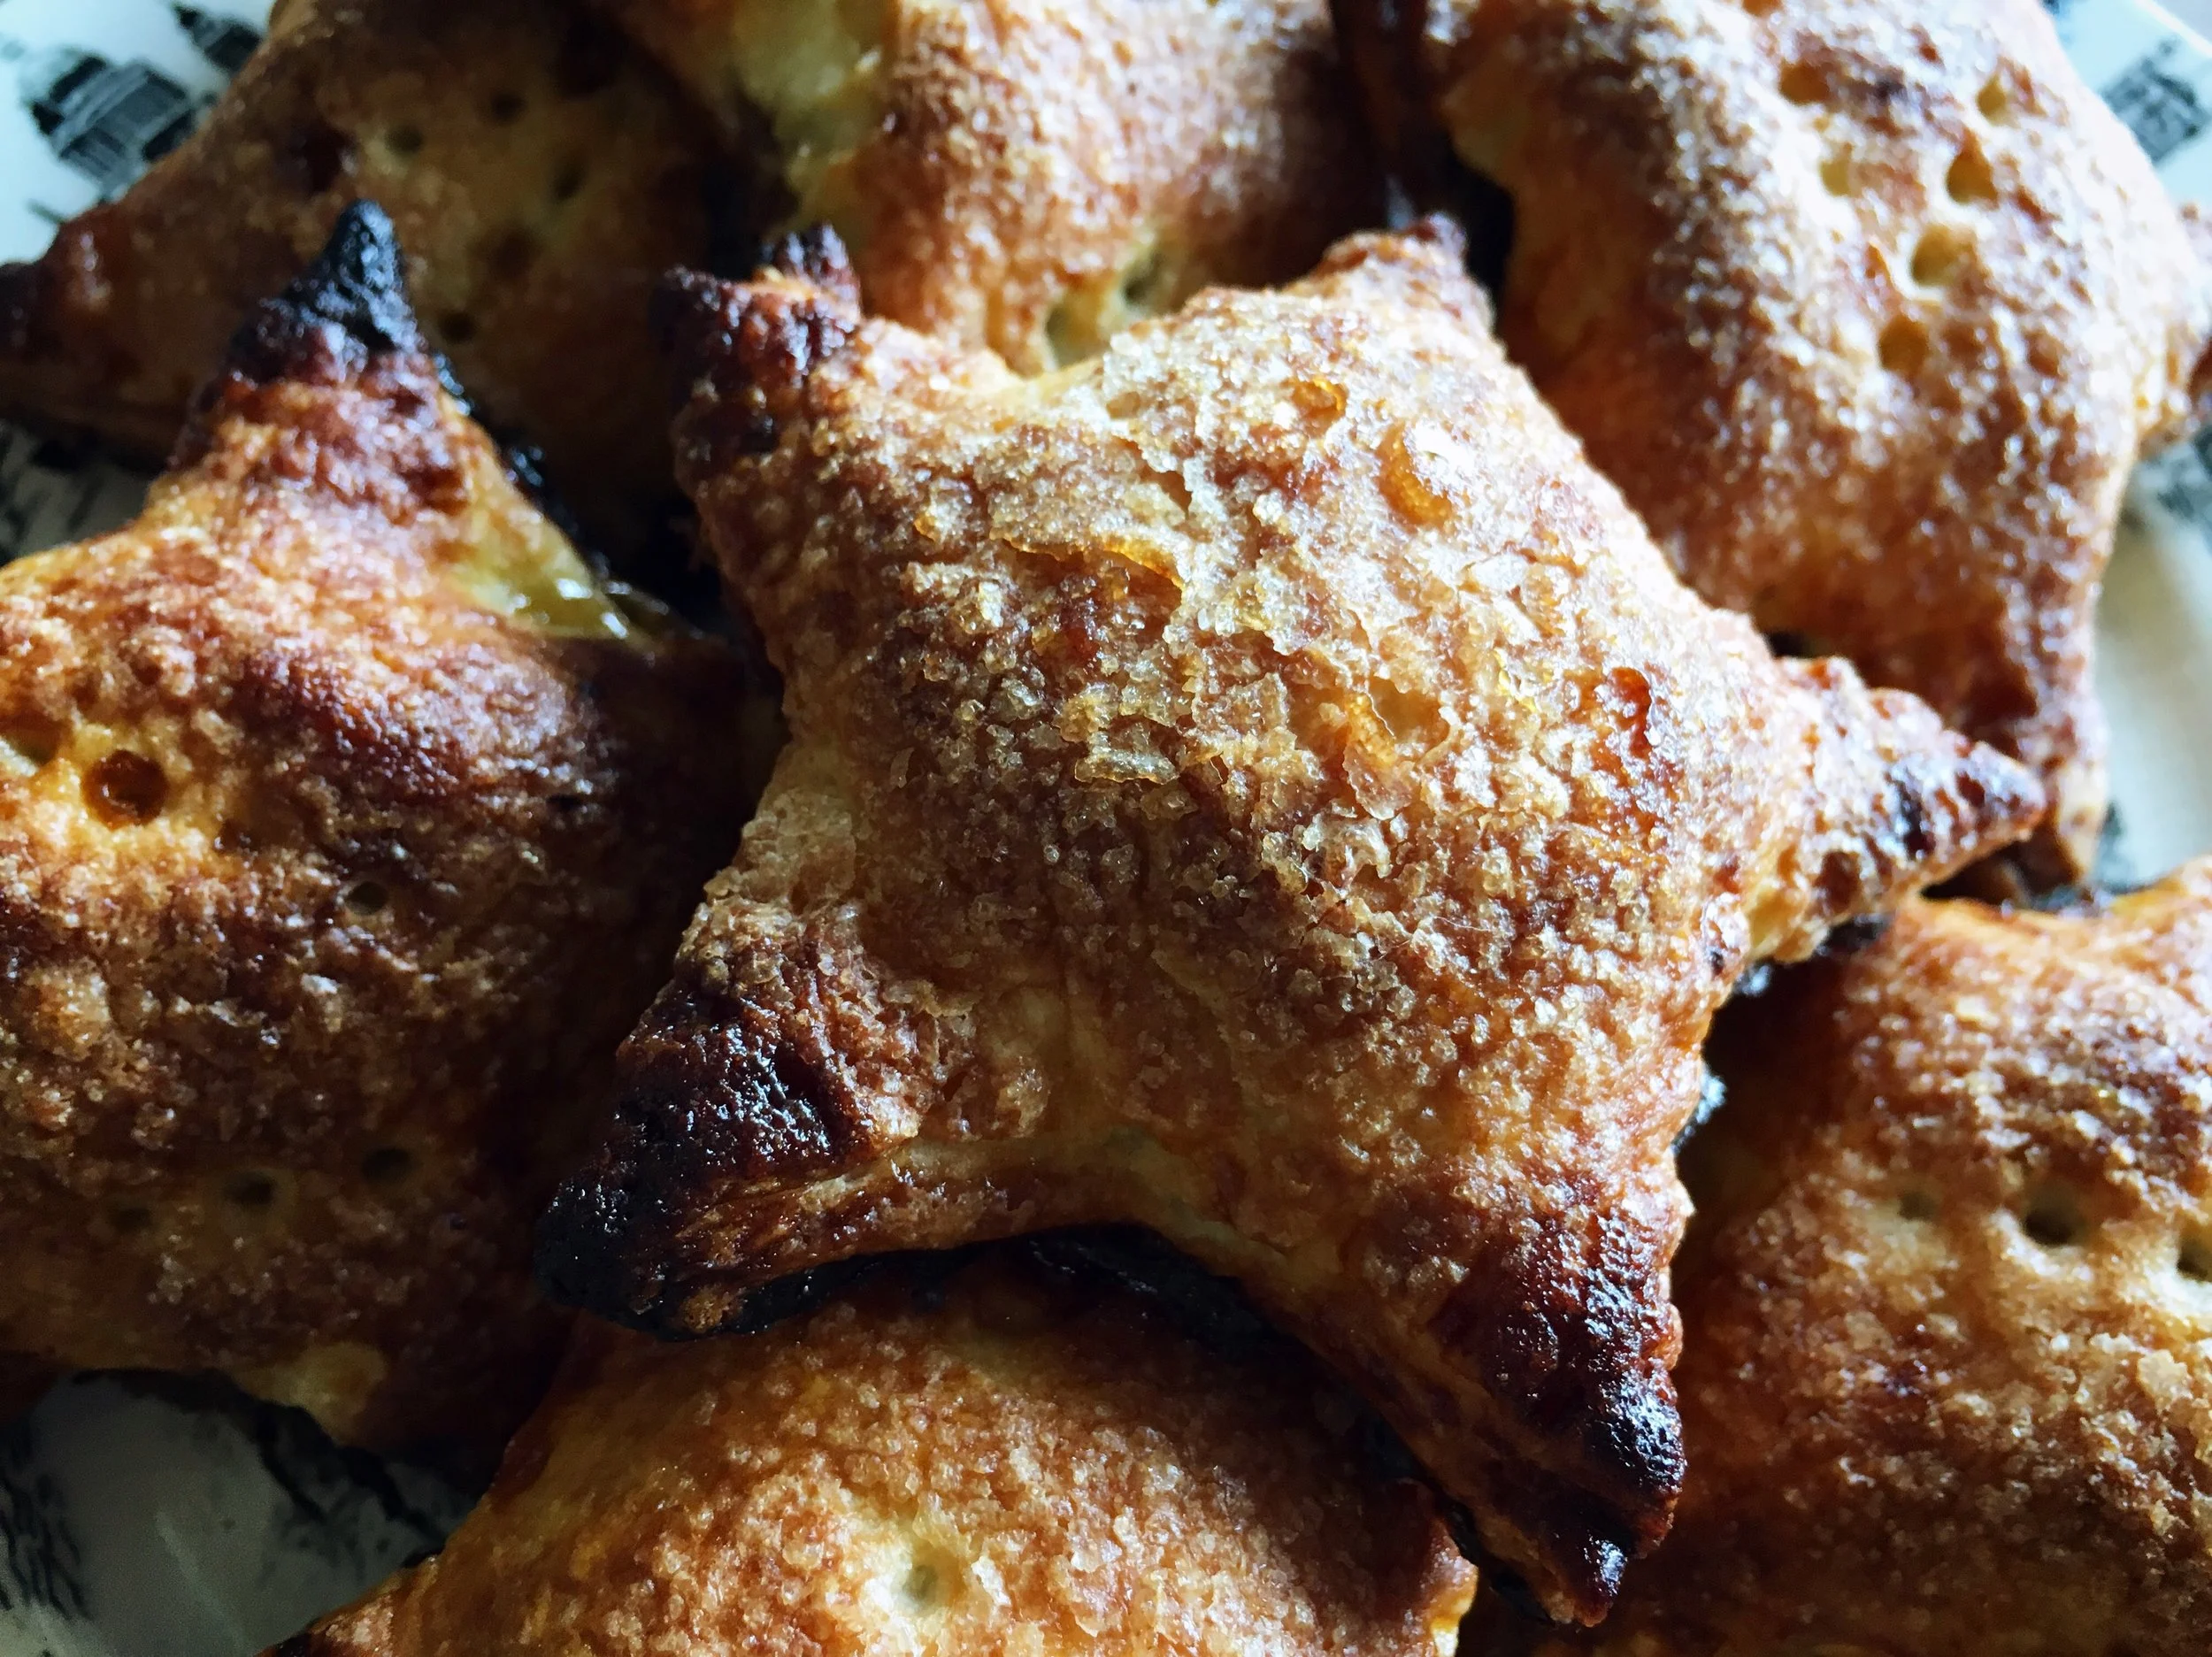
- Brush some more of the egg wash over the tops after they are all ready, and sprinkle liberally with sugar.
- Transfer to a baking sheet lined with parchment (another safeguard against the potential for leaked filling - I know from too much experience that it is VERY hard to clean burnt jam off) and bake for about 15 minutes, or until the crust is golden, and the edges are crispy.