A Forager's Home

Grow. Find. Eat. Make.

  • Blog
  • About
  • DIY
  • Recipes
  • Foraging

Foraging for Saskatoons, and a Recipe for a Pie

August 06, 2017 by Kelsey Fast in Find, Eat

This is one of those posts that has been sitting in the queue for quite a while stamped as "draft".  I've waited so long to finish it up that I don't even know if anyone has Saskatoons left that they can forage!  I think it is this terrible weather getting to me.  Right now - and for the past several weeks - our air is filled with wildfire smoke and it is making me feel pretty gross.  I noticed that everyone today seemed a bit on edge - I think as a province we're all tired of it, and a bit stressed out about the whole situation.  

Anyway, maybe you have some Saskatoons hanging out in your freezer - or you can buy some frozen from the berry farms that grow them - and then you can still make this pie (it's definitely worth it if you do).  

When we moved to Kamloops I was a little bit disappointed to lose access to all the beautiful, free blackberries that seem to line every roadside on the coast.  What I would soon learn is that this semi-arid landscape makes up for it by the Saskatoon bushes that are all over the place.  It takes quite a while to pick enough of them to make a decent harvest, but it's a bit more relaxing than collecting blackberries.  I have to say that if I had to choose which free berry I wanted near my house I'd go for blackberries for taste, but with Saskatoons there are no thorns, and we were bothered by fewer wasps and spiders than I usually am in the blackberry bushes.  Mr. Forager is also happy since he has fond memories of eating Saskatoon berry pie and jam during his childhood on the prairies.

Use any pie crust recipe you like for this one.  I'll share one that I like at the end of this post if you are looking for a good recipe, or just want to try something new.  This one is one of my go-to recipes and it has really good results.  Whatever you do, make sure your kitchen is as cold and dry as you can get it (for example, I wouldn't recommend doing this in the middle of a major steamy canning session, or anything else where you are boiling something on the stove for a while).  I usually have decent results with most pastry crusts in my kitchen (I live in an almost desert, and the air conditioning is always blasting) but then when I made the same recipe as I usually do at my mom's more humid, coastal, warm apartment, I had all kinds of challenges rolling it out nicely.  It still tasted fine in the end though so don't worry if you have some challenges!


Print Friendly and PDF

Saskatoon and Cherry Pie

Ingredients

  • 5 cups Saskatoon Berries
  • 2 cups Cherries, pitted and halved
  • Zesta and Juice of One Lemon
  • 1 cup Sugar
  • 3 tbsp Flour
  • One Double Crust Pie Dough (see below recipe if you need one

Takes approx 1 hour 30 minutes, yields 1 pie.

Instructions

  1. Preheat oven to 450 degrees.
  2. Whisk sugar and flour together in the bottom of a saucepan until fully incorporated. Ideally this way you will avoid clumps. Add Saskatoon berries and cook over medium heat until berries have broken down, released their juices, and the liquid is thickening.
  3. Add lemon juice and zest, and cook for a few minutes. Take off heat and pour into a bowl to allow it to cool off somewhat. Stir in cherries at this point rather than cooking them in with the saskatoons so they maintain a bit of their own texture and shape in the finished pie.
  4. As the filling cools (you want your pie crust to be as cold as possible before putting it in the oven) make your favourite pie crust recipe for a two crust pie. Roll it out, fill, crimp, and cut vents in the top of your crust to allow steam to escape while cooking. This is a pretty juicy pie, so some filling will probably spill out the vents while cooking but that's ok!
  5. After 15 minutes, turn the oven temperature down to 350 degrees, and cook until filling is bubbly and the crust is nicely browned. Probably about another 45 minutes.

Butter Crust for a Two Crust 8 inch Pie

Adapted from the Fannie Farmer Cookbook by Marion Cunningham

  • 2 cups flour
  • 1/4 tsp salt
  • 2/3 cup butter
  • 4-5 tbsp cold water
  1. Mix flour and salt (use 1/8 tsp salt if you are using salted butter)
  2. Cut butter into chunks, and drop into flour.  Using your fingertips (my preferred method), a pastry blender, or two knives, work the butter into the flour until it resembles fresh bread crumbs.
  3. Tablespoon by tablespoon add the water to your butter/flour mixture.  Stir to incorporate a bit between each tablespoon so you can see how you are doing.  You might need more or less water than the recipe states depending on how dry the air is, or your flour is.  I usually need more.  When the dough is looking moist and shaggy, mold it into two balls.  Roll and make your pie, or wrap well and store.  Keeps in the fridge for three days, or a few months in the freezer.
August 06, 2017 /Kelsey Fast
food, foraging, baking, pie, recipe, pastry, Saskatoons
Find, Eat
Comment

Flower Foraging and How to Make a Salve for Bumps and Burns

July 10, 2017 by Kelsey Fast in Find, Make

Something I have been expanding on in my foraging repertoire this year is the amount of flowers (edible or medicinal) that I collect.  I have been reading a lot about the benefits of flowers like yarrow, red clover, arnica, and even daisies, and have been making a point of taking bunches home whenever we walk around the block.  It is surprising how many useful flowers grow on the roadside in my neighbourhood!

Some might argue that you might want to avoid roadside foraging because of the pollution from passing cars.  I agree that it is not exactly ideal, but my street is fairly quiet, so I'm comfortable with it.  I also feel like this alienates a lot of people who might want to try foraging but who live in urban environments.  I think as long as you know that there are some potential downsides you can decide if you are comfortable with them or not.

One of my main reasons for foraging more flowers this year was that I wanted to try to make a few medicinal items for my pantry.  My first attempt came out really well, so I thought I'd share it with you!  I read that daisies and dandelions are really good flowers for aches, pains, bumps, bruises, bug bites, and burns so I decided to go with them.  Also they are really common flowers, so that helped make this doable! Apparently arnica is also really amazing for this purpose, but I didn't find any until after I made this one.  I have since located and picked some, and it is infusing in oil as I type!  

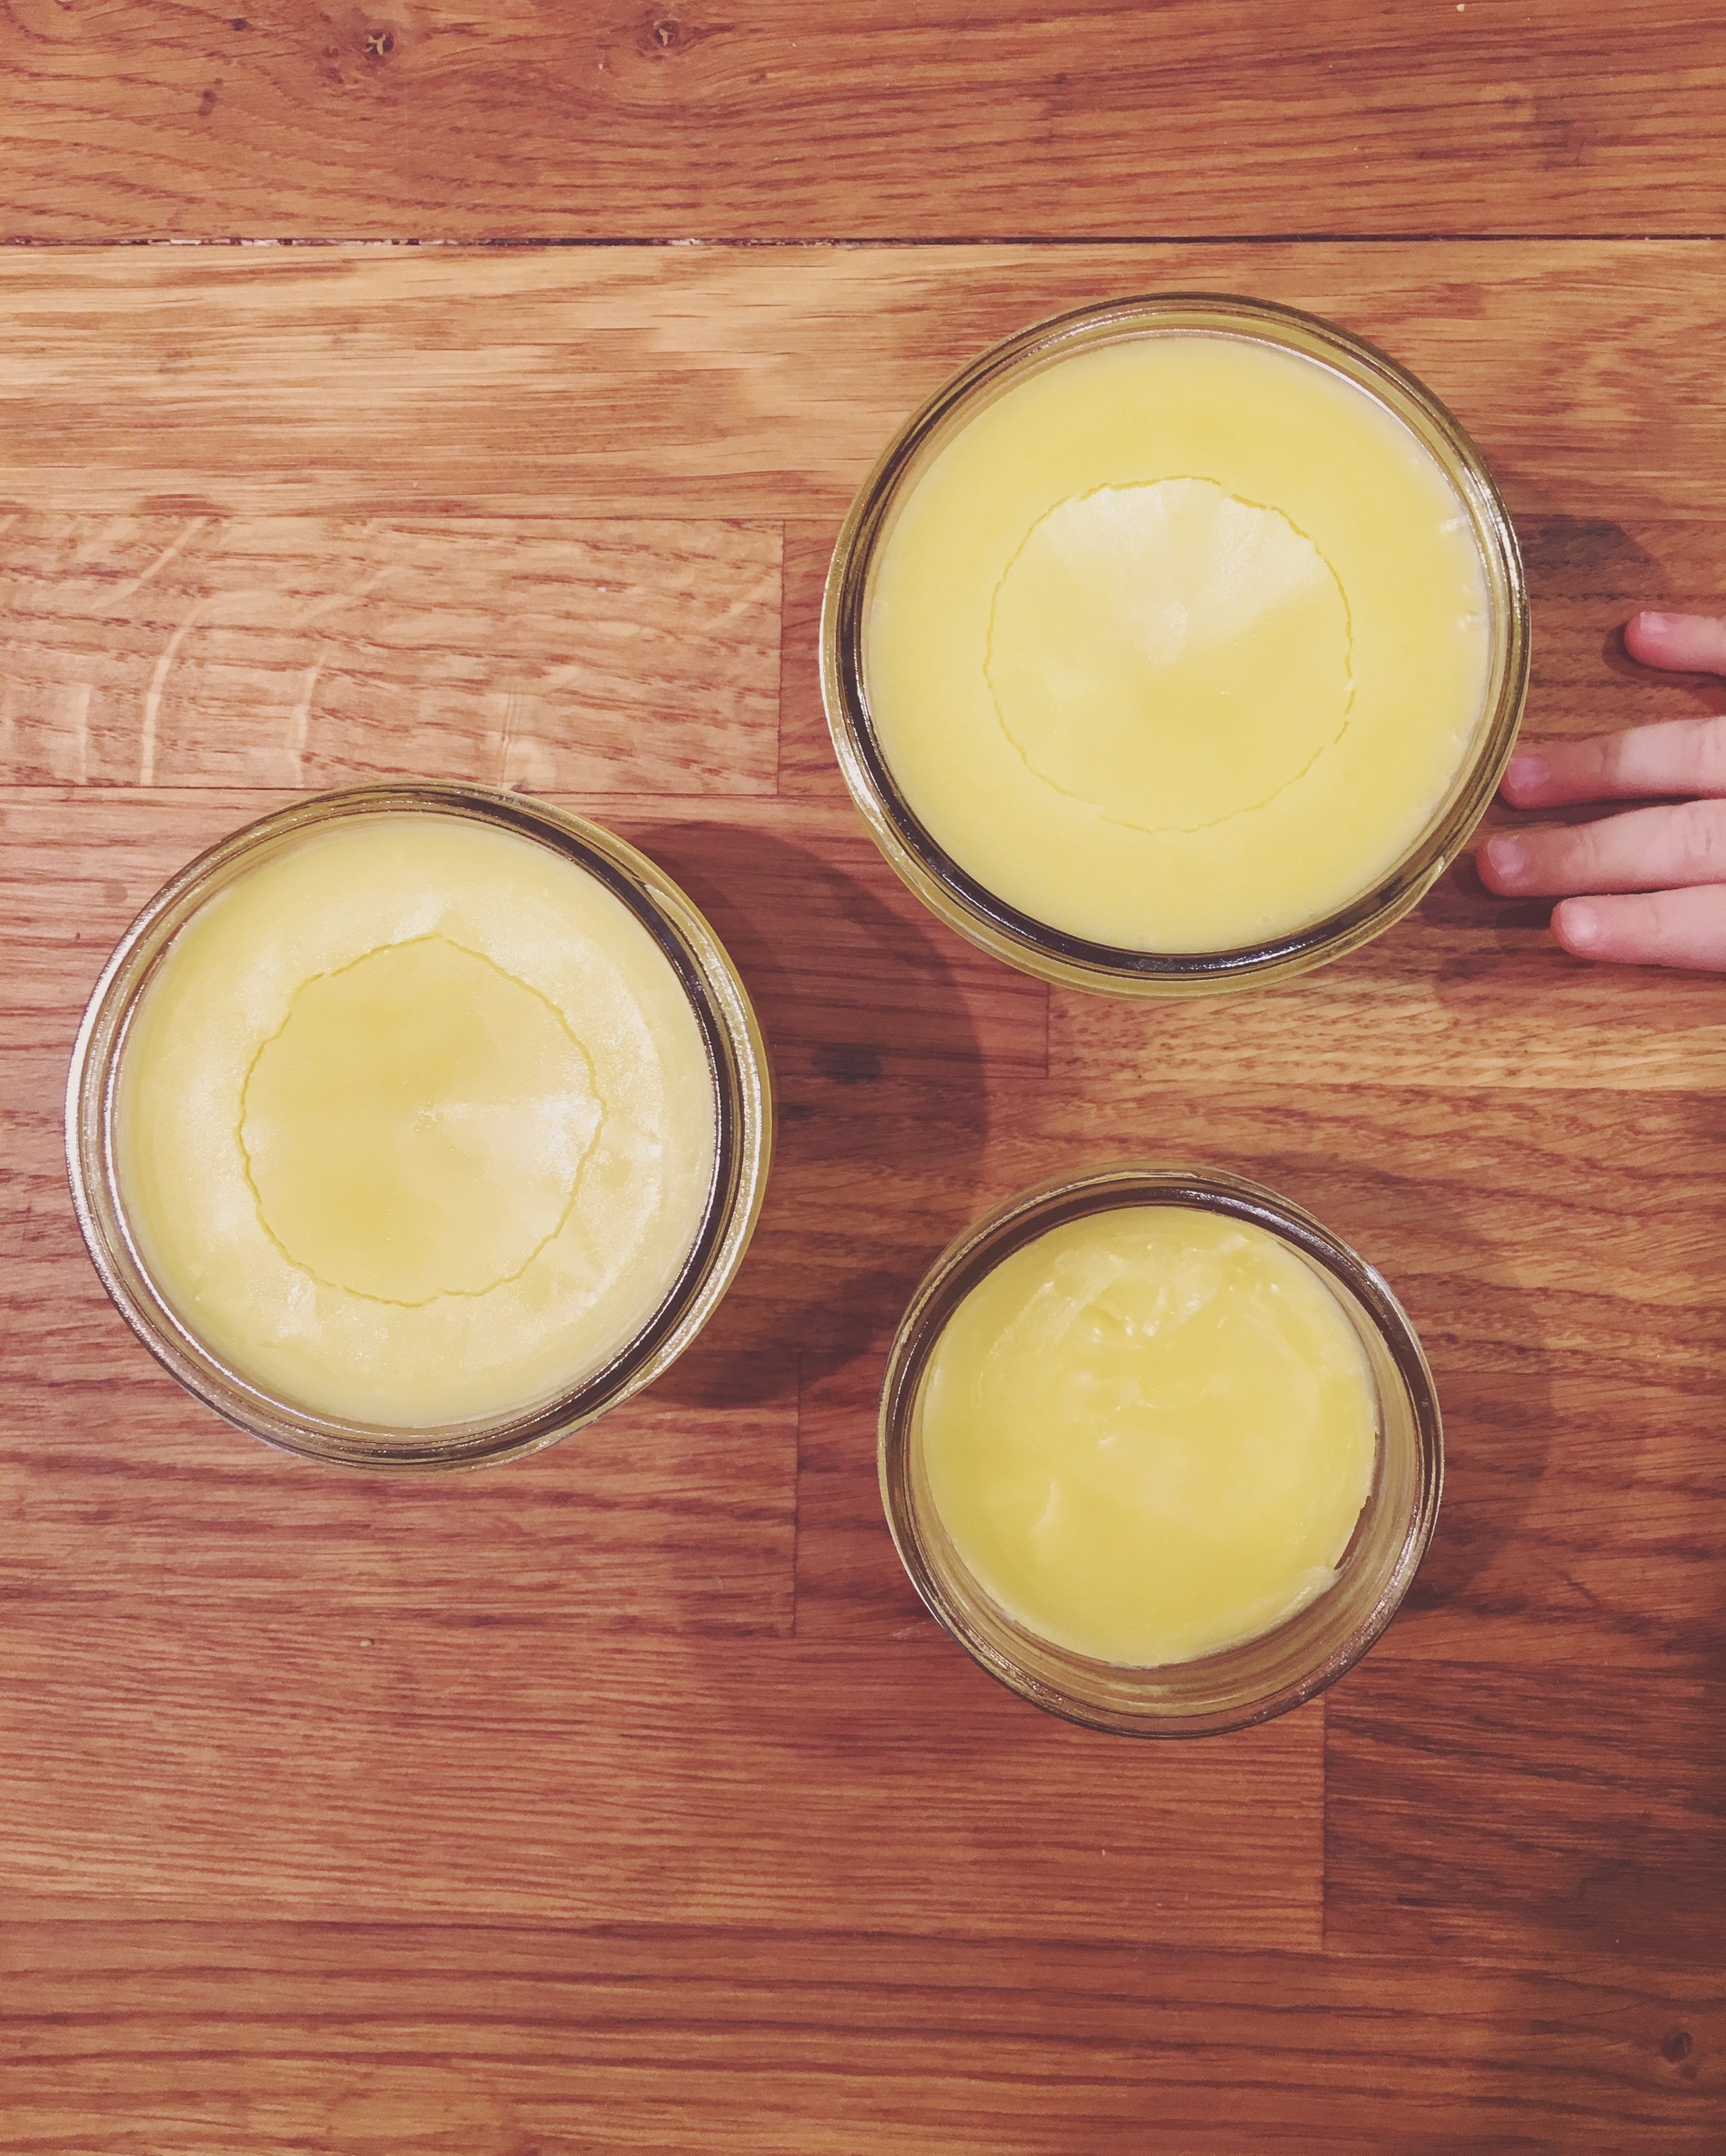
The dandelions infused in olive oil over a few weeks, the daisies I quick infused with coconut oil on the stovetop (I chose this method because I was out of time, and also because I only had solid coconut oil and I needed to melt it.  The other ingredients were beeswax from a local apiary, and some lavender essential oil.  This is one I have had for quite a while that I just bought at the store.  Something therapeutic grade would be better for this purpose, but I didn't want to spend any extra until I knew if this would work!

IMG_4499.JPG

The verdict is - it's awesome!  I tried this out as a massage oil for a sore back, on bug bites, on sunburn, and I feel comfortable recommending it as something worth making.  Now, if you need medical attention for your condition, this is not going to replace pharmaceutical drugs or anything.  It's not going to cure you of anything, but it will help alleviate some minor symptoms and it's worth having in the medicine cabinet.

One important thing to note is that this is not recommended for open wounds.  I am going to be trying another salve with yarrow (featured in many of these photos) that will be more suited for something like that.  I am also going to be making a cough syrup with the red clover I gathered, so stick around if you like homemade herbal remedies!

July 10, 2017 /Kelsey Fast
foraging, medicinal flowers, flowers, salve
Find, Make
Comment

June Harvest Totals

July 06, 2017 by Kelsey Fast in Find, Grow
IMG_4834.JPG
IMG_4551.JPG

June Harvest Totals

Asterisk denotes foraged harvests.

  • *Asparagus: 2643 g
  • Basil (Thai): 31 g
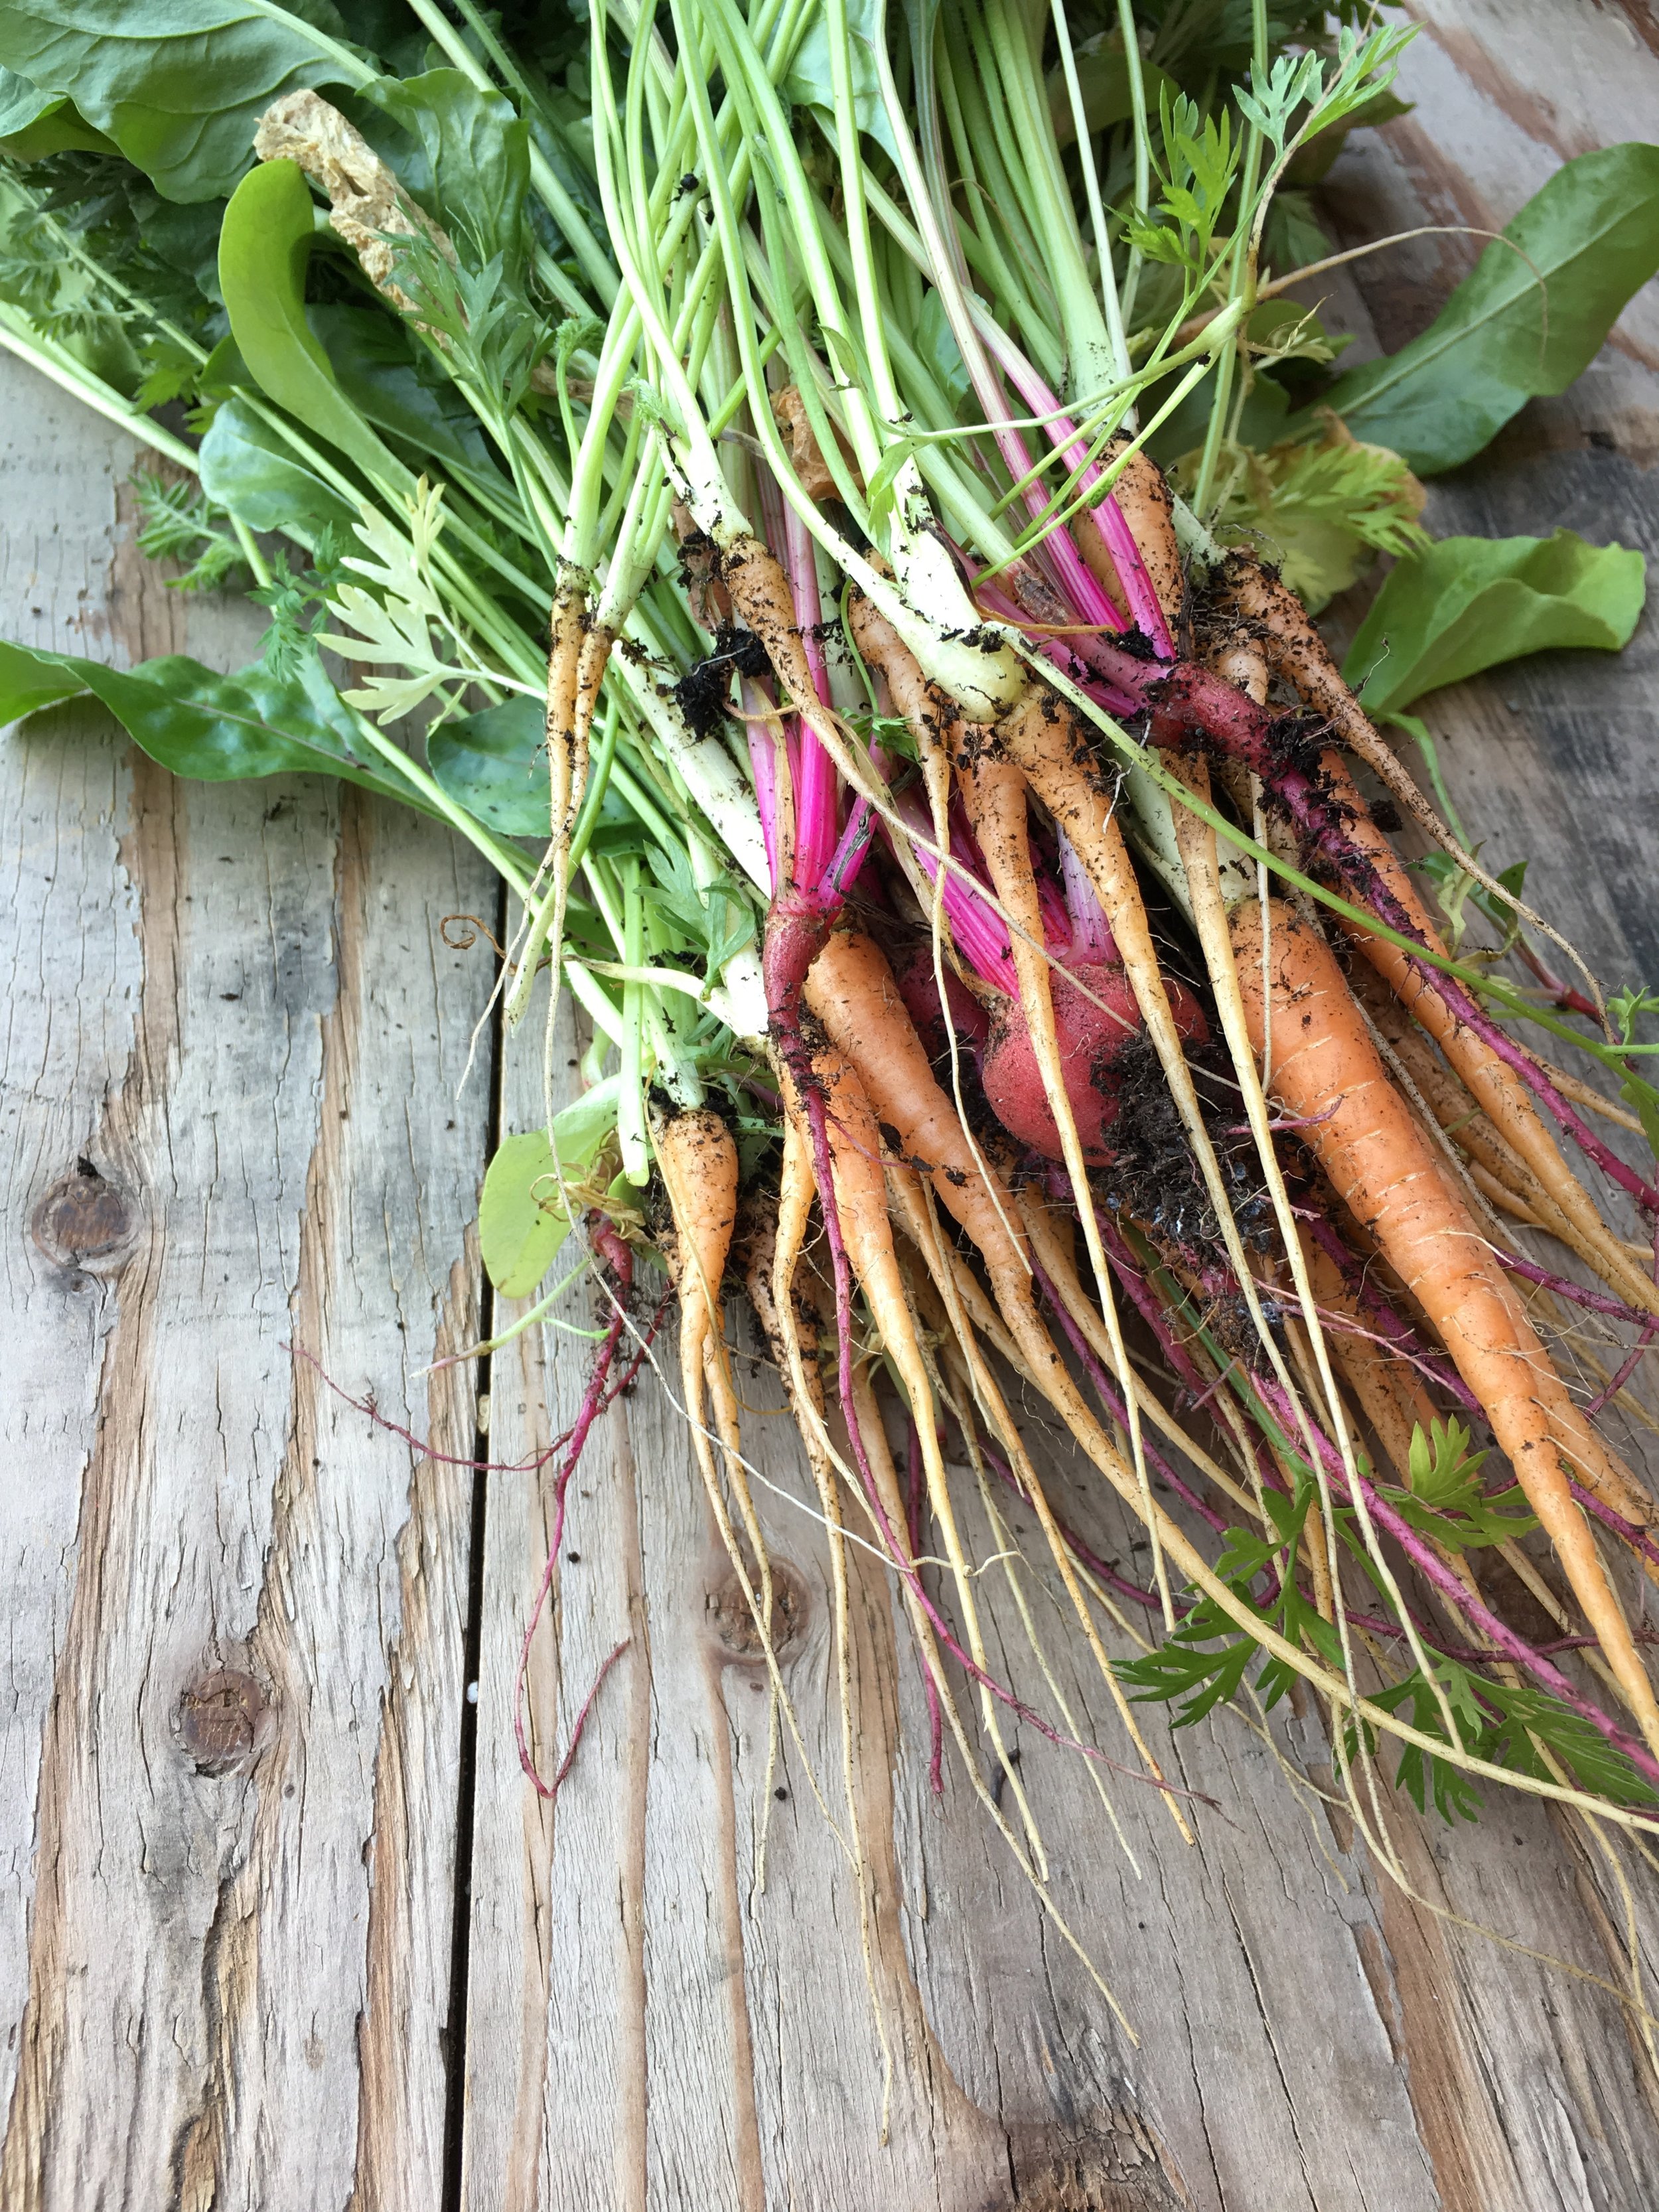
  • Beets (Chioggia): 29 g
  • Carrots (Danvers): 47 g
  • Chamomile: 19 g
  • *Daisies: 51 g
  • Dill: 6 g
  • Evergreen Tips: 47 g
  • Haskap Berries: 61 g
  • Lemon Balm: 12 g
  • Lettuce (Drunken Woman): 46 g
  • Lettuce (Vulcan): 6 g
  • Mint (Chocolate): 7 g
  • Mint (Peppermint): 7 g
  • Mint (Pineapple): 18 g
  • Mint (Spearmint): 40 g
  • Mixed Greens: 813 g
  • Onion (Welsh): 120 g
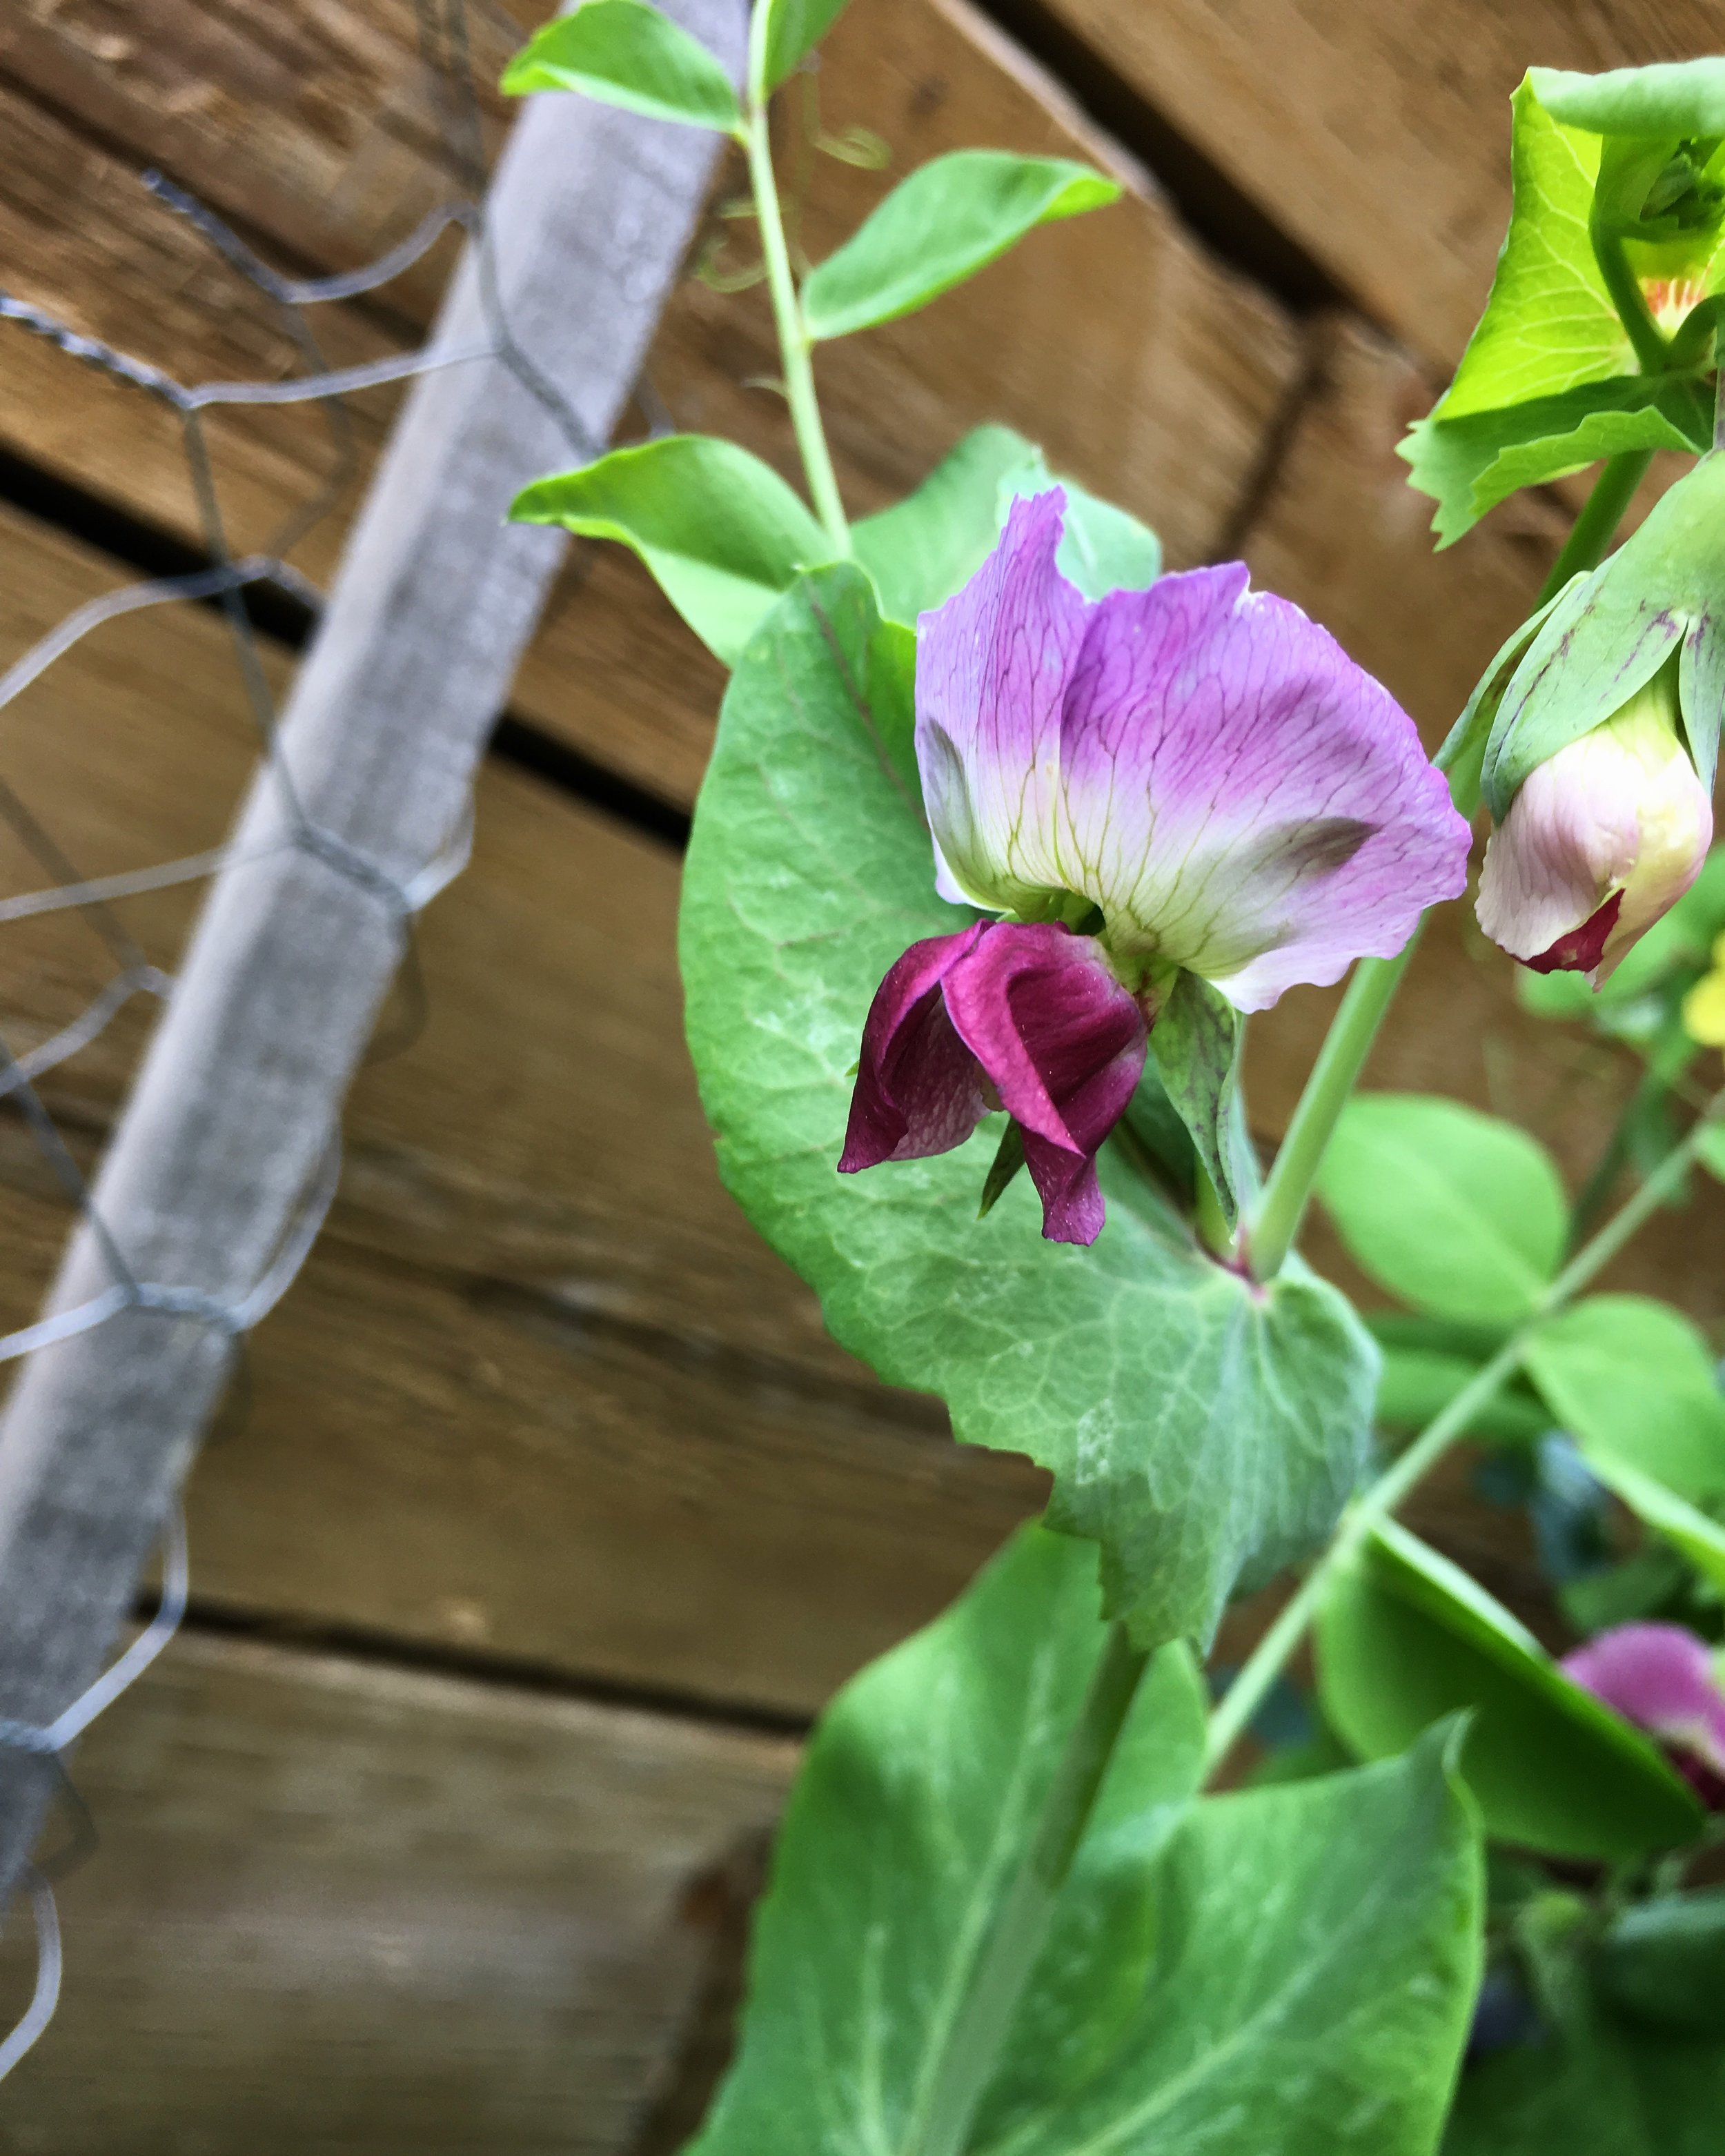
  • Peas (Amish Snap): 442 g
  • Peas (Green Arrow): 413 g
  • Raspberry Leaves: 49 g
  • *Red Clover: 44 g
  • Rhubarb: 912g
  • *Saskatoon Berries: 1445 g
  • Strawberries: 109 g
  • Tarragon: 39 g
  • *Yarrow: 117 g

Total: 7.573 kg


This month was overall more productive than last season, but there were some things noticeably underperformed compared to last year at this time (I'm looking at you, Peas!).  I foraged more this year so far and I am really happy about that.  Even though my strawberry plants were new this year they still yielded more than my old plants.  I was expecting greater herb harvests, but since most things died over the winter I was starting with new plants for most things.  Every spring I keep thinking my rhubarb plant is dead, but it did really well this year so far!  There is more coming up now too so I might get another harvest in before the weather gets too hot!  I was hoping to grab more evergreen tips, but sadly I missed them completely at home, and then only managed to gather what my pockets could hold when we wandered around the McConnell Lake trail.  That trail is amazing, by the way.  If you are local I highly recommend taking a walk through there!  I am also already doing far better with gathering Saskatoons this season, and that makes me really happy!

July 06, 2017 /Kelsey Fast
harvest, garden, foraging
Find, Grow
Comment
IMG_4136.JPG

Tea From the Garden - With Instructions for Oolong and Bancha Hojicha

July 02, 2017 by Kelsey Fast in Eat

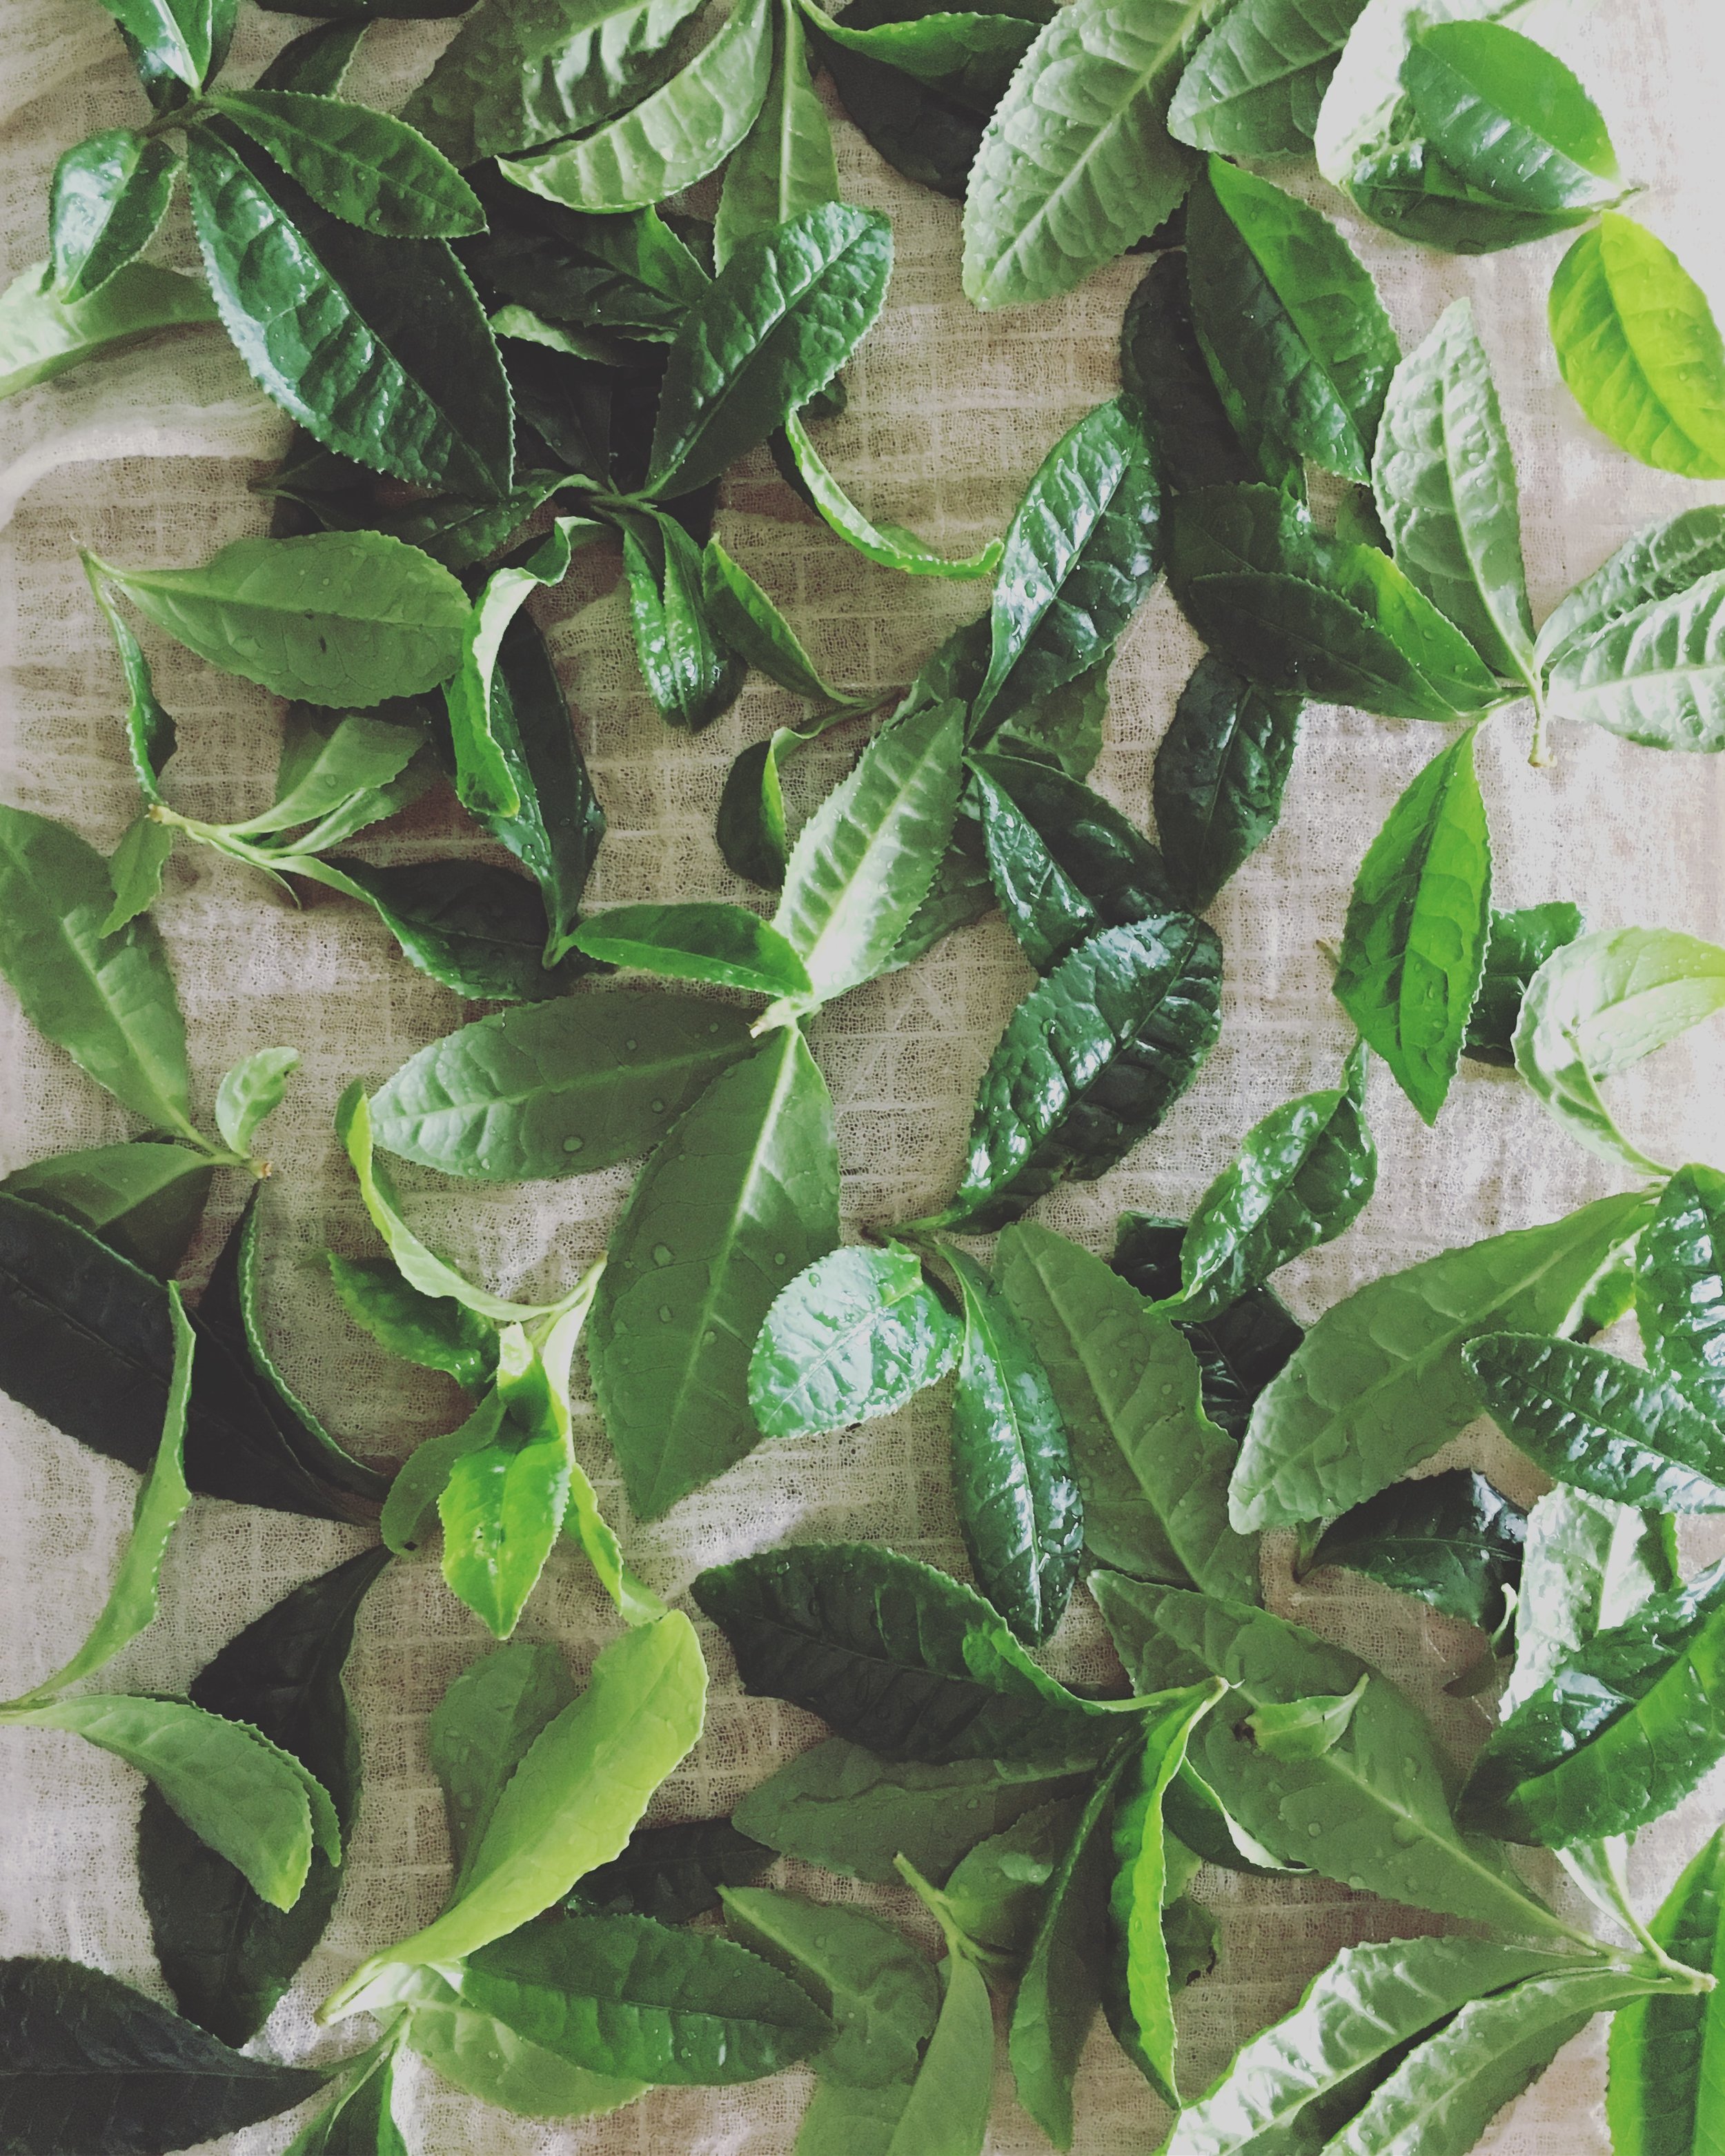
I have always been interested in the idea of growing everything I might want to use.  My goal is to someday have a few acres, and try to produce at least all our fruits and vegetables.  It's a lofty goal, but I like having something to aim for.  Part of the reason this is going to be so challenging, is that we love our tea and coffee over here.  Also citrus.  But hey - The Olive Farm on Saltspring Island just produced the first Canadian grown olive oil last year, so I choose to believe that anything is possible!  When I visited one of the local nurseries and discovered they had tea plants for sale I was so excited.  I picked out one labeled 'Korean Tea' and headed home to research what I needed to do to these leaves to transform them into tea.

IMG_3825.JPG

All tea is made from the same plant (camellia sinensis), and depending on the process used on the leaves you end up with either black, white, oolong, or green tea.  Herbal teas, rooibos, and yerba mate (although delicious infusions) are not technically considered teas since they come from other plants. 

It felt like I was googling for days to find out what I was supposed to do.  Centuries ago the English sent Robert Fortune to go to China and uncover the secrets of how tea was processed since they were tired of depending on trade to obtain their national addiction.  Somehow he successfully pretended to be Chinese and gathered several samples to send back home and tea cultivation started in India which was then still part of the British Empire.  It felt only slightly easier than what Fortune went through to discover how I might produce a small amount of tea as a hobbyist with one tea plant and no specialized equipment.

IMG_4098.JPG

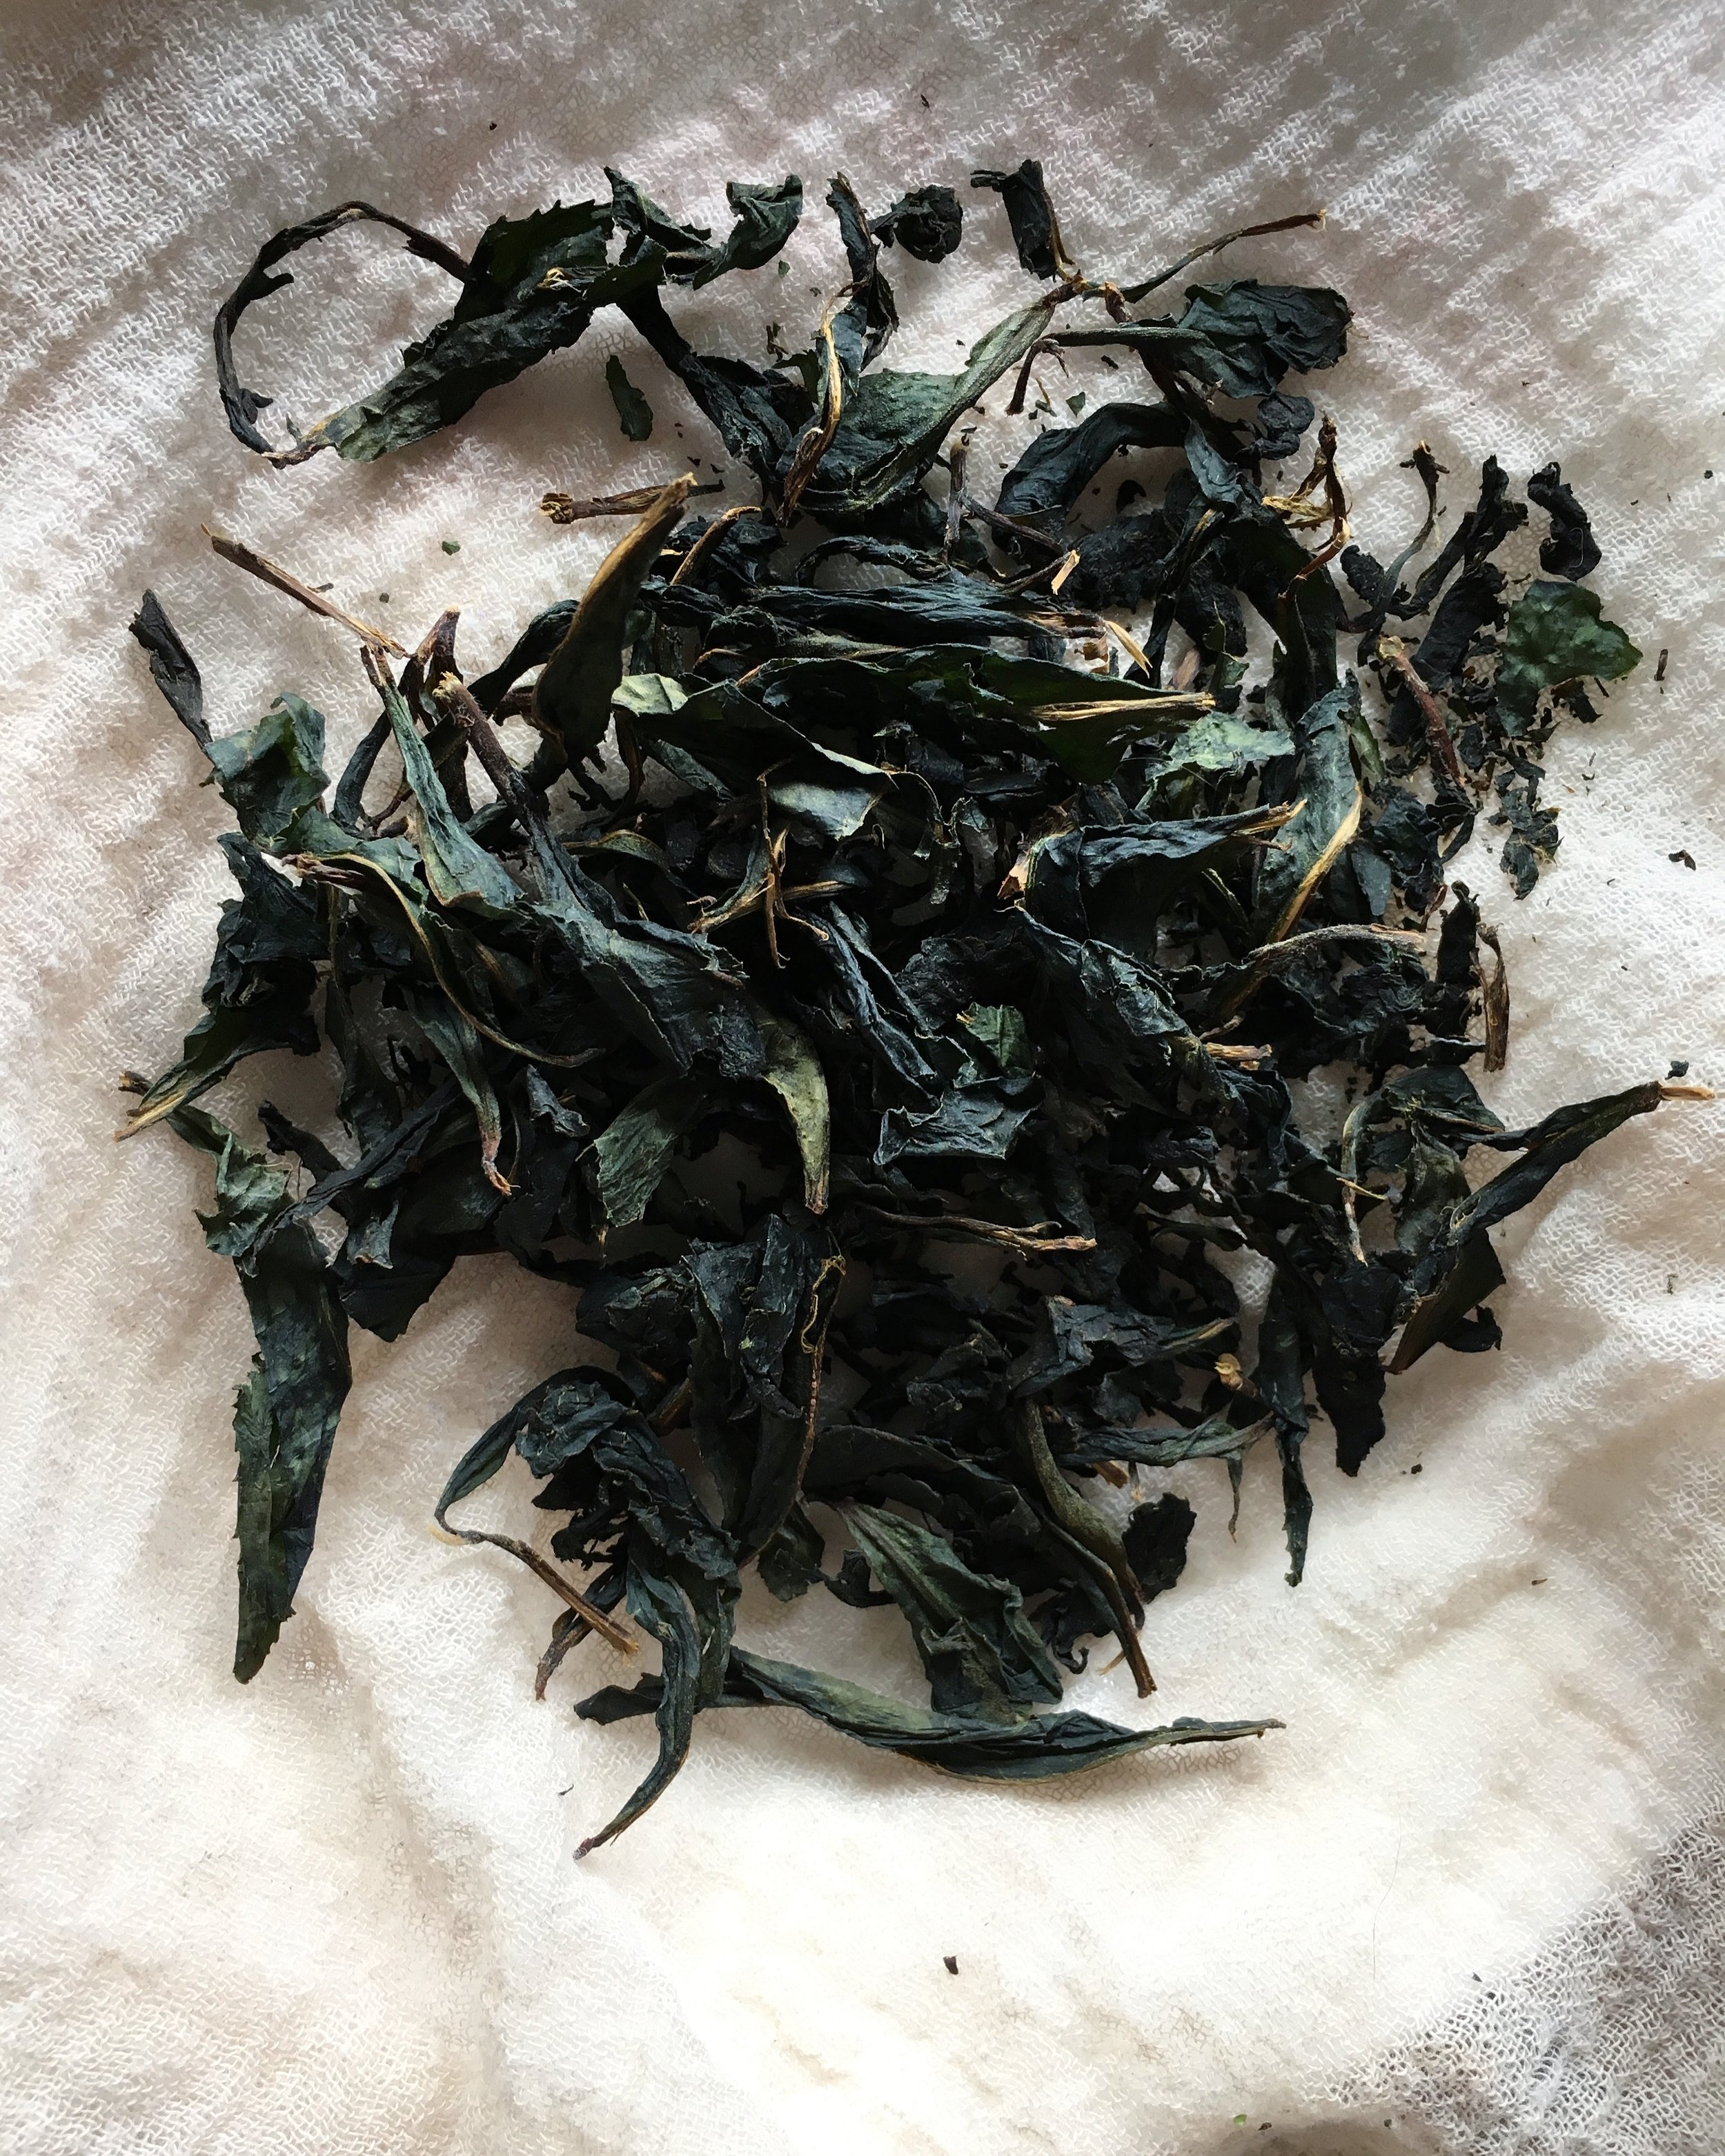
My plan was to make black tea, since I still had several types of green and white teas in my cupboard, and it seemed like the longest process, so if I could do that, I could figure out the other types.  The first step was to pick the new growth, and let them wilt.  After that, begin kneading, mashing, and rolling (my heavy marble rolling pin was useful here), the leaves until they start to turn red and oxidize.   At this point it is time to let the leaves sit and ferment until they turn black.  Things turned out a bit differently than I planned, because my house is really dry, and the leaves dried out before they finished all their fermenting.  Halfway between green tea, and fully fermented black tea is oolong, and that is what I ended up with.

While most of the teas we are familiar with are made from the fresh, new growth on the tea plant in the spring, there are a few other types made from the older parts of the plant.  They all seem to have evolved as peasant tea - the poor people taking the leftovers of the plants after harvest and making something out of them.  Bancha is the Japanese name for one such tea.  This is essentially the same process as green tea, just made with the older leaves and stems.  From there it seems genmaicha (bancha, or sometimes sencha, with added puffed rice), and hojicha evolved.  Since I had some genmaicha in my pantry, I wanted to give hojicha a try. I also  thought my coffee loving husband might like the roasted flavour of this tea.  

I started by pruning my tea plant into a more manageable shape.  I had picked the largest one in the nursery, and after realizing better how tea is produced I figured it was a bit unruly.  I steamed the trimmings for about 90 seconds, and then stripped the leaves from their stems, and cut the stems into more manageable lengths.  After letting everything dry I threw it all into my cast iron skillet and stirred it all around until it started looking dark and toasty, and I could see the tiniest bit of smoke coming up from the leaves.

IMG_4902.JPG

I am looking forward to next spring when I will get to harvest again and make more.  I also heard that  I should expect to see flowers sometime in the autumn, and that they can be dried for tea as well, so I am excited to see that!

July 02, 2017 /Kelsey Fast
tea, recipe, garden, harvest, drink, food
Eat
Comment
IMG_3663.JPG

April and May Harvest Totals

June 17, 2017 by Kelsey Fast in Grow

April and May Harvest Totals

  • Beet Greens: 12 g
  • Camellia Sinensis: 146 g
  • Chamomile: 1 g
  • Dandelion Flowers: 14 g
  • Dandelion Greens: 200 g
  • Green Garlic: 13 g
  • Pea Shoots: 9 g
  • Rosemary: 16 g
  • Tarragon: 12 g
  • Wild Asparagus: 2618 g
  • Wild Yarrow: 65 g

TOTAL: 3.106 kg

This year featured a very cold, slow start to spring, so I think that is one of the main differences between this year's harvest and last year's.  For example, I picked nearly twice the amount of asparagus last year at this time.  I was hoping that my herb garden would fare better over the cold winter, but even my mint plants died!  I'm starting most things again this year, so the herb harvests are quite small.  I also could have done a bit better on the dandelion flowers, but life is busy and I only managed to gather a small handful to infuse in oil for a salve.  What green garlic I harvested was purely accidental.  It seems that I somehow had some volunteer plants (I'm not sure how this would work with garlic - perhaps there were some smaller ones I forgot about that overwintered and continued growing?), and rather than let them mature in the odd places they were popping up I chose to pick them green.  I also know that I definitely had garlic scapes by this time last year, and yet here we are halfway through June and I haven't seen any sign of them!  If I'm seeing these types of yields in my small garden, I can only imagine what it must be like for the farmers in the area.  I hope they are able to be resourceful and find creative ways to make up for what must be a slow financial start for them.  Get out to your local markets and support the farmers!  I'm sure they need it this spring especially!

June 17, 2017 /Kelsey Fast
garden, harvest, spring
Grow
Comment
  • Newer
  • Older

Terms and Conditions | Privacy Policy | Shipping and Returns

Powered by Squarespace