
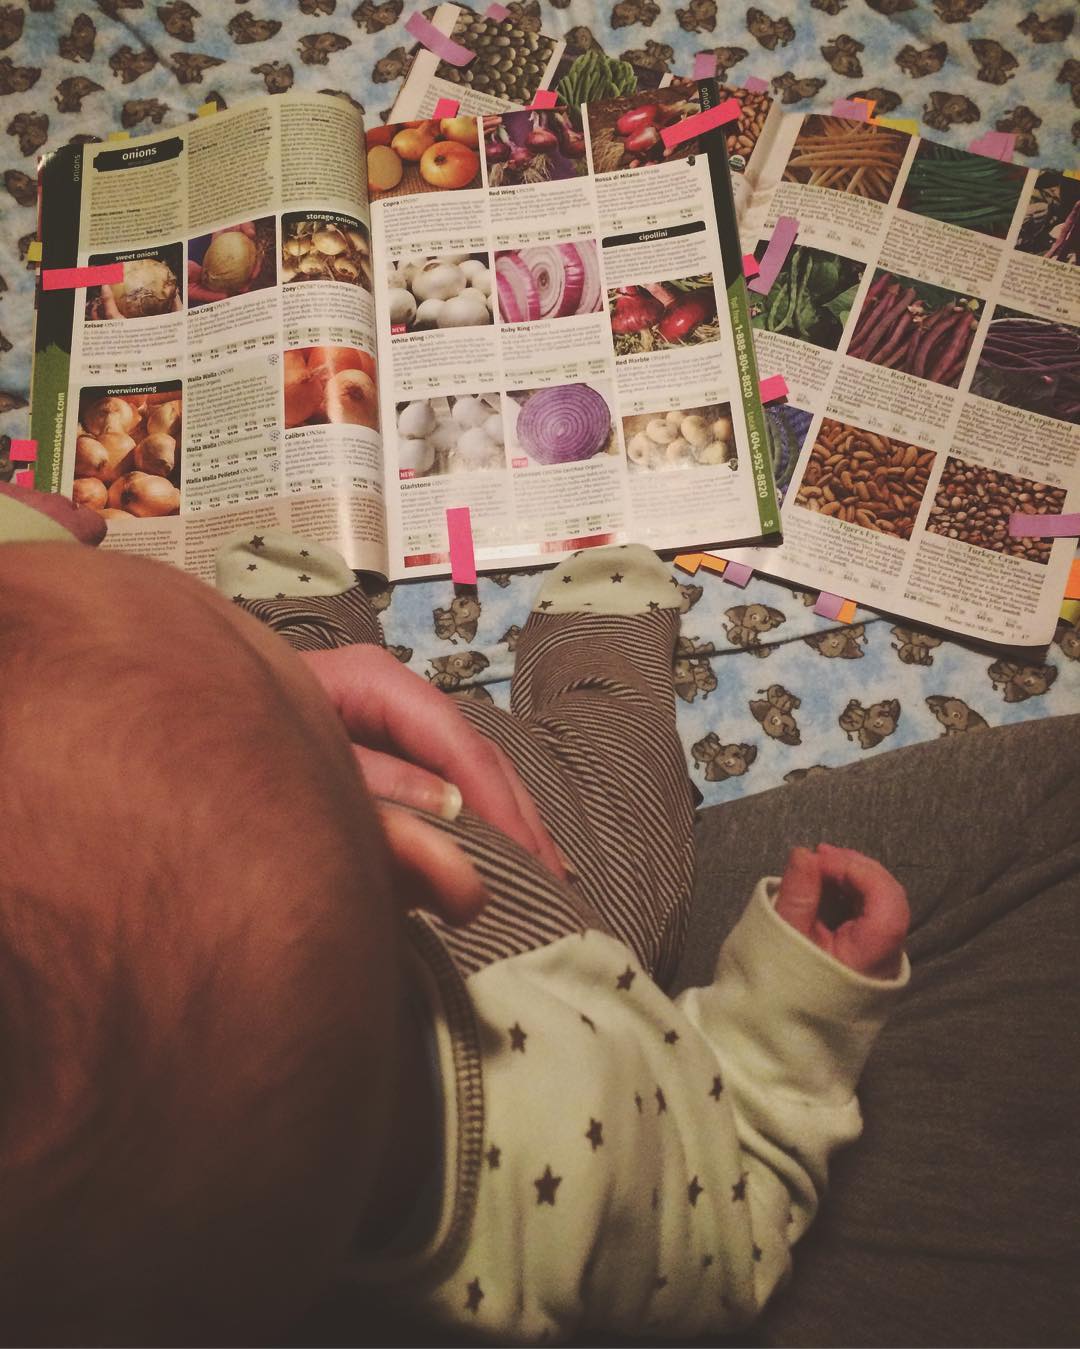
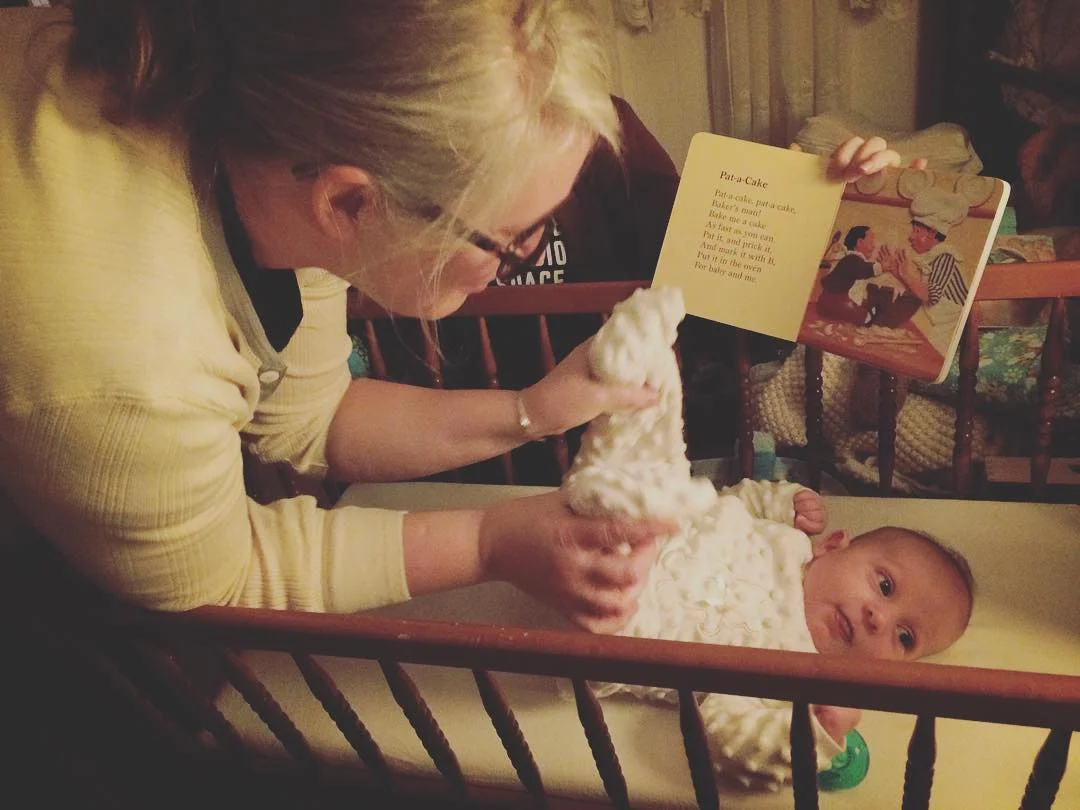
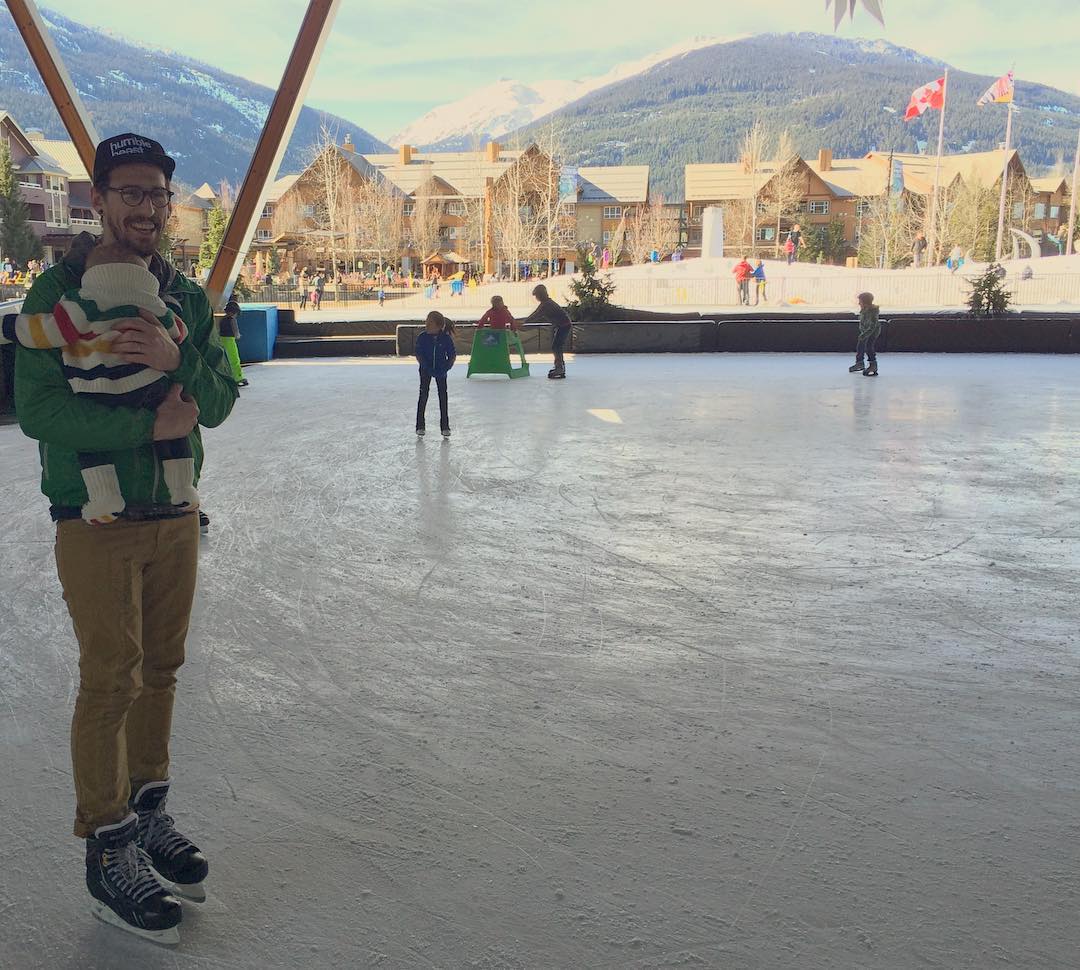
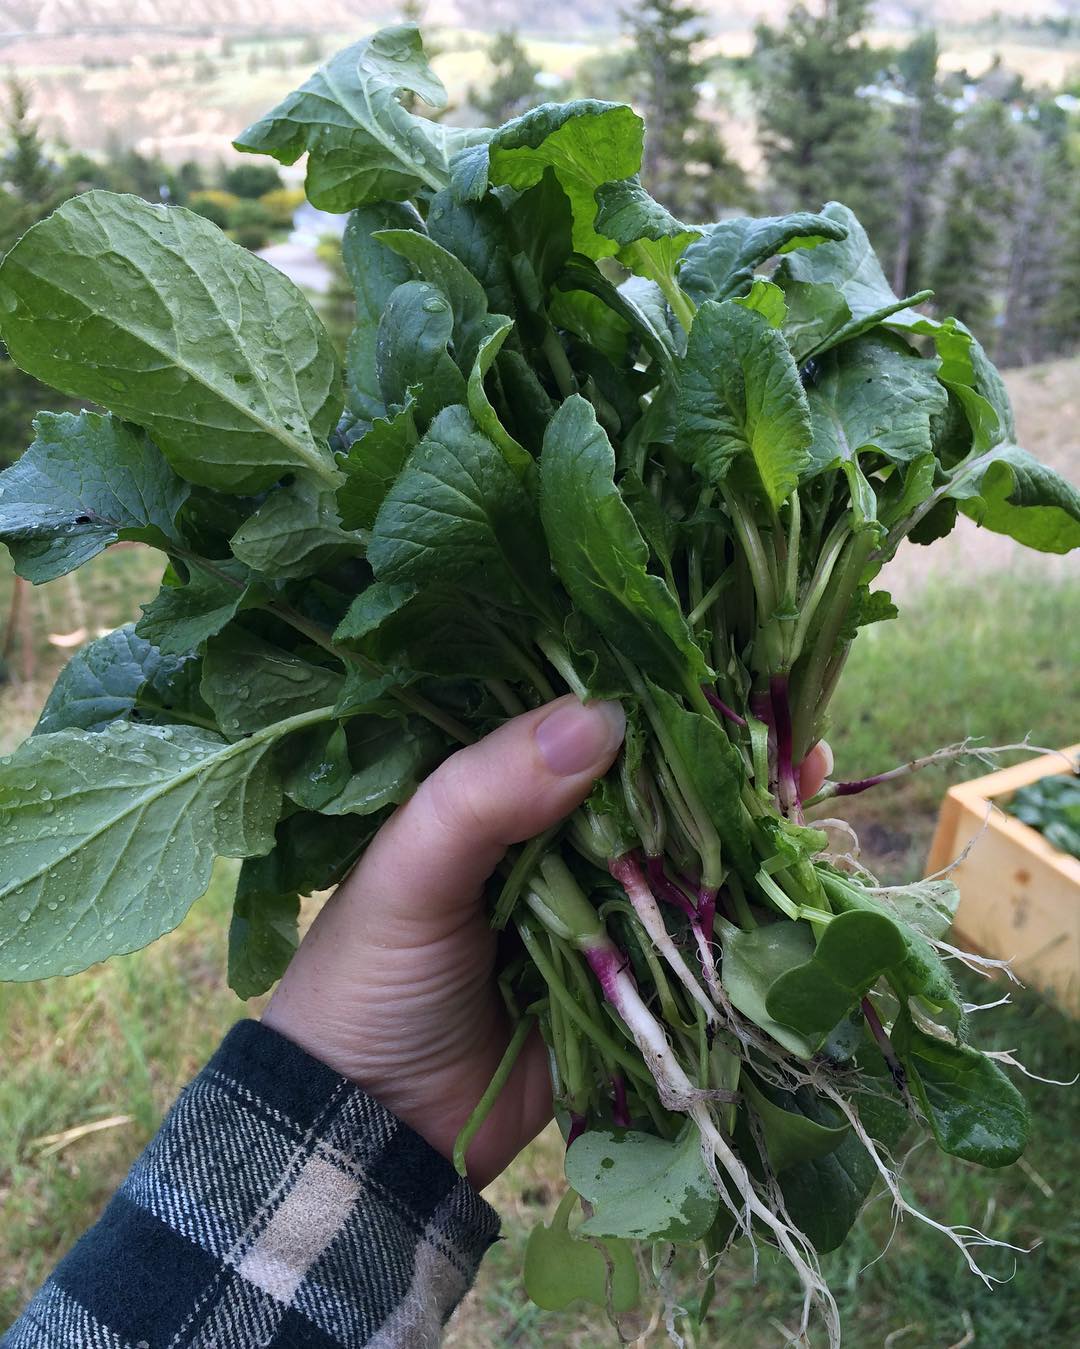
2016 In Photos


A lot of the time when I'm foraging, I am looking for something I can eat, but I also have my eyes peeled for things that I can use in my home. Occasionally I find something that does double duty!
I posted on Instagram a while back this summer (and again in my summer recap post) about a local fruit stand that was forced to close down due to the highway expansion. This was a really cool place where you used to be able to get ice cream, fresh juice, local produce, coffee, and even swap a book for a new one in their lending library. The fruit stand shared the property with a mechanic's shop, and between the two an avenue of hops bines swayed in the wind.
When we found out that the stand was closing I asked about the hops since we were interested in growing them. I found out that they were originally rhisomes taken from crowns from Crannóg Ales in Sorrento, BC, but that the owner of the stand had no idea which was which. We cut down some bines (yes, bines is the correct term - not vines) and dug up some of the crowns to try and plant them in our garden. The hops currently on the bines were a bit past their prime, so we picked what we considered usable for brewing and dried those, and from the stripped bines I twisted together this wreath. Our house smelled so intensely of hops for about a week! I also tucked in some of the really dried out flowers (unusable for brewing) to decorate it. These aren't structural, so I'll decide whether I always want them to be there, but for now I think they are perfect.
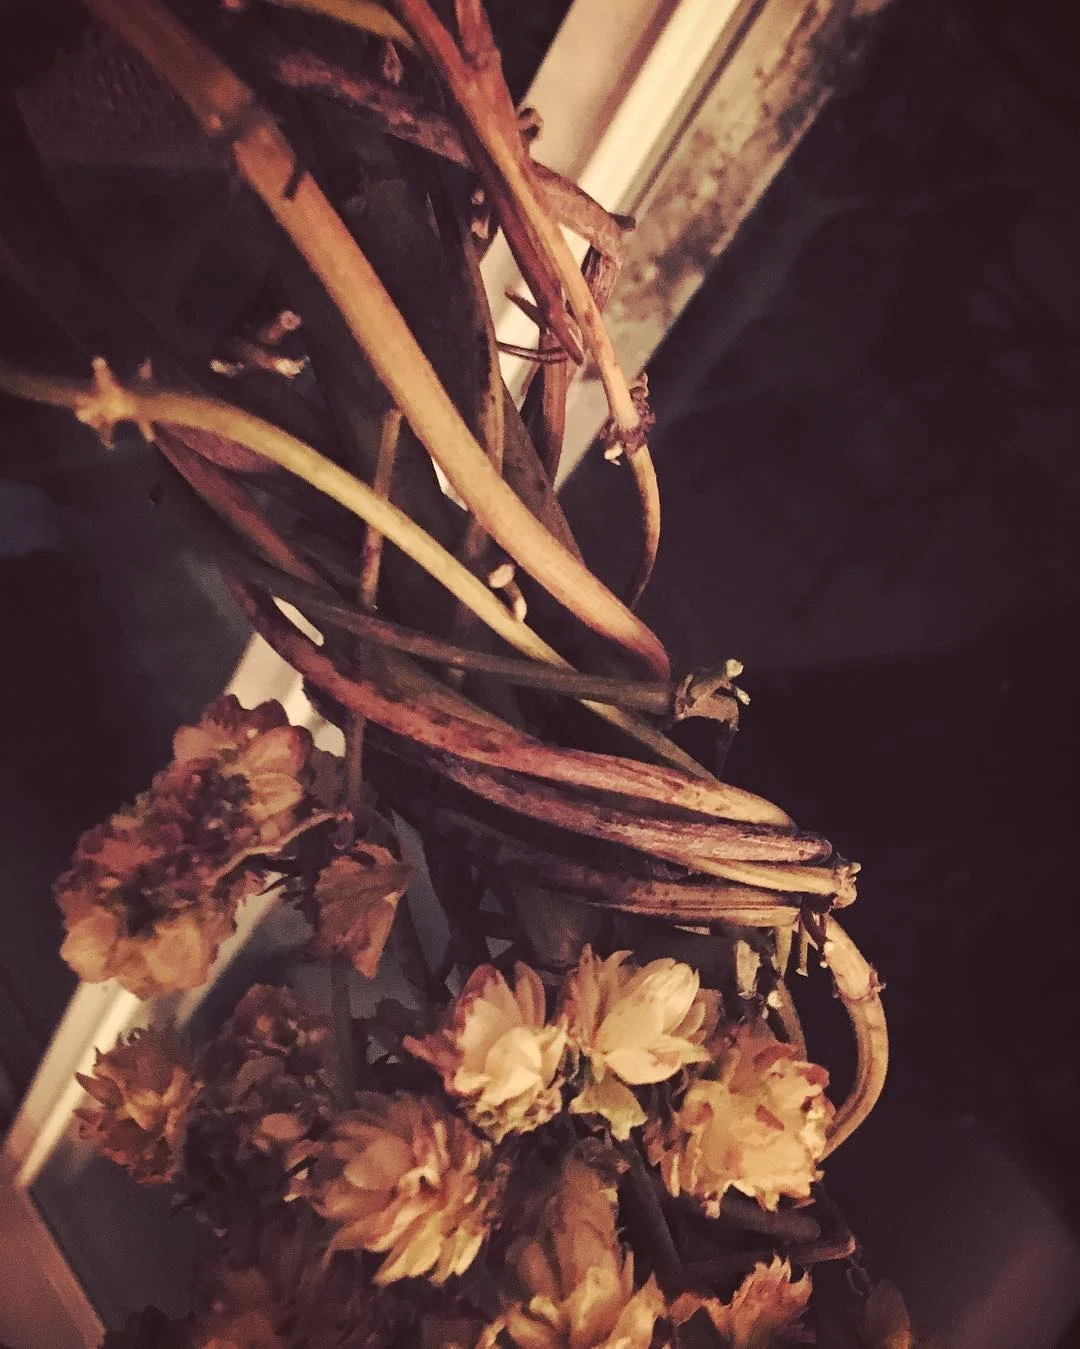
This was the first time I have made my own wreath without using some sort of form or other structure to get me started. I was really excited about making a big wreath since I find the larger ones in the store to be quite expensive, and this would be completely free! There are a lot of different ideas on the internet as far as how to put them together, but what I chose to do is:
Hopefully you can see by the photos how I was twisting them. The good news is that you can make this using any kind of sturdy vine like grape, or Virginia creeper. Have fun experimenting and see what you come up with! I am really happy with the results of my wreath.

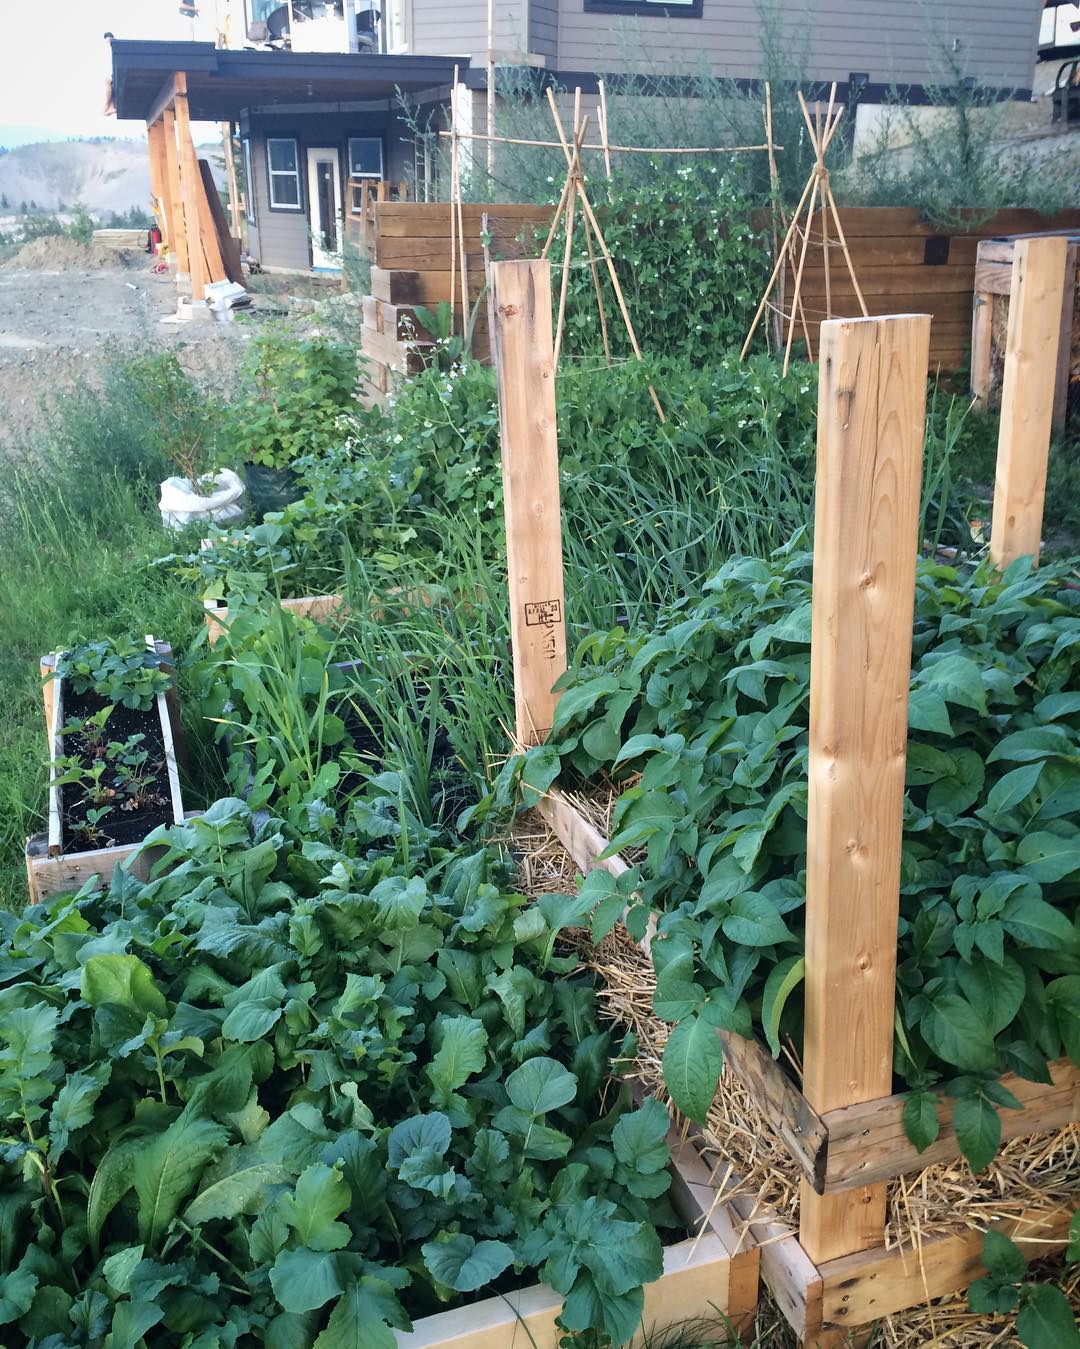
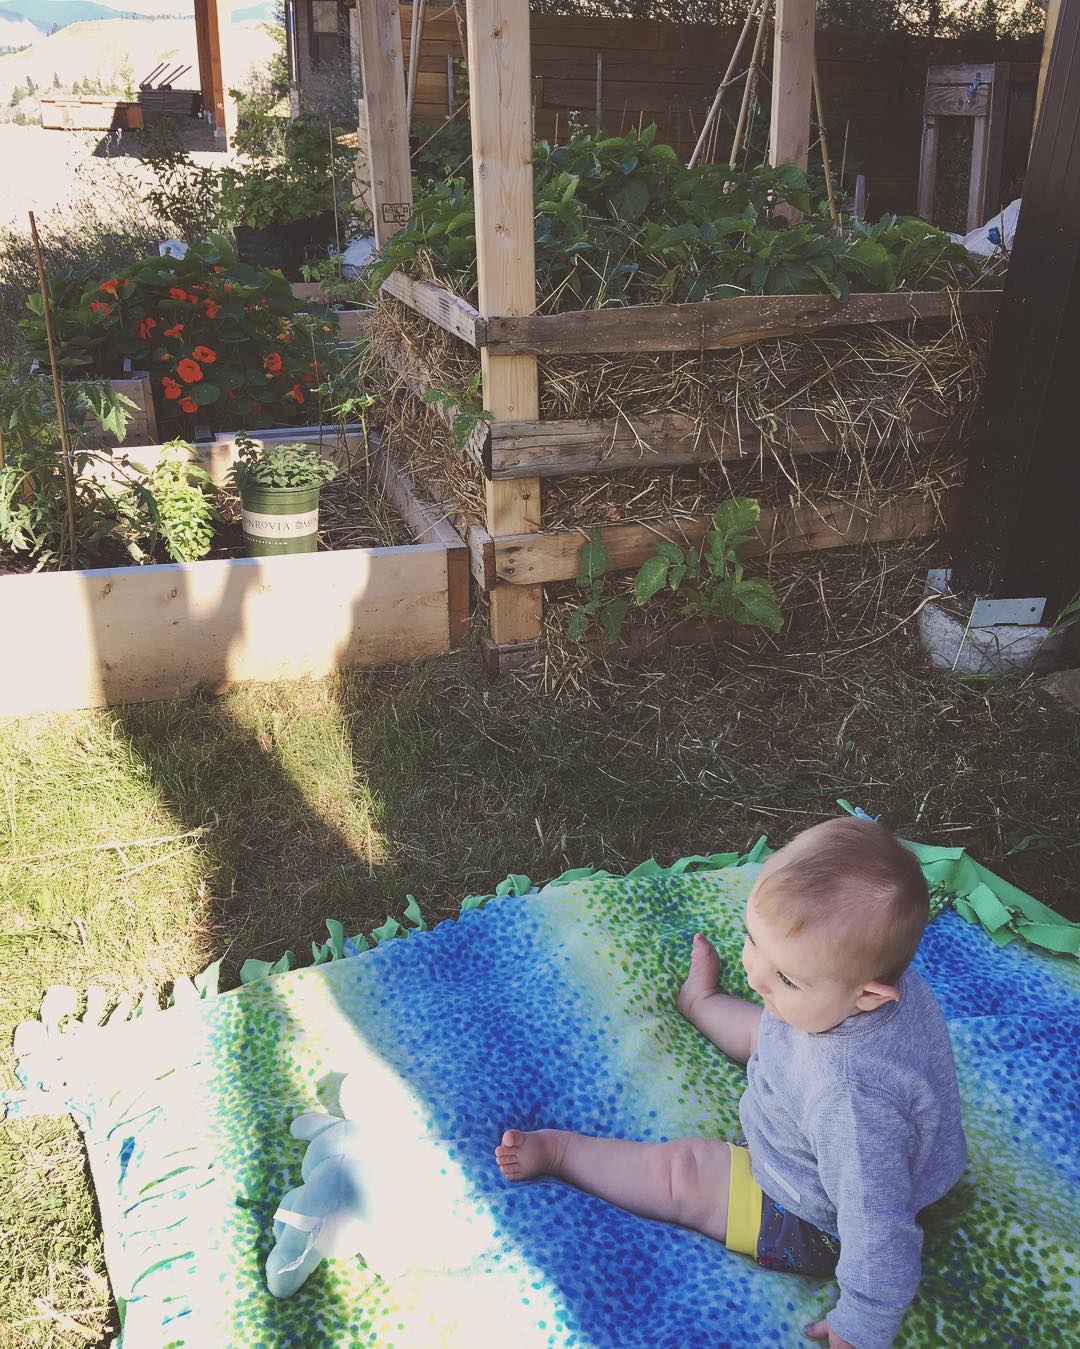
As you can see our garden is a bit challenged when it comes to space. We are renters right now and we consider ourselves lucky to have the space that we have. I could just go at gardening as more of a hobby, but I consider it a personal challenge to try to feed my family as much as possible from our tiny little plot. One important step to this is encouraging vertical growth whenever possible. This makes peas and beans no-brainers, but there are some other veggies in this category that might not be initially thought of. One of these is potatoes.

This is our potato bin. I wish I took a photo of it right at the beginning, but I wasn't thinking of writing a blog post about the project at that point so that got neglected. Basically we used a couple pallets and Mr. Foraged and I worked together on an idea that might work.
I've grown potatoes in grow bags before, and grown them in a raised bed with the more traditional method of 'hilling up'. This potato tower method was sort of a combination of the two. I was also influenced by some reading I did on other traditional ways people grew tomatoes - one of which was to grow them in straw. This was the real key to keeping our idea cost effective!
What we ended up doing was screwing together a four by four square with four posts going up from each corner. We then covered the ground inside it with newspaper to discourage weeds, and then covered that with a few inches of good manure and compost. We planted our potatoes in that and then covered it with a good six inches of straw.

Then as the potatoes grew we kept adding slats and filling it up with more straw. I made sure to keep a few inches of the potato leaves visible from under the straw to make sure the plants still had access to sunlight.
A major benefit to this method - aside from saving cost and space - that I can see is that the job of harvesting should be much easier! I'm thinking we'll spread out a tarp and then unscrew the slats on one side and then just pull everything out. The potatoes should be pretty clean from just growing in straw, and we won't accidentally poke any with a potato fork. It will also make it really easy to get in to grab a few early baby potatoes! Of course it remains to be seen if this even works for growing potatoes. So far we have beautiful looking plants, but I don't know what is going on underneath right now. We'll have to wait and see! I will definitely update when it comes time to really put this method to the test!
I have been wanting some area rugs in our place for quite some time, but the ones I like are not priced in a way that they could ever be an impulse purchase. When it comes to saving up for one there has always been something more important than floor fabric so my dreams were never realized.
But wait! One day I realized - I have a ton of scrap fabric, and why couldn't I look for techniques to make that into my own rugs?
Here is one result that is incredibly easy to accomplish and just as simple to care for.

HOW TO MAKE THIS
If you need to wash your rug it is super easy (this is why I decided to make this type for my kitchen). Since it is just old tshirts you can just throw it in the washing machine and also tumble dry!
I am loving it so far and the chunky knit makes it much more comfortable to stand for a while at the sink doing dishes or peeling produce. An extra bonus is that it gives life to old things that were going to be discarded!

