A Forager's Home

Grow. Find. Eat. Make.

  • Blog
  • About
  • DIY
  • Recipes
  • Foraging

Spring 2018 Garden Tour

April 28, 2018 by Kelsey Fast in Grow

Those of you who have been following along with my Instagram stories voted that you wanted my next post to be a garden tour, so here it is!  I don't think I've ever shown the whole thing completely like this, so I'm happy that a garden tour was something you all said you wanted to see.  Things are a little bit haphazard, and not completely tidy and manicured, but I wanted to give you a sense of what it looks like in real life on a regular day.  There is a lot I still want to do - and a lot more I would do if we weren't merely renting the space, but for now this is what it looks like.

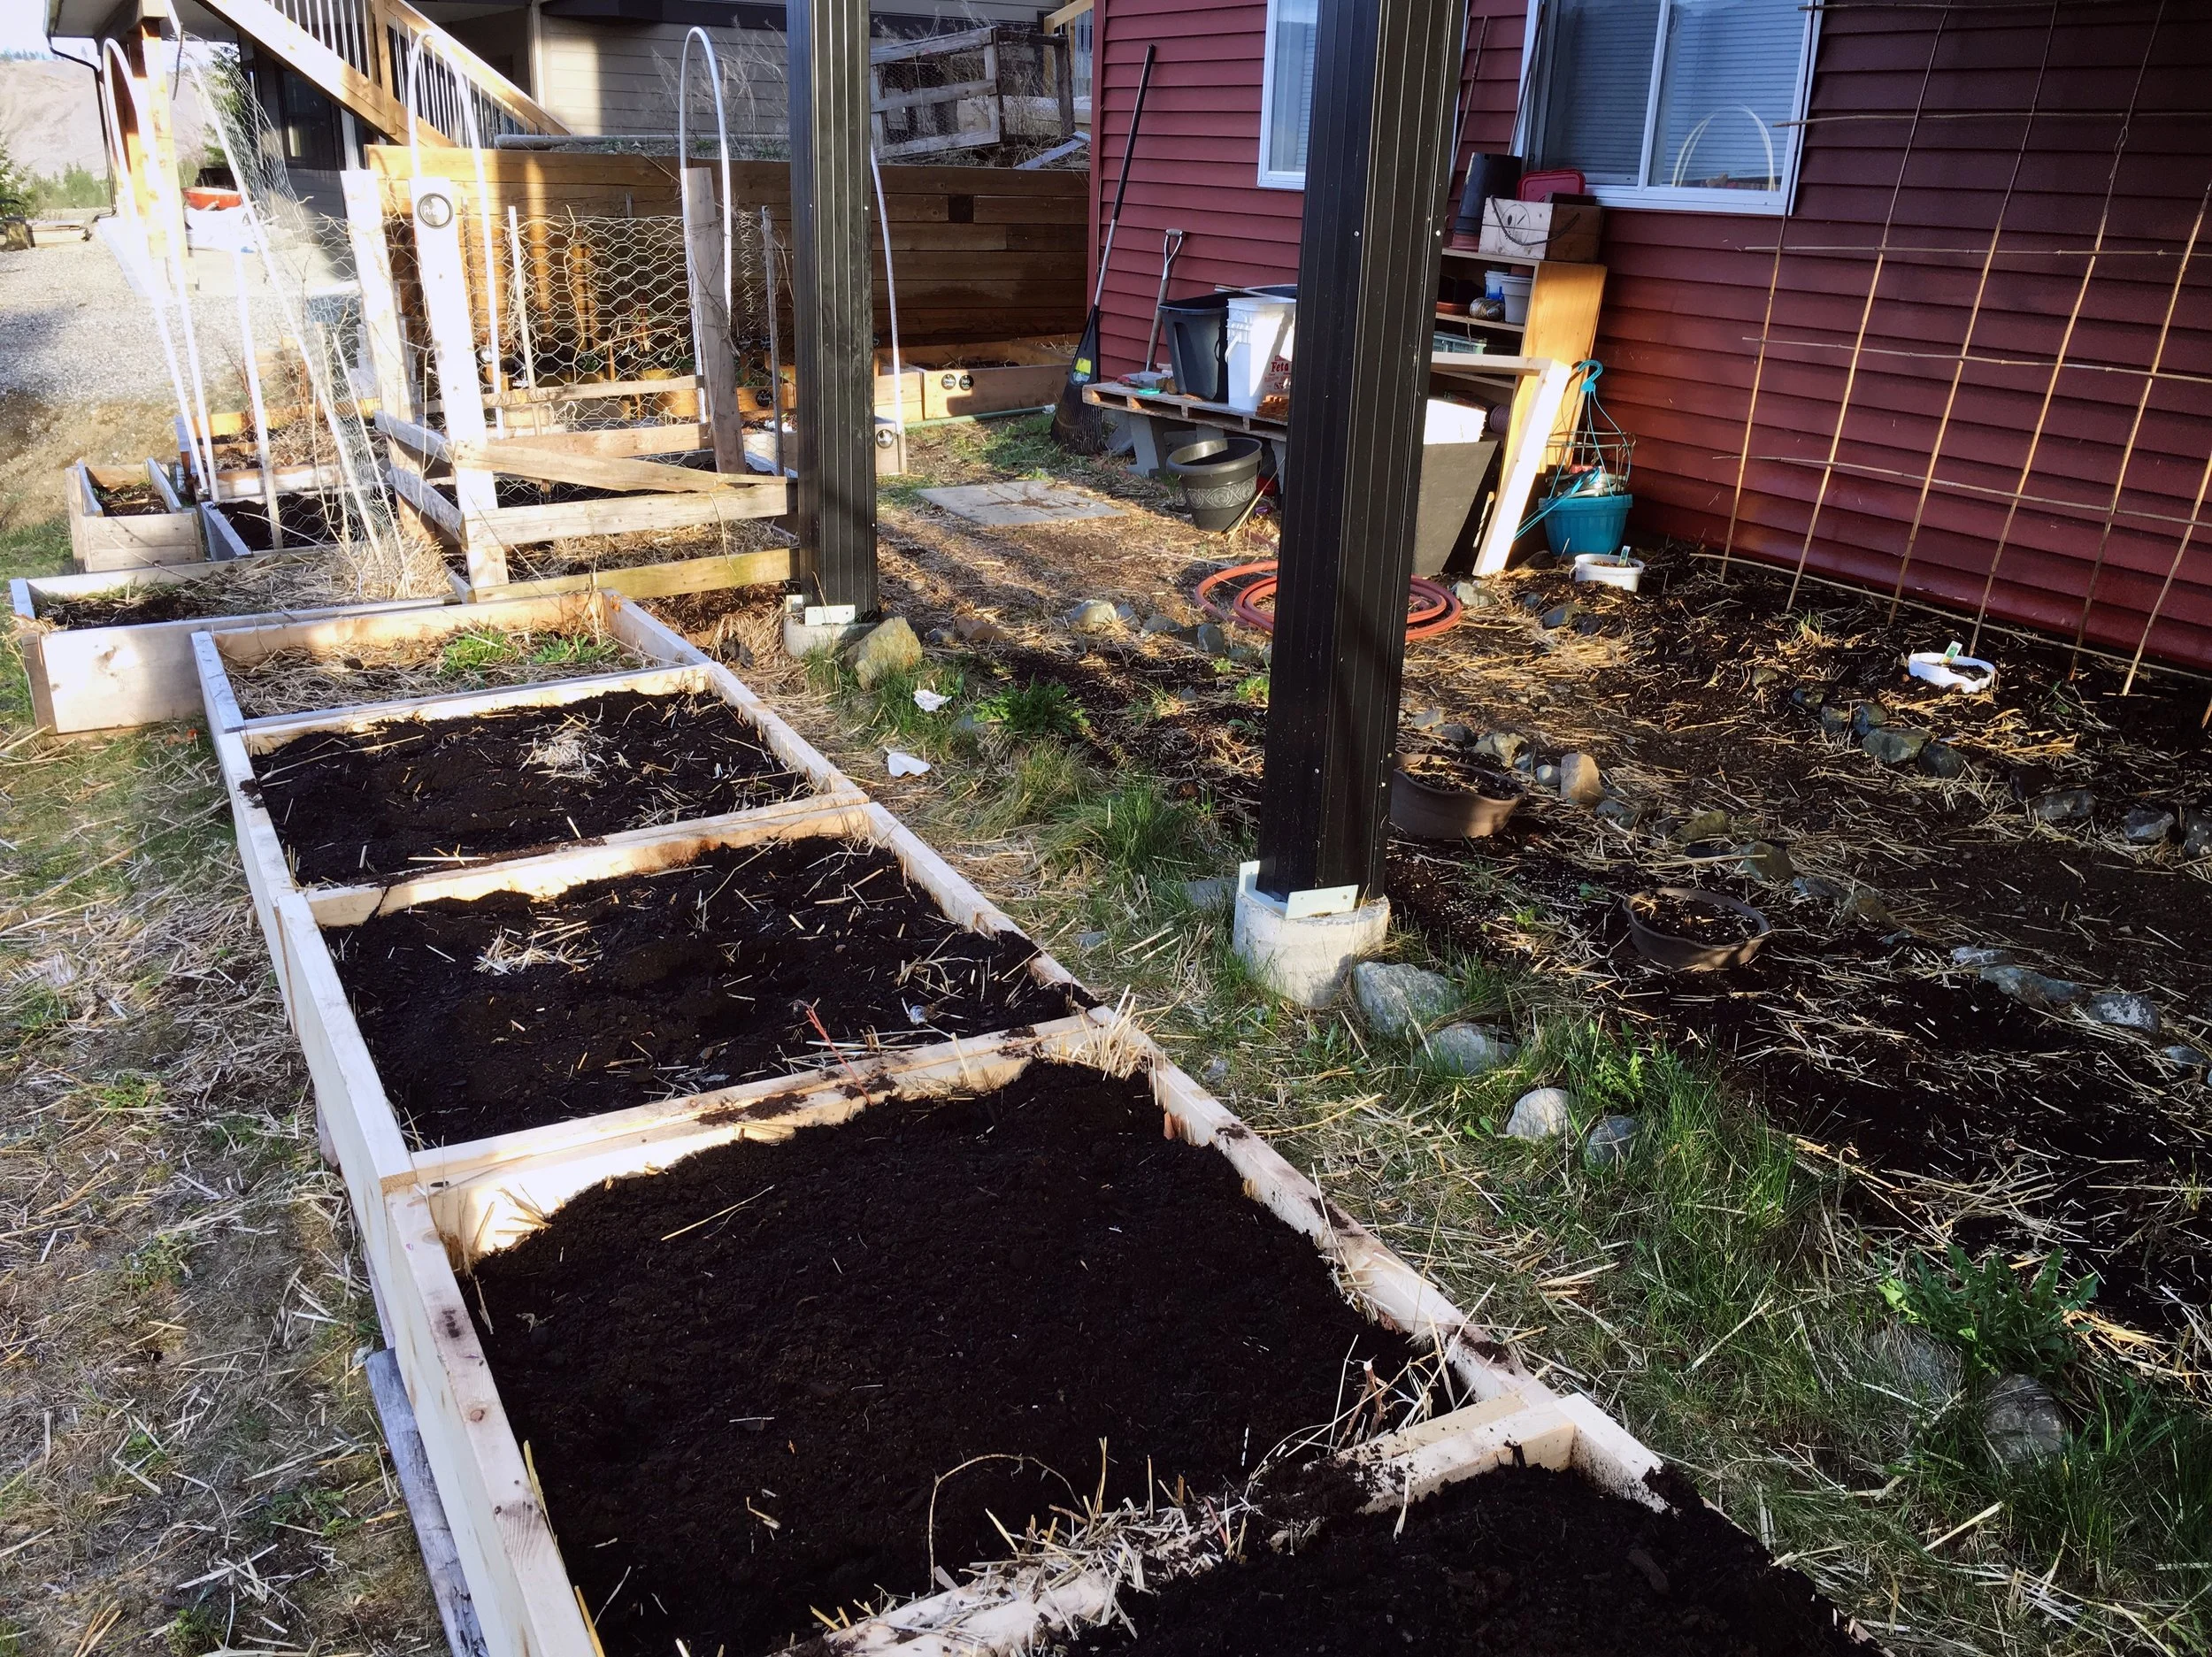
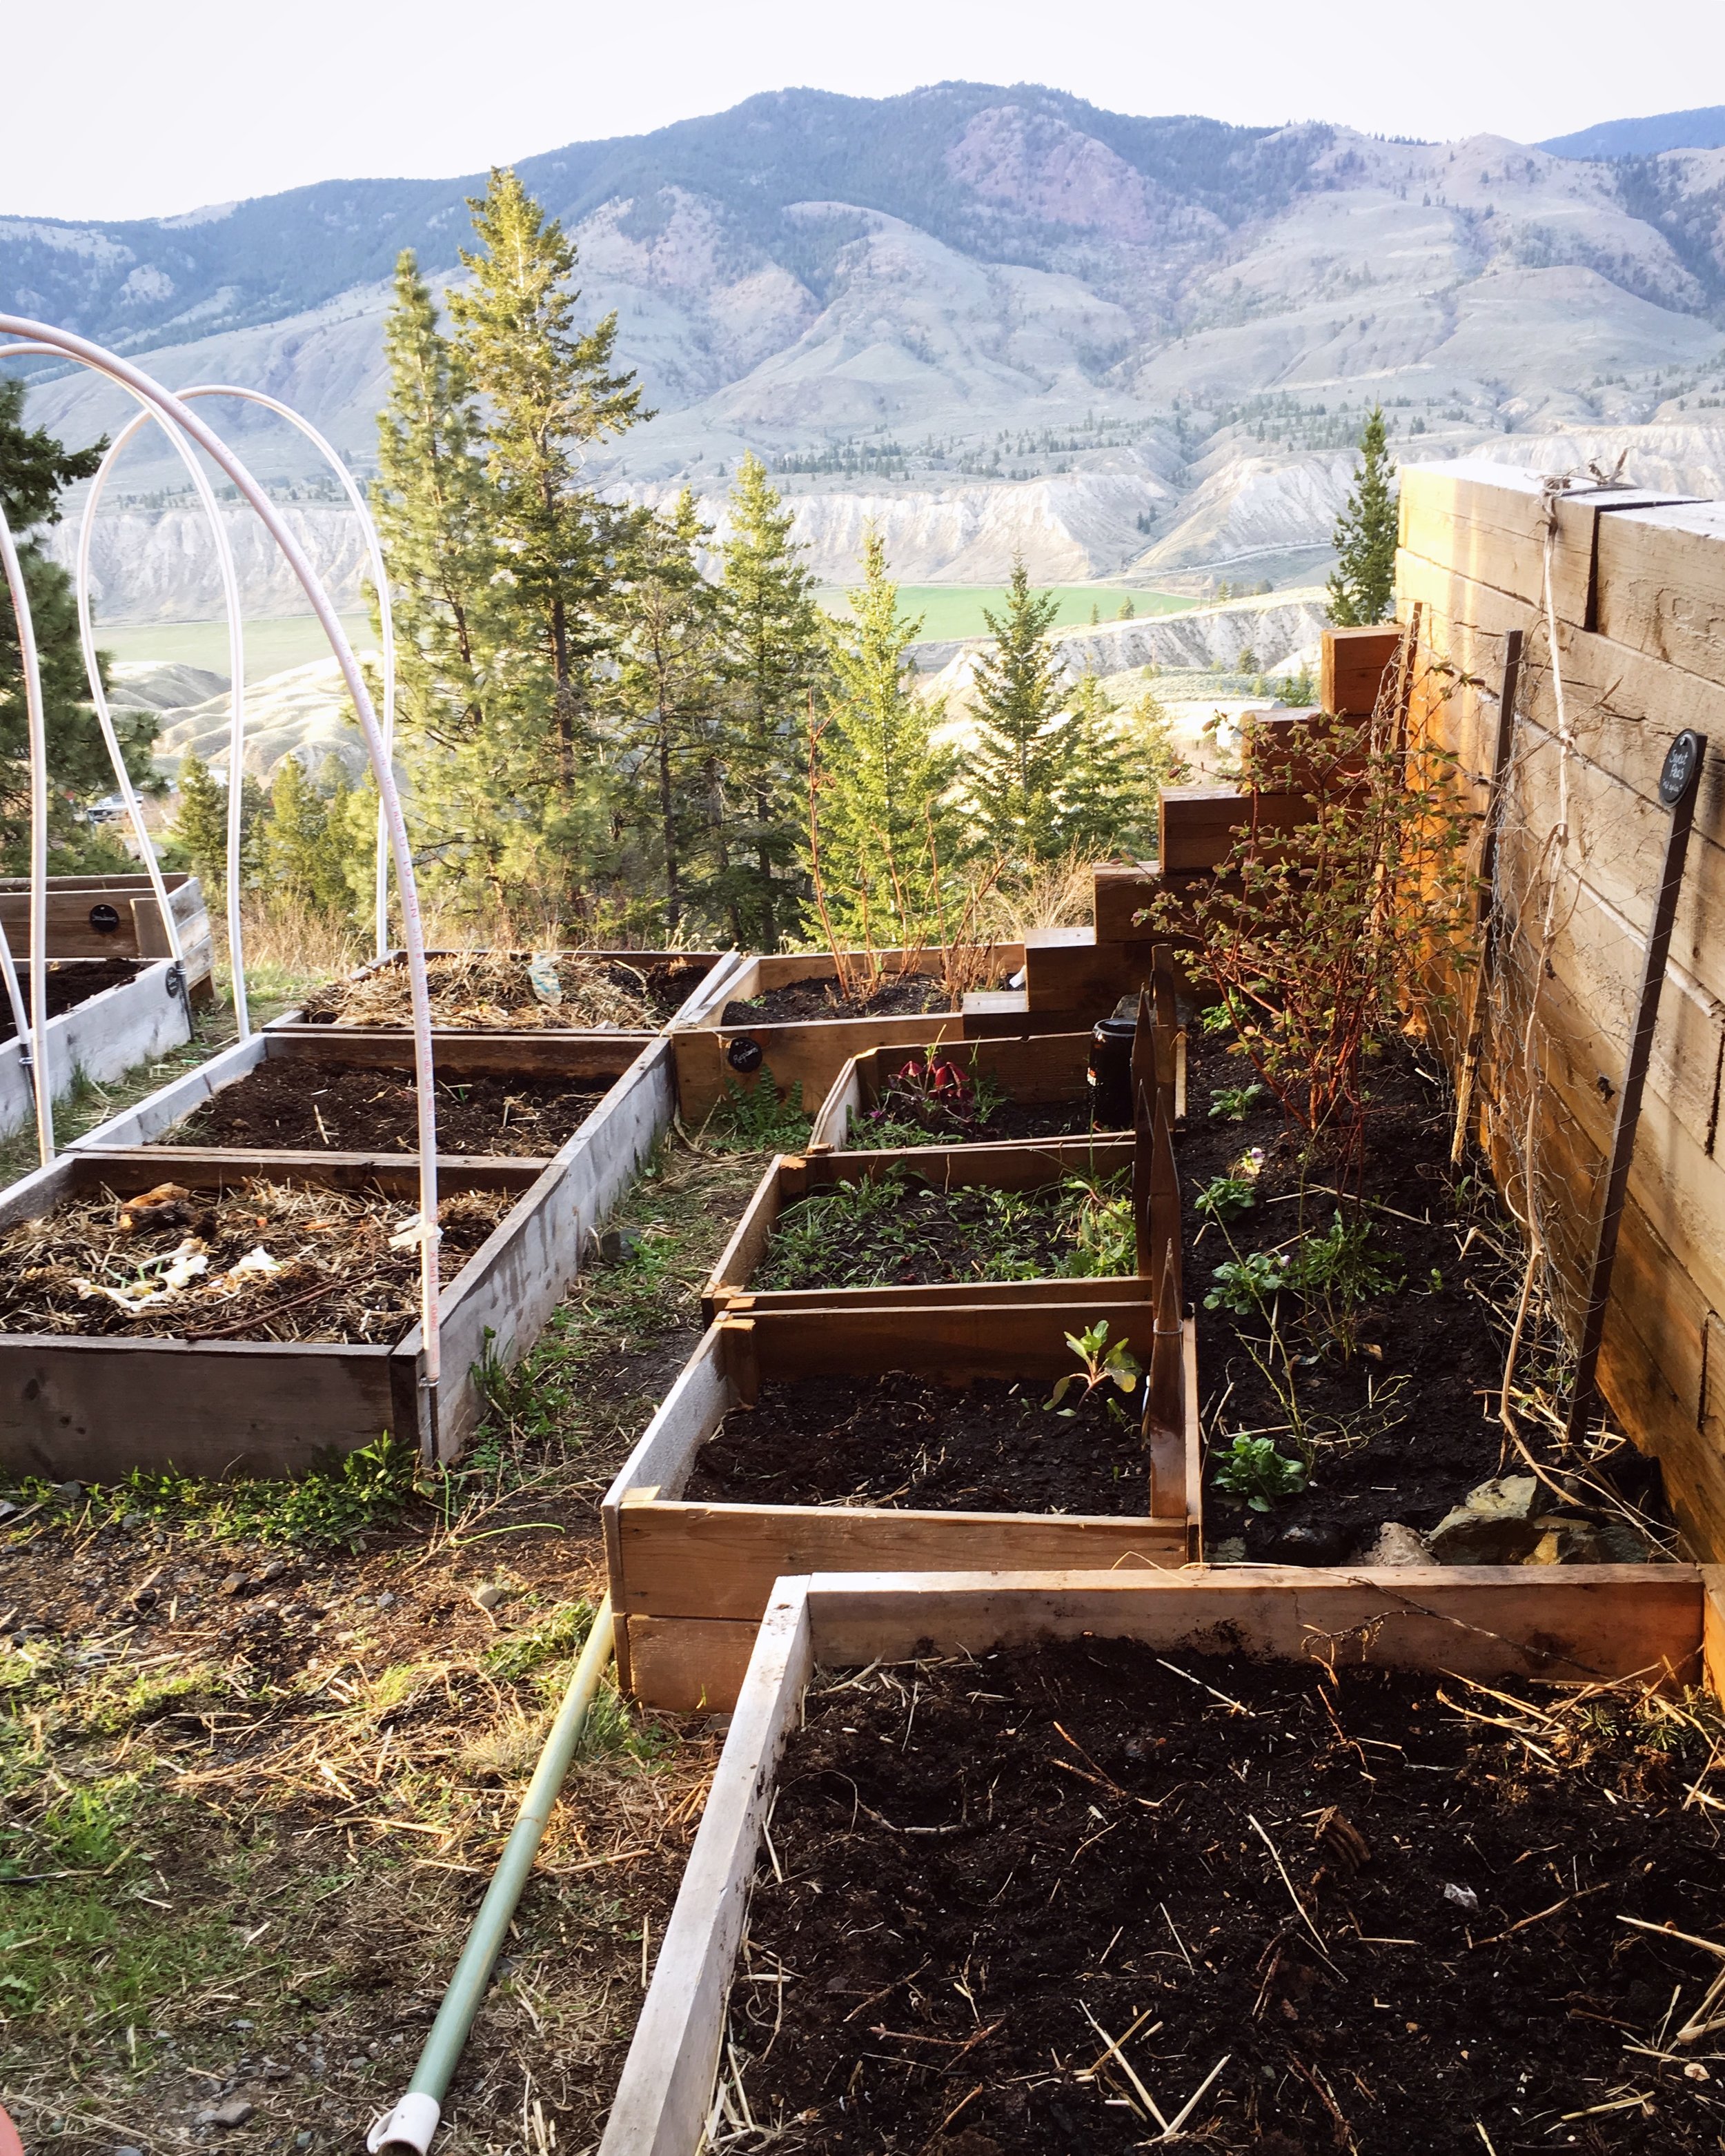
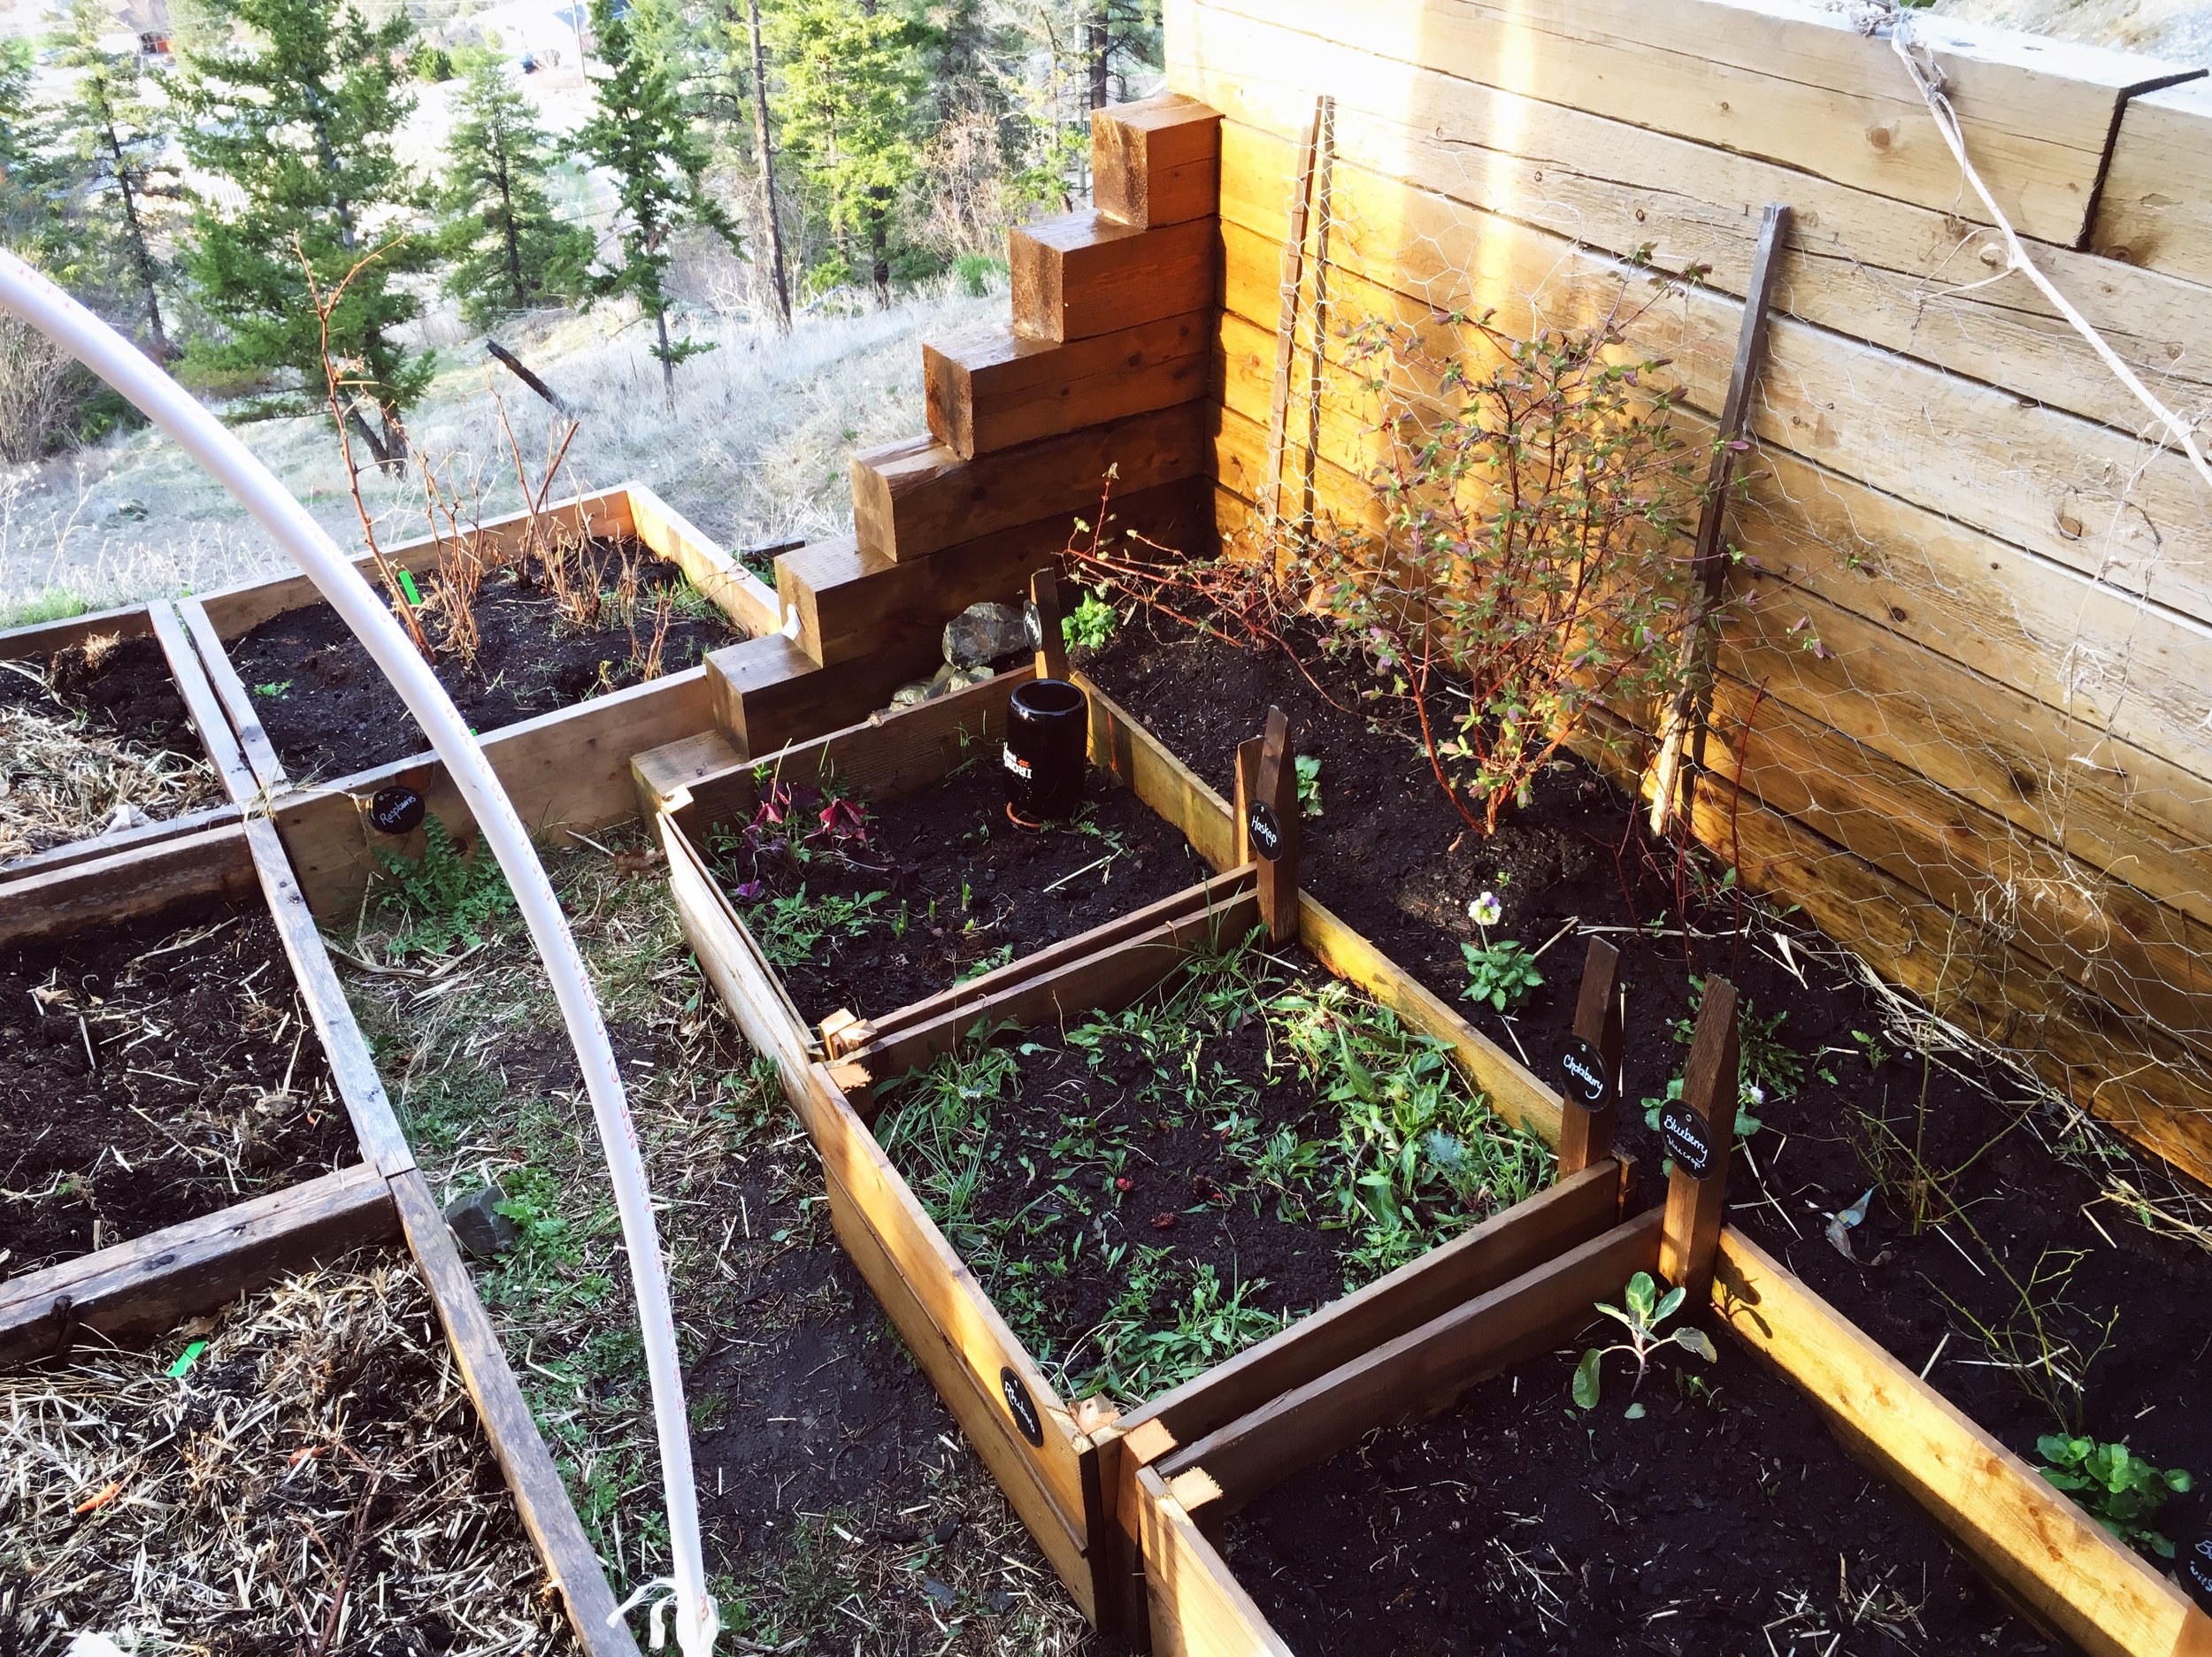
The area I have for my garden is all north facing, so I am having to be creative with how I arrange it, and what I grow.  I am starting a lot of things inside that my neighbours would normally succeed with by direct seeding.  We've been adding on a few raised beds each season, so the layout evolved organically.  In the photo above you can see the four newest additions.  I think we have room for one more (beside the furthest bin in the left photo below).  Since we are tenants, we wanted everything to be affordable, and easy to dismantle in the event that we needed to move out.  We chose to make all of our raised beds without bottoms or lining of any kind so we can simply unscrew them, spread out the beautiful soil, and reseed with grass.  If you follow me on Instagram you can see the process of how I put them together in my saved stories.  We buy 10"x2"x12' boards from the hardware store and each bin is one board.  It's not the most elegant solution, but it's very affordable, and keeps things in small, manageable sections.  It's also easy to walk across, or stand on their walls if I need to reach something, or don't want to walk all the way around a path.

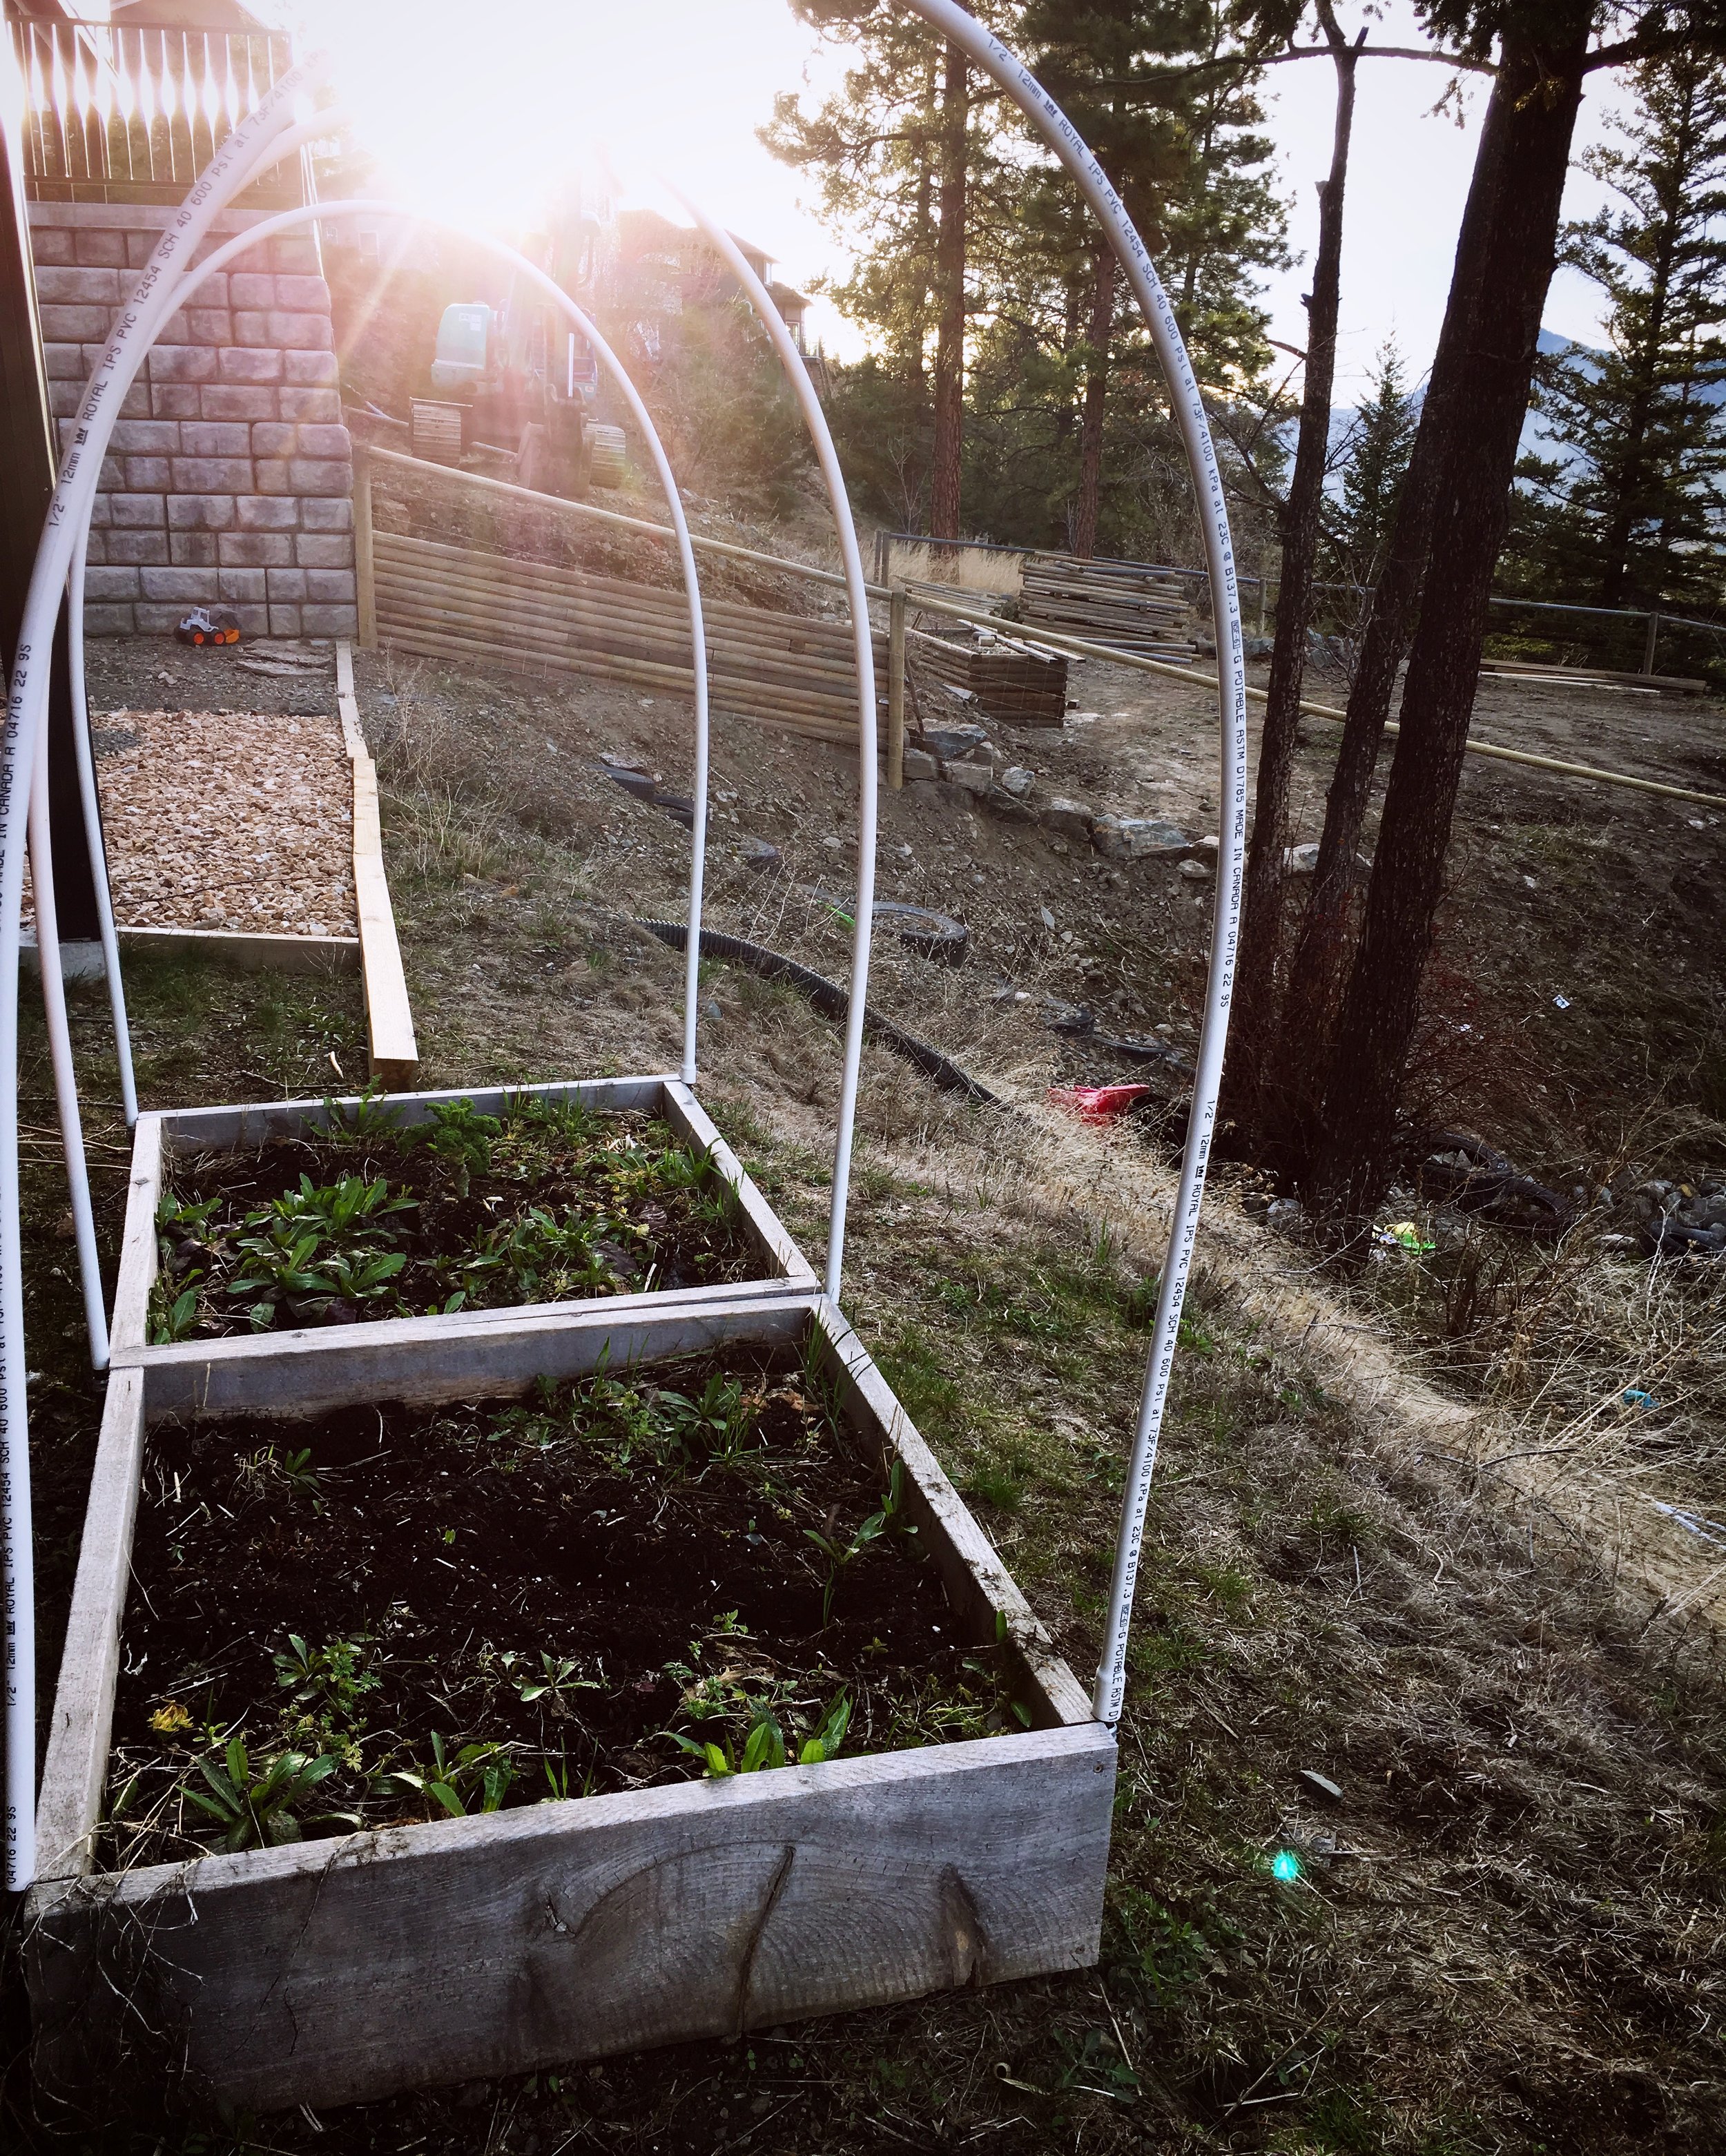
You'll notice that a few of the beds have PVC pipe hoops over them.  We were planning on doing some poly tunnels over a few of them to extend the growing season last winter but ran out of time.  I'll be using them as trellises for the vining plants this summer, and then we'll do them as low tunnels this coming winter and see what we can overwinter.

IMG_8862.JPG
IMG_8867.JPG

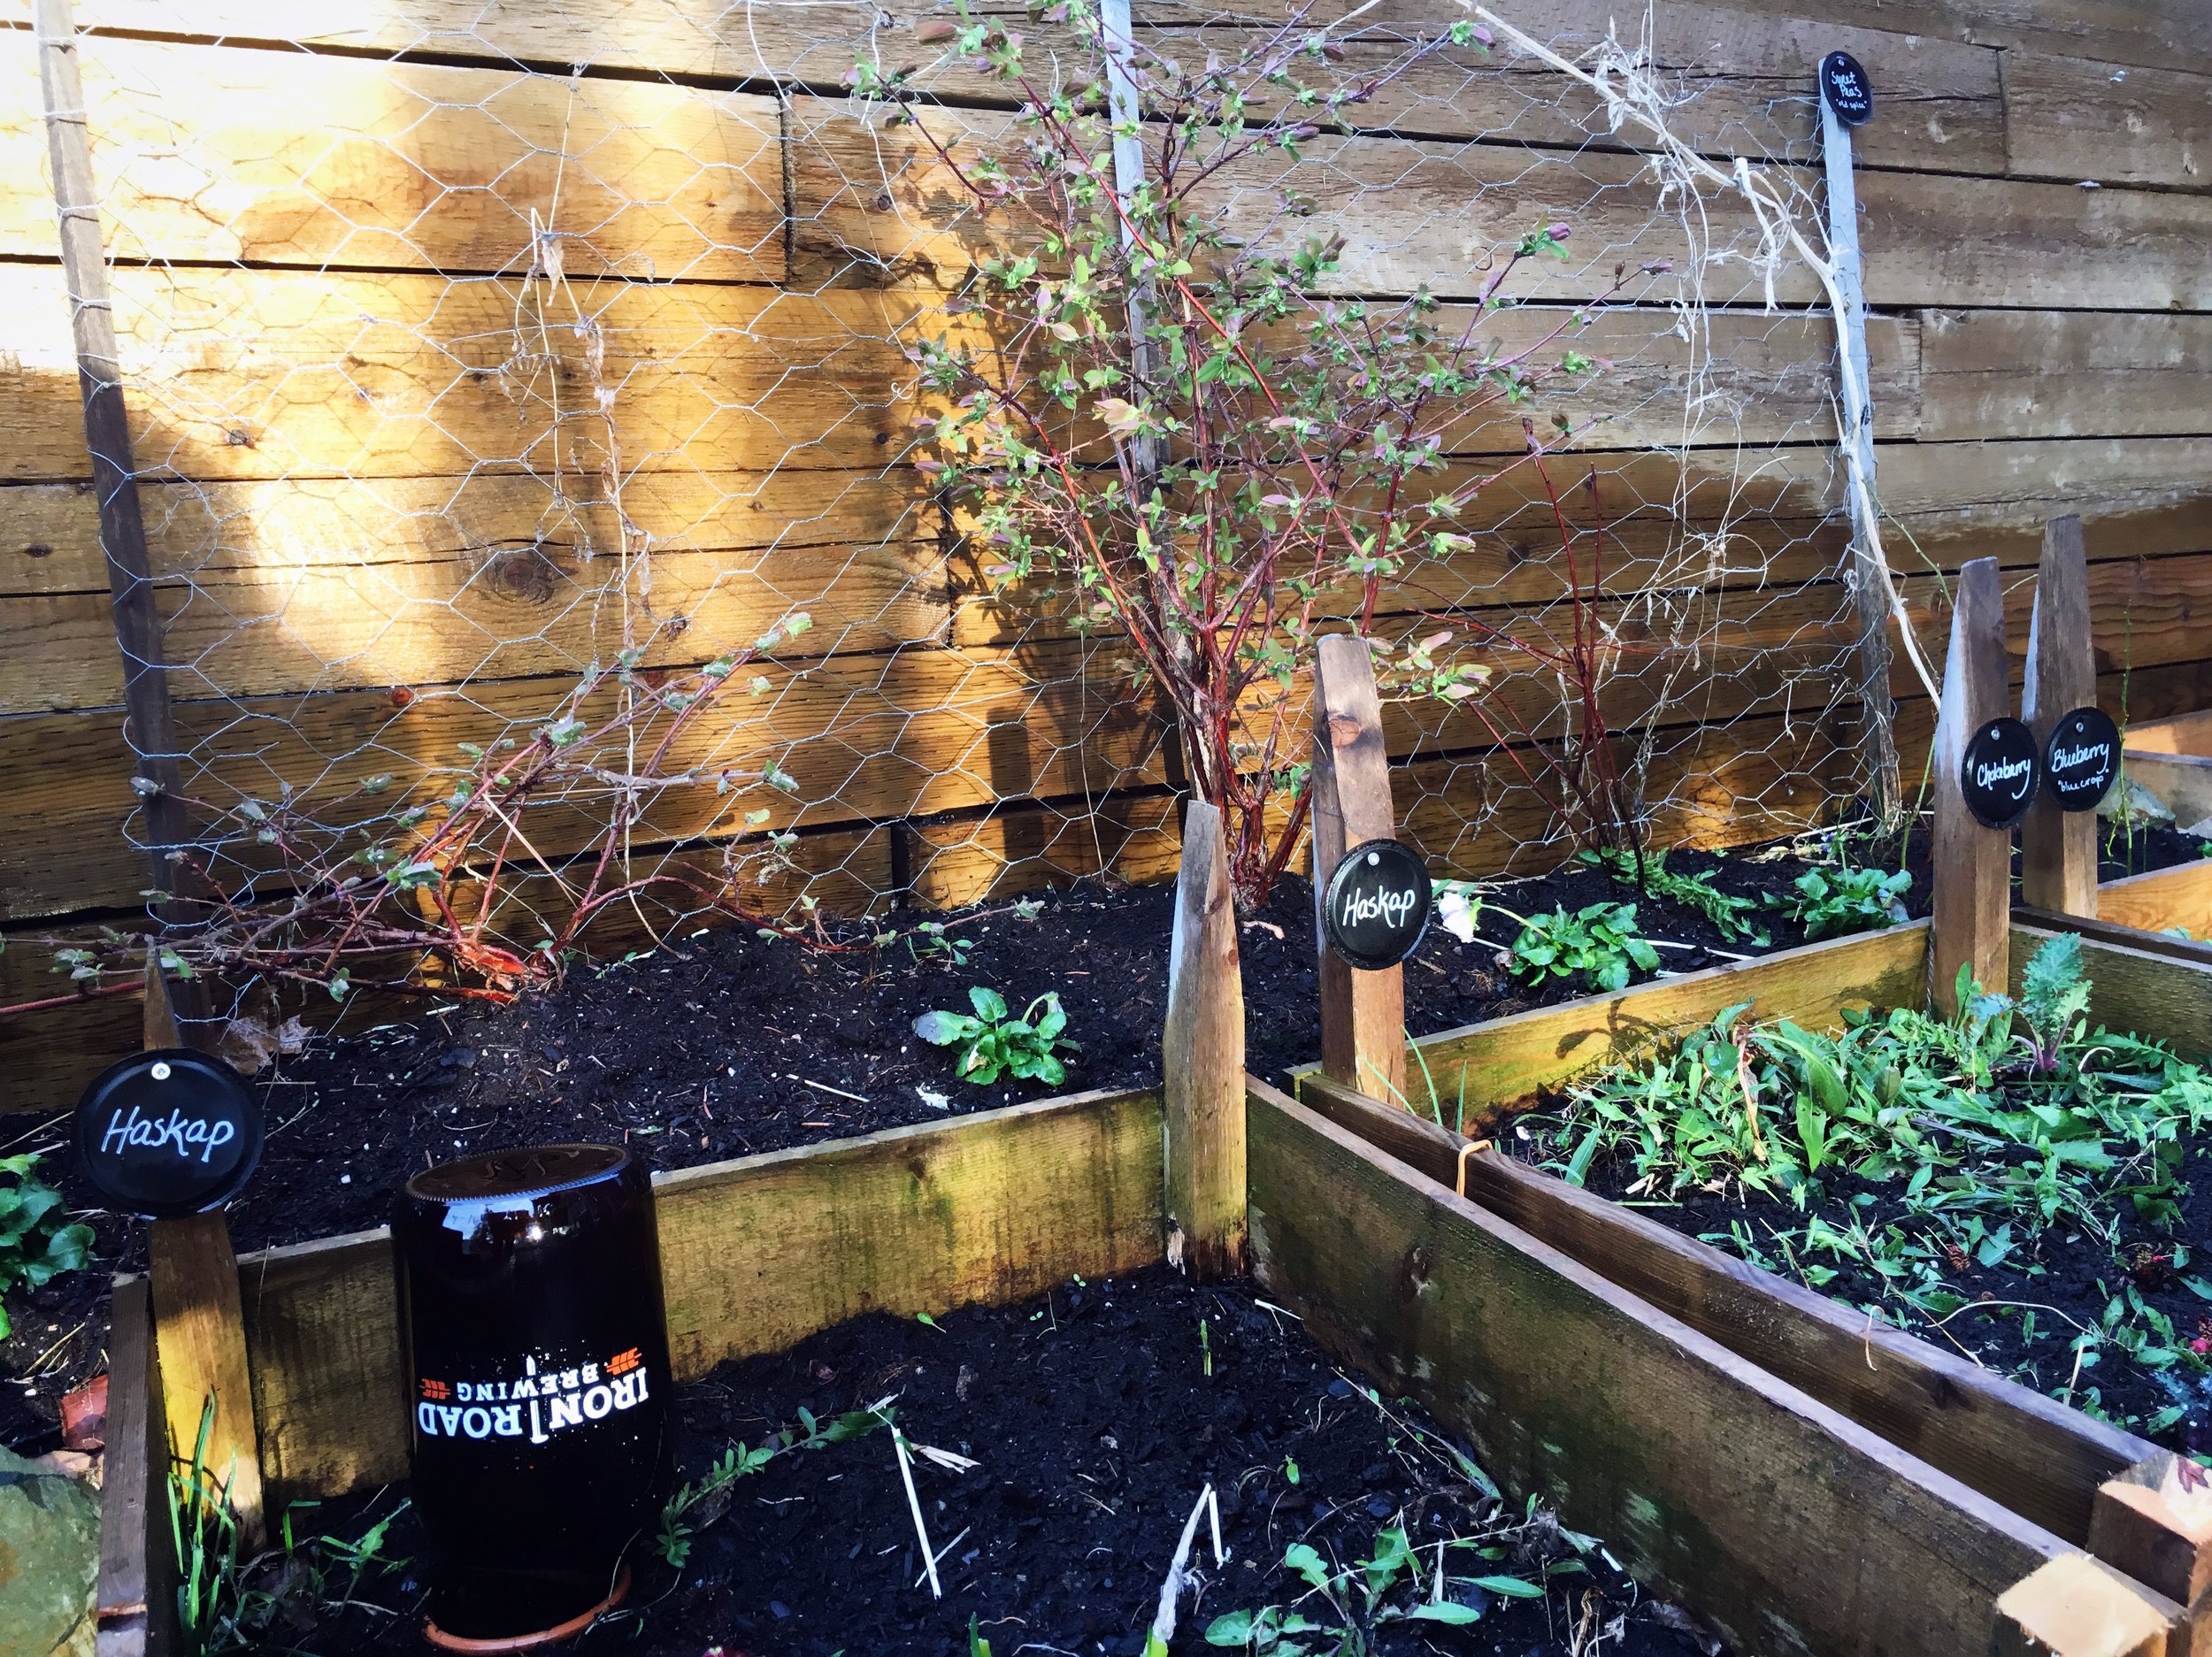
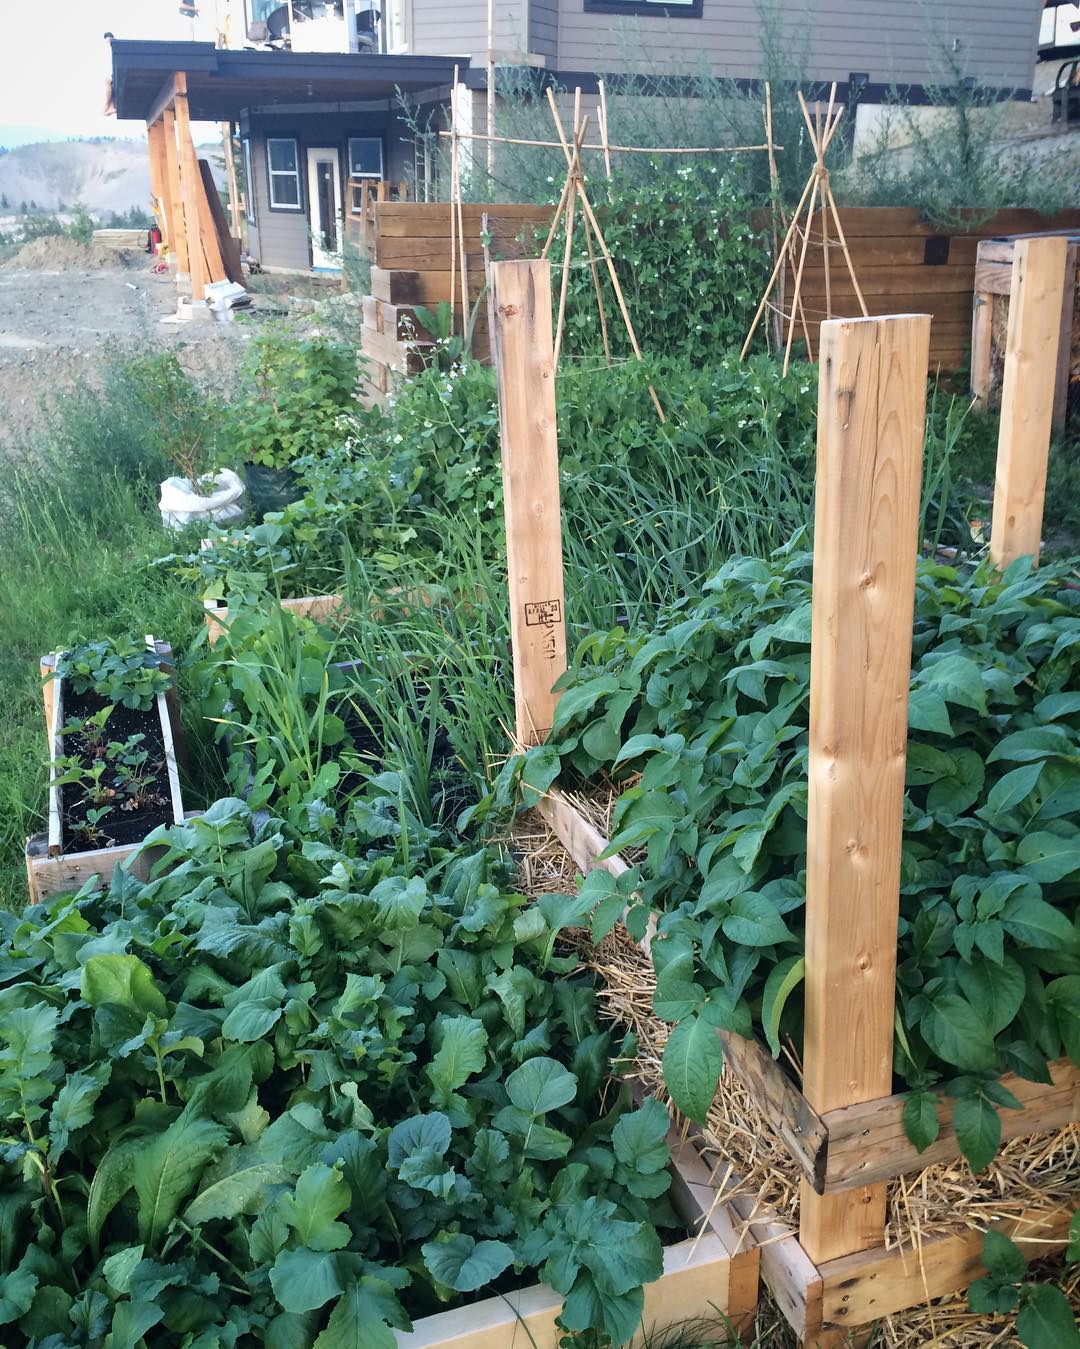
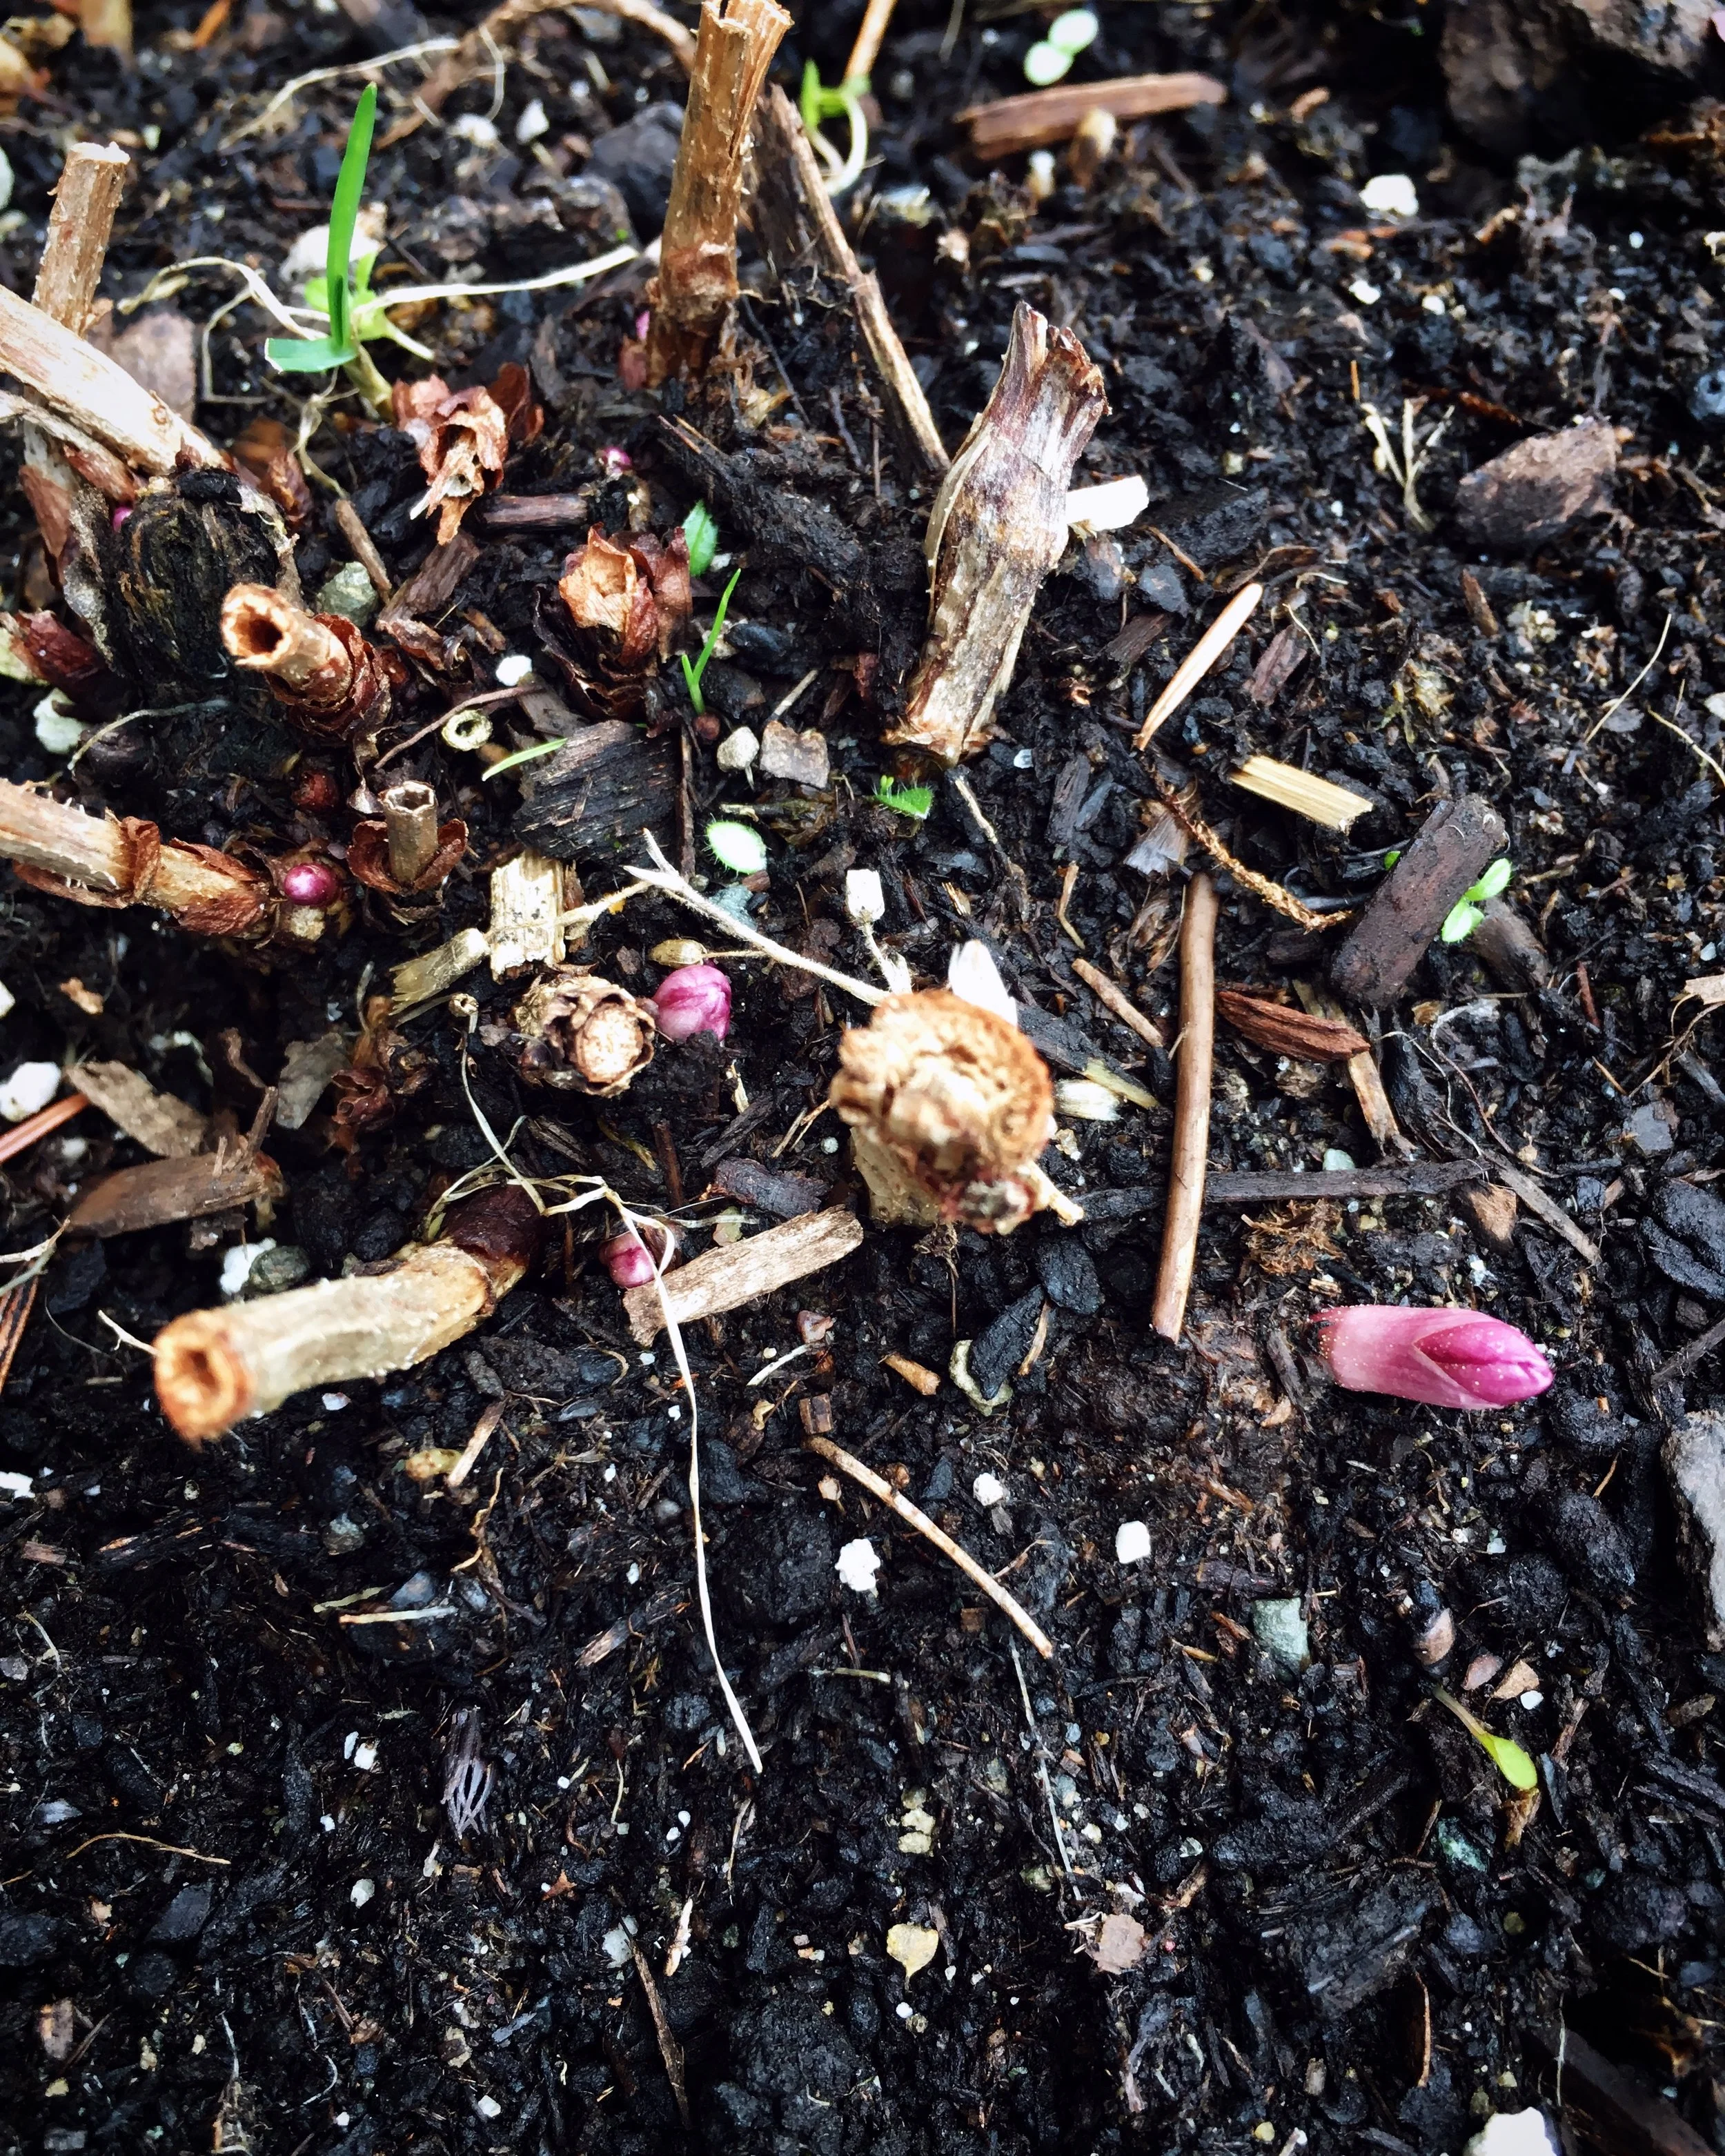
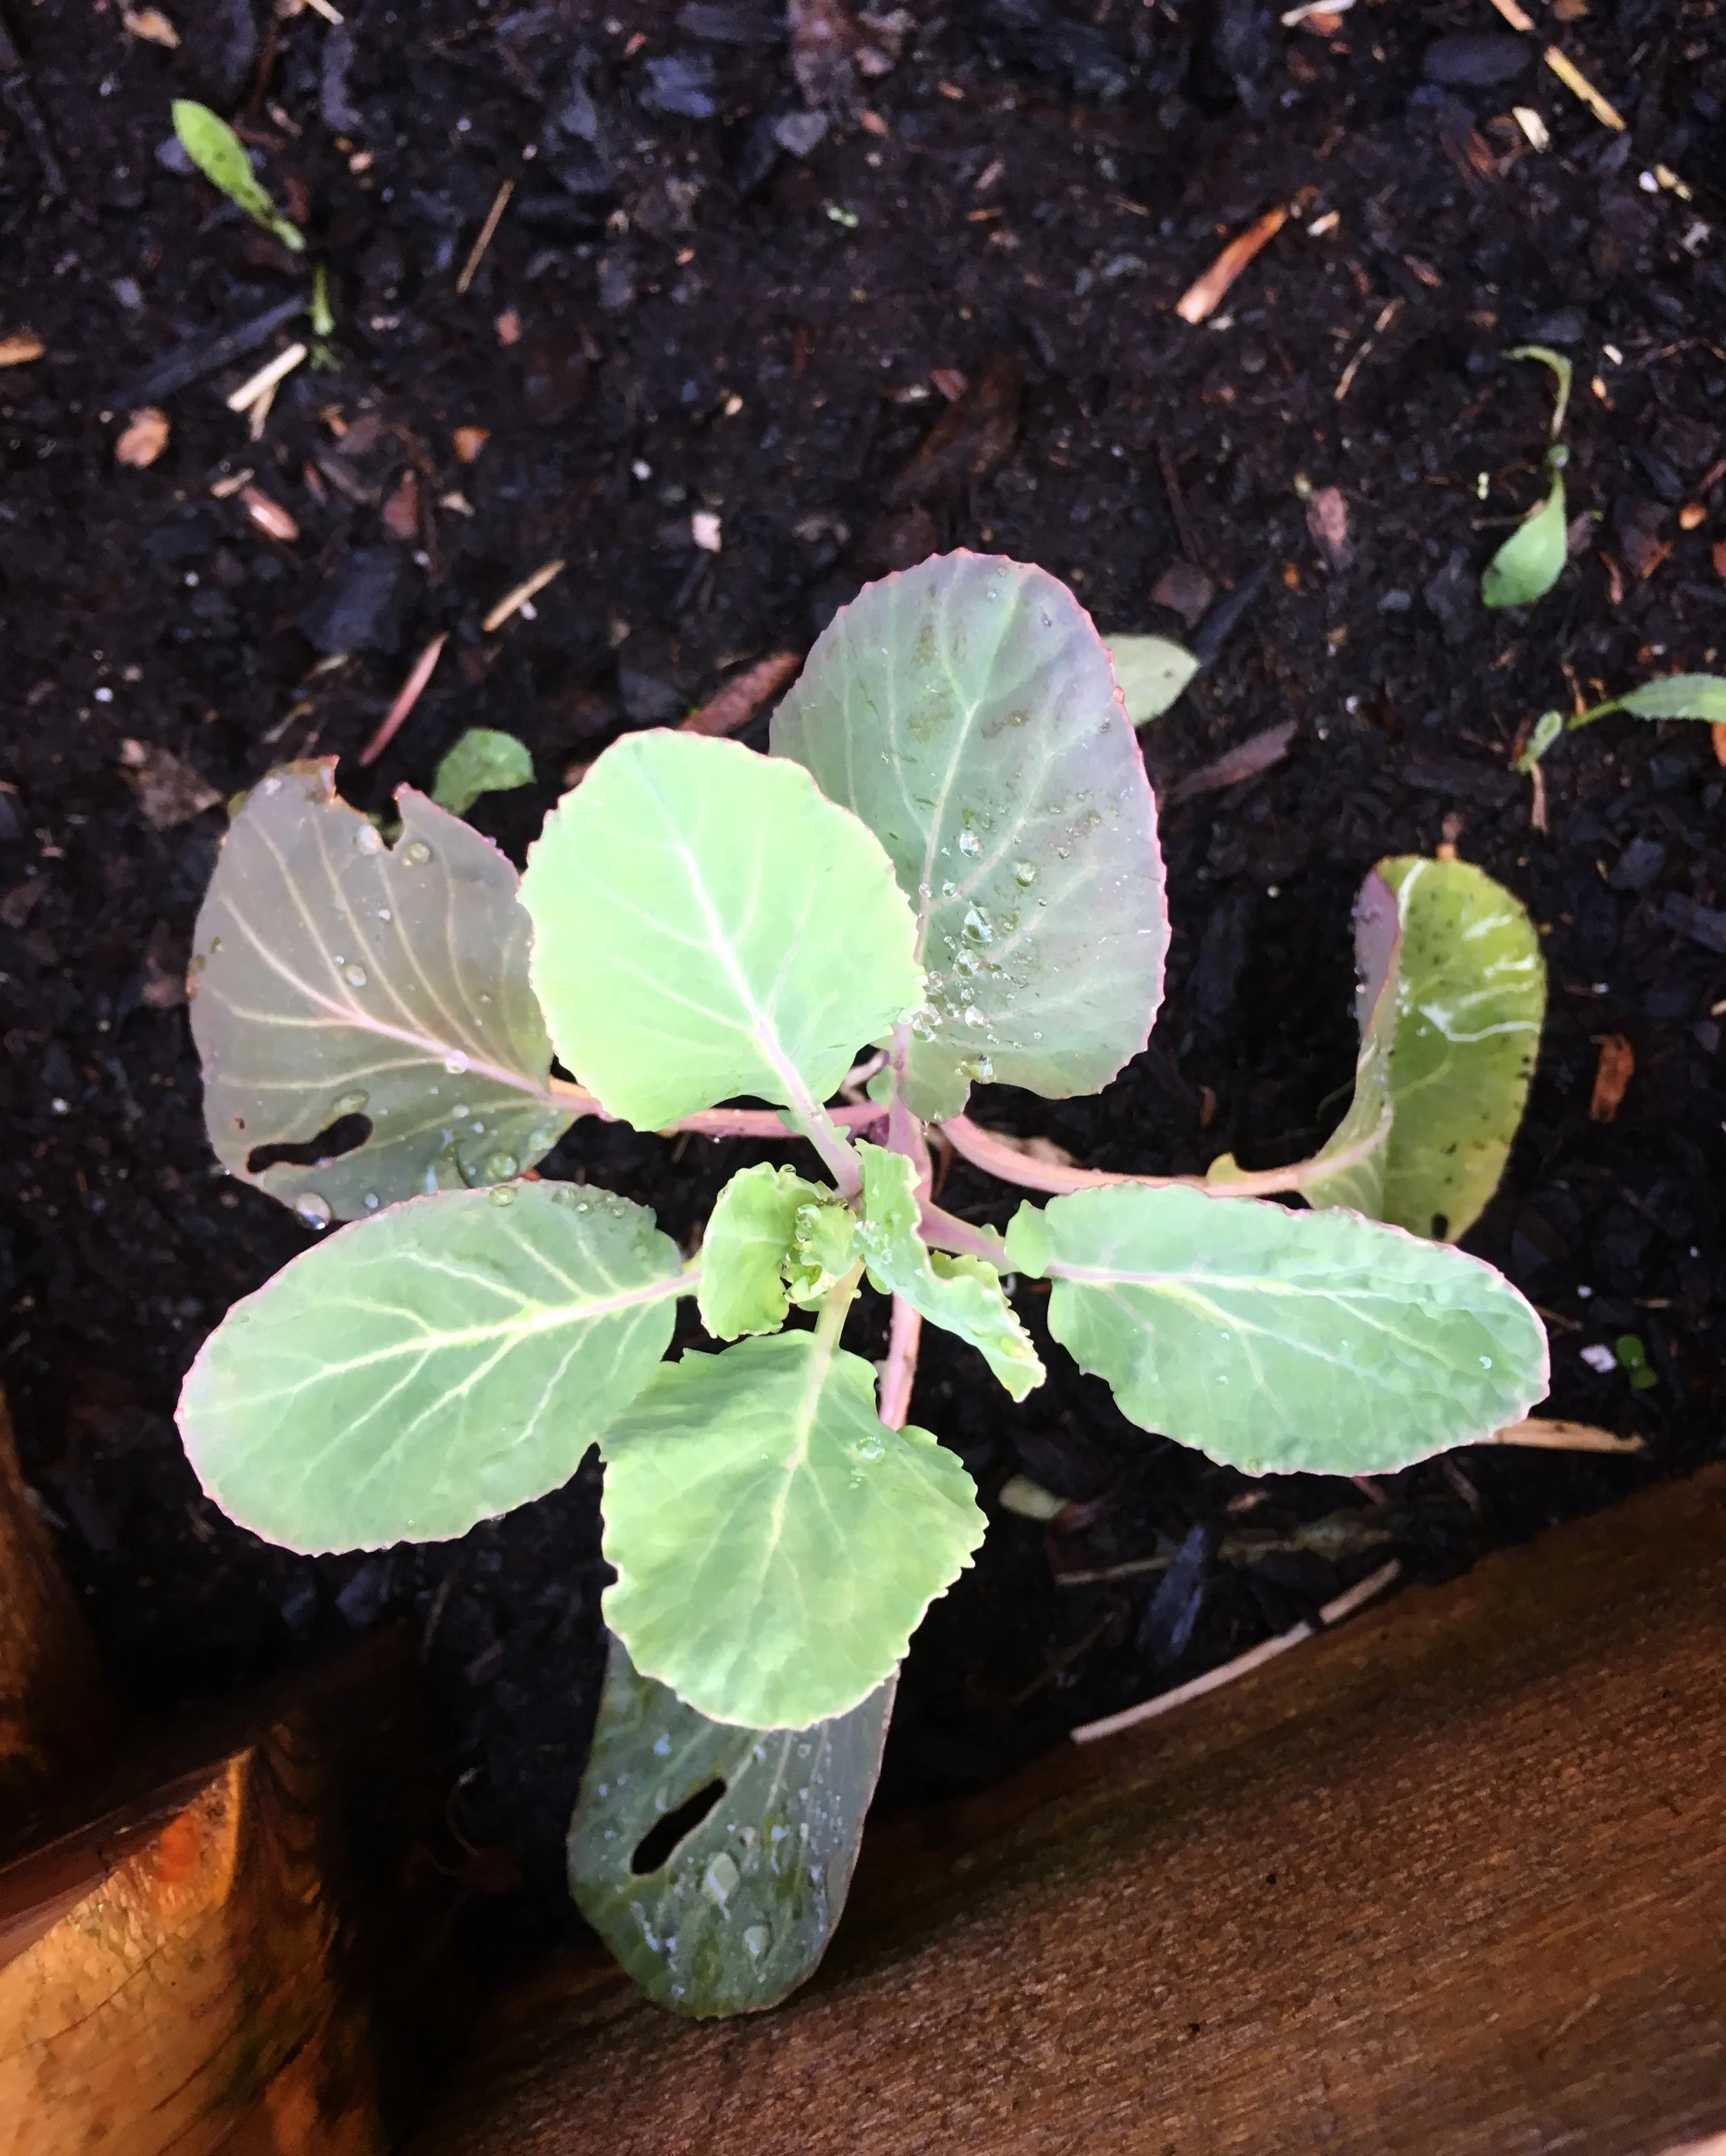
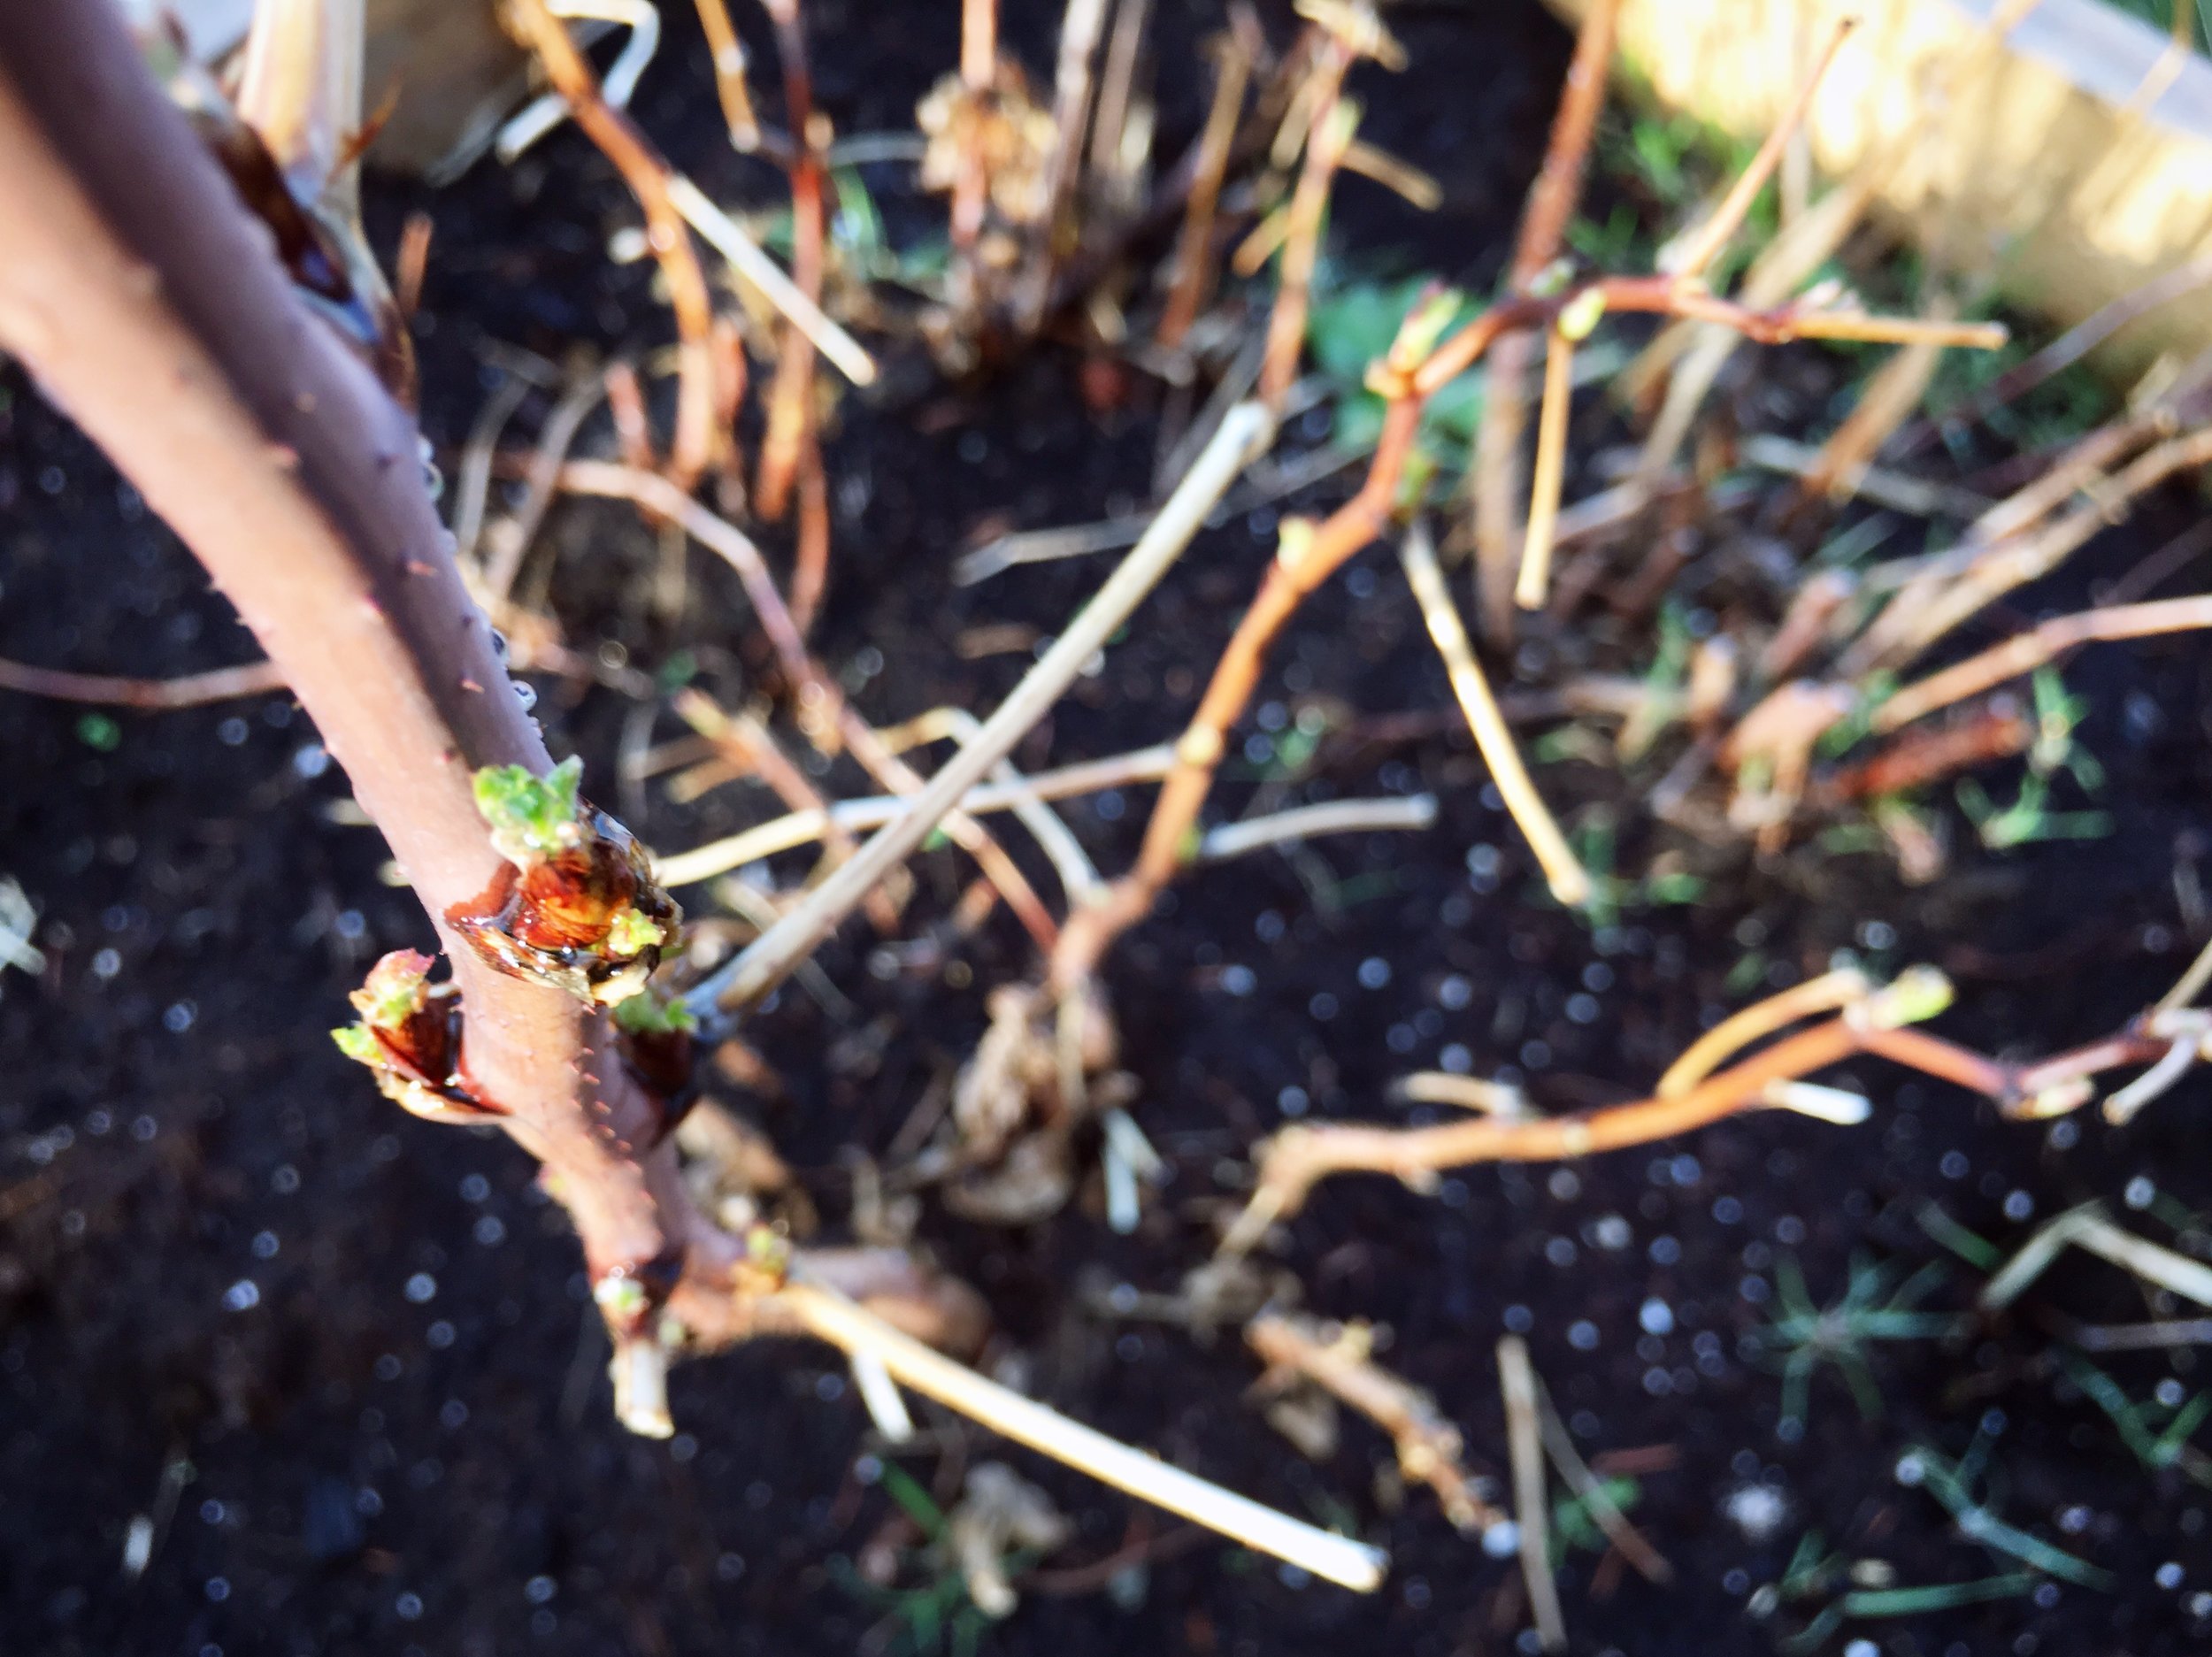
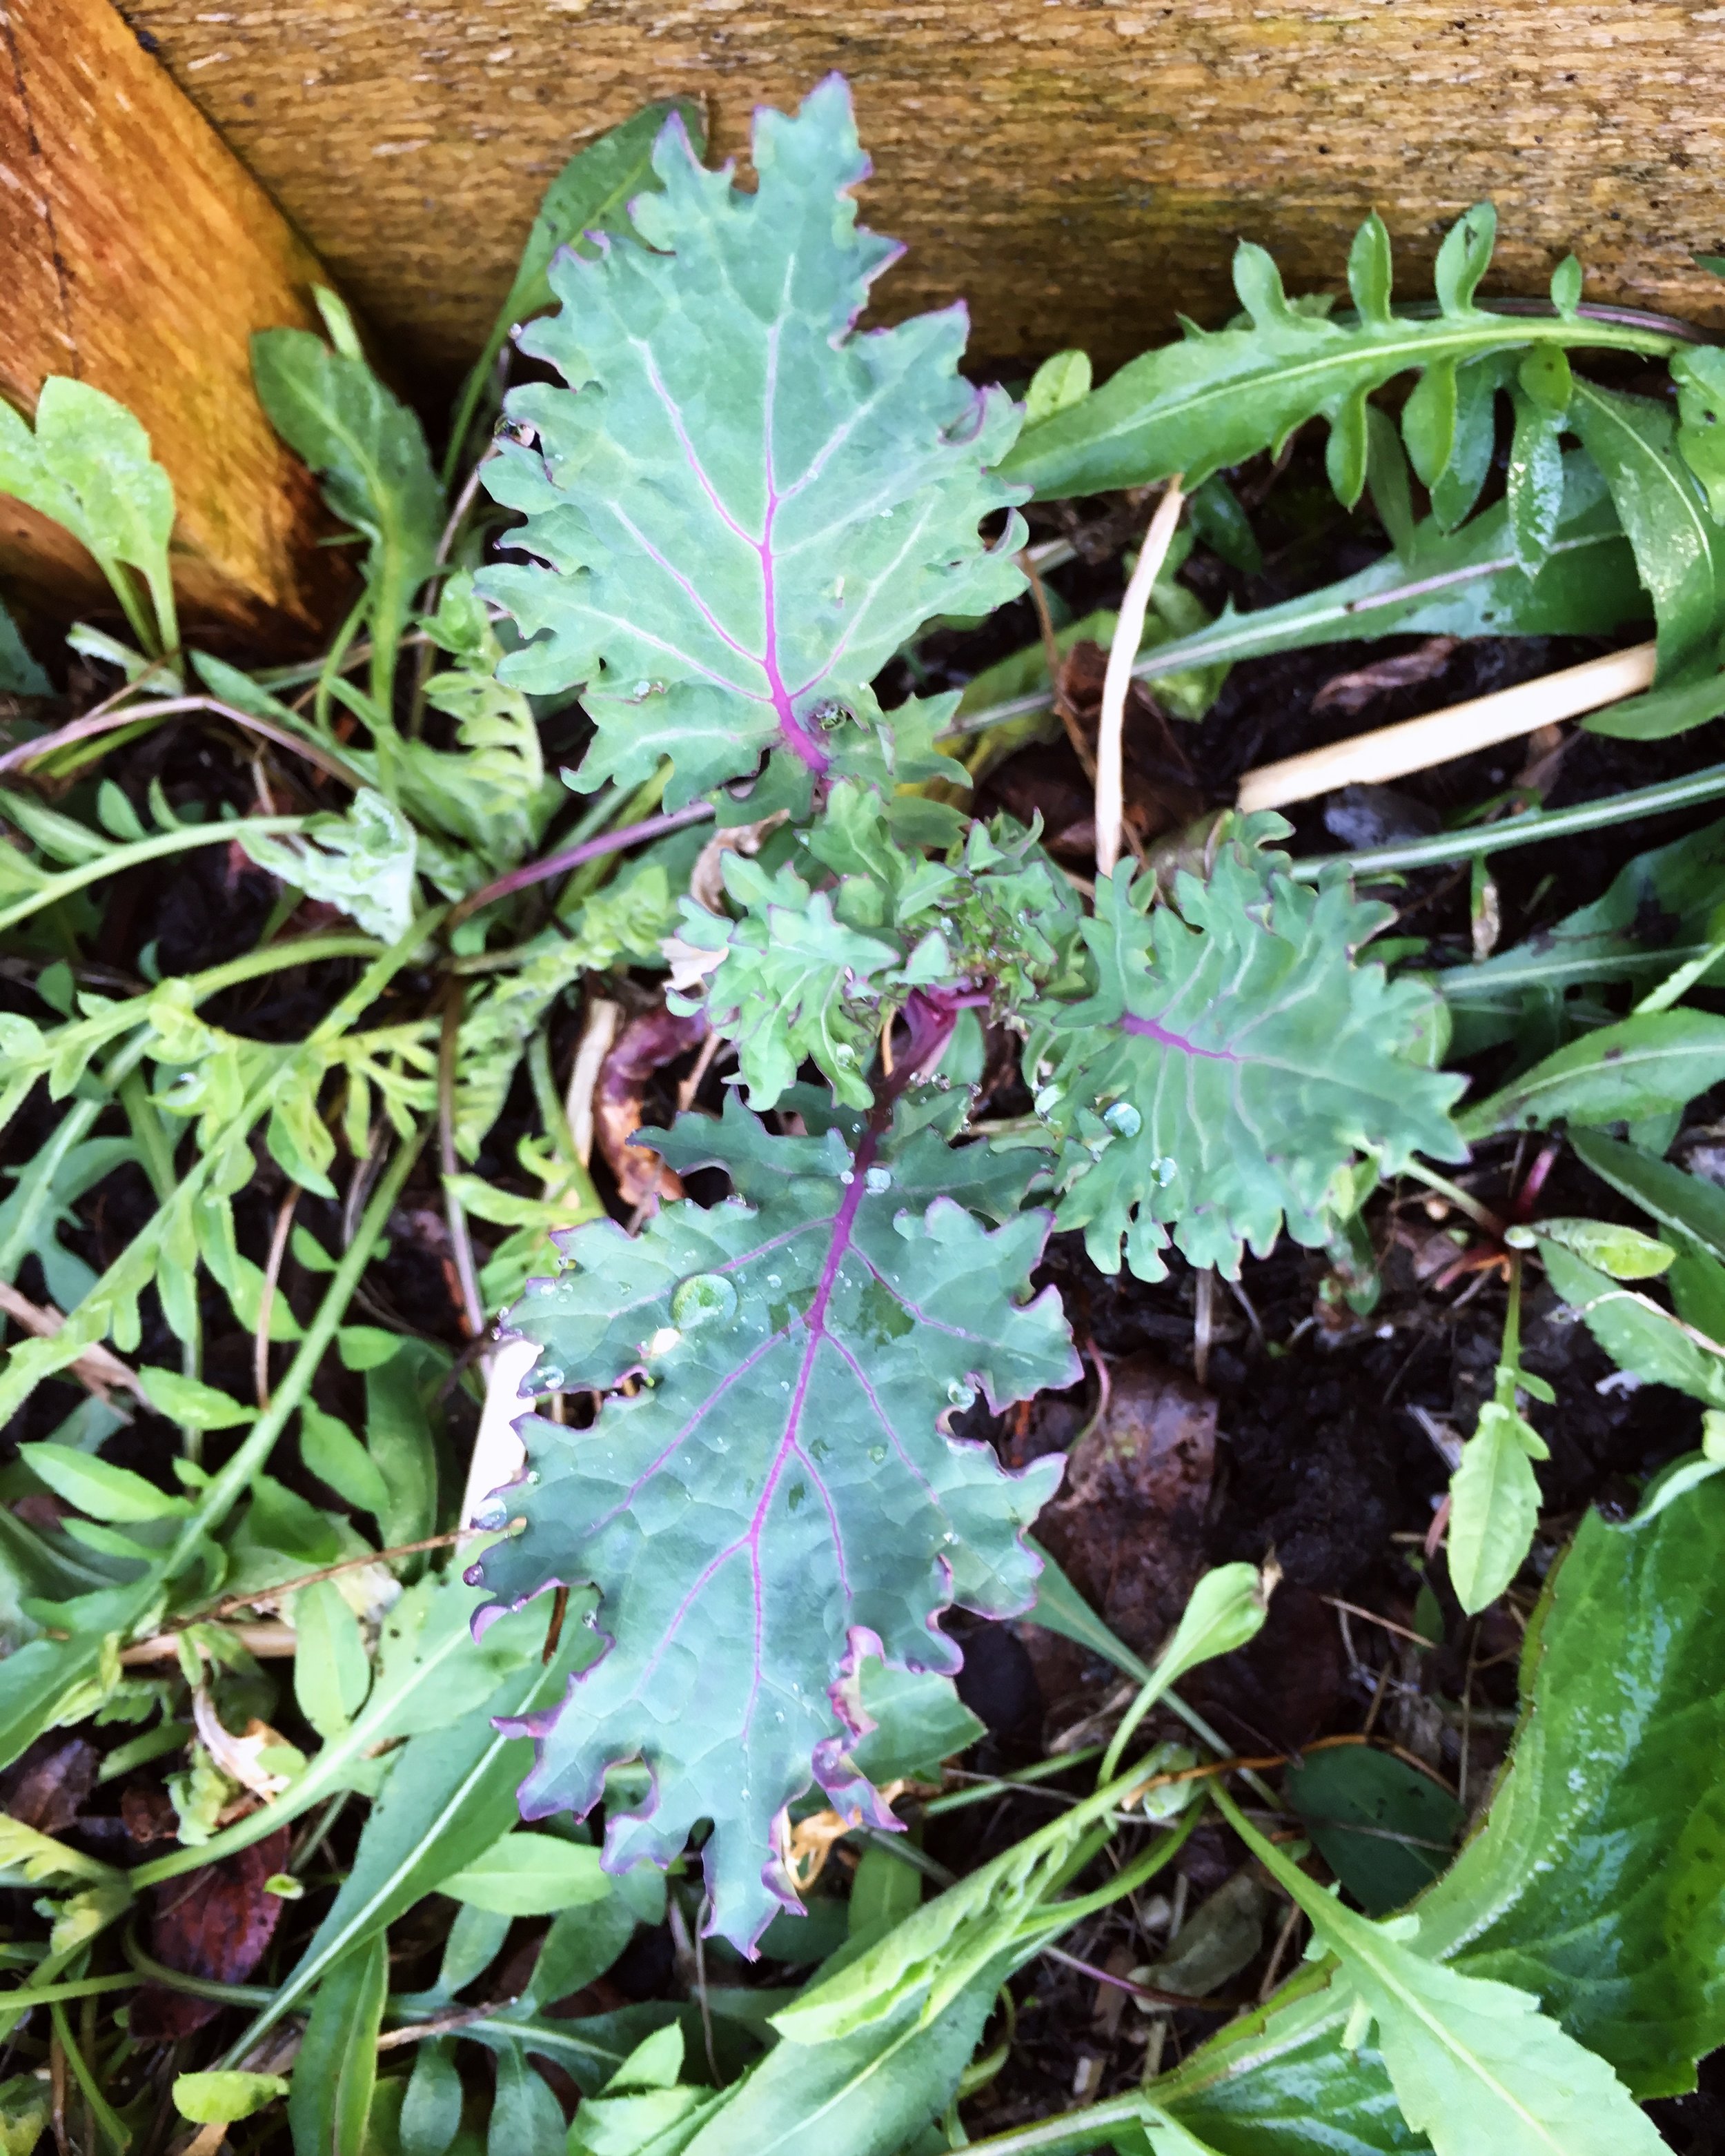
So far there isn't all that much planted this year.  I have some perennials - raspberries, bunching onions, strawberries, haskaps, blueberries, rhubarb, mint, chives, hyssop, lemon balm, and yarrow - and a few other things like brassicas that were just put in the ground very recently.  I am excited to see how my haskaps and rhubarb do now that they are well established and in their third or fourth years.  Bunching onions are a recent favourite I got last year from a neighbour who was dividing their plant.  I haven't had very good success with growing regular onions, so having them in the ground, basically ready to eat all the time has been a revelation!  They don't have much of a bulb, so I still buy regular onions, but you can use these any way you would use a spring onion, or a shallot.

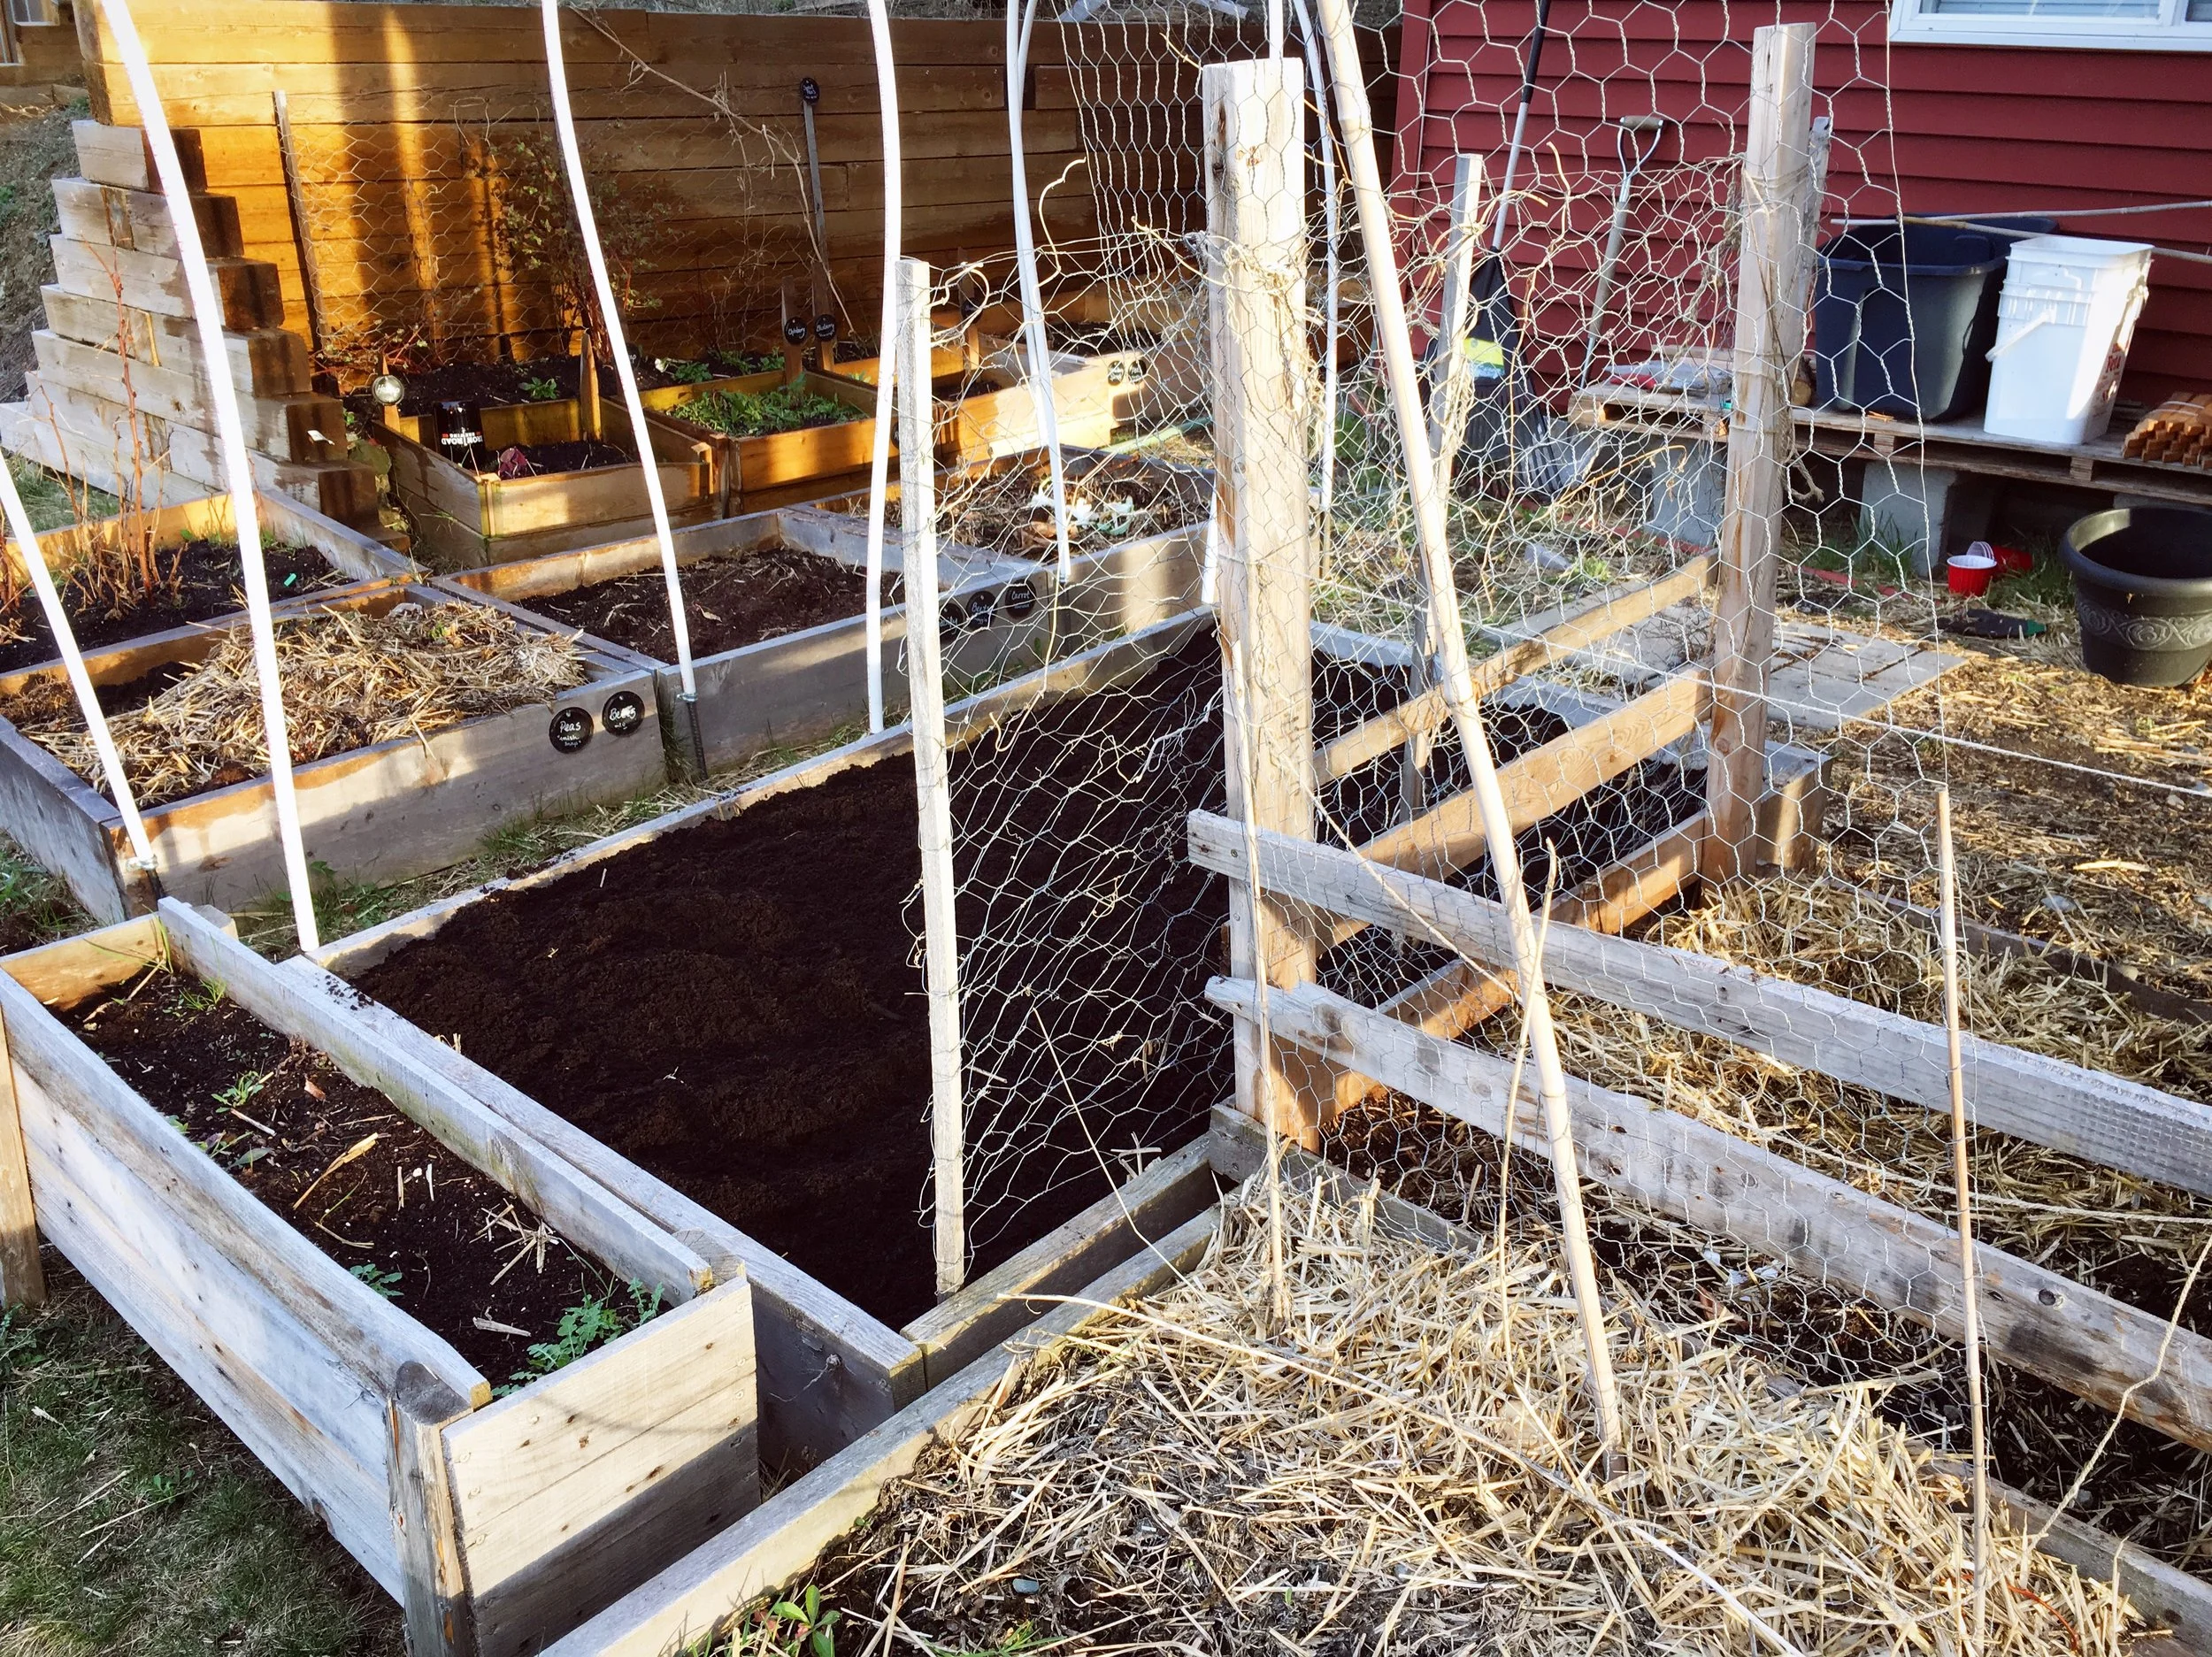
In the above photo you can see a few of our bins that don't match our other basic square ones.  The three small ones near the wall were made for me by a friend from Church who had some spare wood and wanted to make some for me.  The really long raised bed is one we did before we realized that it is really hard for me to reach all the way to the back of it - especially now that we have the potato bin and other beds blocking the access from a few directions.  I also filled in the space behind the three small bins with dirt for some perennial berry bushes.  You can see this better in the photo below.

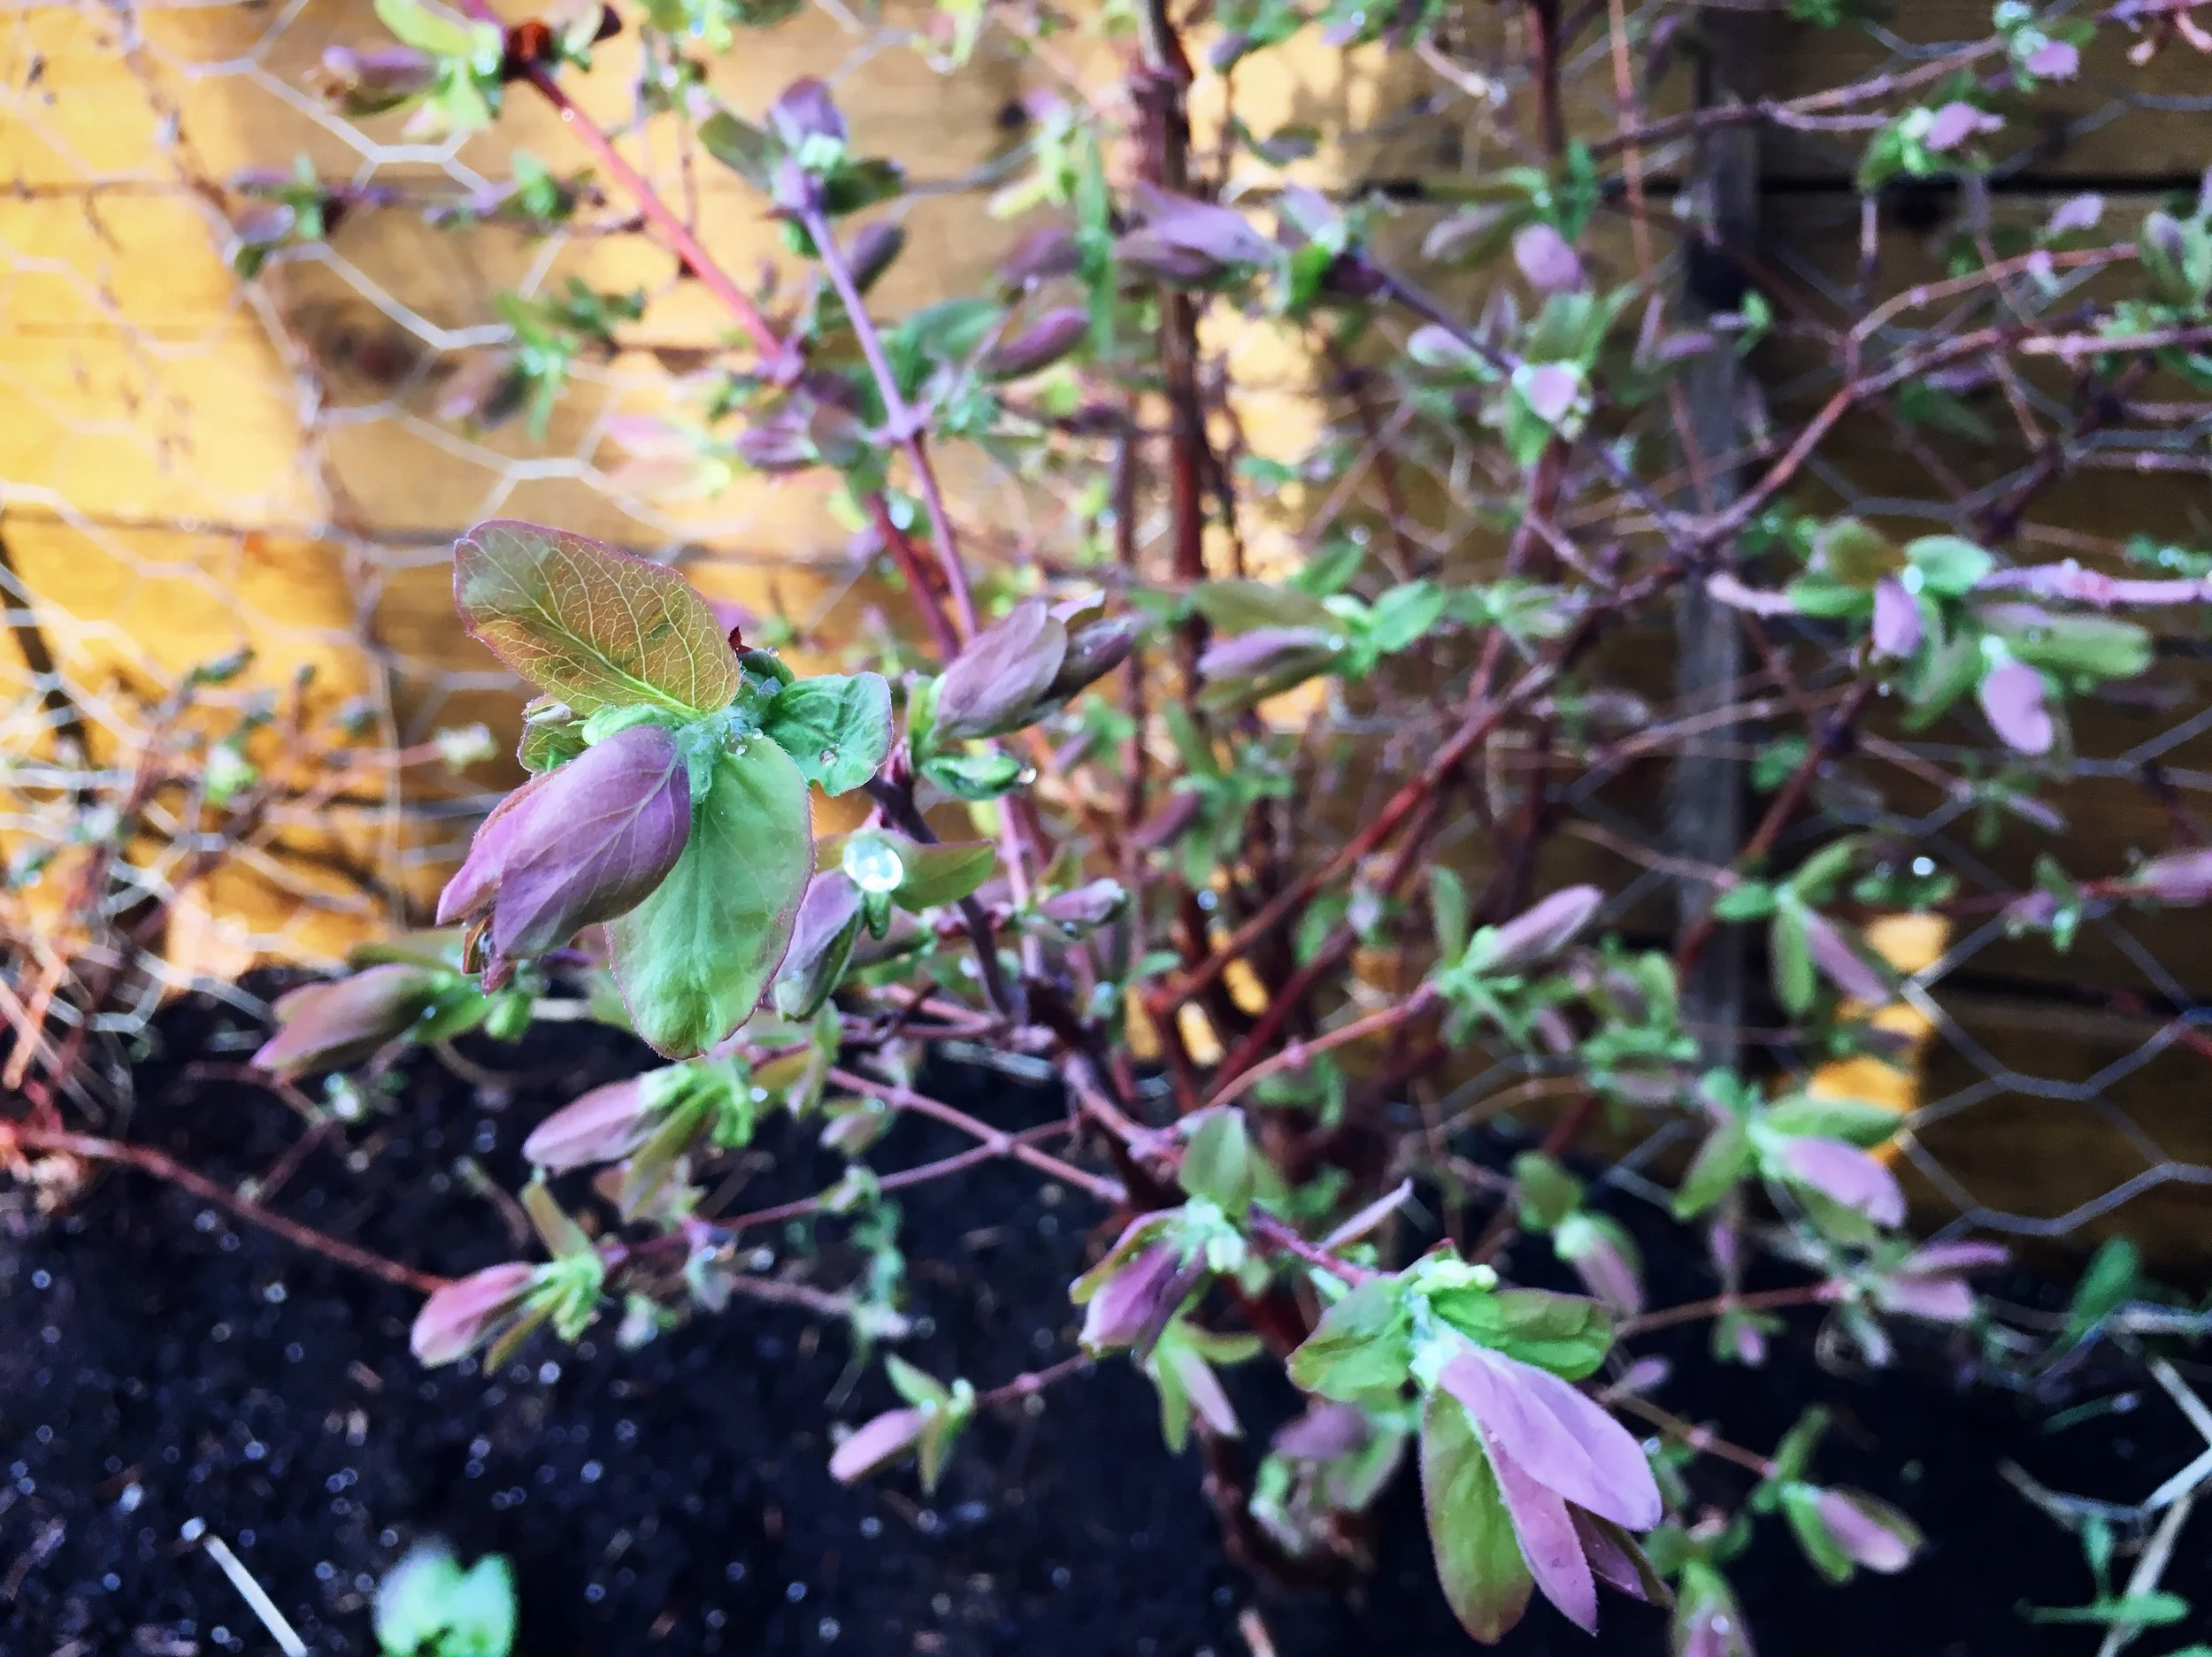
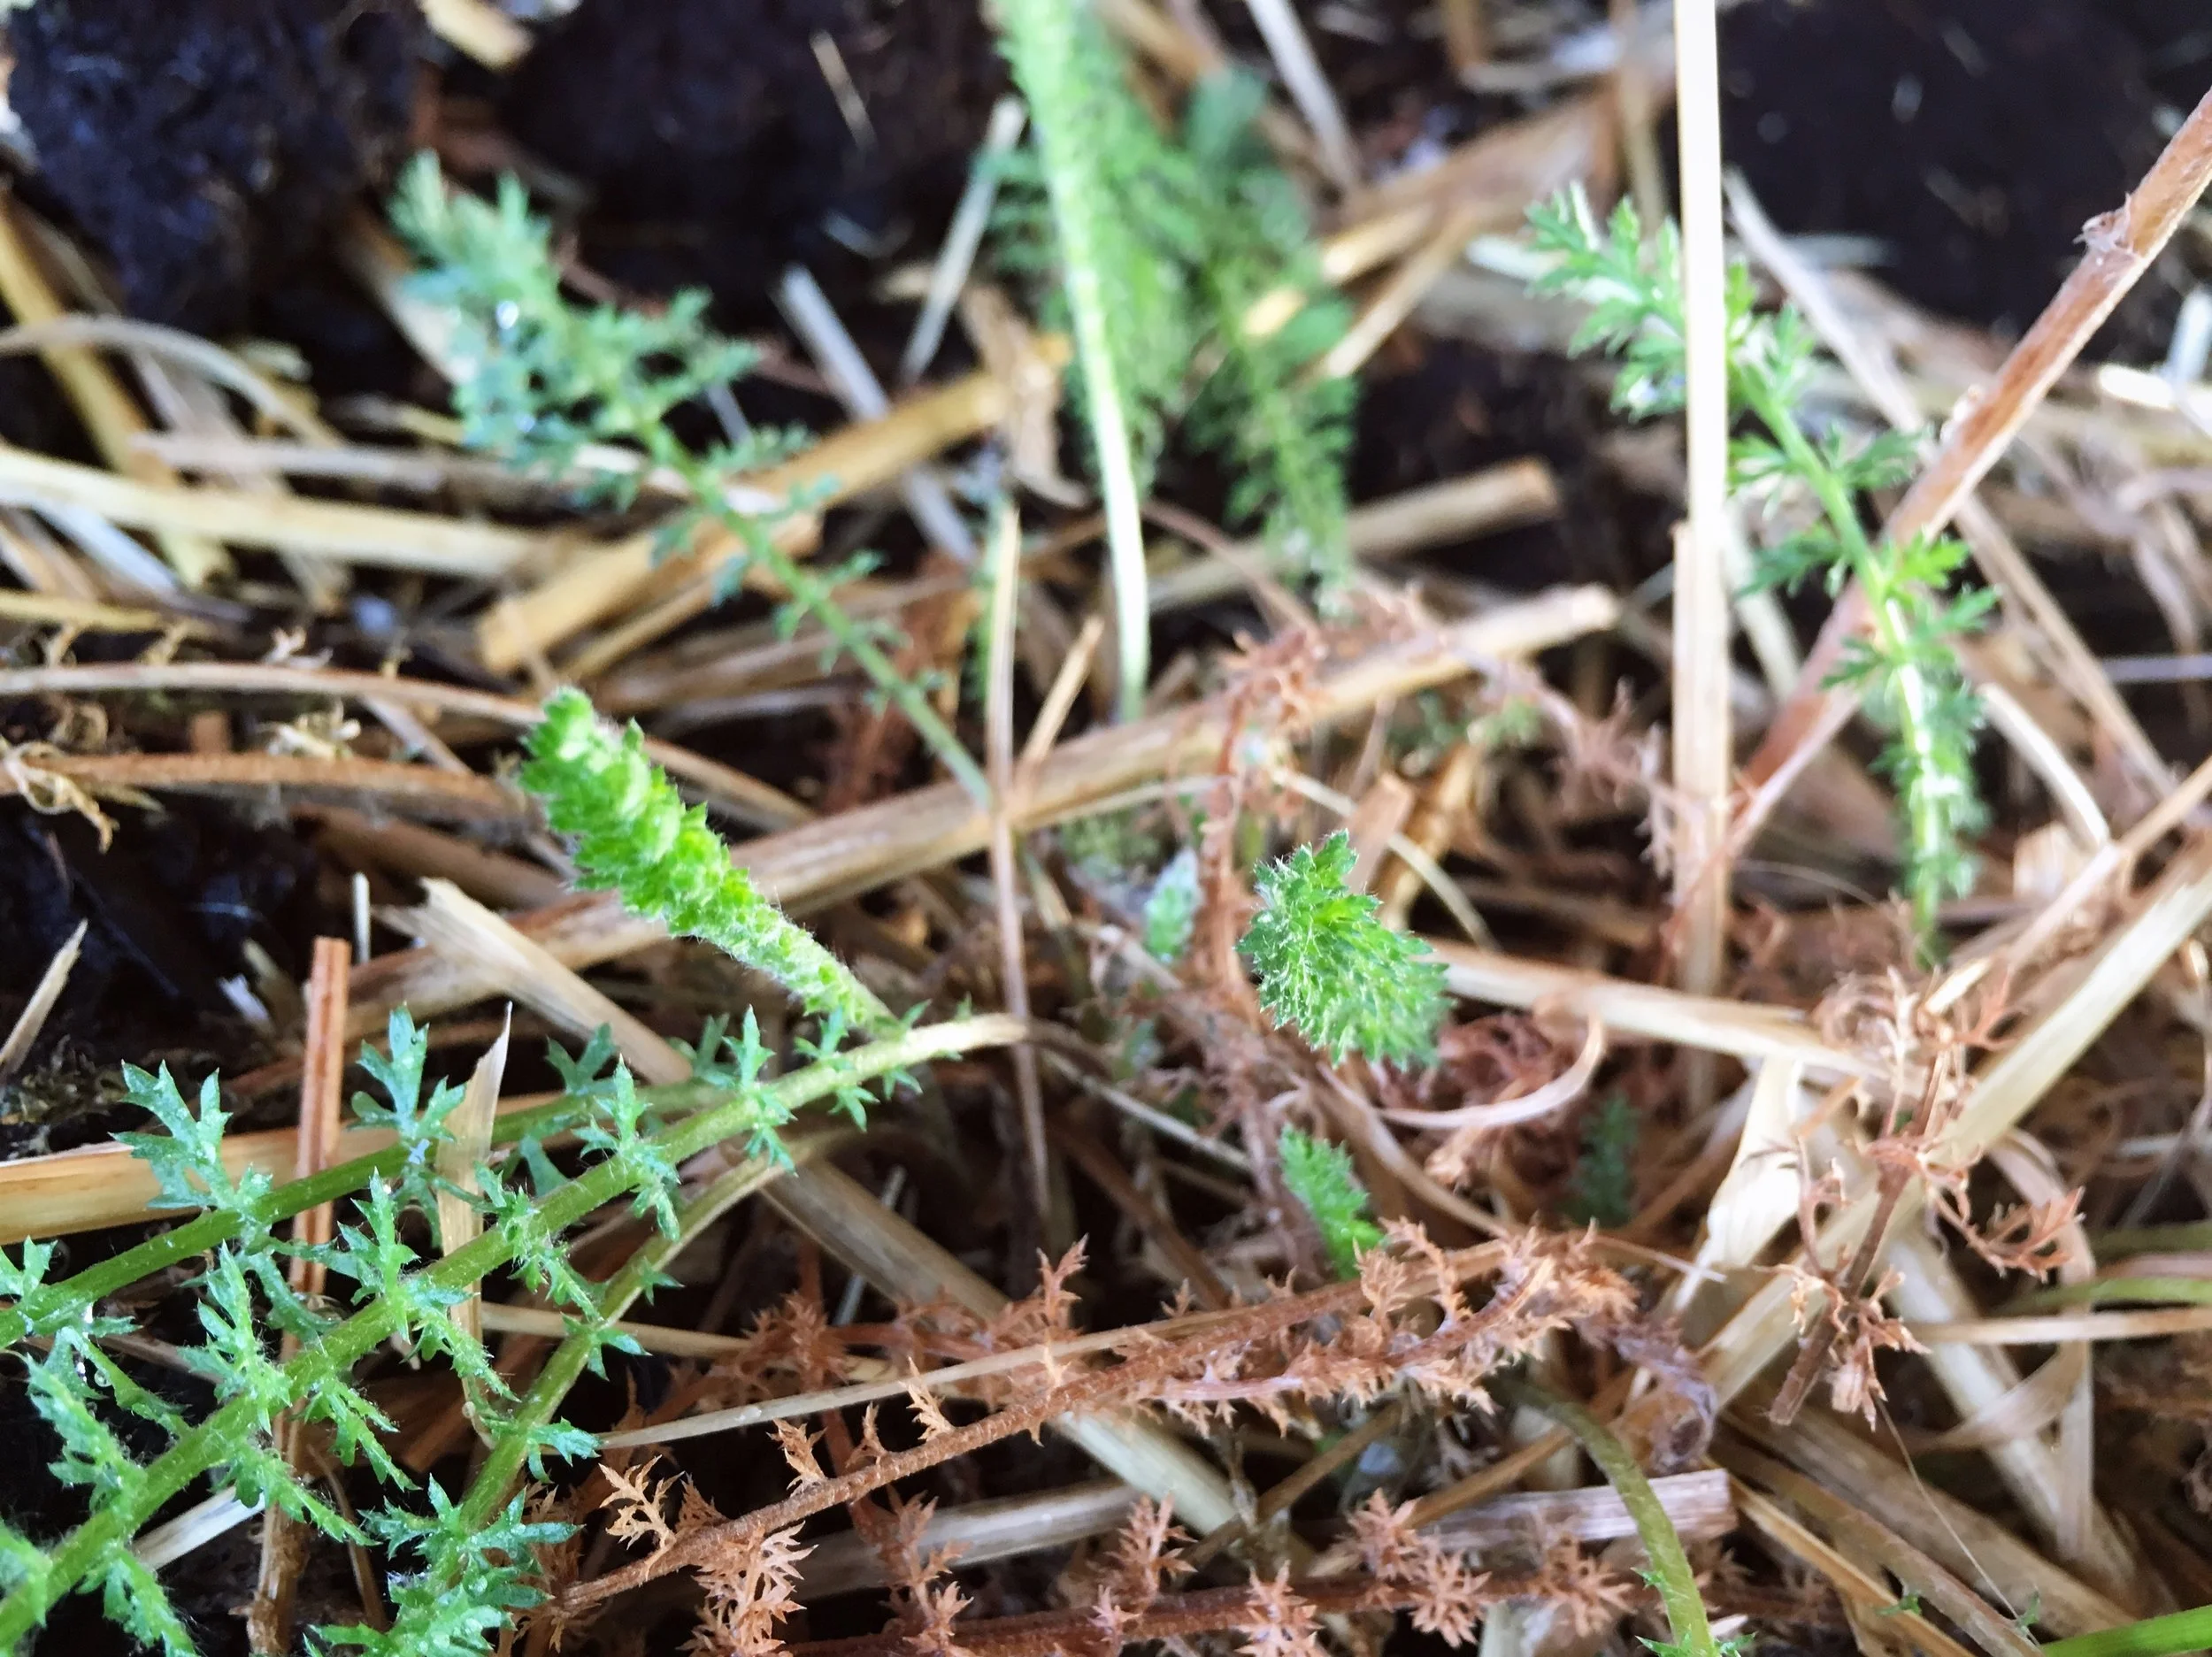
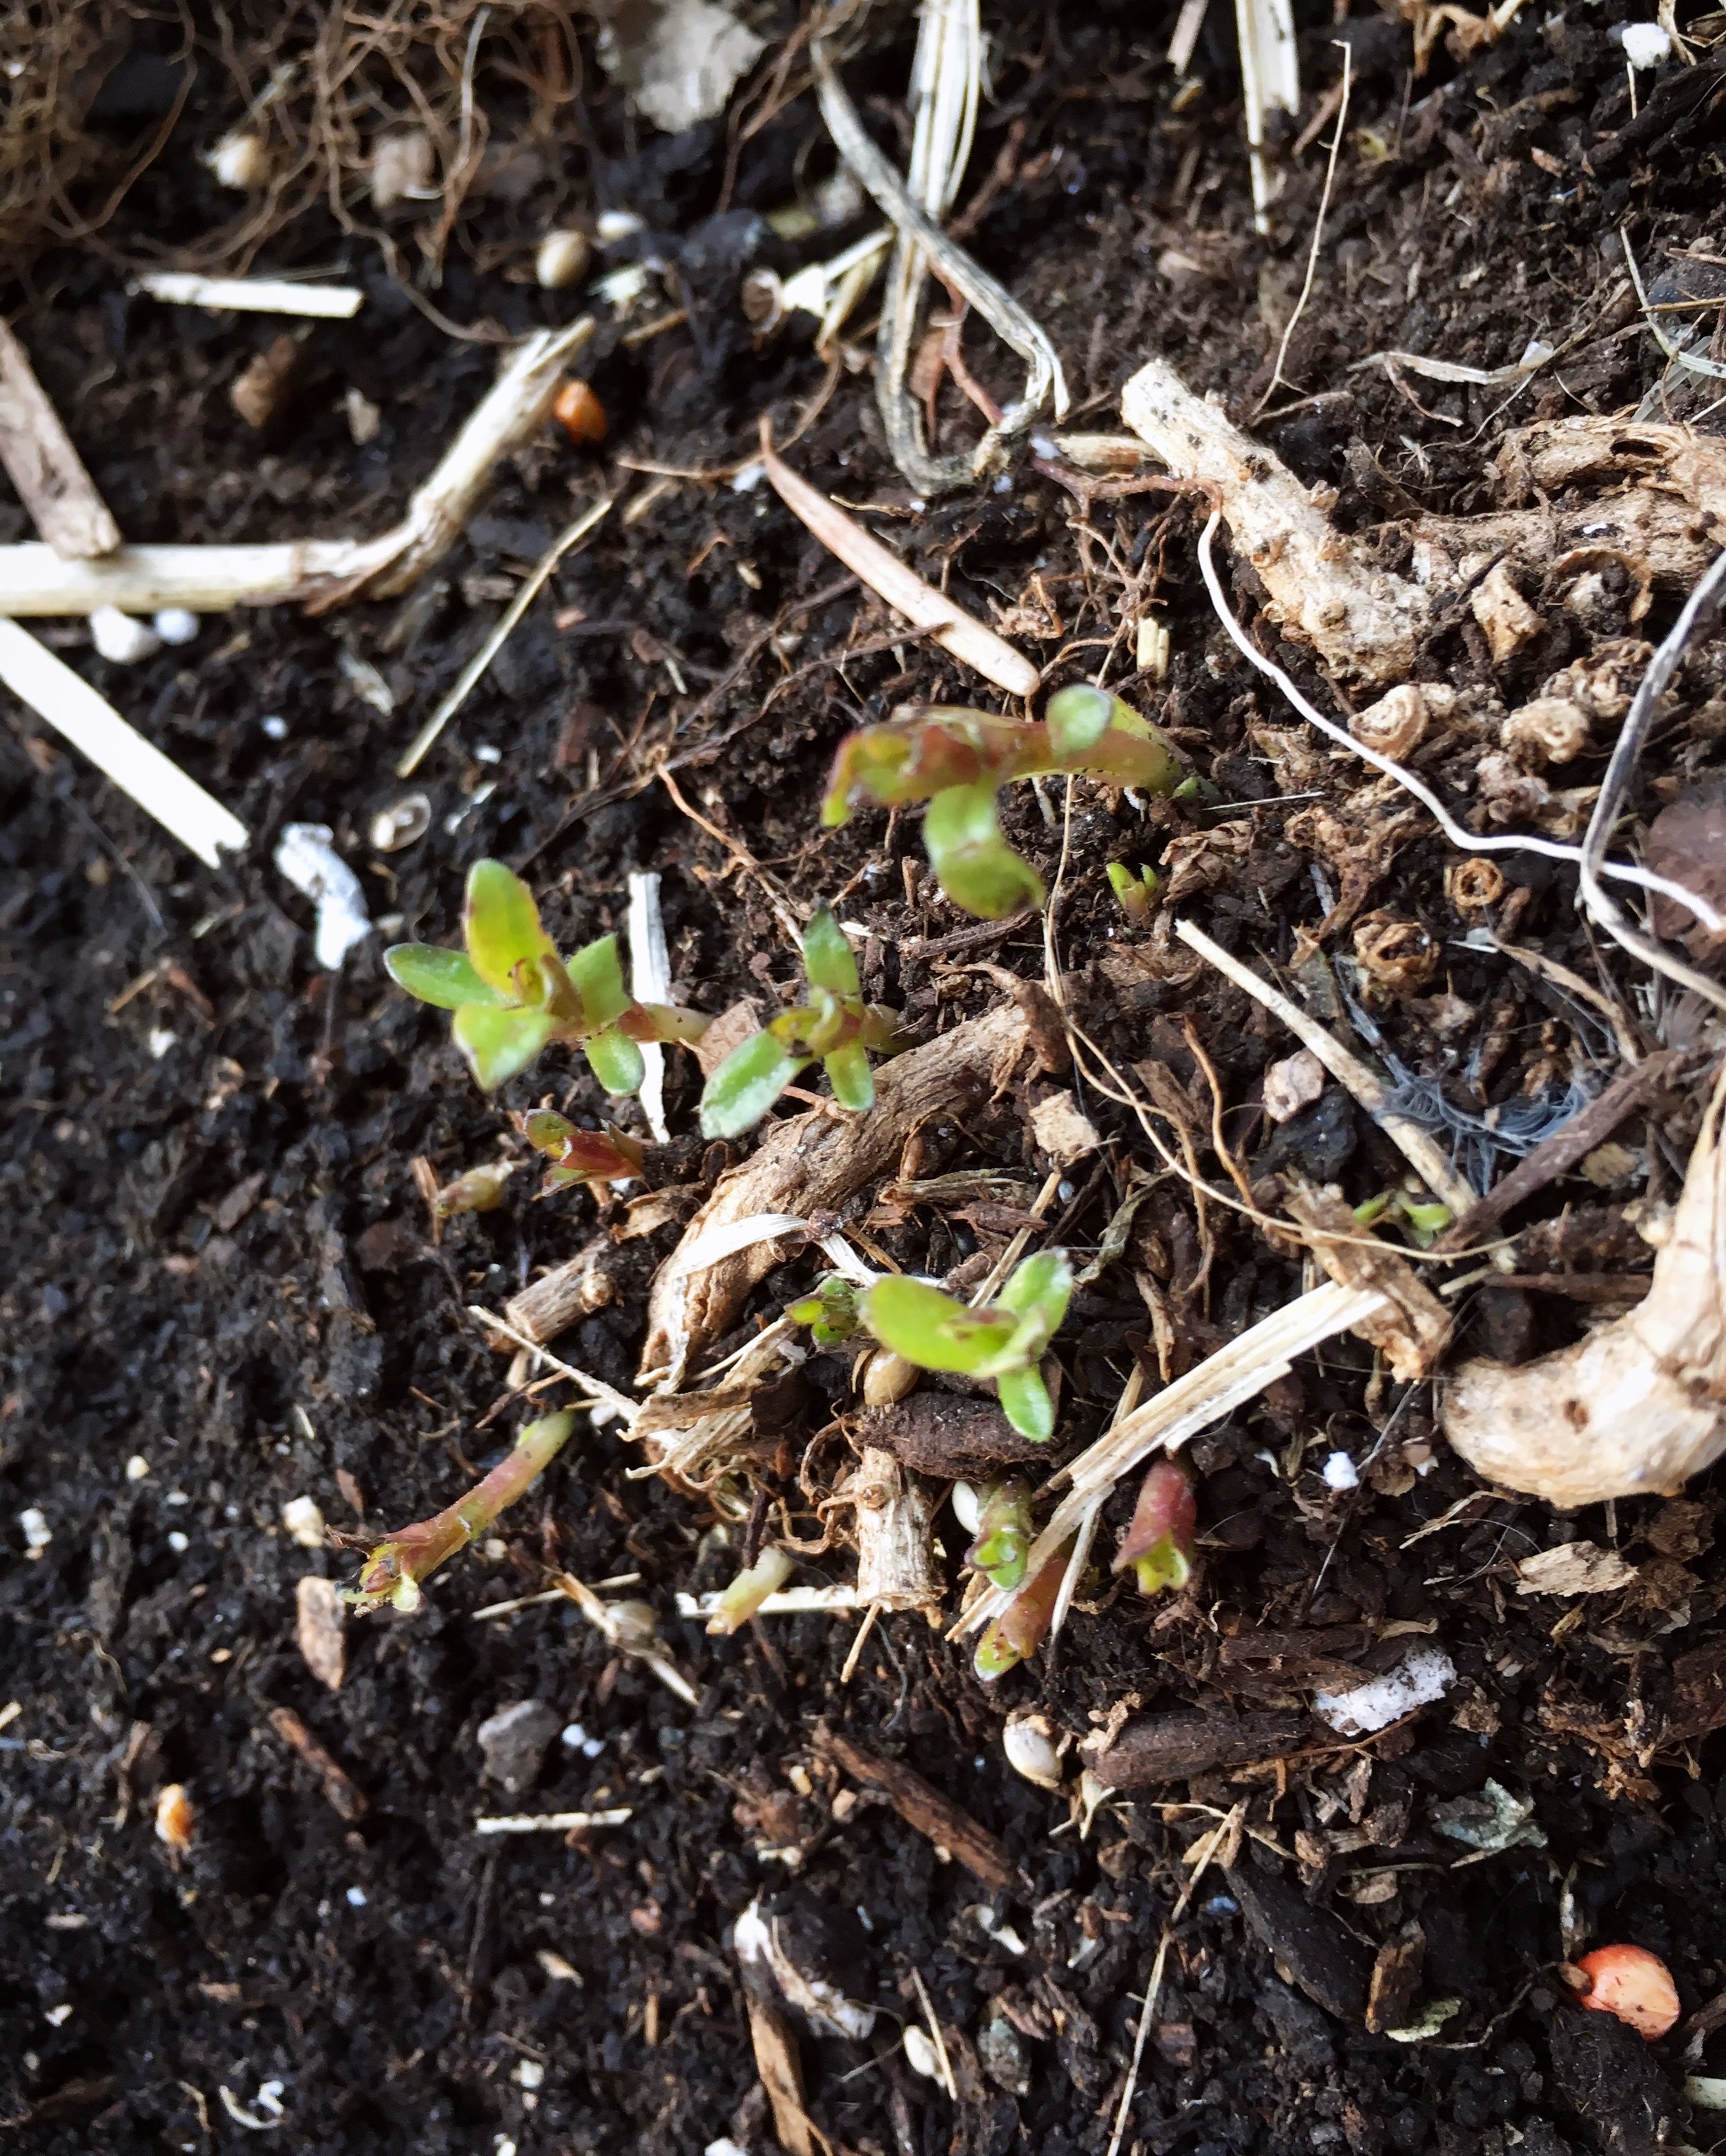
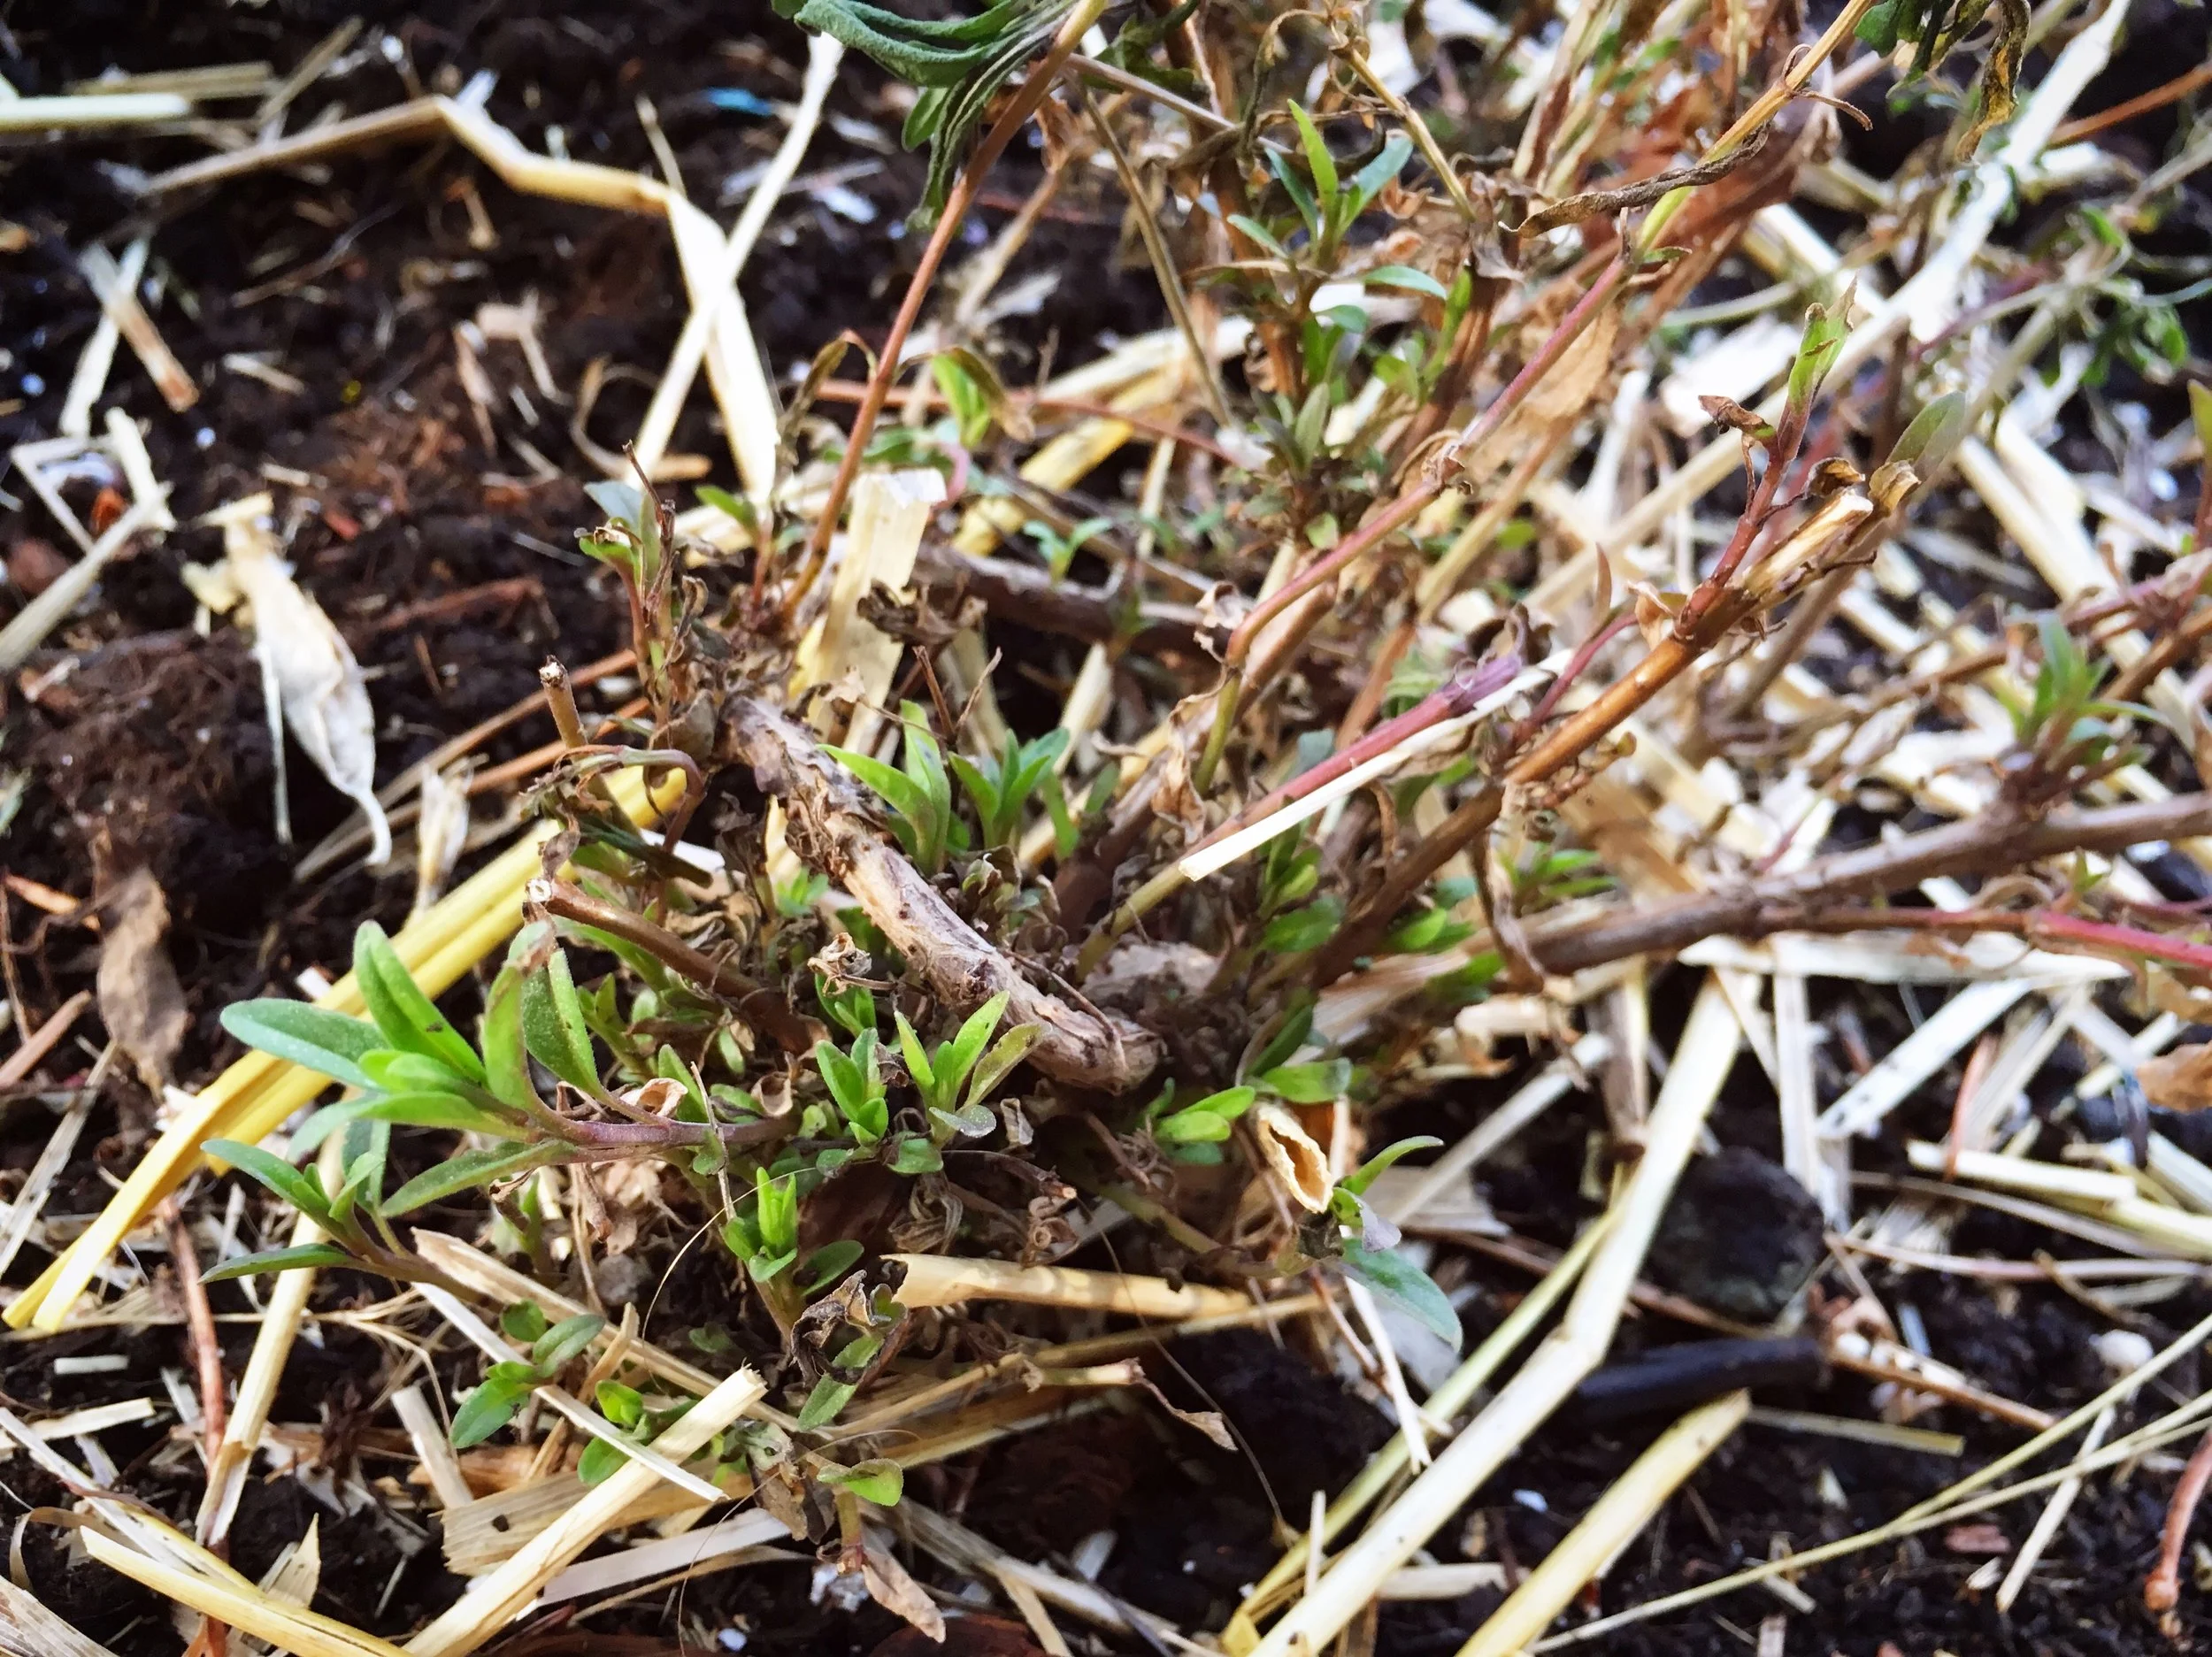
As far as what is growing right now, below are a few snapshots of the perennials (and some overwintered brassicas) coming back to life for the spring.  The one I am most excited for is the rhubarb, but I am also watching the progress of the Bianca hops (top left photo) closely as it is my first time growing them, and I think hops bines are really beautiful. 

IMG_8659.JPG
IMG_8678.JPG
IMG_8868.JPG
IMG_8869.JPG
IMG_8870.JPG
IMG_8872.JPG
IMG_8875.JPG
IMG_8871.JPG

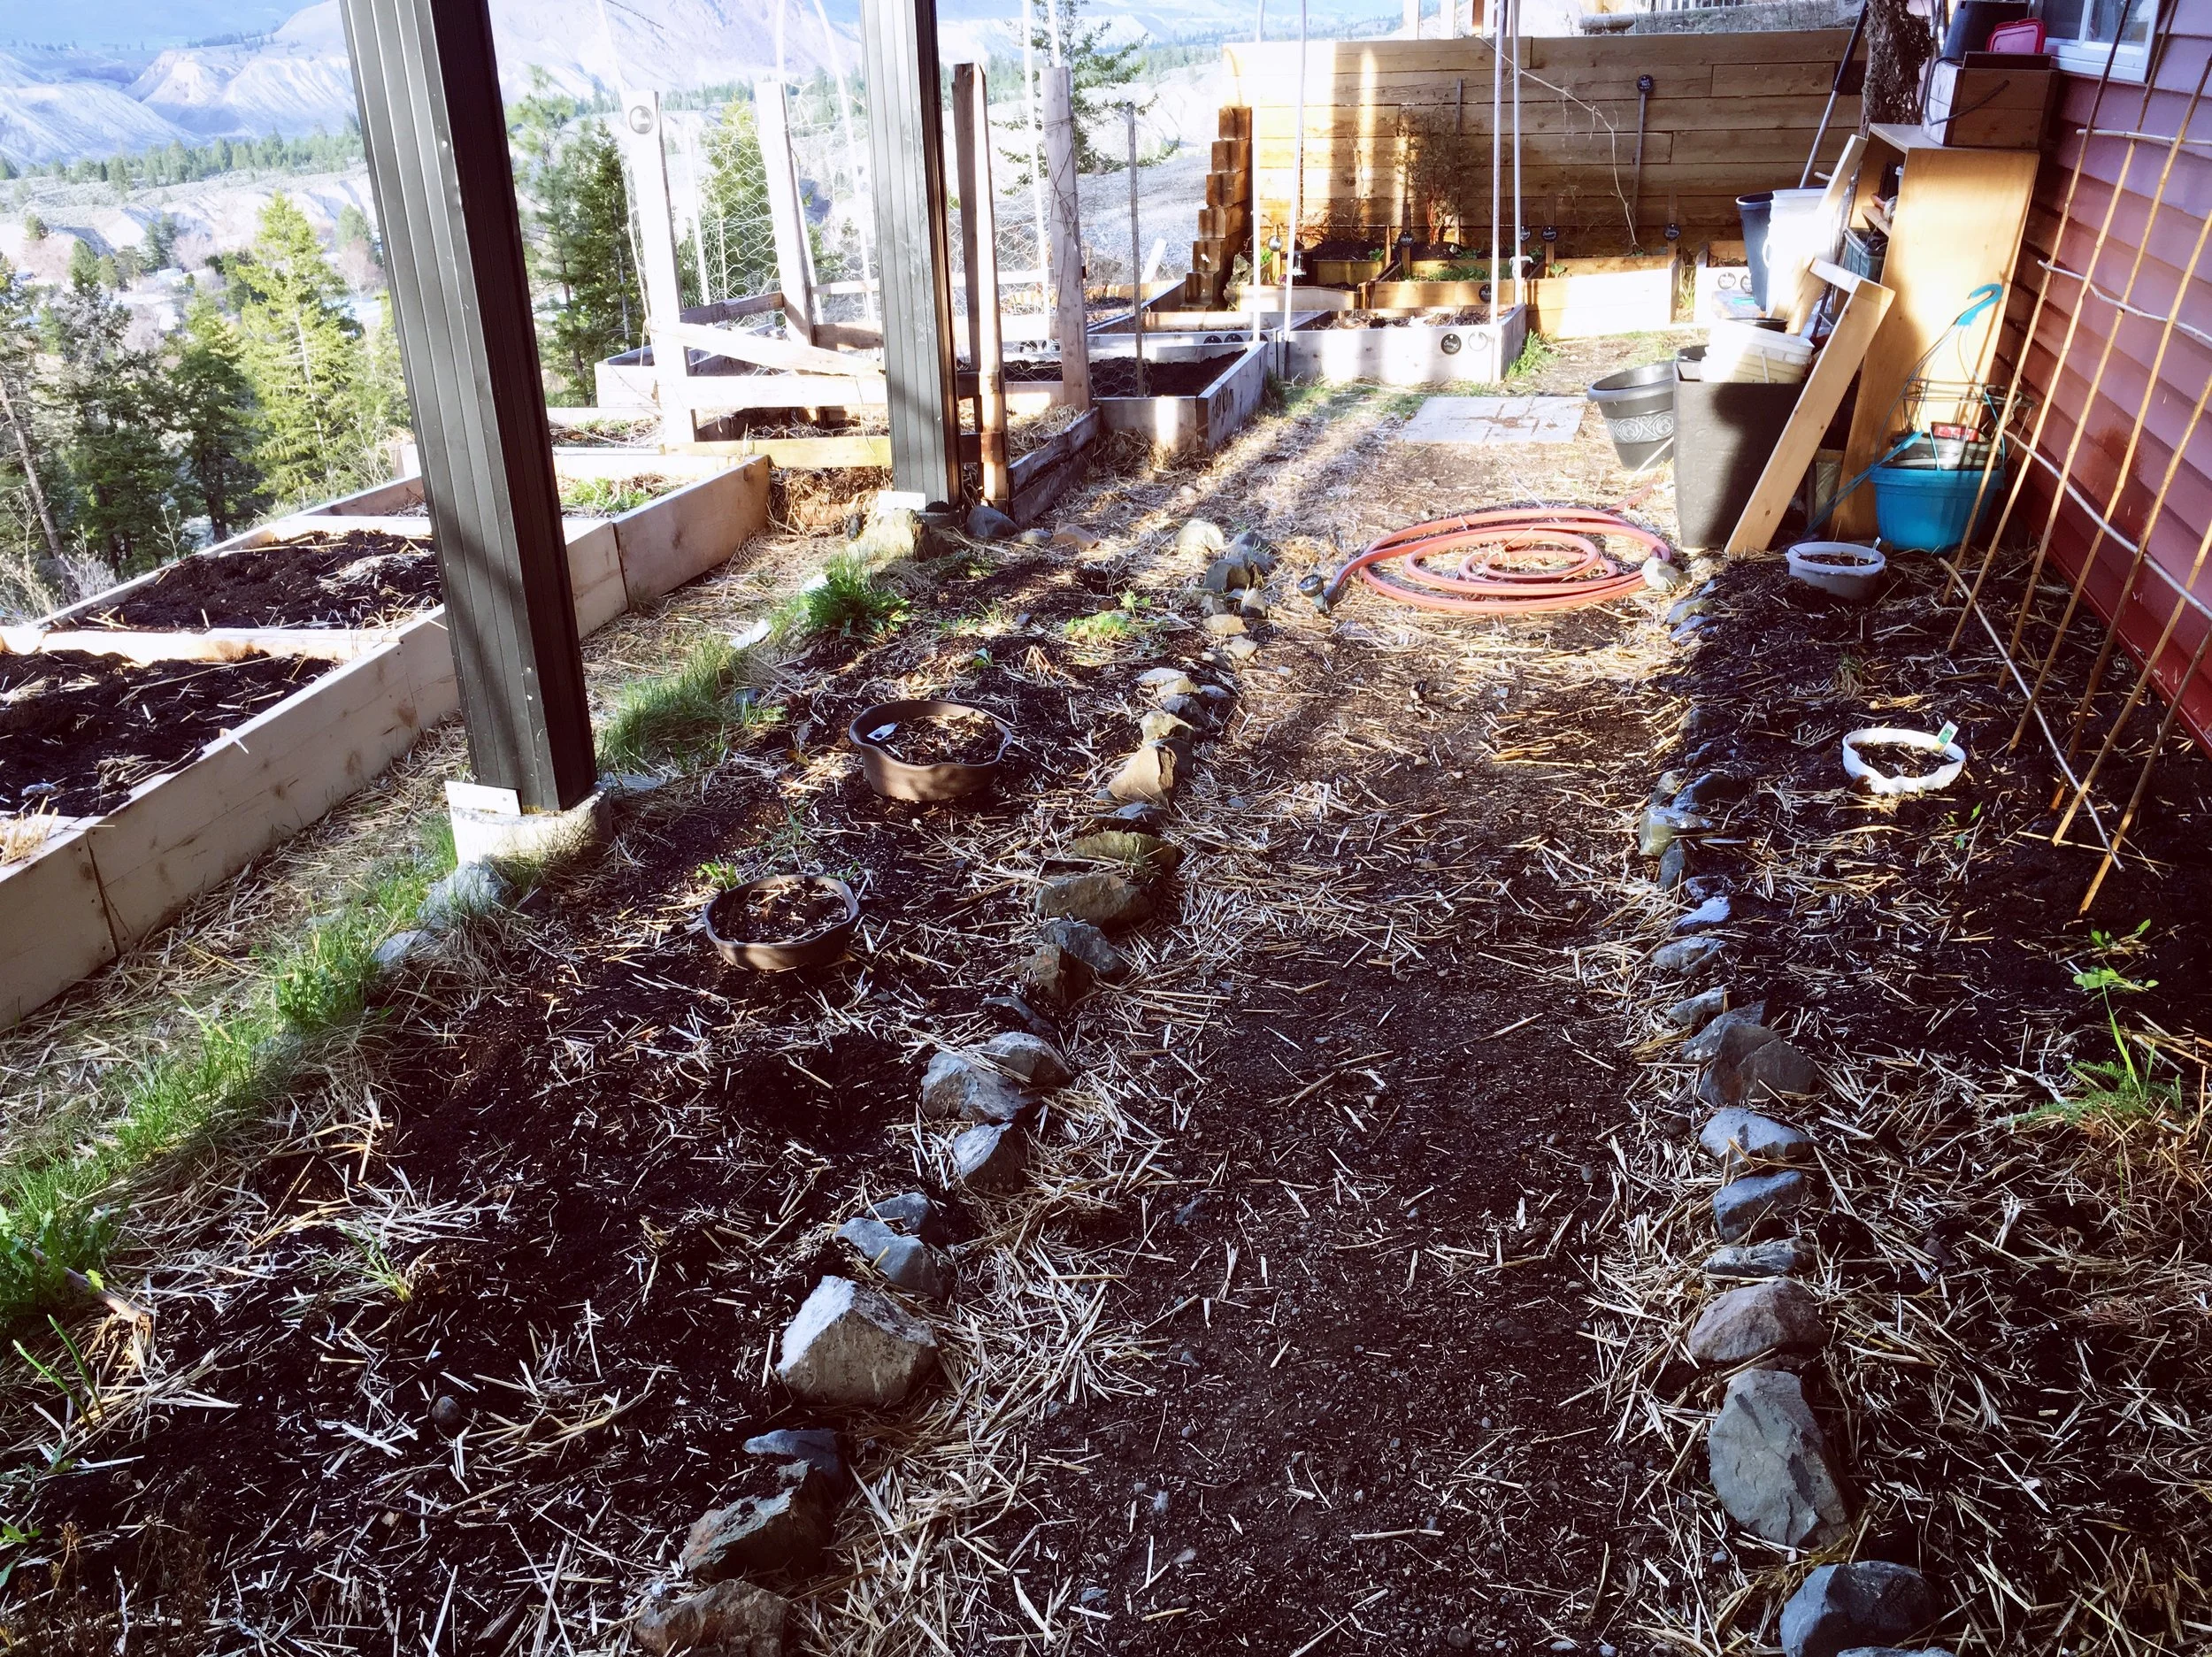
As always, I am so grateful for the gorgeous view of the valley I have from my garden.  The best mornings are when I have a mug of coffee, and I get to wander around the garden and check on everything.  We have quite a few birds and other animals that come to visit, so I enjoy watching them and marking the seasons when they come and go.  Right now the warm weather is bringing back the tree swallows, and I love watching their swooping flights.  We have deer, and bears (mixed blessings there as they can also be quite the nuisances), and last year a whole bunch of garter snakes were born right in the garden.  Little forager enjoyed watching them, and I enjoyed that they helped take care of some of the pests.  I love that I have a garden that encourages biodiversity.   

I'd love to hear about your gardens in the comments below.  Or if you don't have a garden talk to me about what you wish you could do if you had a garden!

April 28, 2018 /Kelsey Fast
garden planning, small space garden, garden, garden maintenance, raised beds
Grow
Comment
potatotower2016.jpg

Using a Potato Tower in the Garden

June 06, 2016 by Kelsey Fast in Grow, Make

As you can see our garden is a bit challenged when it comes to space.  We are renters right now and we consider ourselves lucky to have the space that we have.  I could just go at gardening as more of a hobby, but I consider it a personal challenge to try to feed my family as much as possible from our tiny little plot.  One important step to this is encouraging vertical growth whenever possible.  This makes peas and beans no-brainers, but there are some other veggies in this category that might not be initially thought of. One of these is potatoes.

potatotower2016.jpg

This is our potato bin.  I wish I took a photo of it right at the beginning, but I wasn't thinking of writing a blog post about the project at that point so that got neglected.  Basically we used a couple pallets and Mr. Foraged and I worked together on an idea that might work.  

I've grown potatoes in grow bags before, and grown them in a raised bed with the more traditional method of 'hilling up'.  This potato tower method was sort of a combination of the two.  I was also influenced by some reading I did on other traditional ways people grew tomatoes - one of which was to grow them in straw.  This was the real key to keeping our idea cost effective!

What we ended up doing was screwing together a four by four square with four posts going up from each corner.  We then covered the ground inside it with newspaper to discourage weeds, and then covered that with a few inches of good manure and compost.  We planted our potatoes in that and then covered it with a good six inches of straw.  

potatotower2016-03.jpg

Then as the potatoes grew we kept adding slats and filling it up with more straw.  I made sure to keep a few inches of the potato leaves visible from under the straw to make sure the plants still had access to sunlight.

A major benefit to this method - aside from saving cost and space - that I can see is that the job of harvesting should be much easier!  I'm thinking we'll spread out a tarp and then unscrew the slats on one side and then just pull everything out.  The potatoes should be pretty clean from just growing in straw, and we won't accidentally poke any with a potato fork.  It will also make it really easy to get in to grab a few early baby potatoes!  Of course it remains to be seen if this even works for growing potatoes.  So far we have beautiful looking plants, but I don't know what is going on underneath right now.  We'll have to wait and see!  I will definitely update when it comes time to really put this method to the test!

June 06, 2016 /Kelsey Fast
Garden, raised beds, potato, small space garden, diy
Grow, Make
2 Comments
grahaminthegarden2016.jpg

Back in Business

March 31, 2016 by Kelsey Fast in Grow

After quite a long break from blogging I am finally back!  Life has been full lately with the birth of my first baby in December, and the start of this new growing season.  I have many great posts planned, but for now here is a quick update with some photos.

mattandgrahamvancouver2016.jpg
rhubarbgrowth2016.jpg
familyvalentinesphoto2016.jpg
March 31, 2016 /Kelsey Fast
garden, raised beds, spring, blogging
Grow
Comment
newgardenbeds2015.jpg

New Garden Beds

February 26, 2015 by Kelsey Fast in Grow

Ok so here is the beginning of a lovely new season of growing in our new location!  We are loving Kamloops so far and I am particularly excited because this is an especially good climate for growing tomatoes and melons and things like that.  It gets nice and HOT in the summer!  Anyway, these are the first few beds we've been working on. 

One fun story is that since Mr. Forager's new job (the reason we moved) is at the Church down the street, we've been in contact with several awesome people who are full of great advice and also skills.  I asked one man if he had scrap wood lying around that I could use to make some raised beds.  He said he might and that he would get back to me.  Later on I got home one day and found these super convenient boxes made for me!  We are using them upside down because they weren't going into the ground very well.  It doesn't really make that much of a difference.  I suppose we can cut off the stakes if they get in our way, or I can use them to tie plants up to or something.  Either way!

Anyway, my favourite method for filling up my boxes is to use a combination of lasagna gardening and hugelkultur techniques.  I was particularly excited because I got to use up some of my Christmas tree to fill the boxes and that enabled me to use much less soil, and I won't have to dig or till the boxes since all the layers will break down. 

This time around (as you can see in the photo below) I used a layer of newspaper first which I then soaked so that the weeds and grass below won't be growing into my nice beds.  Then I spread a thin layer of steer manure (you can use any kind of fertilizer, really).  After that cut up branches of my Christmas tree, and then another layer of manure.  After that I spread out some straw and helped to fill in some of the gaps that the branches created so that the top of the soil would be more level.  After that another layer of manure, and then finally a nice thick layer of compost.  My favourite thing to use is Sea Soil which is very awesome and rich in nutrients.

For more information on "Lasagna Gardening"

For more information on Hugelkultur

February 26, 2015 /Kelsey Fast
raised beds, hugelkultur, lasagna gardening, garden
Grow
Comment

Terms and Conditions | Privacy Policy | Shipping and Returns

Powered by Squarespace