Garden Planning for a Balcony
By this time last year I had already written at length about my garden plan, broke down how I store my seeds, had given you a spring garden tour, and even had some harvest totals to share. I think it’s safe to say that I’m taking a more relaxed approach to gardening this season. A major part of this is the fact that I’m only working with a balcony for garden space, so I thought you might be interested in what I’m doing this year to plan that out.
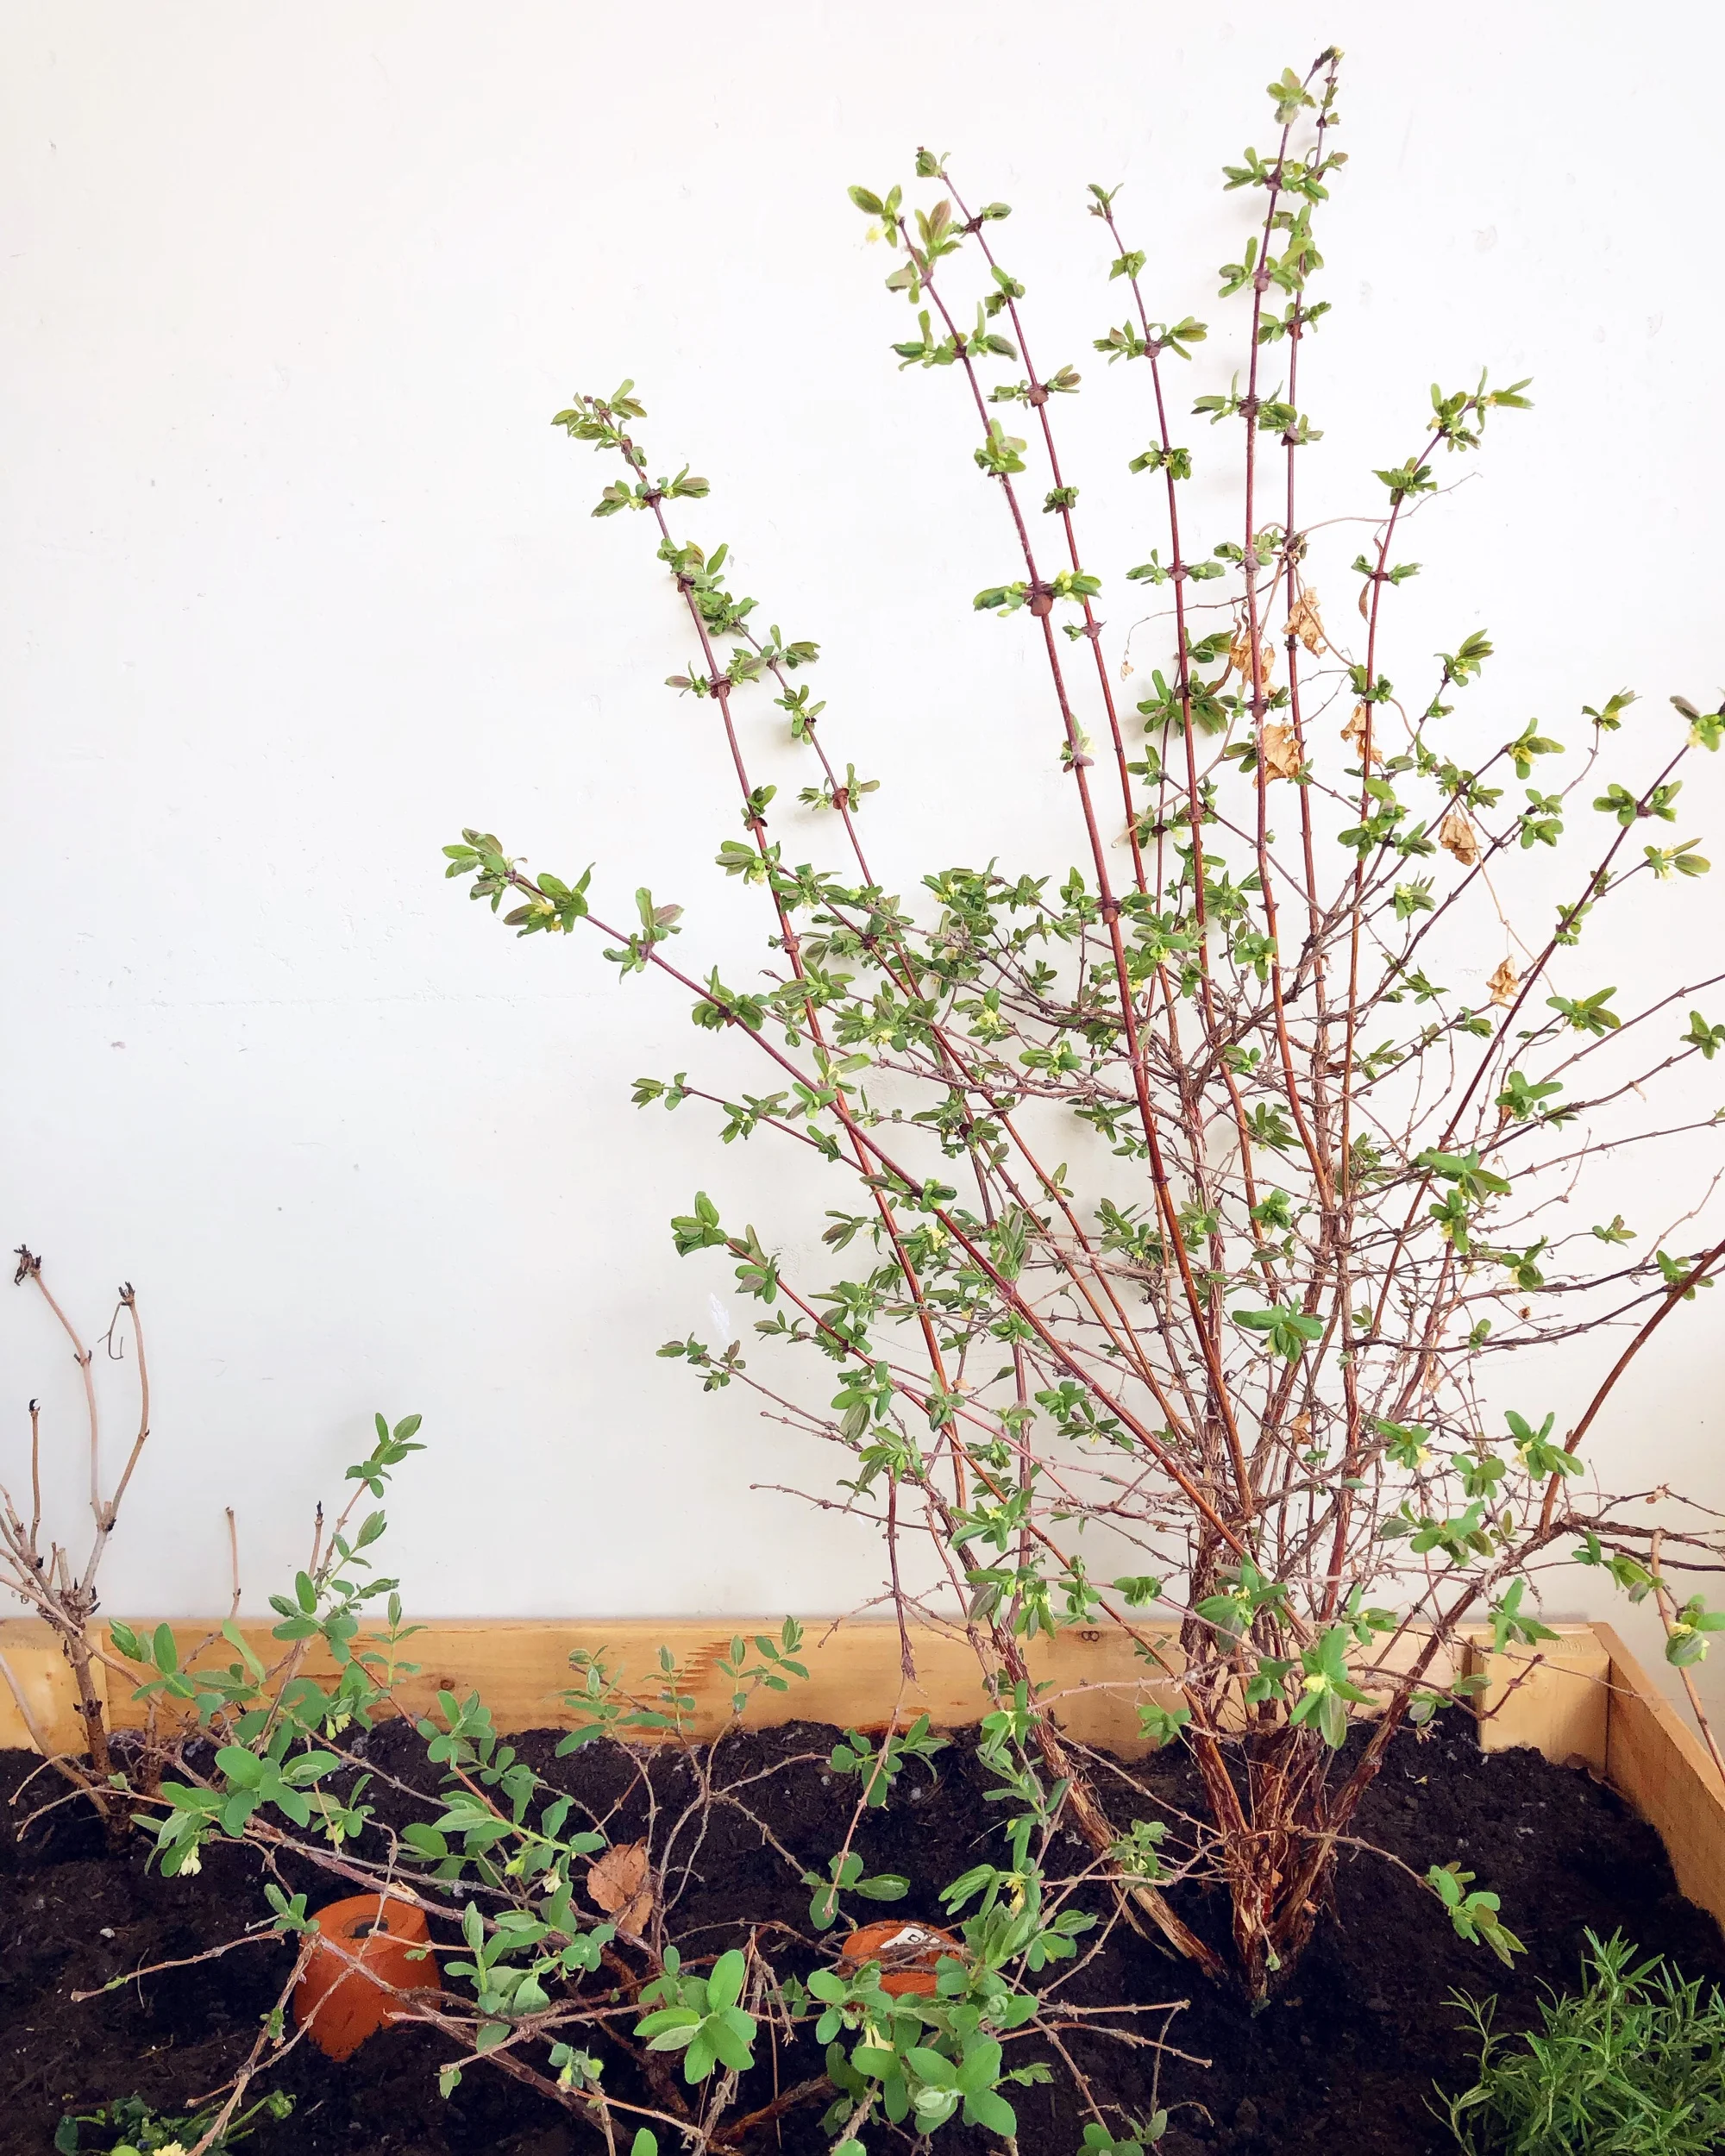
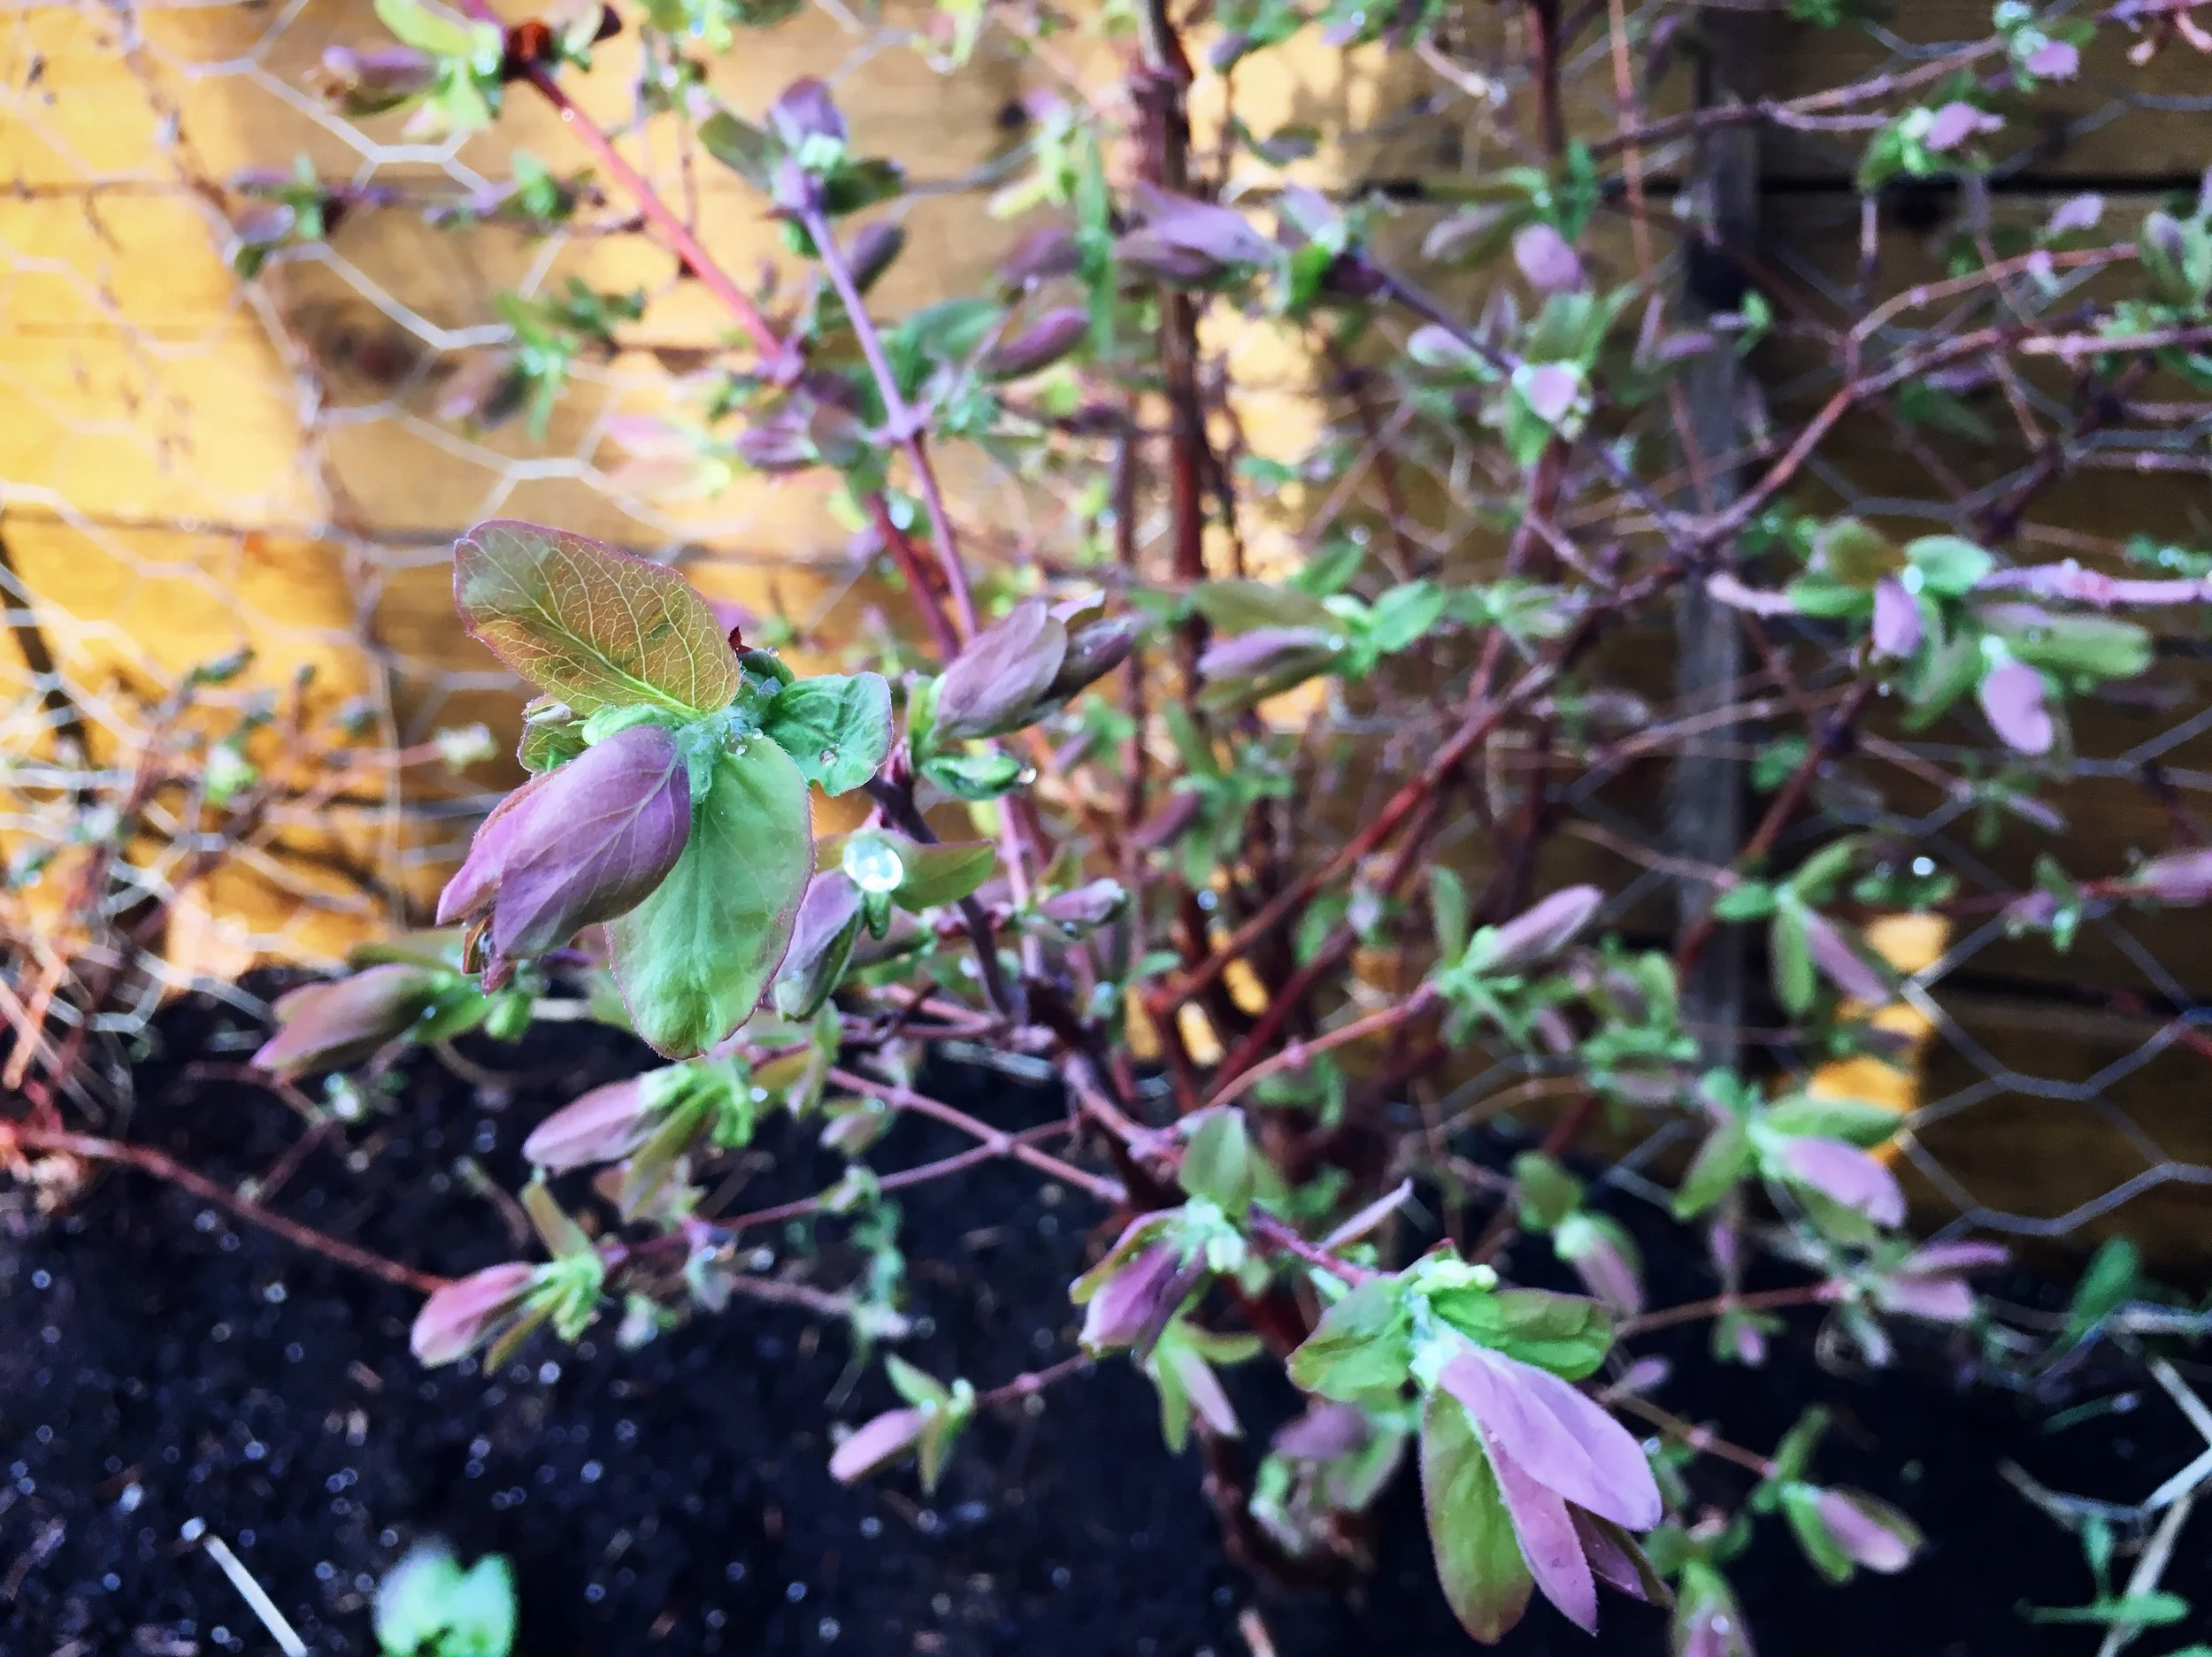
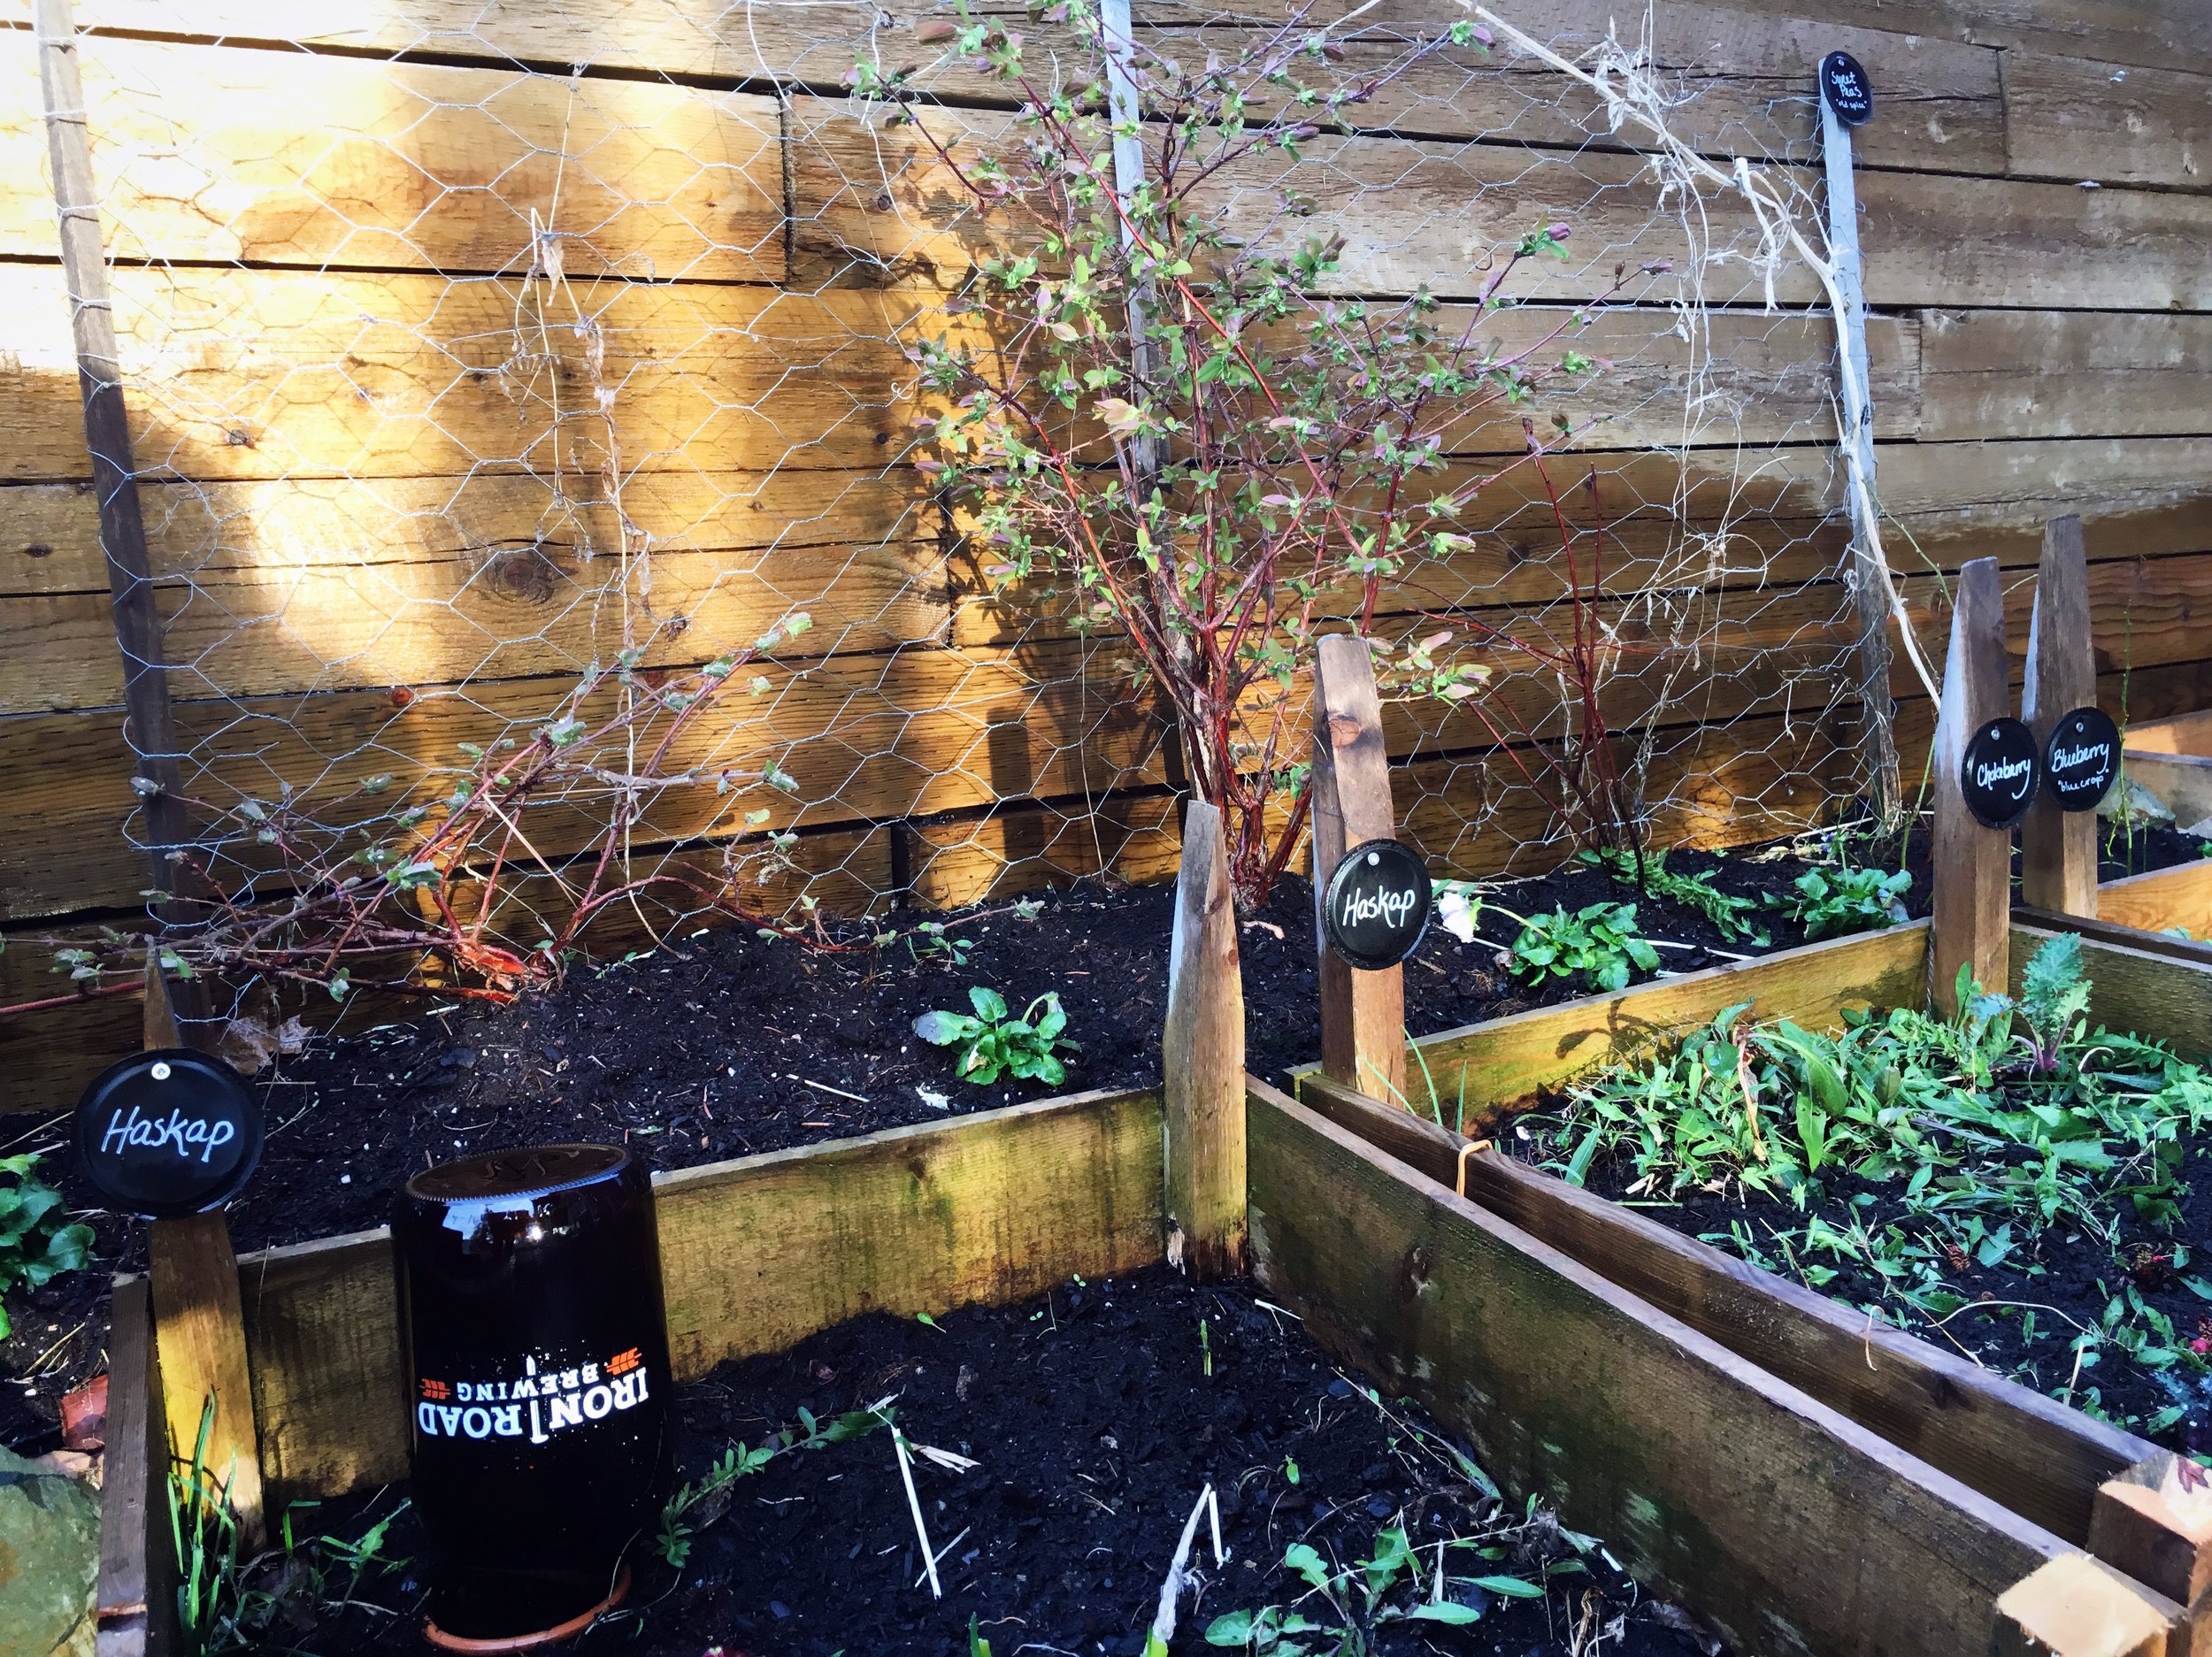
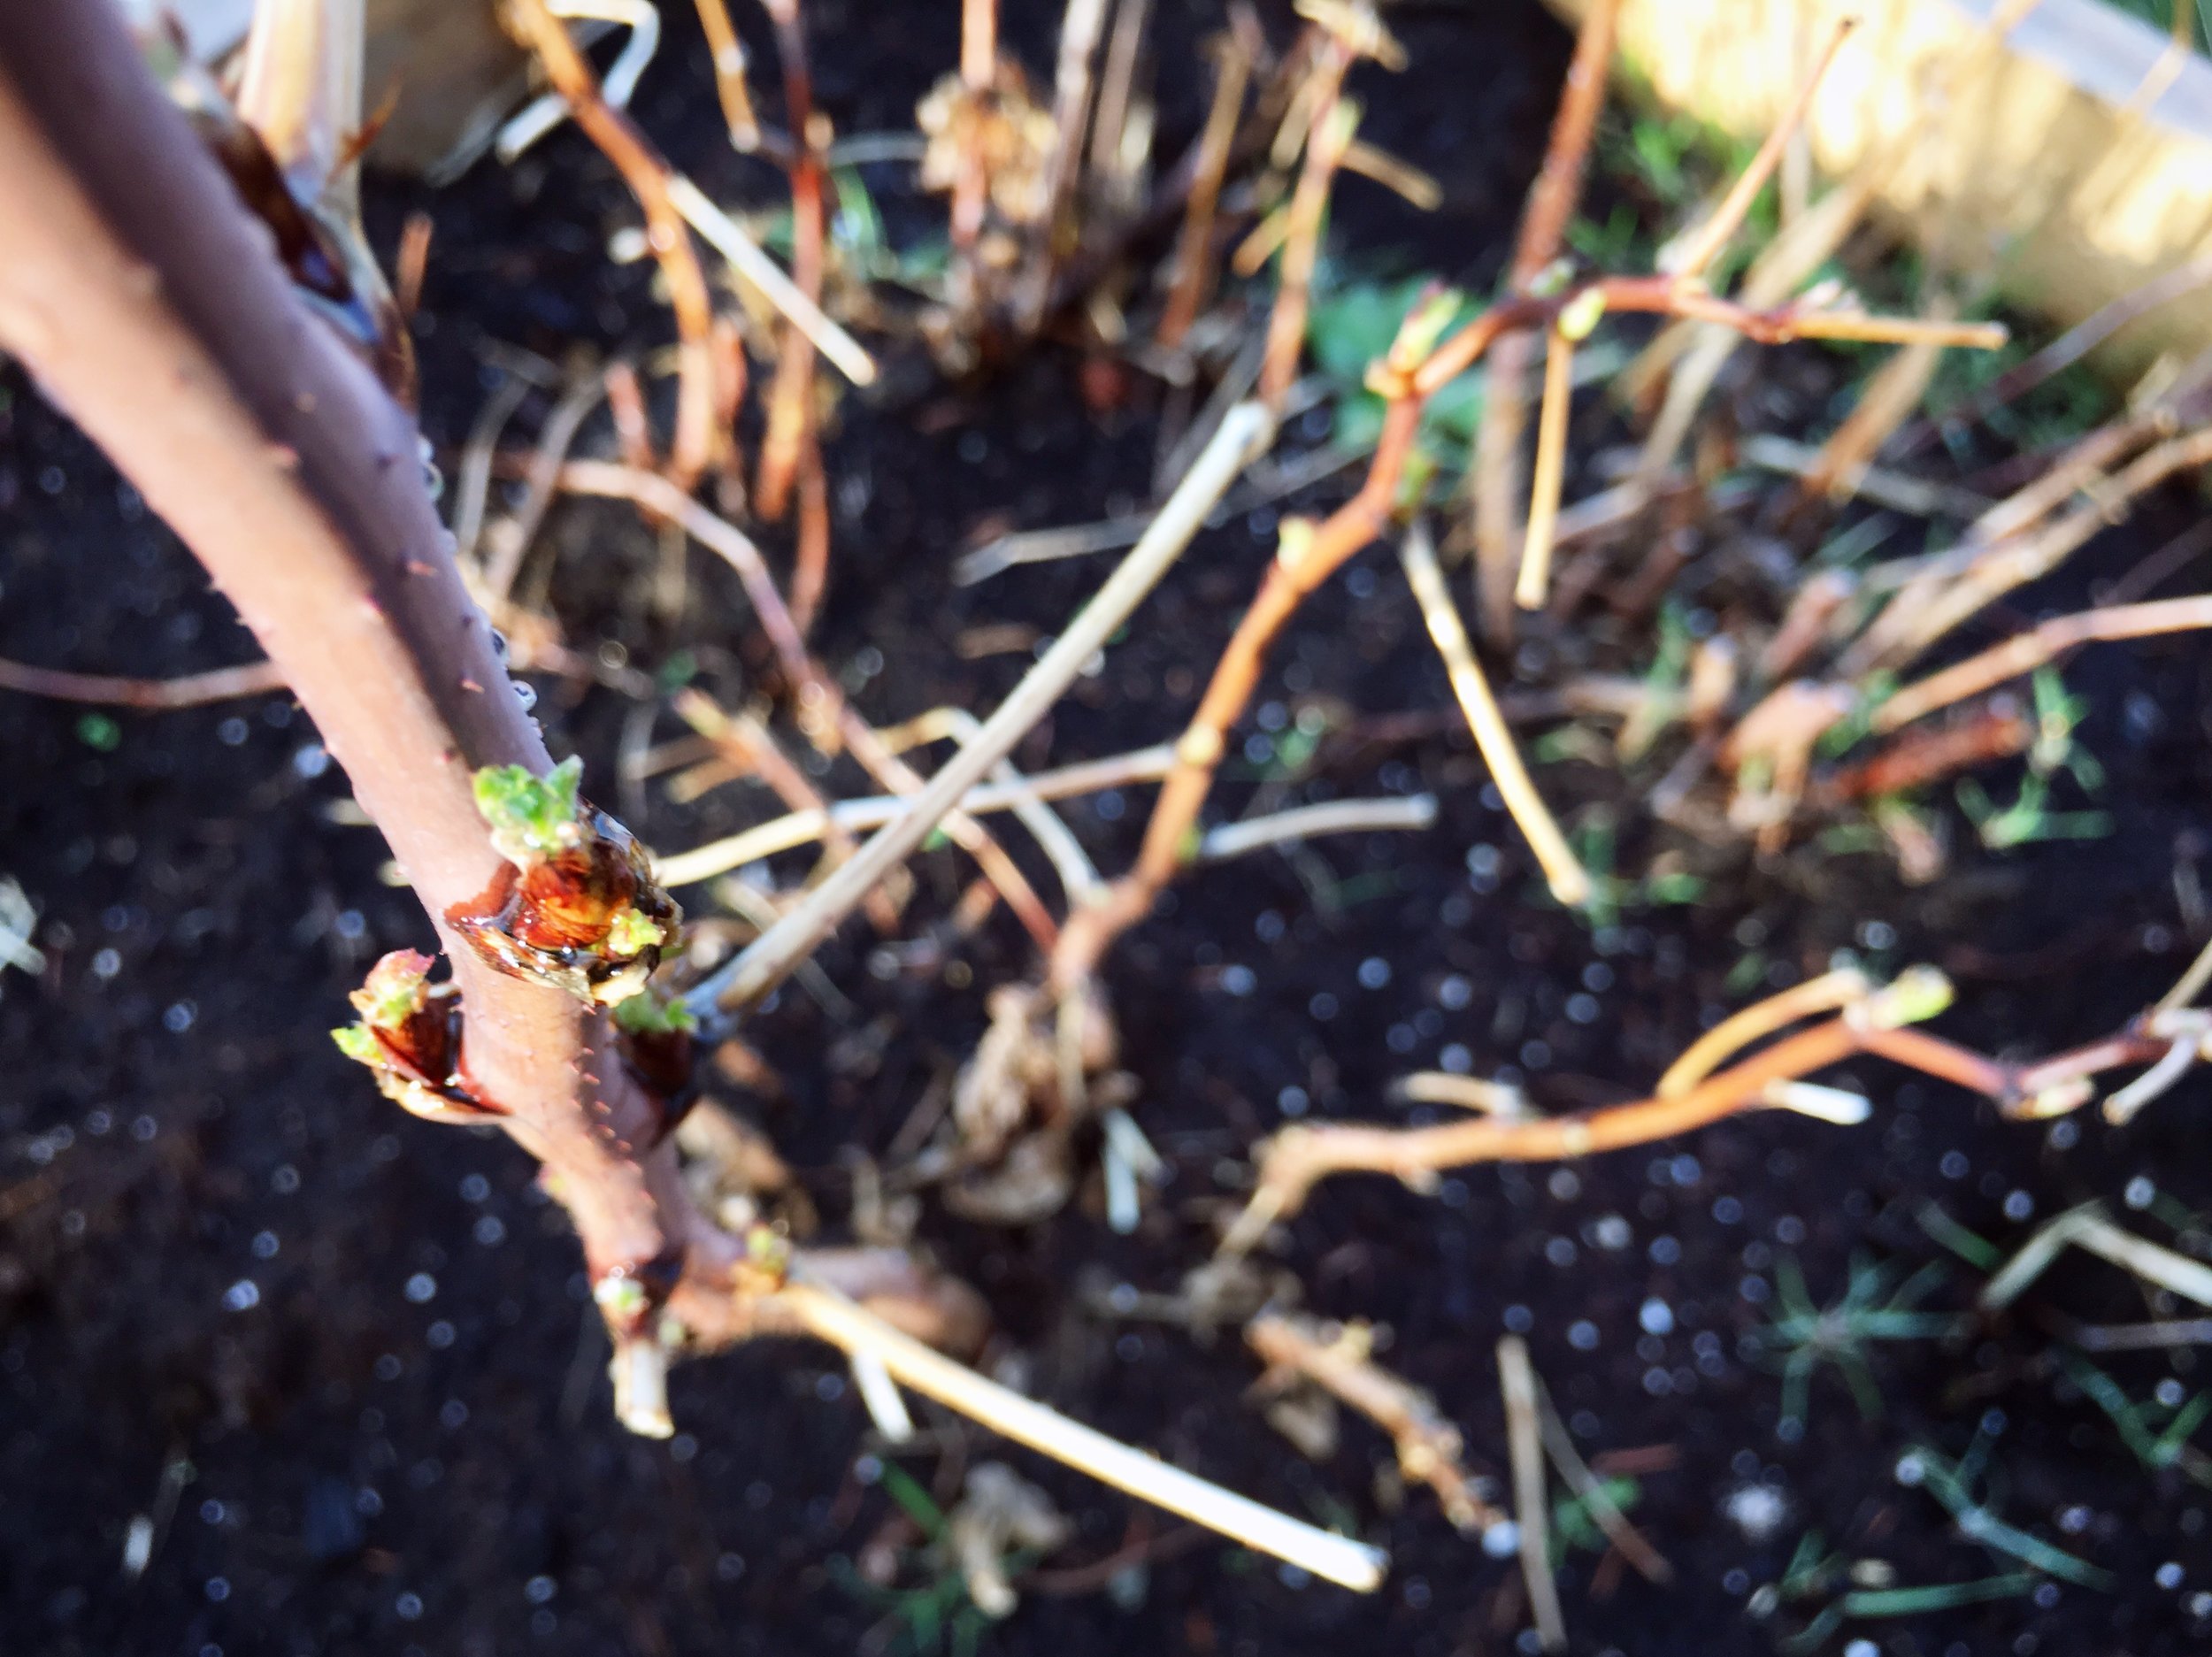
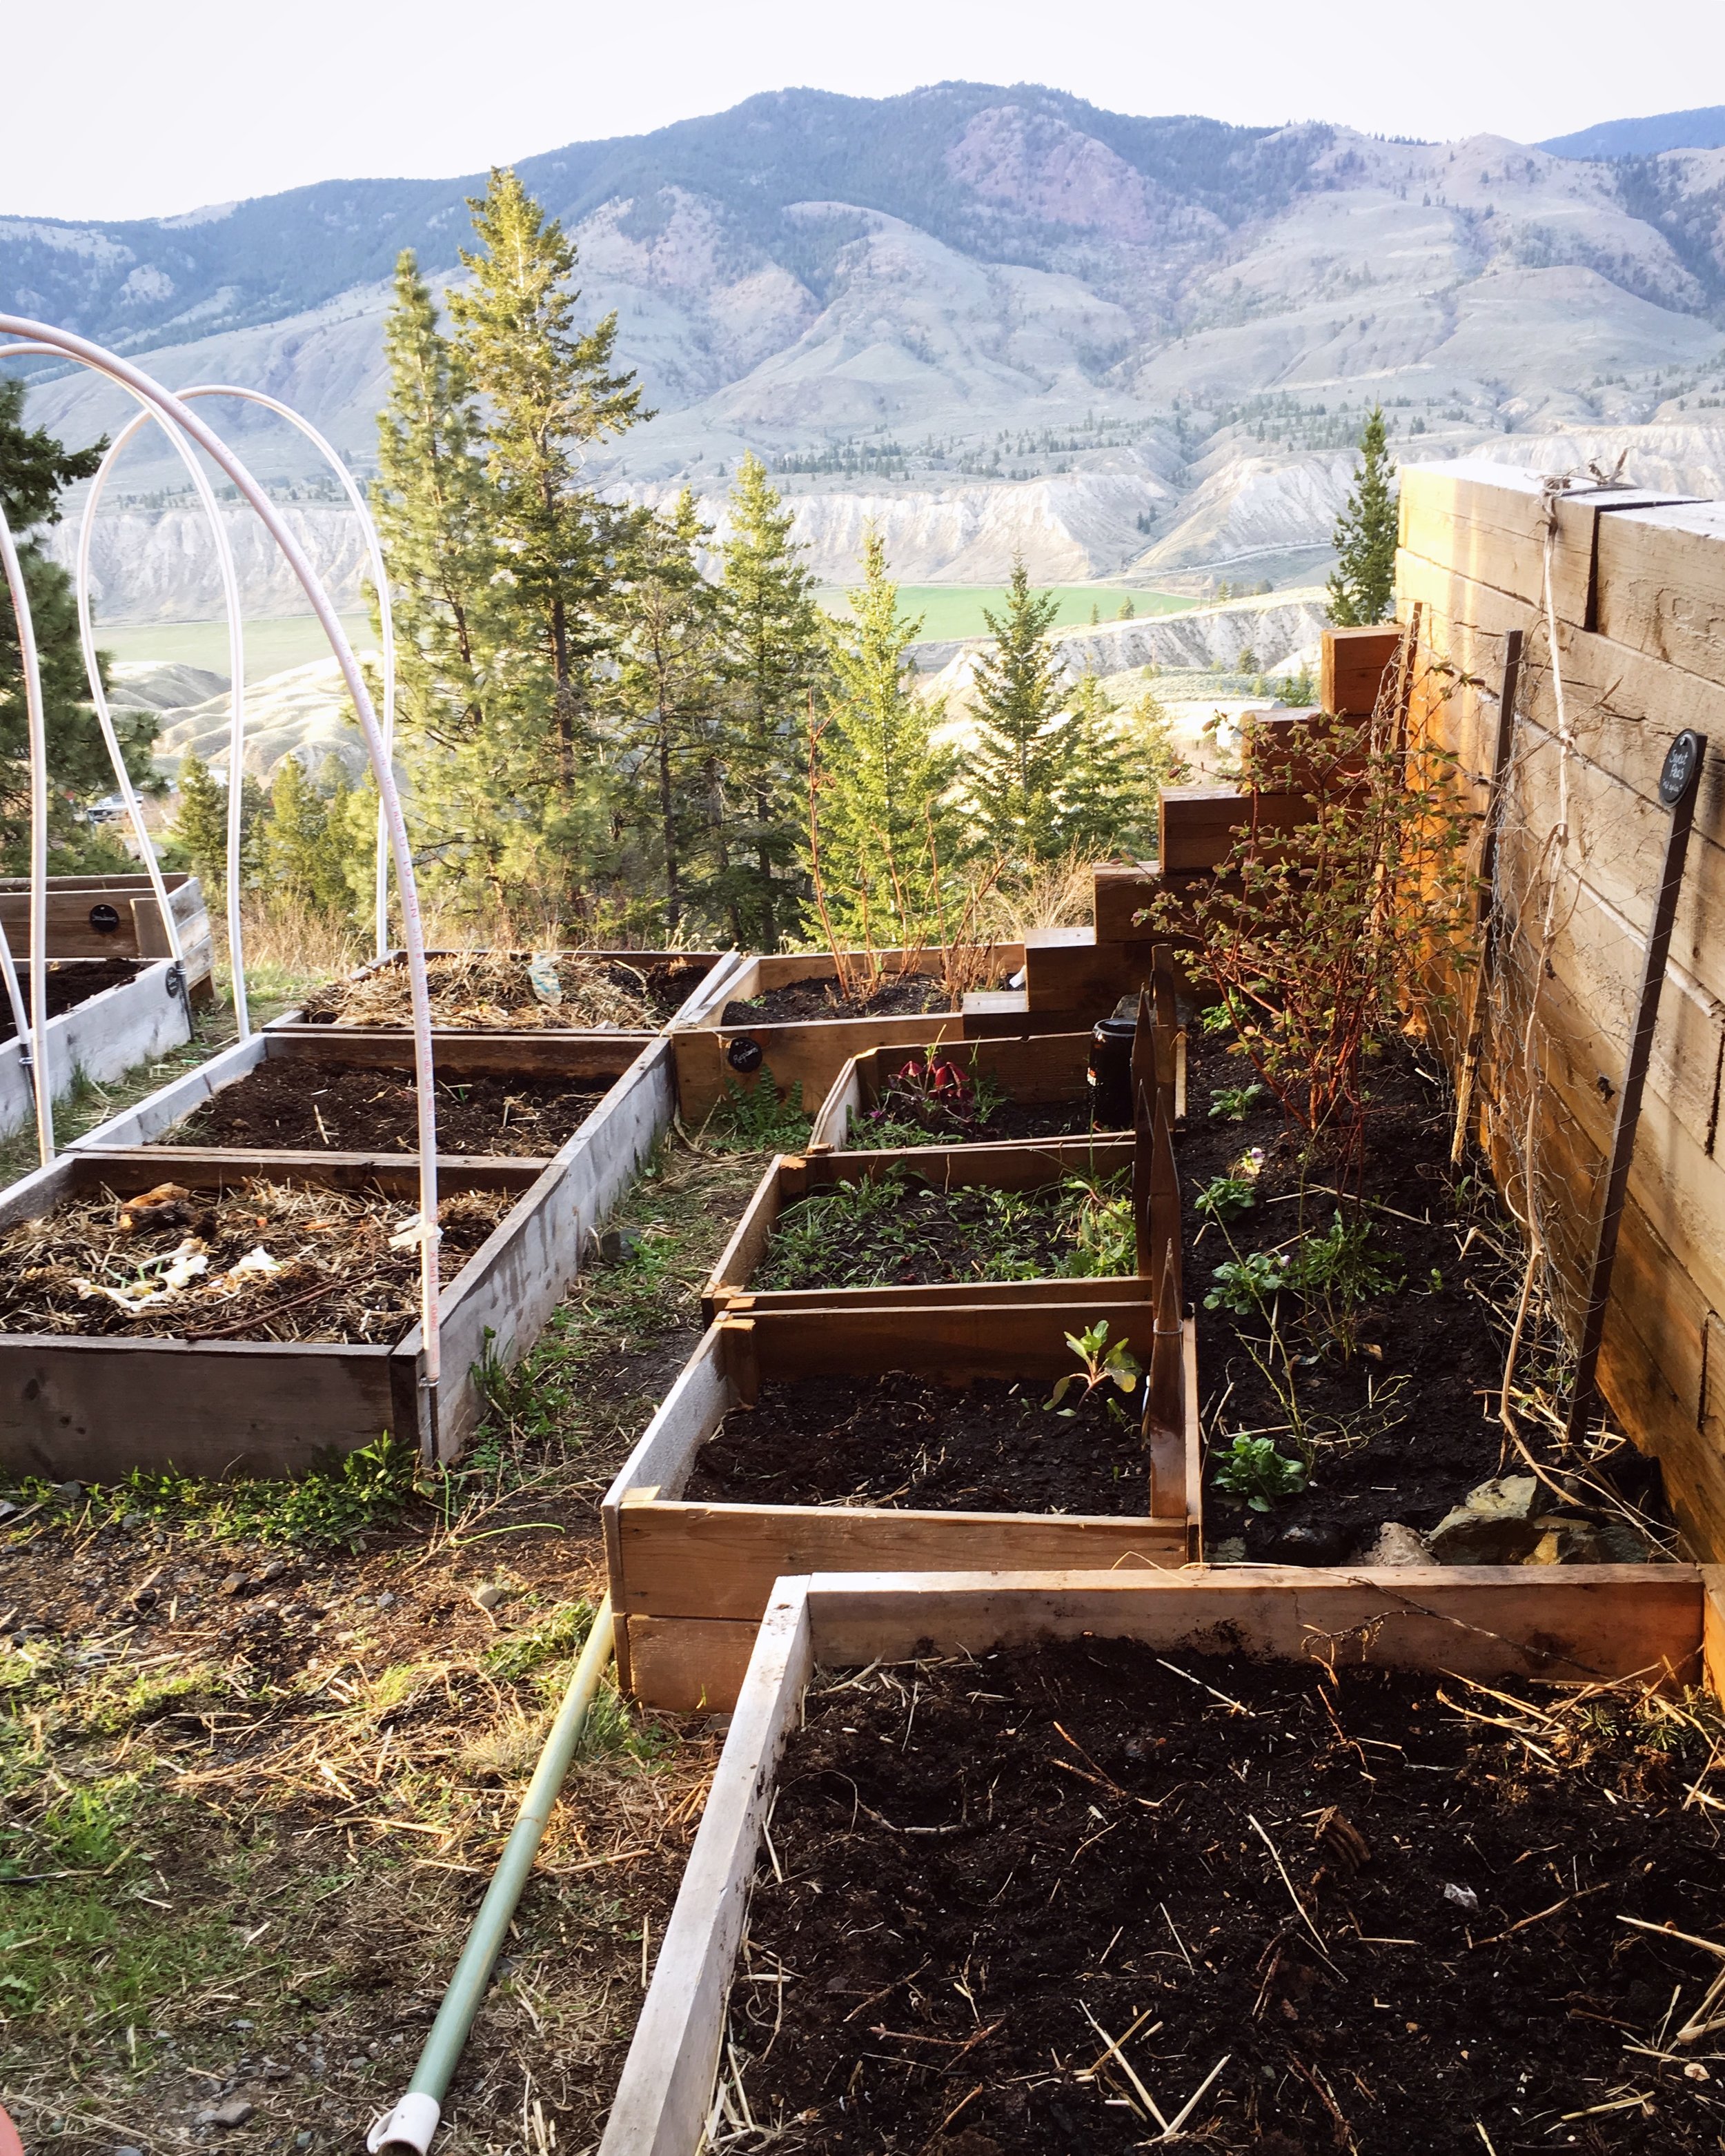
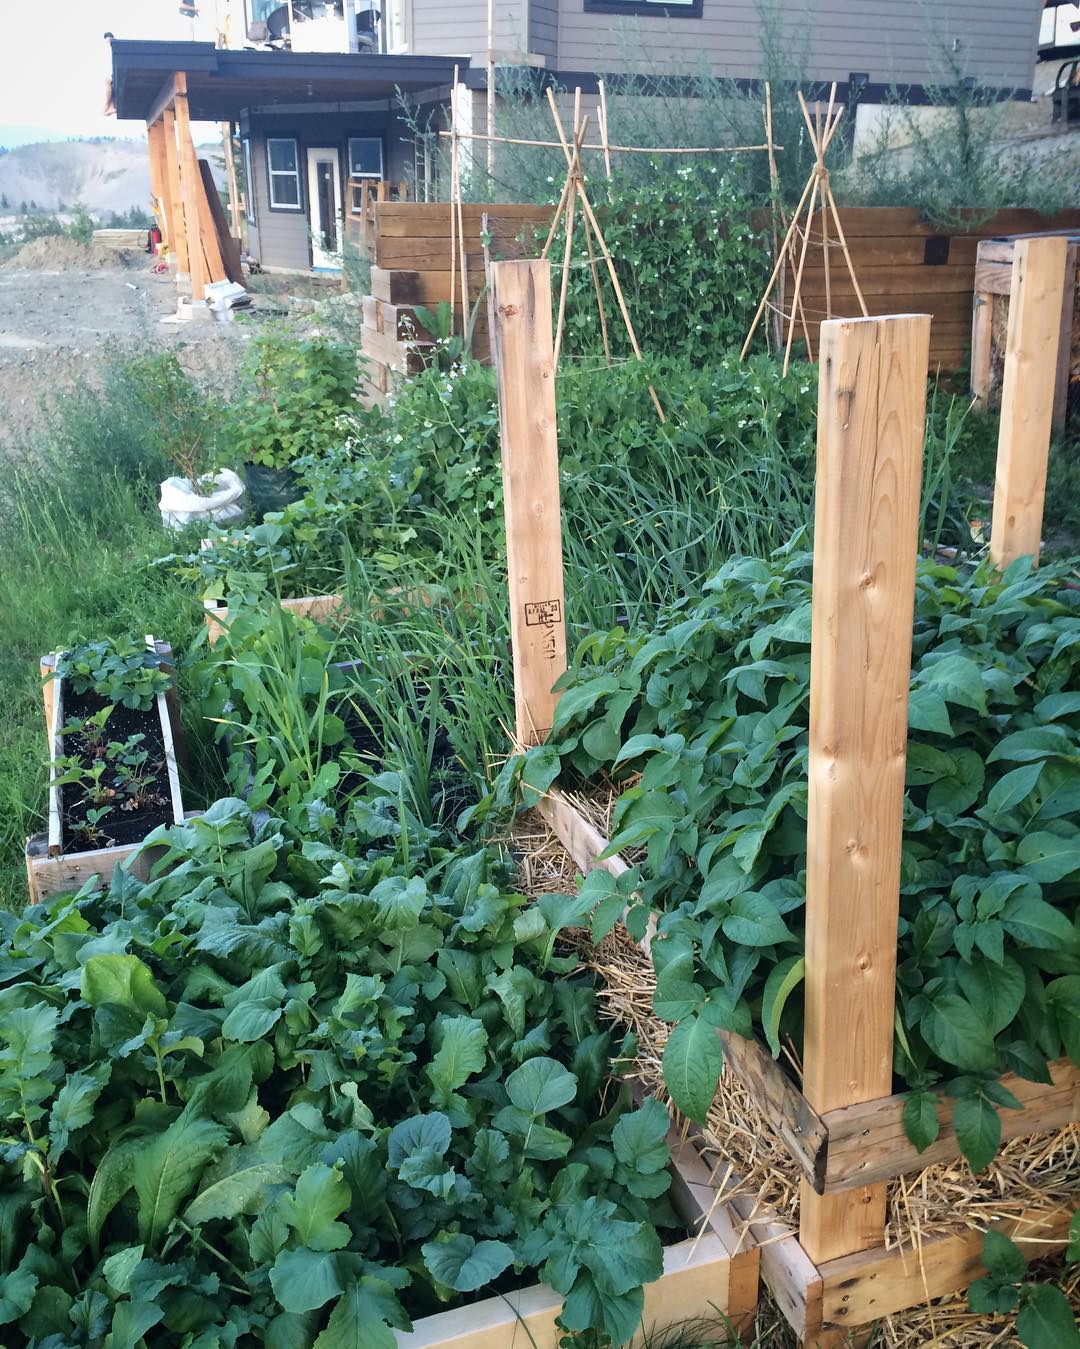
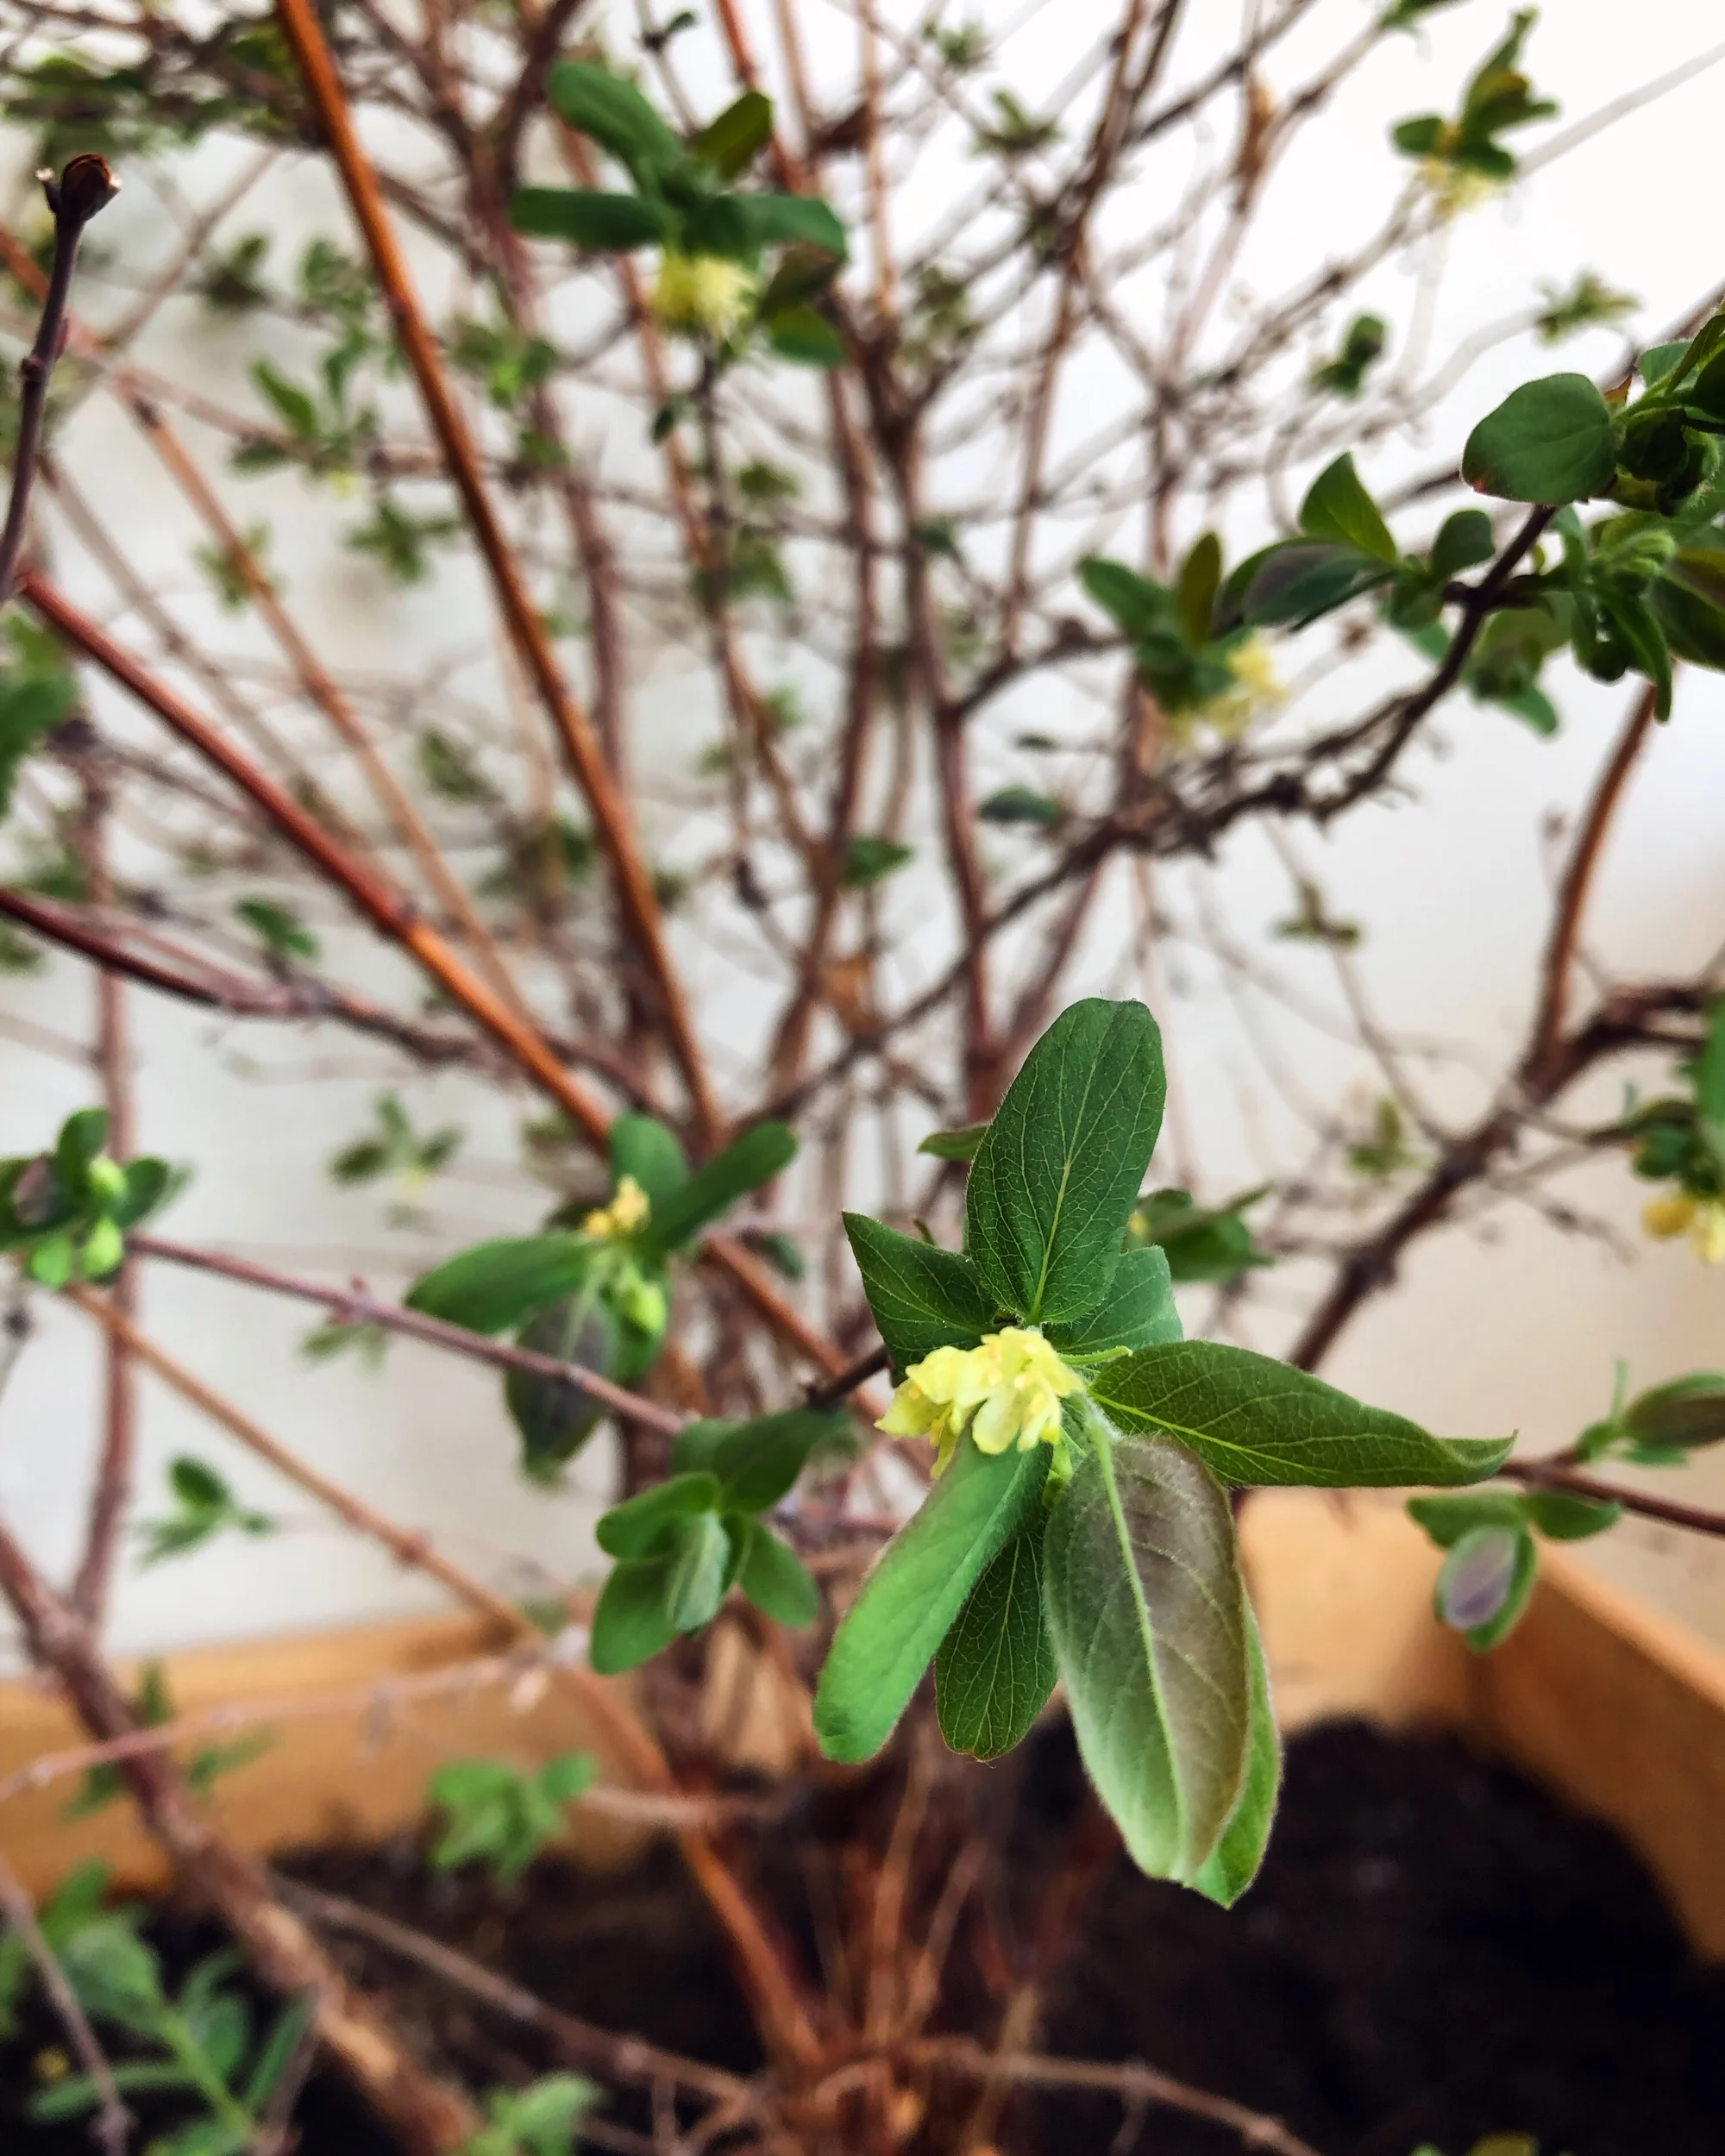
Haskap bushes in our new (large) planter beginning to leaf out.
I’m actually excited about the garden this year. A lot of people have asked me why I haven’t joined a community garden, or found somewhere to grow some things on a friend’s property or something. I might look into it in the future, but honestly with the arrival of Baby Forager I think the balcony is about all I can handle this time around! It’s also a really different climate than I’m used to. It’s almost the exact opposite of my old garden - south facing, sunny, and hot instead of north facing, shaded, and cool. Lots of things I had little succiess with before might do well here. Maybe I’ll finally have that amazing tomato crop I’ve been hoping for!
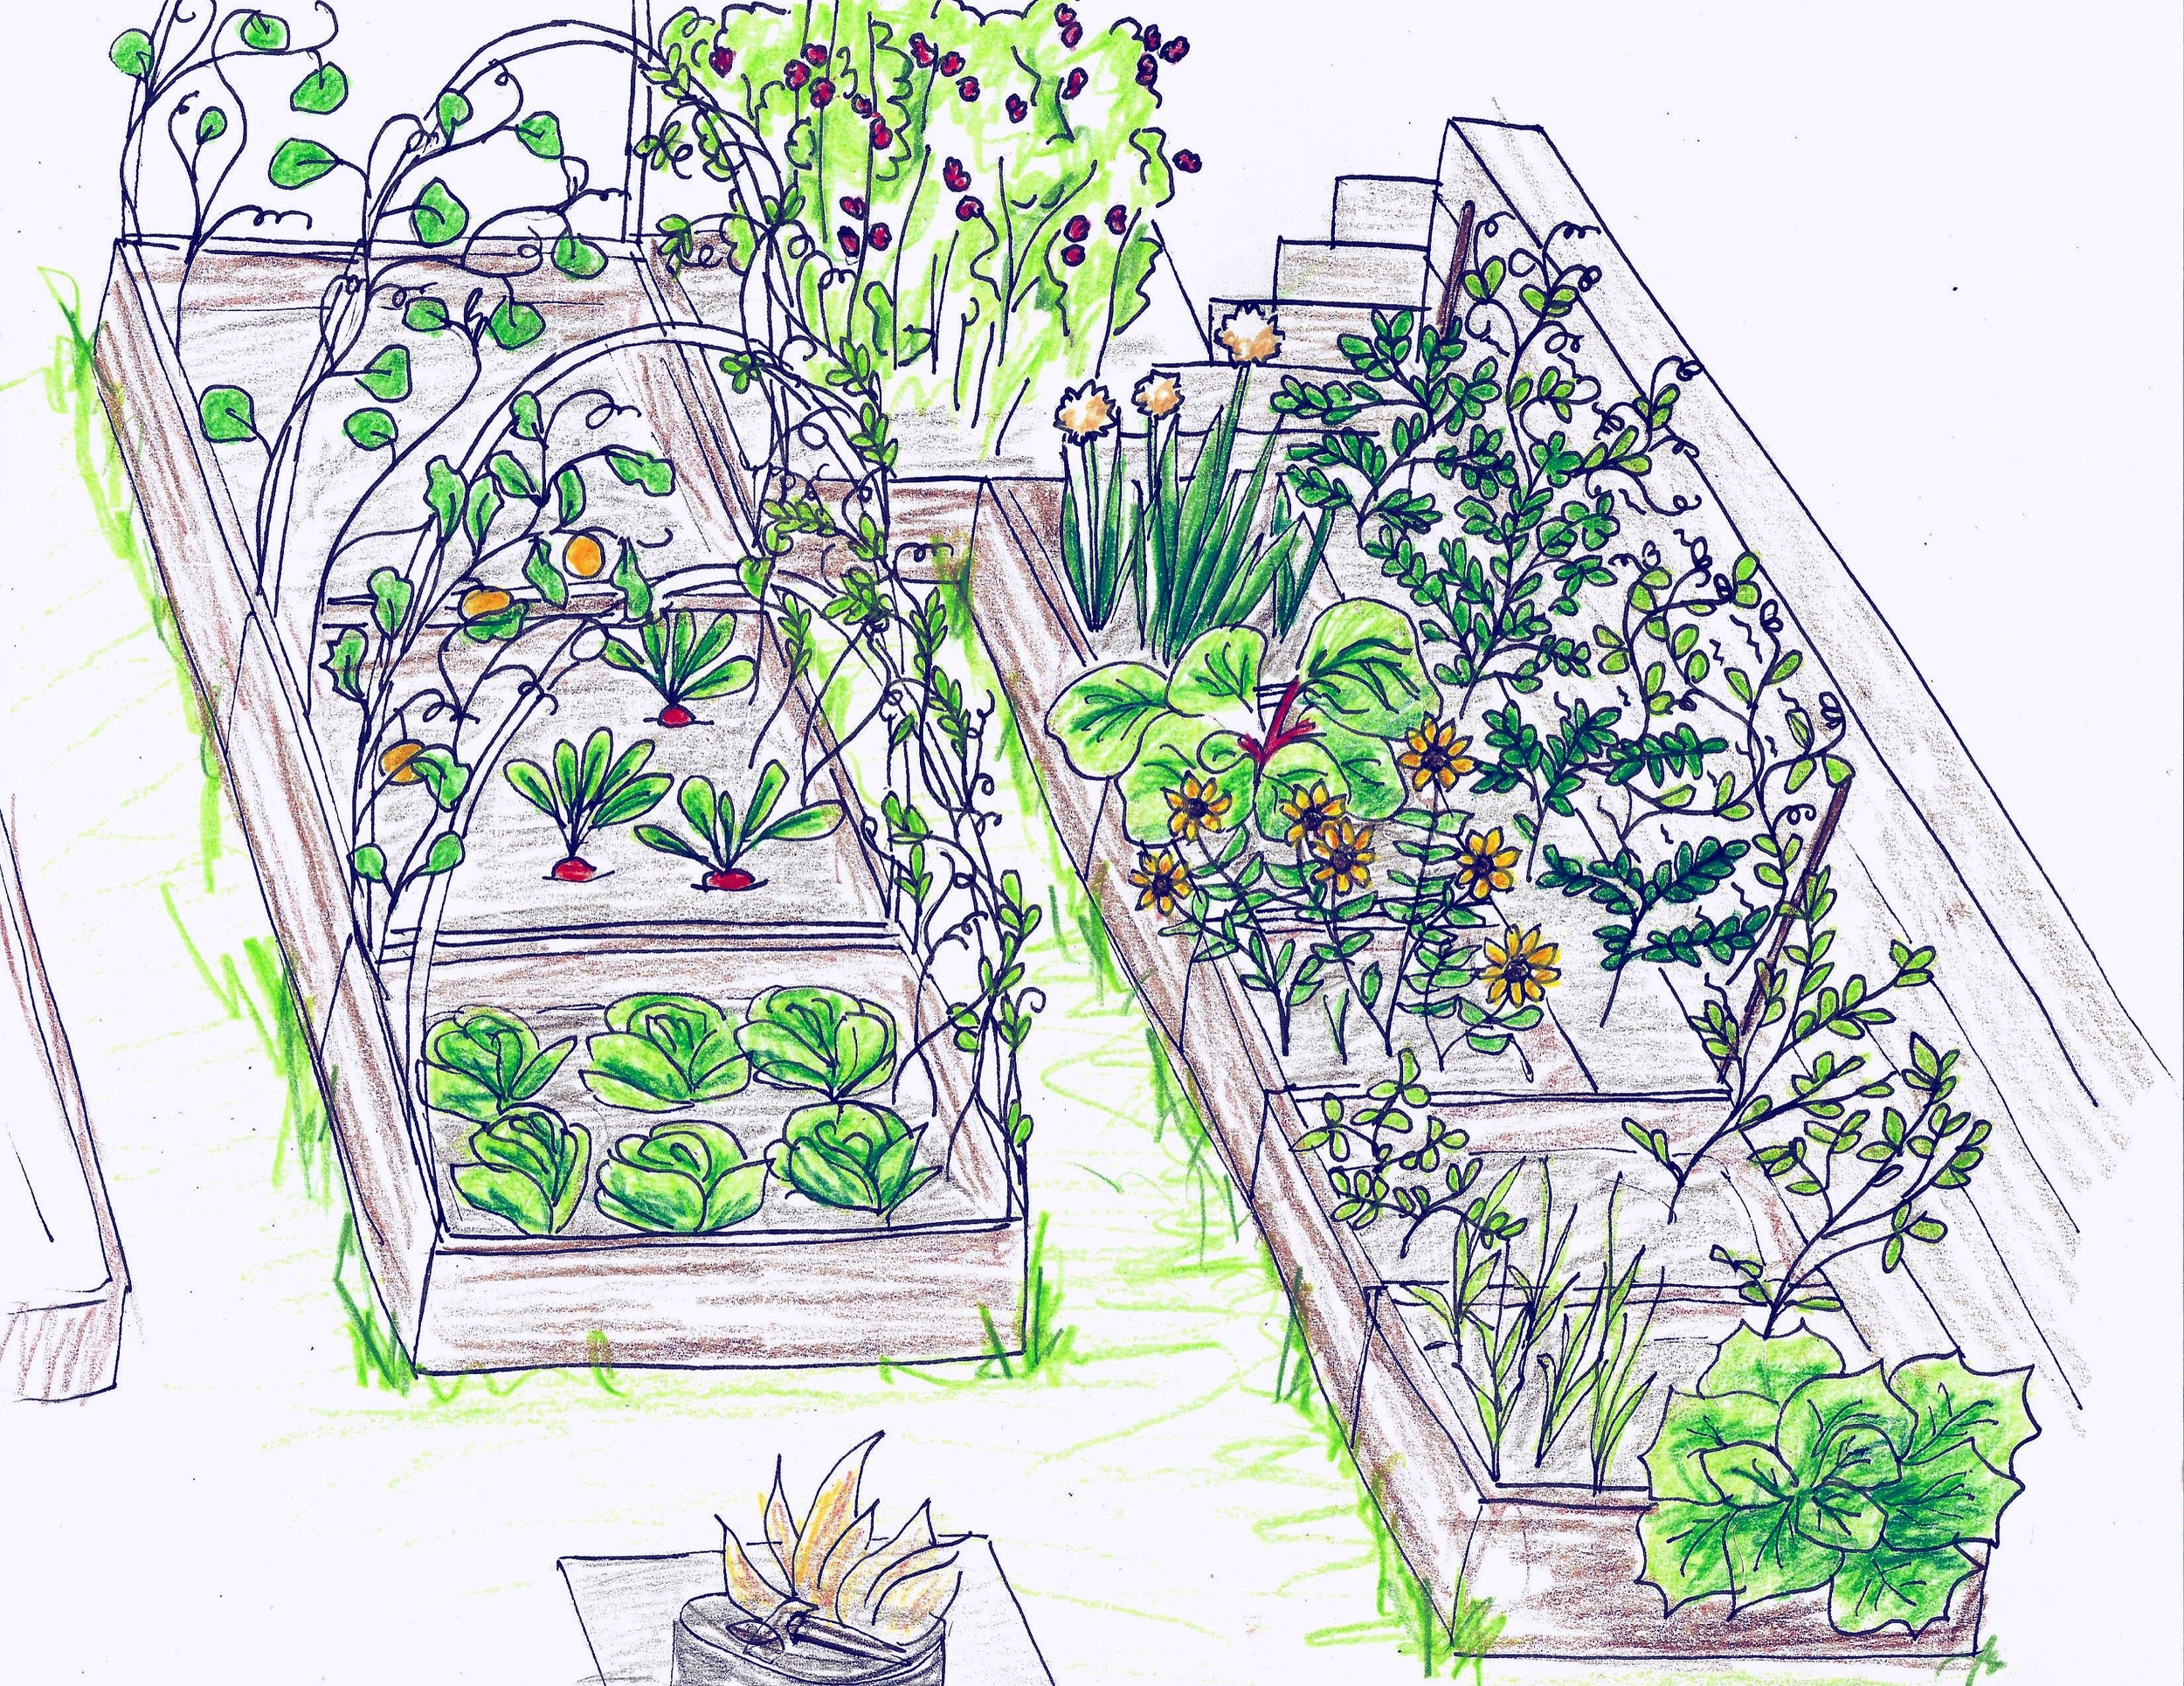
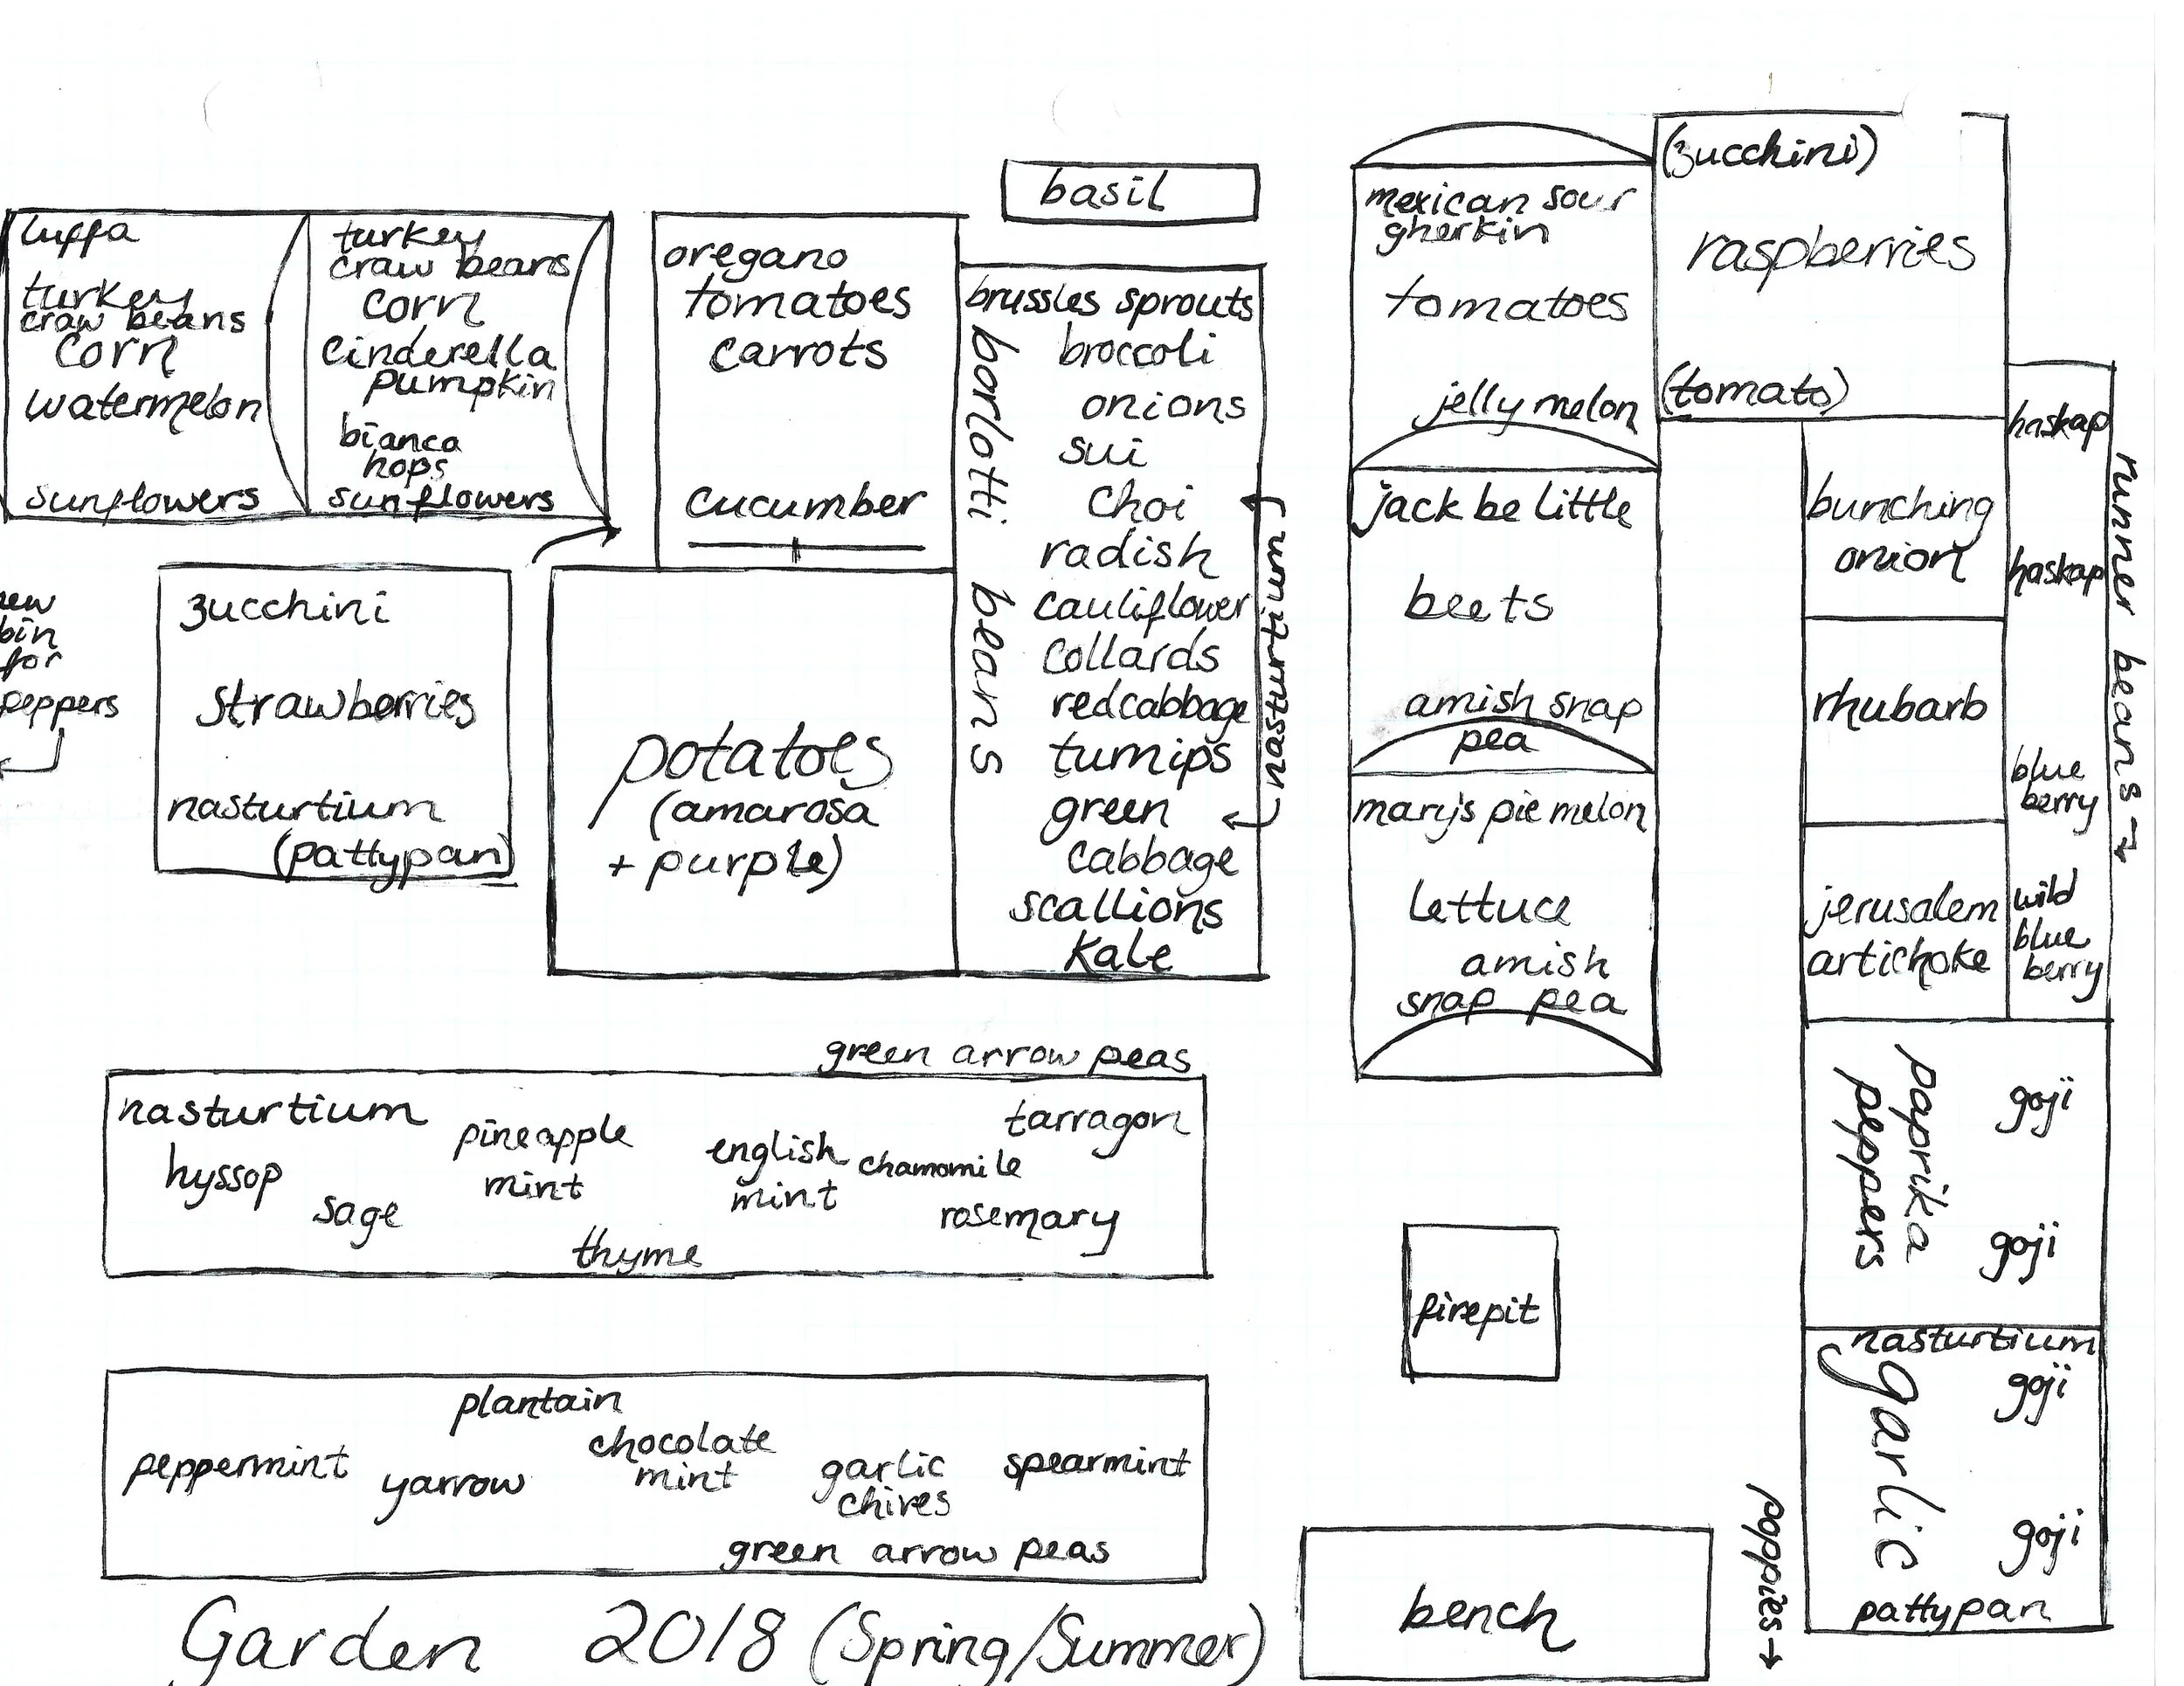
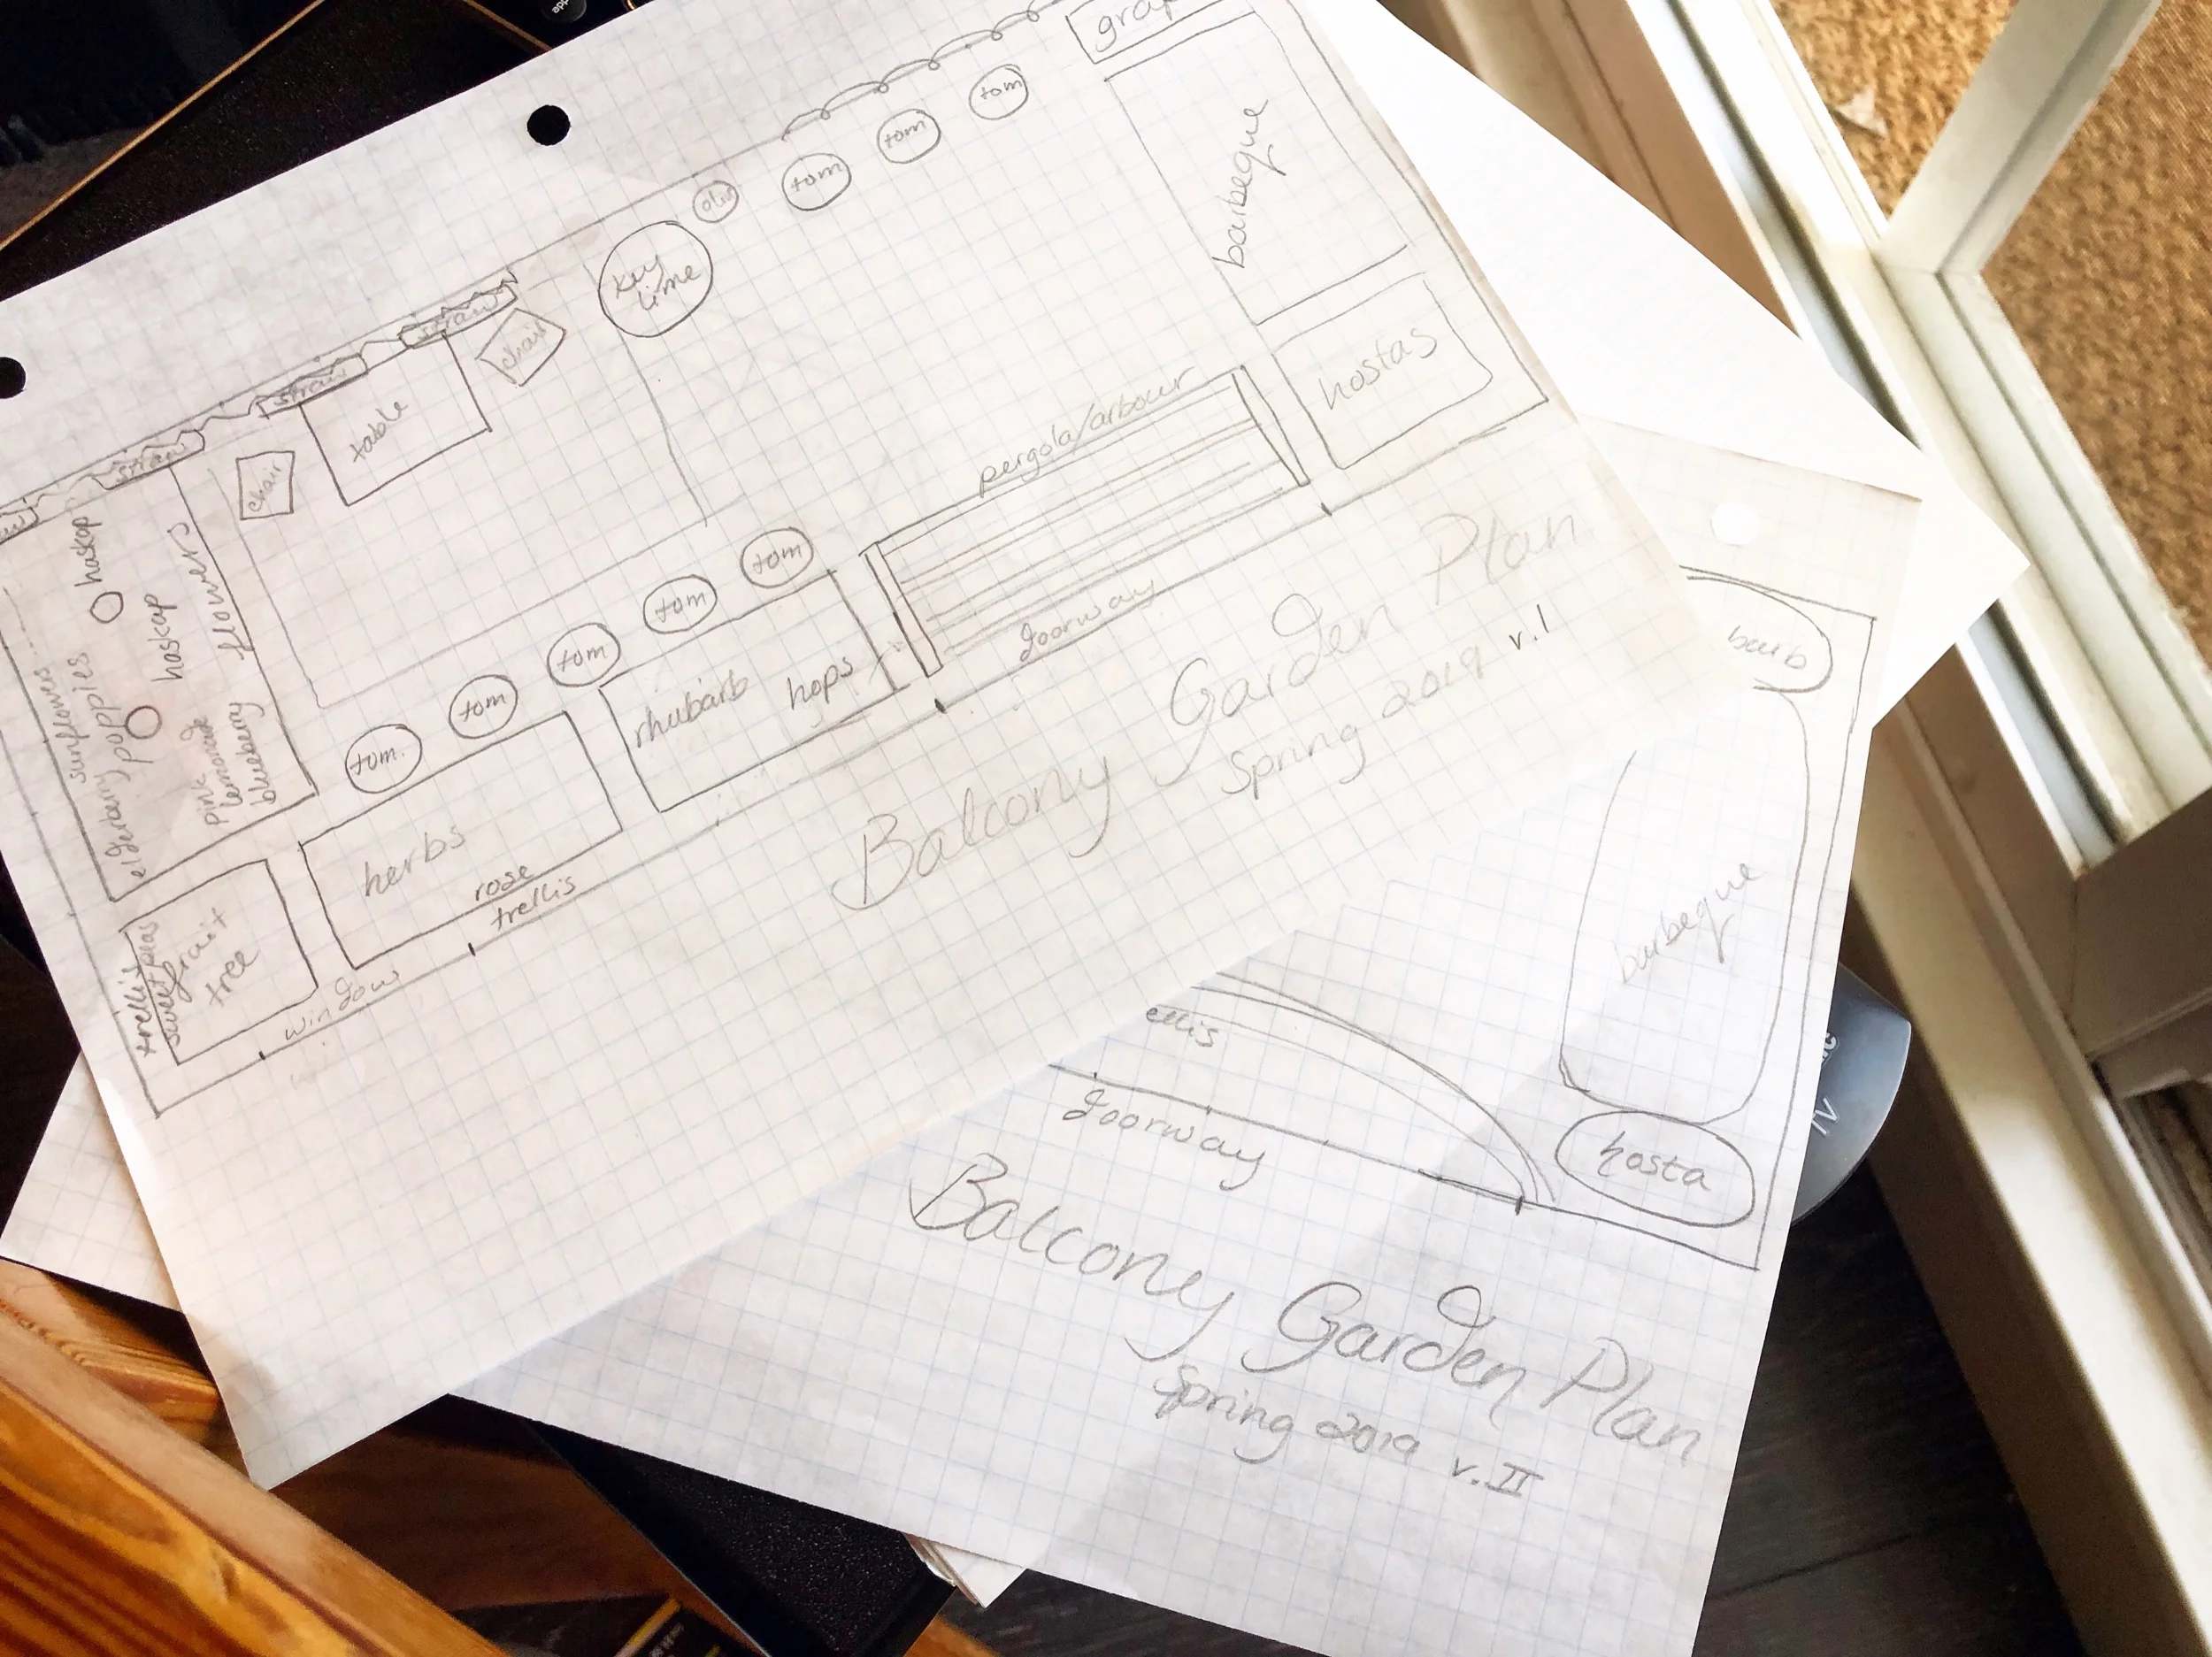
I like to do my initial plans on graph paper. I don’t worry too much about drawing everything perfectly to scale, but this way you do get the ability to be a bit more precise. I find it helpful to at least have the exact measurements of the space you’re working in.
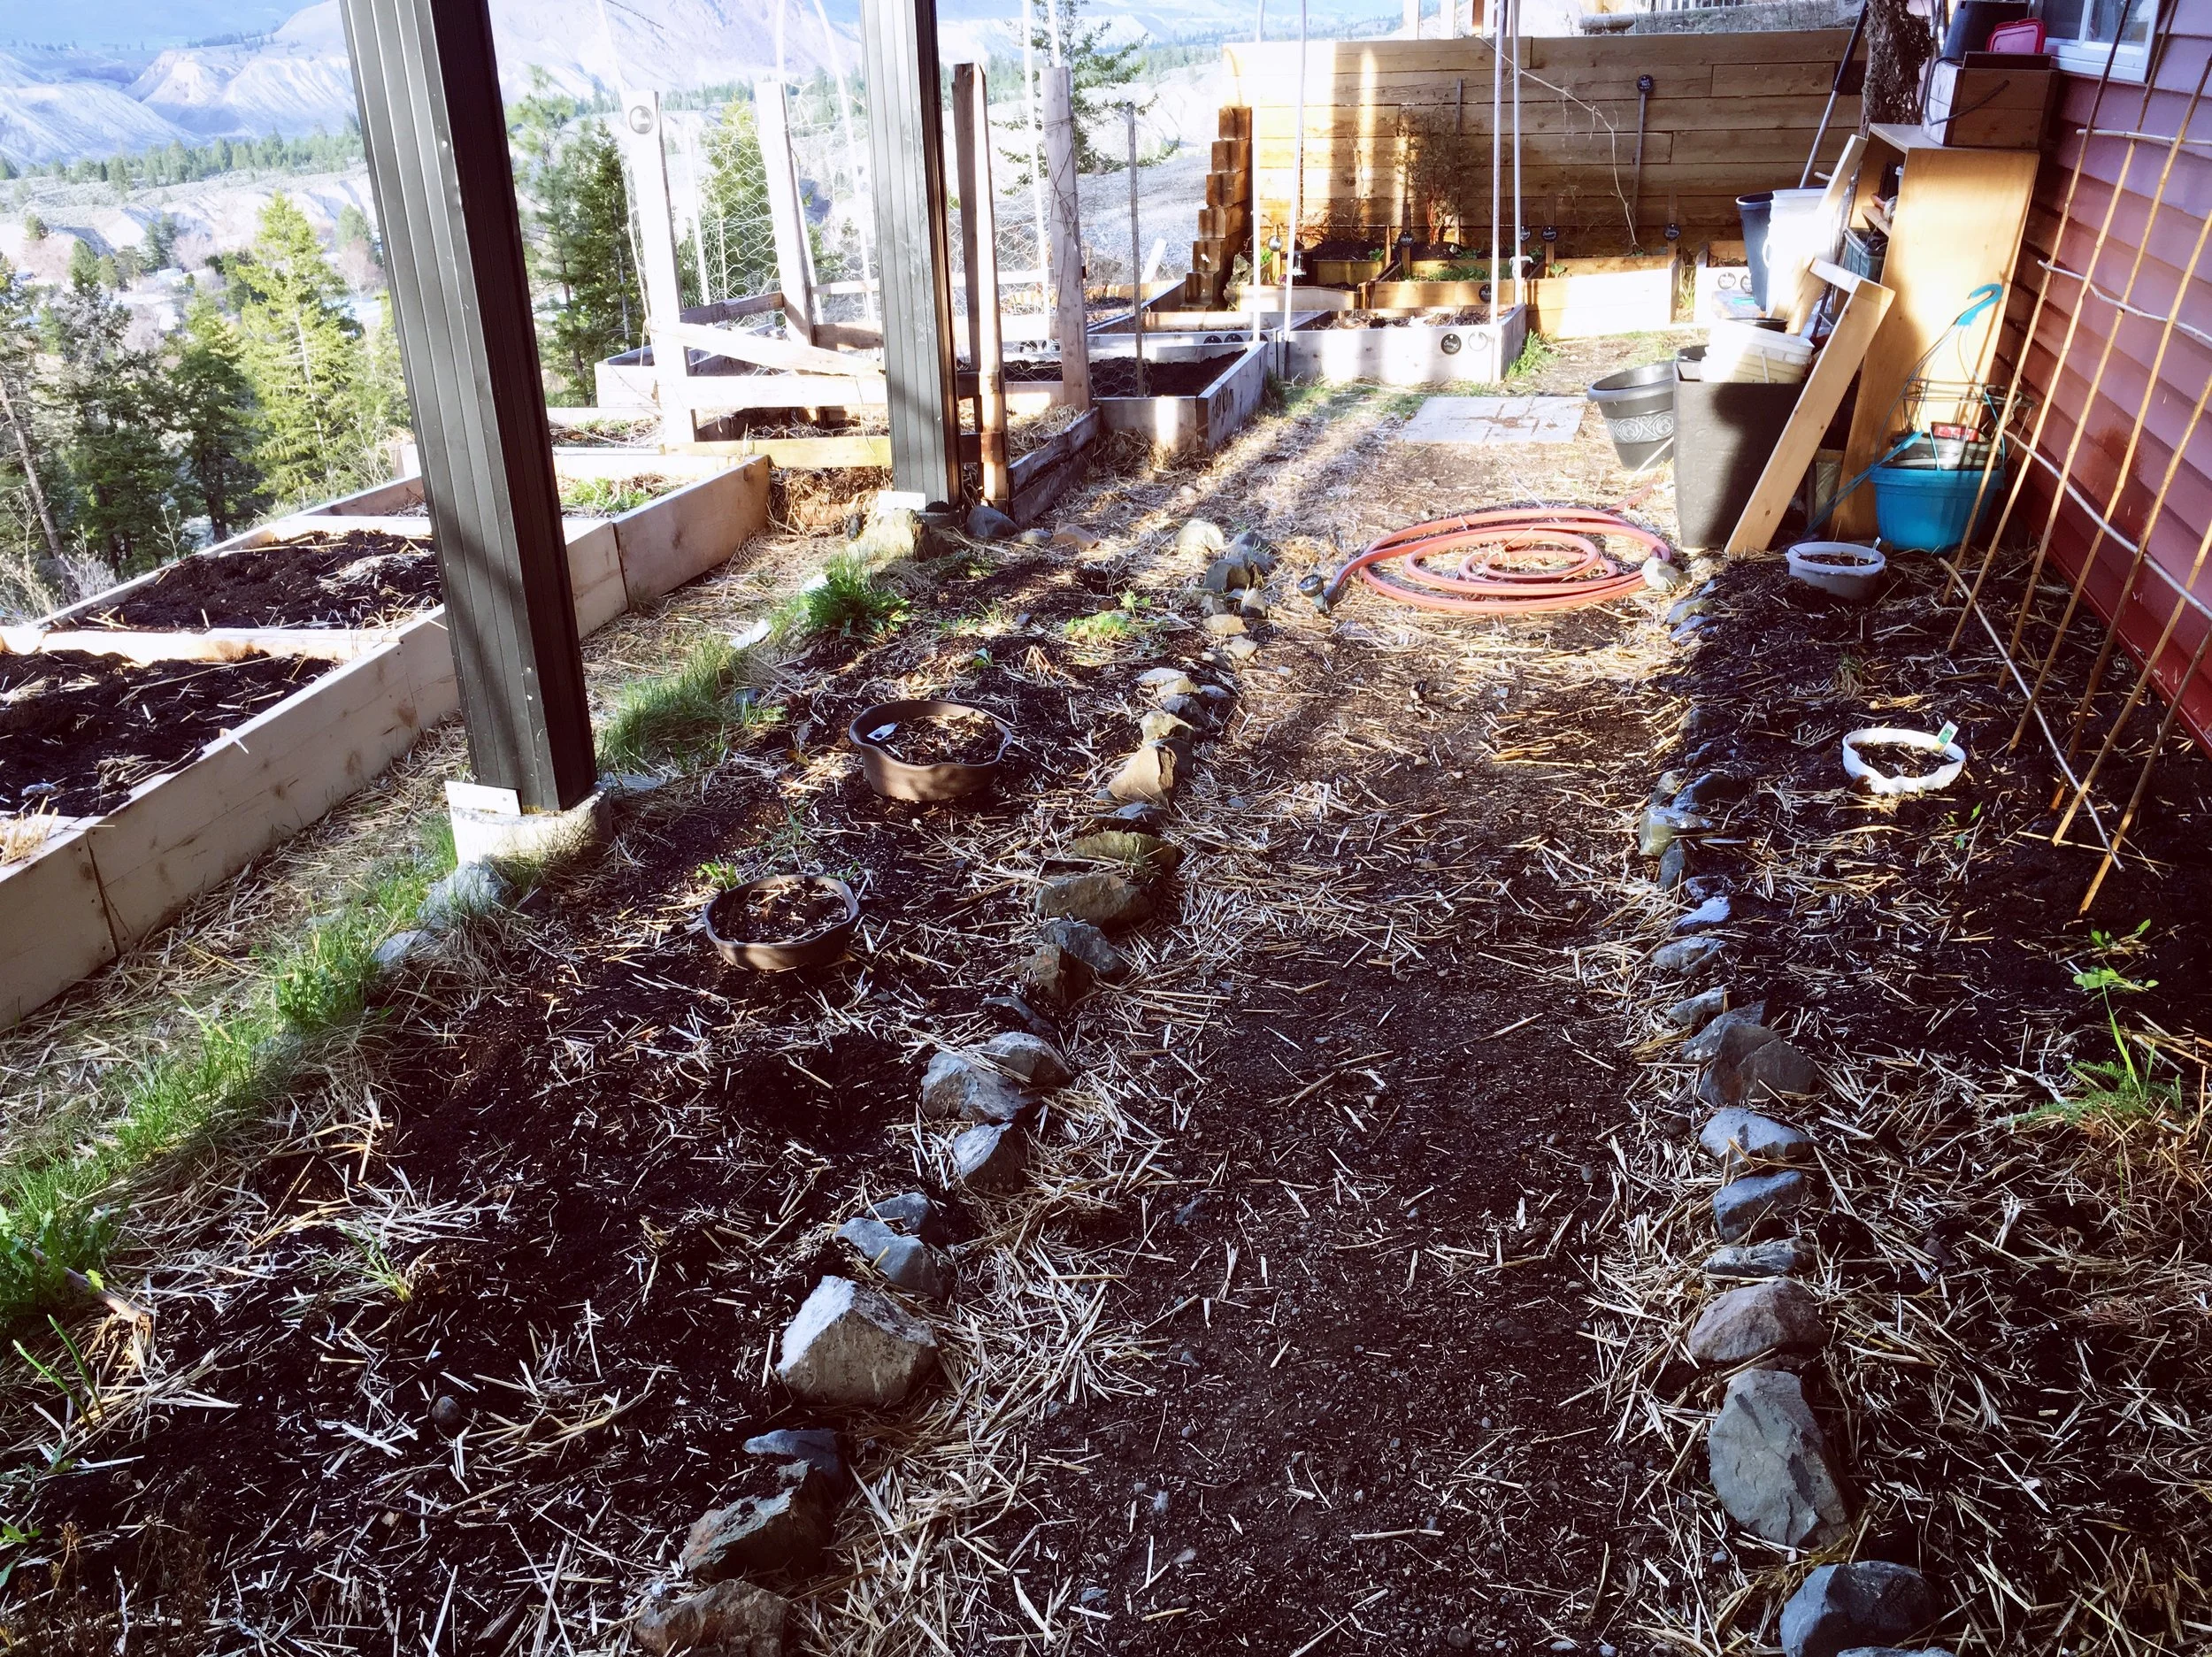
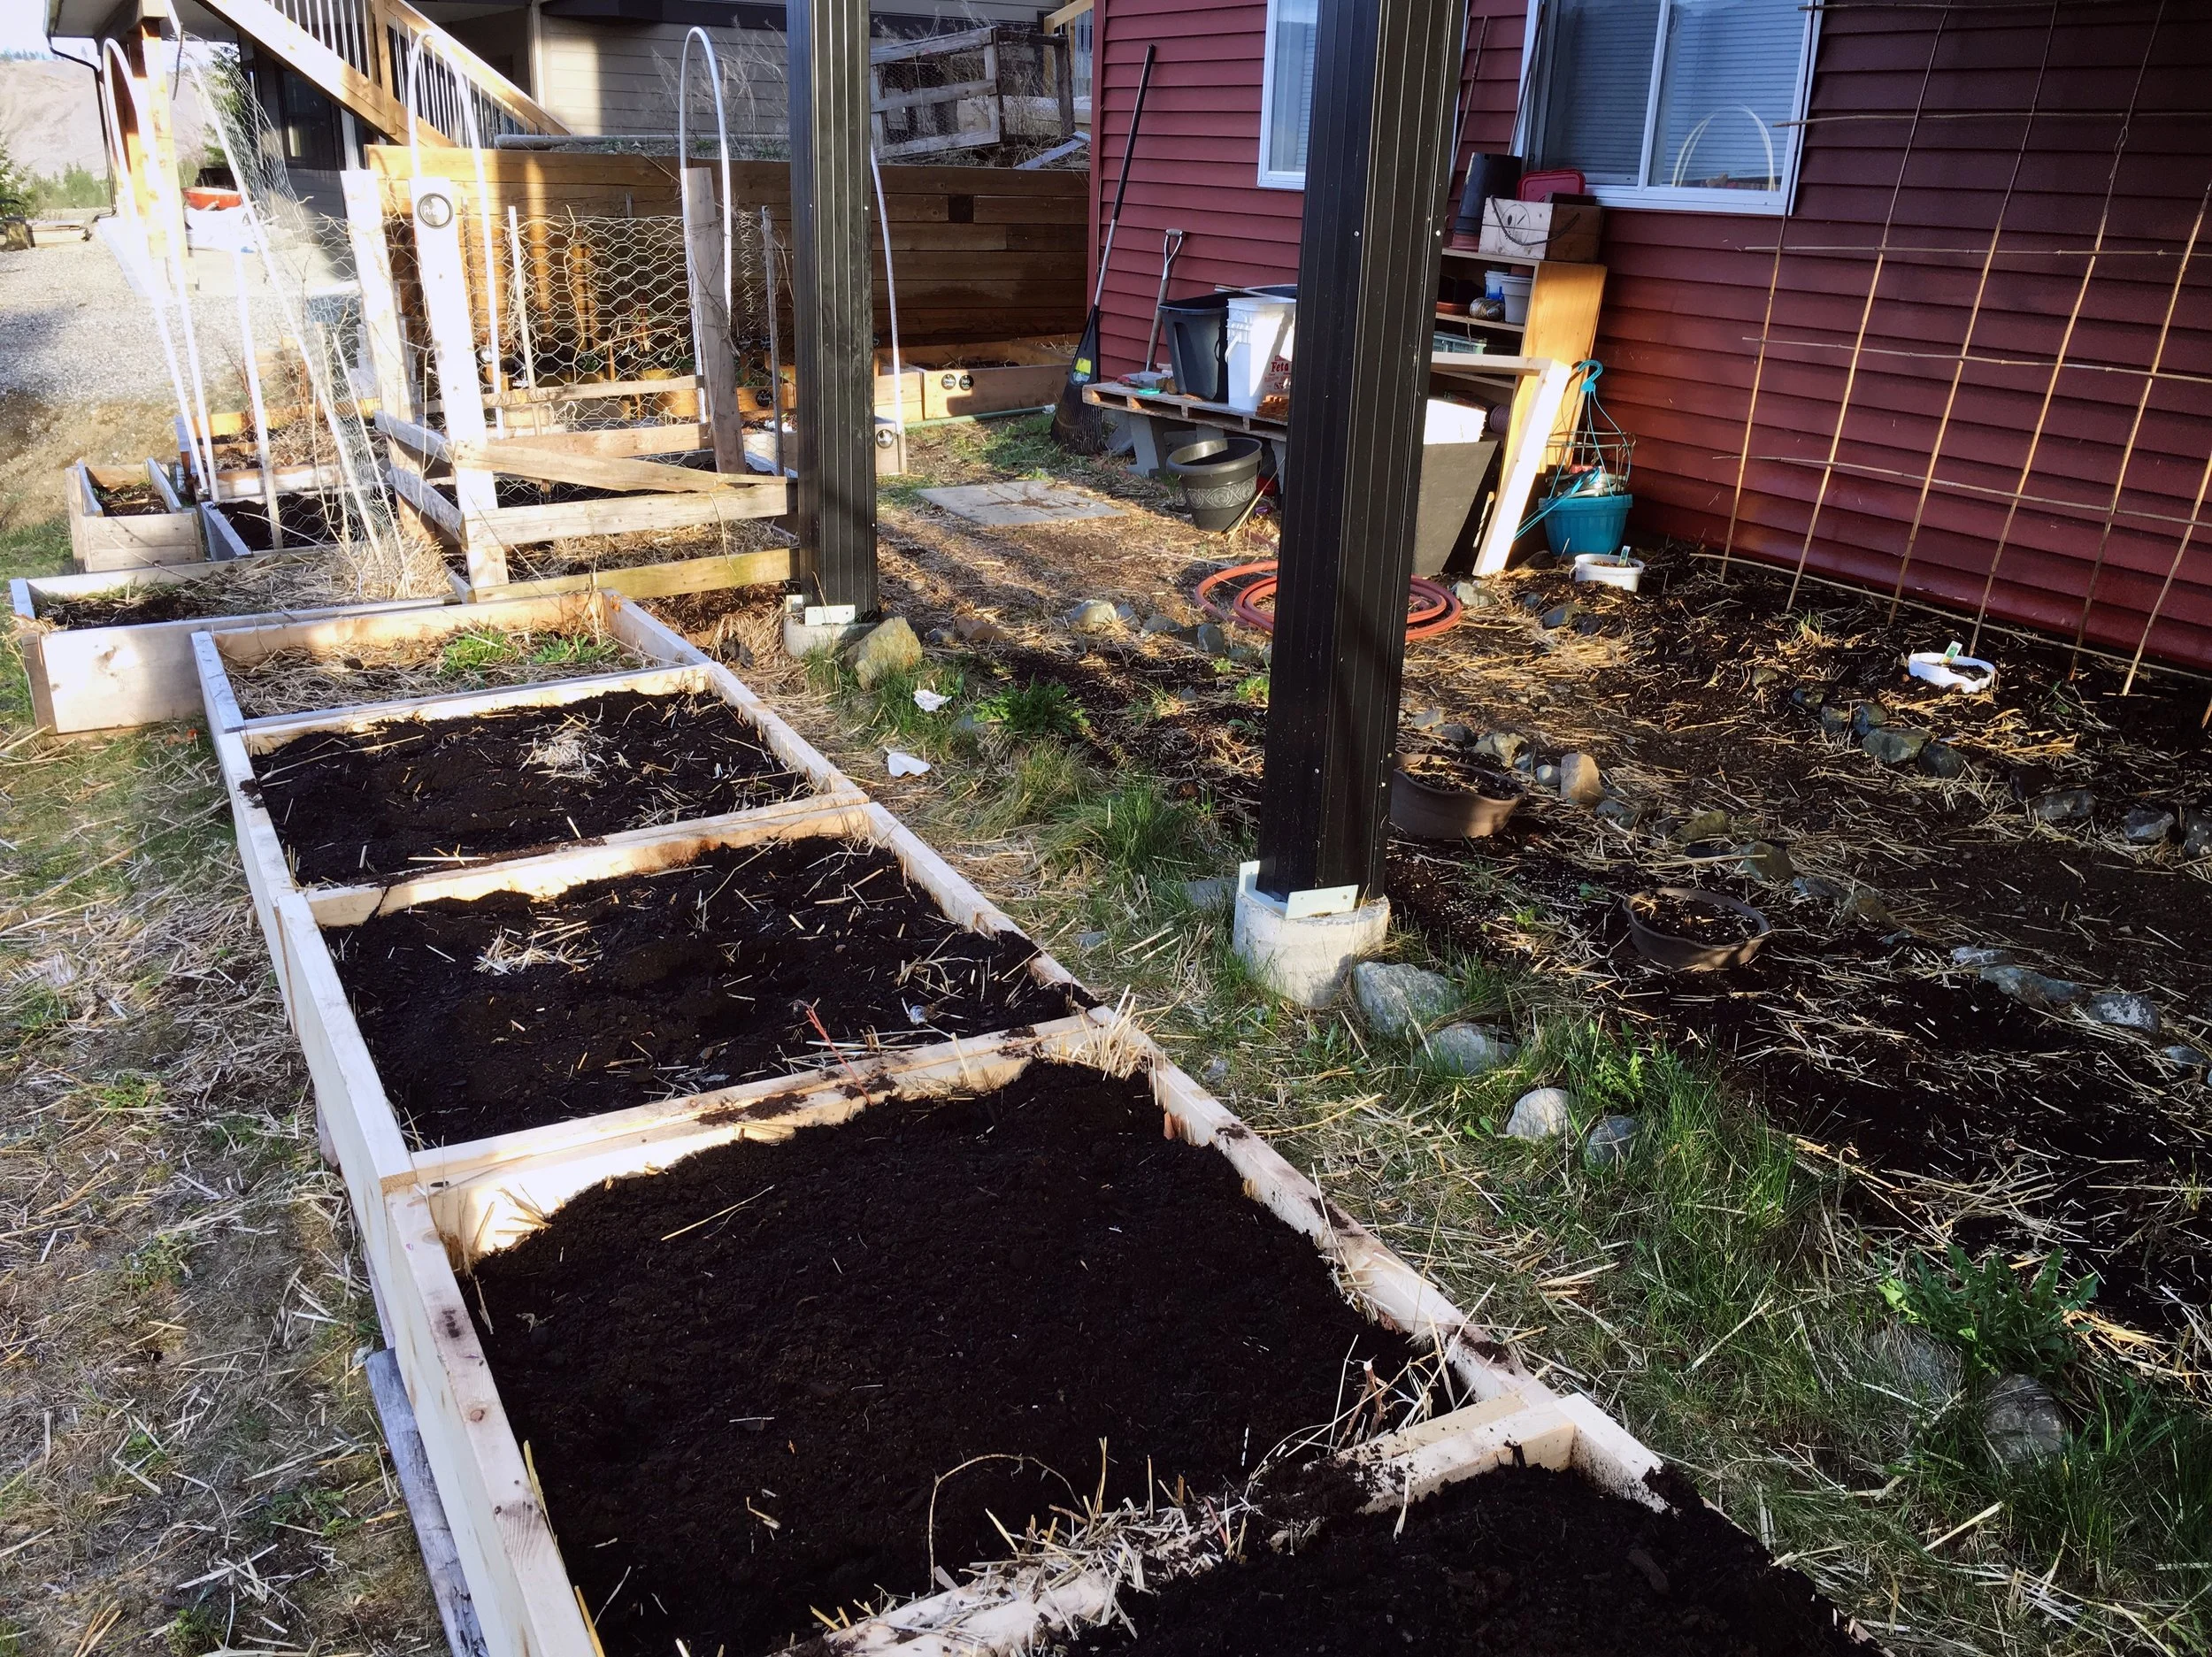
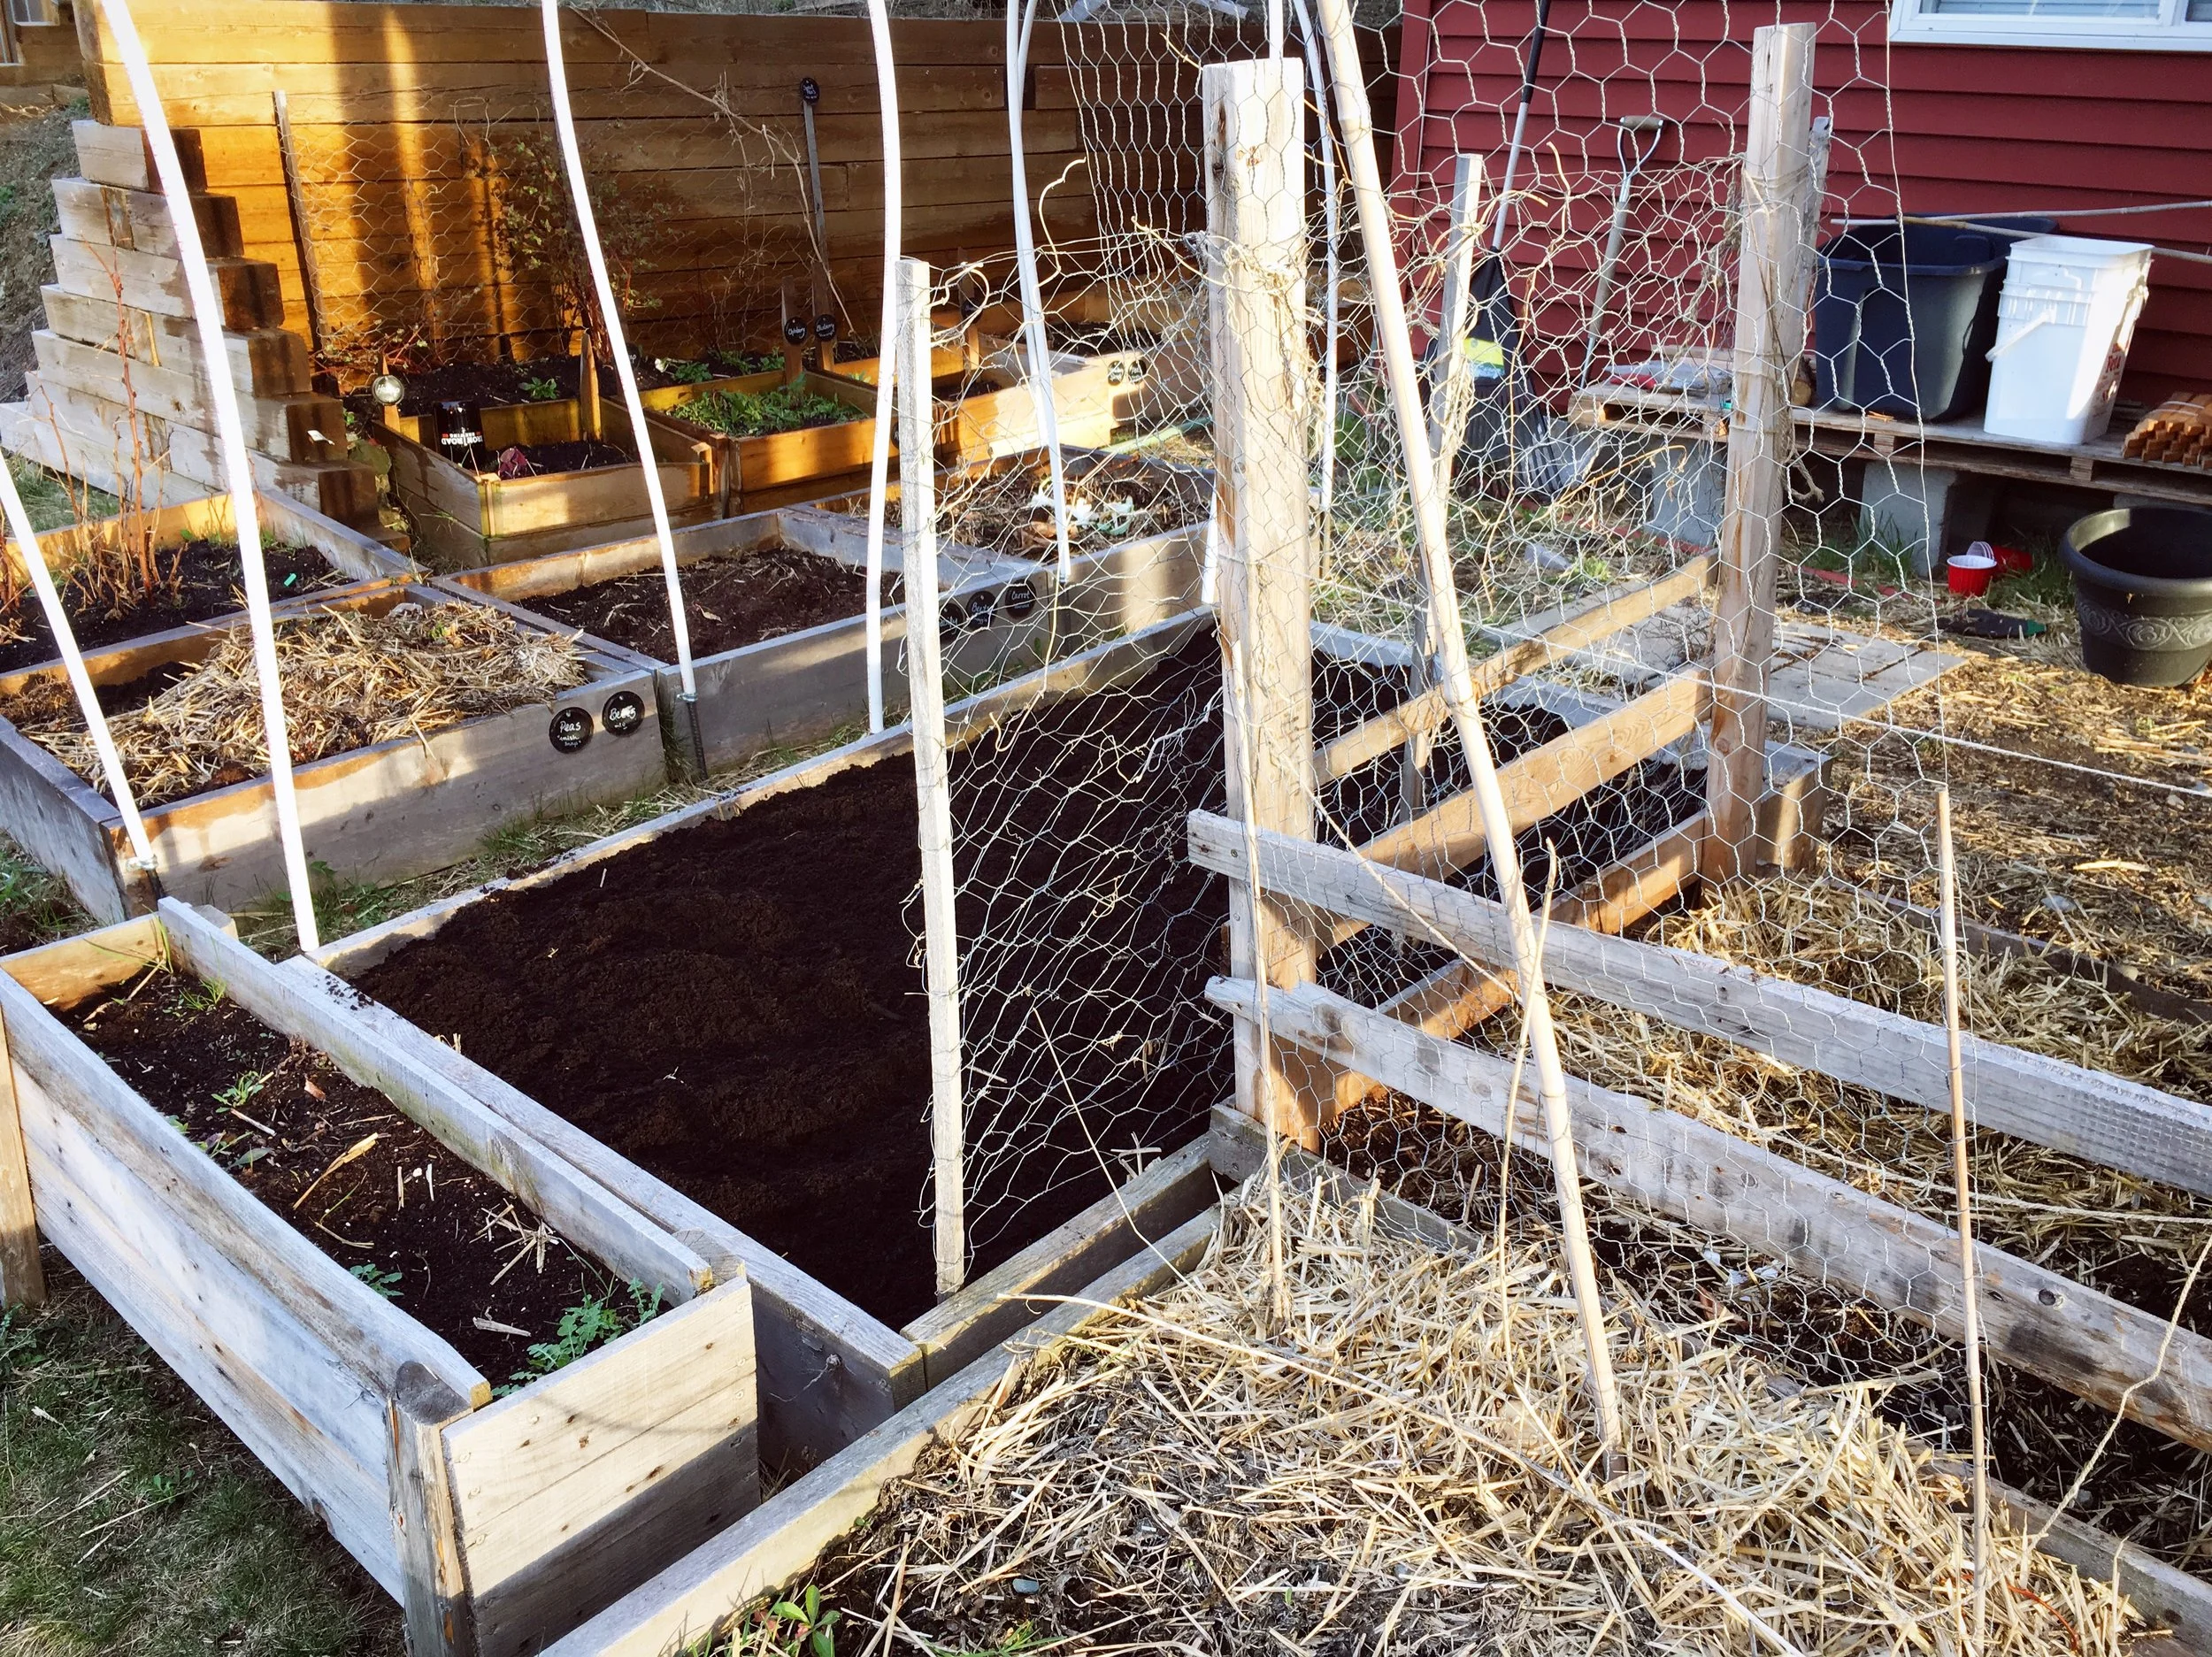
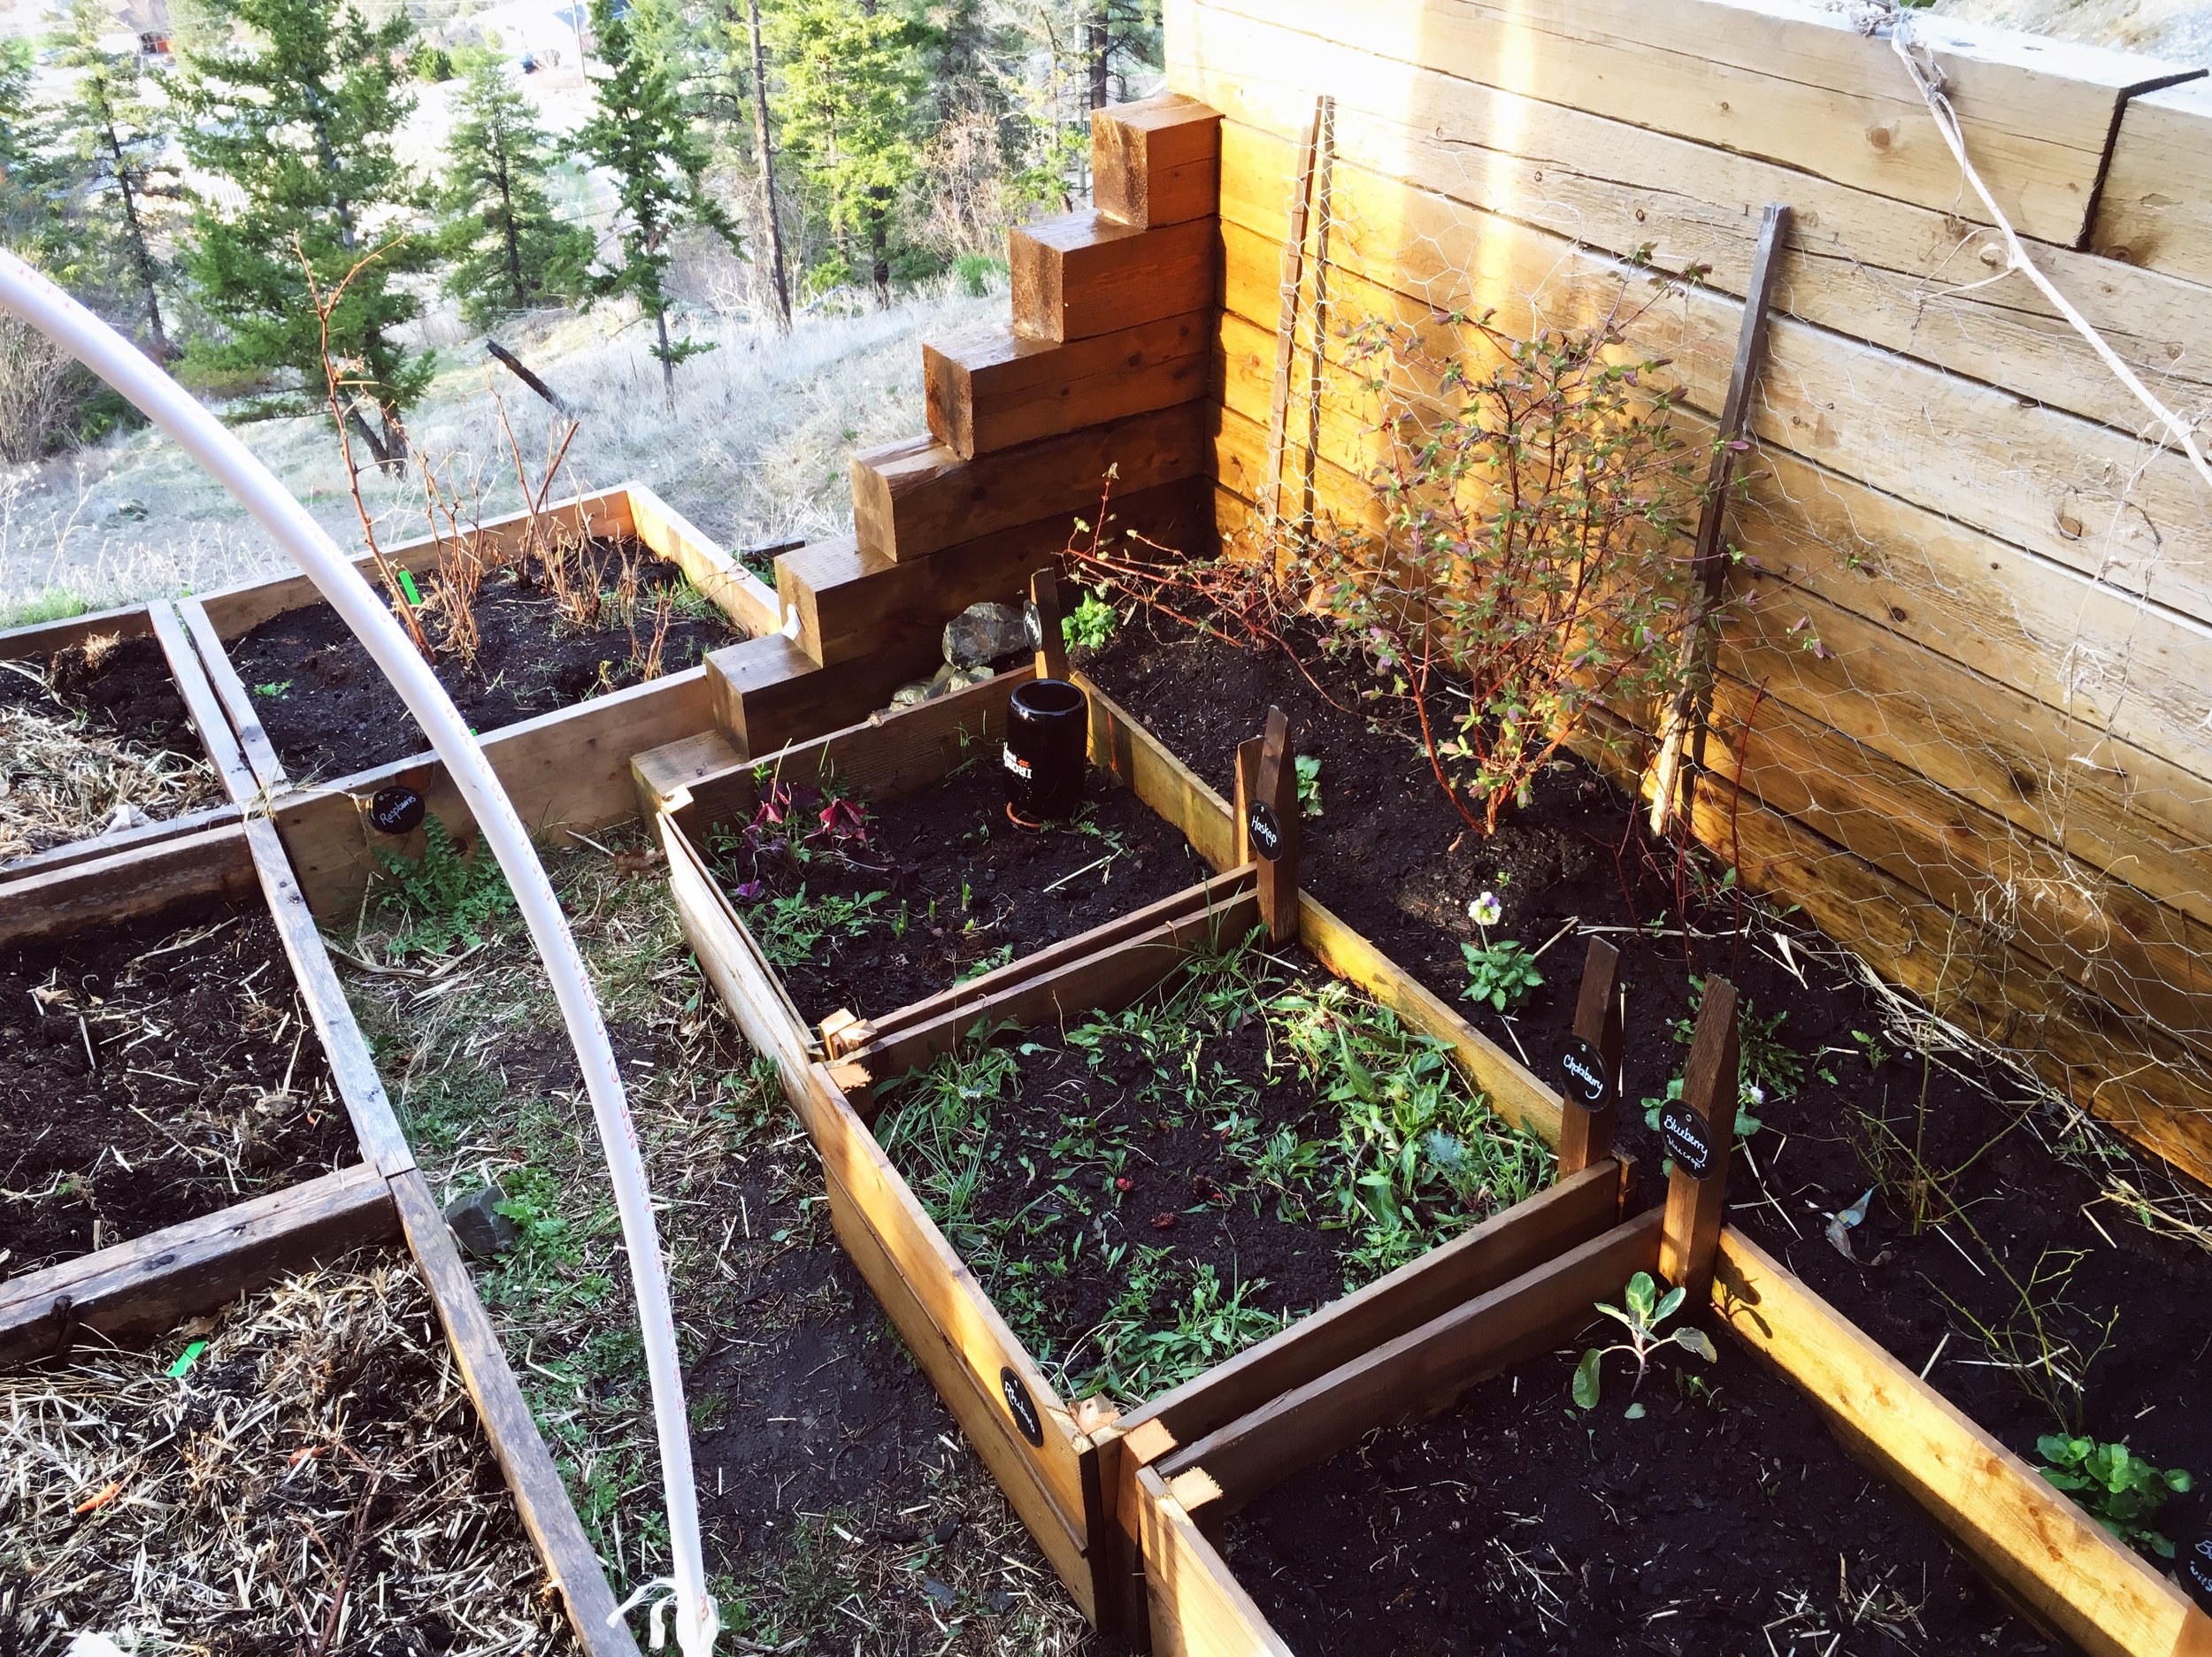
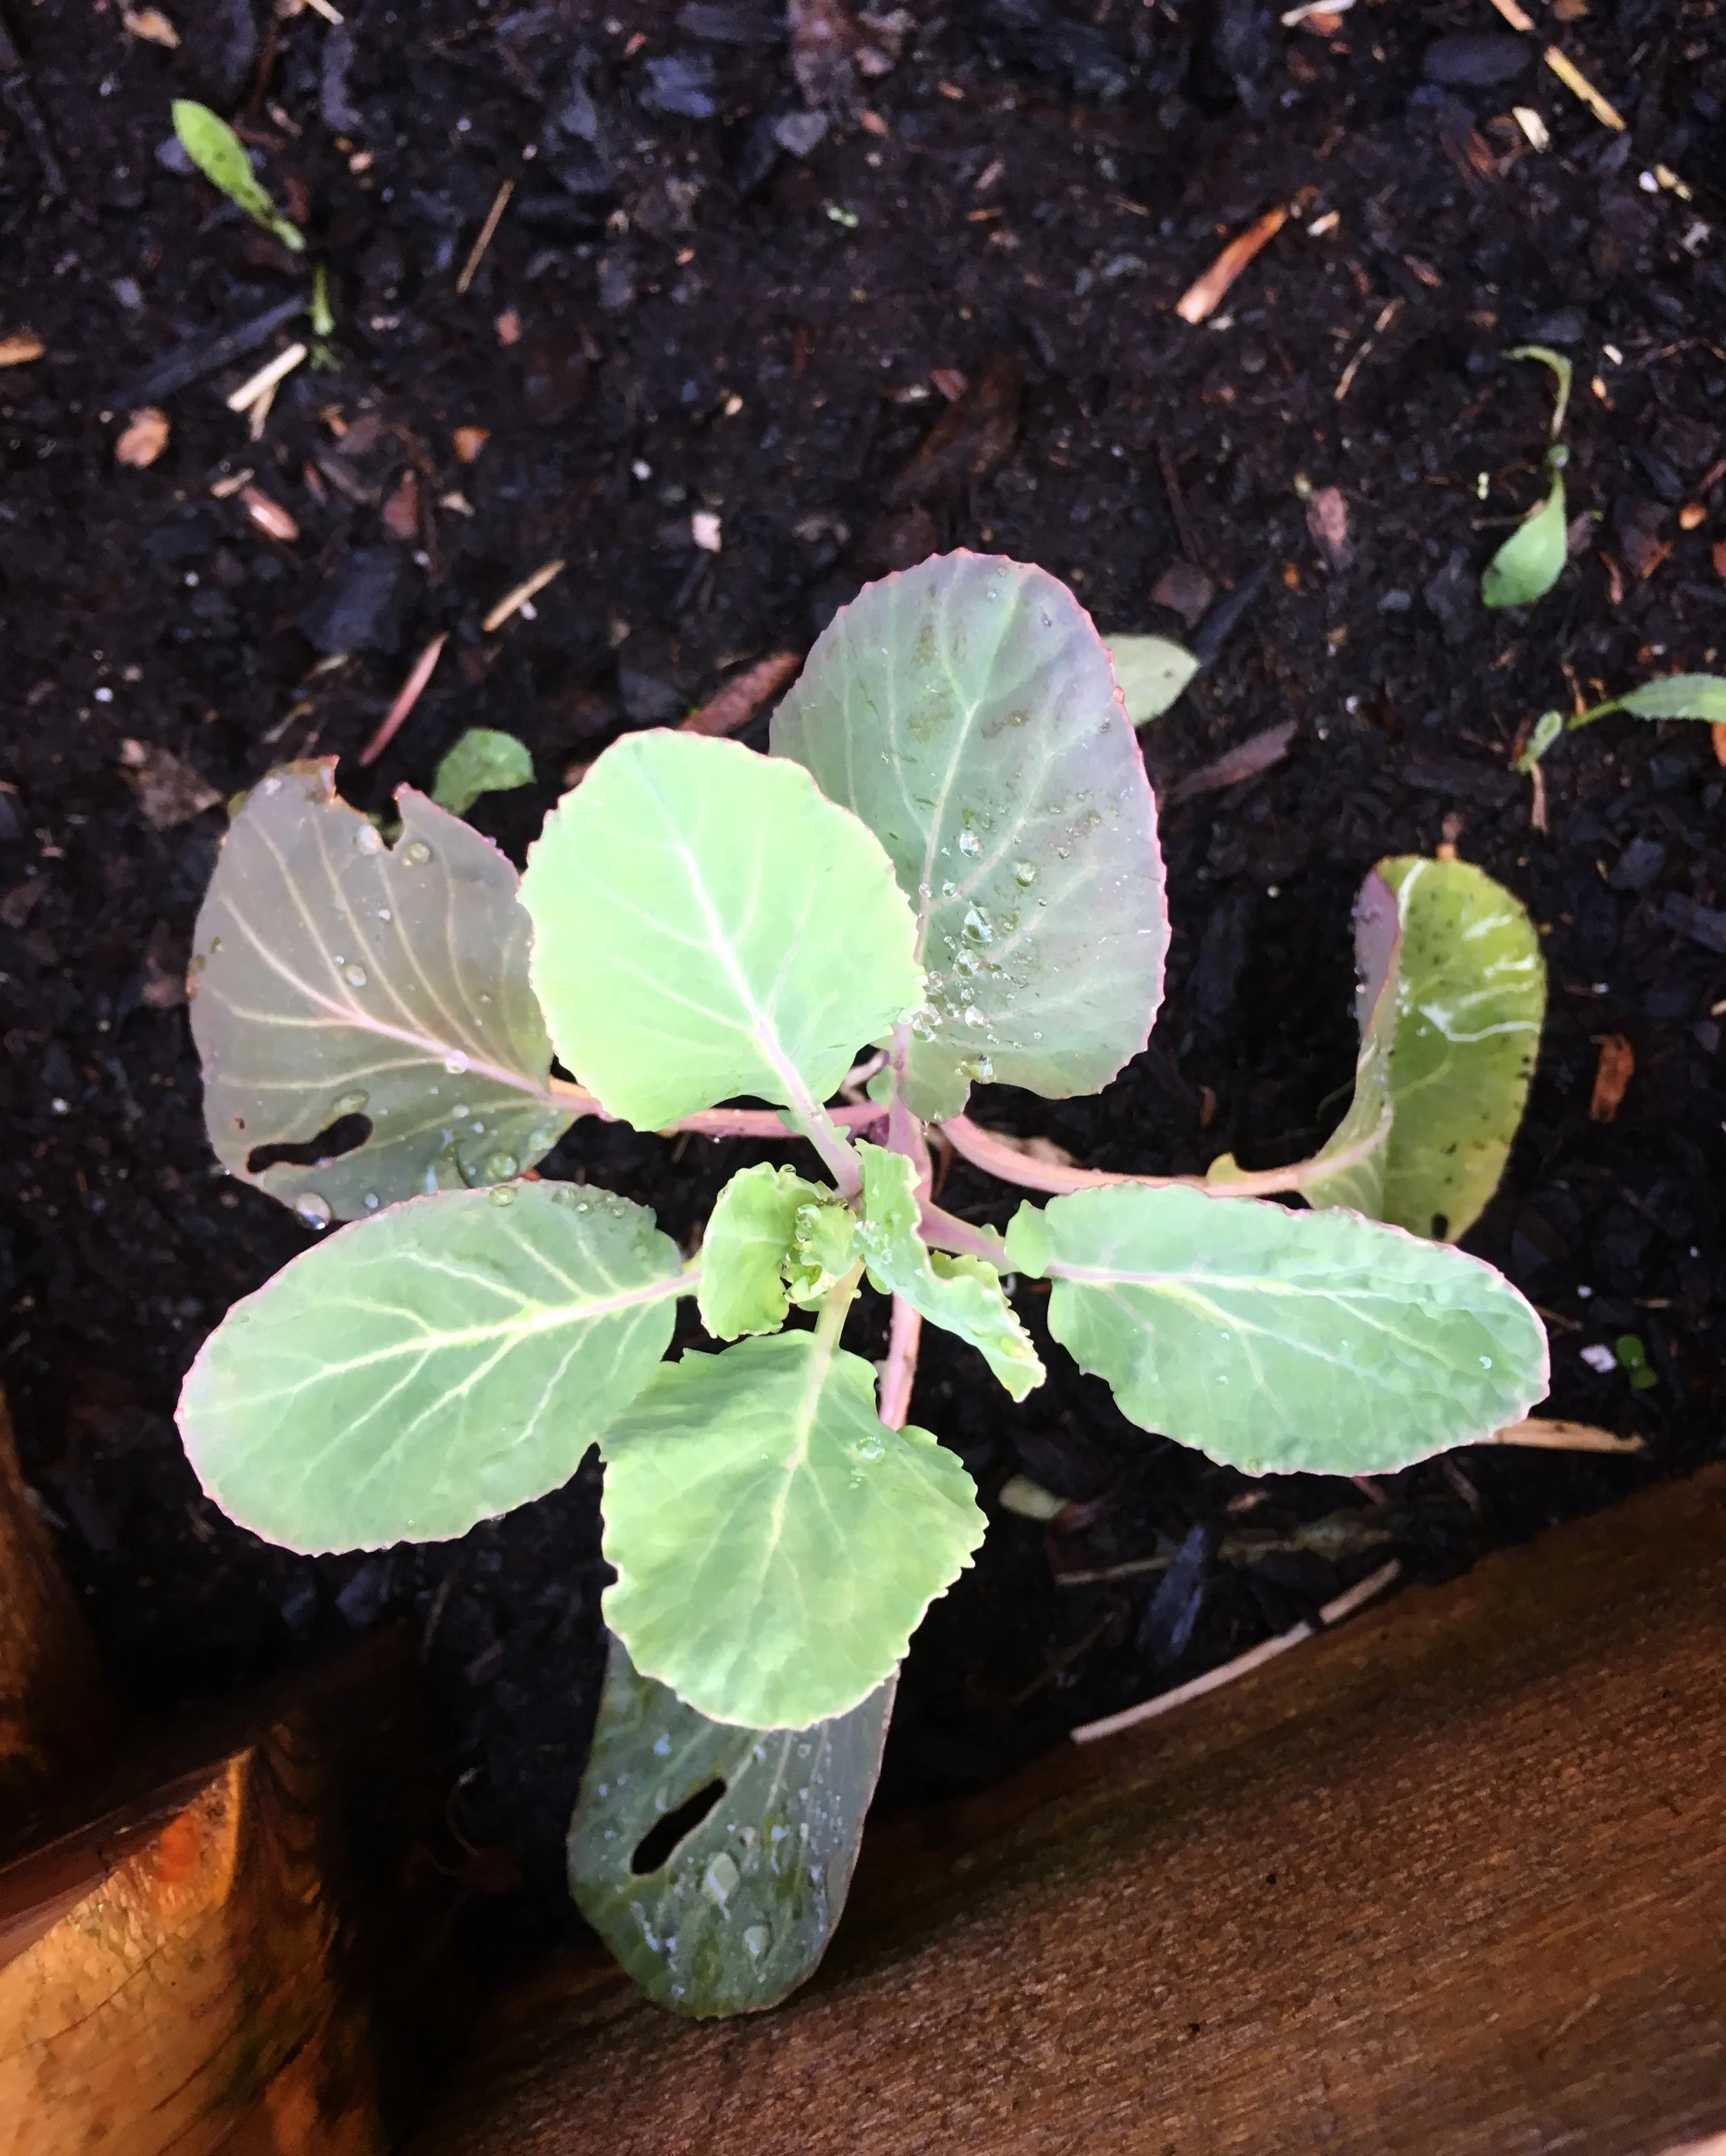
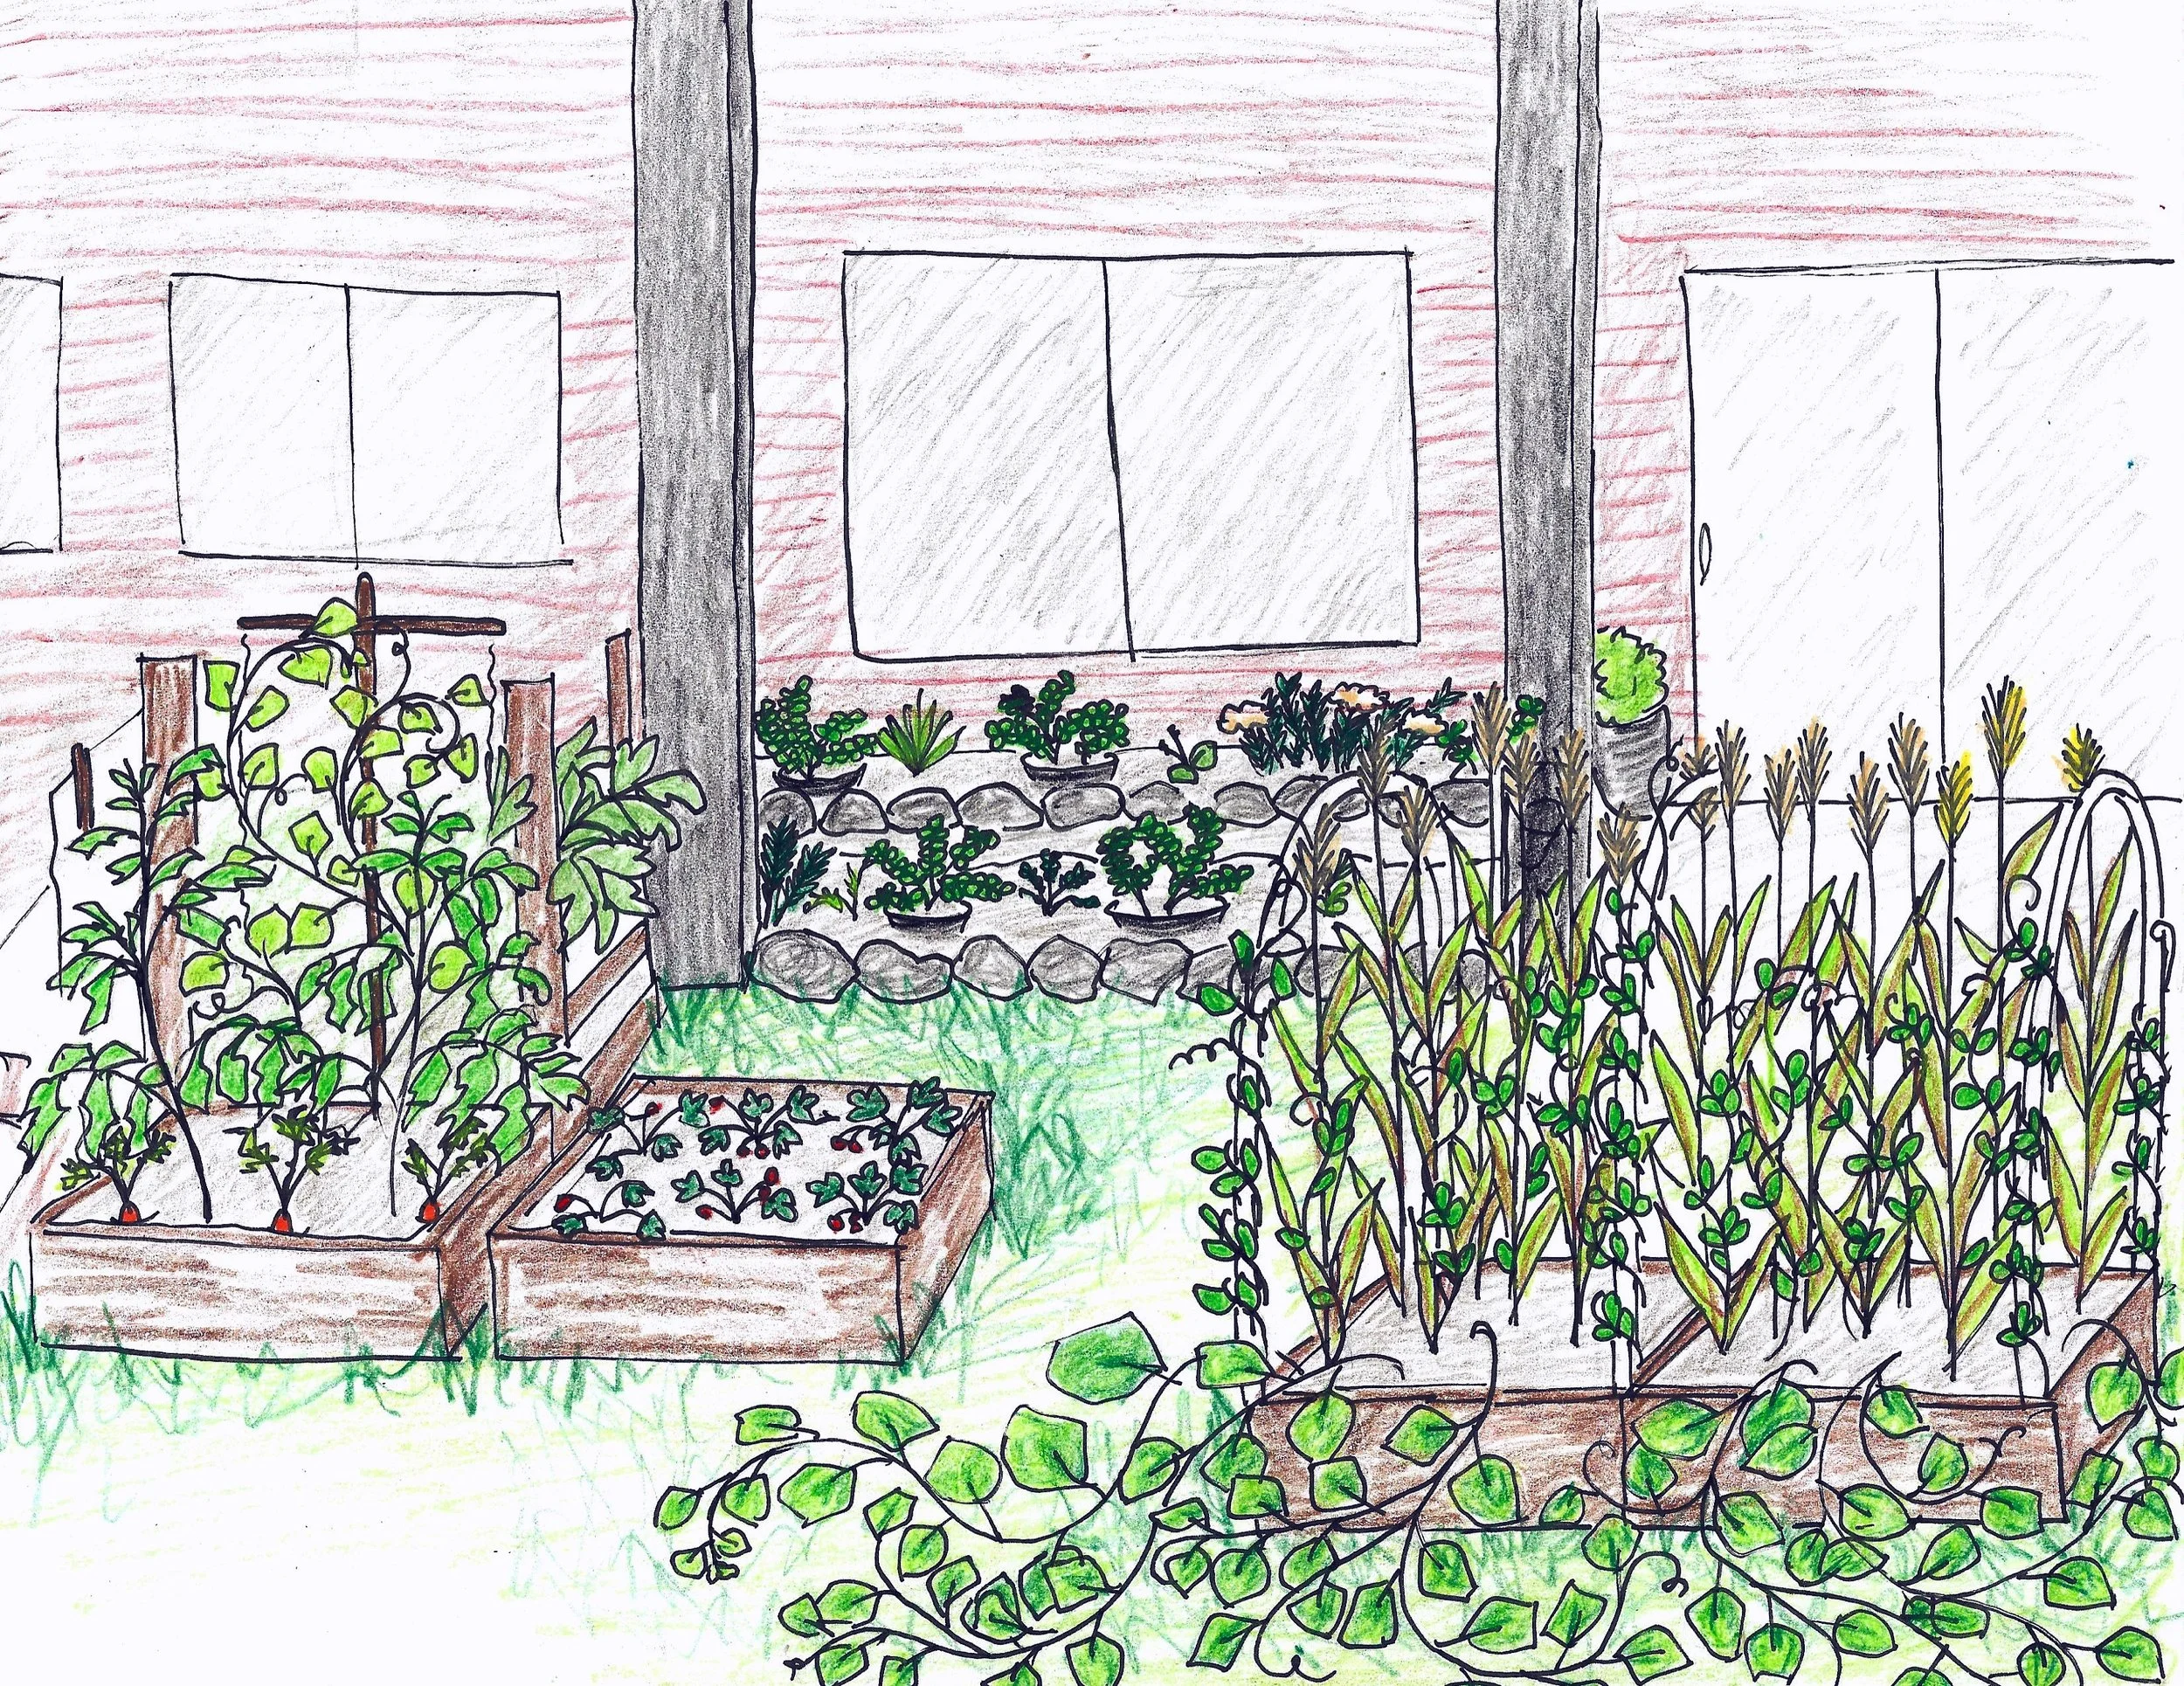
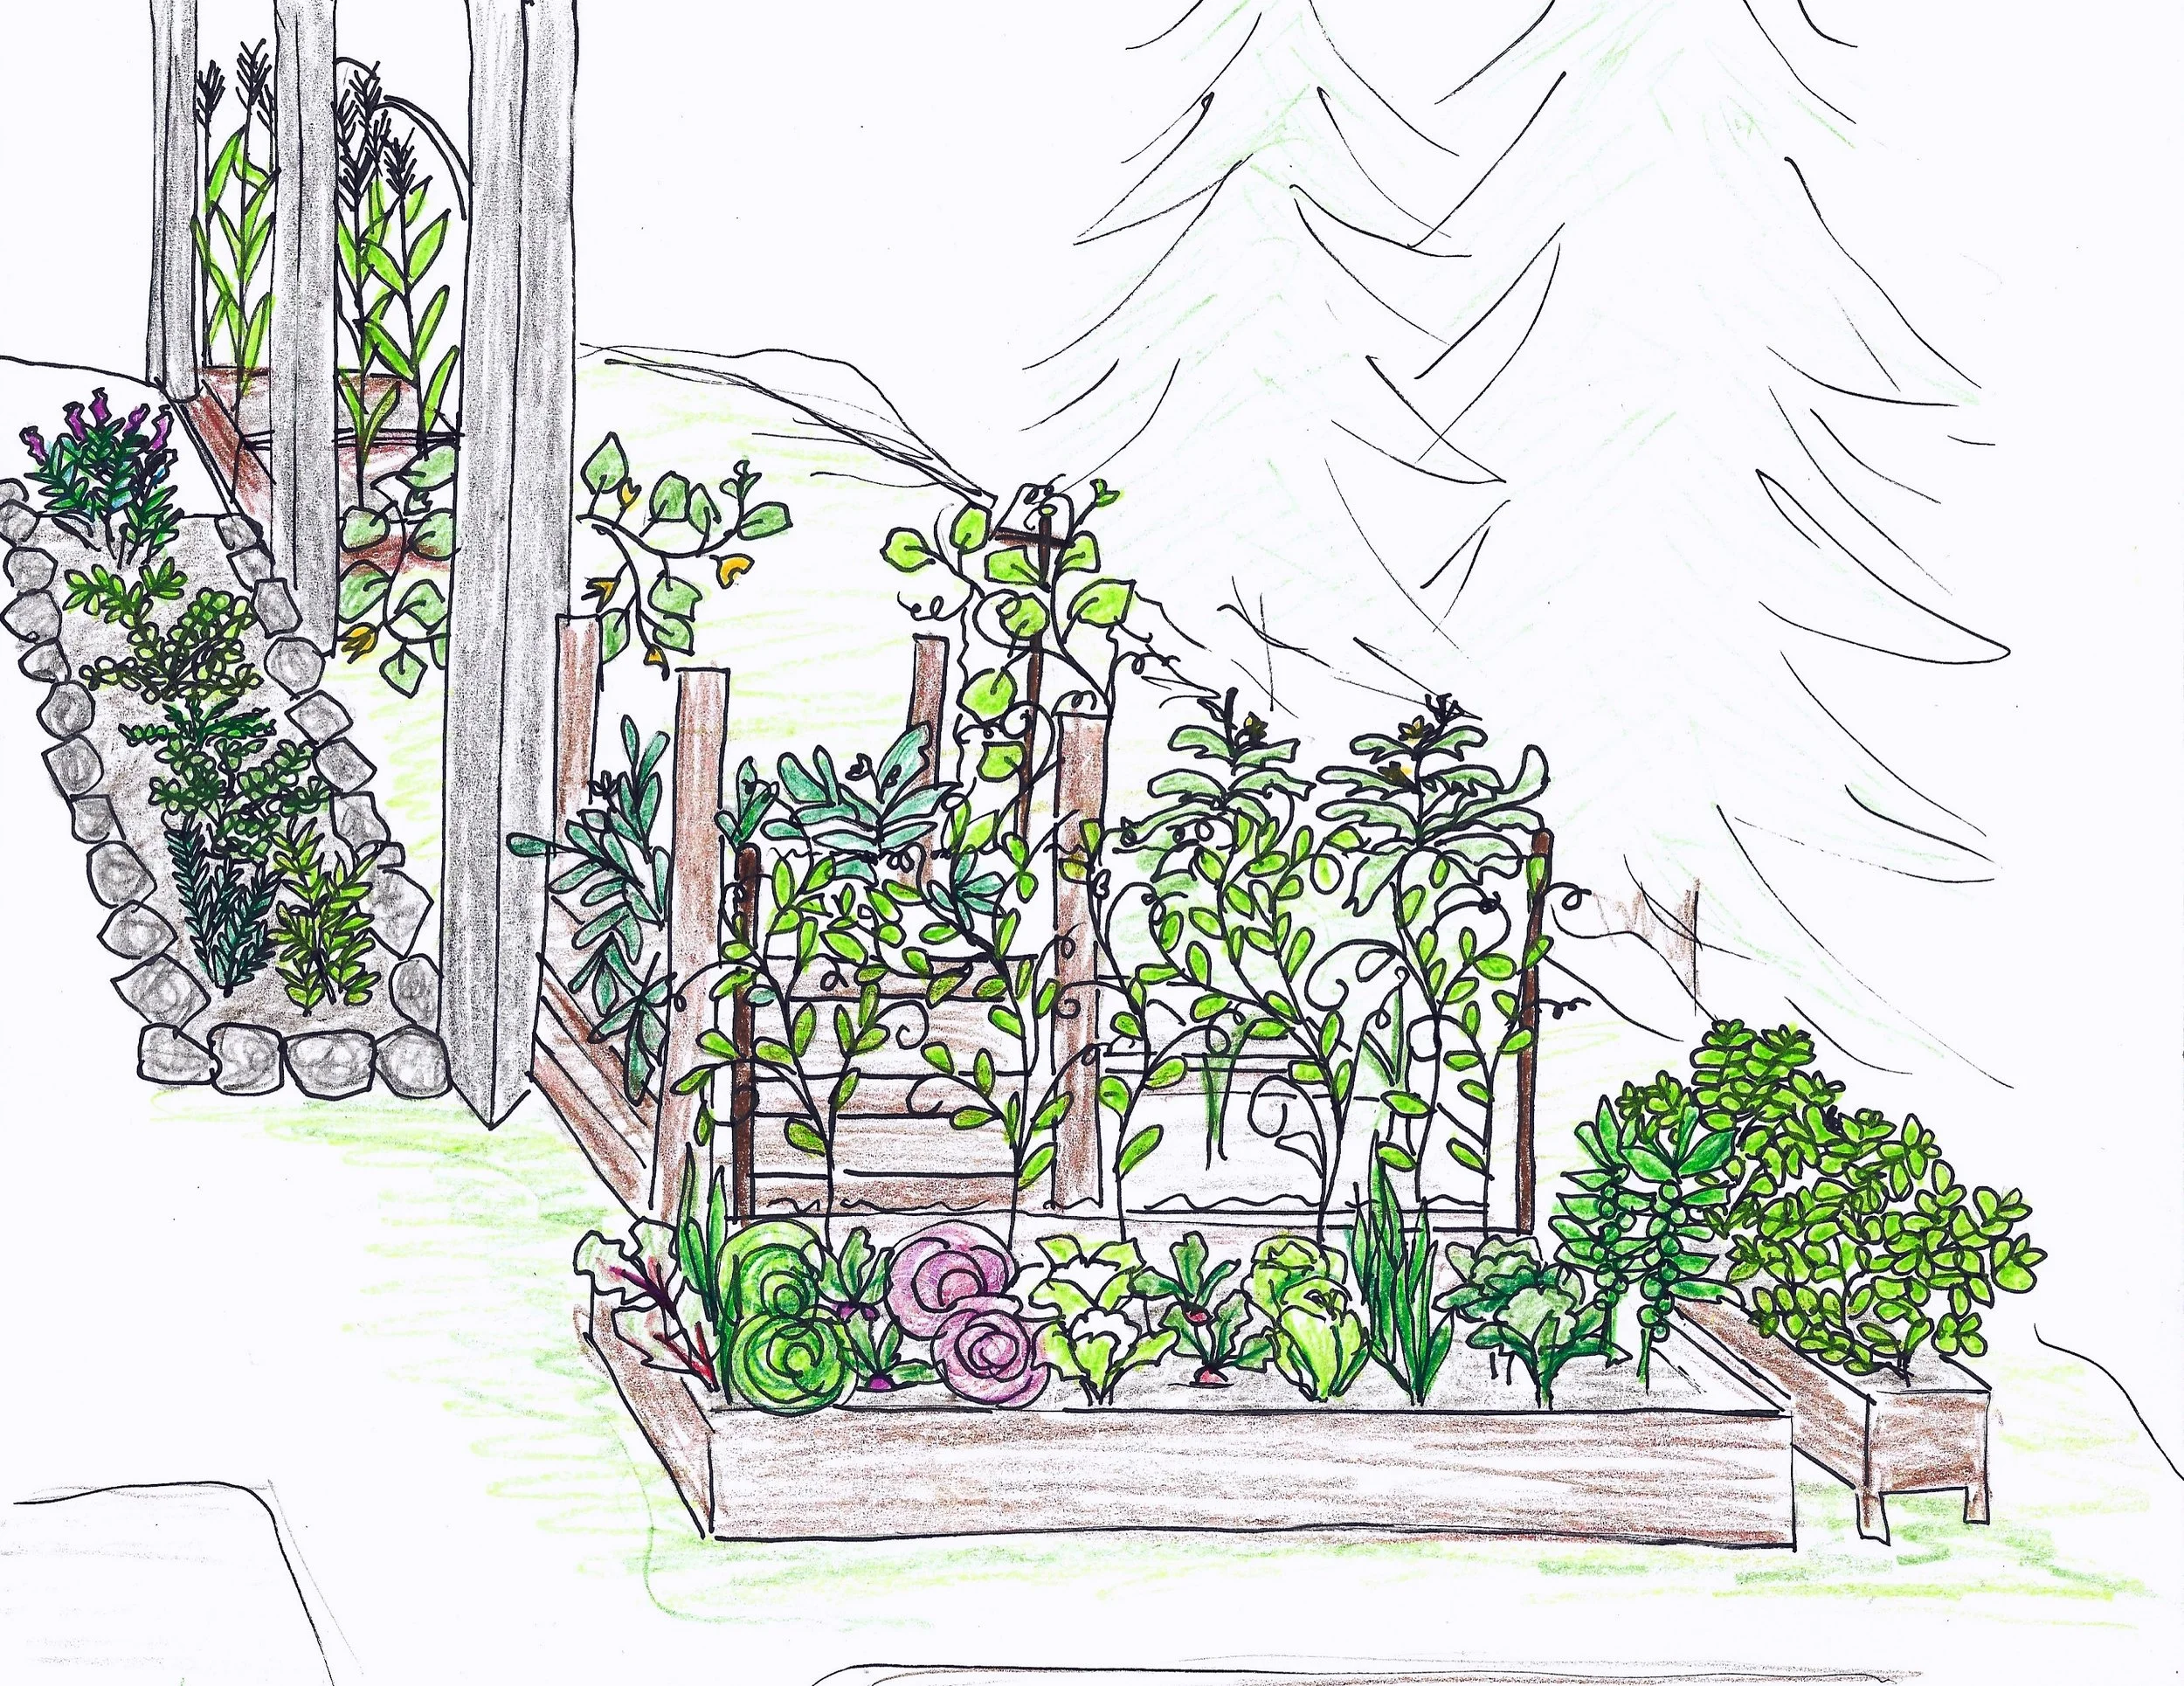
We built some really big planters for the garden out of cedar planks, and I’ll share how that worked at a later date when they are all finished. I am keeping a couple shrubs alive in the first one, and so hope to add some small fruit trees, and a grape vine. I’m hoping to use the grape vine to shade our large window a bit since it’s going to be a really hot summer and I don’t want to spend a ton on air conditioning!
This will be a lot different for me, but I’m still going to focus the garden on mainly growing food, but obviously I won’t be able to grow a large amount of anything anymore. I’m very grateful for the awesome farmers markets and farmstands that are nearby to buy our produce.
Do you have any tips for growing in containers? I’d love to hear them all in the comments because I’m going to need all the help I can get!