How to Recycle Old T-Shirts Into New Underwear
(Update: after living with these underwear for a while there are some changes that I would make next time. The first is that I might consider doing something else with the leg openings - like adding elastic there. I would also add another layer of fabric in the crotch since that will also make them last longer. If you just need a super quick pair and you don’t care about the additional steps go ahead and make them this way! They still lasted quite a while this way!)
This post is a little different from my usual offerings, but in the spirit of zero-waste and DIY and all of that, I wanted to post this tutorial to make your own underwear from fabric you were probably going to give away or throw away. You might not have thought to make your own underwear before - and truly I didn't really consider it either - but it turned out that it was really easy to do! Let's be honest too - women's underwear is not always the cheapest, and you can't always find your favourite, most comfortable ones in stores again after they've worn out. This solved both problems for me, so I figured I'd post it up here and share what I learned. If you're not interested - feel free to keep scrolling and you'll find recipes and harvest totals and foraging guides down further below. I won't be offended if you skip reading this one!
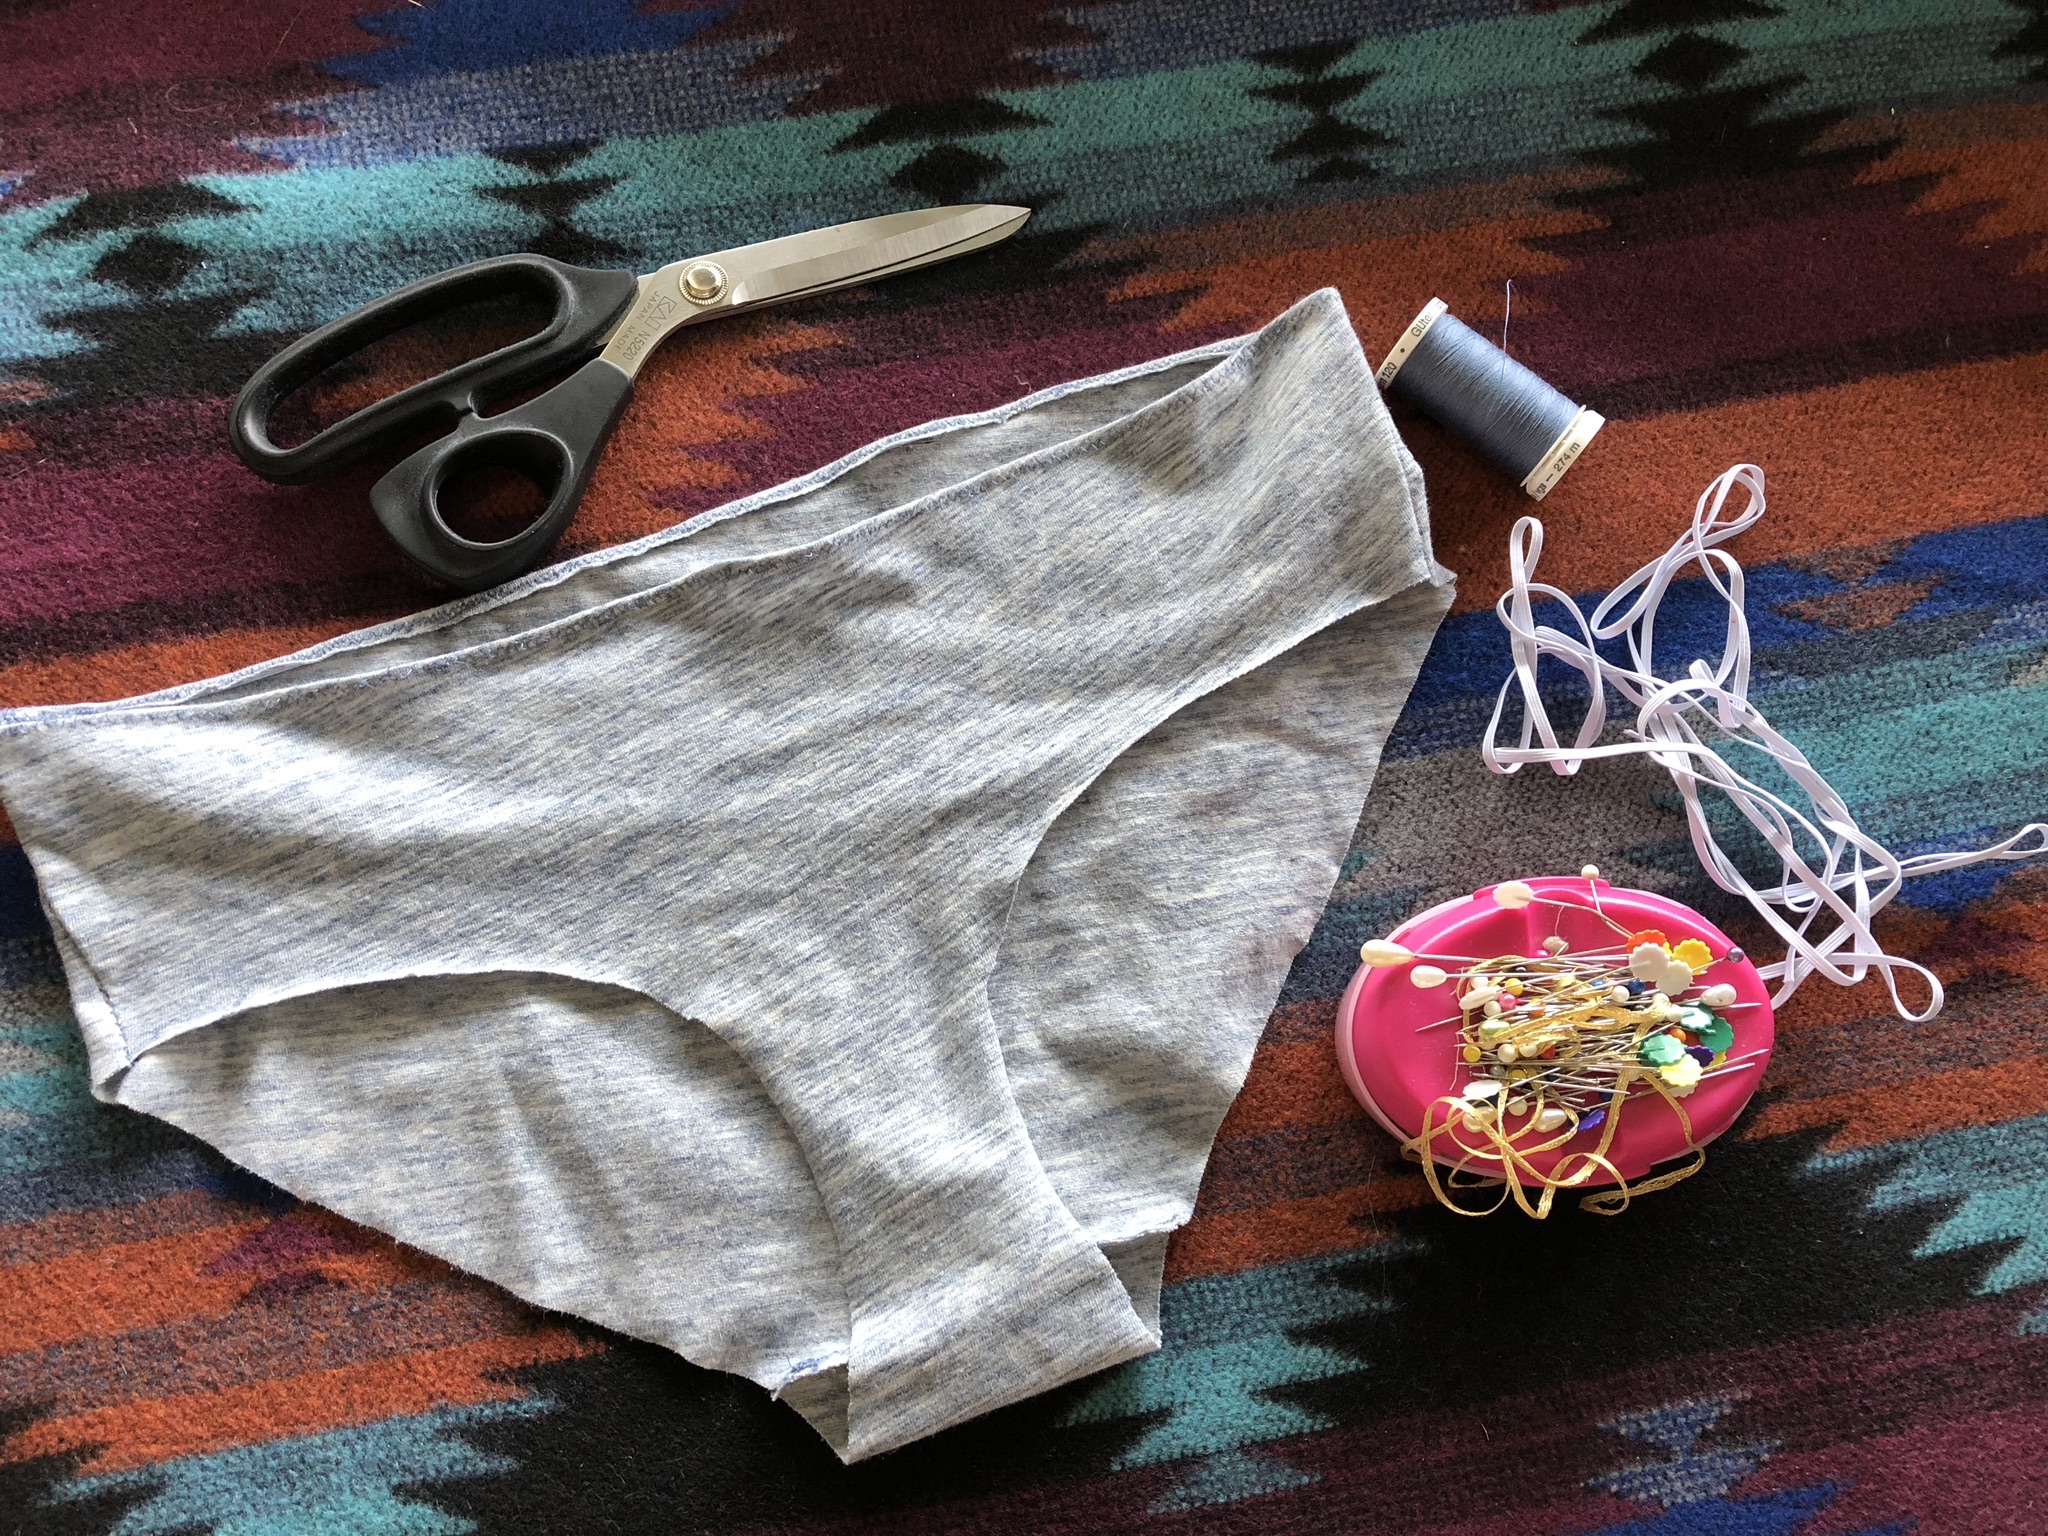
Here's what you'll need:
One t-shirt (I got two pairs of underwear out of one adult men's medium shirt)
Paper to trace a pattern on
Pair of underwear to copy a pattern from
Sewing machine capable of a zigzag stitch
Thread
1/8" elastic
Sharp scissors, measuring tape, pins, etc
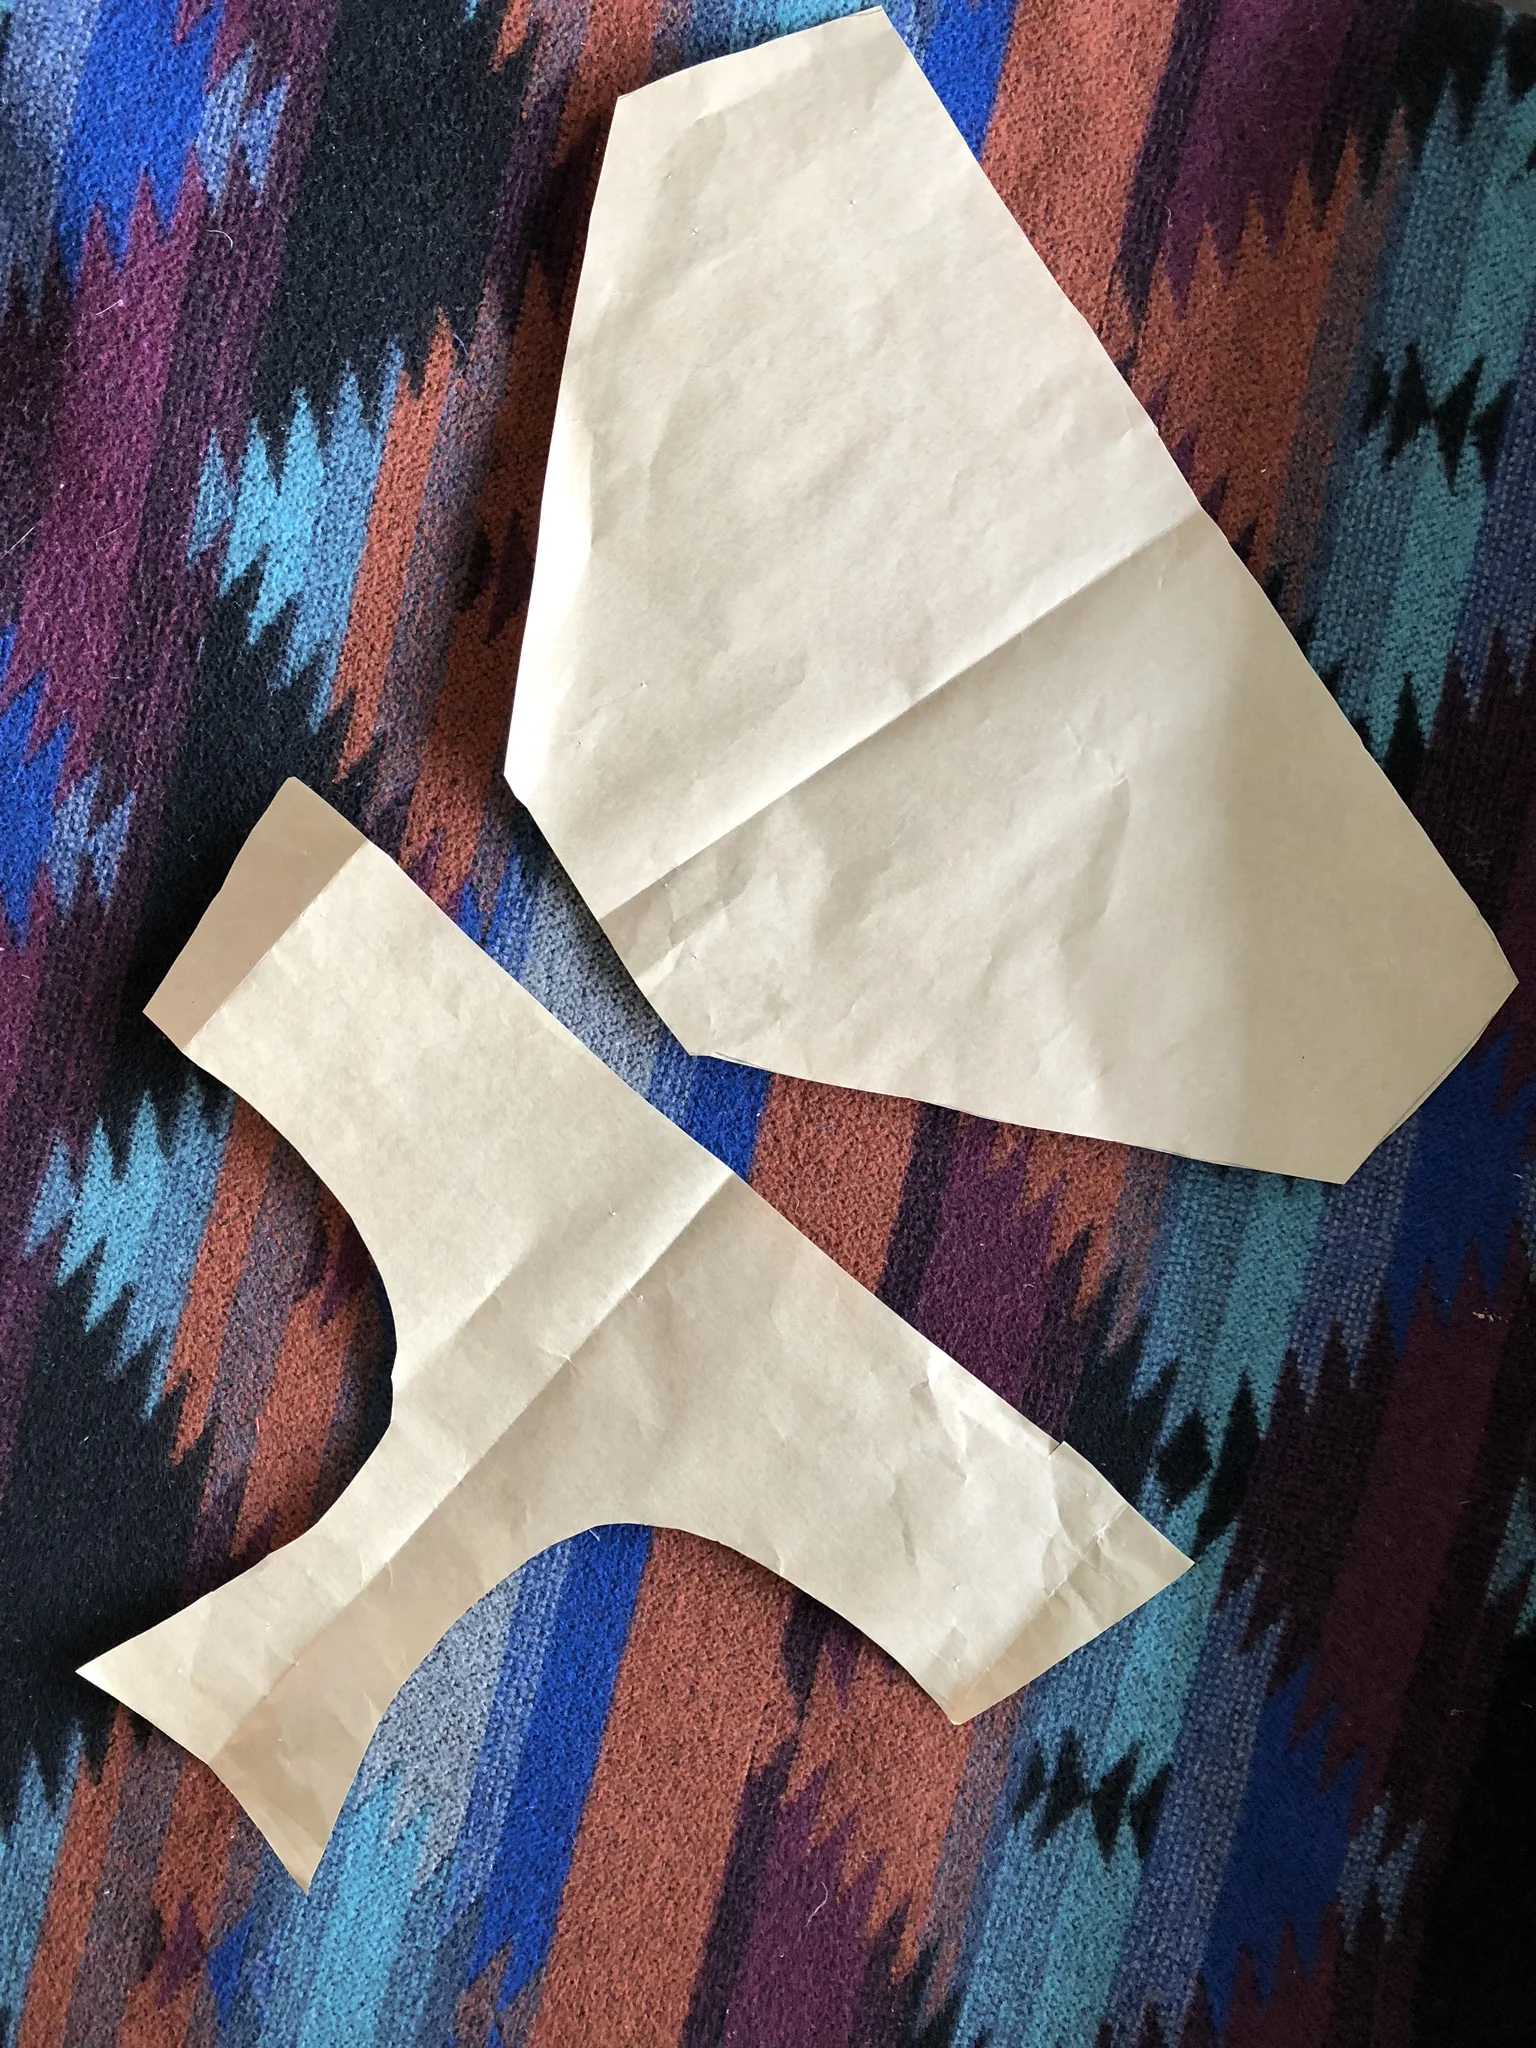
This first step is probably the most difficult of all of them. You need to choose a pair of underwear you are going to copy, and make a pattern from them. The most foolproof way of doing this is to sacrifice that pair and cut them apart at the seams, and then trace them onto paper. If you don't want to do that, you can lay them flat on paper and try to trace them that way (this is what I did). If you look at the paper in the left photo you can see that the piece on the bottom is folded in half - this is because I folded the underwear I was copying in half and found it easier to trace the shape that way.
Make sure you add a little bit extra - about 1/4" - when you trace the pattern so that when you sew it together it remains the right size.
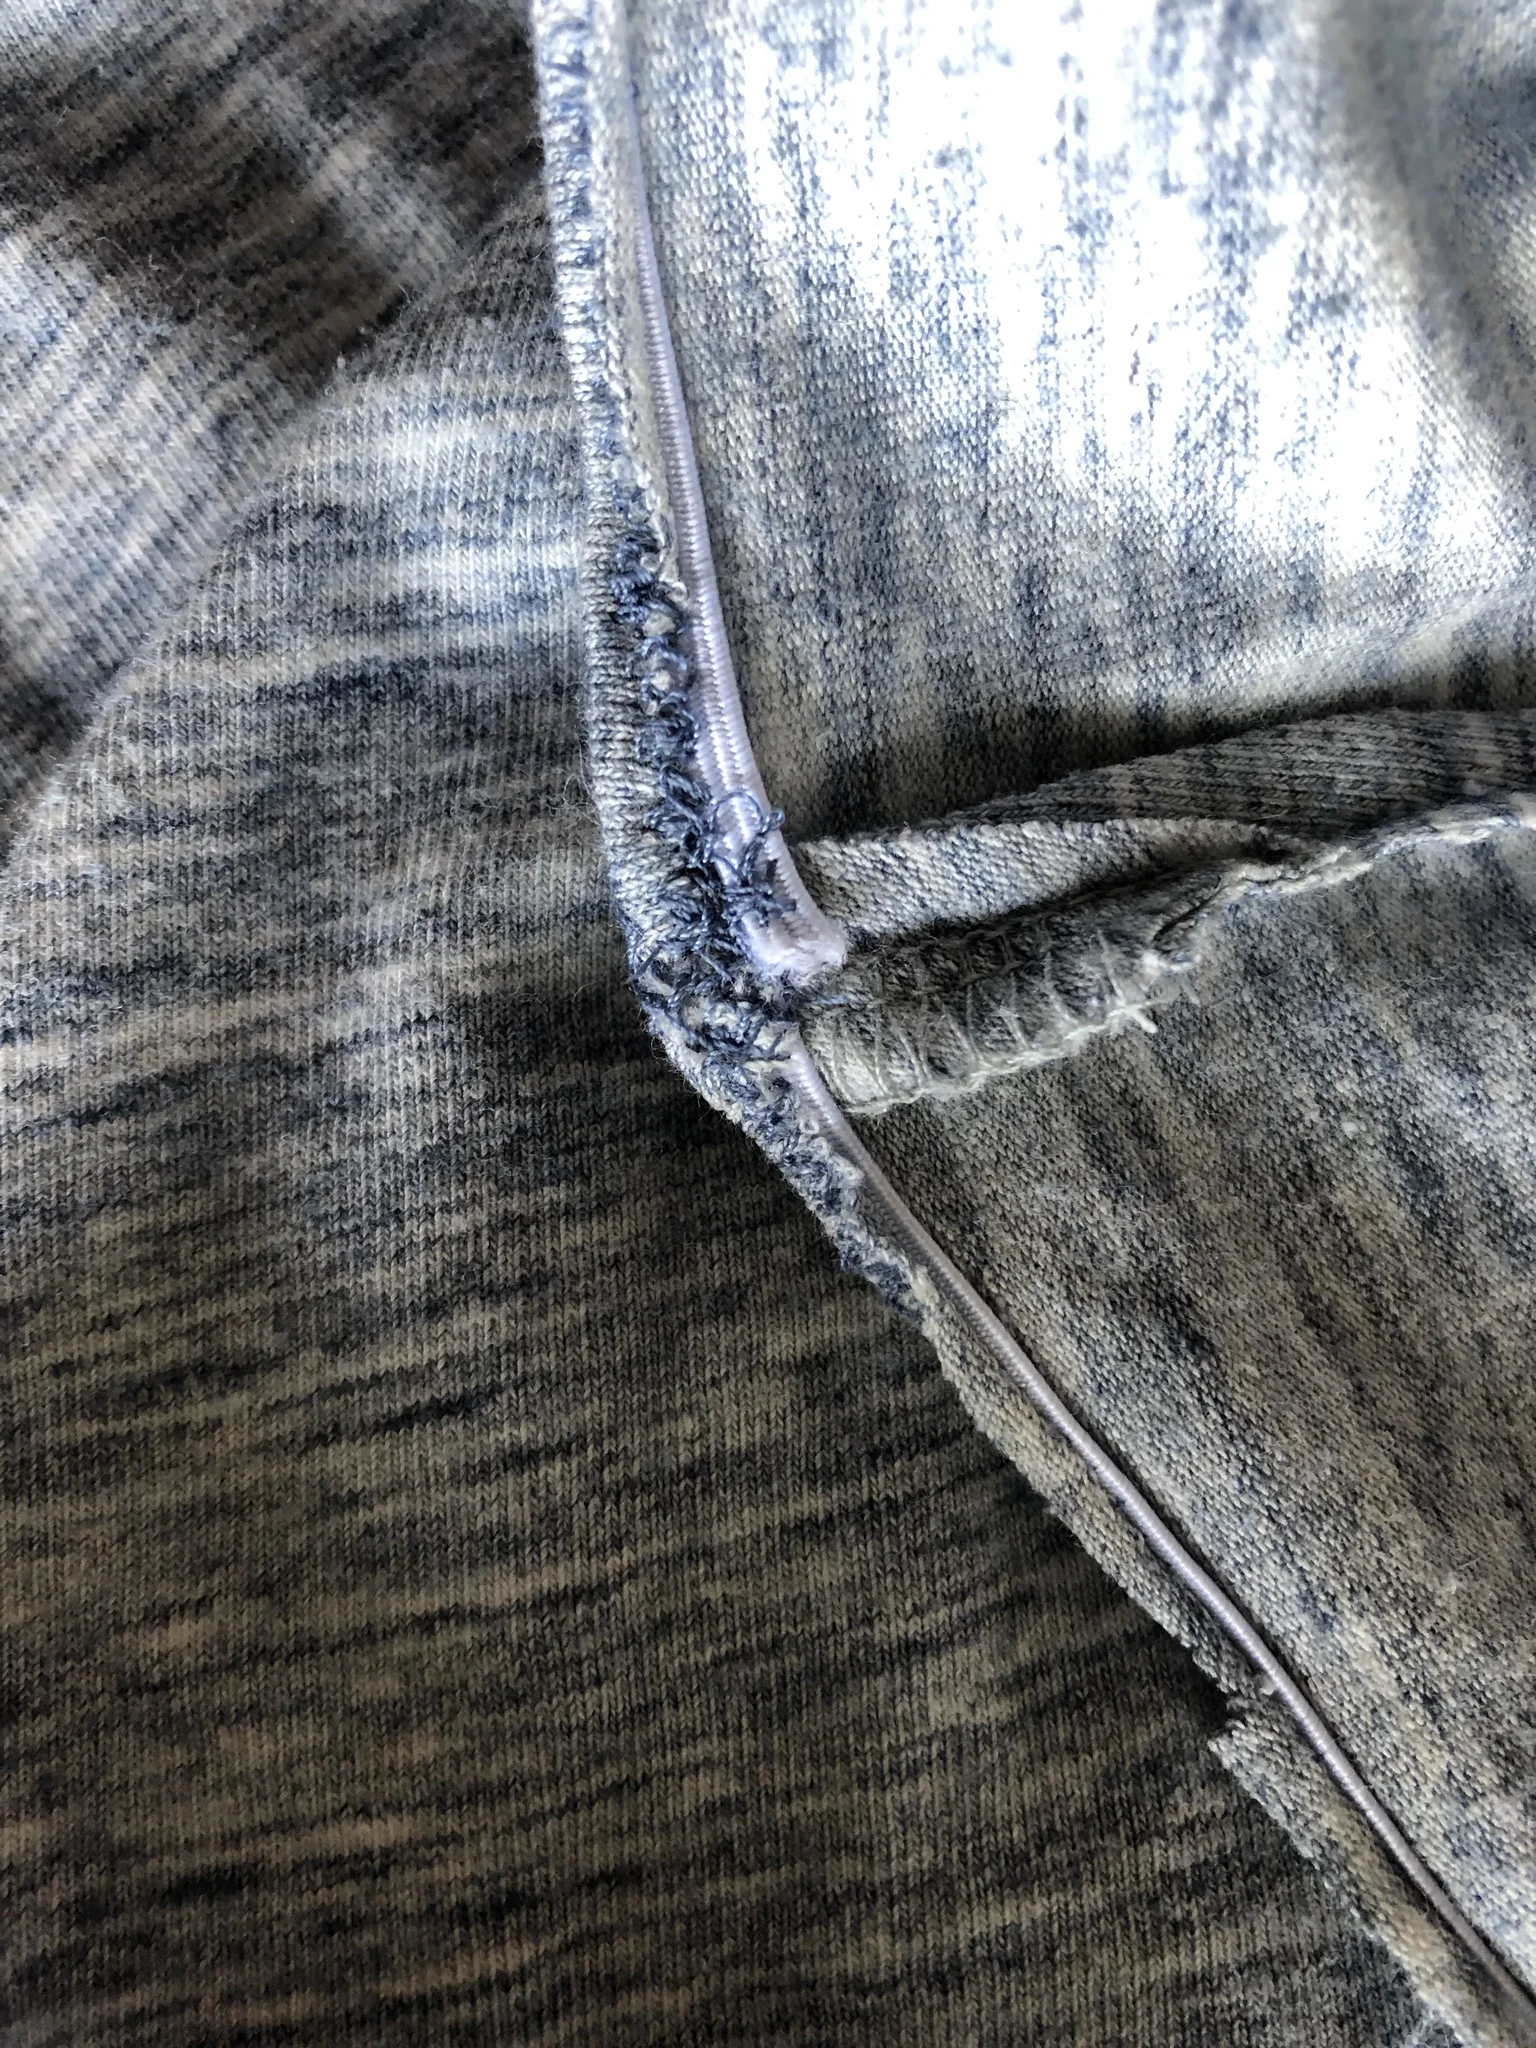
A little bit of messy stitching, but it's not going to be visible in the end product. If your sewing skills are rusty, or you're new at this don't let this keep you from trying this project - it's really easy and forgiving if you make a few mistakes!
Steps to making your underwear:
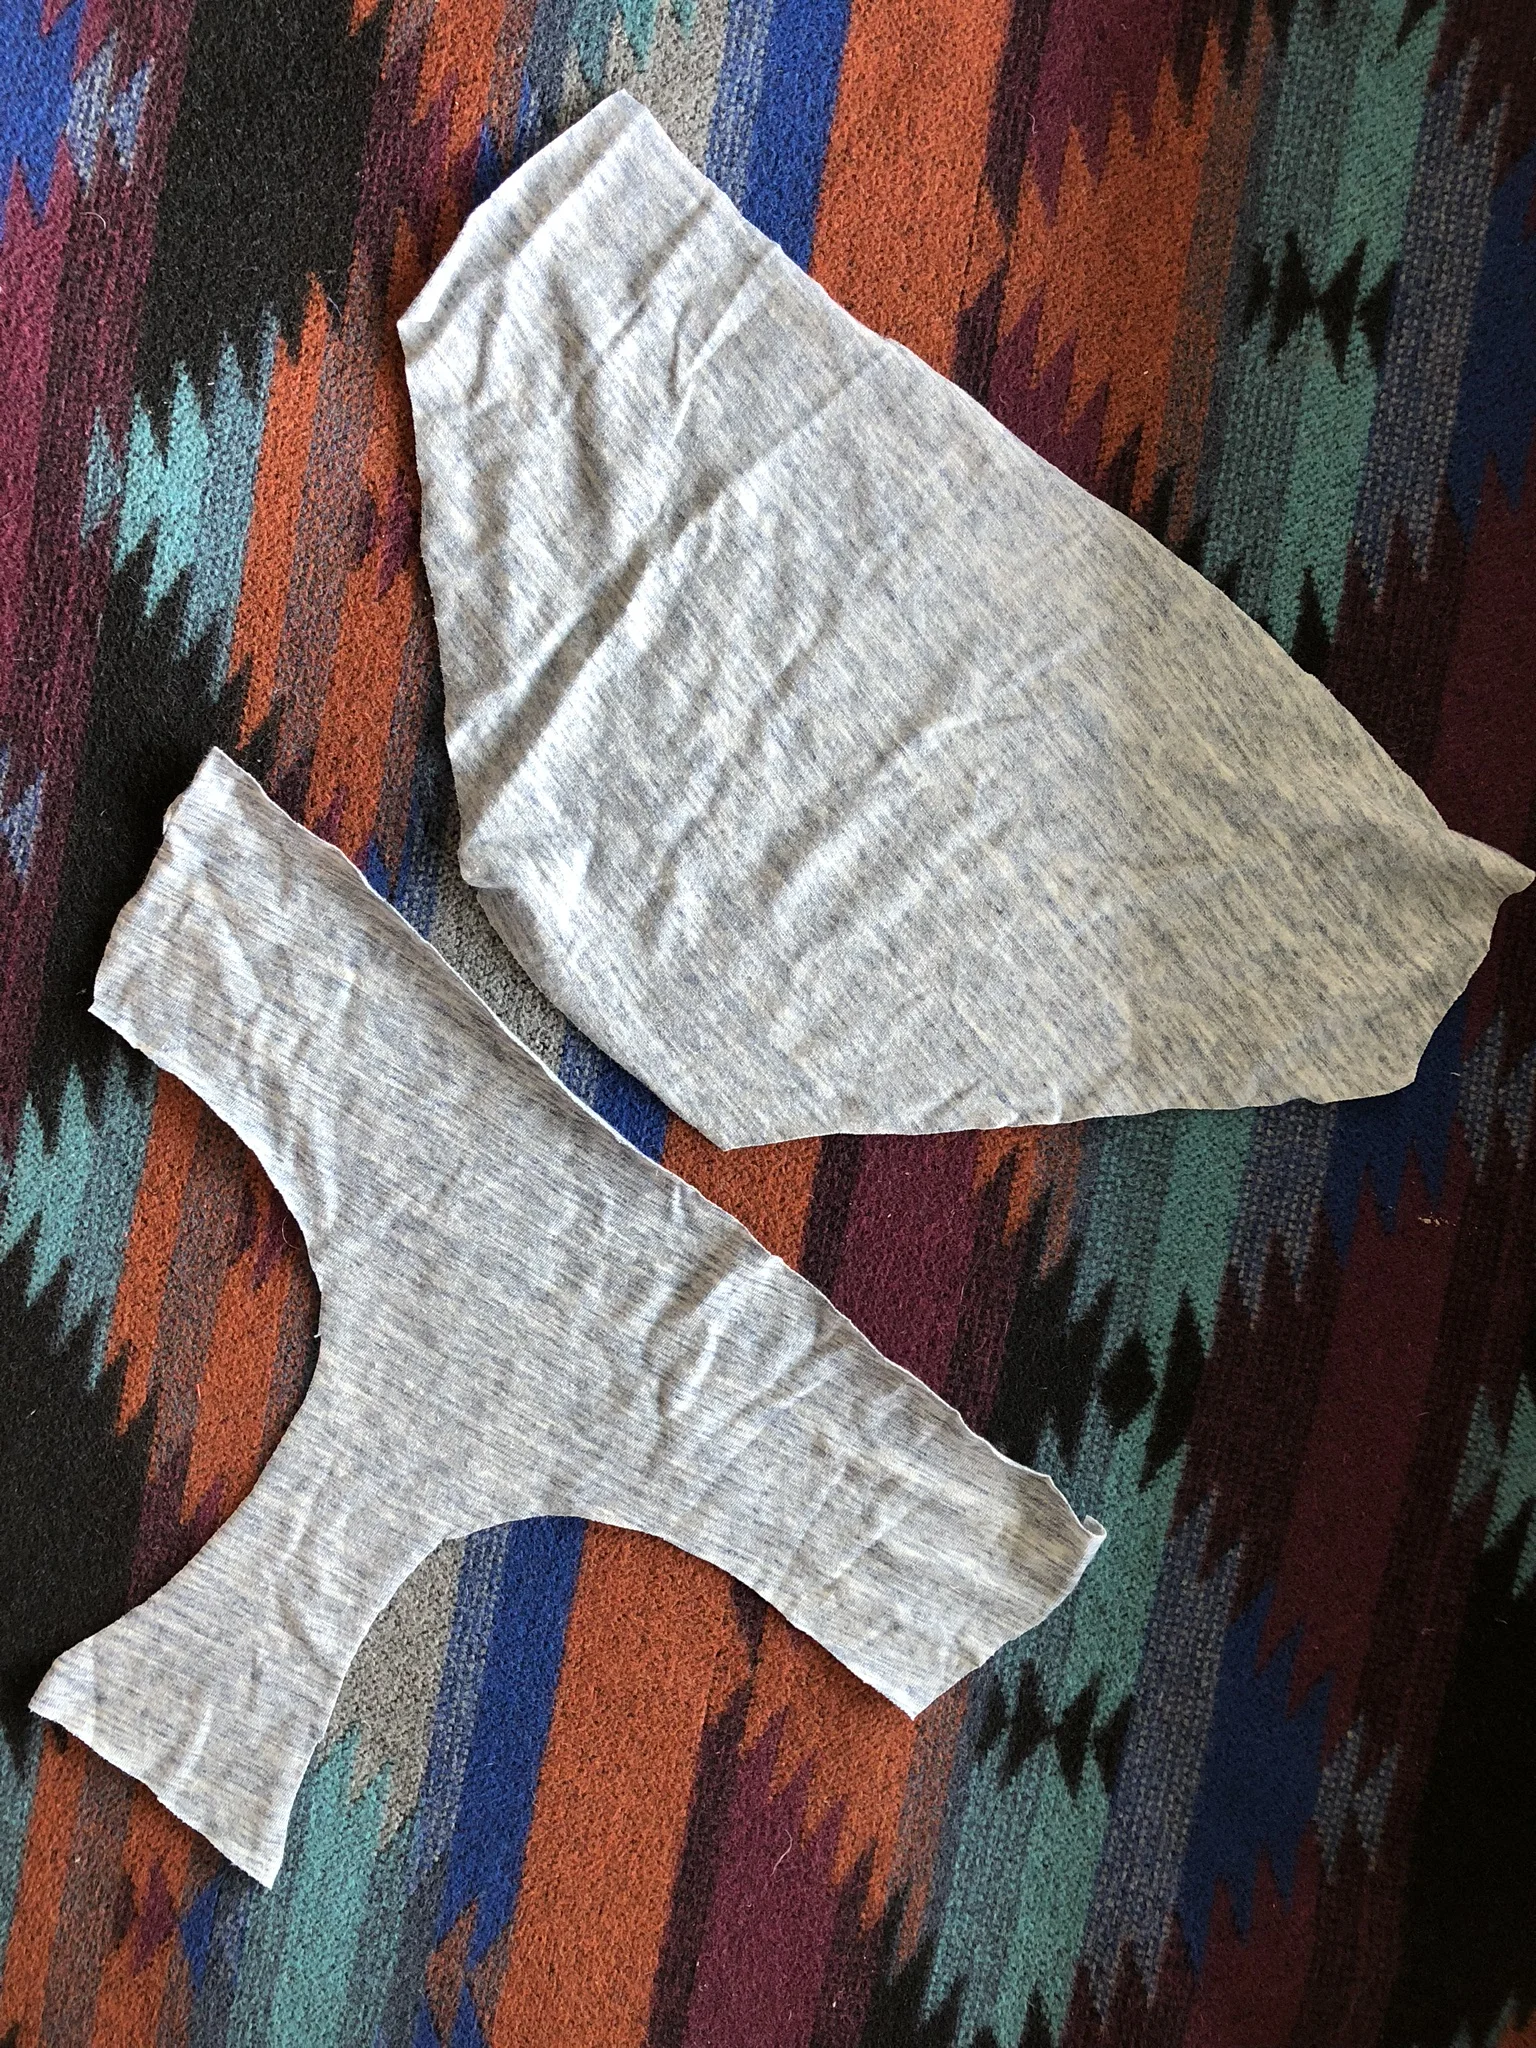
Pin the paper pattern you've created to the t-shirt. If your shirt is too small to fit both pieces you'll need to cut the front from the back so you can get both the front and back pattern pieces to fit. If they both fit without altering the t-shirt you are going to end up with enough pieces to make two pairs of underwear.
Pin the crotch seams together. If your fabric has a "right" and "wrong" side (eg: if there is a pattern that is more visible on one side than the other, the pattern side is the "right" side that you want facing out for the end project) make sure the right sides are together when you sew them.
Sew the crotch seam in a zigzag stitch very close to the edge - about 1/4" away to match the seam allowances you left when you were creating your pattern.
Pin the side seams together (still keeping the right sides together) and sew them in the same way you did the crotch seam. At the end of this you should have what looks like a pair of inside-out underwear! You're almost done!
Measure the waistband of the underwear and cut a piece of elastic that is slightly smaller than it. Keep it just slightly smaller because you don't want the elastic cutting into you while you wear them, but you do want them snug enough that they stay up!
Sew the elastic ends together so the whole thing is in a loop.
Pin the elastic around the very top of the waistband. Try to do this in even sections so that the extra slack in the fabric is evenly distributed around the elastic. Ideally you don't want it bunching more in one spot than others.
Sew the elastic to the very top of the underwear fabric using a zigzag stitch. Stretch your elastic as you go so it matches the slack in your underwear. If it's not perfect, don't worry. This is a very forgiving process and it probably won't be very visible.
Fold the elastic over one more time so the fabric of the underwear is covering the elastic (notice in my photo above I didn't do this perfectly, but it doesn't really matter in the end since it's going to be hidden on the inside). It's a little bit fiddly, so just do your best and try again next time if it wasn't as perfect as you'd like. Sew this folded down elastic down again with a zigzag stitch remembering to stretch the elastic out just like last time.
Using an iron, press your seams. You don't need to do anything to your raw edges because t-shirt fabric naturally doesn't fray!
That's it! If you give this a try and have any pointers for me please leave them in the comments! I'd love to hear about it if any of you do try this out at home!