Sumac Ginger Honey Hearts
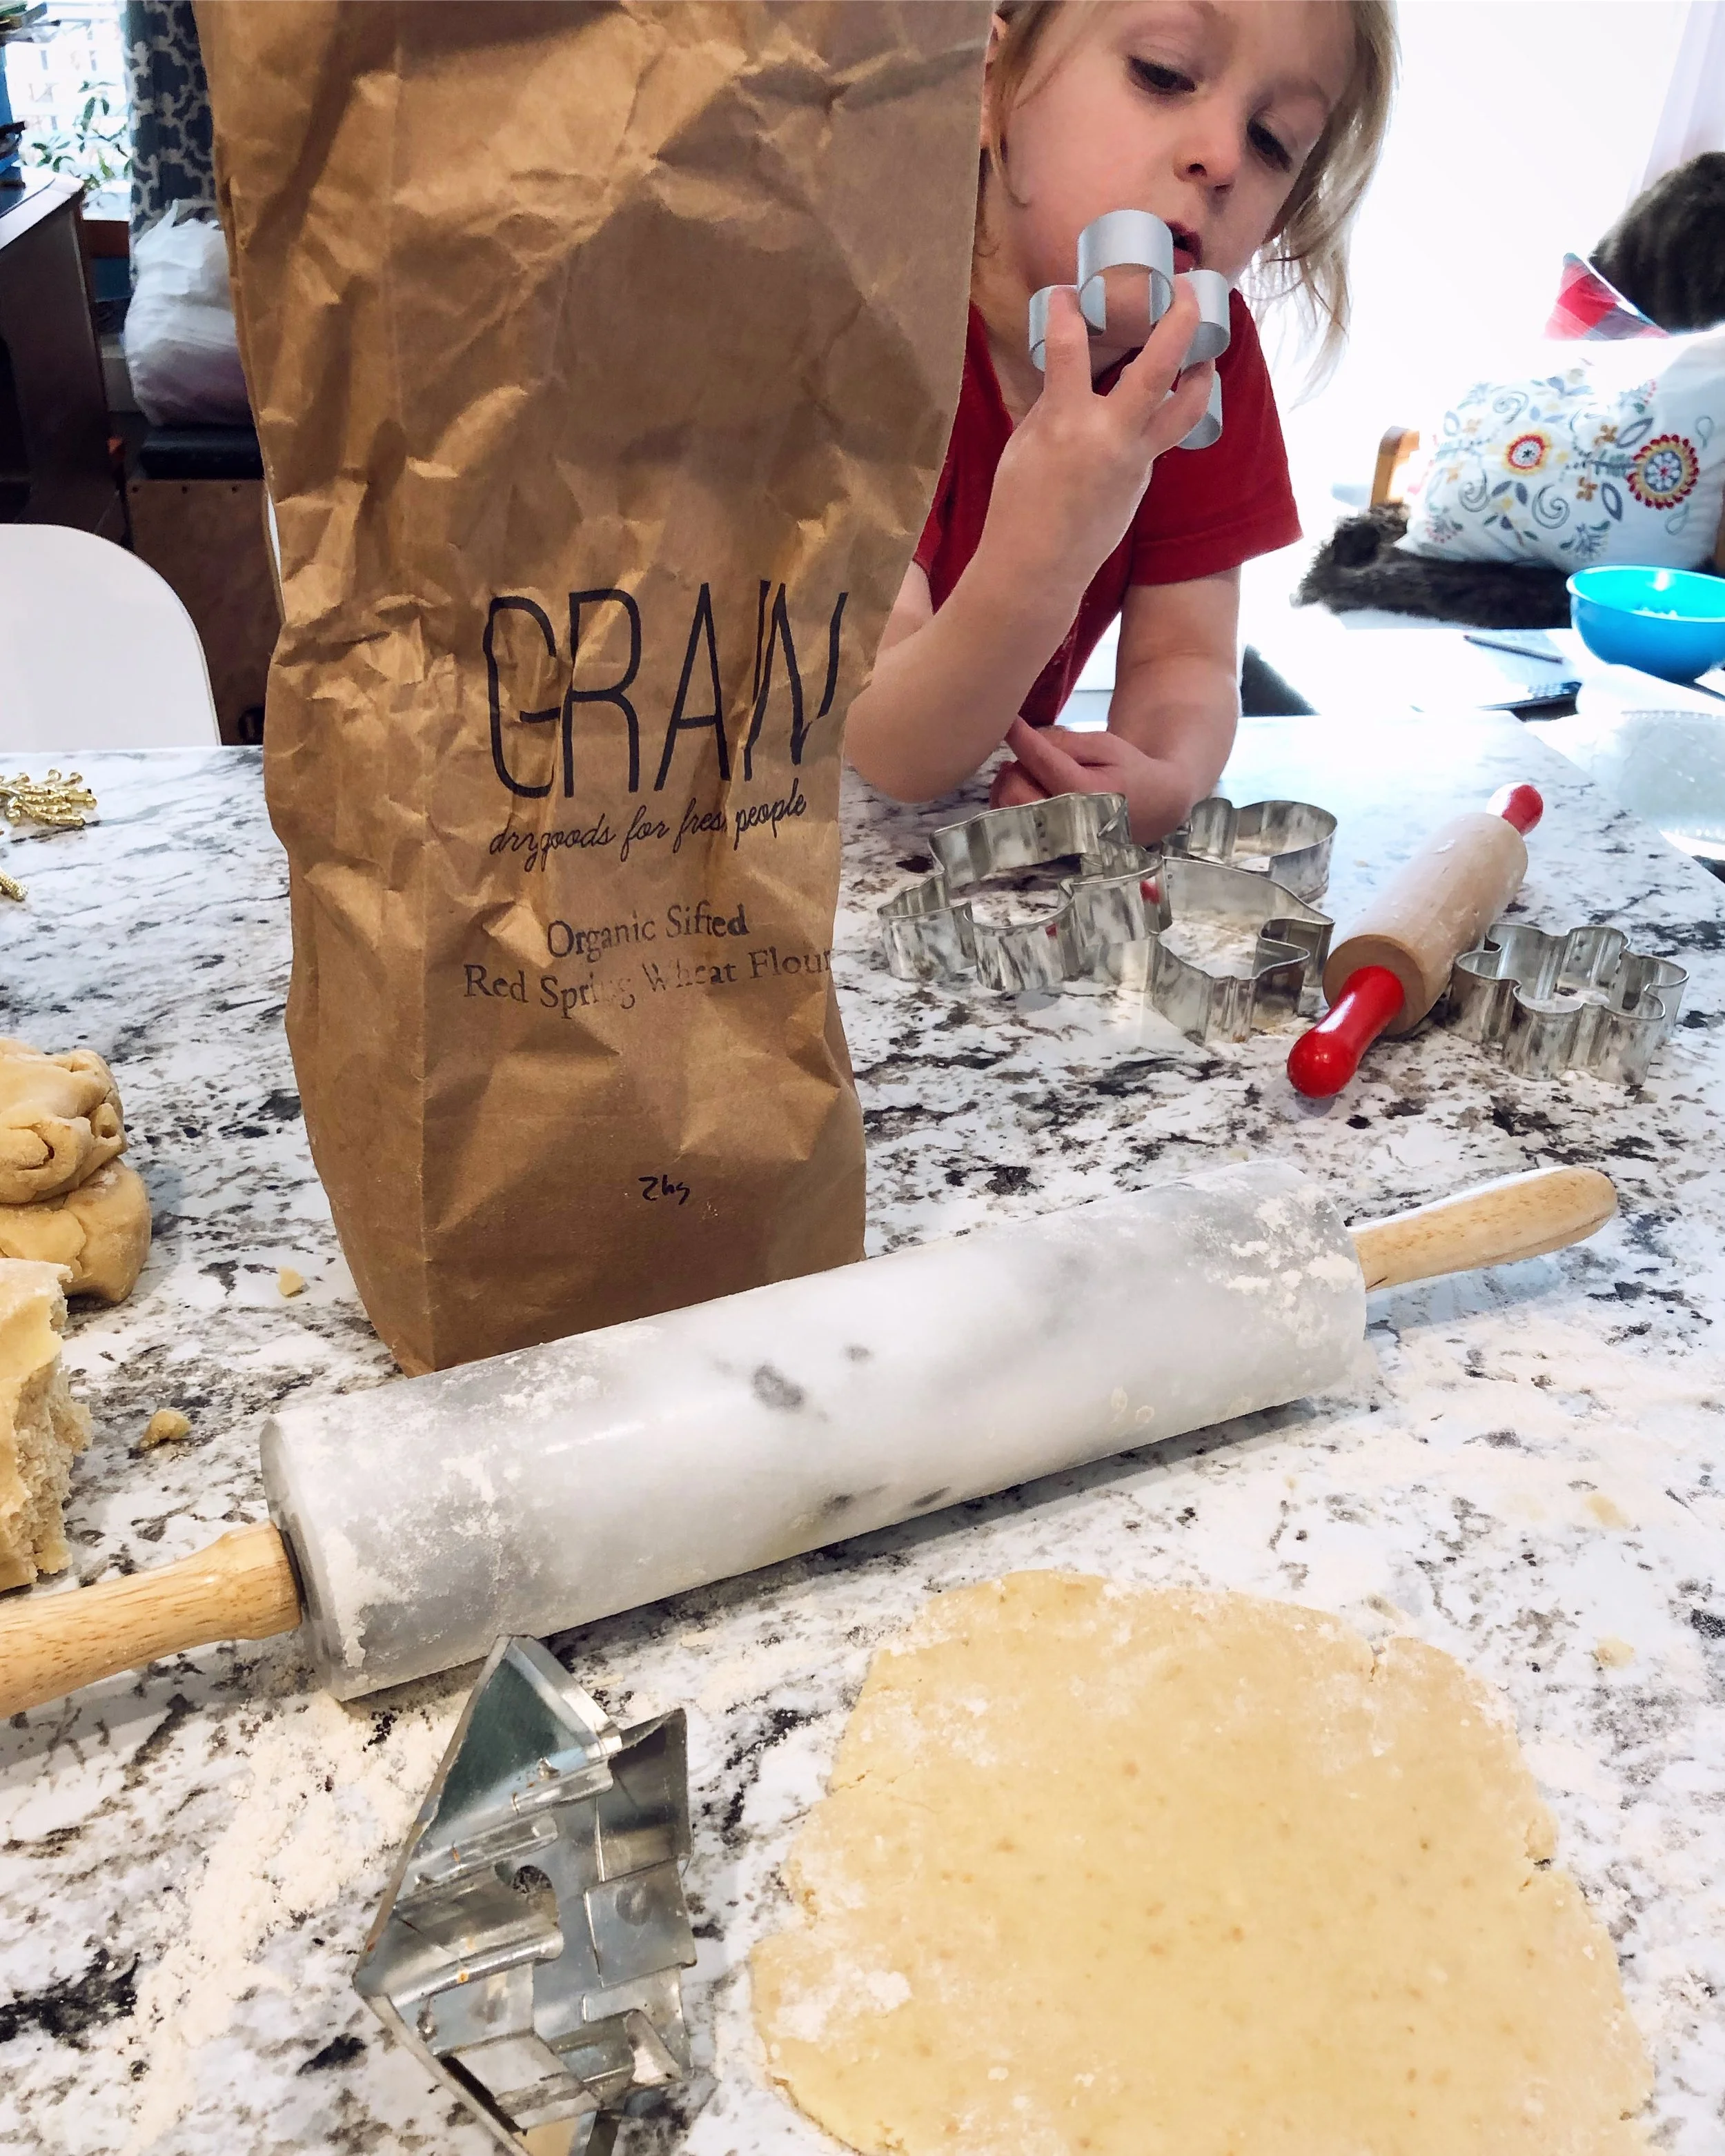
Hello! There used to be a whole section here with me describing the amazing Flourist sifted red spring flour I use in my baking. I was trying to add something to this and some other old articles, and I’m not sure how but it all got deleted! Continue reading for the recipe, and some more details about how to find and use sumac.

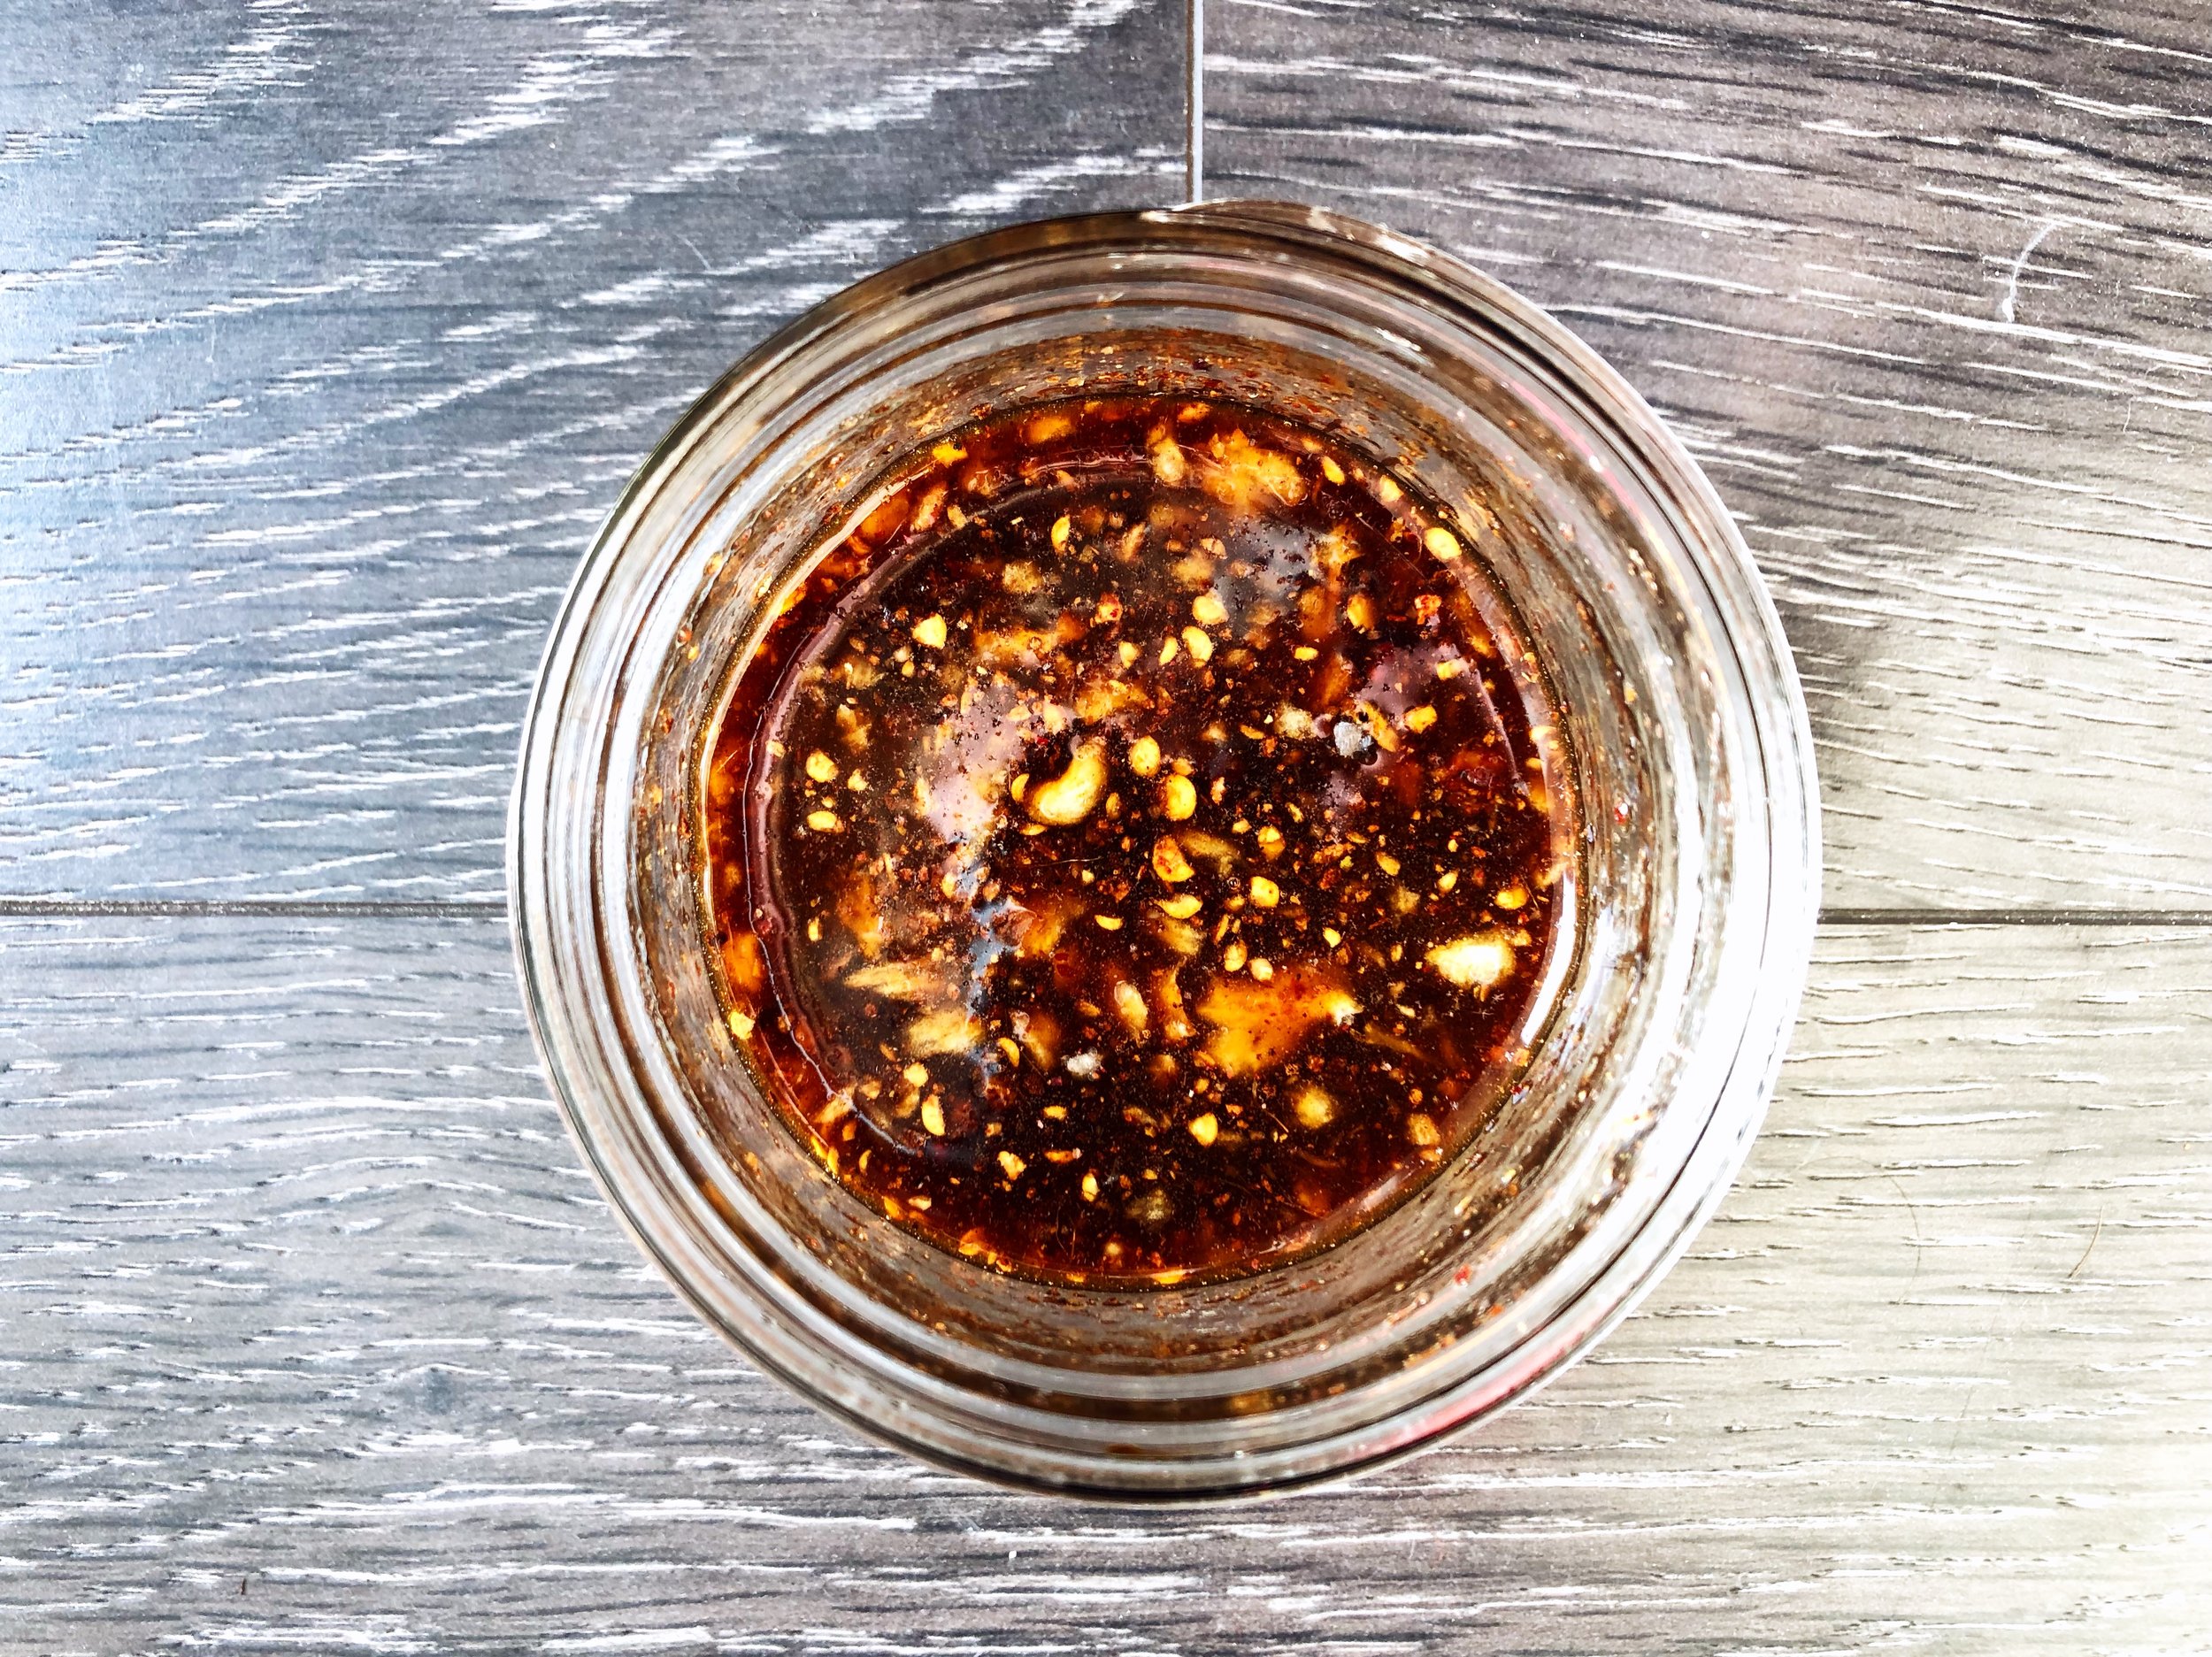
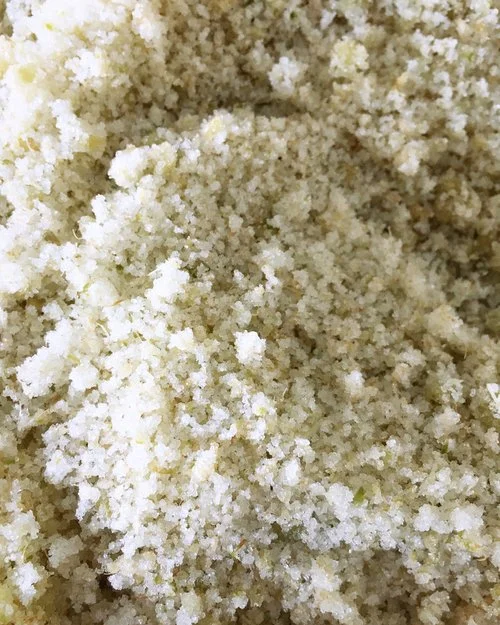
Sumac berries infusing in cold water.

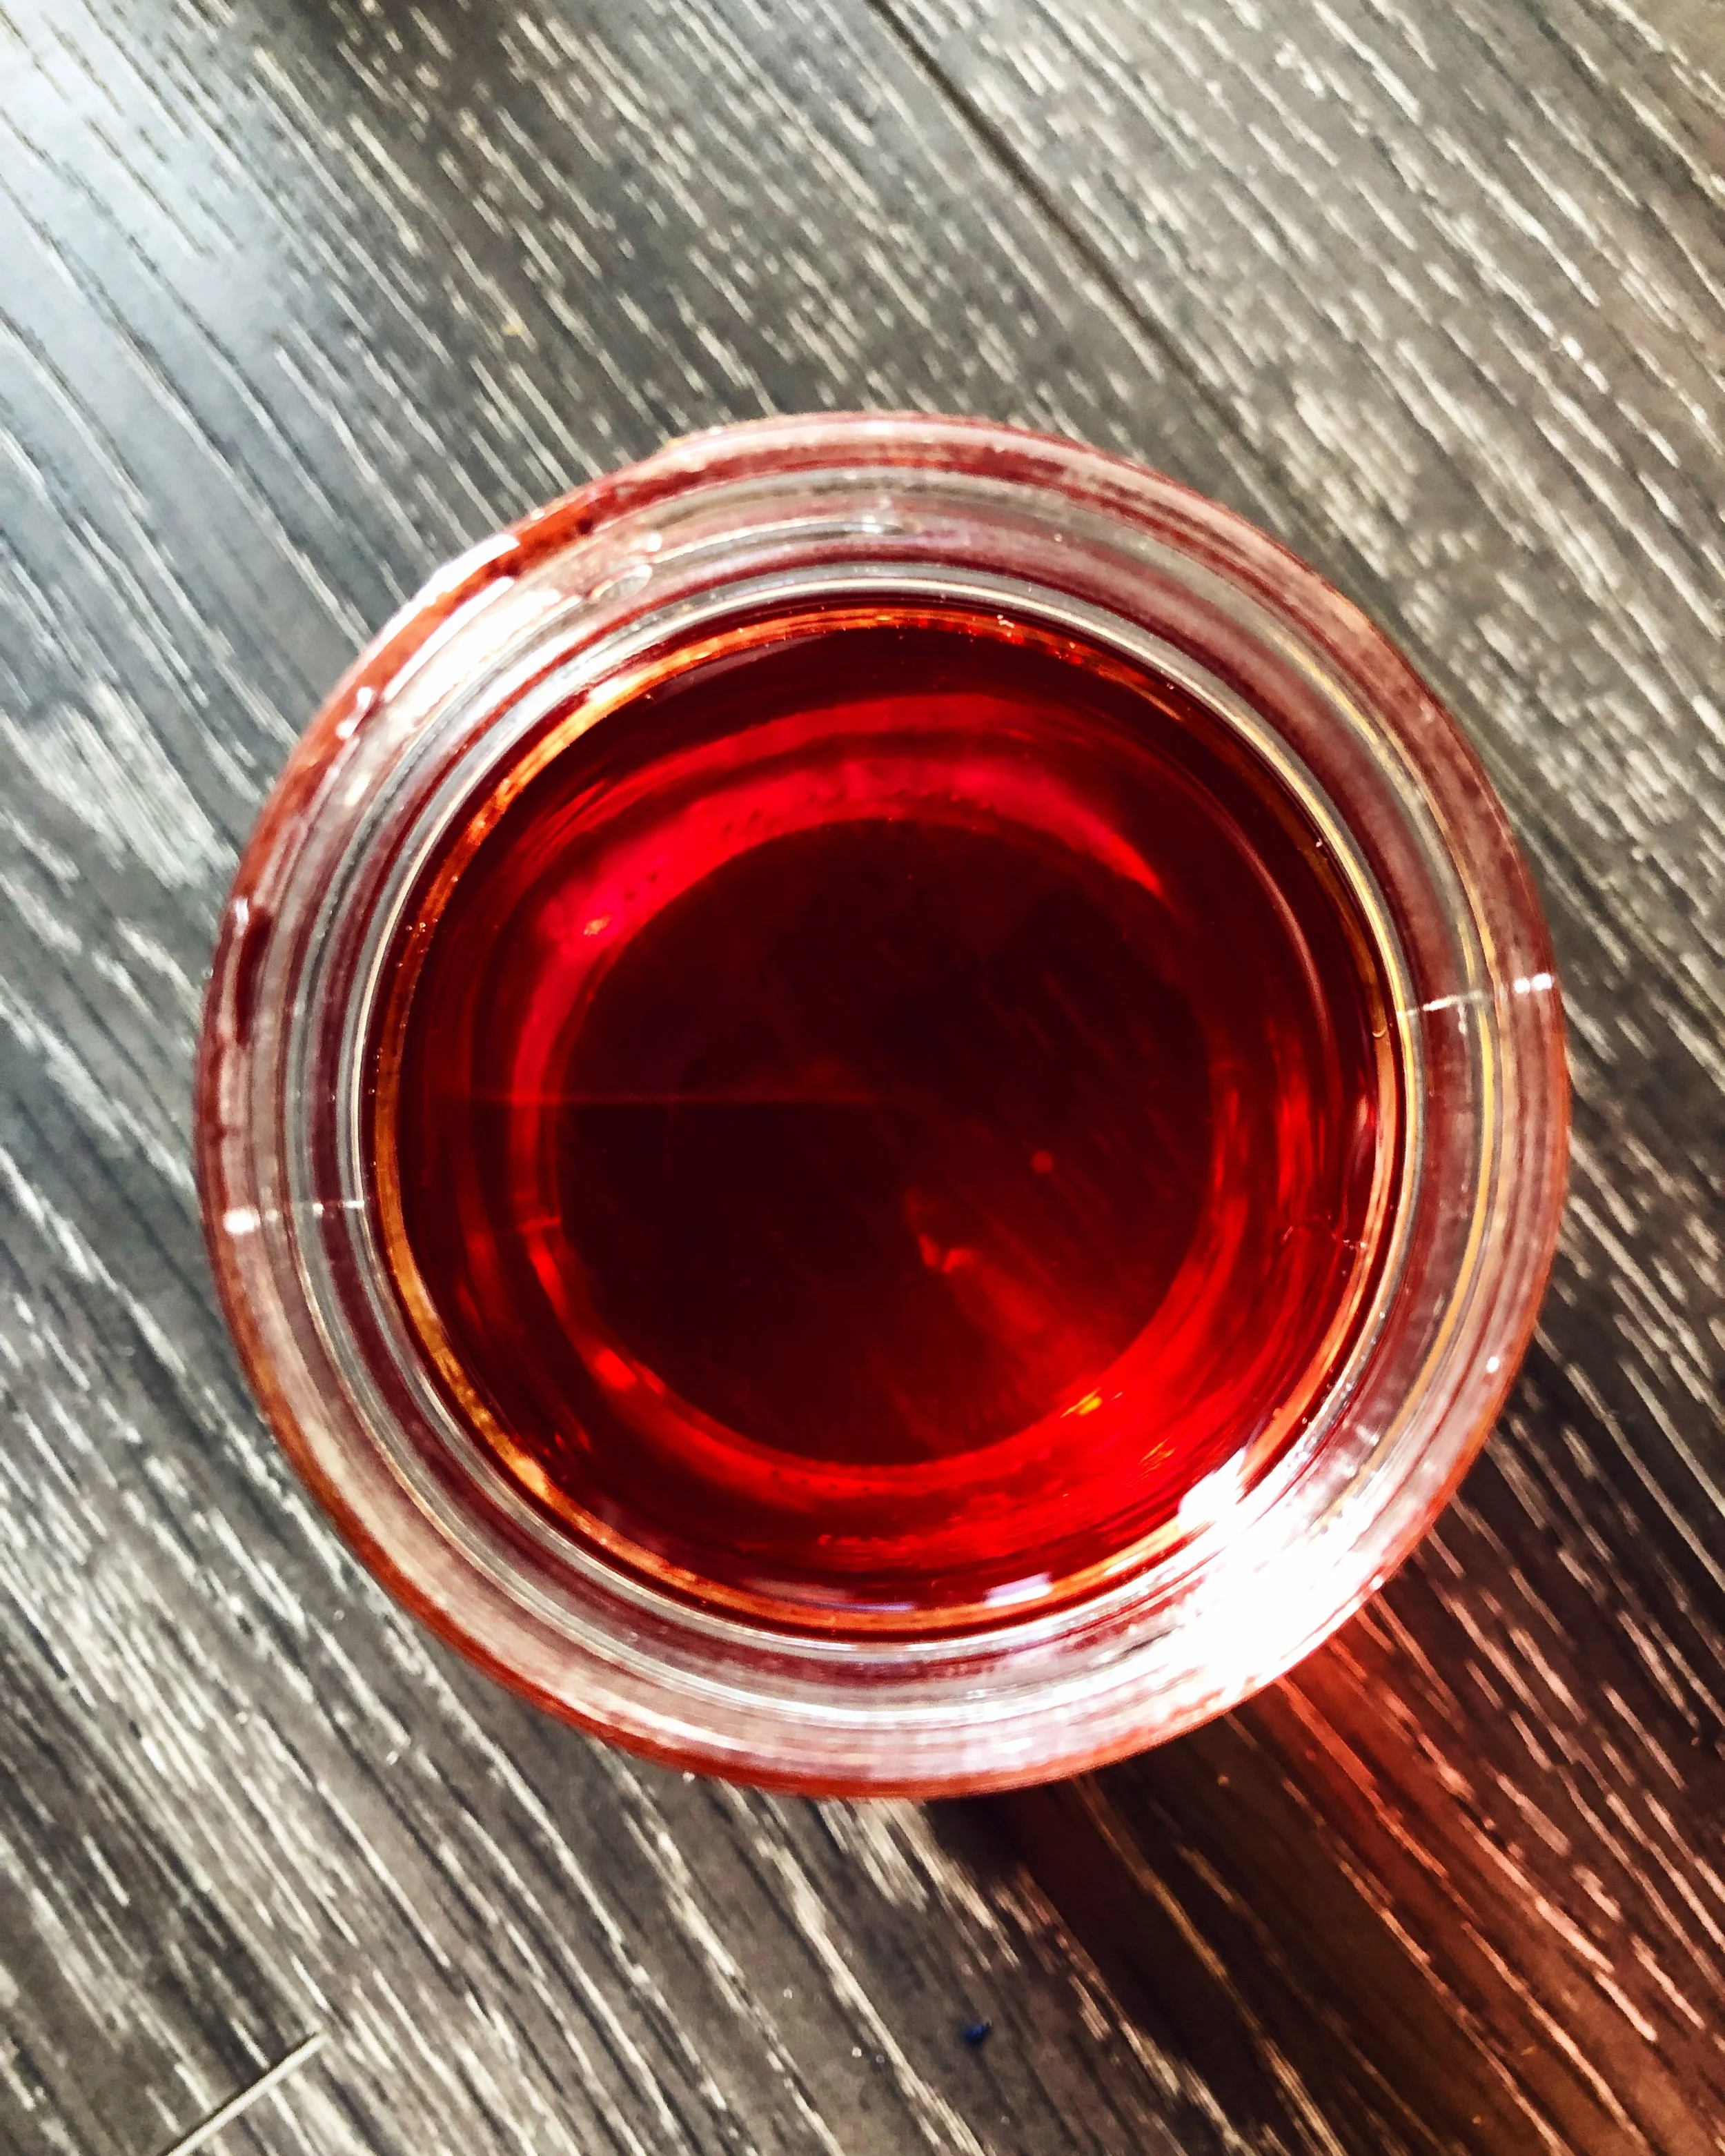
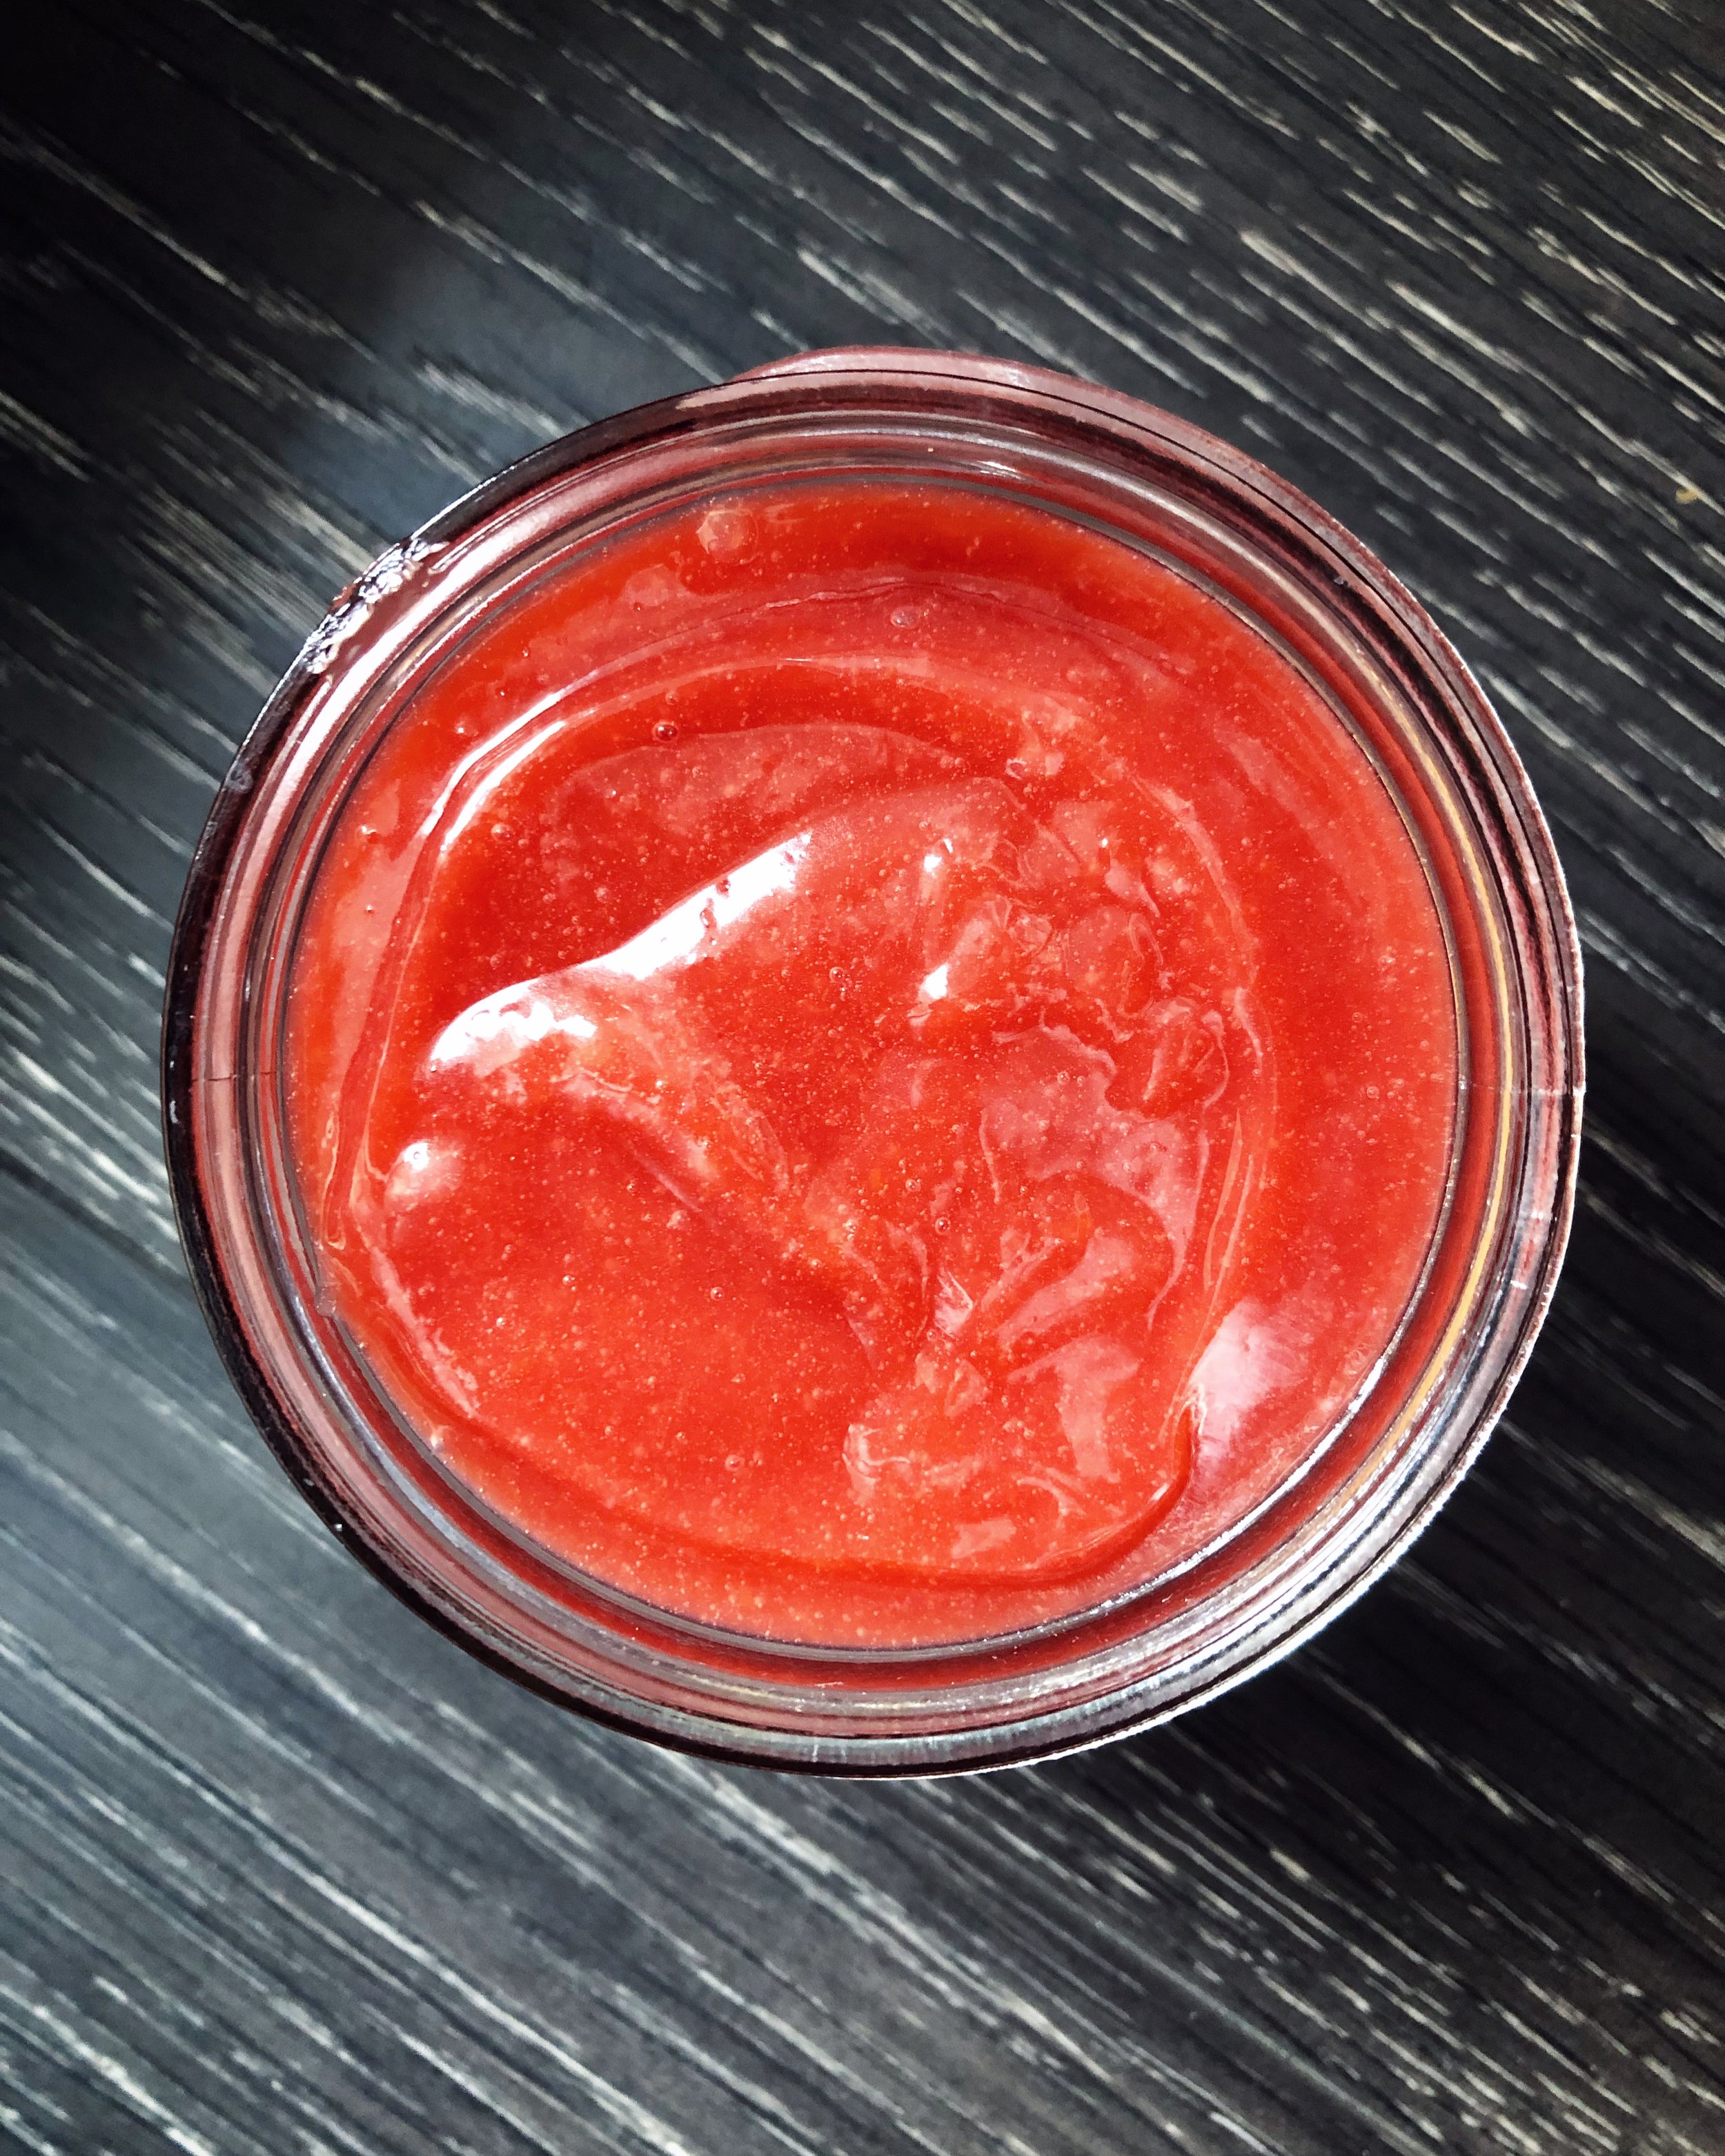
Strained and completed sumac infusion.
I have to admit, that making these cookies is a bit of an involved process. This is especially true if you are foraging the sumac, and processing it yourself as I did. Here are some instructions that are very helpful if you want to go that route. If not, you can usually find dried and ground sumac at specialty spice stores, and I even saw it at my local Bulk Barn (bonus shopping here because at some locations you can bring your own container and your purchase will be zero-waste). I’m sure there are online options as well.
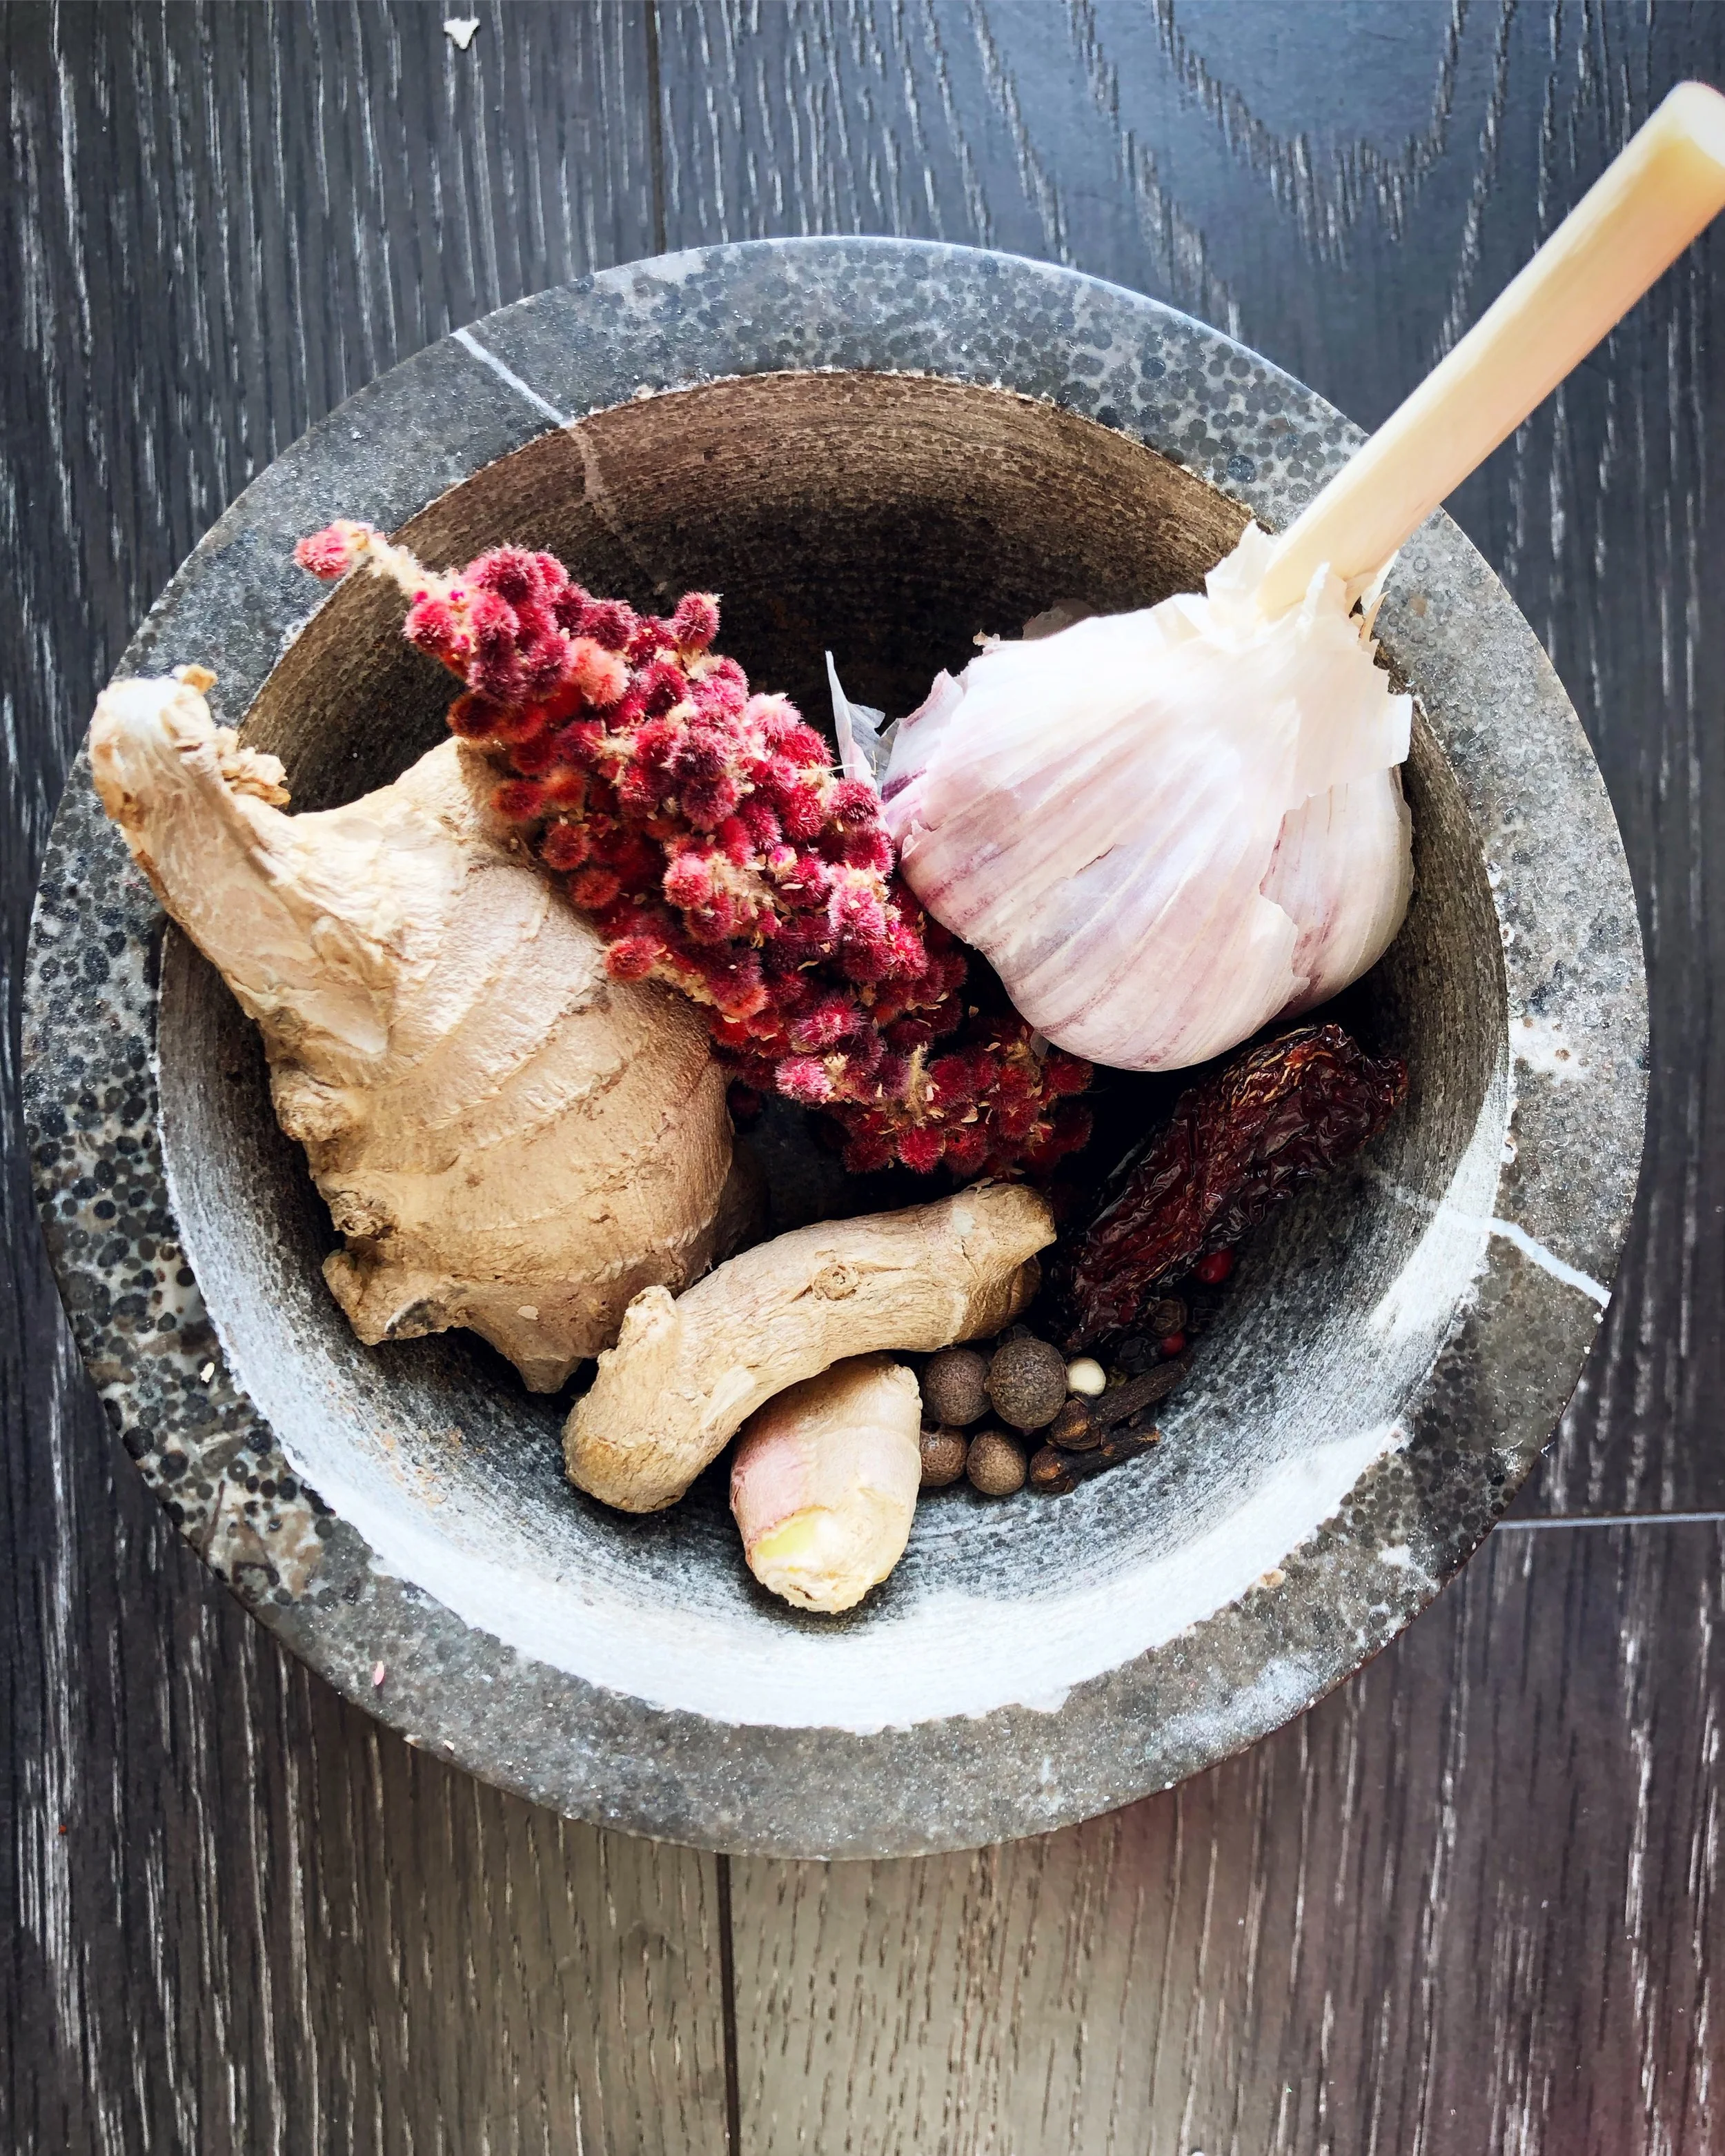
Sumac is a shrub that grows native in many areas of North America. You can identify it by it’s compound leaves, and large, compact berry clusters that stick straight up from the branches. The berries aren’t juicy, and they are covered by tiny hairs, and malic acid which gives it the distinct sour, almost citrus-like flavour. In most areas you’ll want to harvest the berries in July, and before any large rainfall hits as this will wash away much of the malic acid. That said, it’s not unheard of that sumac berries are still harvestable later on in the year - just rub them with your finger, and then lick it to see if your finger tastes sour (that will be the malic acid that transferred to your finger). If they still taste sour they are still good to use! The easiest way of processing them is just to bring the berry clusters home and let them dry thoroughly. Store them somewhere they won’t get dusty (I have mine from last summer crammed in a 1/2 gallon vintage mason jar) and they are ready to use whenever you need them.

Some of you may have been told that Sumac is poisonous. In the plant world there are many different common names, and sometimes poisonous and non-poisonous plants even share the same one. This is the case with sumac. Poison sumac (Toxicodendron vernix) only grows in swampy areas, whereas the sumac we are looking for (Rhus glabra, Rhus typhina, or Rhus copallina, depending on the species that is local to you) prefers dry landscapes. It also has red berries, whereas poison sumac has white. There really is no chance that you will mistake the two. One thing you will want to be cautious about, is that sumac is related to mangoes, cashews, and poison ivy. If you are especially sensitive to some of these other plants please take caution if you are trying sumac. This post on identifying sumac varieties from Eat the Weeds is an excellent resource, but please make sure you consult more than one resource before eating anything you have foraged.
As always please take care when foraging, and make sure you are 100% certain of what you are gathering and eating. The best option is learning from someone who is an expert on the local plants for your area. Use more than one resource when identifying plants that are new to you like field guides, and reputable online resources - the more specific to your location the better. Spend a lot of time examining the different features of the plant you are looking for. Never be content to identify a plant by one feature alone.

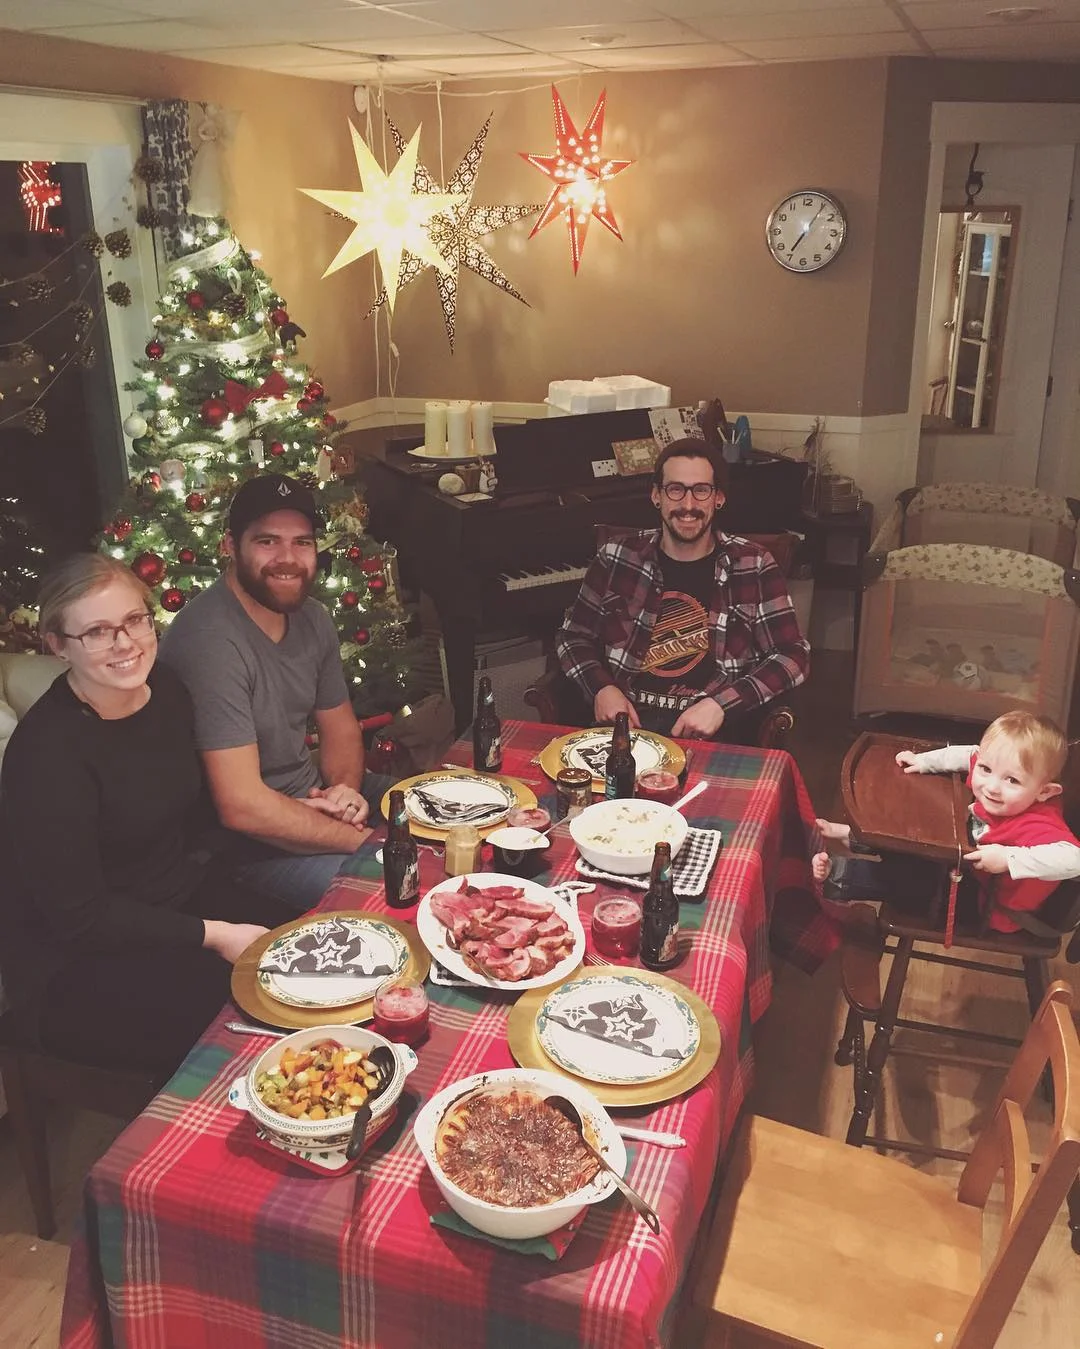
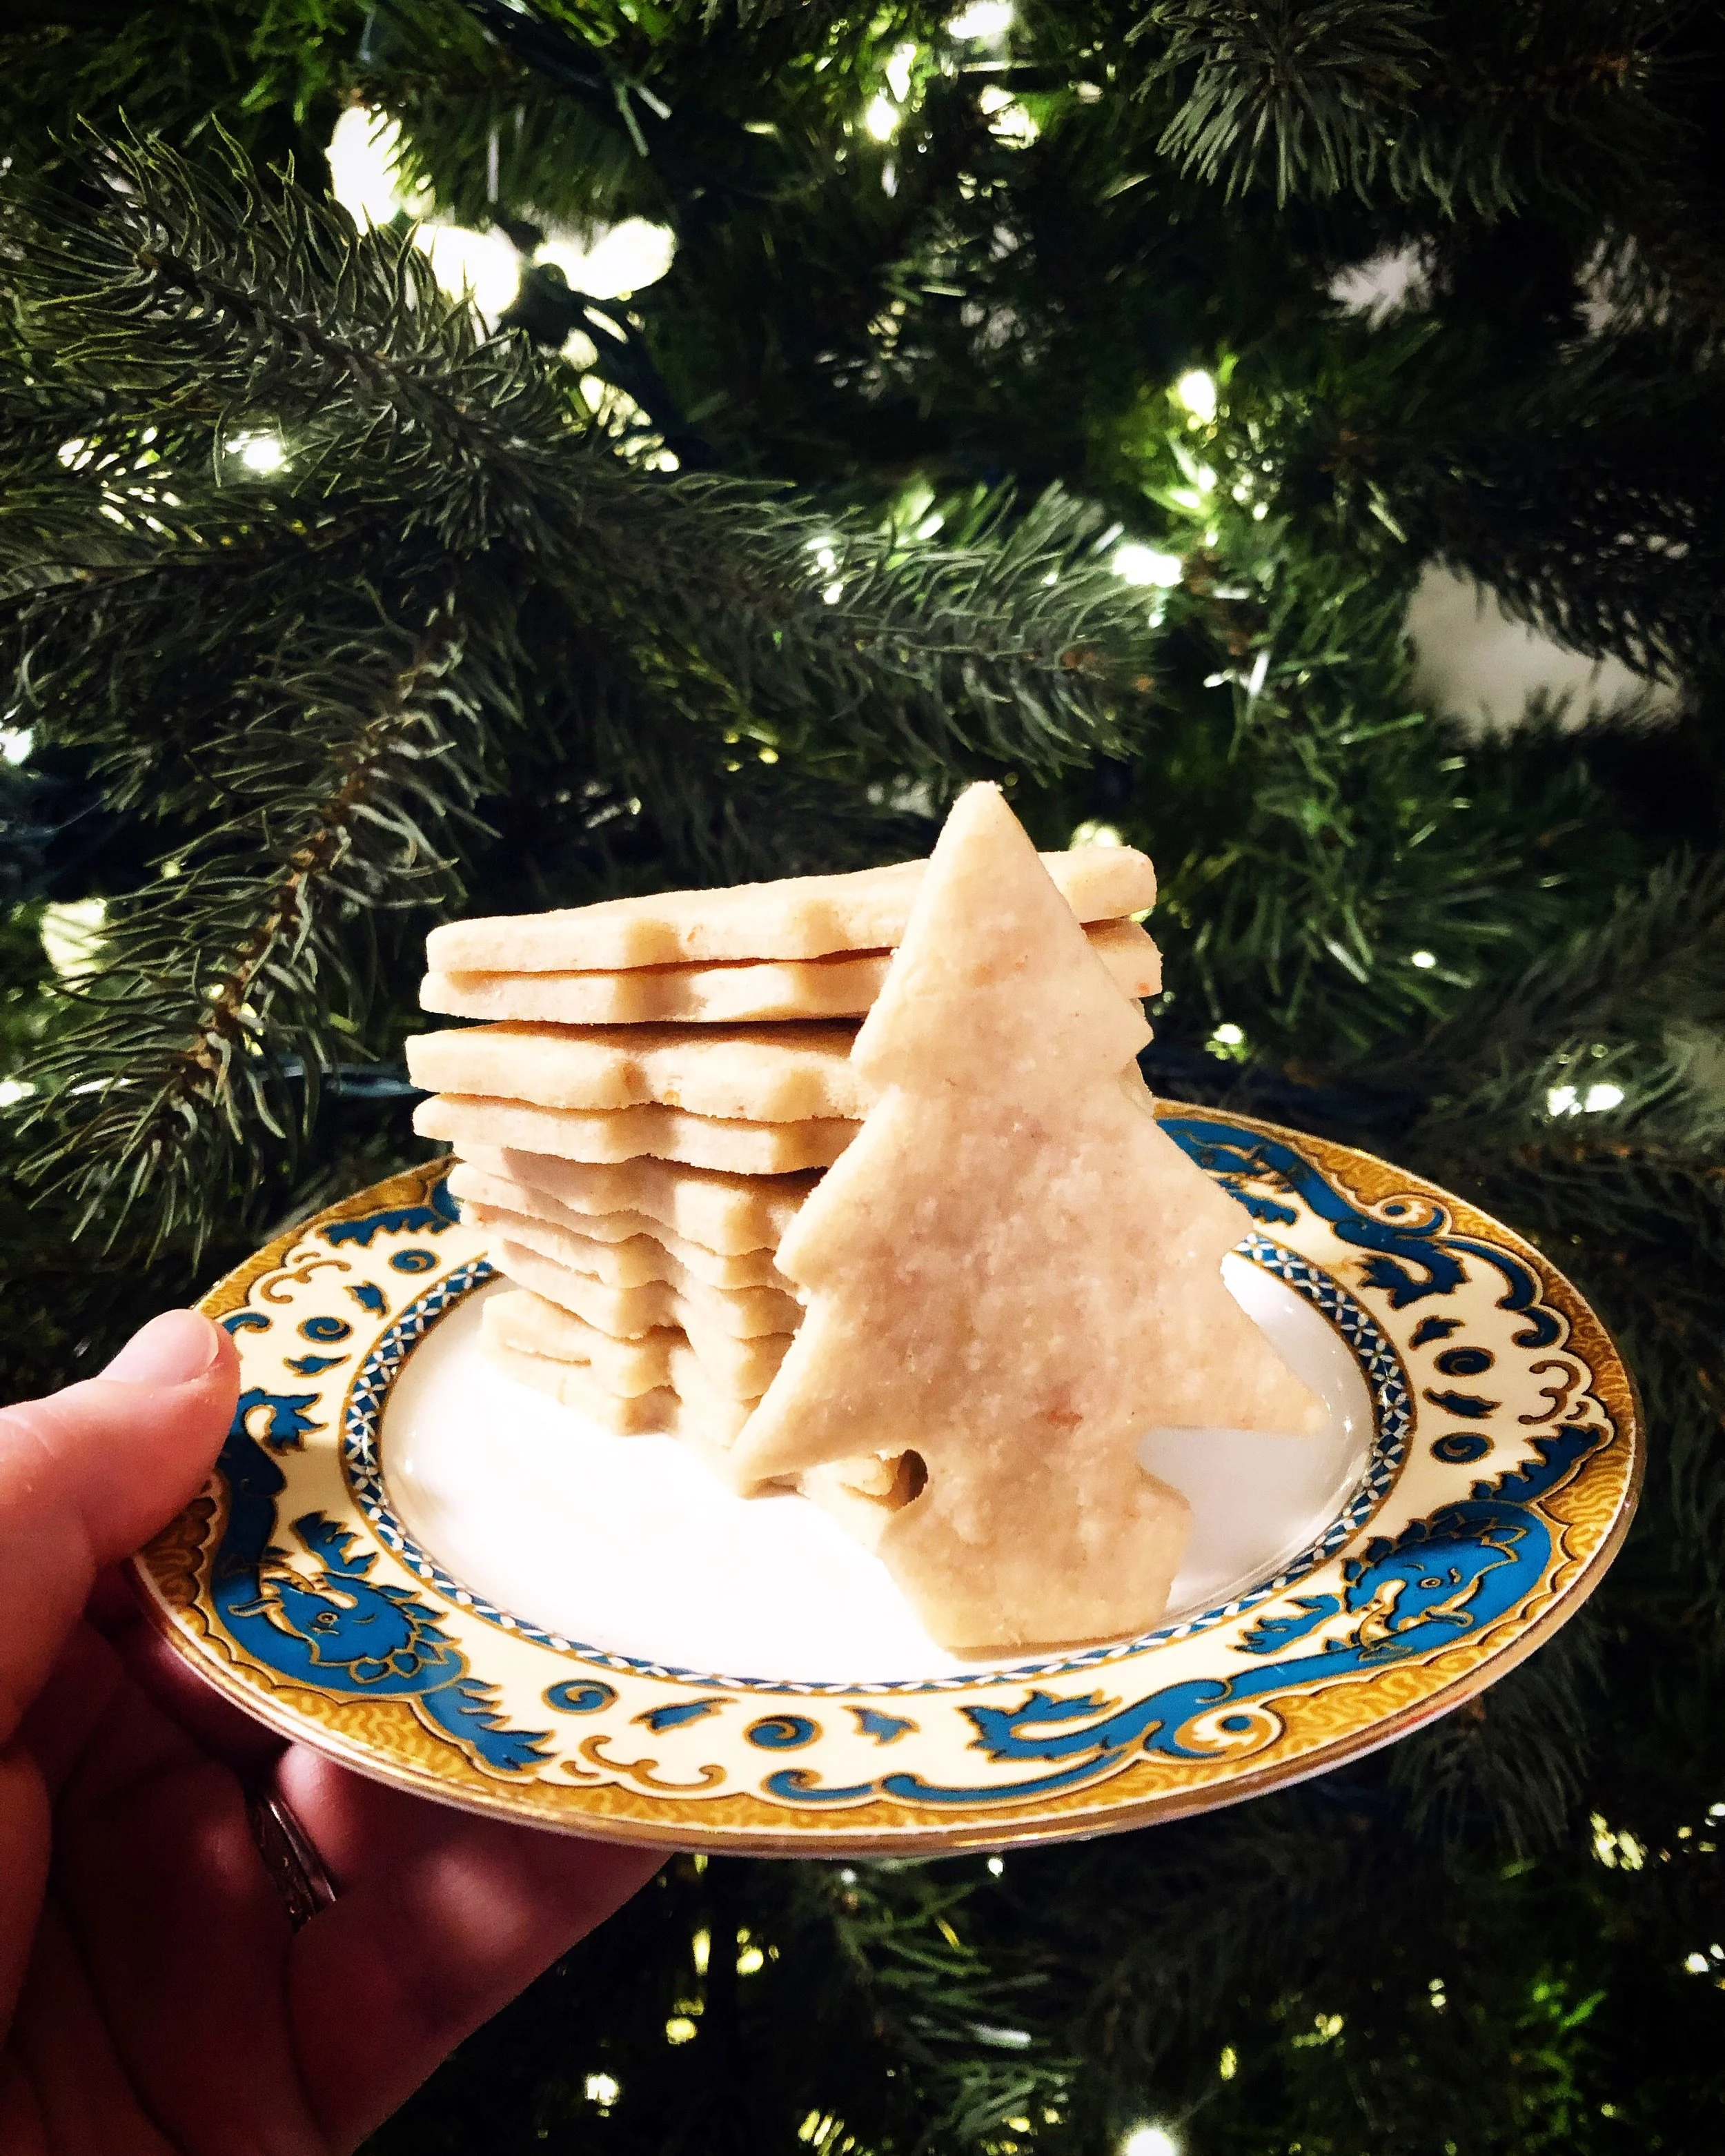
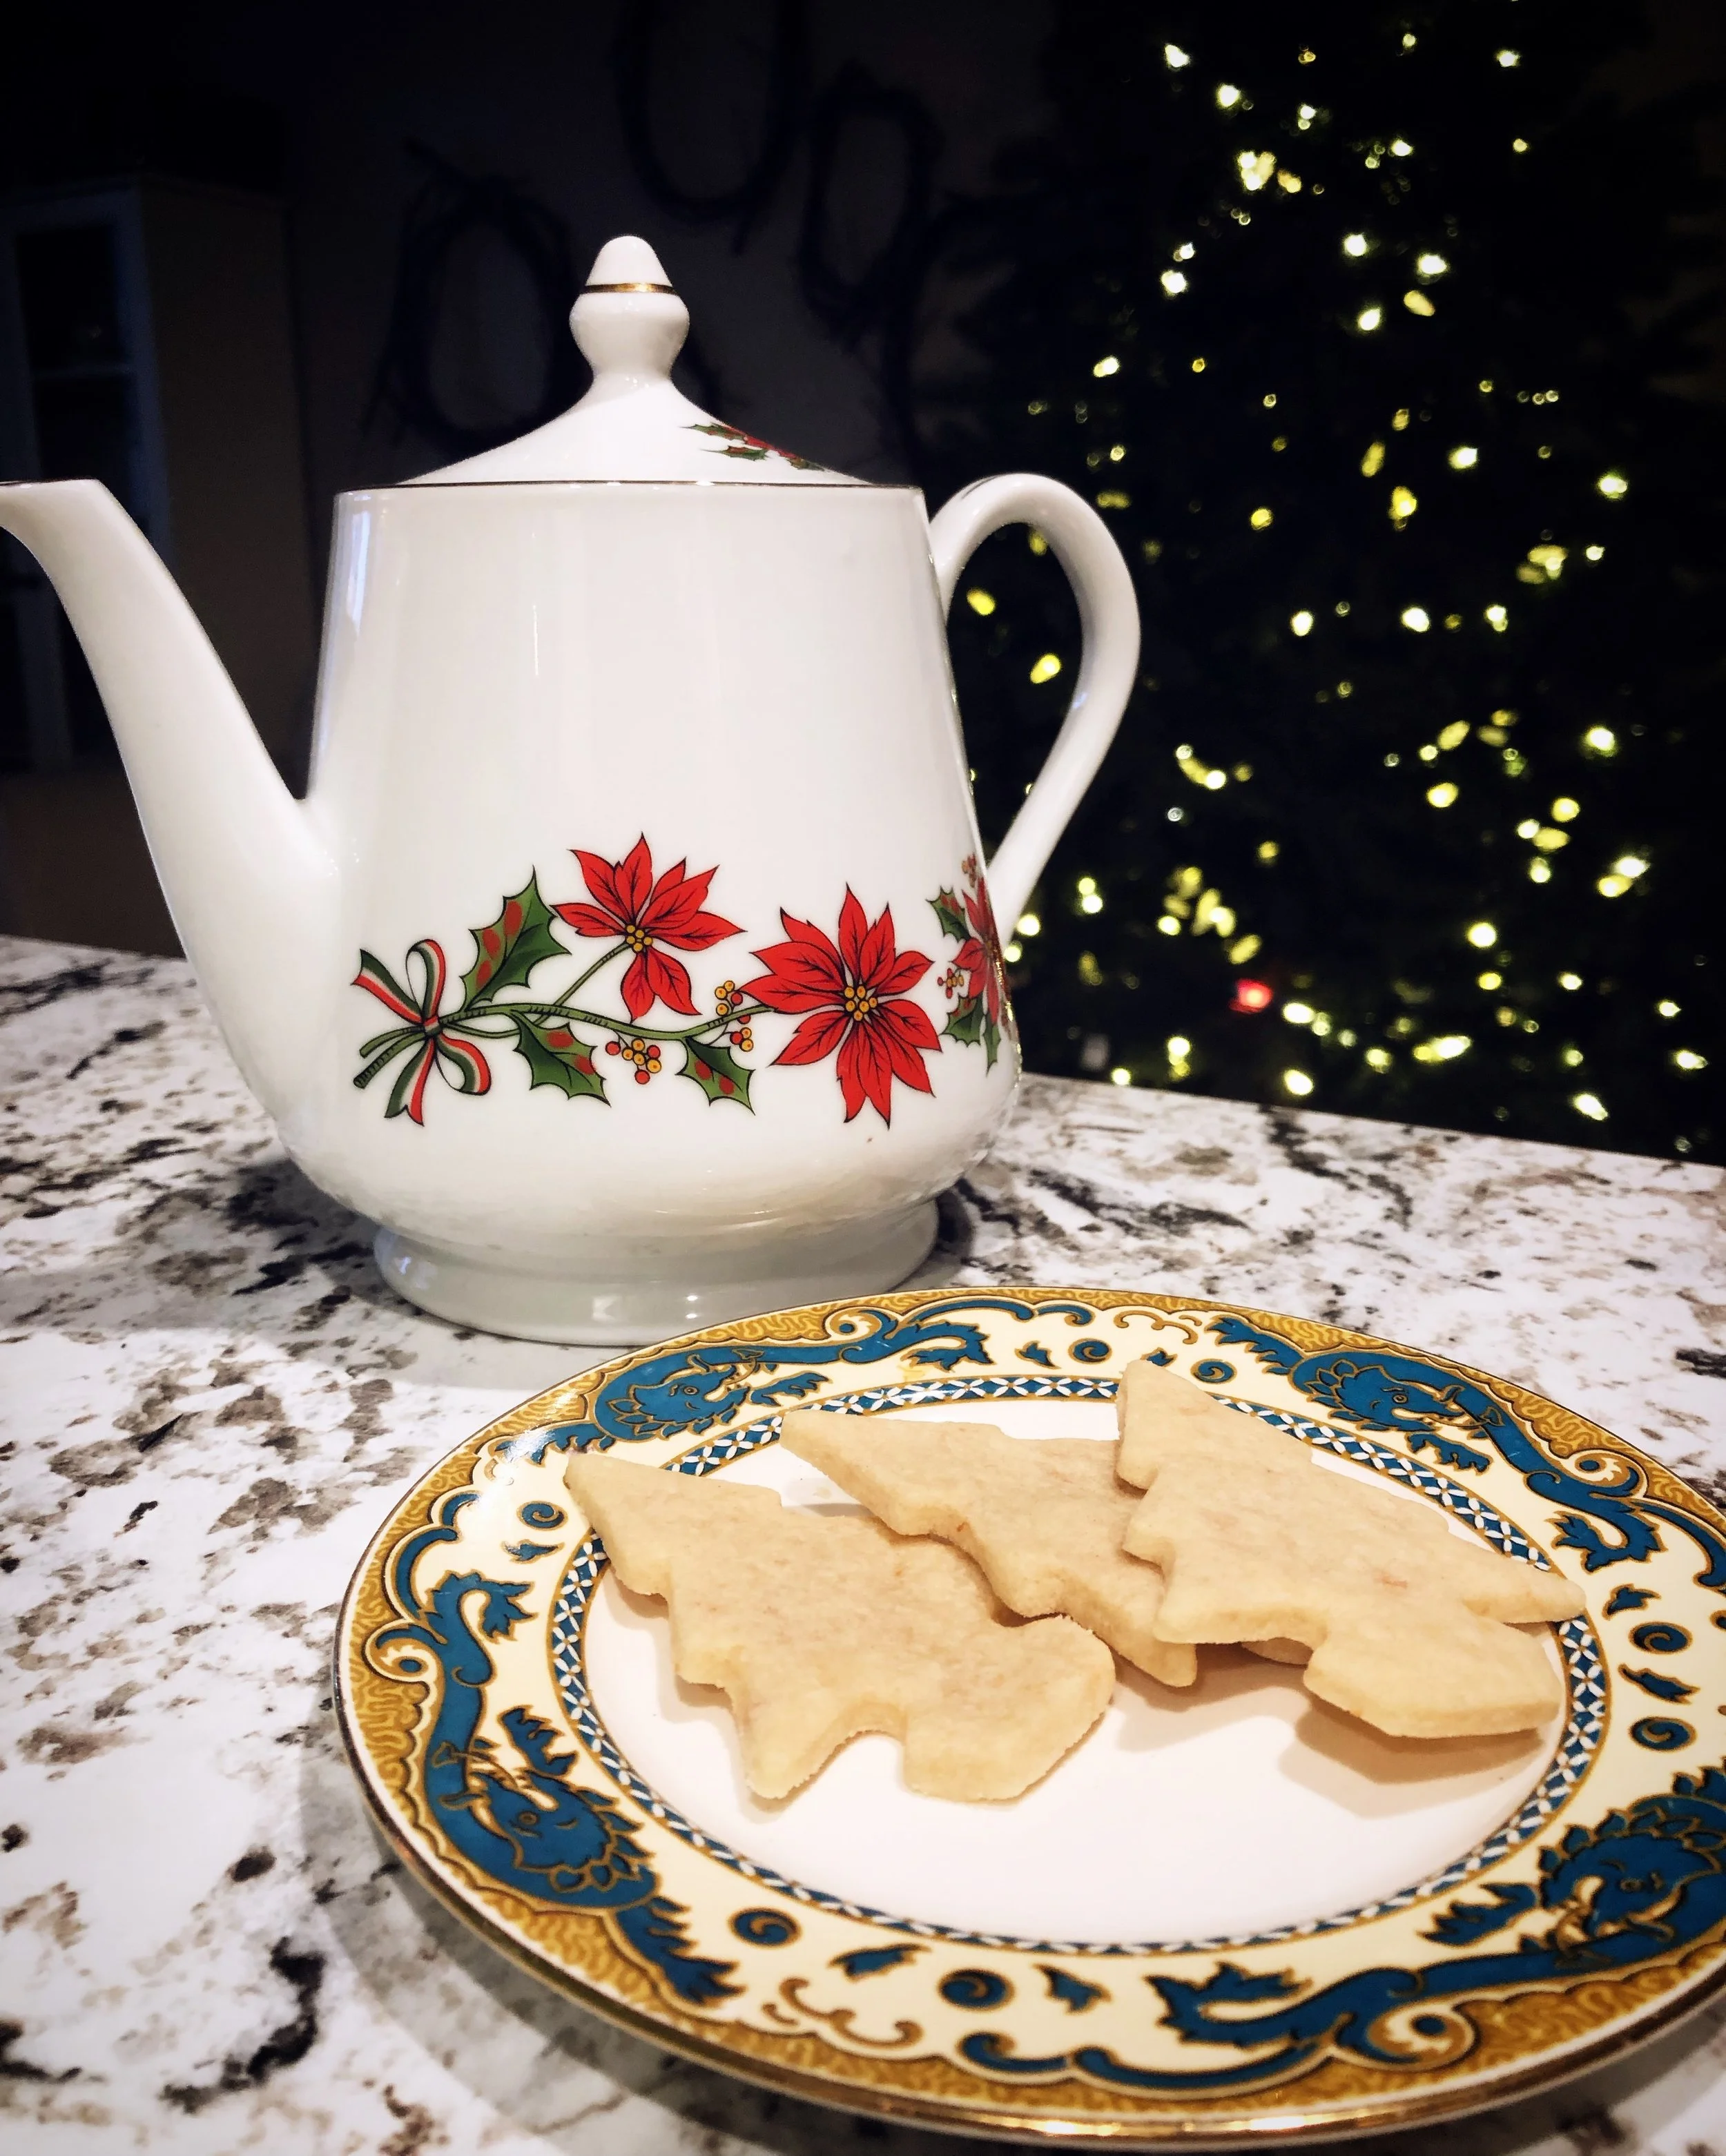
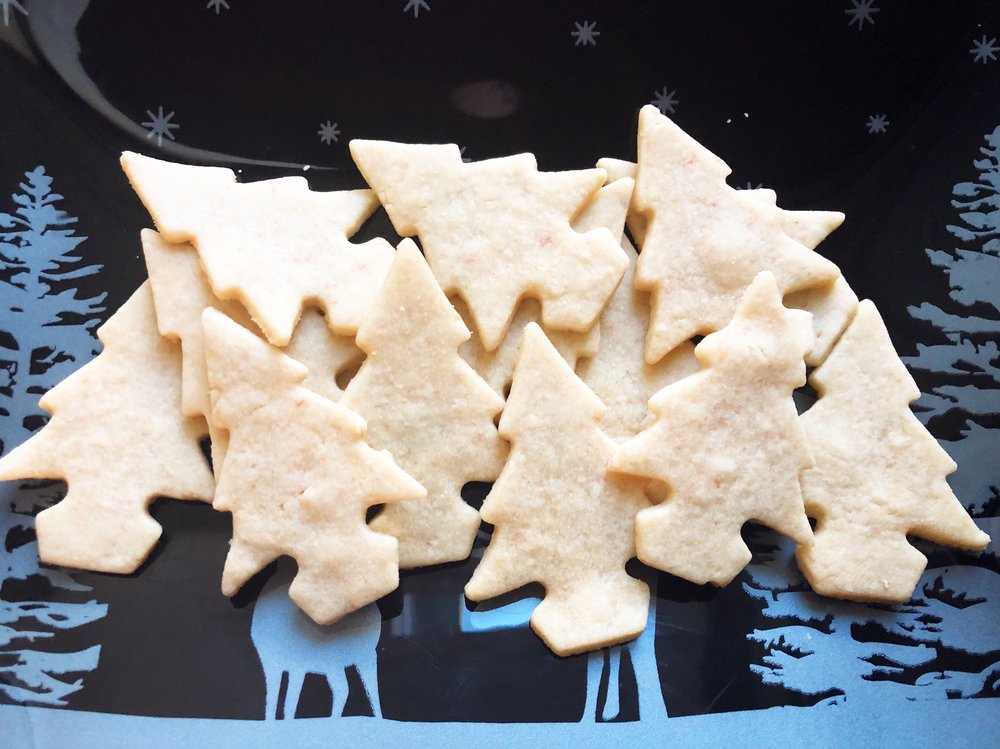
Now to explain more about making the cookies themselves! They do take some time to make, but I promise you the end result is worth it! I originally made these at Christmas time (being inspired by traditional Danish Christmas cookies like Honninghjerter, and Pebernødder) and they were the first to disappear from the cookie platters! The holidays were very busy, and even though I had originally planned to post the recipe back then, but I ran out of time. I think that turned out to be a good thing in the end though, because they are also so perfect for Valentine’s Day!

You’re going to need to start the sumac infusion ideally two days before you want to have the cookies (although you could get away with the day before, but they are better if you have a bit longer for letting the dough chill). All of the colour in these cookies is completely natural - there is no food colouring at all! The lovely pink in the glaze comes from the colour of the sumac infusion itself, and that is also where the sour flavour from the sumac shines the brightest. Since lemon or other citrus is often paired with ginger in holiday baking, I thought sumac would be a delicious pairing with the ginger and I set out working on making a ginger-forward, spice cookie that blended well with the natural sour, fruity flavour of the sumac.
The day after your sumac has infused, start making your dough. This is essentially a sugar cookie with a lot of spices that gets rolled out a little thicker than normal. You’ll also want to make sure you have time to chill the dough for a day if possible. The flavours need time to mingle together in the dough before baking. if you have to speed things up at least chill the dough for a couple hours. This will also make rolling them out easier.
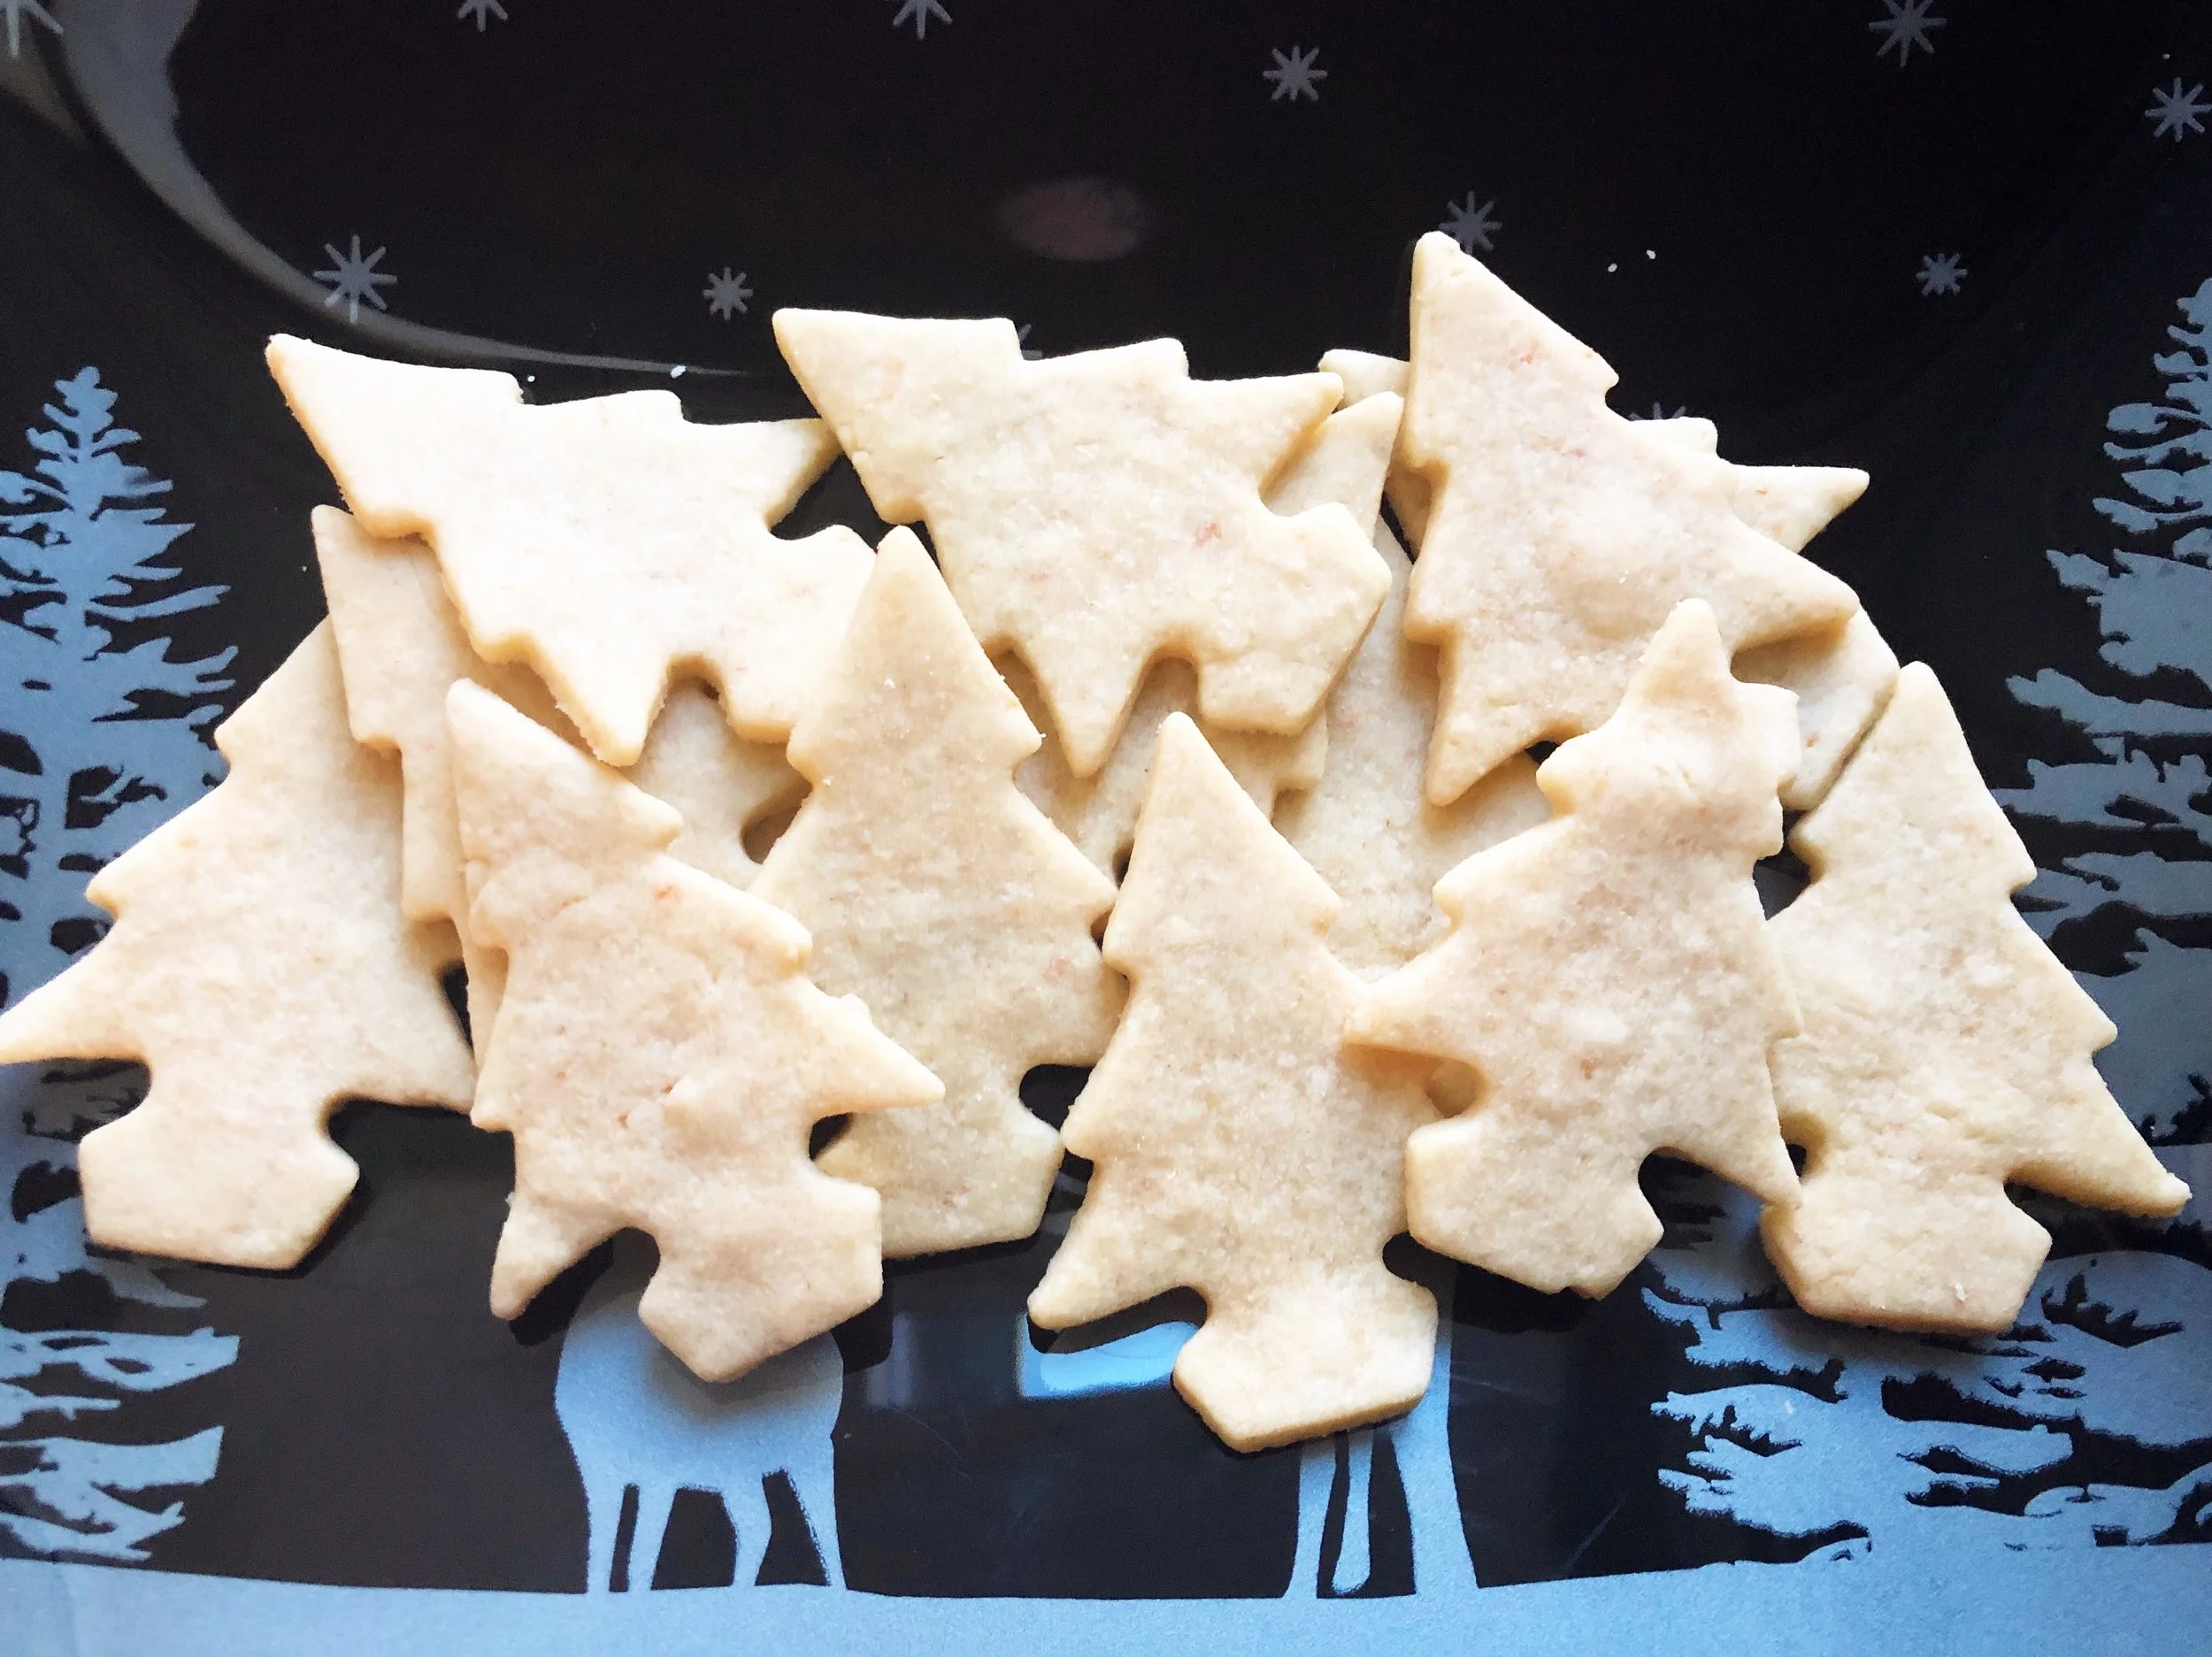
Make sure you leave a fair amount of room between the cookies on the sheet because they tend to puff up a bit, and spread ever so slightly. I also put in the instructions to roll them out a bit thicker than many of these are in the photos. This is because we found out after eating them all that the thicker ones were better!
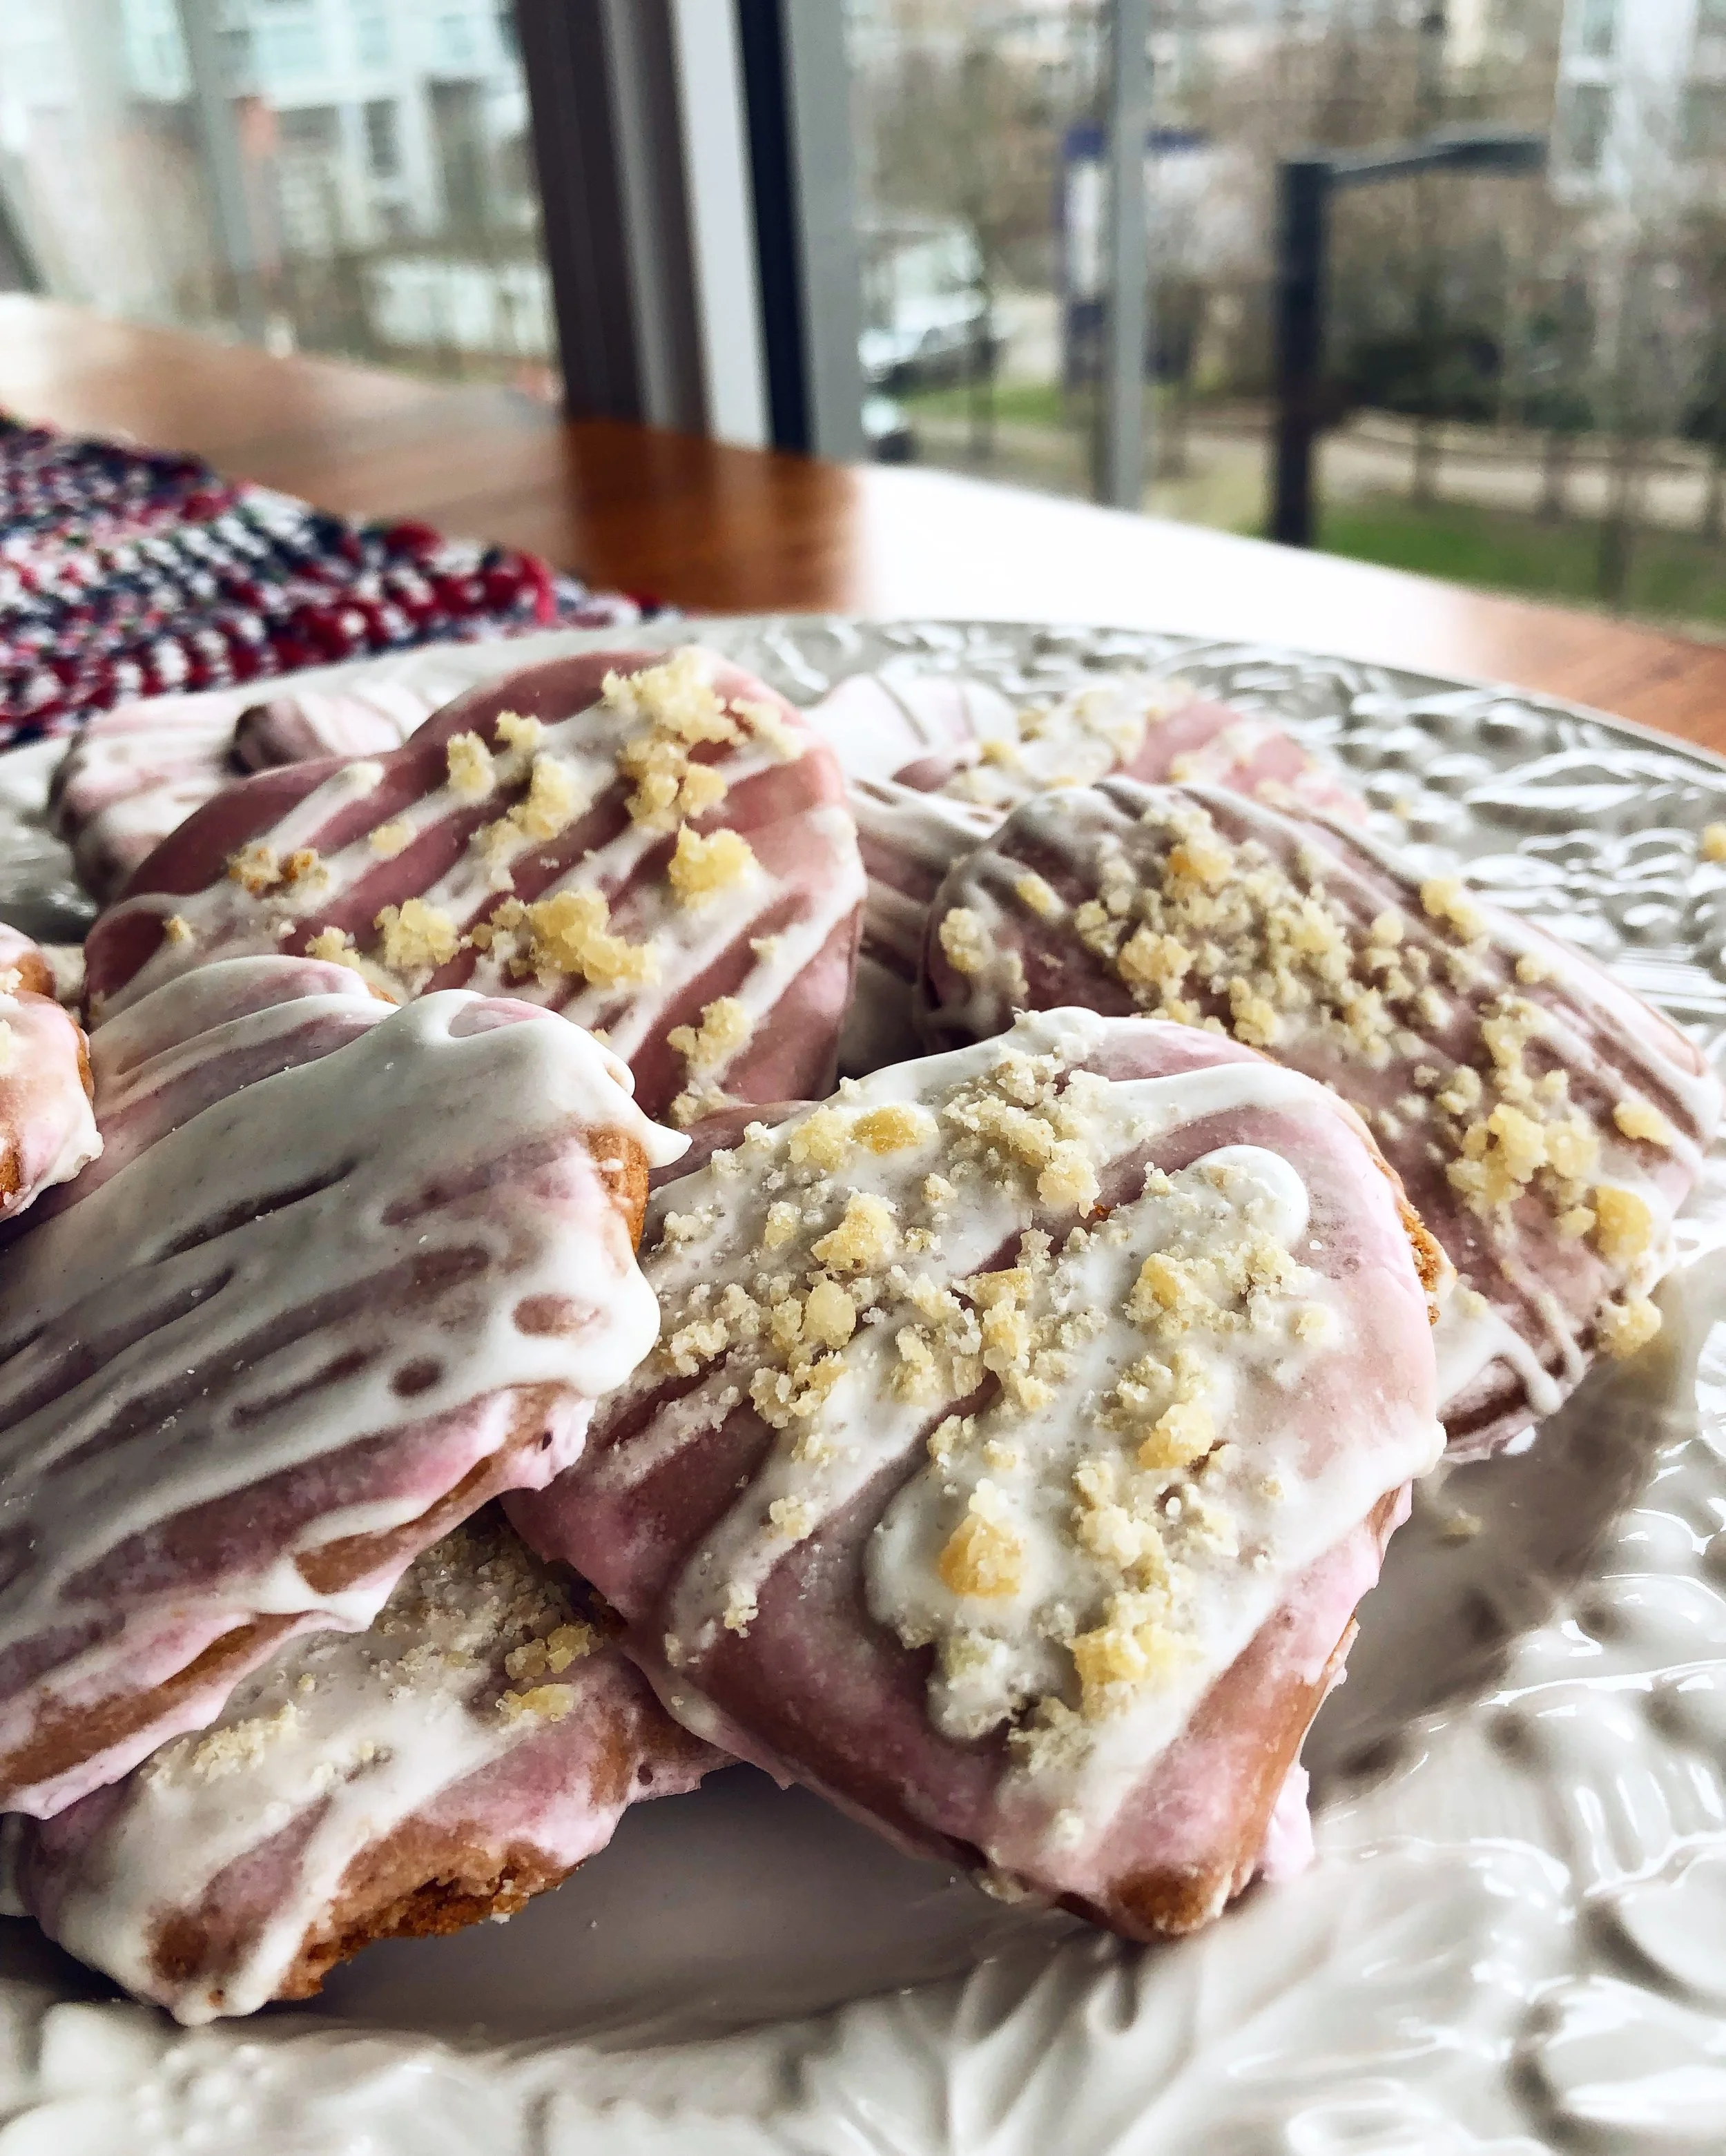
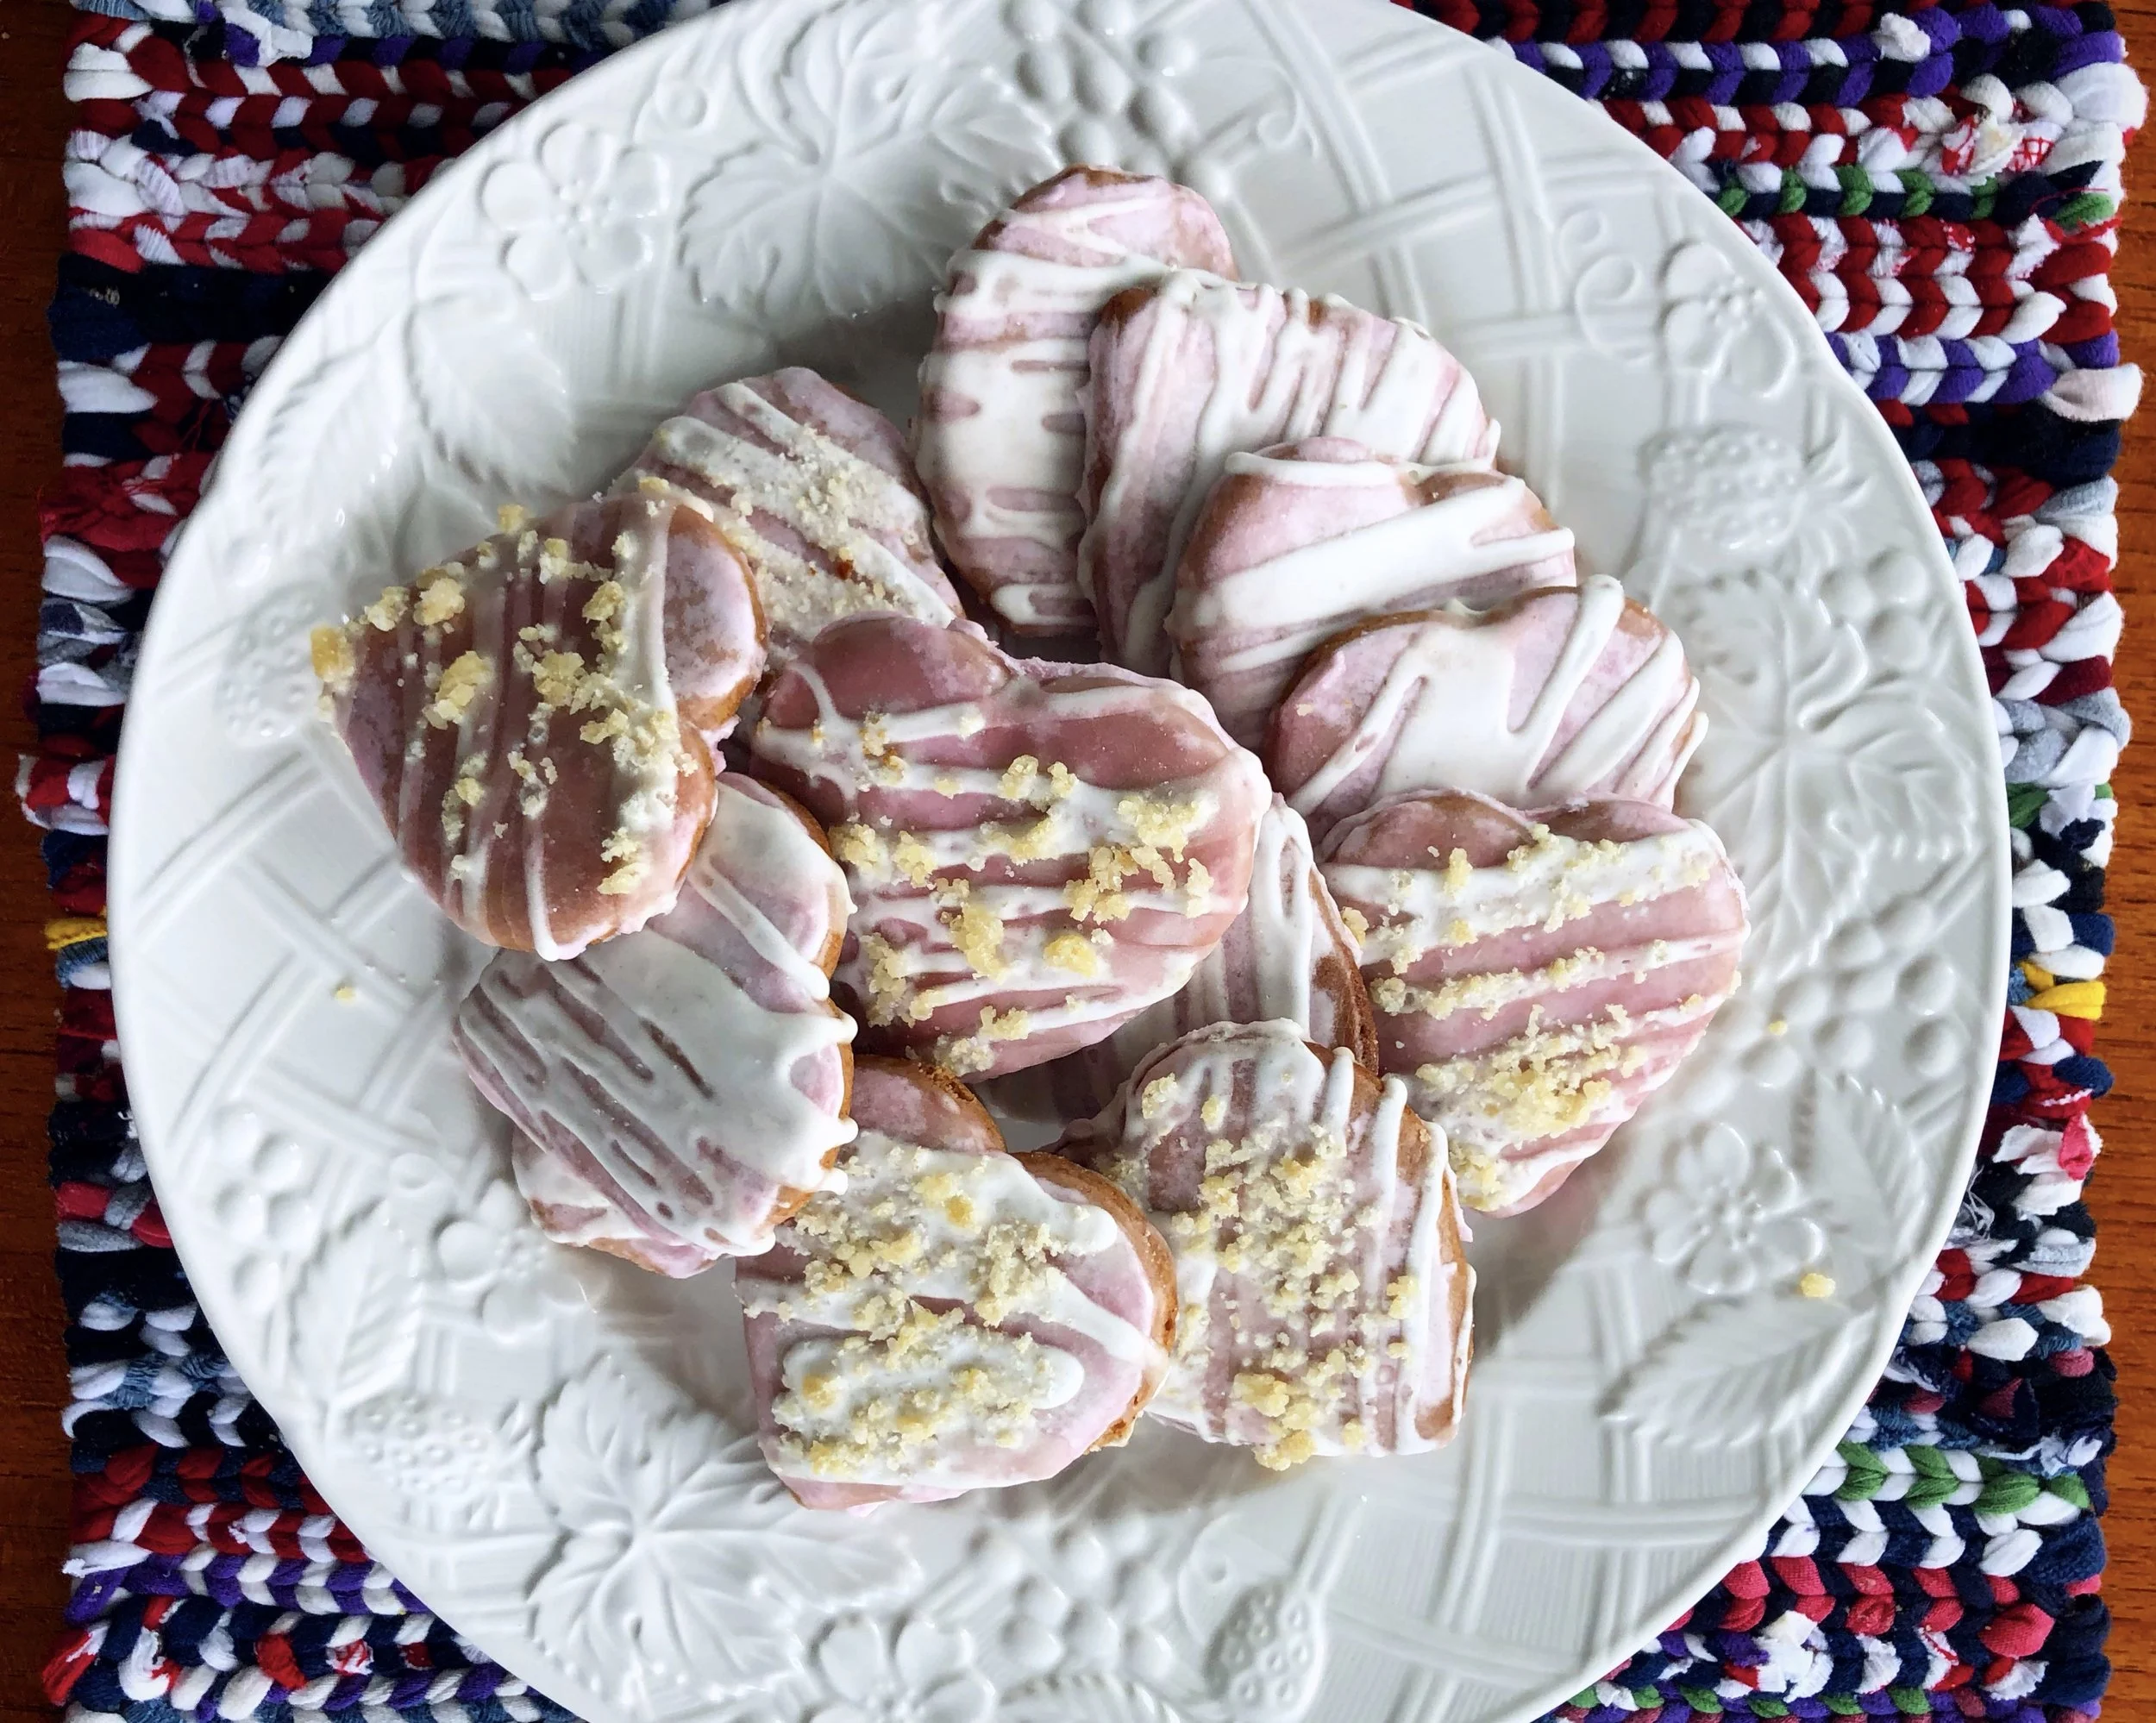
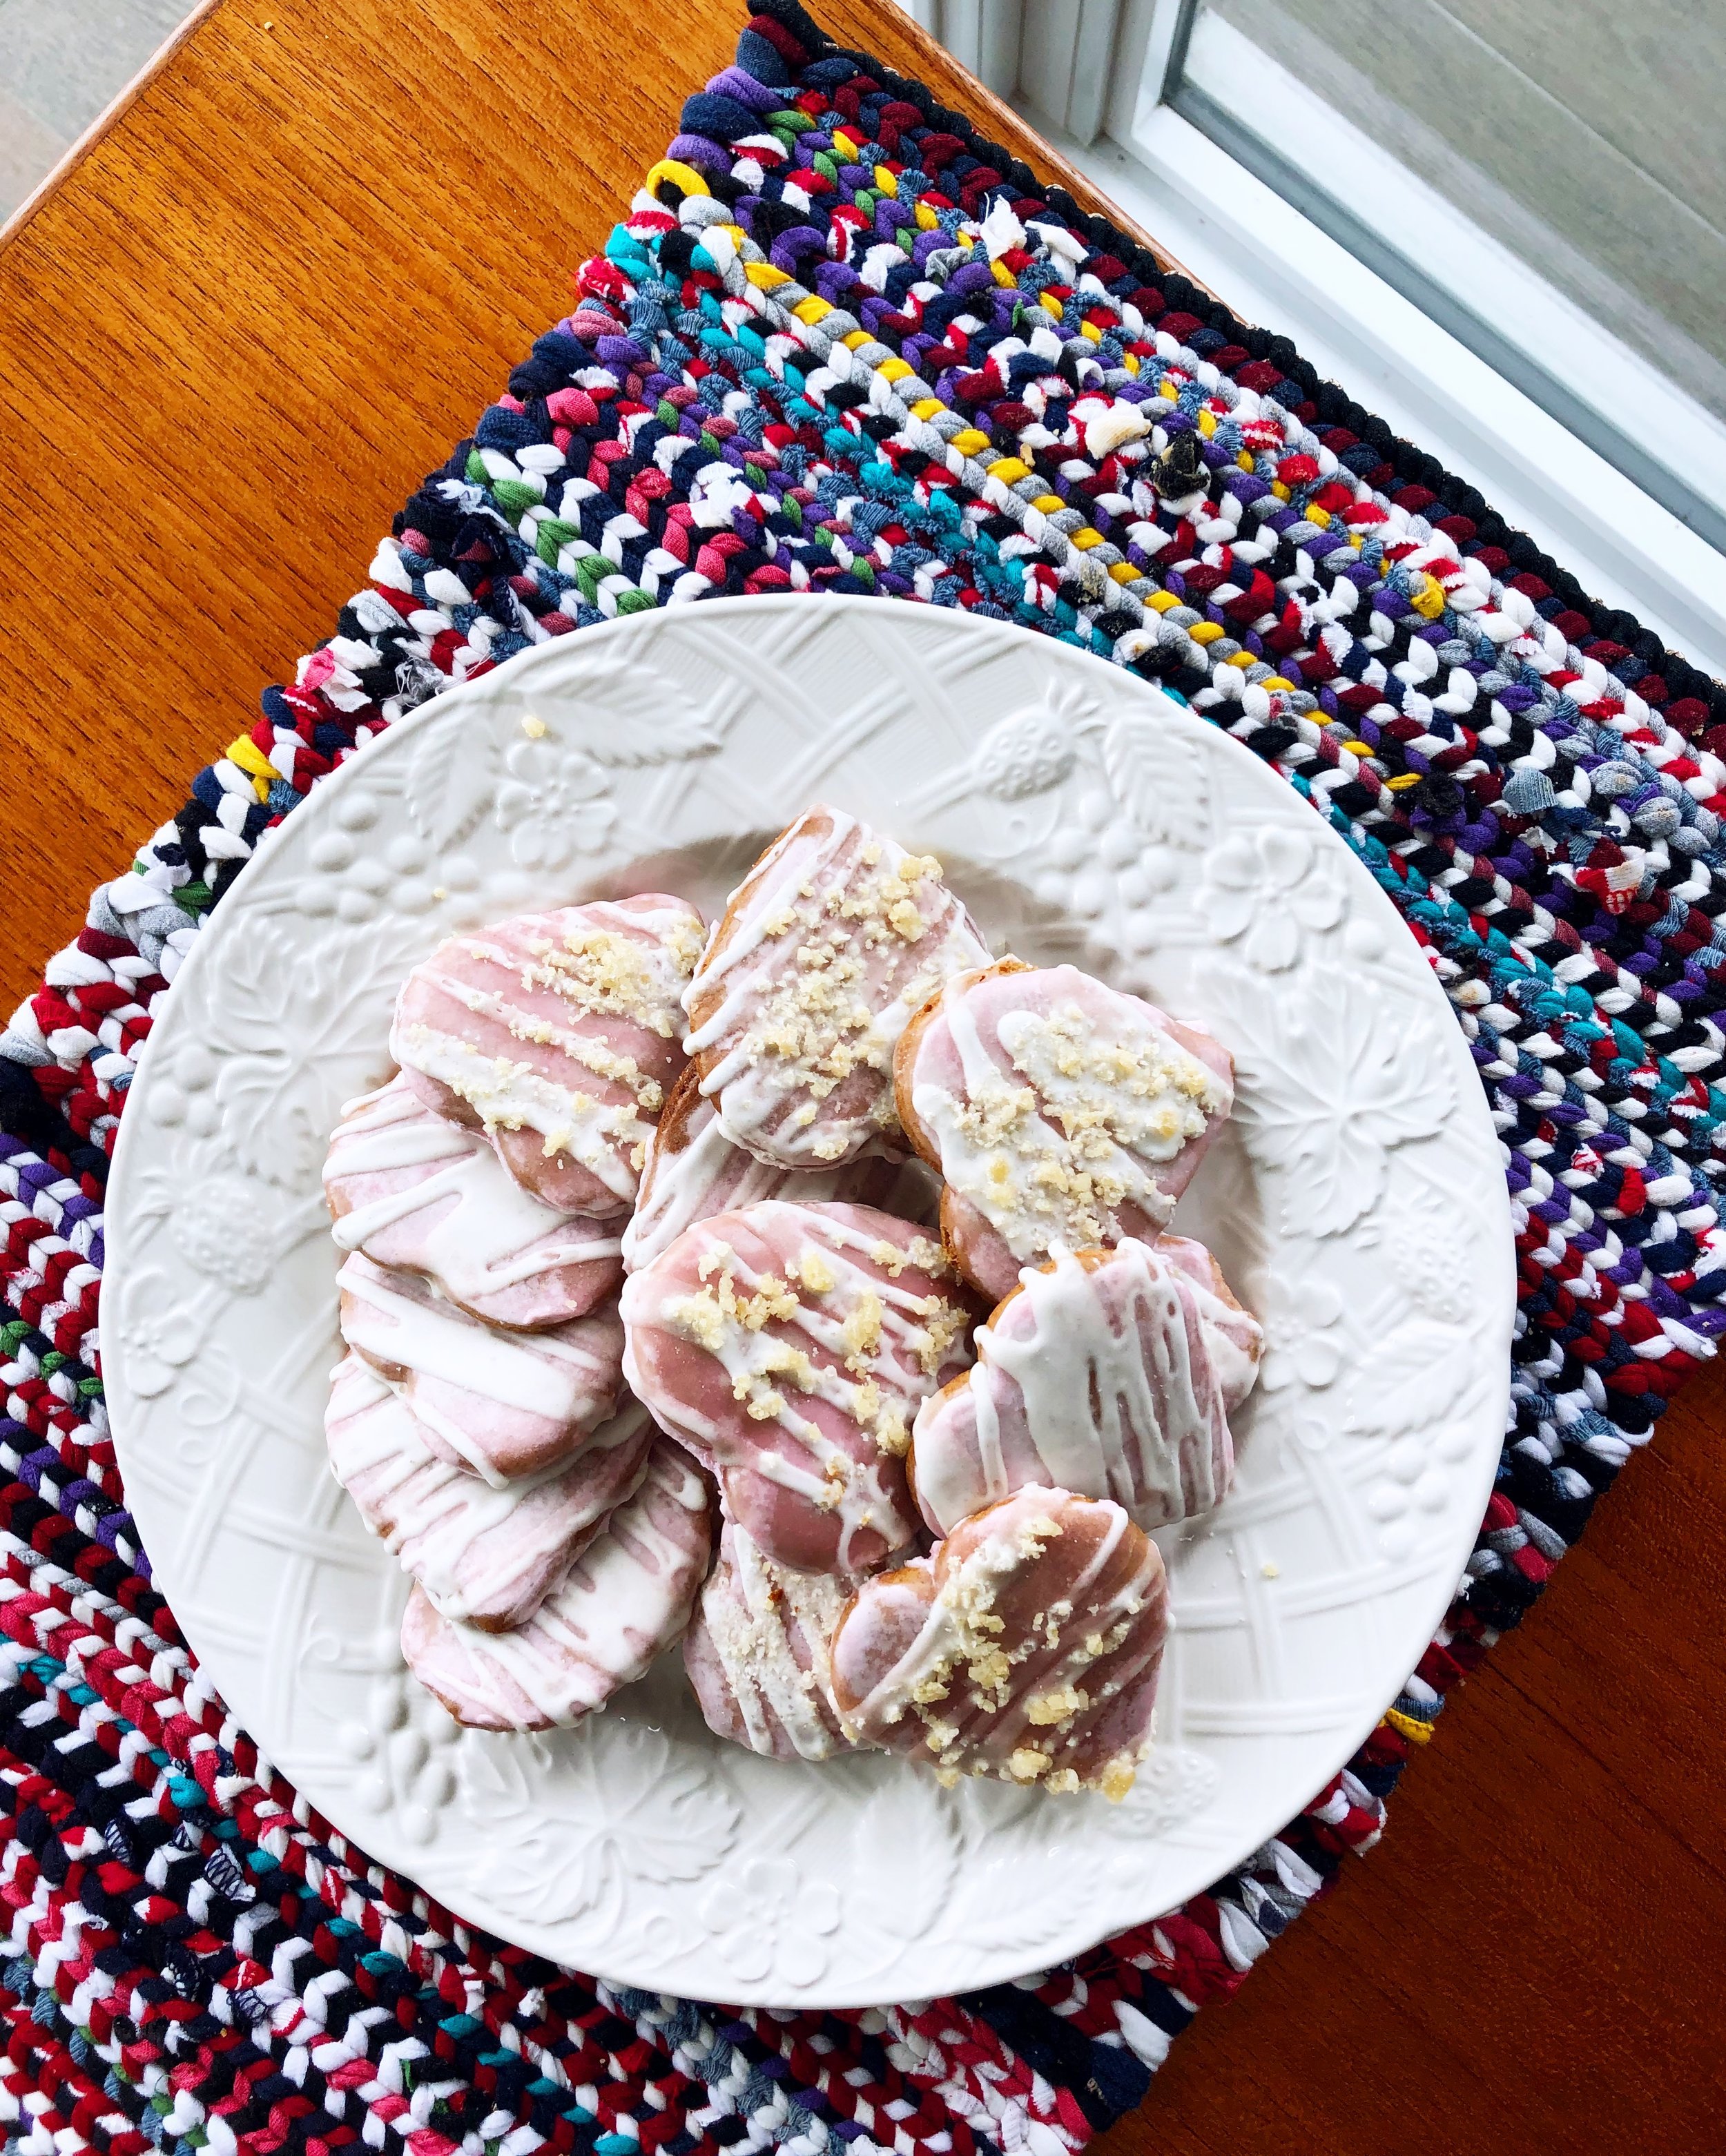
When your cookies are baked, decorating them is very fun! Prepare your sumac glaze to be a little runnier than your ginger one. You’ll be dipping the cookies into this glaze. Try to let as much excess run off back into the bowl as you can. I found that I had a lot of glaze pooling under the cookies as I let them dry on parchment paper. This wasn’t necessarily a bad thing because it tasted really good to have extra glaze, but it was a little less professional looking, and the glaze didn’t go as far. If this happens to you too and you run out of glaze just make a little more and keep going. No big deal!
When the cookies are all dipped let them dry before drizzling the ginger glaze over top. This will make sure that when you sprinkle the candied ginger over top it will only stick to the white icing. I did some with candied ginger, and some without, but everyone ended up liking the ones with ginger better. If you’re a little more sensitive to the heat of ginger feel free to leave that step out - they look and taste great without it too!
Sumac Ginger Honey Hearts
Ingredients
- 3 cups flour
- 1 cup butter
- 3/4 cup sugar
- 3/4 cup light honey
- 1 large egg
- 2 tbsp sumac infusion (prepared ahead of time)
- 2 tbsp dried sumac powder
- 1/2 tsp salt
- 1 tsp vanilla extract
- 2 tsp ground ginger
- 2 tsp fresh ginger (grated, or very finely minced)
- 1/2 tsp nutmeg
- 1/2 tsp white pepper
- 3 cups icing sugar (approximate)
- 2 tbsp sumac infusion
- 1 tsp ground ginger
- 1 tsp vanilla
- 1 tbsp milk/water
- 2 tbsp corn syrup (divided)
- 1 cup candied ginger (to be finely minced)
For the Cookies
For the Glaze and Decoration
Takes , serves several dozen cookies depending on the size of the cookie cutter used.
Instructions
- Two days before you want the finished cookies, prepare you sumac infusion. If you are using fresh/dried sumac berries, add a couple drupes worth of berries to a pint jar, and combine with 1 cup cold water. Leave in the fridge overnight. If using sumac powder you either purchased or prepared yourself, add 3 tbsp powder to one cup of cold water and leave in the fridge overnight.
- The day before you want to bake the cookies prepare the dough. This dough really needs to be chilled overnight to let the flavours come into their own more fully before baking. If you don’t have time for this, at least chill the dough for a couple hours, but overnight will be better.
- Cream butter, sugar, and honey together until well emulsified. You shouldn’t be able to see any sugar crystals, and the resulting mixture should be light and fluffy.
- Add the egg, vanilla, sumac powder, 2 tbsp sumac infusion, and continue to cream the mixture until well emulsified. It should all look like one cohesive mixture with no visible clumps.
- Add the salt, baking soda, and spices. Mix well.
- Last of all, add the flour slowly, mixing on low. Depending on the humidity levels of the flour and your kitchen you might need to add a little more or less, so keep an eye on the dough as you add the flour and stop early, or add a little extra depending on how it looks and feels. Don’t let the dough get too dry, though. It will firm up and be easier to work with after it spends some time in the fridge, and you don’t want your finished cookies to be too floury. Aim for your dough to be fairly sticky at this point, but not overly runny.
- Transfer to an airtight container and leave in the fridge overnight, or at a bare minimum a couple hours.
- At this point preheat your oven to 350 degrees Fahrenheit. Roll out the cookies to a 1 cm (or just under 1/2 inch) thickness, using a little more flour on your work surface and rolling pin to keep the dough from sticking. Cut into hearts, and continue this process until all your dough is used up. I don’t find too big of a difference after re-rolling the excess dough a few times. I also feel that ingredients - especially foraged ones - are precious, so I like to make sure I use as much of my dough as possible. The yield here will depend on the size of cookie cutter you use, but you should end up with a couple dozen cookies either way.
- Leave some space between the cookies on the baking trays, because they do tend to puff up and spread just a little bit, but they will definitely still maintain their heart shape after all of this.
- Bake the cookies until they are just barely beginning to brown on the edges. This will be about 15 minutes per tray, depending on how your oven runs. Mine seems to run a bit cooler than most, so I often end up needing to leave things in a little longer. You can also usually tell when the cookies are almost done because you’ll start to smell them as they bake.
- Remove the cookies from the oven and allow them to completely cool before you start decorating them.
- While waiting for the cookies to cool this is a good time to start preparing your glazes. You’ll do one in a larger amount with the sumac infusion, and one with ginger powder and vanilla.
- Combine 2 cups icing sugar, 1 tbsp corn syrup, and sumac infusion to make your first glaze. Add the infusion slowly so that you get the right consistency. You want it to be thick enough to coat whatever is dipped in it, but runny enough that the excess will still drip off when you dip the cookies. If you overdo it, you can always add more icing sugar to thicken.
- For your second glaze, add the remaining cup of icing sugar and corn syrup, as well as the ginger powder, vanilla extract, and milk/water (go slowly as you add this - you may not need it all). You want this glaze to be slightly thicker than the other since it will be used as a drizzle over the finished cookies.
- Dip all the cookies in the sumac glaze first, allowing the excess to drip back into the bowl as much as possible rather than just leaving them to drip on the parchment paper or whatever you’re going to let them dry on (this just makes a tidier looking end result - if you don’t get it all don’t worry you’ll just have some of the glaze pooling underneath the cookie). I started having problems with pooling, so I started leaving the freshly dipped cookies on a cooling rack for a few minutes before transferring to parchment to continue drying.
- Drizzle cookies with the ginger glaze, and while this is still wet sprinkle with the very finely chopped candied ginger. Allow this to dry completely before you handle the cookies.
While the prize for the giveaway on my Instagram feed was sponsored by GRAIN, this post is not. I have been their customer for the past few months and wholeheartedly endorse their product based on my own experience. All thoughts and opinions expressed are completely my own.