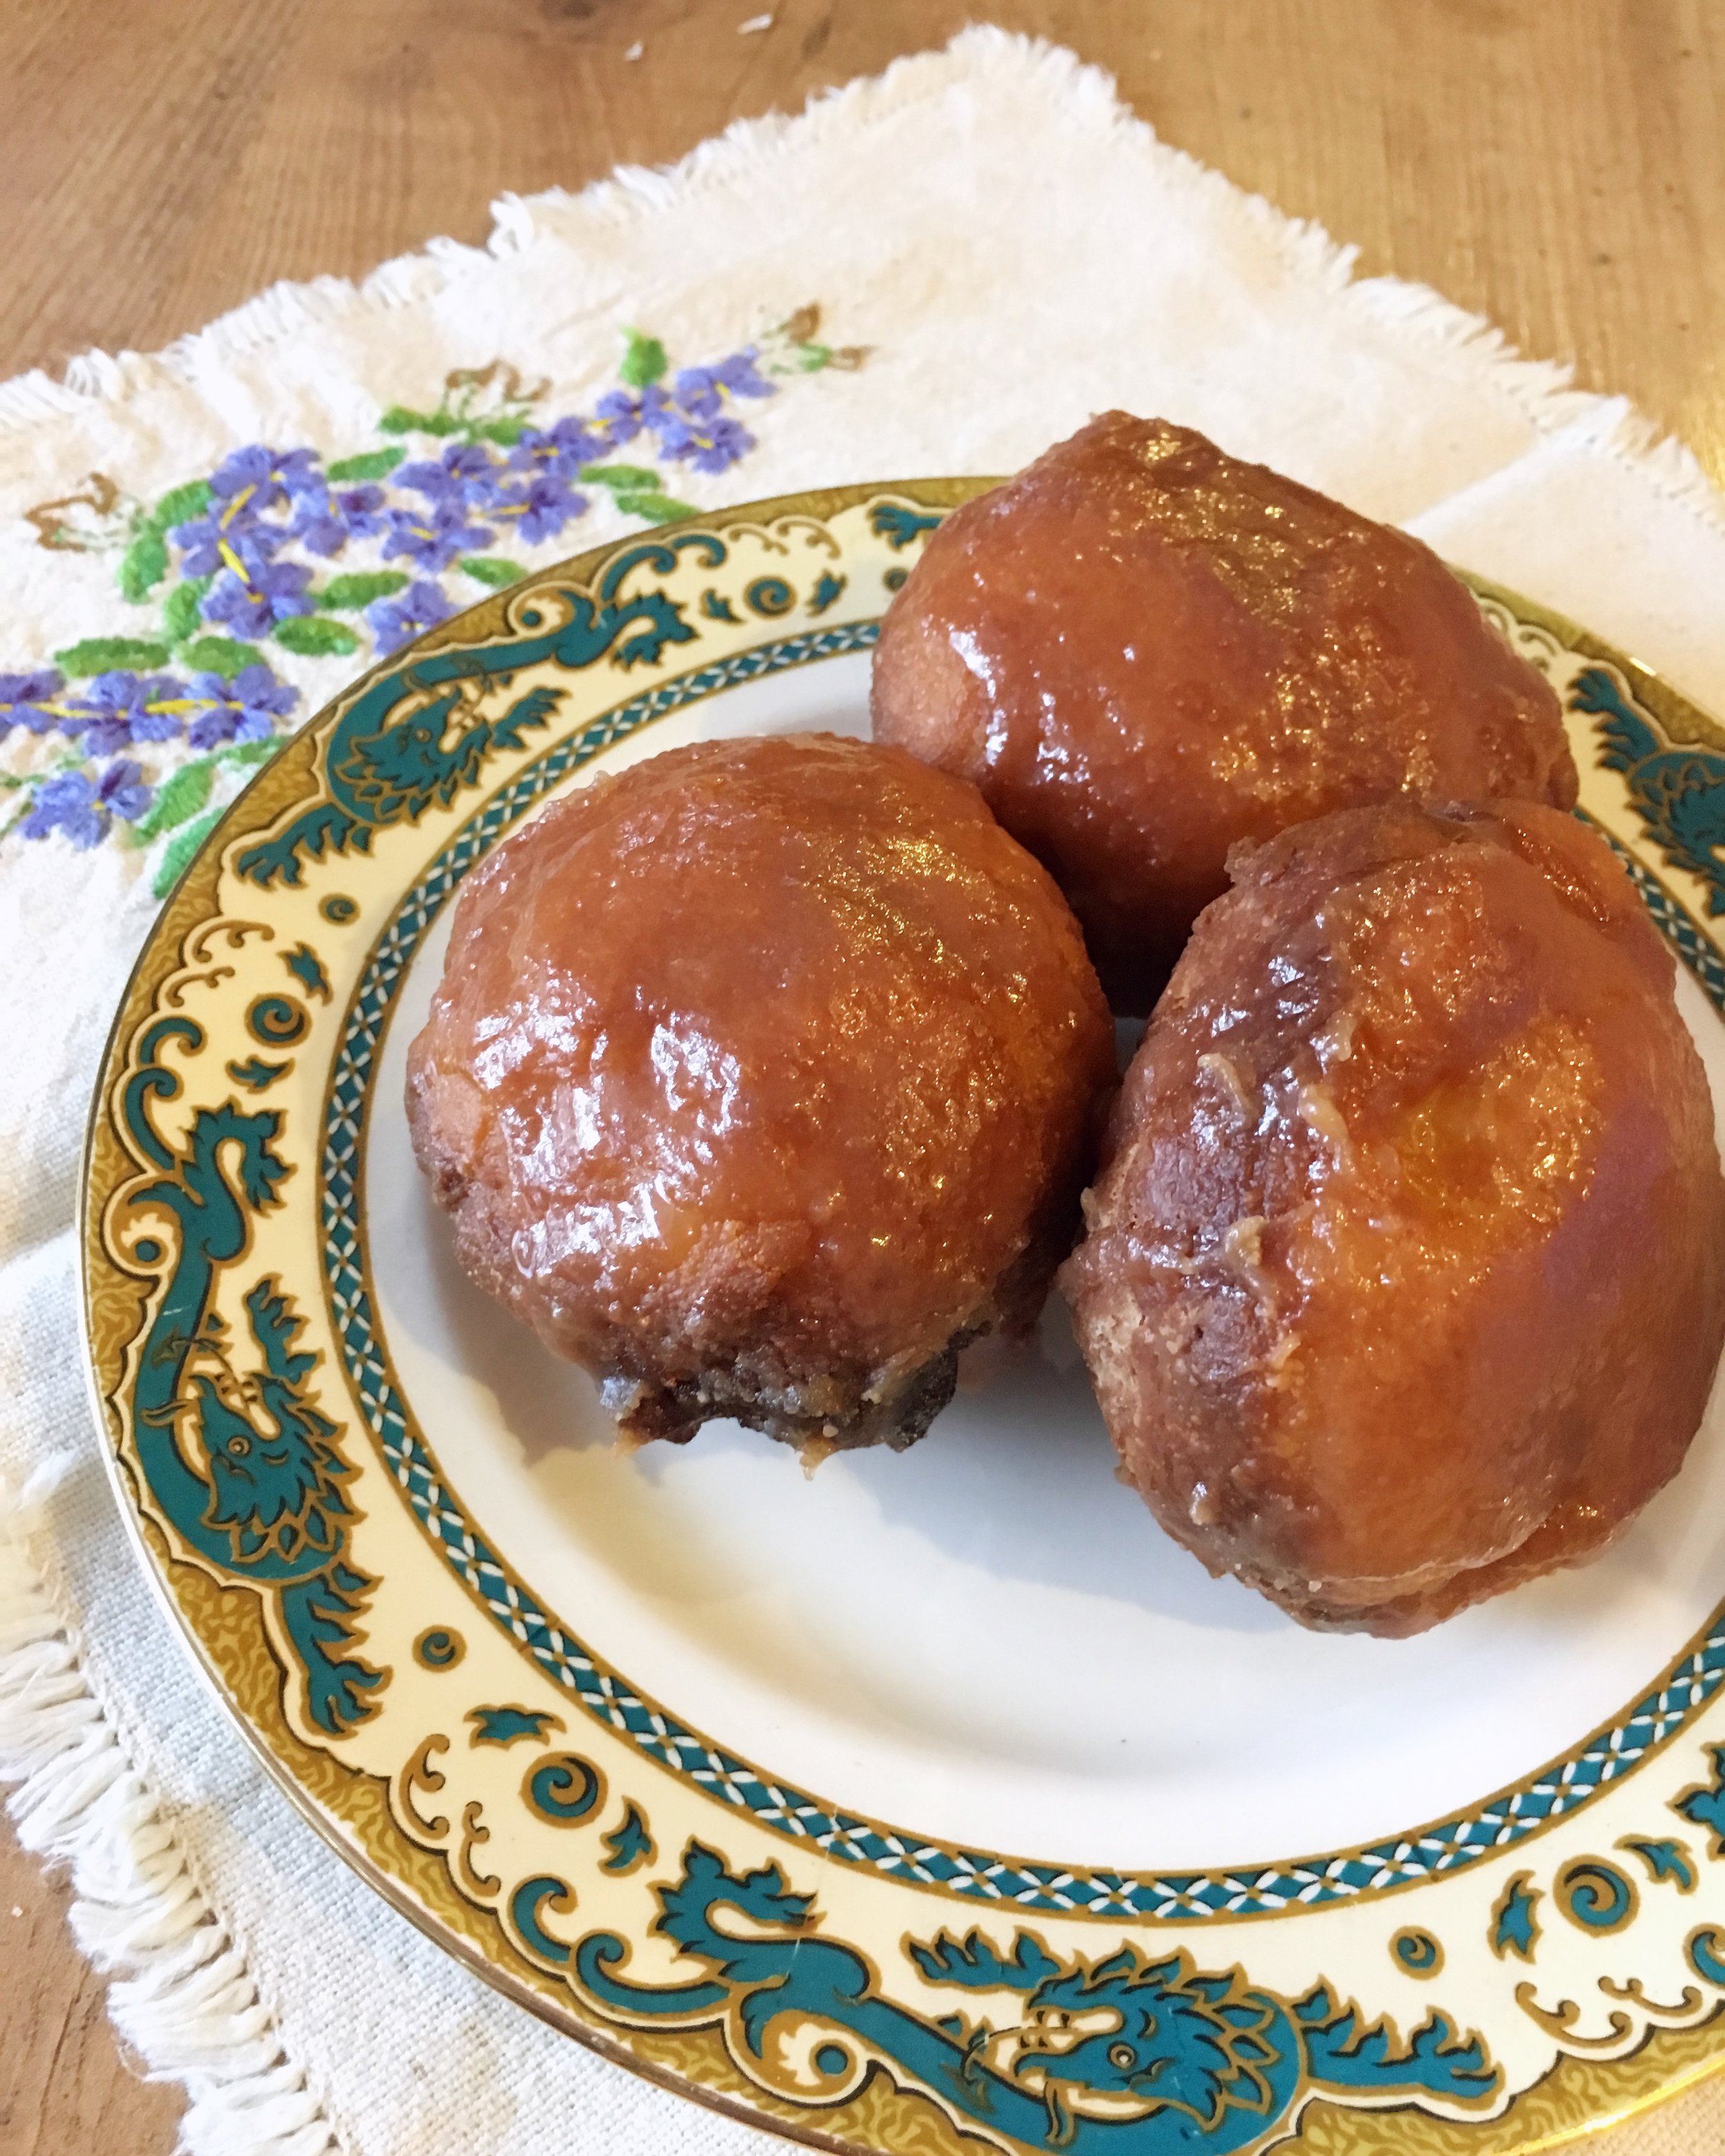
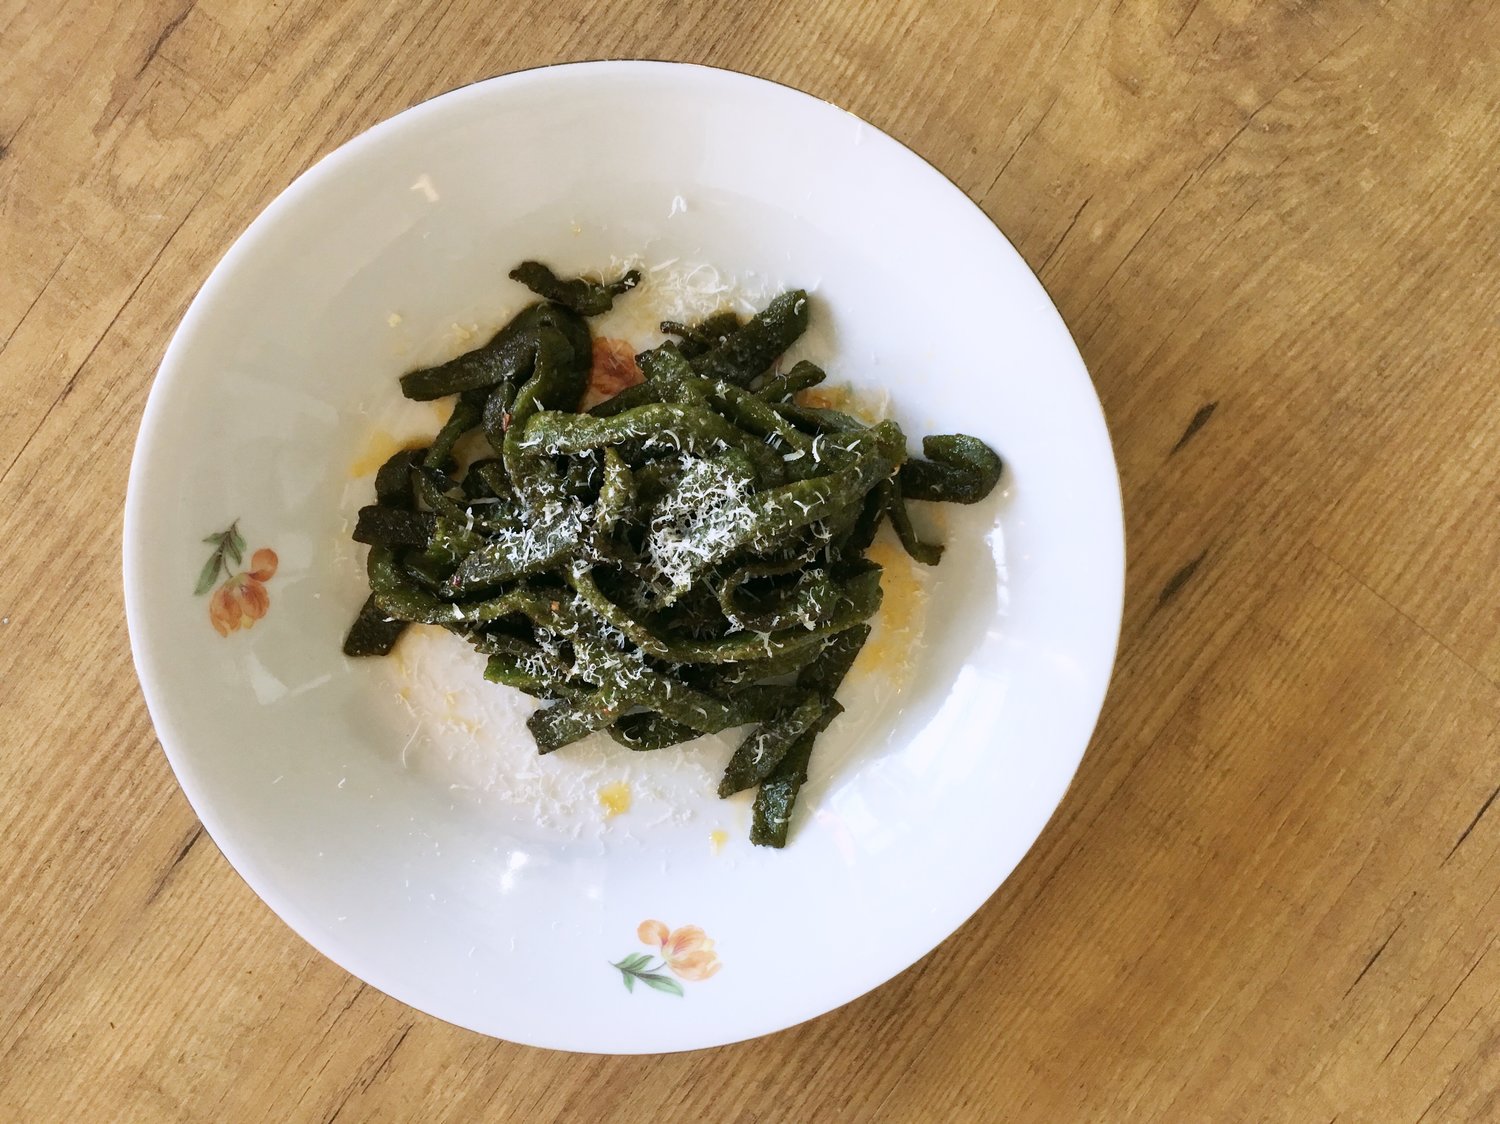
Dandelion Egg Noodles
I feel I have to preface this recipe by stating that I am by no means a pasta expert. There are no Italians in my family, so I'm basically just making it up as I google along. This method has been working pretty well for me so far, so I thought I'd share it. A few things that have helped my amateur self have been my Kitchen Aid stand mixer, Vitamix blender, and marble rolling pin (this last one is because I don't have a pasta machine - although I do have my eye on this - and the heaviness of the marble pin helps get the dough thin enough)
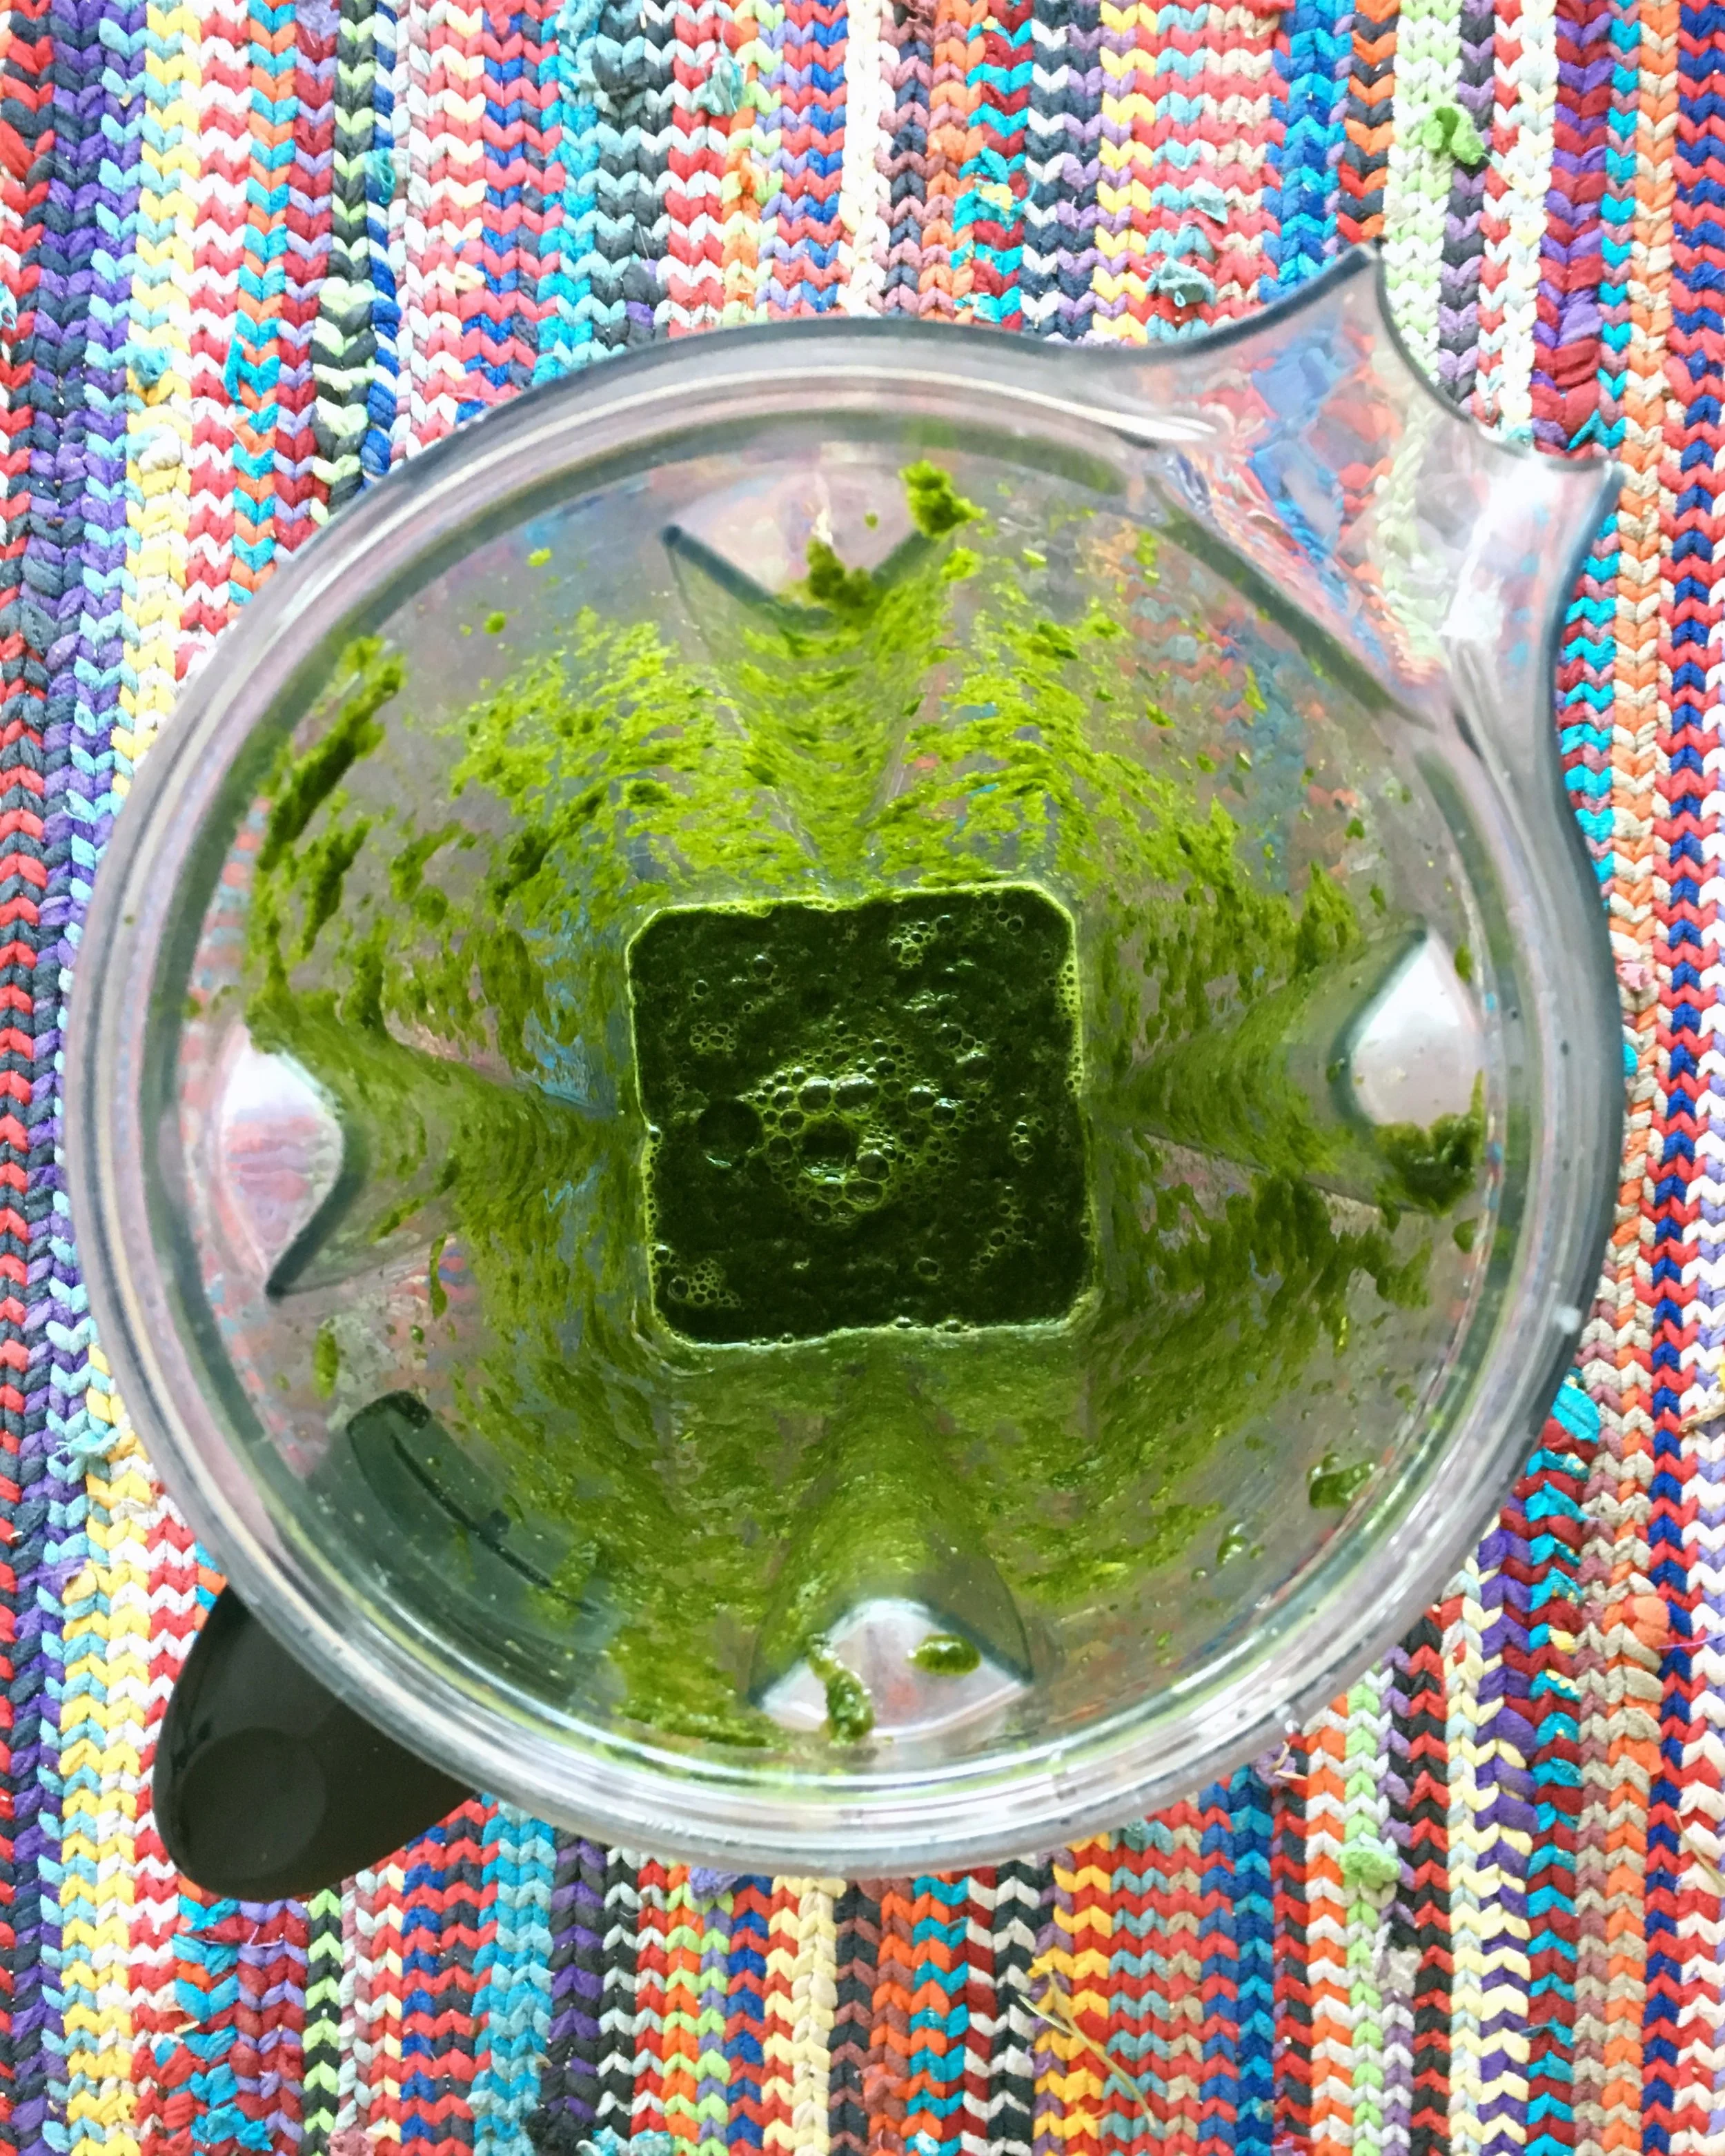
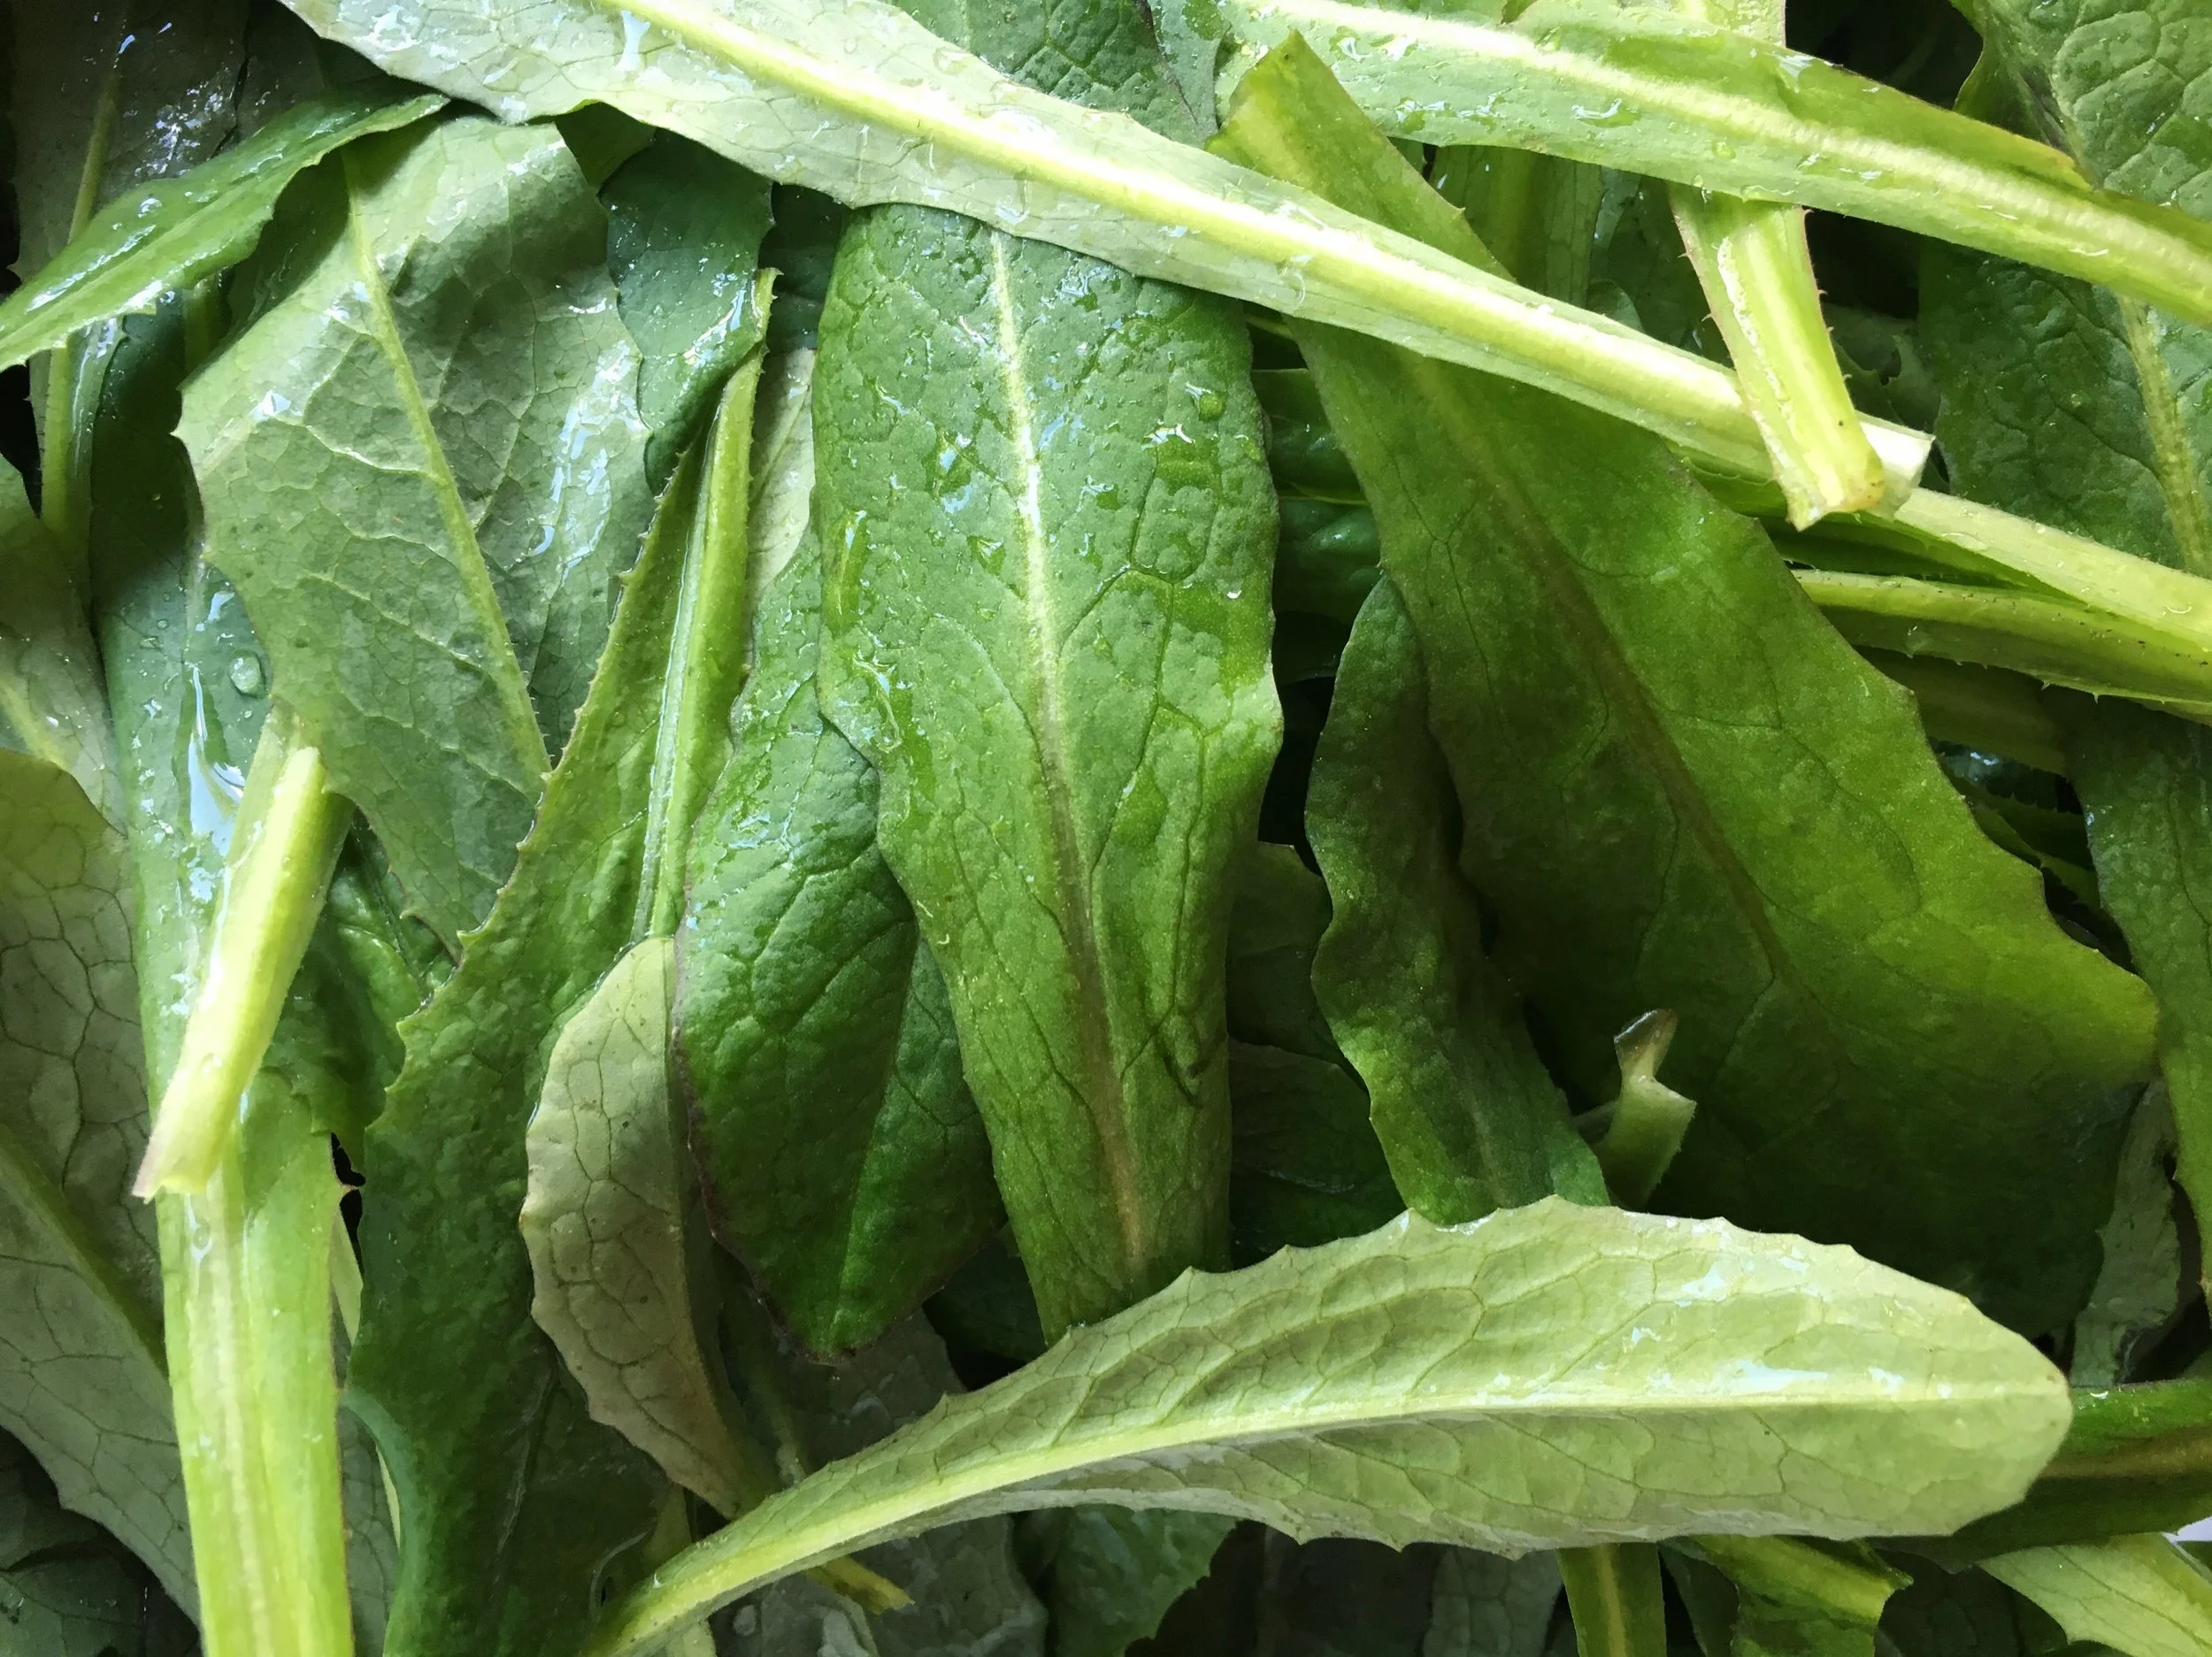
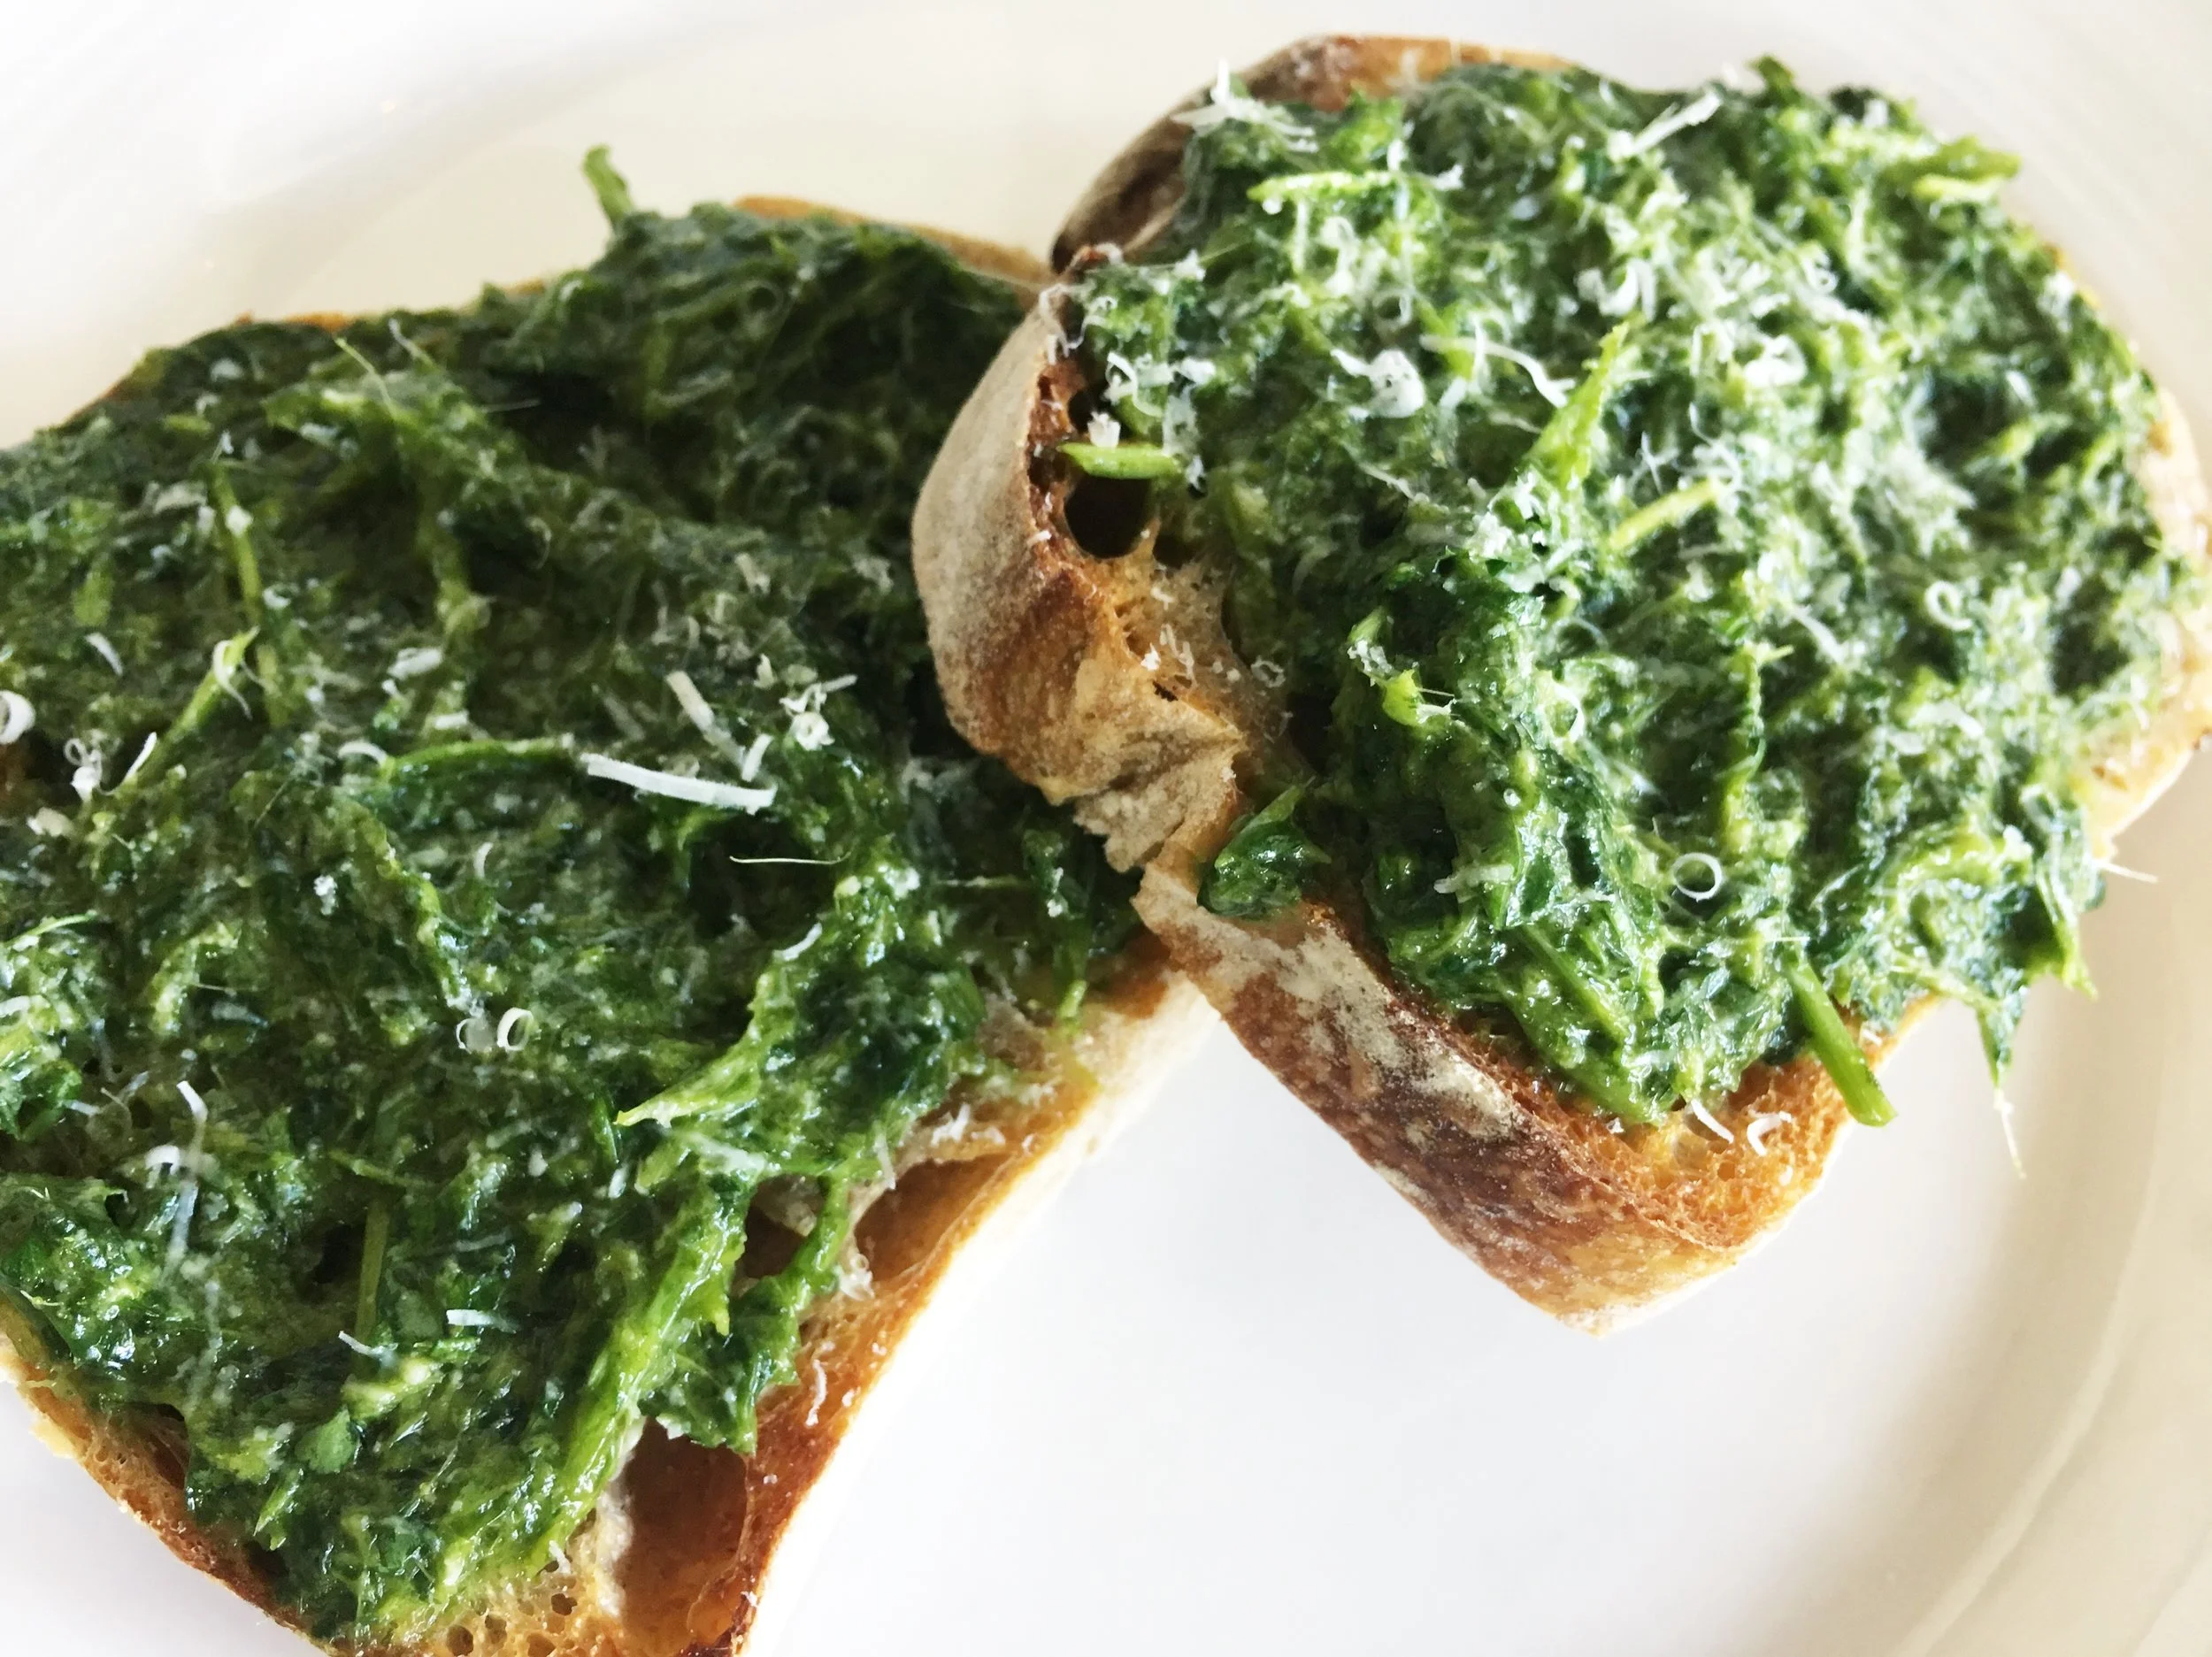
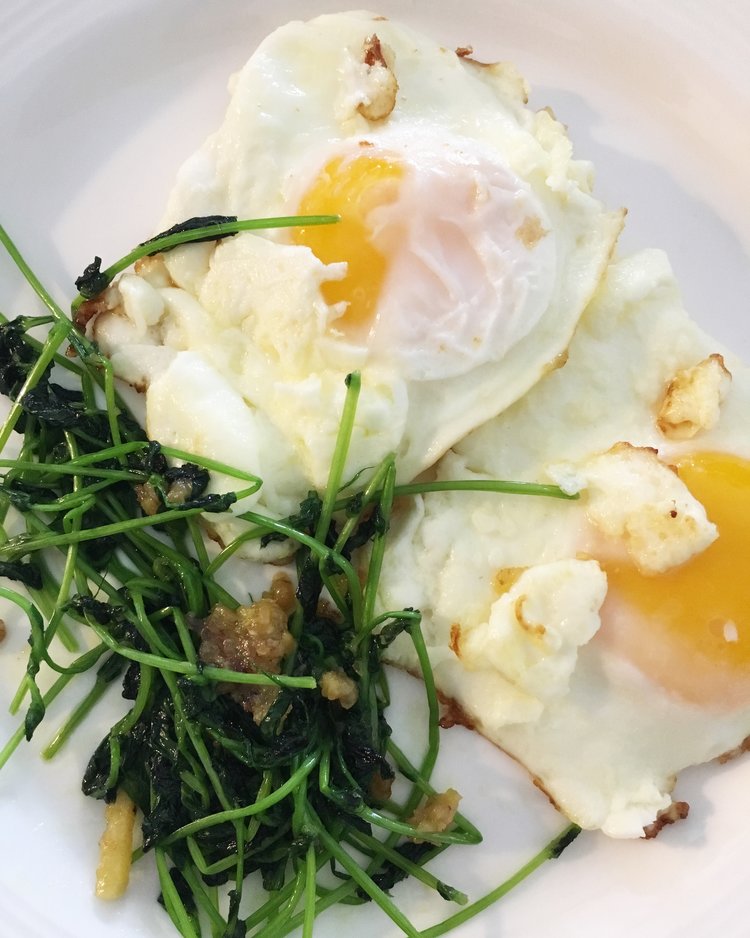
I've written about making dandelion greens into pesto to use in a pasta sauce before, but this time I added the puree right into the dough for the noodles. This uses way more leaves than you'd eat in the average salad, so it's a great way of packing more vegetable content into a meal that is pretty carb-focused.
Dandelion Egg Noodles
Ingredients
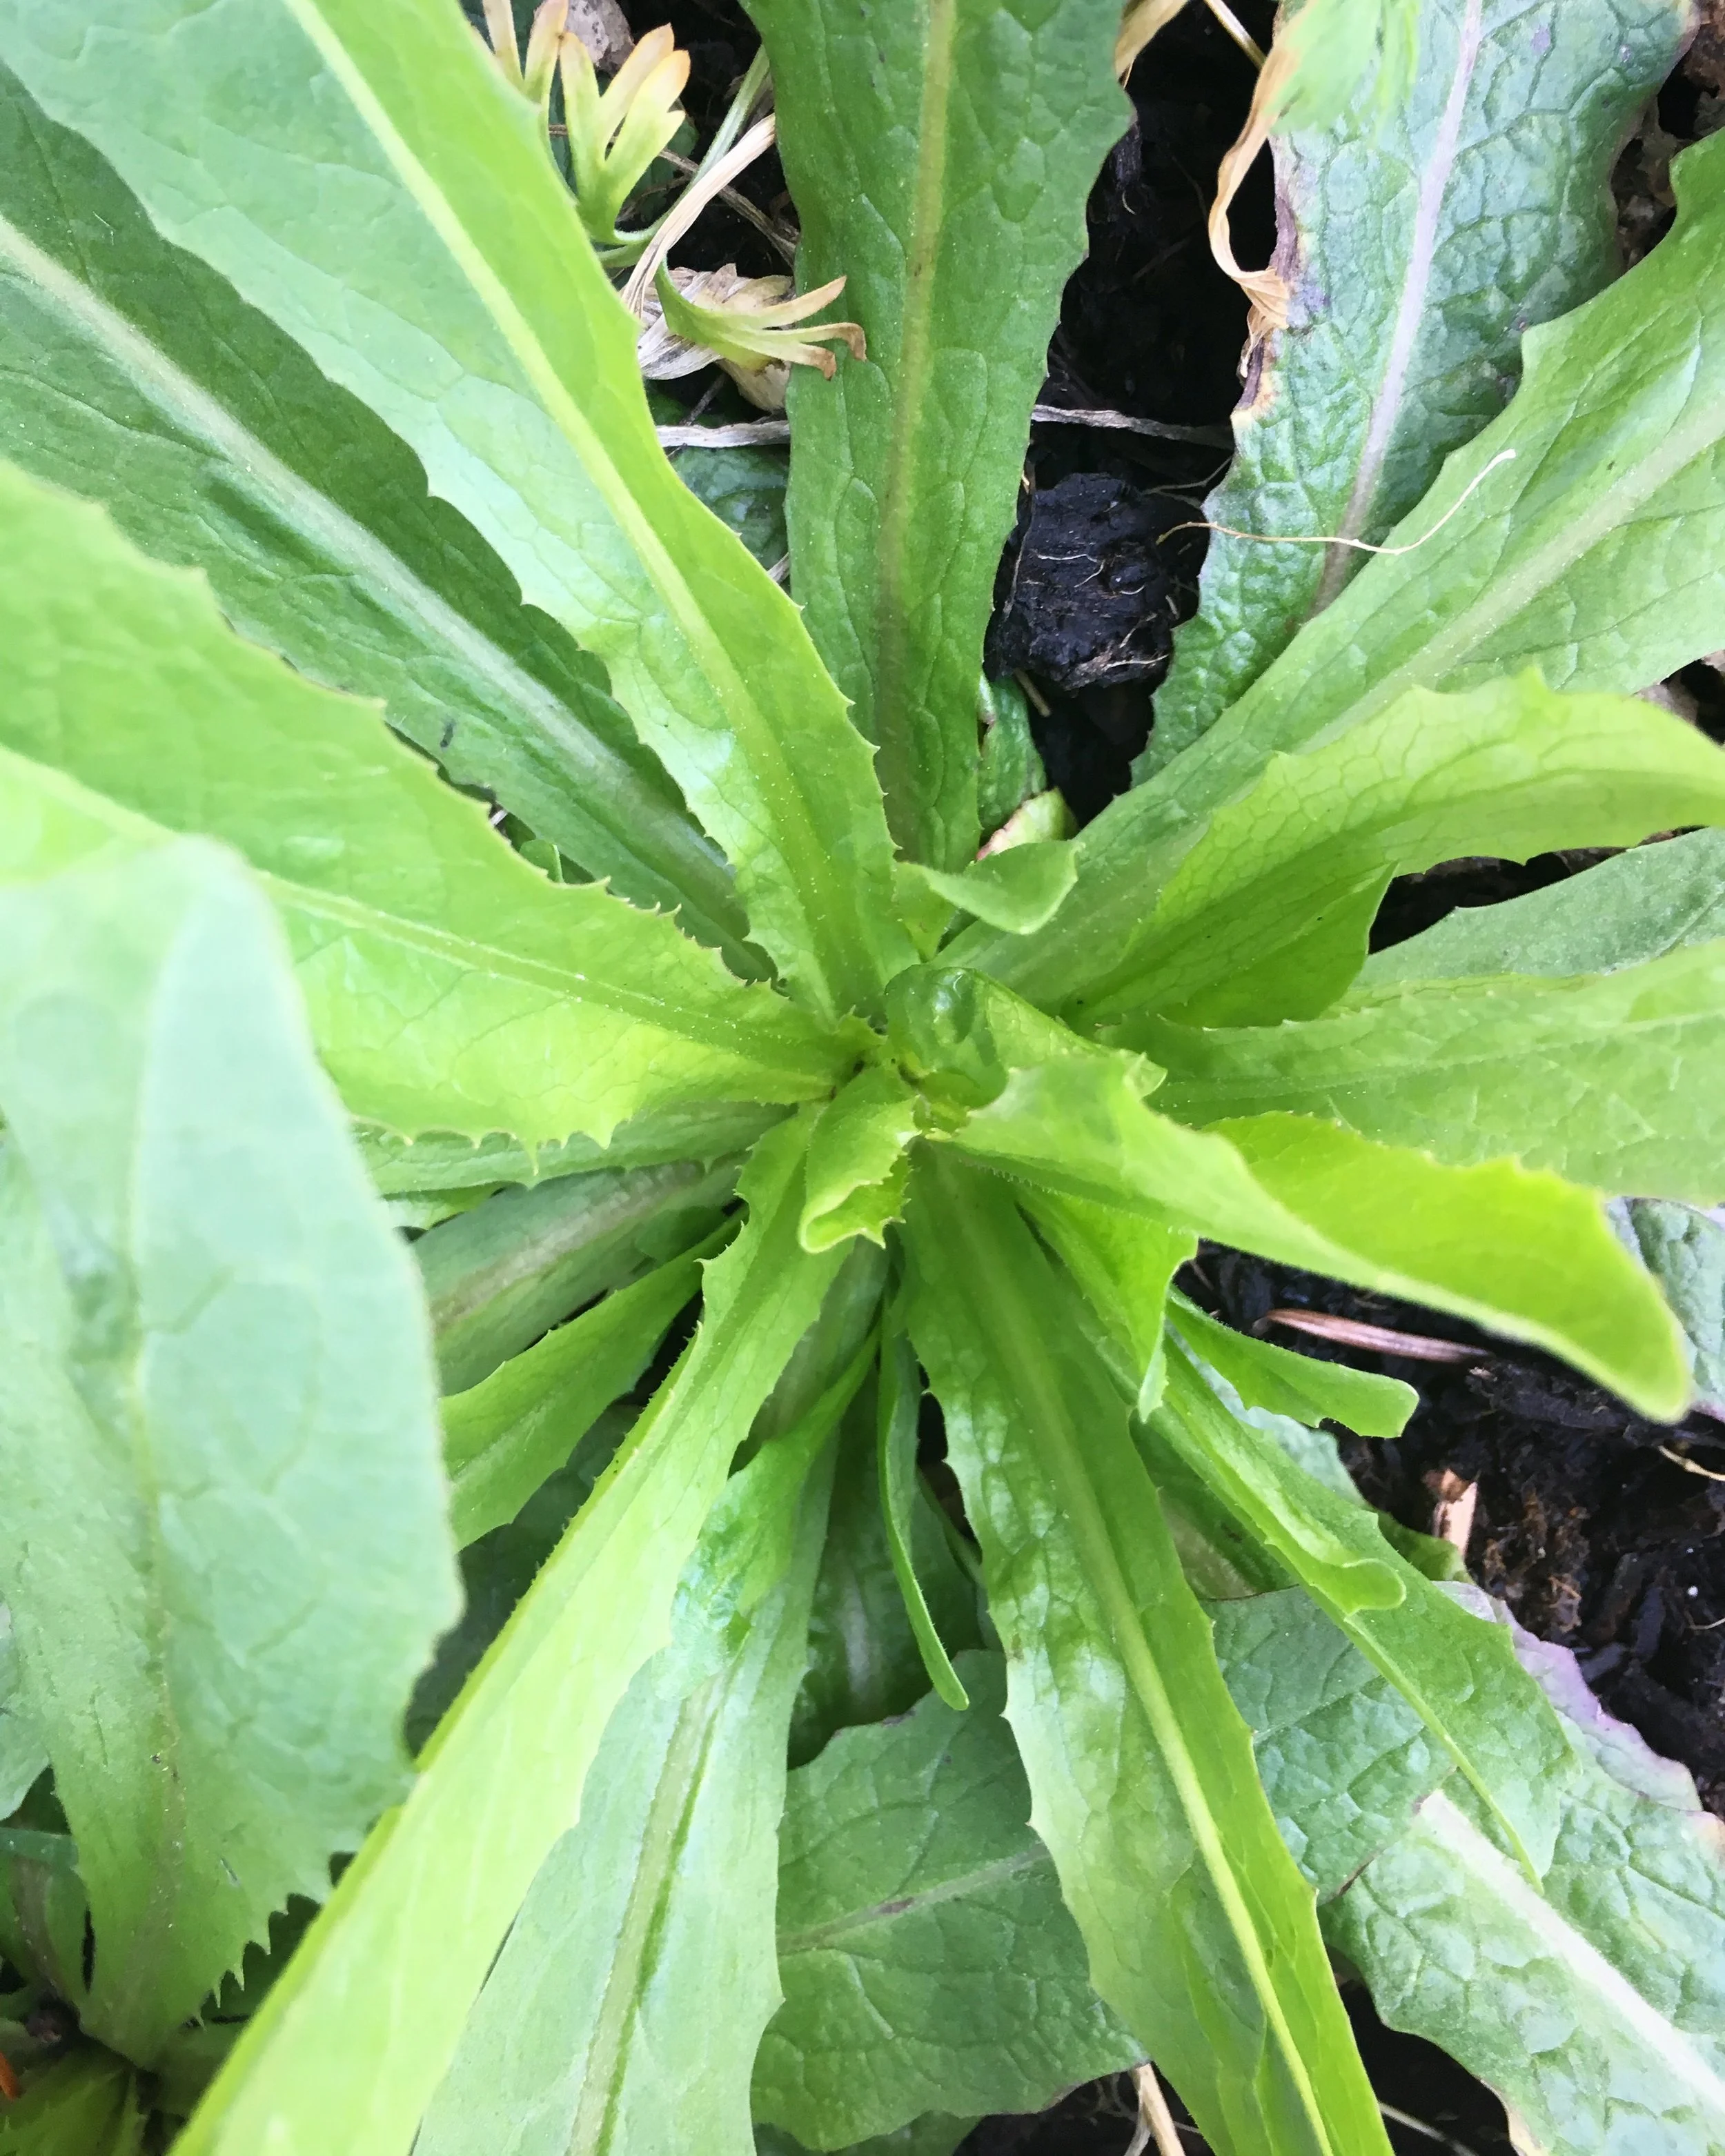
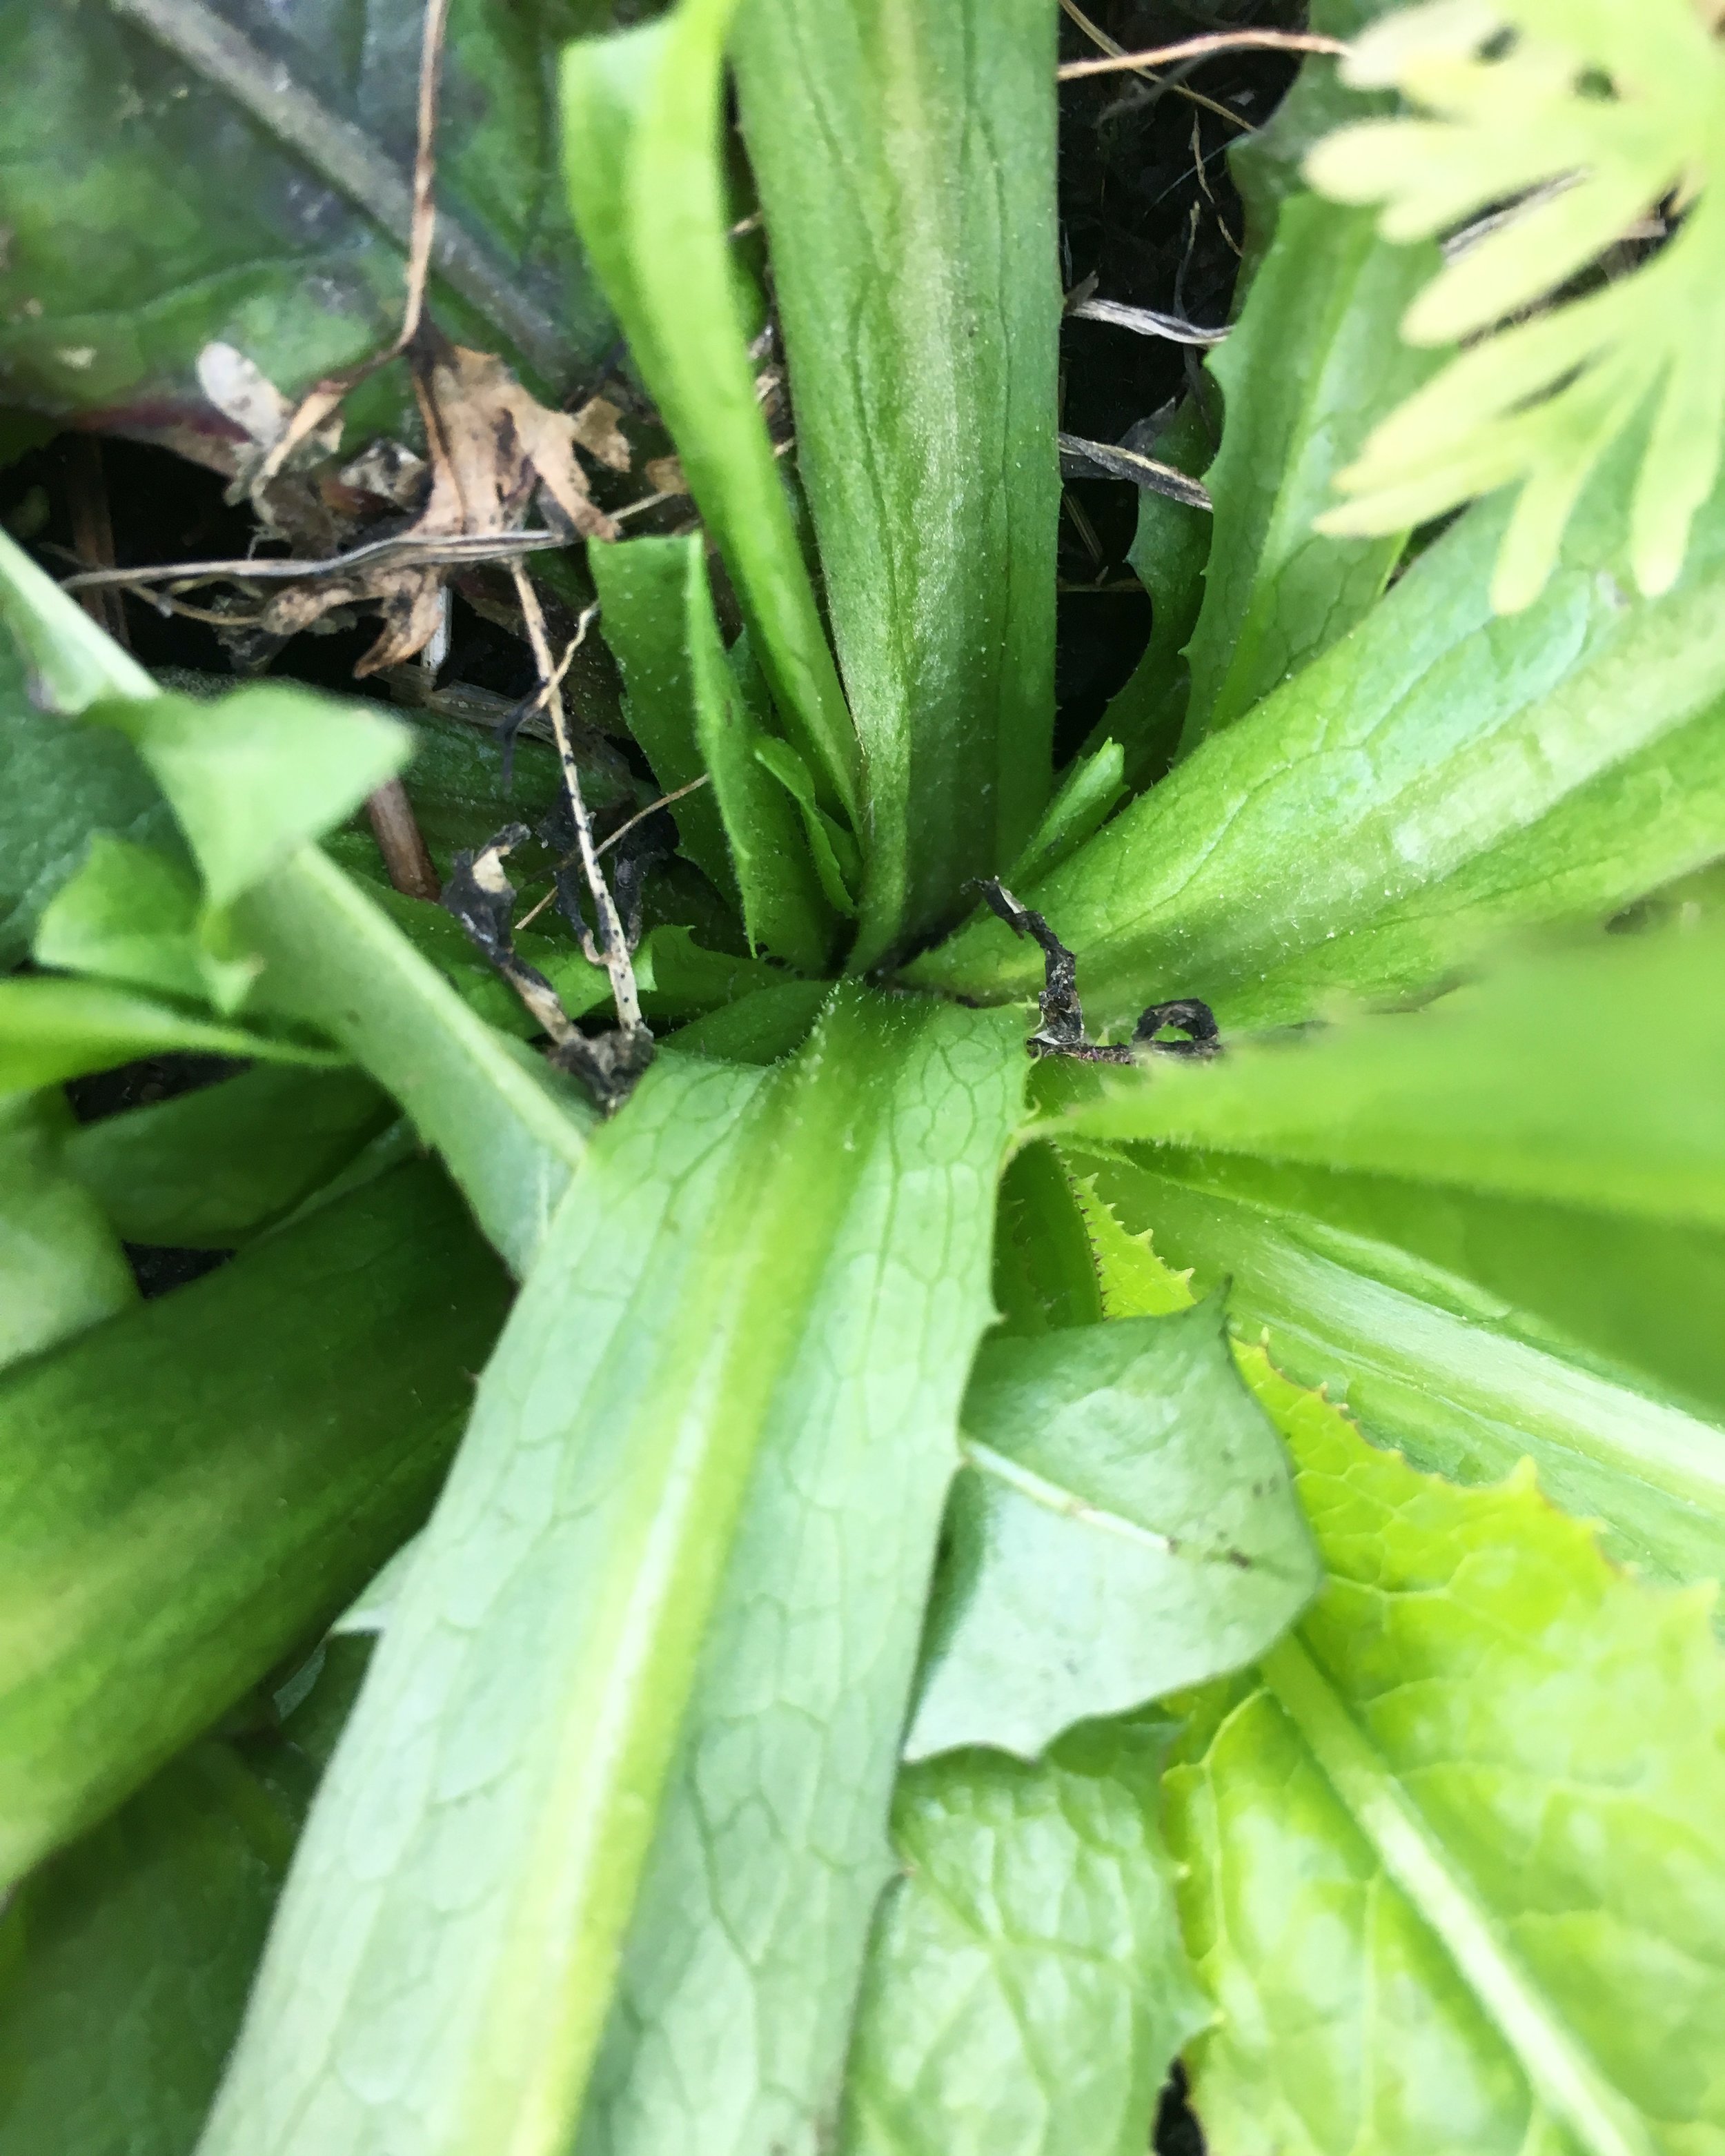
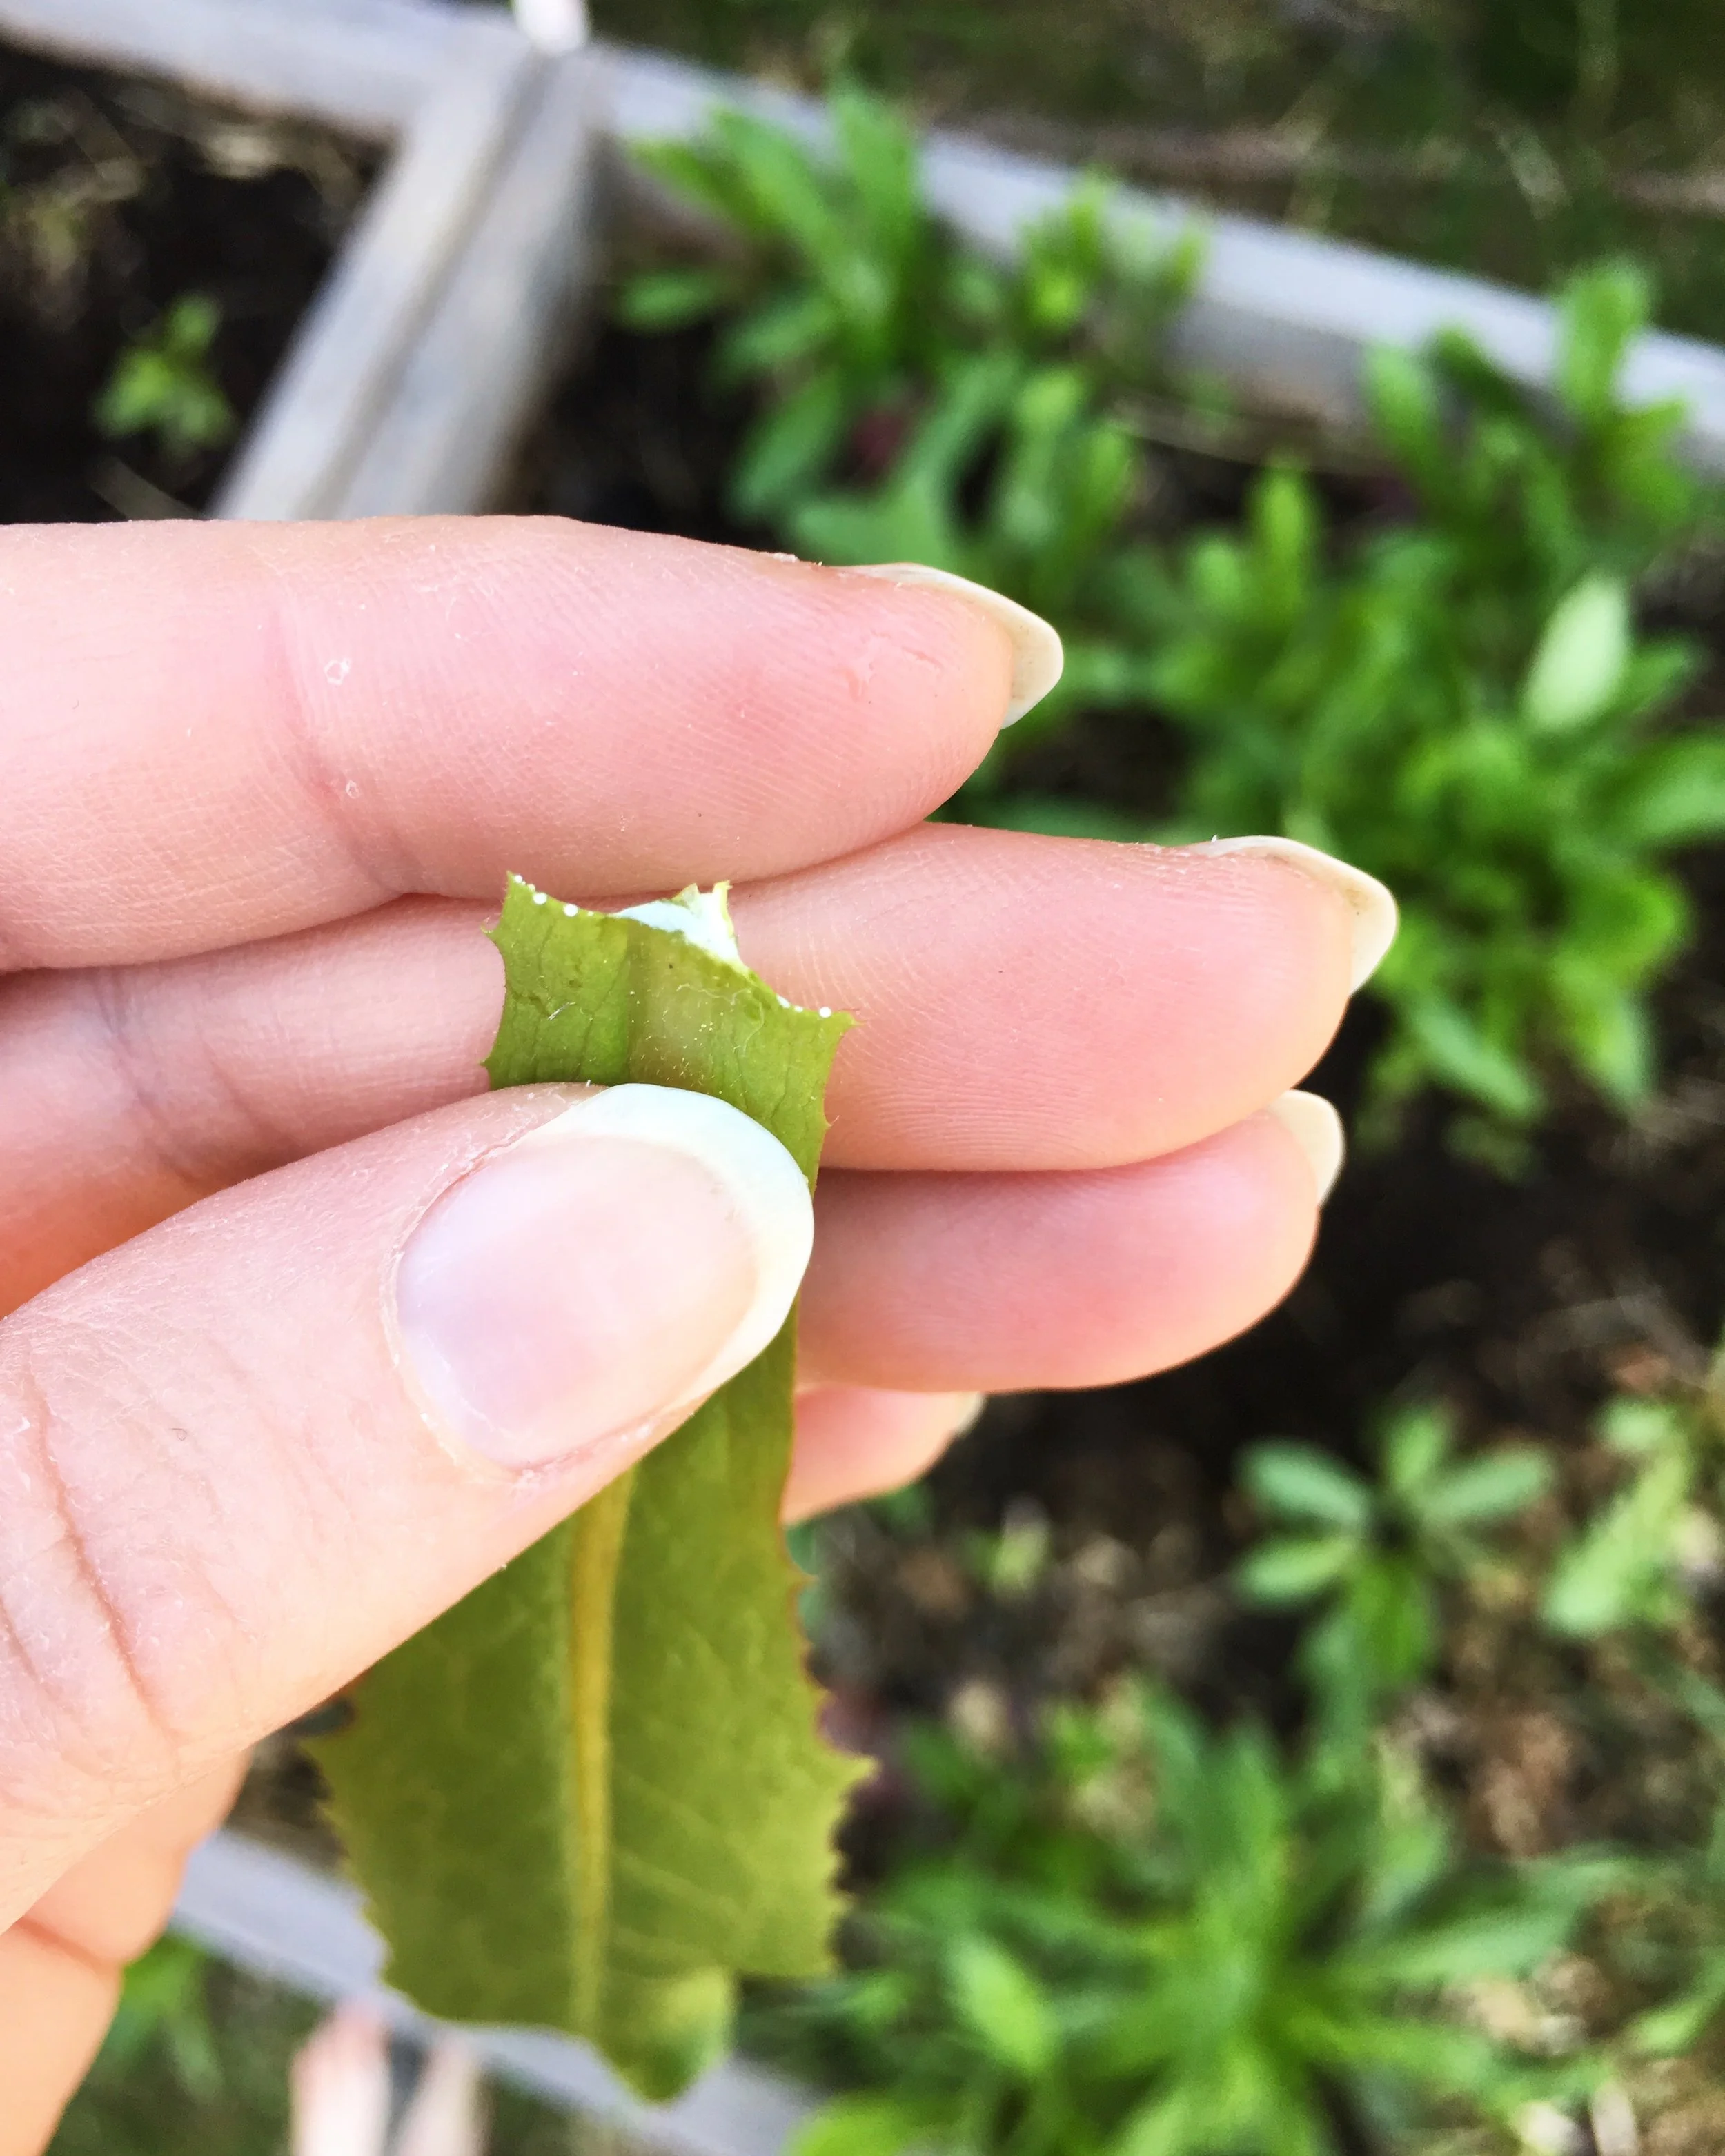
- 4 cups dandelion greens
- 2 large eggs
- 3-4 cups flour
Takes , serves 4-6.
Instructions
- Using a high powered blender or food processor blend dandelion greens into a fine puree. Add a small amount of water if needed to get things moving.
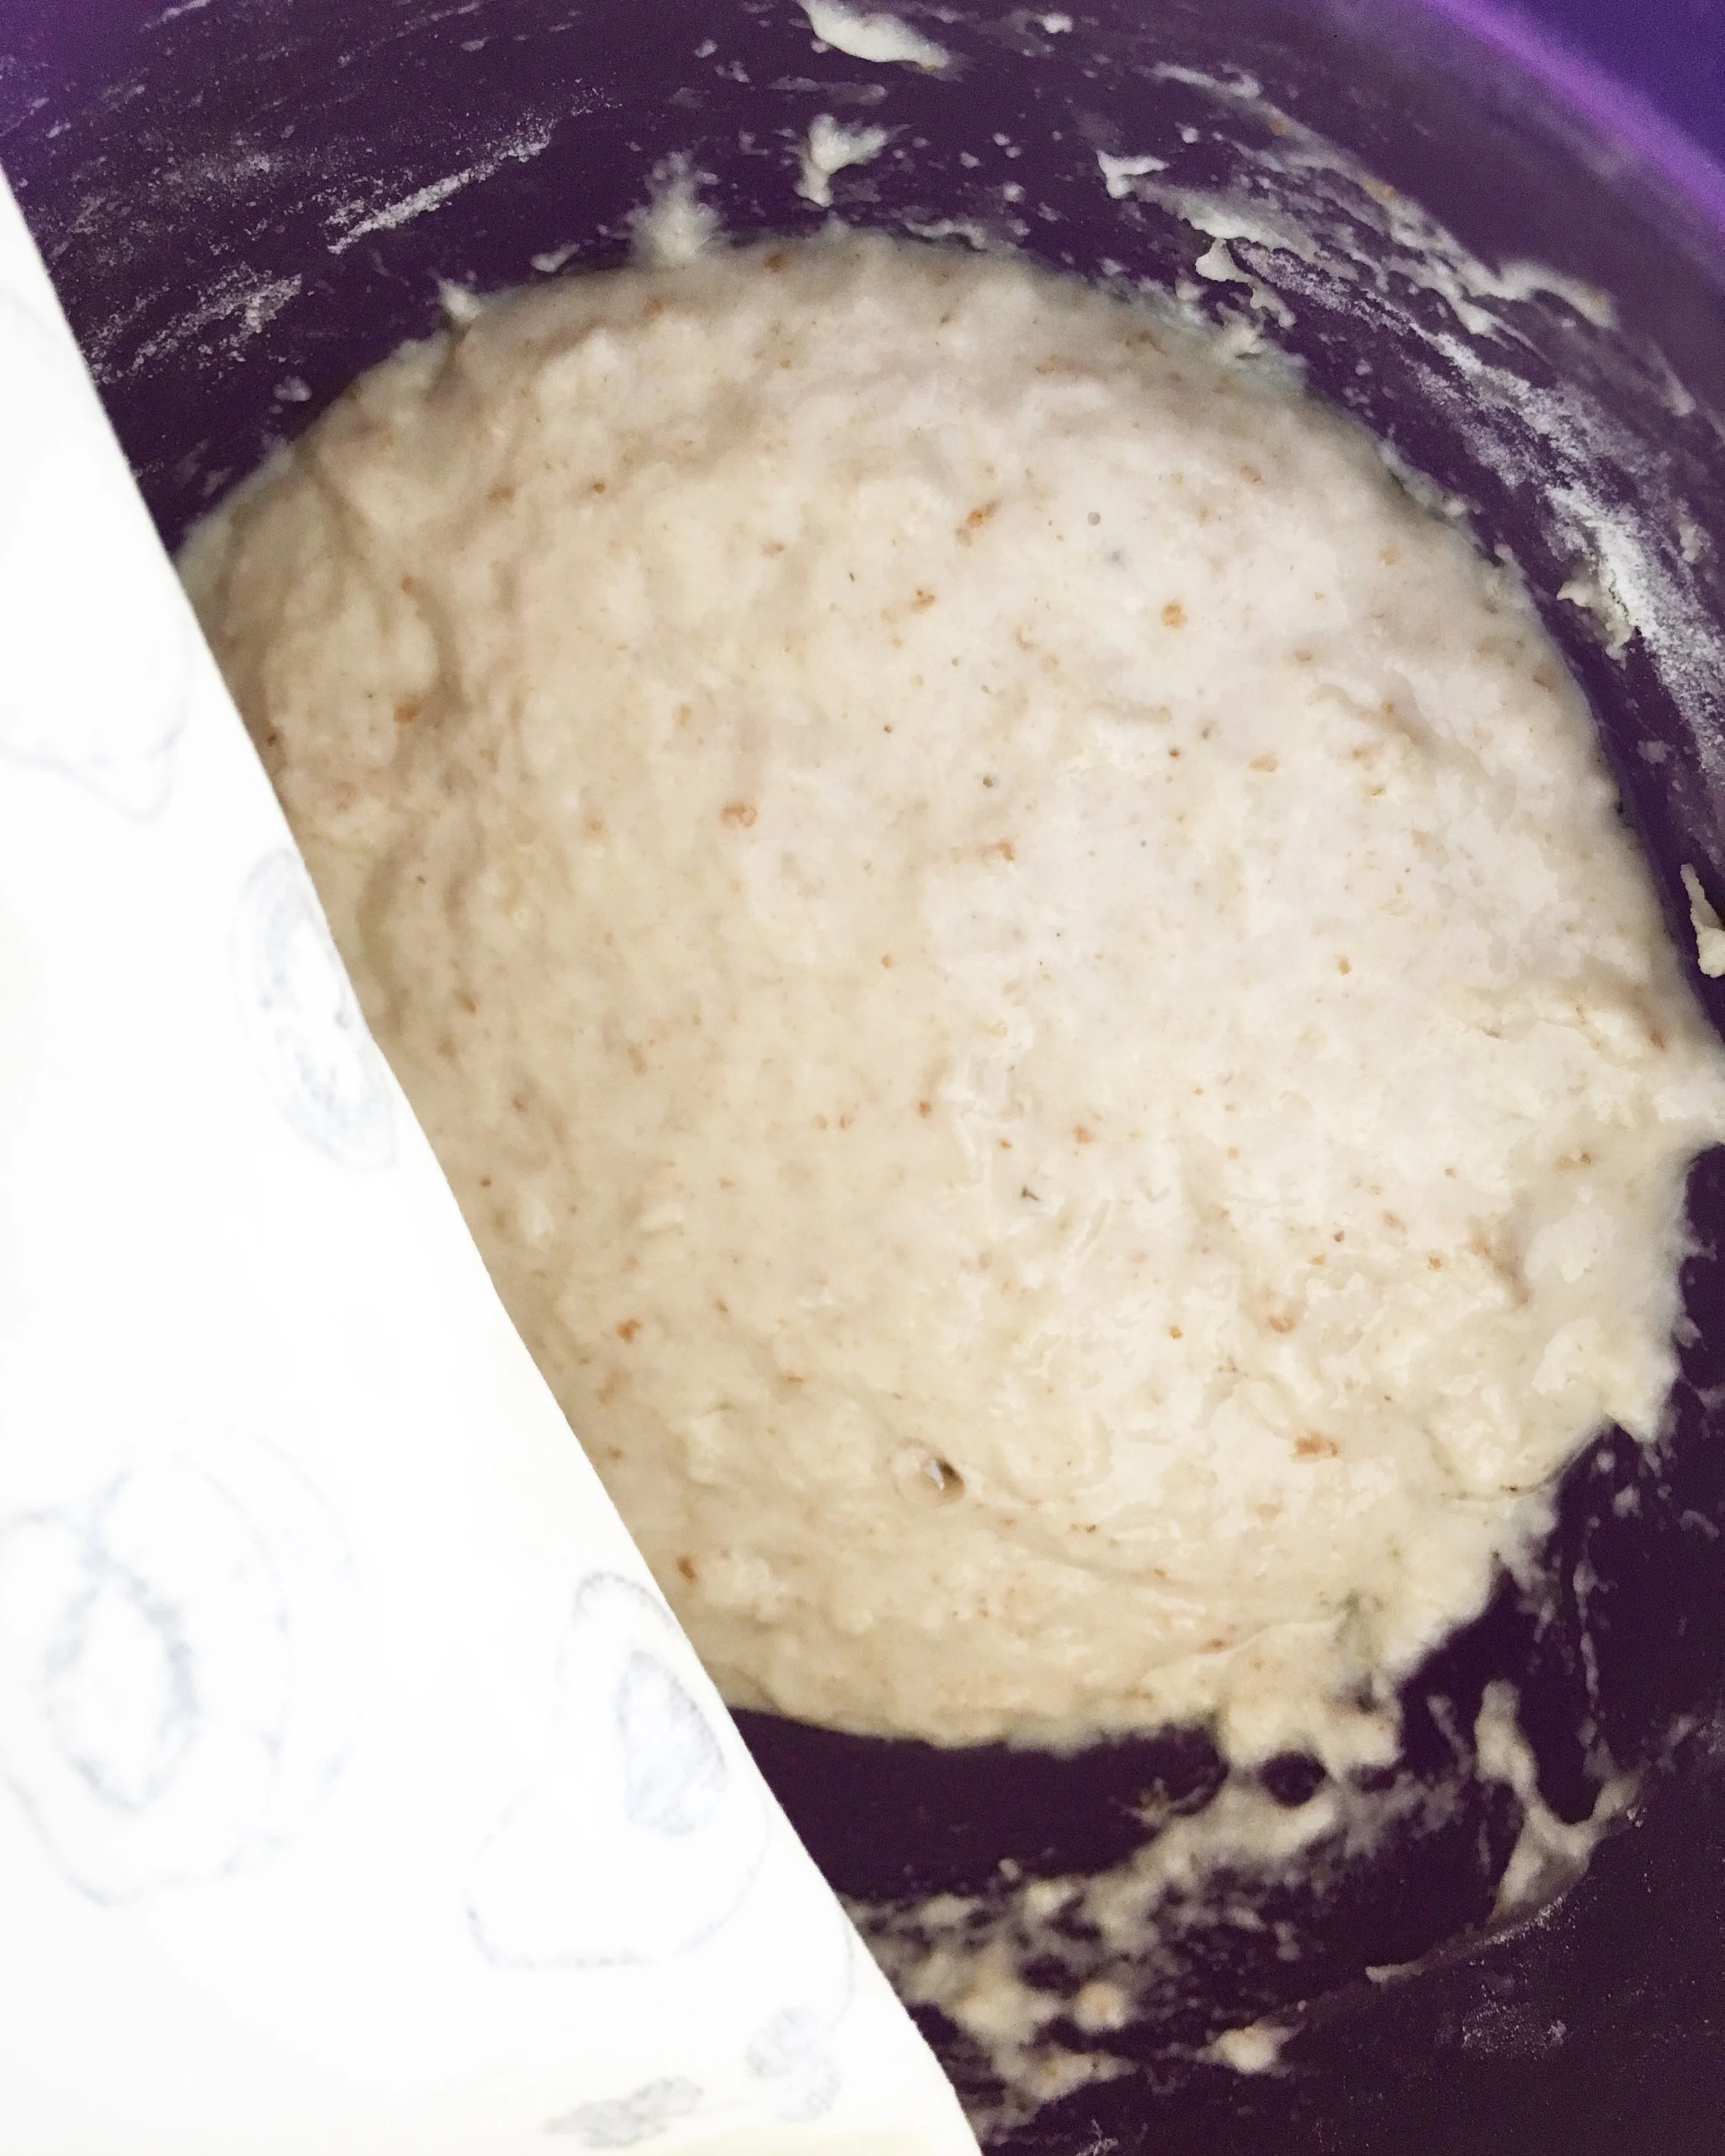
- Put three cups of flour in the bowl of a stand mixer (or on a flat tabletop if you want to knead them the traditional way). Make a well in the middle, and add eggs and dandelion puree. Knead until smooth and homogenous. Add more flour if the dough is still too sticky to roll out.
- Sprinkle flour over a large countertop and roll out to a thinness where you could see your fingers through the dough (this will be thinner than the ones in my photo). Use more flour if necessary to keep it from sticking, but you don't want to add too much and make them too dry.
- Using a very light dusting of flour to keep things from sticking, fold the dough over top itself a few times, and cut with a sharp knife into noodles.
- Boil for a few minutes in very salty water, and finish in whatever sauce you prefer.
To support my blogging endeavours, this post contains affiliate links from which I receive a small commission if you make a purchase. Every product linked here is one I have used personally and would recommend based on my experience.