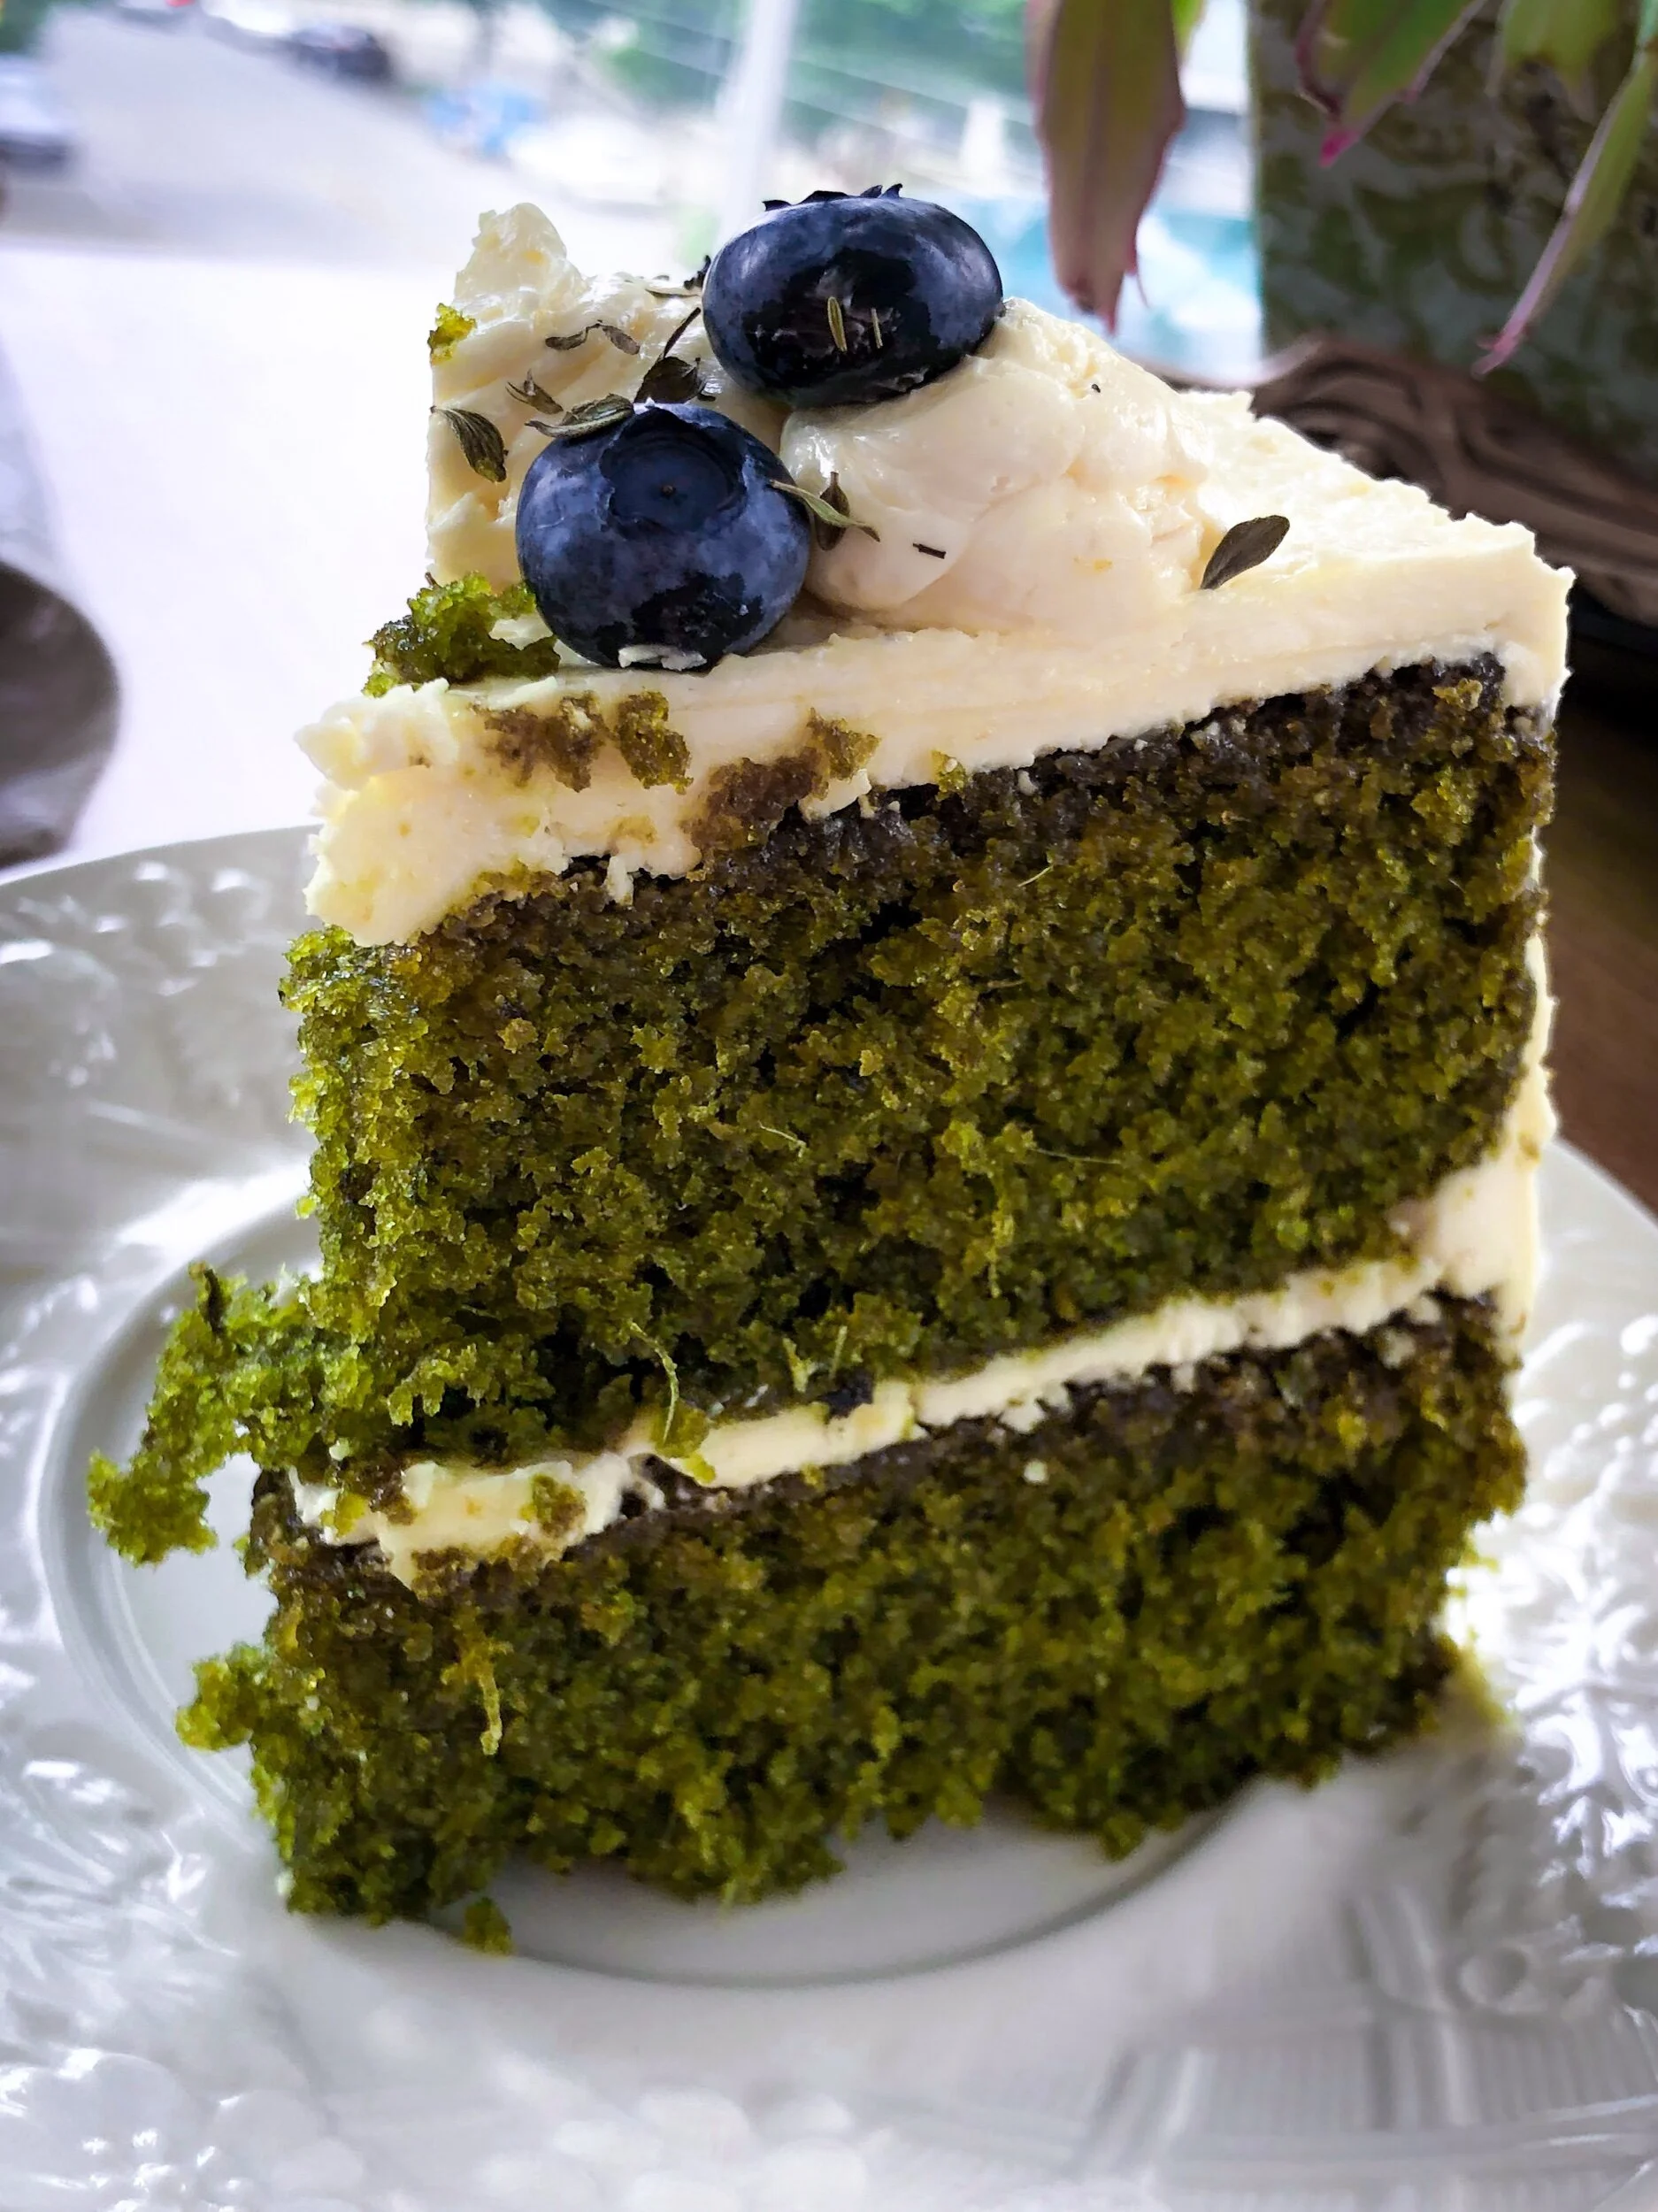
Dandelion Cake
It’s finally spring, in my neck of the woods and the dandelions are out in full force! If you live in a warmer climate that me you might be out of luck for making this, but just bookmark it for next year! Or see if you can find some dandelions still blooming in a shadier spot or higher elevation. Either way you’re going to want to try this cake - it is one of my favourites and I wait all year to make it!
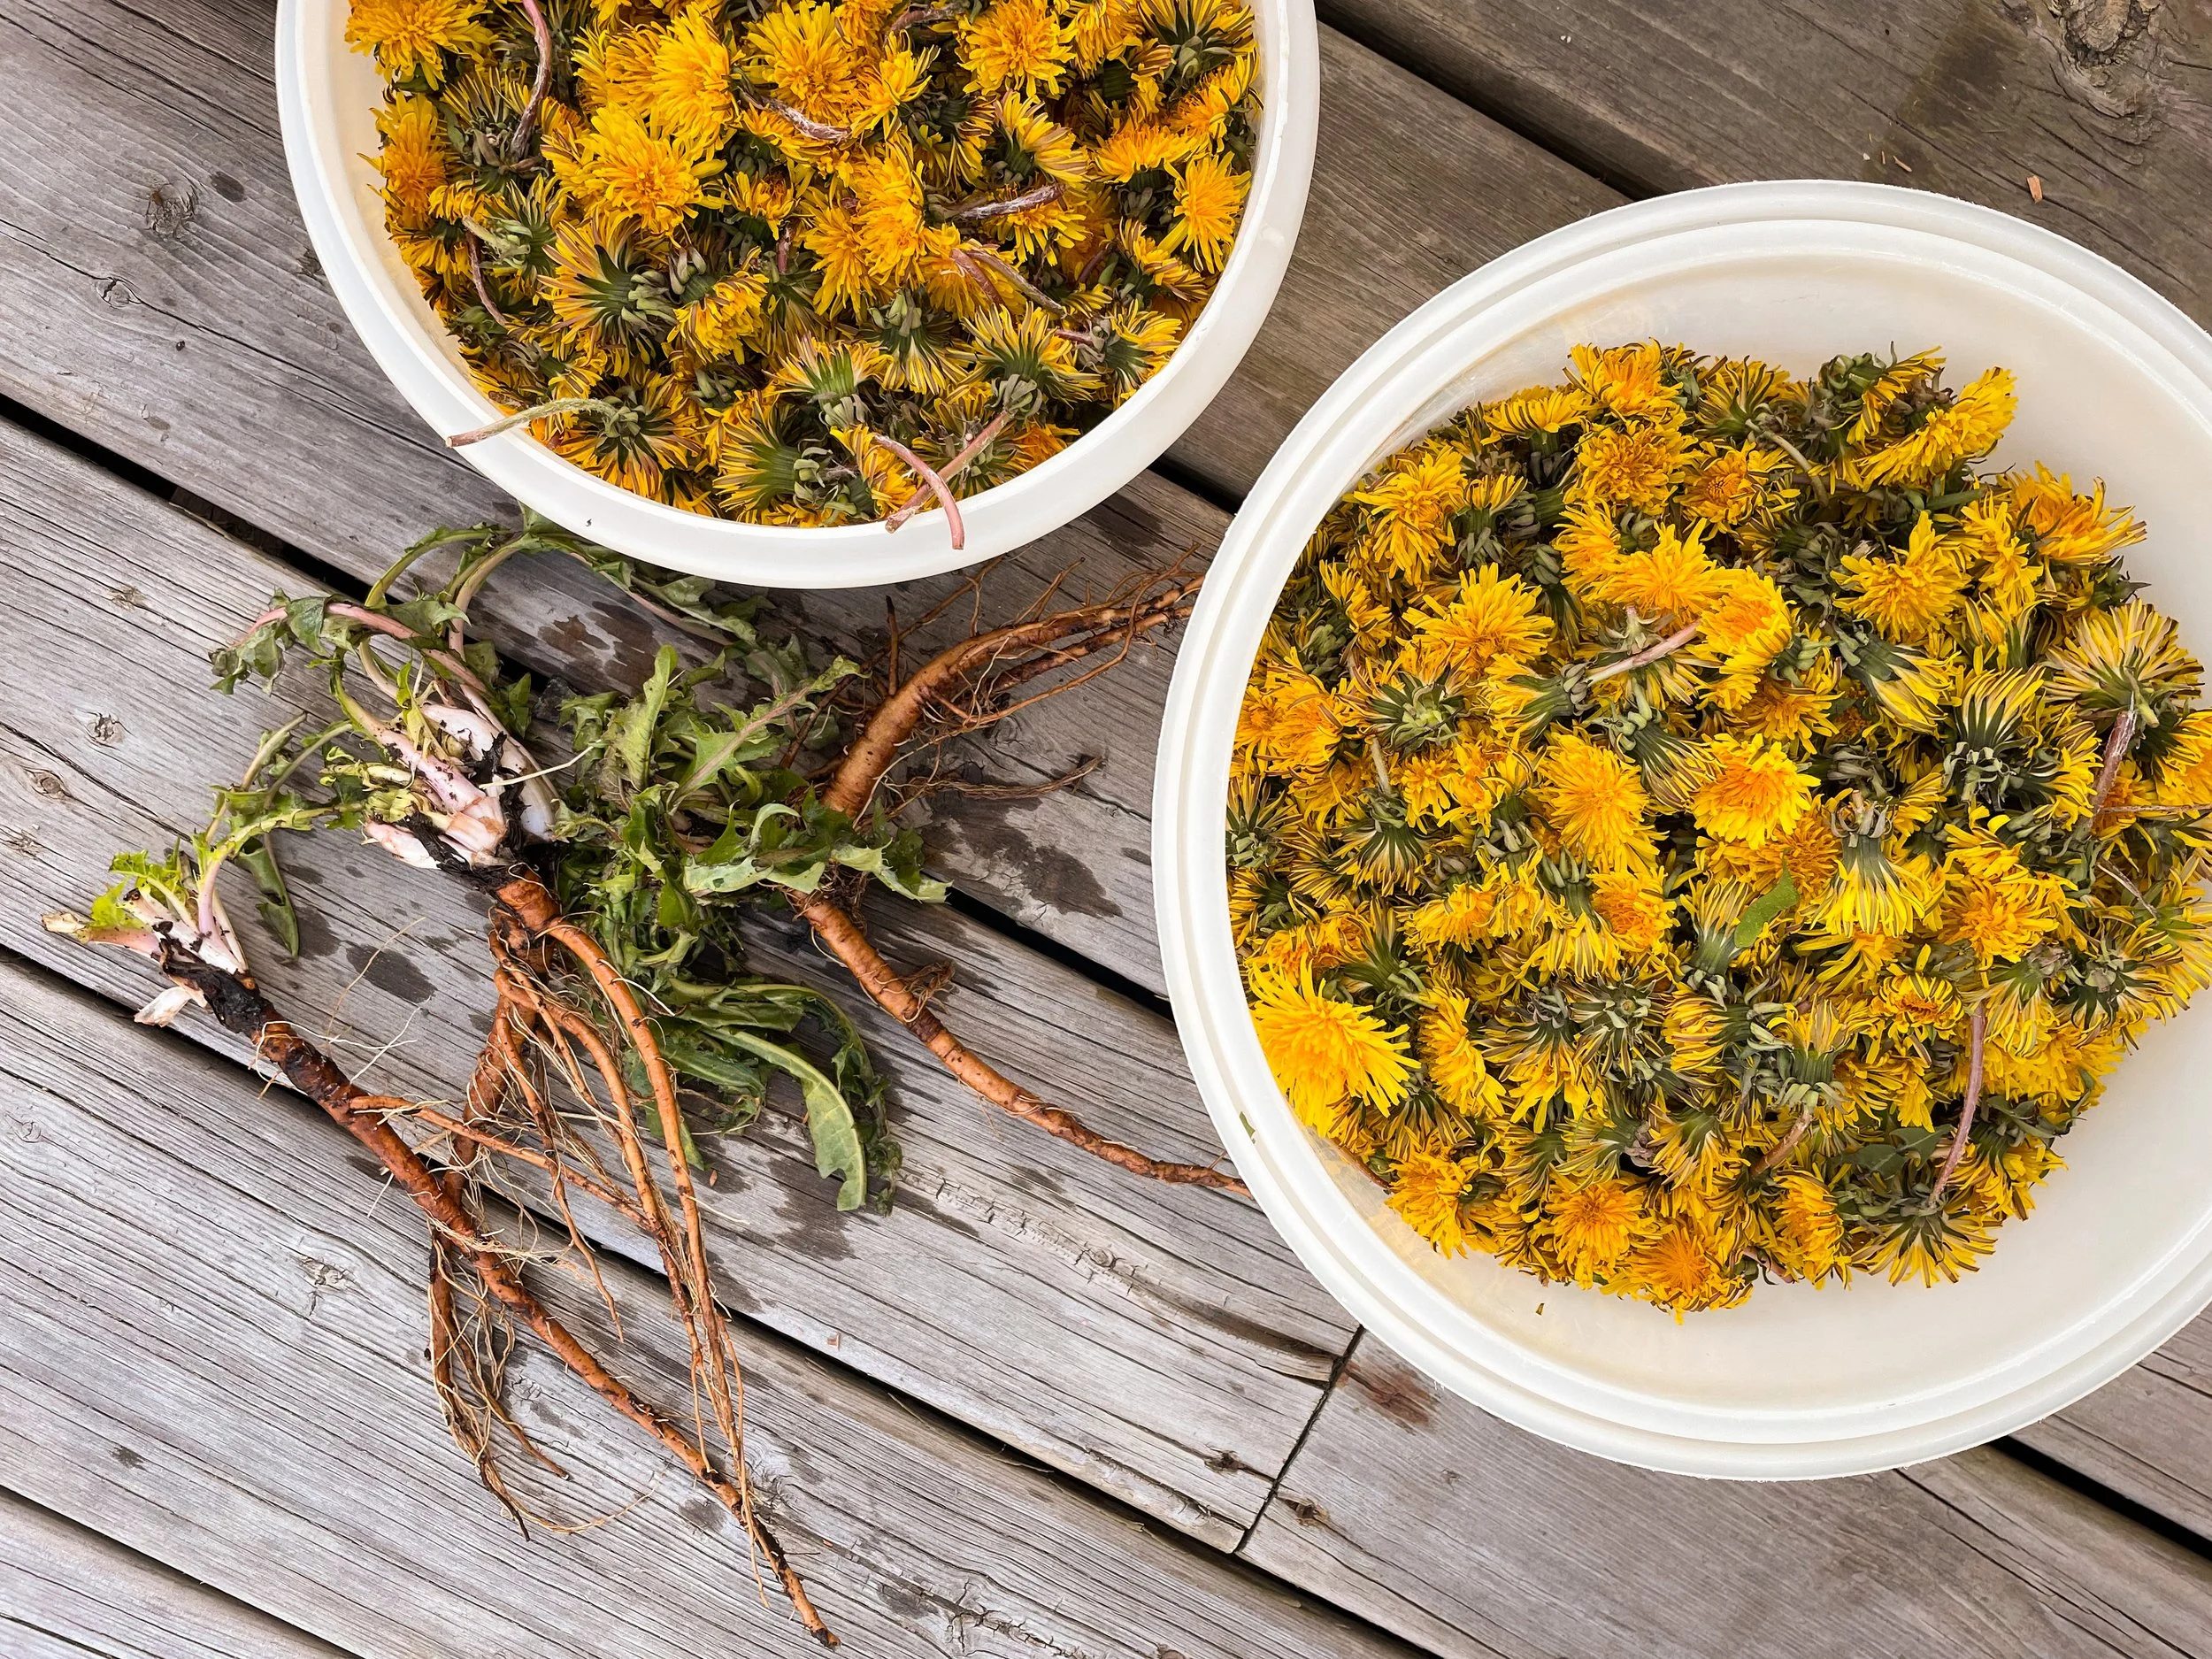
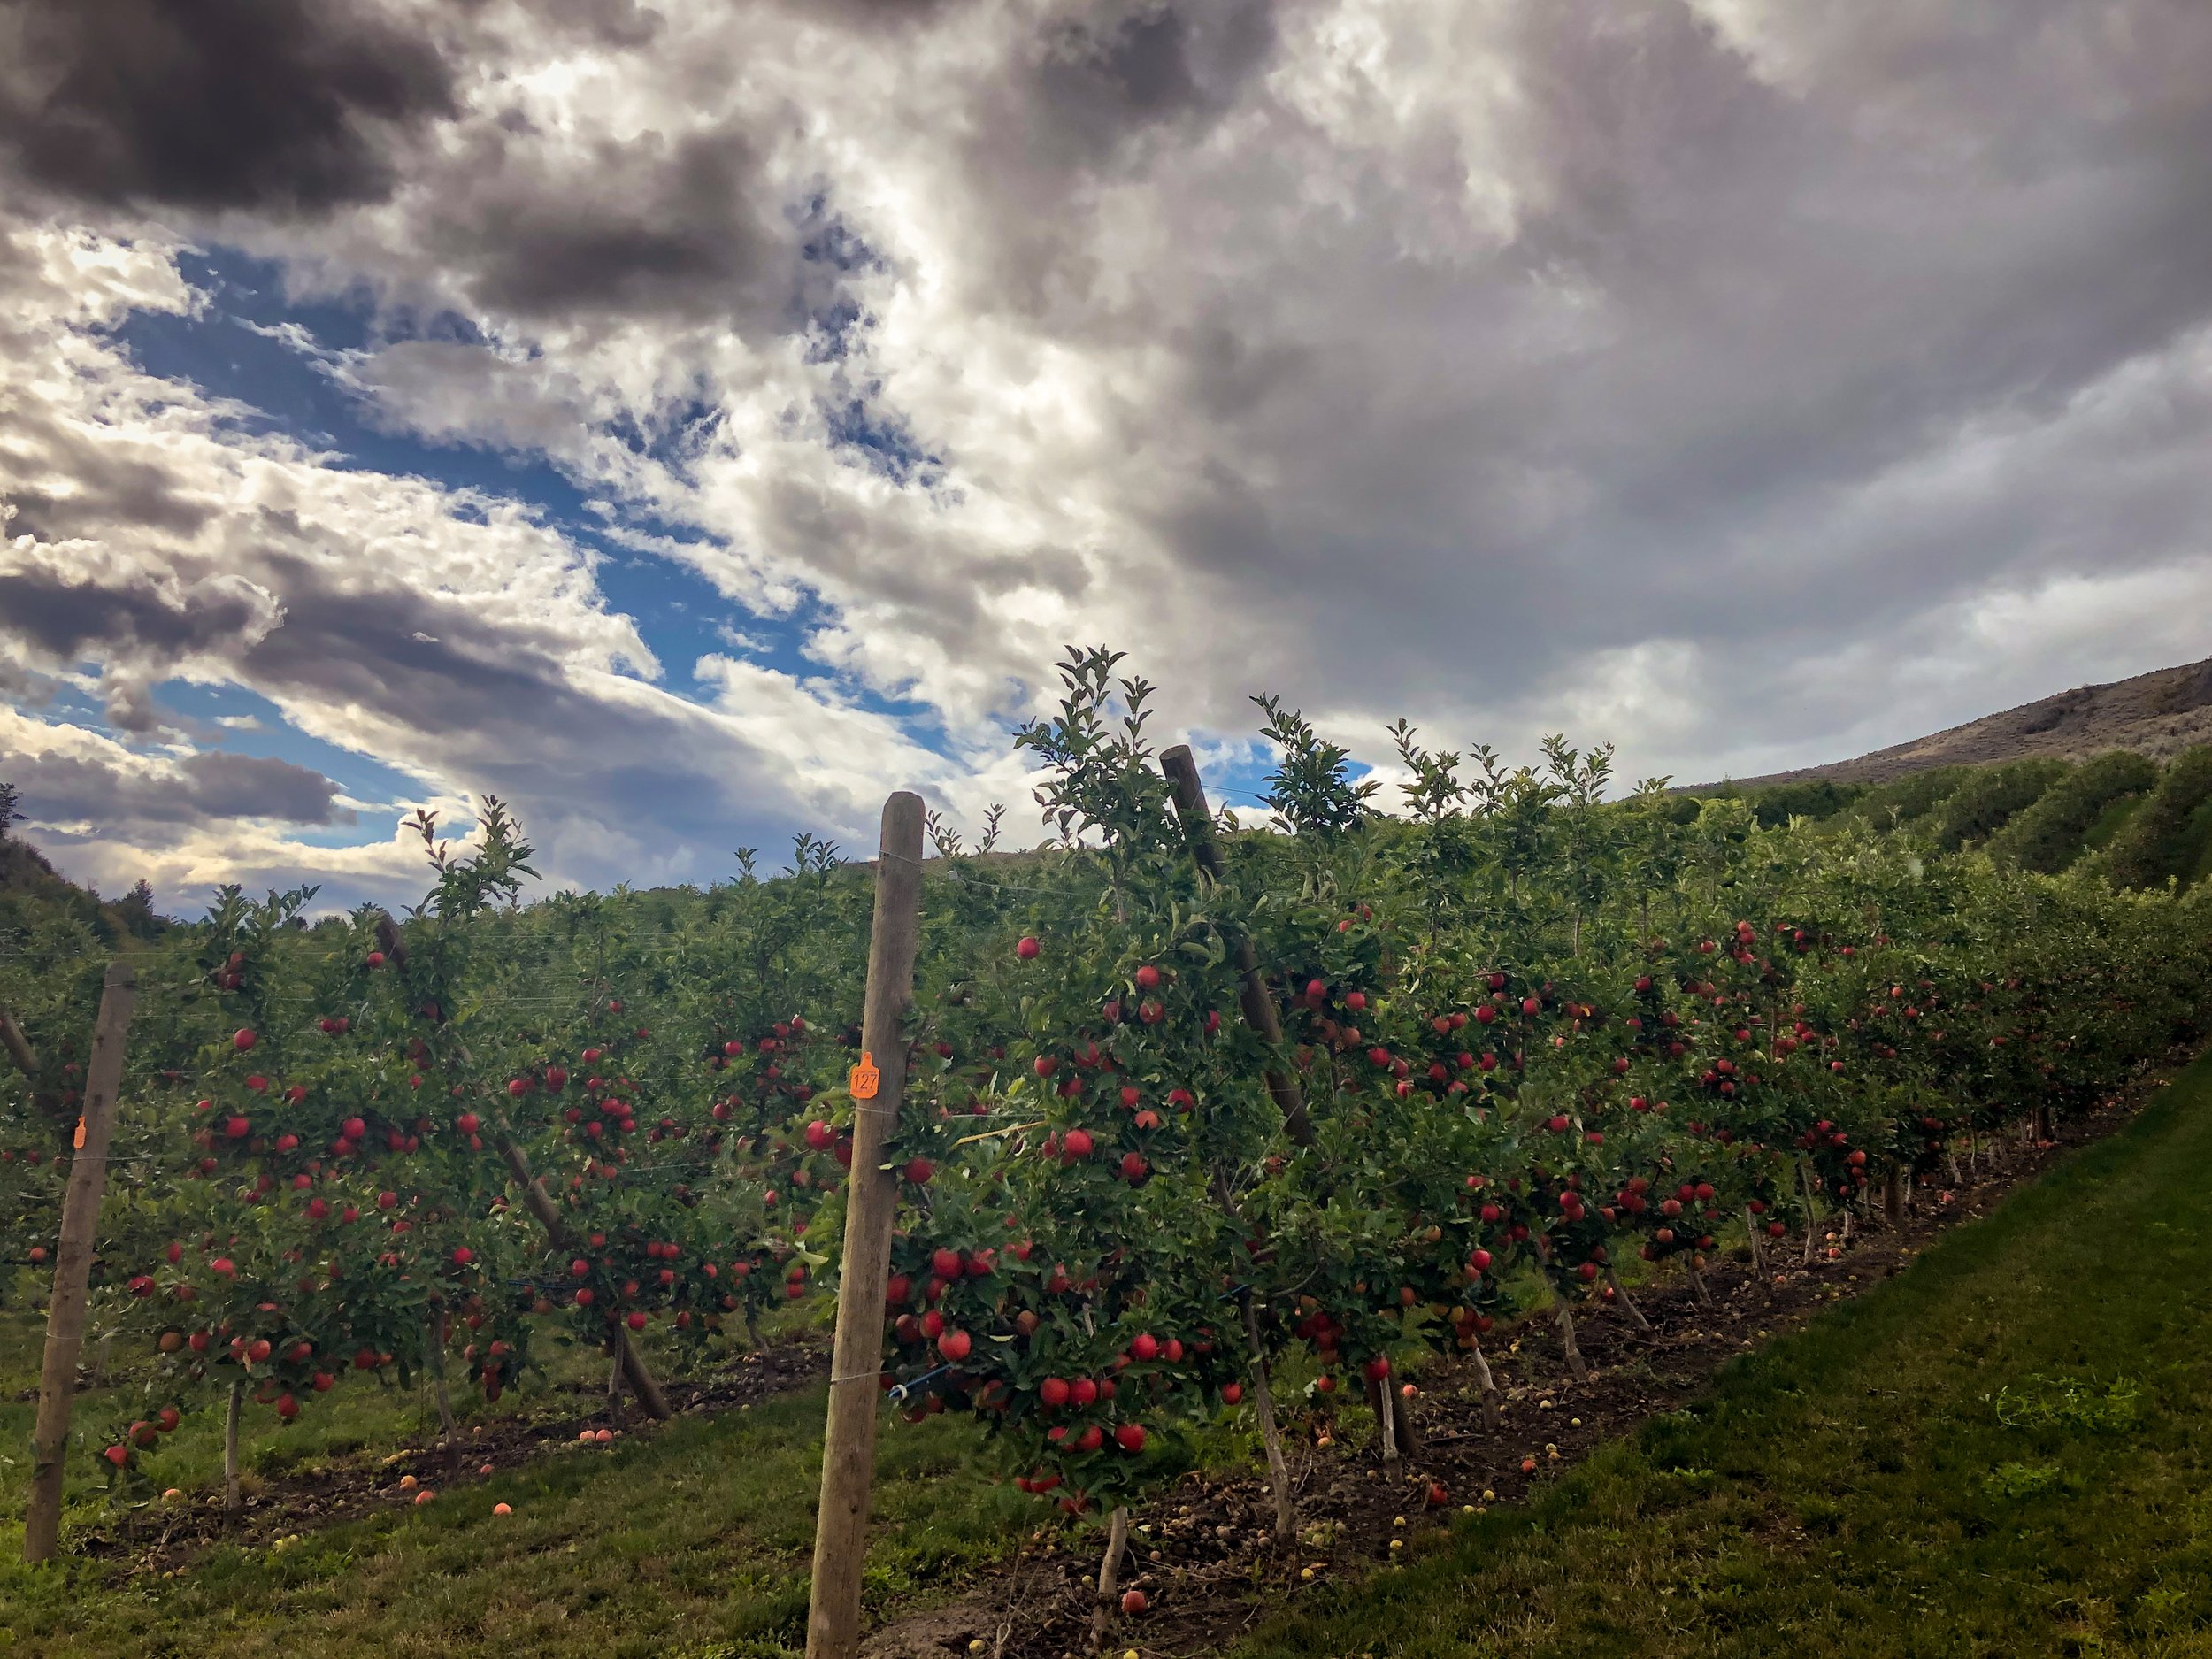
In my opinion, the dandelion is one of the best plants out there. Every single part is edible, and offers health benefits. Maybe that makes this cake count as health food? I know a lot of folks consider them an annoyance in their lawns, but there is no downside to letting these “weeds” flourish. They add some cheery colour, provide food for humans and wildlife, and their deep taproot helps break up poor, compacted soil and improves the quality of the soil over time! There are so many different things you can use them for - I’ve written about a few already!


For this recipe you’re going to want to use the petals only. I’ve found the best way to do this is to use scissors, and cut through the green base of the flower (called the “receptacle”) and pick out as much of the green bits as you can. A little bit of green in the mix isn’t going to make a big difference, but leaving too much in can contribute a bitter flavour. For this recipe you’re going to need about 2 cups of flower petals. Don’t forget to save a few petals to decorate the top of the cake with when you are done (see note at the end of the recipe for some considerations regarding that).

Dandelion Cake
Ingredients
1 1/2 cup sugar
2 eggs
3/4 cup milk
3/4 cup oil
2 cups flour
1/2 tsp baking powder
1/2 tsp baking soda
1/2 tsp salt
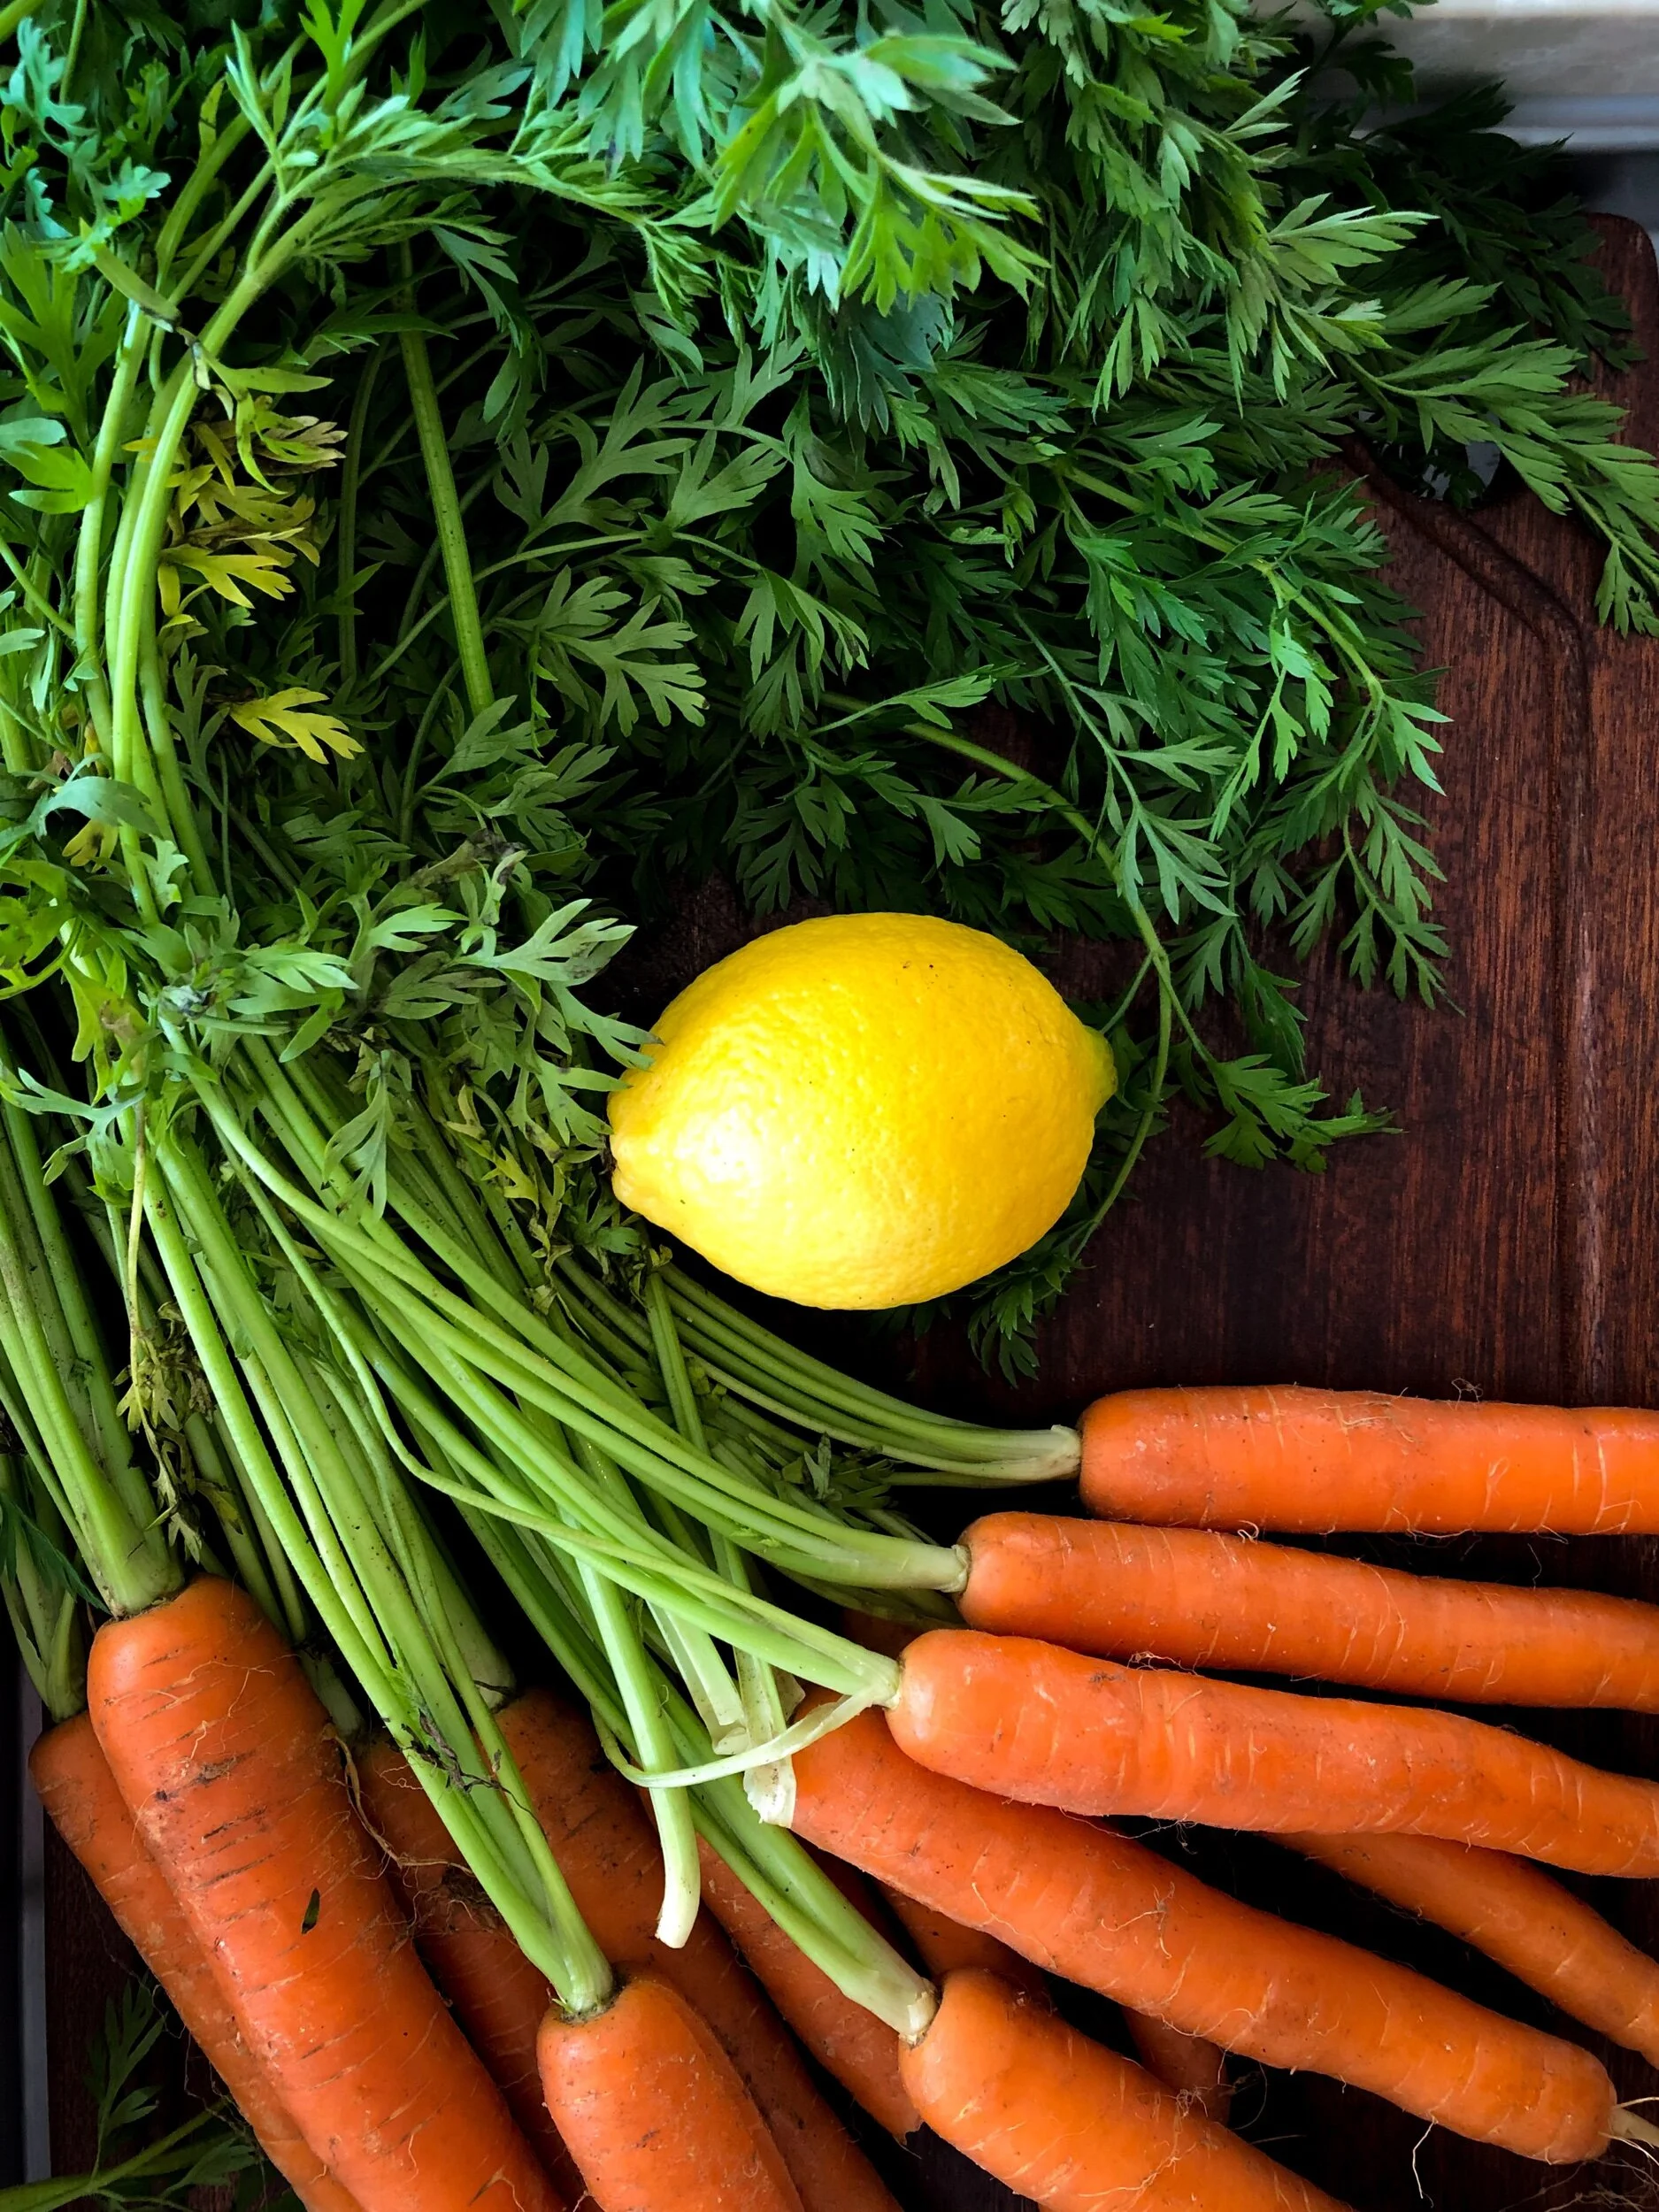
zest of one lemon
2 heaping cups dandelion petals
2 cups icing sugar (optional - for glaze)
Milk/Lemon Juice (optional - for glaze)
Method
Preheat oven to 350 degrees F. Line a 9 inch round baking pan with parchment paper and grease sides.
Whisk together eggs, sugar, milk, and oil until mixture is completely combined and homogenous.
Combine flour, baking powder, baking soda, and salt in a separate bowl, and then add to the wet ingredients. Mix gently until no lumps of flour remain.
Add the lemon zest and dandelion petals and stir mixture until everything is distributed evenly.
Bake in a 350F oven until a toothpick inserted comes out clean. Approximately 45 minutes to an hour. Baking times will vary, so keep an eye on your cake.
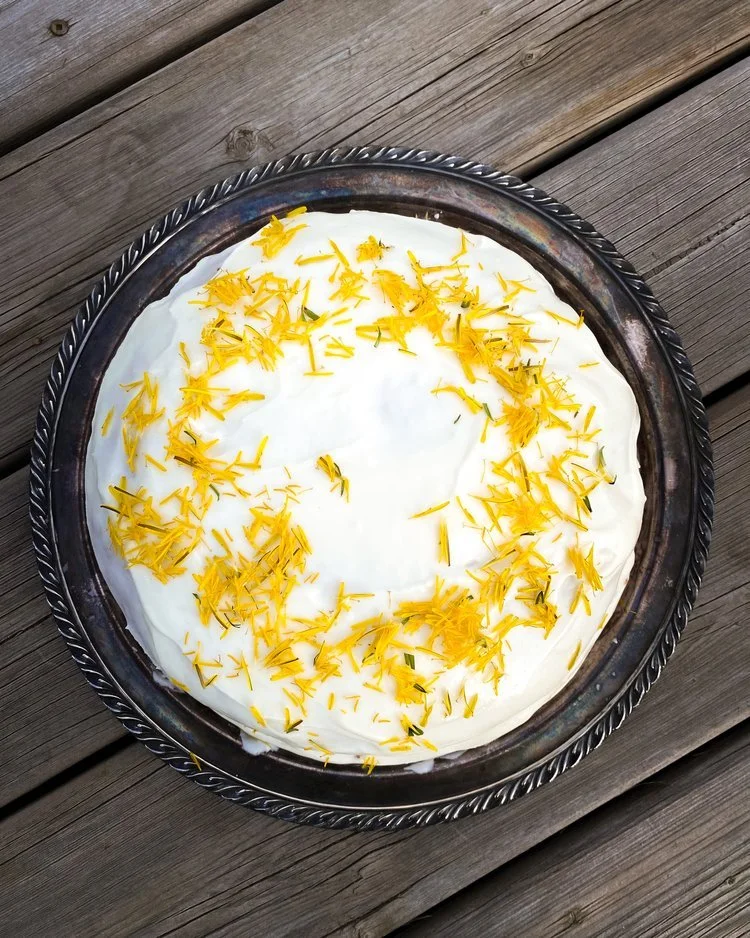
If you like you can combine 2 cups icing sugar with a few tablespoons of milk, yogurt, or lemon juice to make a glaze that is very nice on top of this cake. I like to sprinkle a few dandelion petals on top to make it look even more special, but one thing to know is that the second day some of the petals might have become fluffy (like the flowers do when they go to seed outside). I don’t find a difference in the taste if they do this, but if you are making the cake ahead it looks nicer to add the petals just before serving.